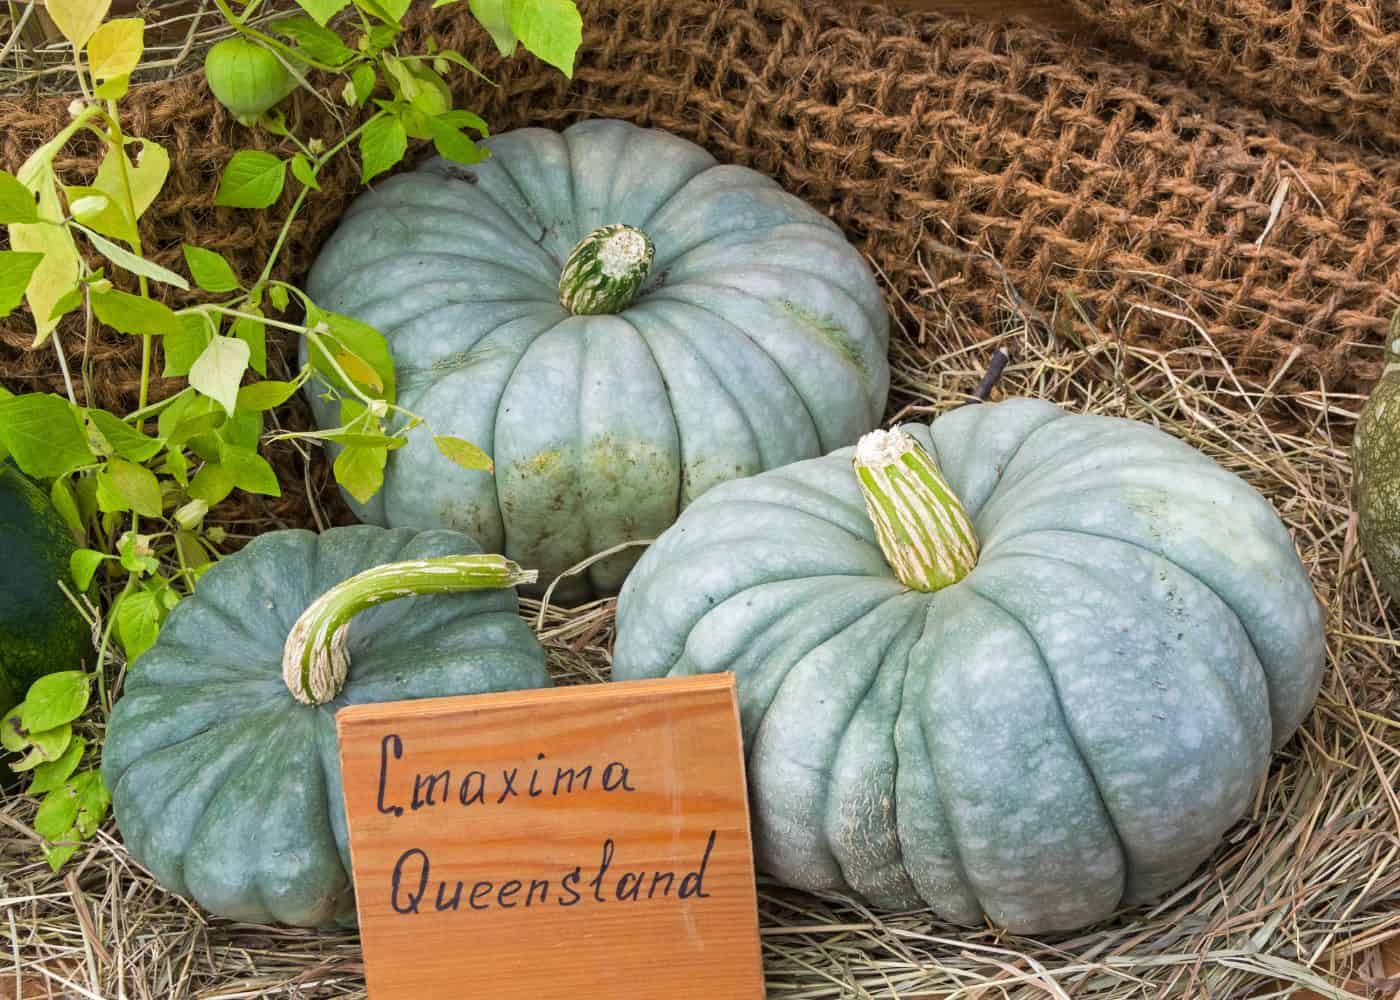
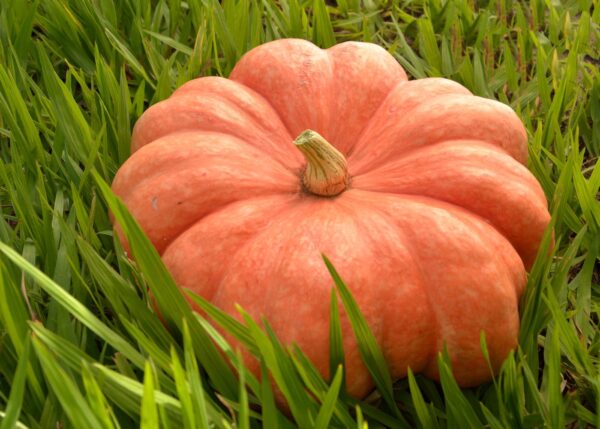
The Queensland Blue pumpkin is a specialty pumpkin variety known for its striking slate-like blue-green peel color and its excellent culinary adaptability. Queensland Blue is a cultivar of Cucurbita maxima, and it is botanically related to both the Hubbard squash and the gourmet Japanese Kabocha squash.
Introduction to the Queensland Blue pumpkin
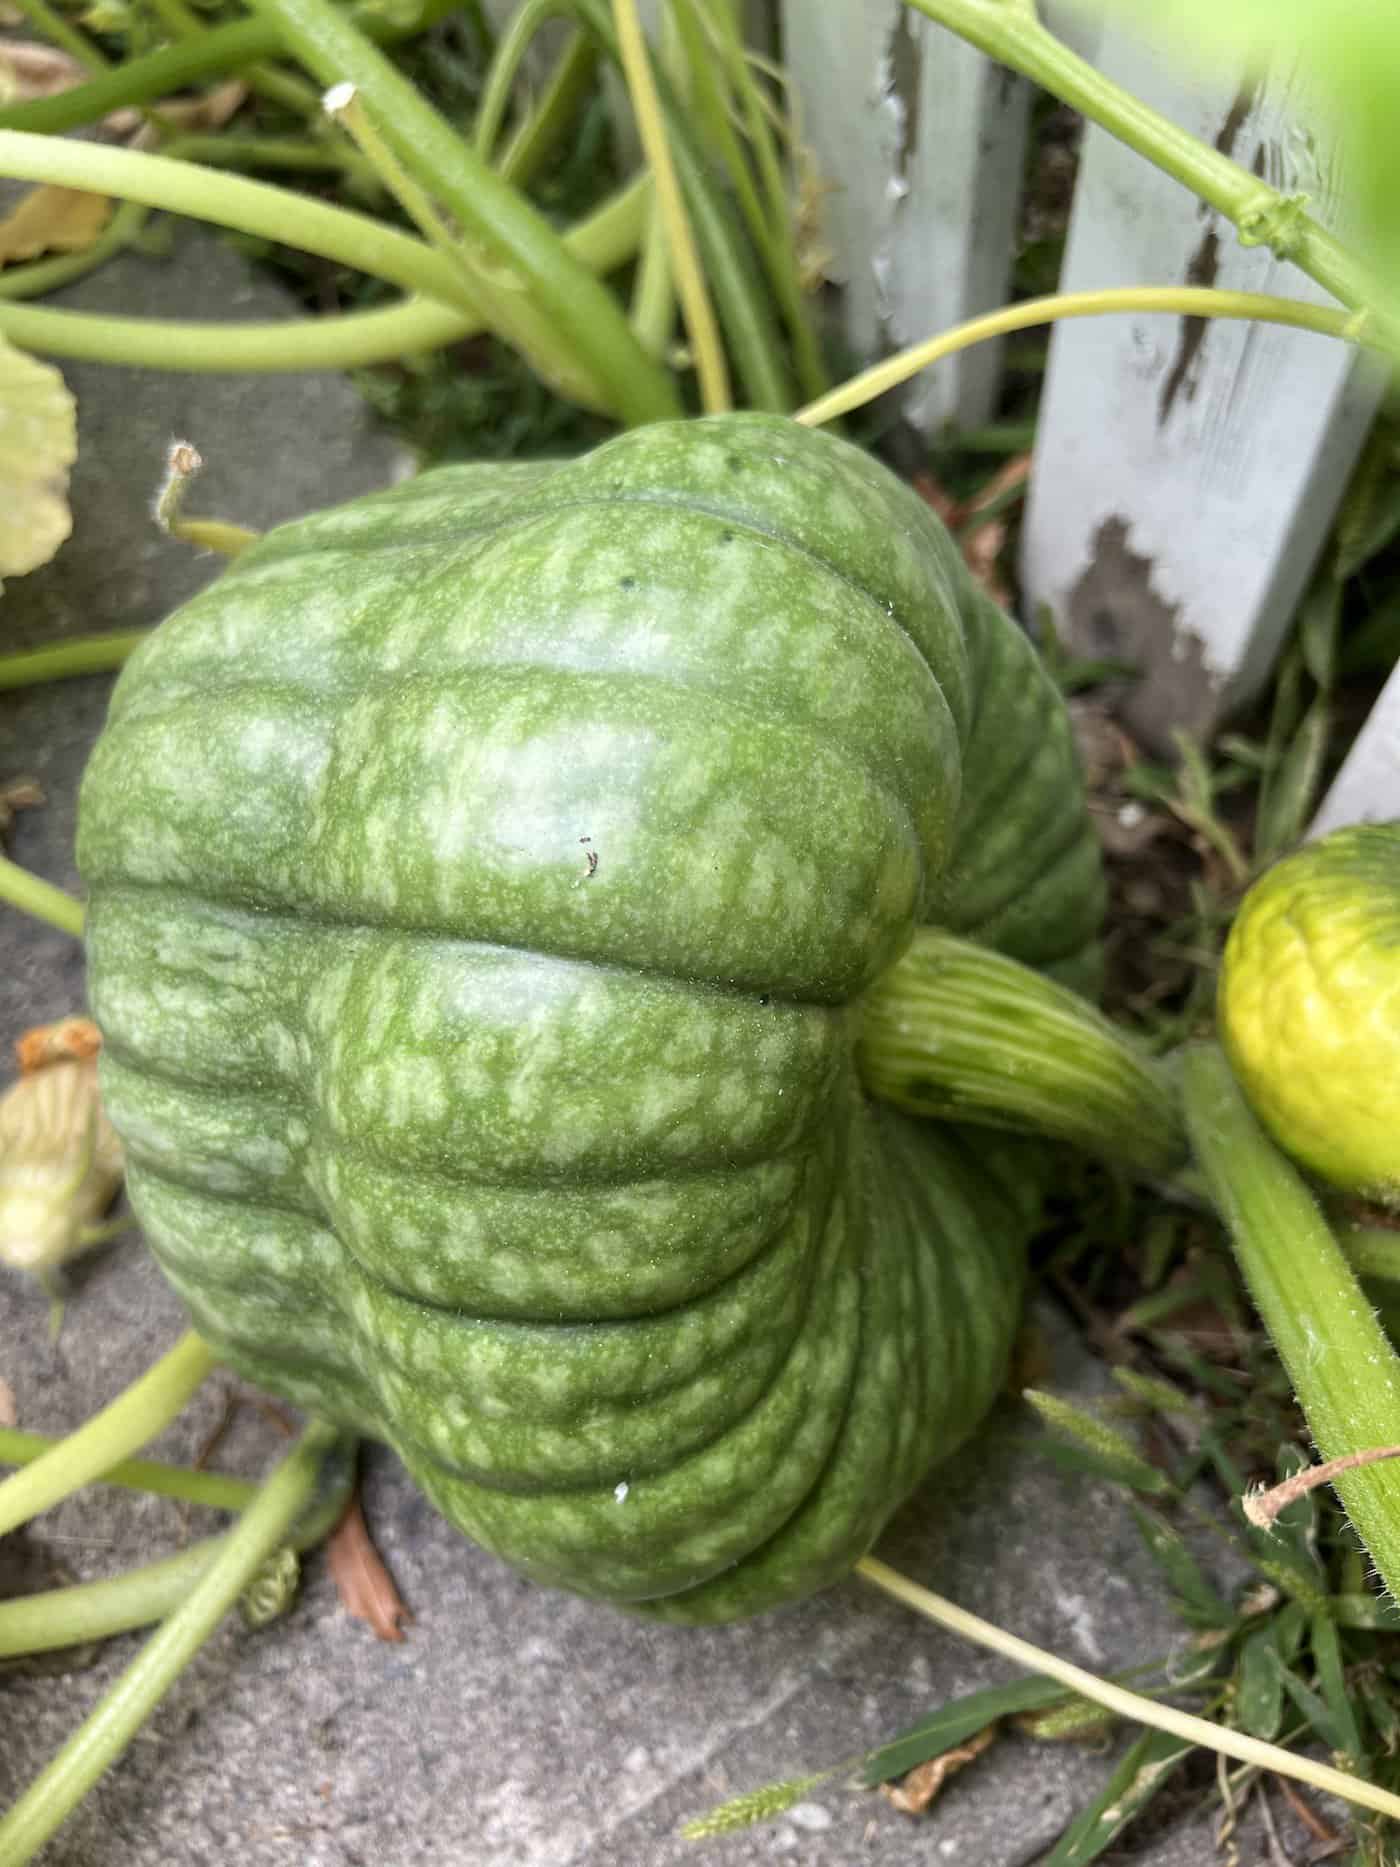
The Queensland Blue pumpkin (Cucurbita maxima ‘Queensland Blue’) is an Australian heirloom cultivar of winter squash. These large pumpkins have a blue-green-grey rind color and a flattened shape with well-defined ribs. The flesh inside is sweet and golden. Queensland Blue is a favorite for fall decor, long-term storage, and both sweet and savory culinary uses.
Queensland Blue pumpkins are typically in the weight range of 10-15 pounds. You can grow larger specimens by thinning fruits down to one pumpkin per plant.
Queensland Blue is an open-pollinated heirloom cultivar. You can save seeds from this pumpkin to grow in future years (here’s how to save pumpkin seeds).
How to grow Queensland Blue pumpkins
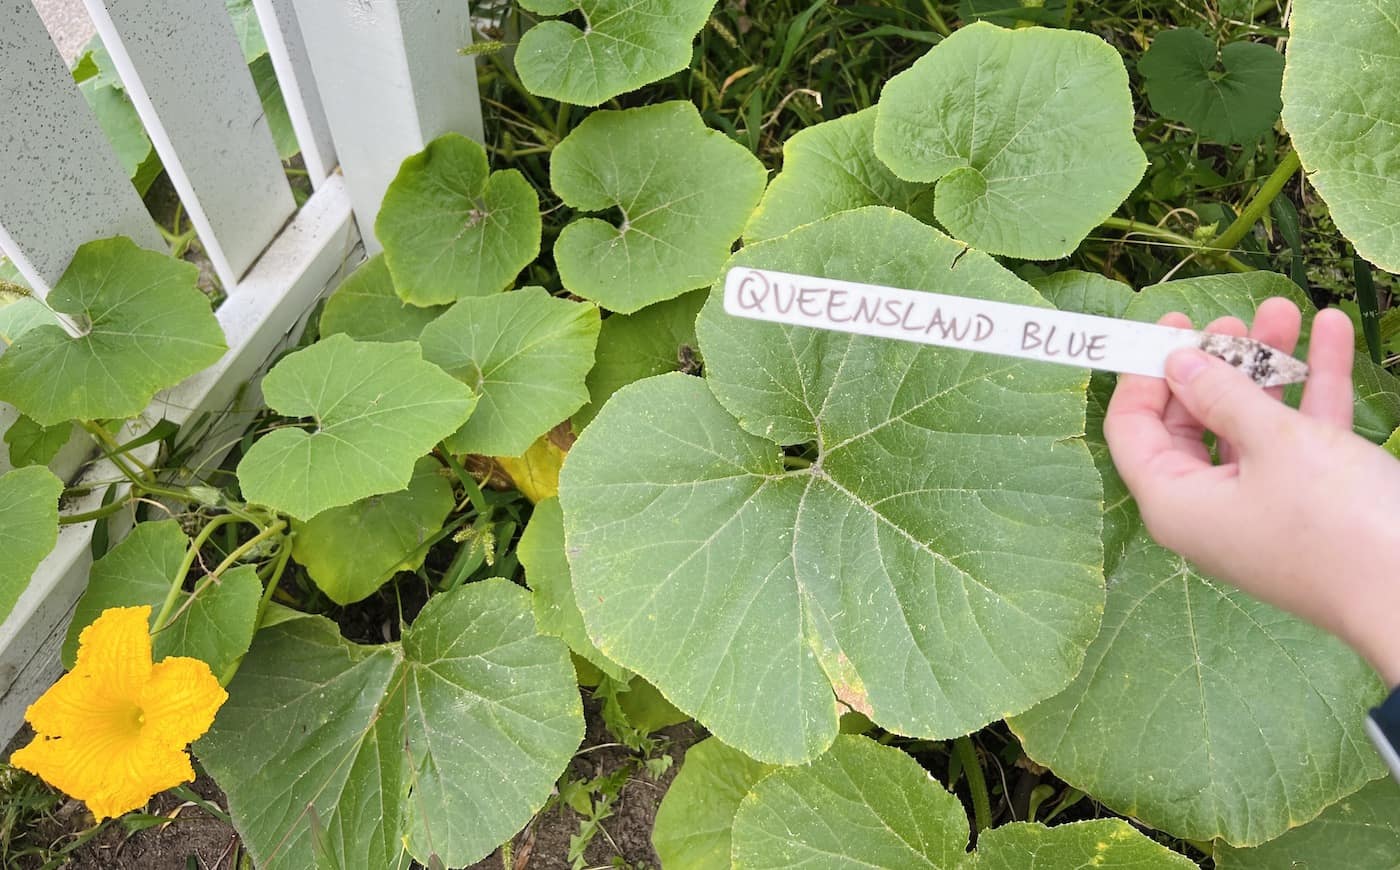
Growing Queensland Blue pumpkins is just as easy as growing any other type of pumpkin. Plant the seeds straight in the soil outdoors, keep the soil moist, and watch for pests as the plants grow. Here are detailed instructions for growing your own Queensland Blue pumpkins.
When to plant pumpkins
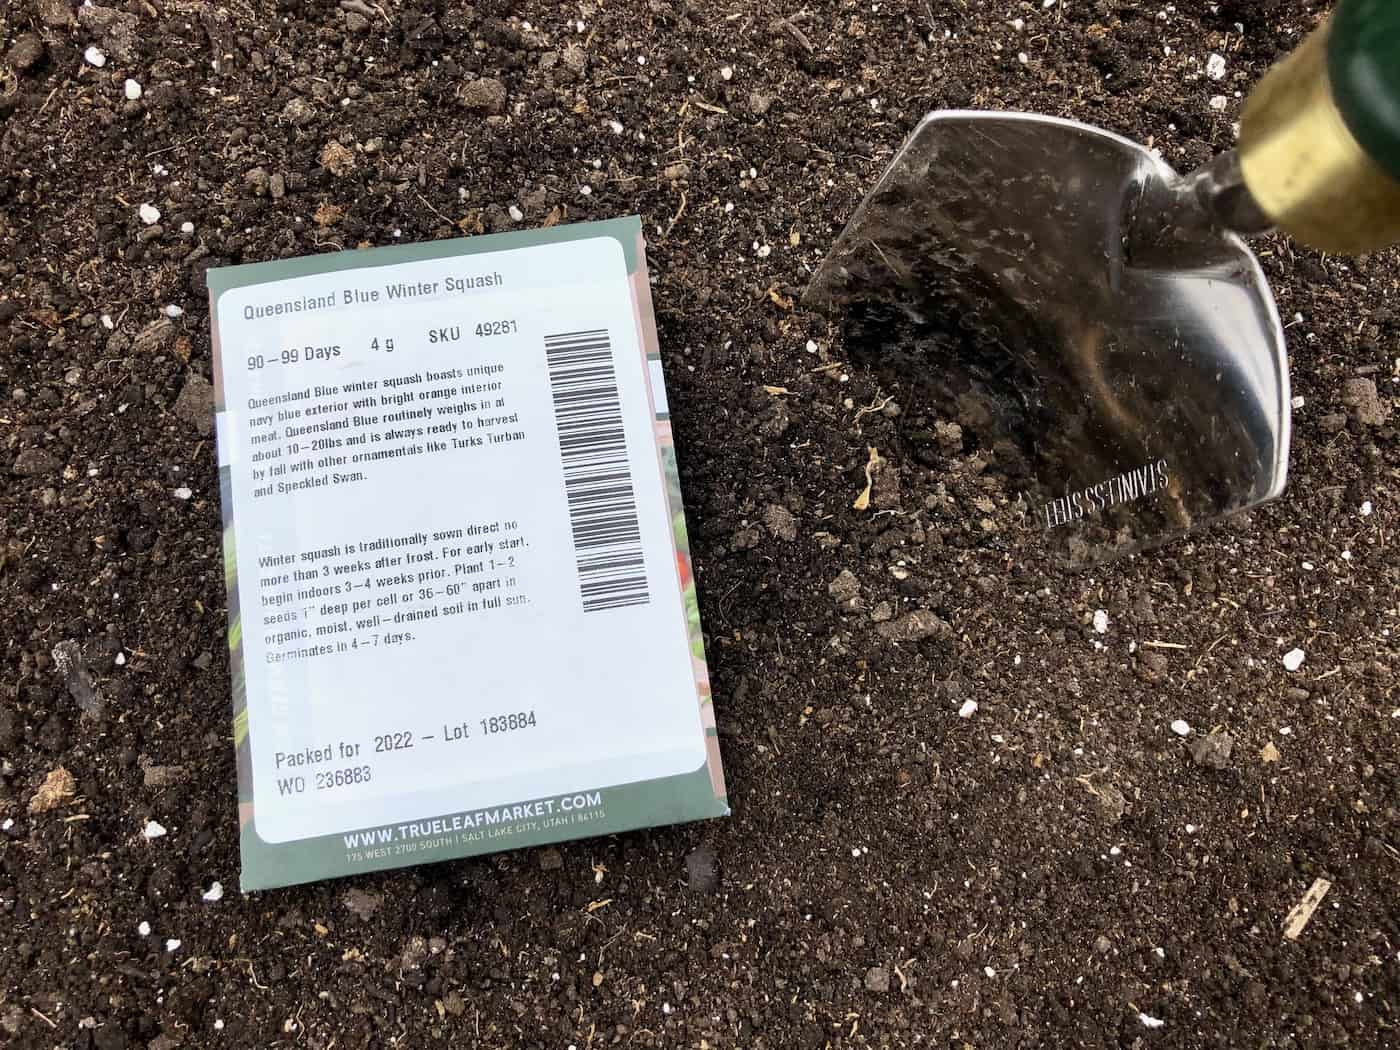
Pumpkins are warm-season vegetable plants that do not like cold weather. Frost will kill the plants, and the plants typically won’t grow well at all in cool temperatures below about 50°F (10°C).
Keep in mind that these pumpkins take about 120 days (4 months) to grow. If your area does not typically get 4 months of weather with temperatures above about 50°F (10°C), consider starting the seeds indoors. But in most climates, direct-sowing your pumpkin seeds outdoors will lead to healthier plants.
Where to plant pumpkins
Pumpkin plants grow best in areas that receive lots of direct sunlight each day. The broad leaves soak up the sun and photosynthesize the energy needed to create the big fruits. Avoid shady planting spots if at all possible. You’ll also want to avoid enclosed areas with poor air circulation, as this can promote disease development.
Pumpkins also like “rich” soil. This means they love it when soil has lots of organic matter in it, in addition to regular soil minterals. Have you ever seen a pumpkin growing straight out of a compost heap? If you do have access to homemade compost or well-rotted manure, mix it into the soil in the planting area before planting your pumpkin seeds.
Lastly, pumpkin plants grow best when they have ample access to water. Plant your pumpkin somewhere that’s easy to water at the base of the plant on a regular basis. Better yet, run drip irrigation to the base of the plant and put it on an automated timer.

How to plant pumpkin seeds
Here are the basic steps for planting pumpkin seeds in your garden outdoors. While you can start with seedling plants if you like, most pumpkin plants grow best when the seed is planted directly in the soil. This is because pumpkin plants can suffer transplant shock when moved around as a seedling.
- Soak the pumpkin seeds in clean water for about an hour before planting.
- Clear the planting area of weeds and other plant debris. Rake the planting area flat.
- Make a 1-inch deep planting hole at each planting spot. These are large plants, so leave about 4 feet between planting spots.
- Put 2-3 pumpkin seeds into each planting hole.
- Backfill the planting holes with soil.
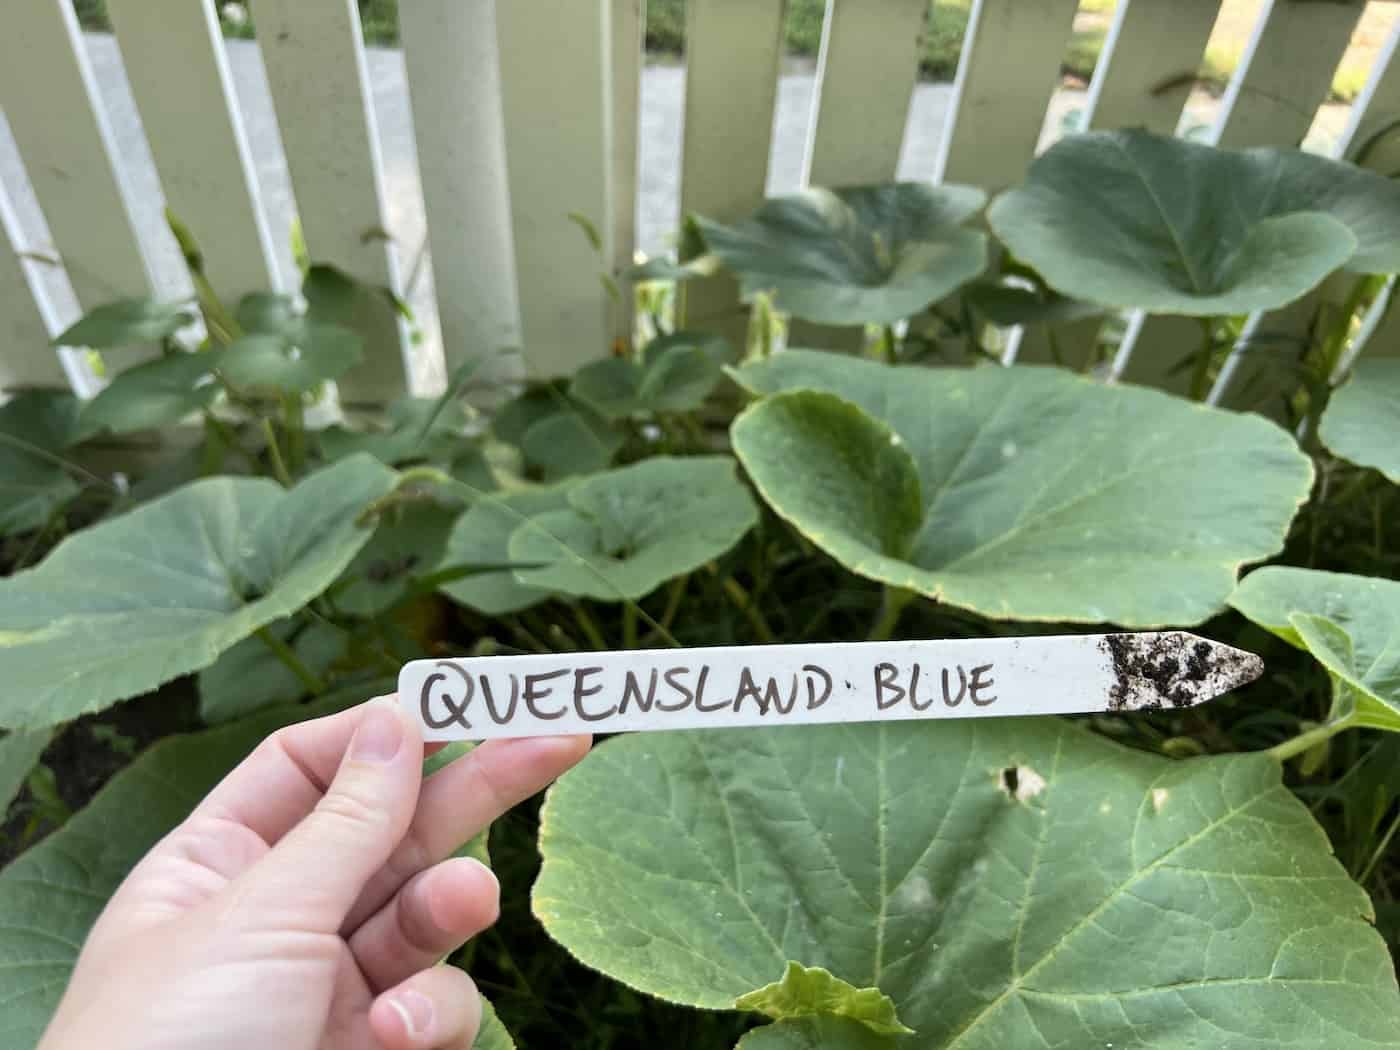
- Add a plant label to specify the ‘Queensland Blue’ variety.
- Water thoroughly after planting.
- Add some organic mulch over the top of the soil.

Caring for growing pumpkin plants
After you’ve planted your seeds, here are the basic steps for caring for the growing plants.
- Keep the soil moist after seeds are planted.
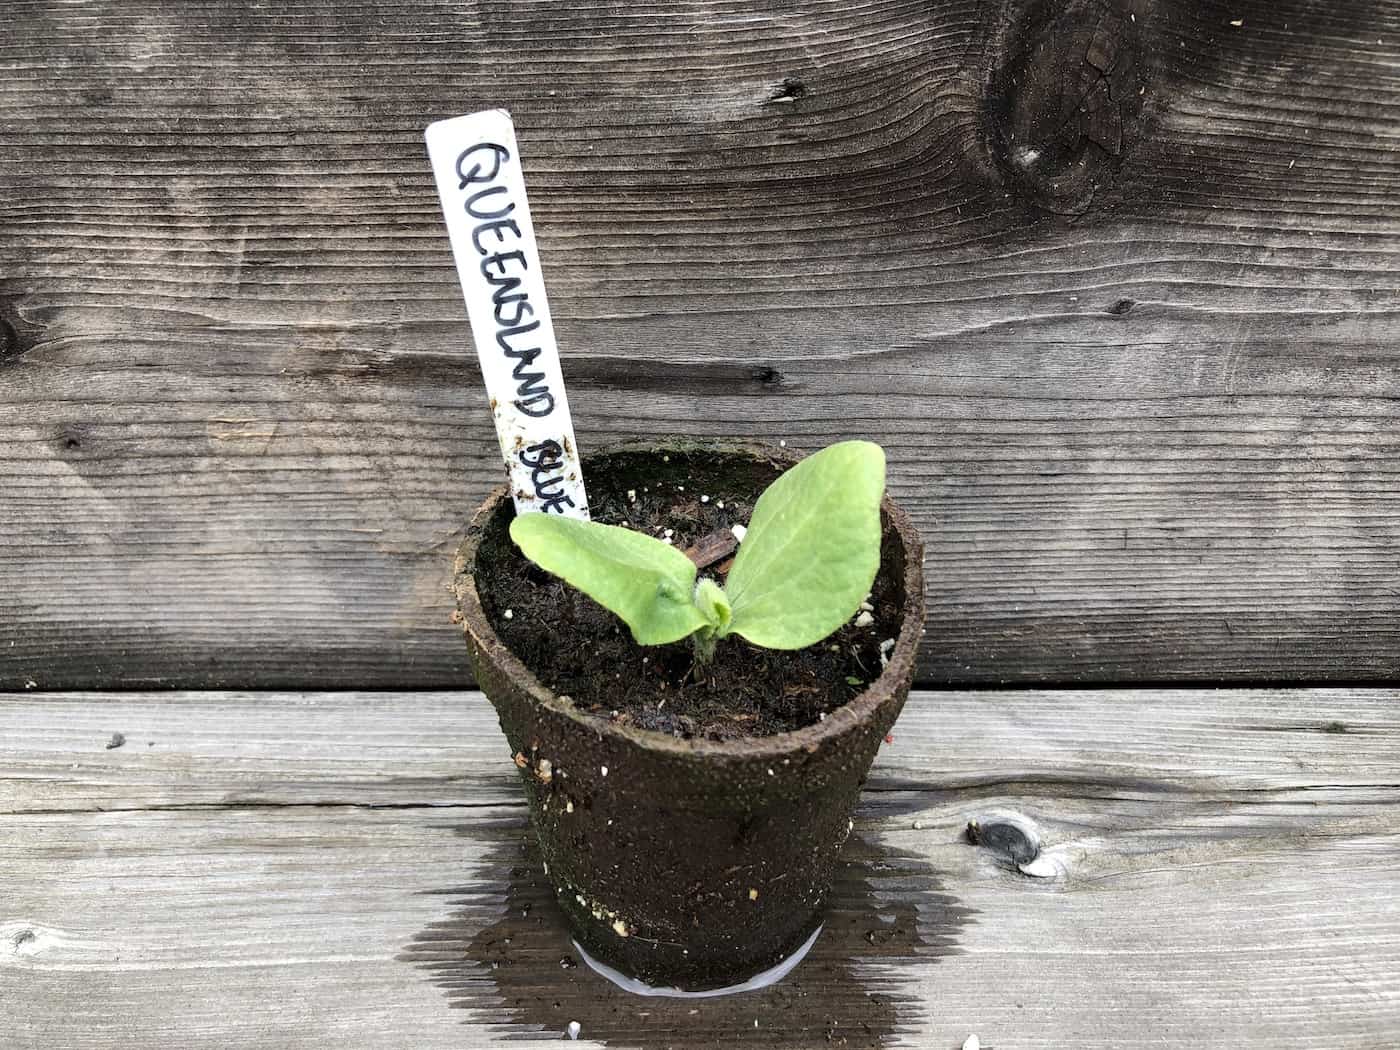
- Watch for seedlings to emerge. If multiple seedlings emerge at a single planting spot, watch to see which one is the strongest. If there is some doubt as to the winner, wait until the plants have a few true leaves before deciding. Then remove the weaker seedlings by snipping them off at the base. Avoid pulling out weaker seedlings, as this can damage the nearby roots of the stronger seedling.
- Pull out any weeds that crop up in the area by hand. Avoid using pesticides near your pumpkin plants.
- Keep the soil moist by watering the plant near its base, right at soil level. Avoid getting the pumpkin leaves wet on a regular basis, as this can invite disease.
Harvesting Queensland Blue pumpkins
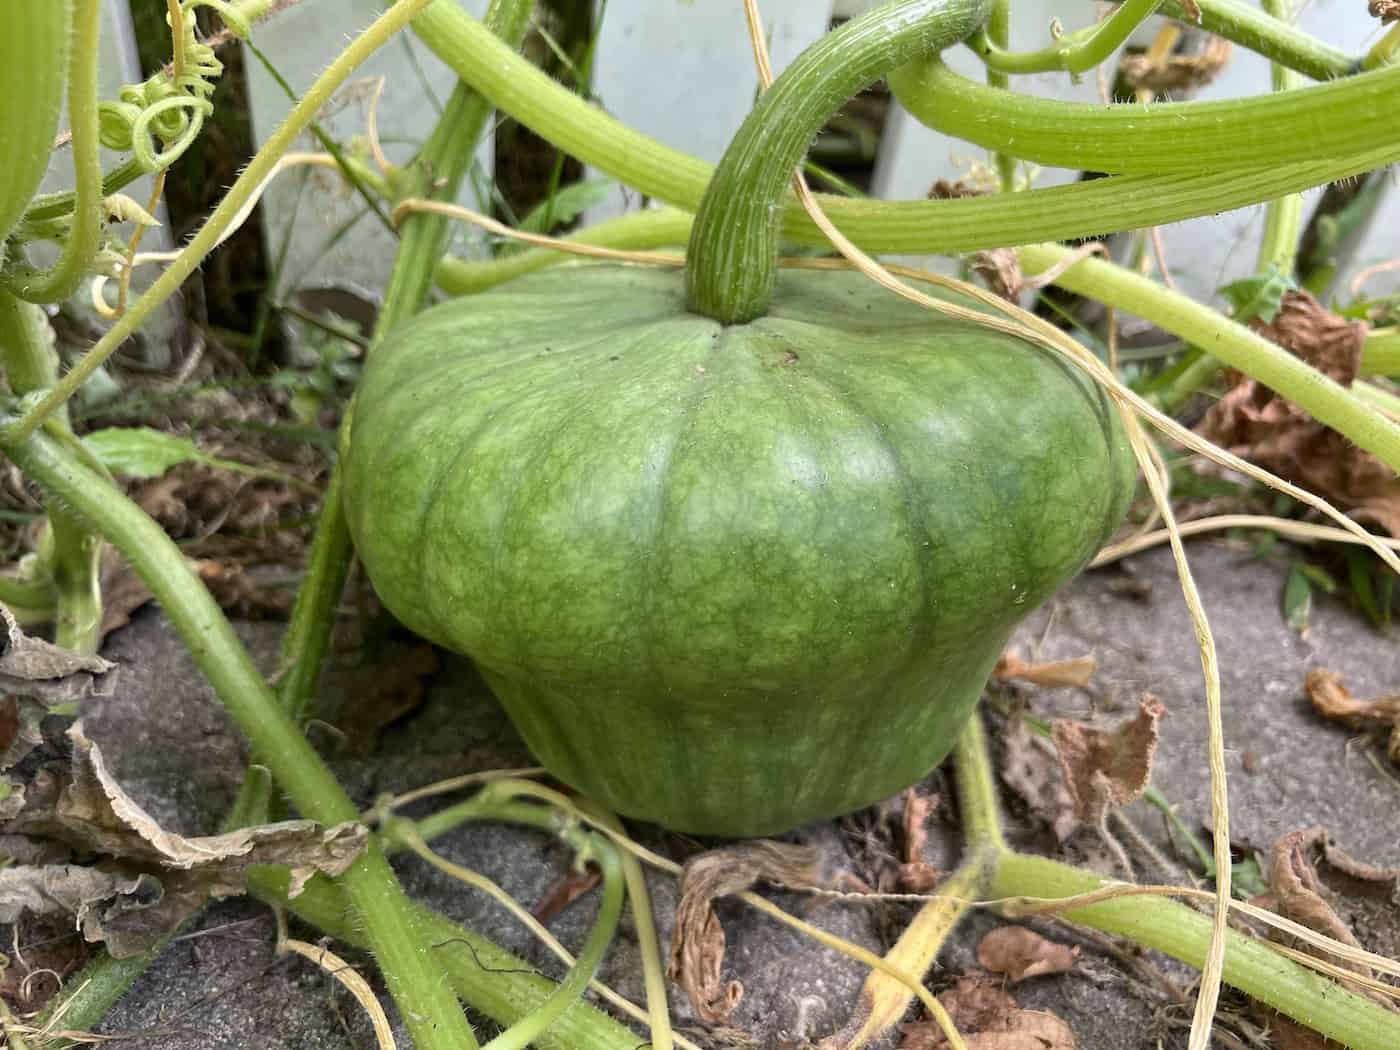
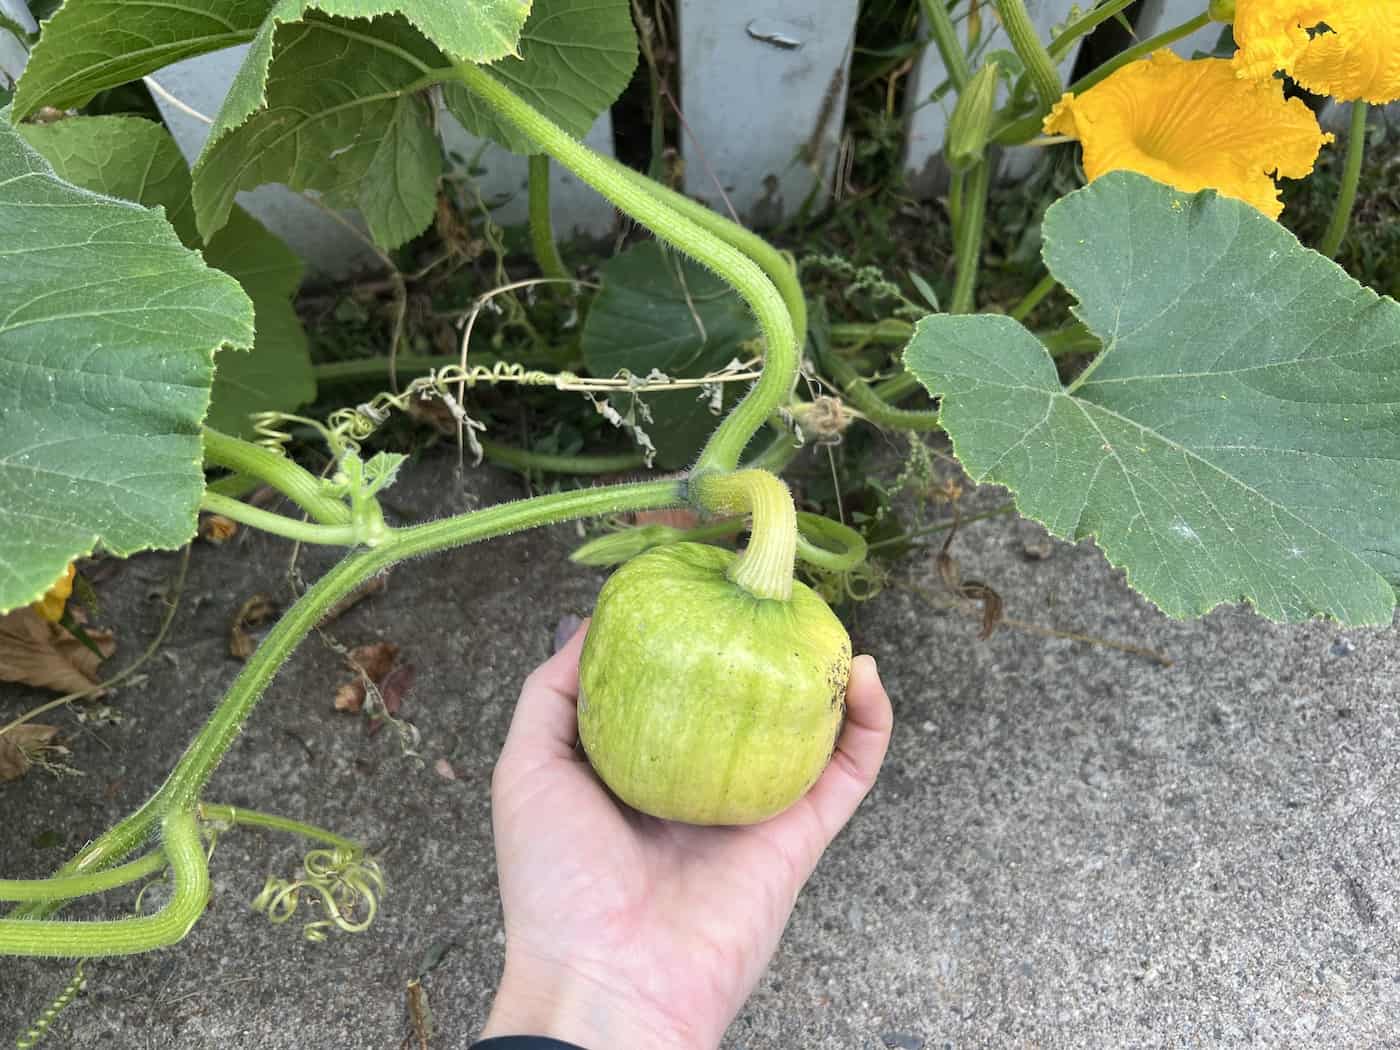
Queensland Blue pumpkins should be left on the vine to ripen as long as possible. In normal growing conditions, they take about 110-130 days from planting the seed to harvesting the fruit. Harvest them when the vines die back naturally or when a hard frost is forecasted.
Ripe squashes last much better in storage than young ones. Similarly, intact fruits last much longer than fruits with cuts or damage to their peel. To extend your pumpkin’s shelf life, you can gently wash the outside with a weak bleach-water solution.
Using Queensland Blue pumpkins in cooking
Queensland Blue is a treasured culinary variety. The golden, sweet flesh is well-suited both to pumpkin pies and to more savory applications like soups or fall stews.
