
Growing pumpkins can be a fun and rewarding experience. If you’ve ever wanted to know how to grow your own delicious pumpkin, then look no further! From soil preparation, planting, and watering all the way through pest control, harvesting, and storage & preservation, there are a few important tips to keep in mind.
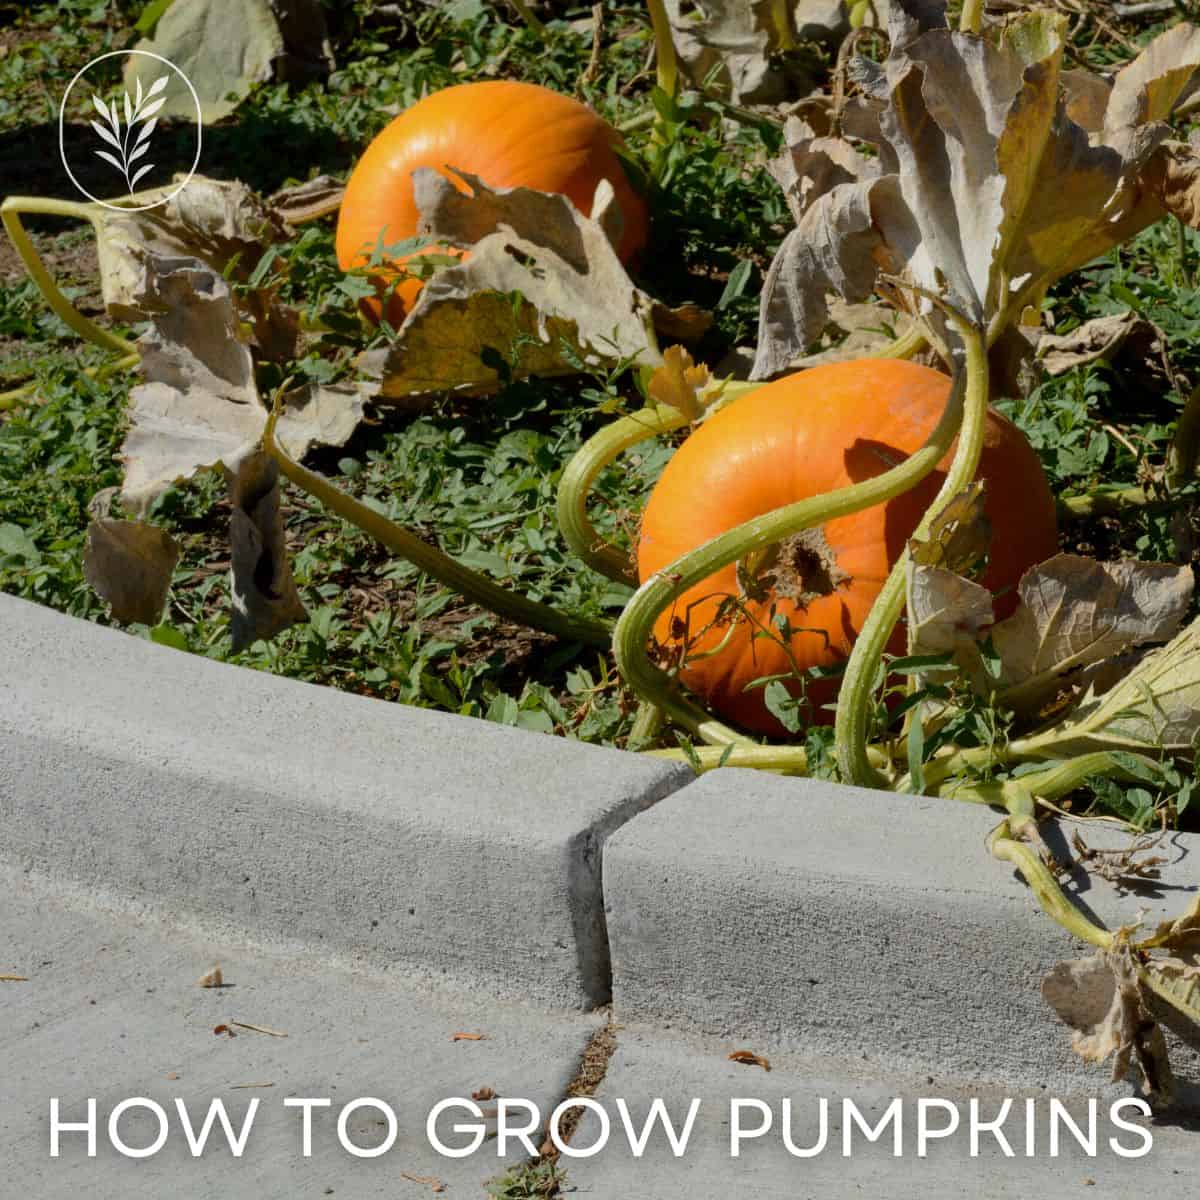
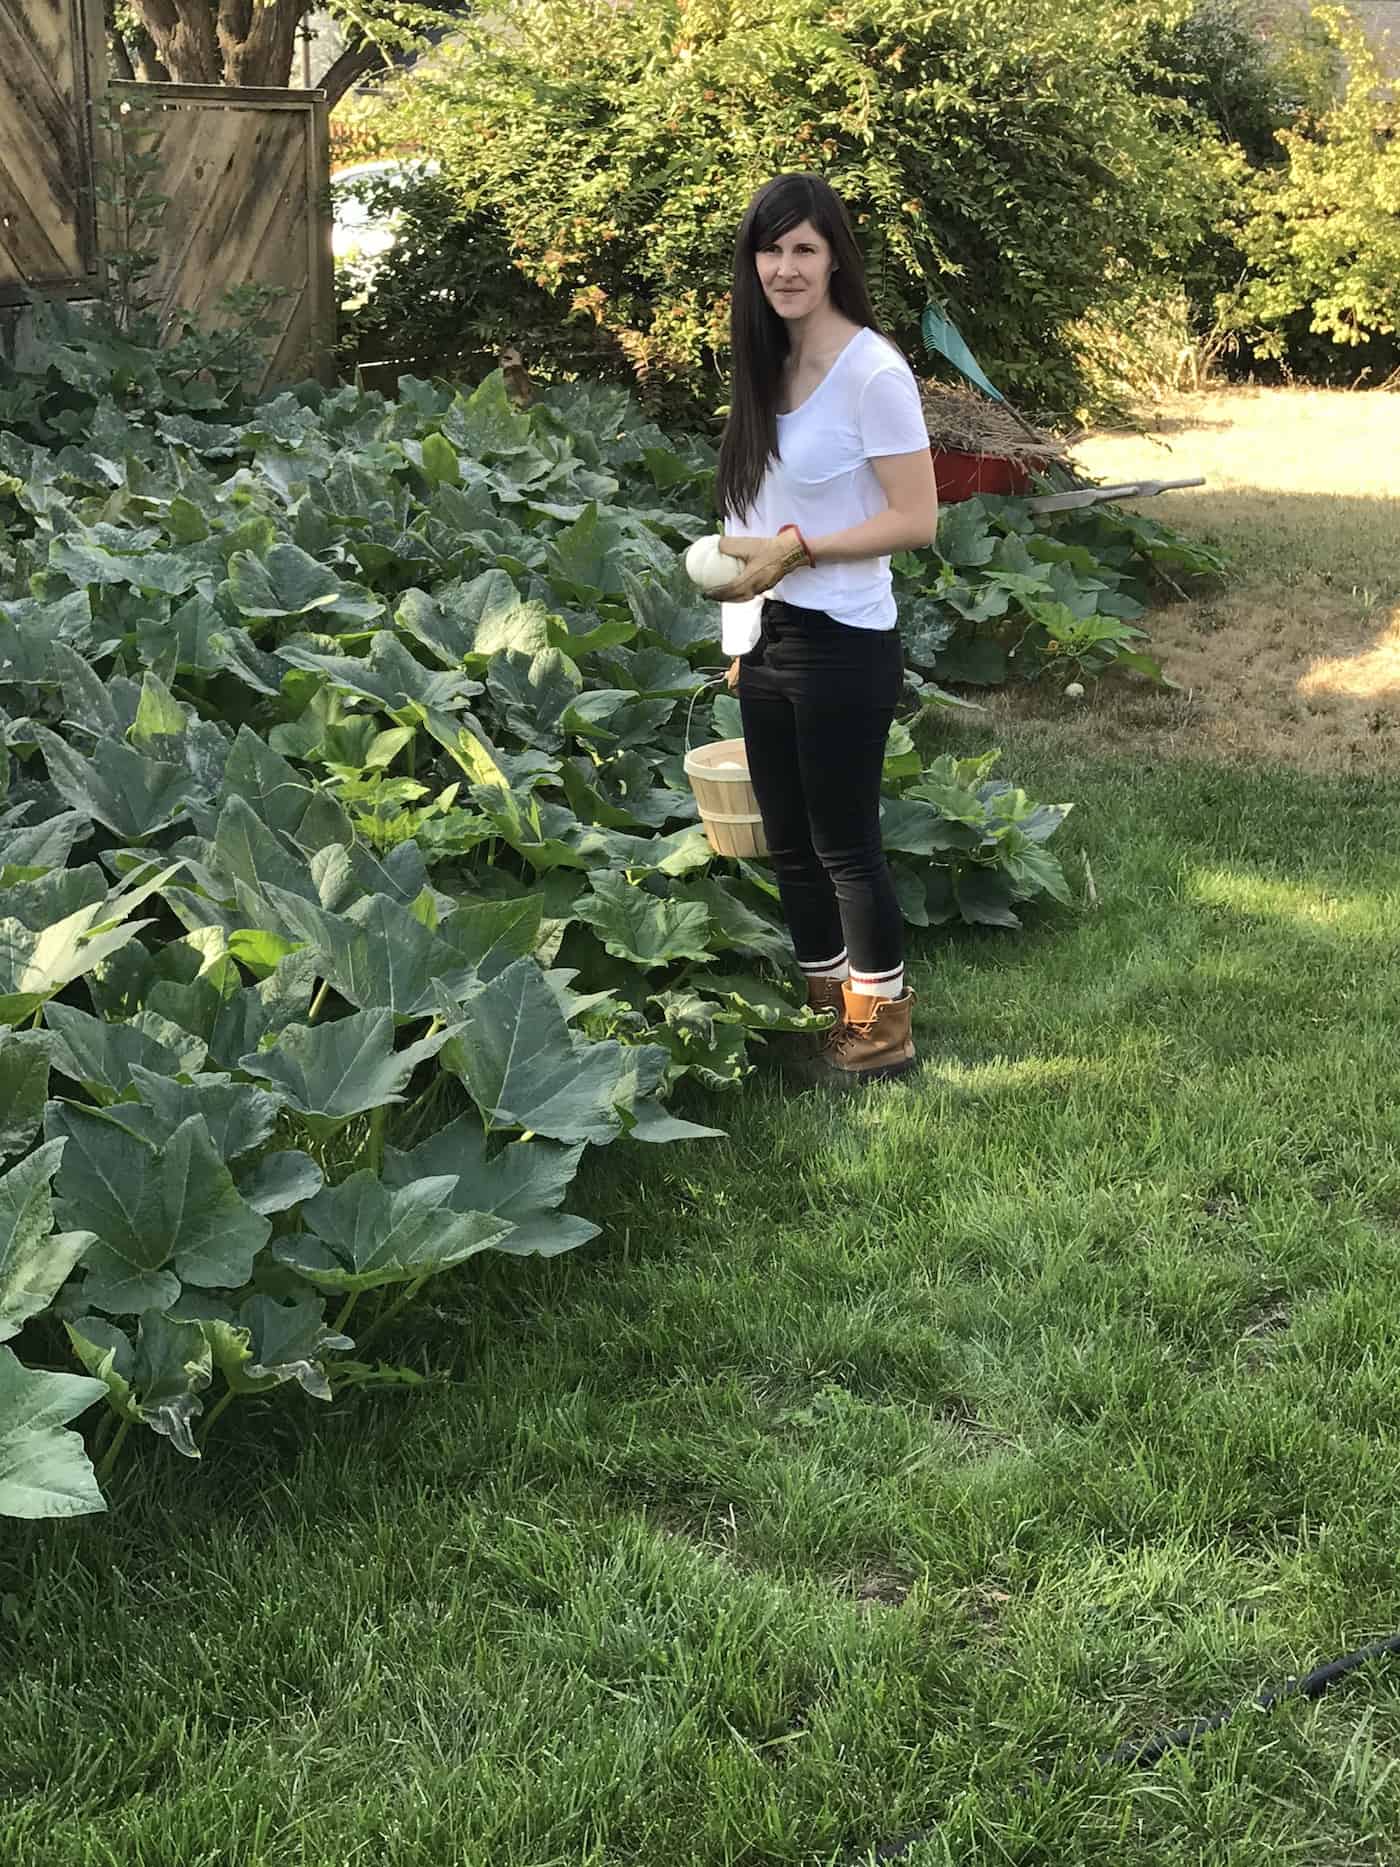
To grow pumpkins, find a sunny spot in the garden and dig some rich organic compost into the soil. Plant pumpkin seeds of your favorite varieties and water well. The seedlings start out tiny but quickly grow to be giant plants! Pollinated flowers will develop a pumpkin at their base. Pumpkins are usually ready to harvest in early fall when they have developed a thick rind and their characteristic color.
So join us as we explore everything there is to know about growing pumpkins successfully – from start to finish.
How to grow pumpkins
Growing pumpkins is a fun and rewarding experience for any home gardener. With the right knowledge, you can have an abundance of pumpkins in no time.
Pumpkin plants need well-drained soil with plenty of organic matter. To prepare your soil, mix in aged compost or manure before planting. If your soil is heavy clay, add sand to improve drainage. Pumpkins prefer slightly acidic soils with a pH between 6 and 7. Test your soil’s pH level and adjust accordingly if needed.
Pumpkin seeds should be planted directly into the ground after all danger of frost has passed in late spring or early summer when temperatures reach at least 70°F (21°C). These plants don’t love cold weather, so it’s worth waiting for the soil to warm. Planting early in cold soil won’t give you a head start!
Plant two or three seeds per hill about 1 inch deep, spaced 3 feet apart in rows that are 3-8 feet apart from each other. When seedlings emerge, thin them out so only one plant remains per hill; discard extra seedlings rather than transplanting them elsewhere as this may damage their root system.

Water pumpkin plants deeply once a week during dry spells but avoid overwatering as this can cause rot on the fruits themselves later on down the line due to soggy conditions around them while they grow and mature over time.. Fertilize every few weeks using a balanced fertilizer according to package instructions for best results – too much nitrogen will encourage foliage growth instead of fruit production.
Train vines up trellises or along fences if you like for easy access and better air circulation, which helps prevent disease problems like powdery mildew. Prune off side shoots regularly throughout the season to keep the vine healthy by removing dead leaves and vines that don’t look productive anymore, so new ones can take their place more easily without overcrowding happening too quickly over time.
Harvest pumpkins when they turn orange (or whatever color they are supposed to turn) and feel hard when lightly pressed with fingers. Cut the stem, leaving two inches attached, then store indoors away from direct sunlight until ready for use.
Soil preparation to grow the best pumpkins
Soil preparation is essential for growing pumpkins. The type of soil needed should be well-draining, with a pH level between 6 and 7 for ideal growth. That said, pumpkins are not very picky and seem to grow just about anywhere sometimes.
If your soil doesn’t meet these requirements and you want epic pumpkins, you can amend it by adding compost or peat moss to improve drainage and increase the organic matter content. You can also add lime to raise the pH level if necessary. Testing your soil’s pH level is important before planting; this can be done using a simple home test kit available at most garden centers or online stores.
Once you have determined that your soil has the correct properties, it is time to prepare the area where you will plant your pumpkin seeds or seedlings. Till the top 8 inches of soil in order to loosen it up and make sure there are no large clumps of dirt that could impede root growth later on.
Then, rake out any weeds or debris from the area so they do not compete with your plants for nutrients and water later on in their development cycle. Finally, mix some organic fertilizer into the top layer of tilled soil before planting; this will help give them an extra boost as they start growing.
By properly preparing the soil for planting, you can ensure that your pumpkins will have the best possible environment to thrive in. Now let’s look at how to plant them.
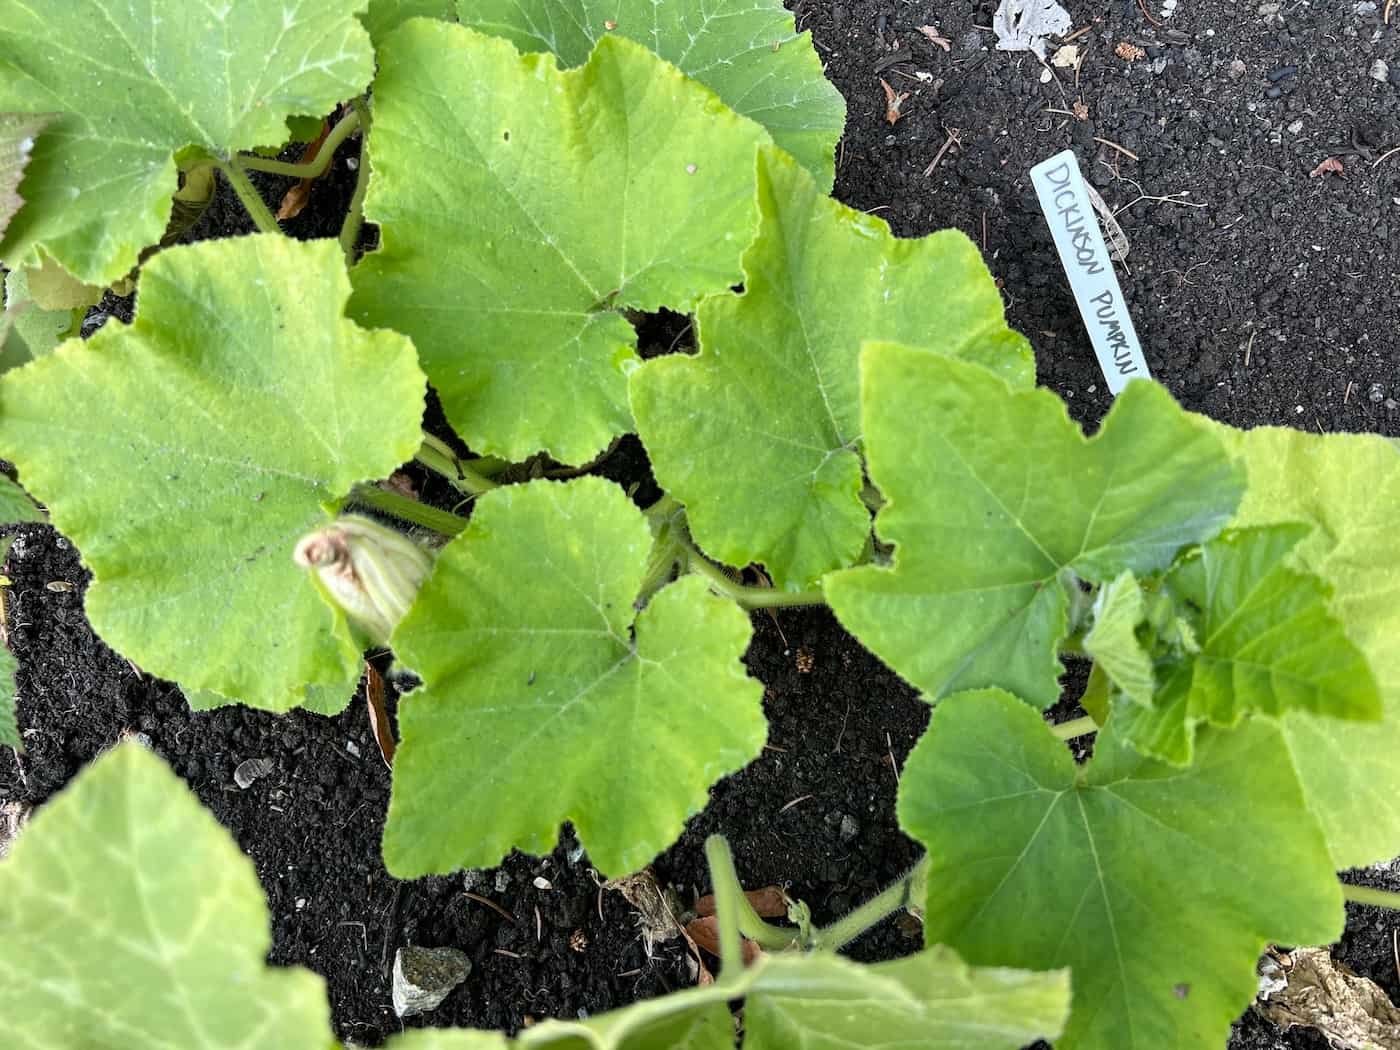
Choosing which pumpkins to grow
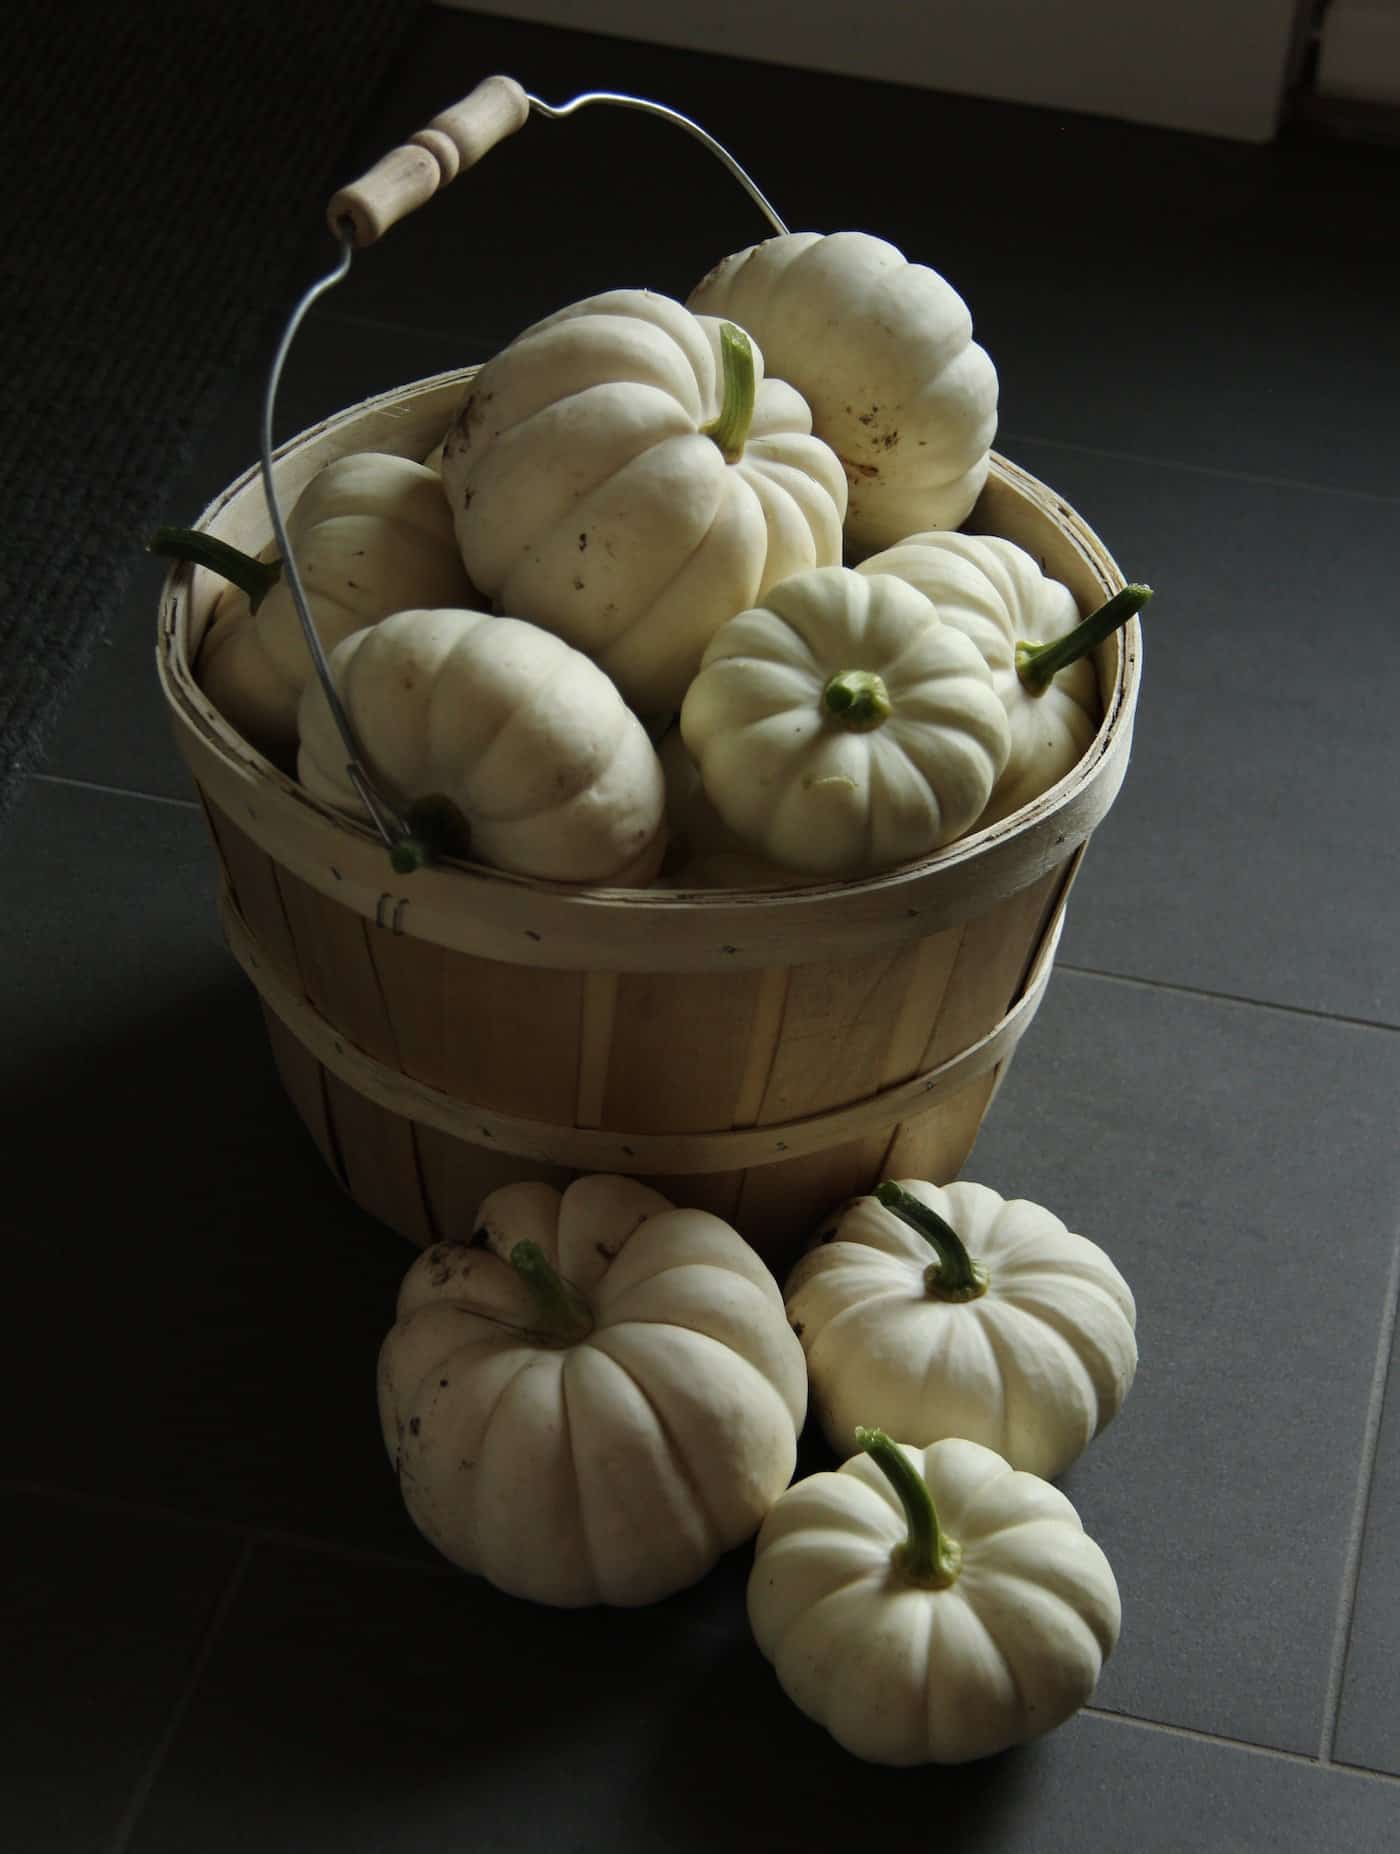
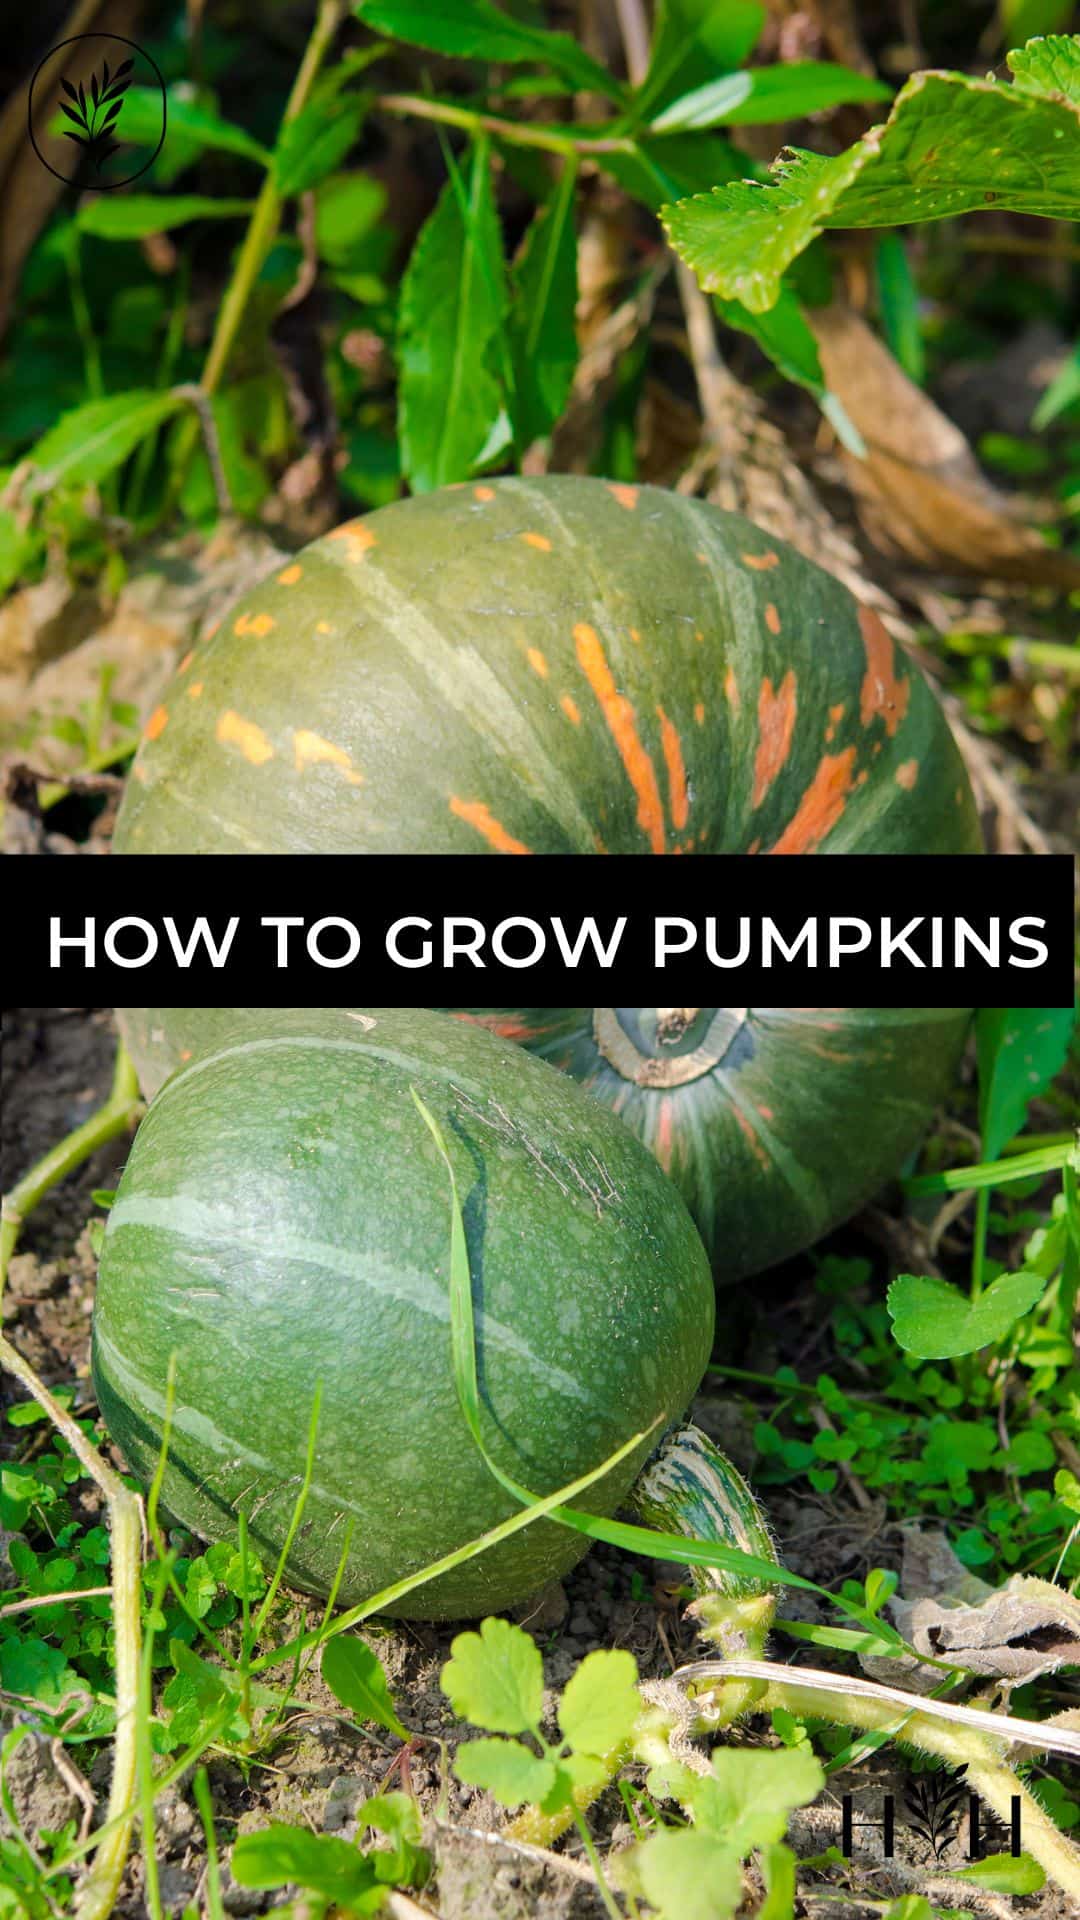
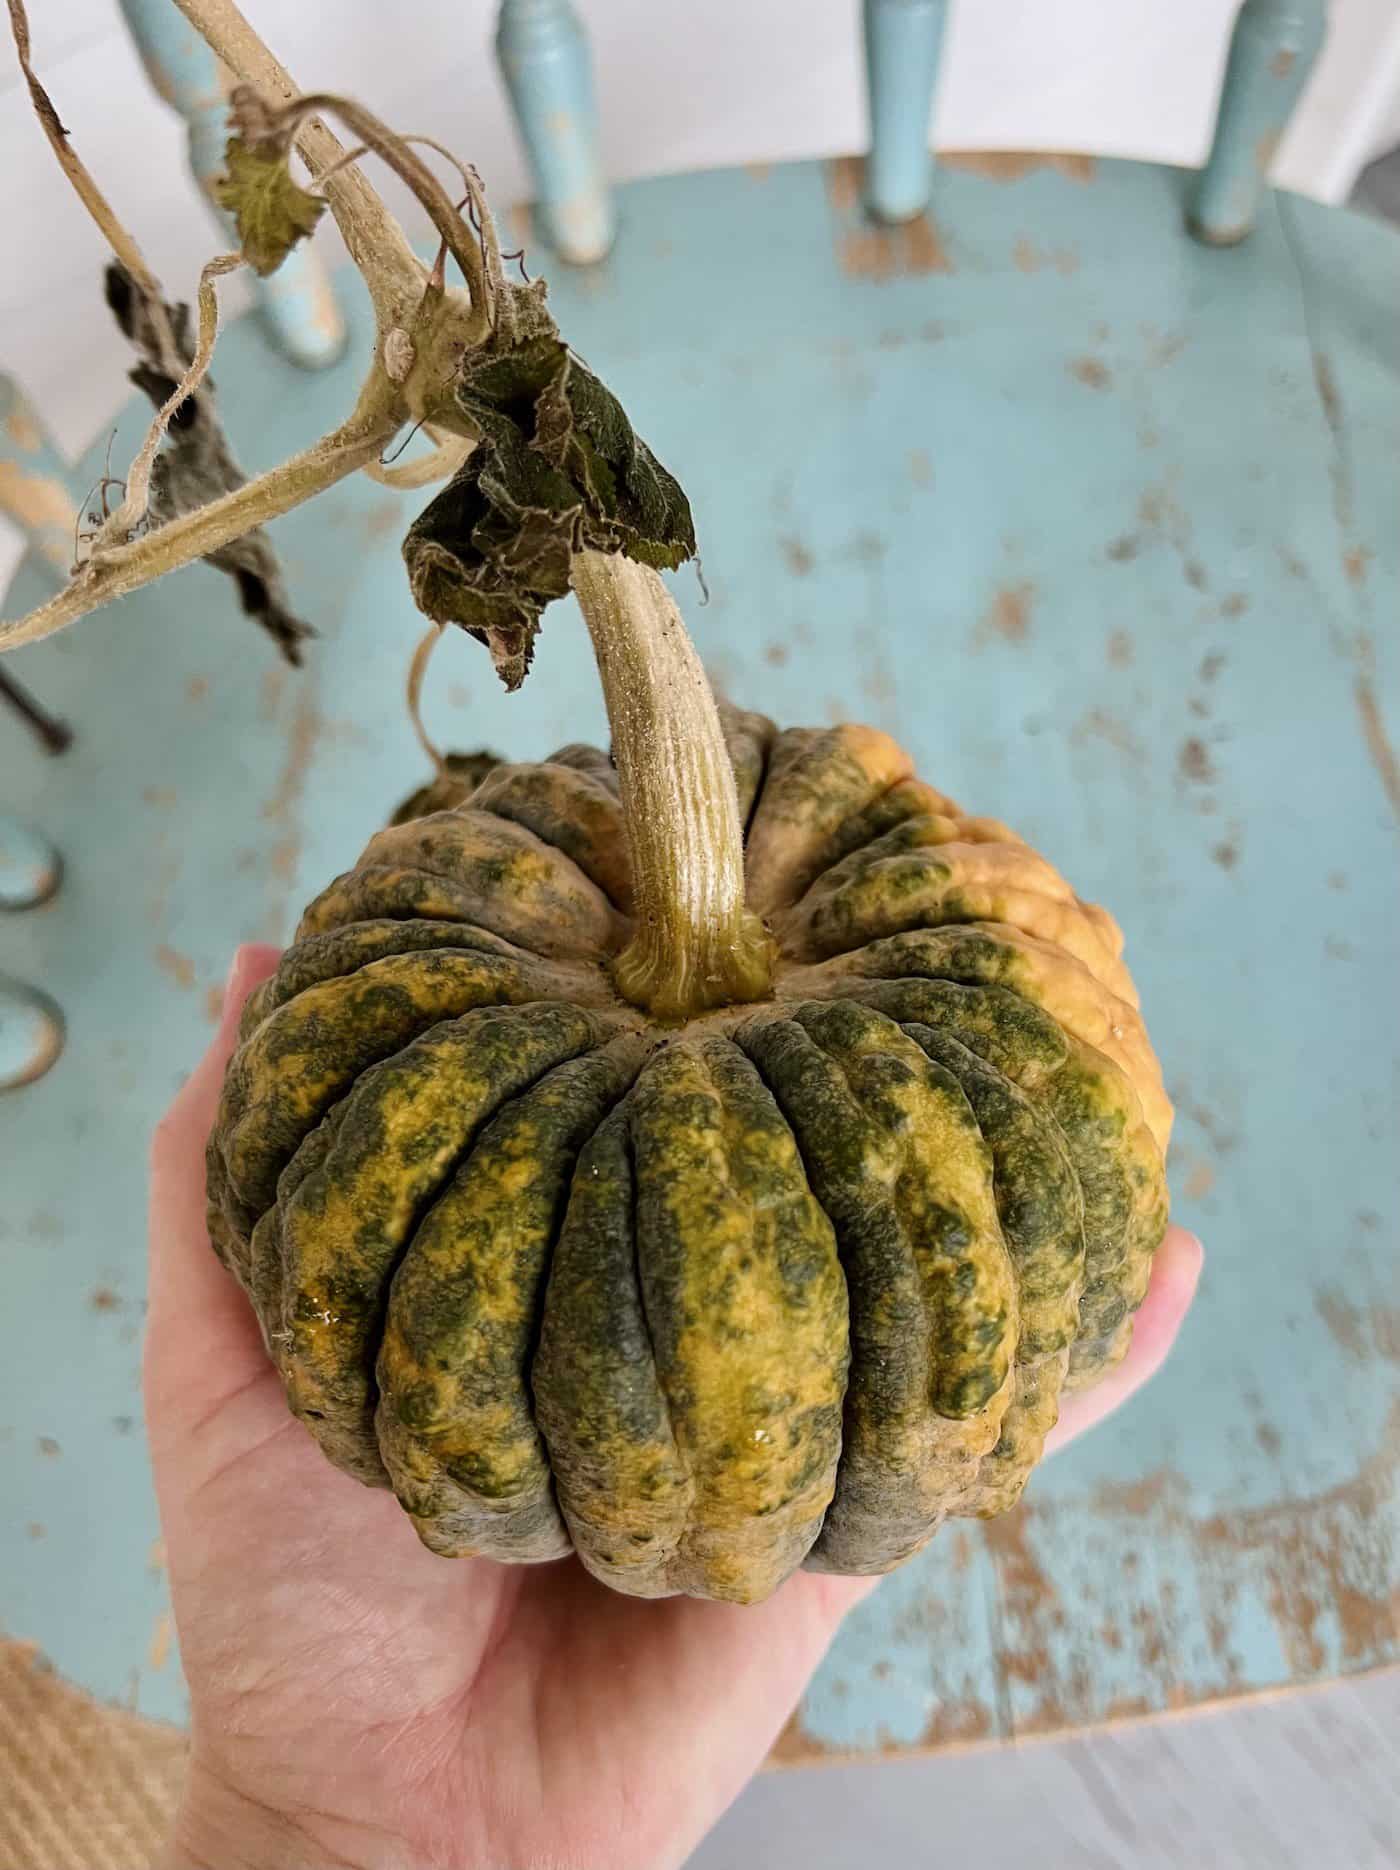
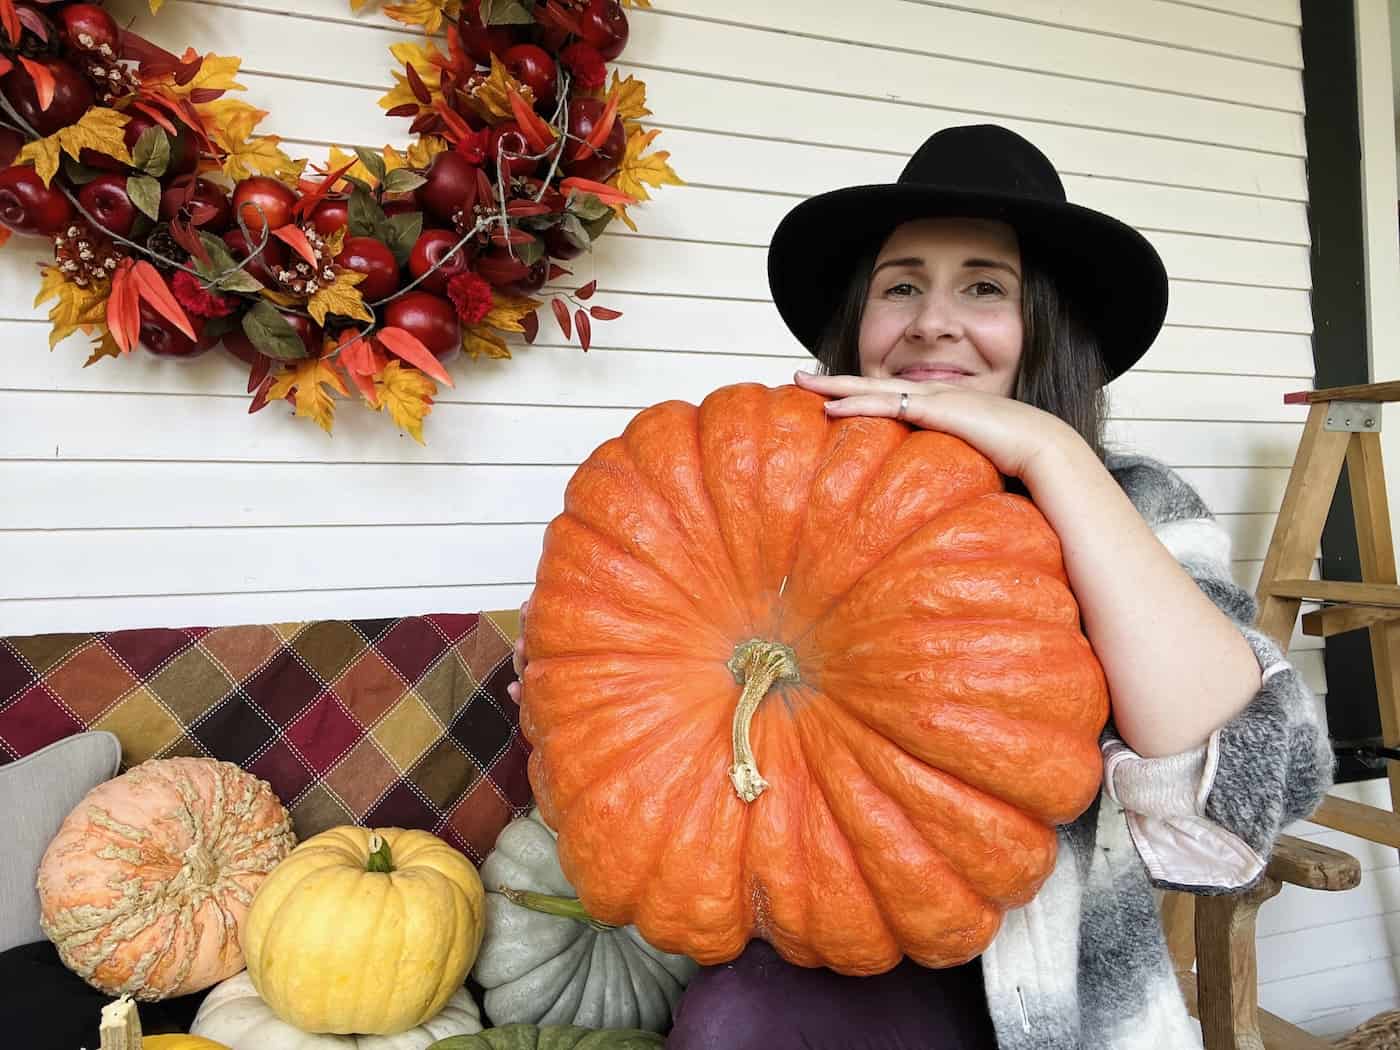
There is a surprising number of different pumpkin types and varieties you can pick from. There are mini pumpkins and giant pumpkins, pumpkins that are great for making pie or soup, and pumpkins that are really just decorative.
One easy way to classify specialty pumpkins is by color. Non-orange types can be grouped into green pumpkins, black pumpkins, white pumpkins, yellow pumpkins, and even blue pumpkins! You can also check out the most popular pumpkin varieties to see which ones you’d like to plant this year.
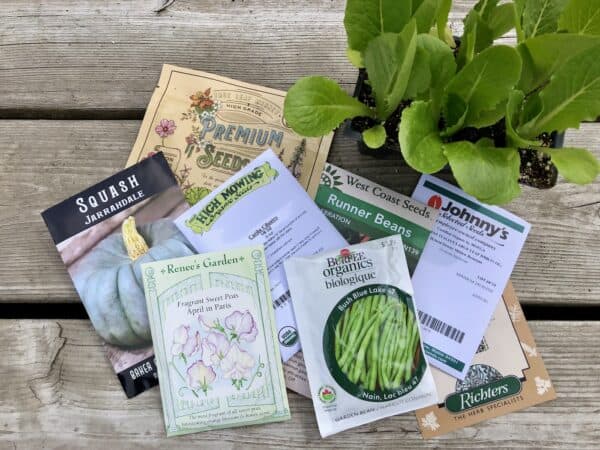
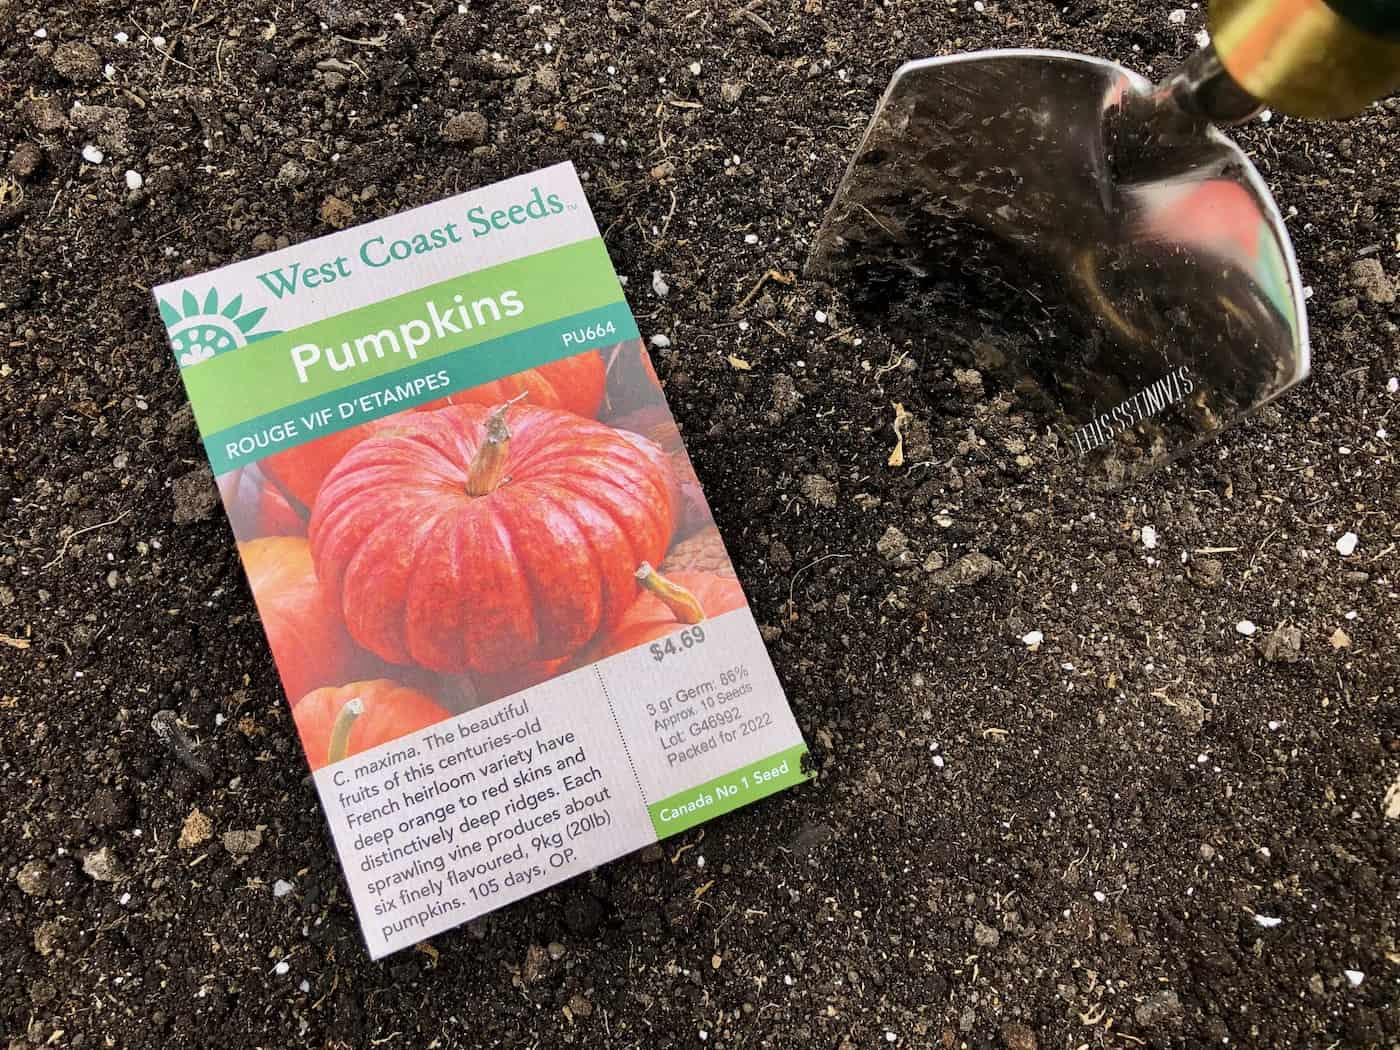
Here are some of the best places to buy pumpkin seeds from (for planting).
Planting your pumpkins
Planting pumpkins is best done in the late spring when the soil has warmed up and all danger of frost has passed. Do not plant them in cold, wet soil before there’s warm weather in the forecast. They need a sunny location, warm soil and lots of room to grow!
The ideal soil temperature for pumpkin seed germination is a downright balmy 90°F (32°C). That said, pumpkin seeds typically germinate well in the range of 70°-90°F (21°-32°C). In cold soil, pumpkin seeds generally won’t germinate at all at temperatures below 60°F (16°C), so it’s not worth planting the seeds until the soil thermometer is showing a temperature approaching the optimal range.
The ideal spacing for pumpkin plants is about 3 to 5 feet apart in a row, as they can spread out quite a bit. Plant them 3 feet apart if you’re short on space, but give them the 5 foot spacing if you’ve got room. If you’re field planting pumpkins, space the rows themselves 6 to 8 feet apart.
Plant pumpkin seeds about an inch deep. Gently press down on the surface to ensure good contact between the seed and soil. Water well after planting. Pumpkins need plenty of water during their growing season so be sure to keep an eye on moisture levels in your garden beds or planters throughout the summer months.
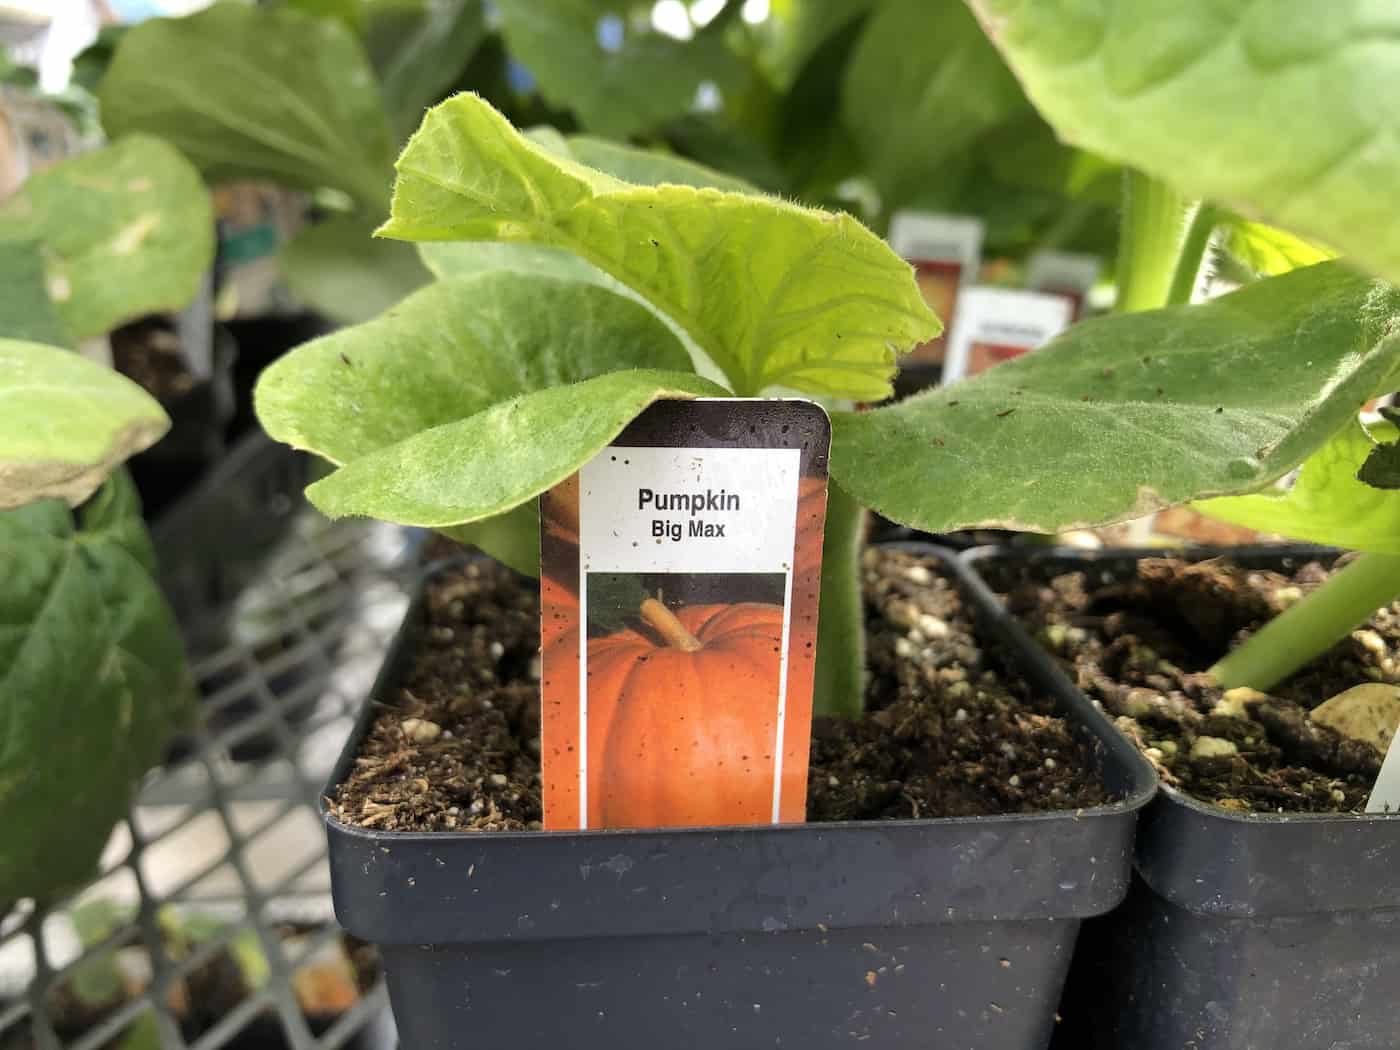
When planting your pumpkins from seedlings, make sure you dig a hole that’s deep and wide enough to accommodate the roots without crowding them. Pumpkins don’t grow as well from potted seedlings as from direct seeding (usually), but sometimes it’s the best way.
After planting your pumpkin seeds, it’s important to ensure they are well-watered for optimal growth. Next, we’ll look at how often and how much water you should be giving your pumpkins.

Watering pumpkin plants
Watering your pumpkin plants is essential for their growth and development. Pumpkins need an average of 1 to 2 inches of water per week, depending on the weather conditions. It’s best to water in the morning or evening when temperatures are cooler so that less moisture evaporates from the soil before it can be absorbed by the plant. To ensure even watering, use a soaker hose or drip irrigation system around each plant. This will help keep foliage dry and prevent fungal diseases (we’re looking at you, powdery mildew) from developing due to wet leaves.
If you don’t have access to these systems, hand-watering with a garden hose works just as well. Make sure you give each plant enough water so that it reaches at least 8 inches deep into the soil; this helps promote strong root growth and allows pumpkins to absorb more nutrients from the soil.
During hot summer months, you may need to increase your watering frequency slightly if rainfall isn’t sufficient in your area. Monitor your plants closely during these times and adjust accordingly – too much or too little water can both lead to problems with fruit production later on down the line.
Proper watering is essential for the health and growth of your pumpkin plants. Fertilizing them will help to ensure they get the nutrients they need to thrive.
Fertilizing pumpkin plants
Fertilizing your pumpkin plants is an important part of ensuring a healthy and productive harvest. Pumpkins need plenty of nitrogen, phosphorus, and potassium to grow strong and produce lots of fruit. A balanced fertilizer with these three elements should be applied when the plants are about six inches tall, then again every four weeks until flowering begins.
Organic fertilizers such as compost or manure can also be used in place of chemical fertilizers. Compost will provide slow-release nutrients over time while adding organic matter to the soil that helps improve its structure and drainage. Manure can also provide essential nutrients but may need to be aged before use to avoid burning the plant’s roots.
For those who prefer packaged fertilizers, there are several options available specifically formulated for fruiting plants, like a veggie garden fertilizer. Apply this type of fertilizer at half strength once per month throughout the growing season according to package directions for best results.
It is important not to overfertilize your pumpkin plants as too much nitrogen can cause excessive foliage growth at the expense of fruit production, and it can also lead to nutrient deficiencies in other areas such as calcium which is necessary for proper development of fruits on vines. Don’t use evergreen or foliage houseplant fertilizer on your pumpkins. Be sure to water well after applying any type of fertilizer so that it reaches down into the root zone where it can do its job most effectively.
Fertilizing your pumpkin plants is an important part of the gardening process, and with a few simple steps you can ensure that your pumpkins will thrive. Now let’s move on to pest control for further tips on how to grow healthy pumpkins.

Pest and disease control for pumpkin vines
Pest and disease control is an important part of growing pumpkins. While it’s impossible to completely prevent pests from damaging your pumpkin plants, there are some steps you can take to reduce the risk.
One way to protect your pumpkins is by using row covers. These lightweight fabric covers help keep out insects and other pests that may otherwise damage or eat your pumpkin plants. Row covers should be placed over the entire plant before any flowers appear, and removed when the first female flower opens so pollinators can access the flowers for pollination.
Companion planting is another effective pest control method for pumpkins. Planting certain vegetables near each other can help repel common garden pests naturally without having to use pesticides or insecticides. For example, planting marigolds near pumpkin plants helps deter squash bugs, while radishes planted nearby will attract beneficial predatory insects such as ground beetles which feed on harmful caterpillars that would otherwise attack your pumpkins.
You can also create a barrier around your pumpkin patch with diatomaceous earth (DE). DE consists of fossilized remains of microscopic aquatic organisms which form a powder-like substance when dried out – this powder has sharp edges that cut through soft-bodied insects like slugs and snails who try to cross it, thus keeping them away from your precious pumpkins. Be sure not to inhale DE though as it can be dangerous if breathed in too deeply; wear a mask while applying it around your garden beds for extra protection against dust particles entering into lungs.
Finally, handpicking pests off of leaves and stems is one more way you can keep them at bay without resorting to chemical treatments or sprays. Simply pick off any visible bugs you find on the plant itself and dispose of them away from the garden area so they don’t come back again later.
In terms of diseases, powdery mildew can be quite common on pumpkin plants. This looks like white powdery dots all over the pumpkin leaves. The spores that cause this fungus are in the air around us, and so there’s not much you can do other than planting PW-resistant varieties if your previous crops have been affected.
By controlling pests in the garden, you can ensure a healthy crop of pumpkins. With proper pest management techniques, it’s time to move on to harvesting your pumpkins.
Harvesting pumpkins from the garden
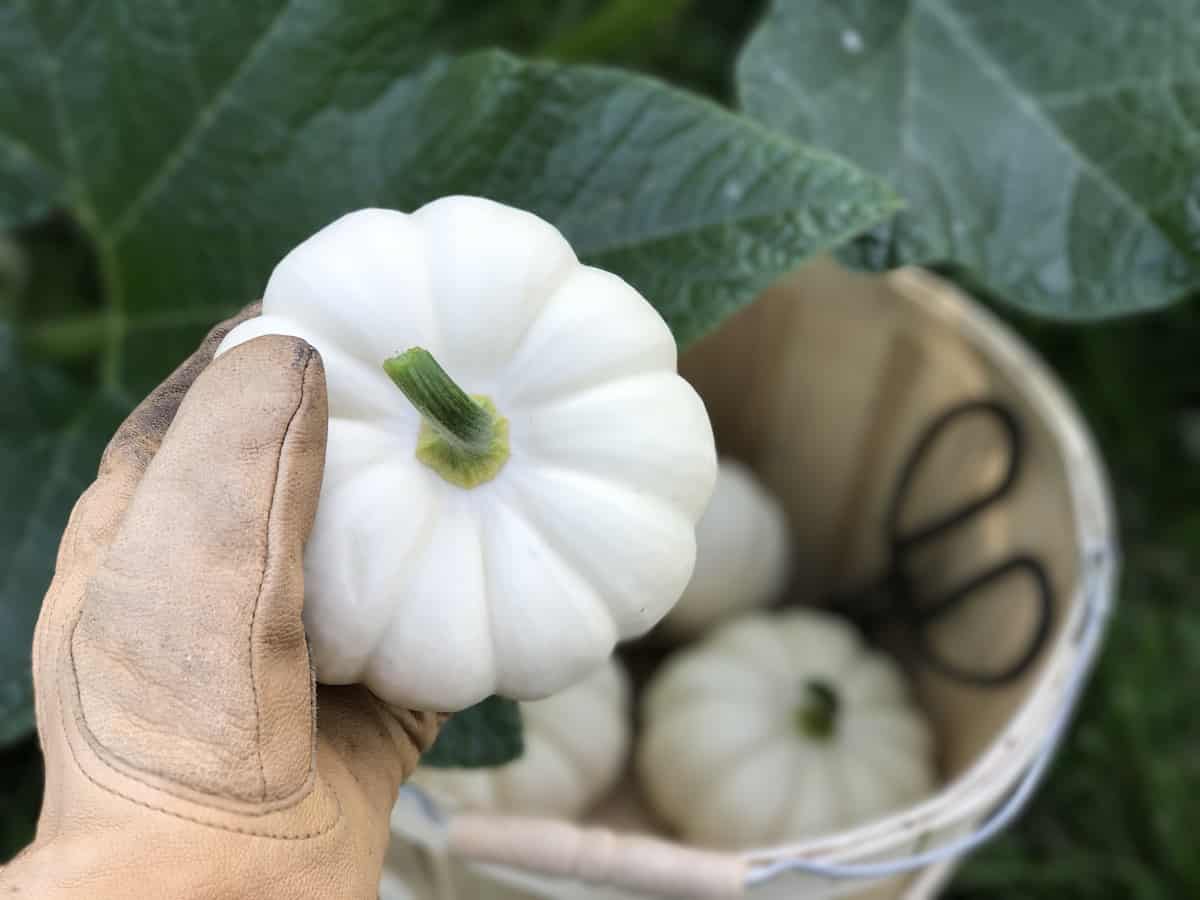
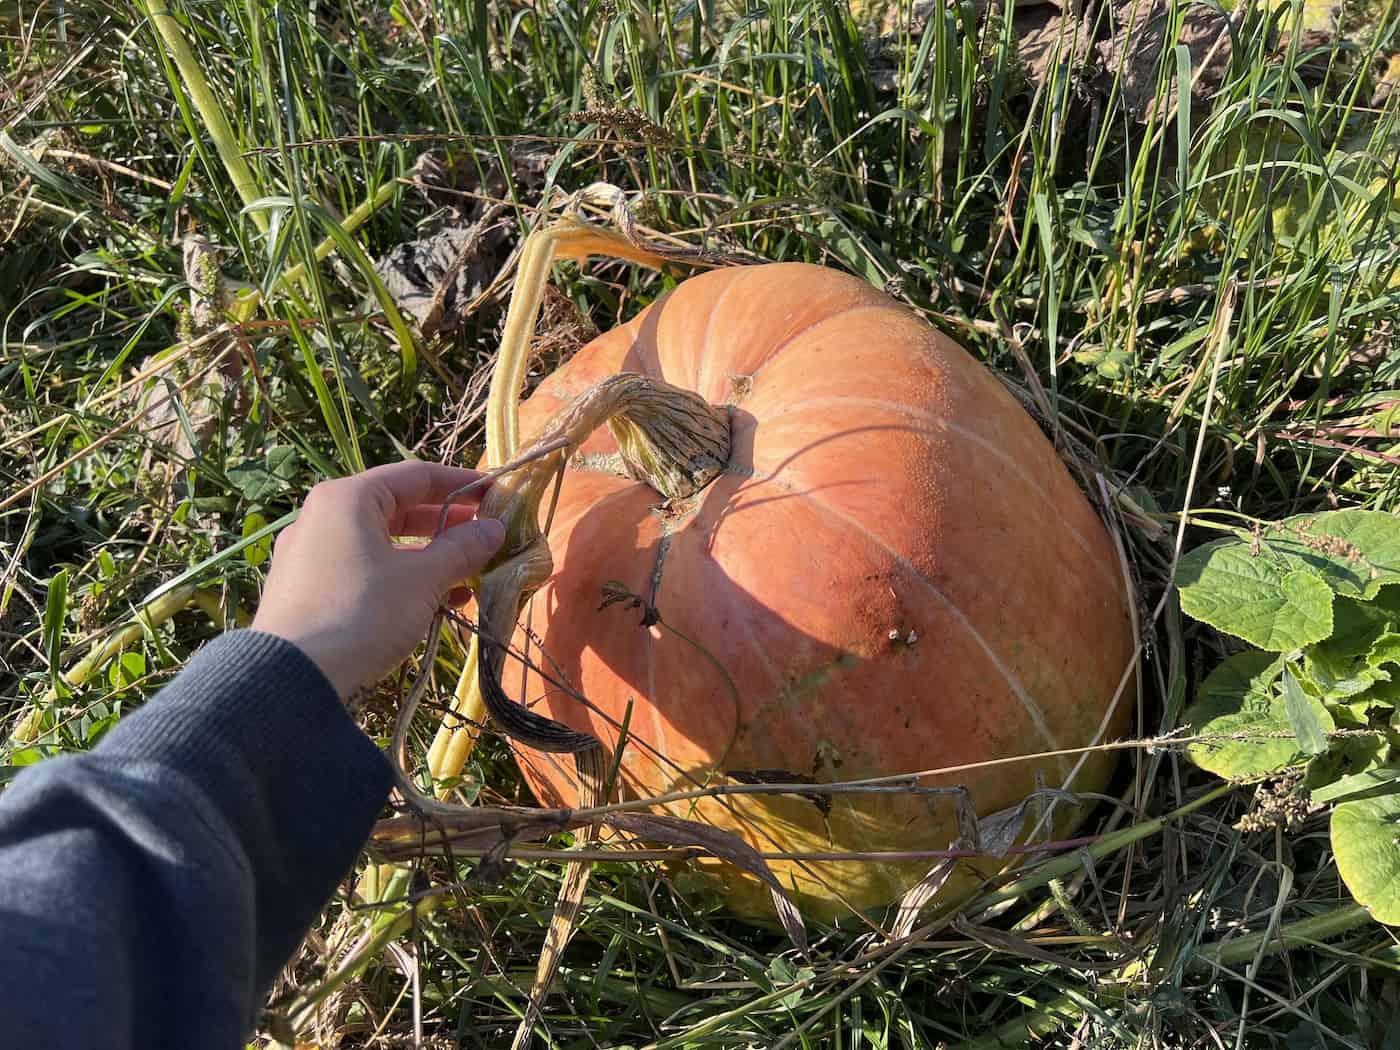
Harvesting pumpkins is an exciting time for any gardener. Pumpkins are typically ready to harvest when they have turned a deep, solid color and the stem has dried and started to curl. To test if your pumpkin is ripe enough, press your fingernail into the skin. If it punctures easily, then it’s ready to be picked. If not, leave it on the vine for another few days or week until it’s fully mature.
When harvesting pumpkins from the vine, use a sharp knife or pruning shears to cut them off at their stems. Be sure not to pull them off as this can damage both the fruit and plant itself. Once you’ve harvested all of your pumpkins, store them in a cool dry place with plenty of air circulation around each one so that they don’t rot or get moldy too quickly.
Pumpkins can last up to several months if stored properly; however, some varieties may only last a few weeks before going bad due to their thinner skins or higher water content. It’s important that you check on your pumpkins regularly while storing them so that you can catch any signs of decay early on before they become unusable.
Once harvested and stored correctly, you can enjoy using your homegrown pumpkins in recipes like pies and soups throughout autumn and winter. Yum.
Harvesting pumpkins is the fun part, but it’s important to store and preserve them correctly for maximum enjoyment. Now let’s move on to storage and preservation.

Storage of your pumpkin crop
Harvesting pumpkins is a great way to enjoy the fruits of your labor. But, if you want them to last for months or even years, proper storage and preservation techniques are essential. Here are some tips on how to store and preserve pumpkins so that they stay fresh longer:
Clean them first
Before storing your pumpkins, make sure to clean off any dirt or debris from the outside with a damp cloth. This will help discourage mold growth and keep them looking their best.
Mild temperature
Pumpkins should be stored in an area that has temperatures between 50-60°F (10-15°C). If it’s too hot or cold, they can rot quickly. A cool basement or garage is usually ideal for pumpkin storage in mild climates.
Good ventilation
Make sure there is plenty of air circulation around the pumpkins by placing them on a wire rack or shelf with space between each one so that air can flow freely around them all sides.
Low humidity
Pumpkins need low humidity levels, so avoid areas like bathrooms where moisture accumulates . To further reduce humidity , place silica gel packets near the pumpkins as this helps absorb excess moisture .
Low light
Keeping your pumpkins away from direct sunlight will help extend their shelf life significantly . Sunlight causes ripening which leads to rotting faster than normal . So find a spot indoors away from windows where light exposure is minimal .
Check on them
Inspect your stored pumpkins periodically for signs of spoilage such as soft spots , discoloration , wrinkles , etc., and discard any affected ones immediately before they spread disease to other nearby produce items.
Preserving pumpkins
Preserving pumpkins is a great way to enjoy their fruits for months or even years. Canning and freezing are two popular methods used for preserving pumpkin puree after harvesting it from ripe fruits. Both processes involve blanching the flesh first then either boiling it in jars filled with water/syrup (canning) or packing into freezer bags (freezing) until ready for use later on

FAQs about how to grow pumpkins
How long does it take to grow a pumpkin?
Growing a pumpkin can take anywhere from 90 to 120 days, depending on the variety. It is important to choose a variety that matures in the time frame you have available. Planting should occur after all danger of frost has passed and when soil temperatures are consistently above 60°F (15°C).
Are pumpkins easy to grow?
Yes, pumpkins are relatively easy to grow. They require full sun and well-drained soil, but aren’t too picky. Pumpkins prefer warm temperatures, so they should be planted after the last frost date in your area has passed.
Water regularly and fertilize when planting and once during the growing season for best results. Harvest when the pumpkin is fully ripe by cutting it from the vine with scissors or pruning shears, leaving at least an inch of stem attached to prevent rot.
What month do you plant pumpkins?
Pumpkins are typically planted in May. In many climates, this is when the soil has warmed up enough for pumpkin seeds to germinate and the danger of frost has passed. Pumpkin seeds don’t germinate well in cold soil and can rot before they sprout.
It’s best to wait until after all chance of frost has gone before planting pumpkins, as they can be damaged by cold temperatures. Planting them too early may result in stunted growth or poor yields. Pumpkins need plenty of sunlight and warm weather to thrive, so it’s important to wait until conditions are right before planting them outdoors.
Before you go…
Growing pumpkins is the perfect way to get outdoors. It can be easy and enjoyable when done right! With some basic tips, such as selecting a sunny spot in your garden, making sure they have enough water throughout their growth cycle, and harvesting at just the right time – you’ll soon have beautiful jack-o’-lanterns ready for carving or cooking. So don’t wait any longer – start growing those pumpkins today!