Wondering how to start seeds indoors? From supplies needed for planting to the light requirements of seedlings – we’ll cover all the basics so you can confidently begin growing plants from scratch. Join us as we explore how starting seeds indoors is easier than ever before with just a few simple steps.
How to start seeds indoors
Starting seeds indoors is a great way to get a jump start on your gardening season. With the right supplies and some patience, you can grow healthy plants that will thrive in your garden.
To begin, you’ll need seed-starting trays or pots, potting soil, and of course the seeds themselves. If using trays or pots with drainage holes at the bottom, be sure to have saucers underneath them to catch any excess water. You may also want to invest in a heating mat if starting warm-weather crops like tomatoes or peppers as they require higher temperatures for germination than cool-weather crops like lettuce and spinach.
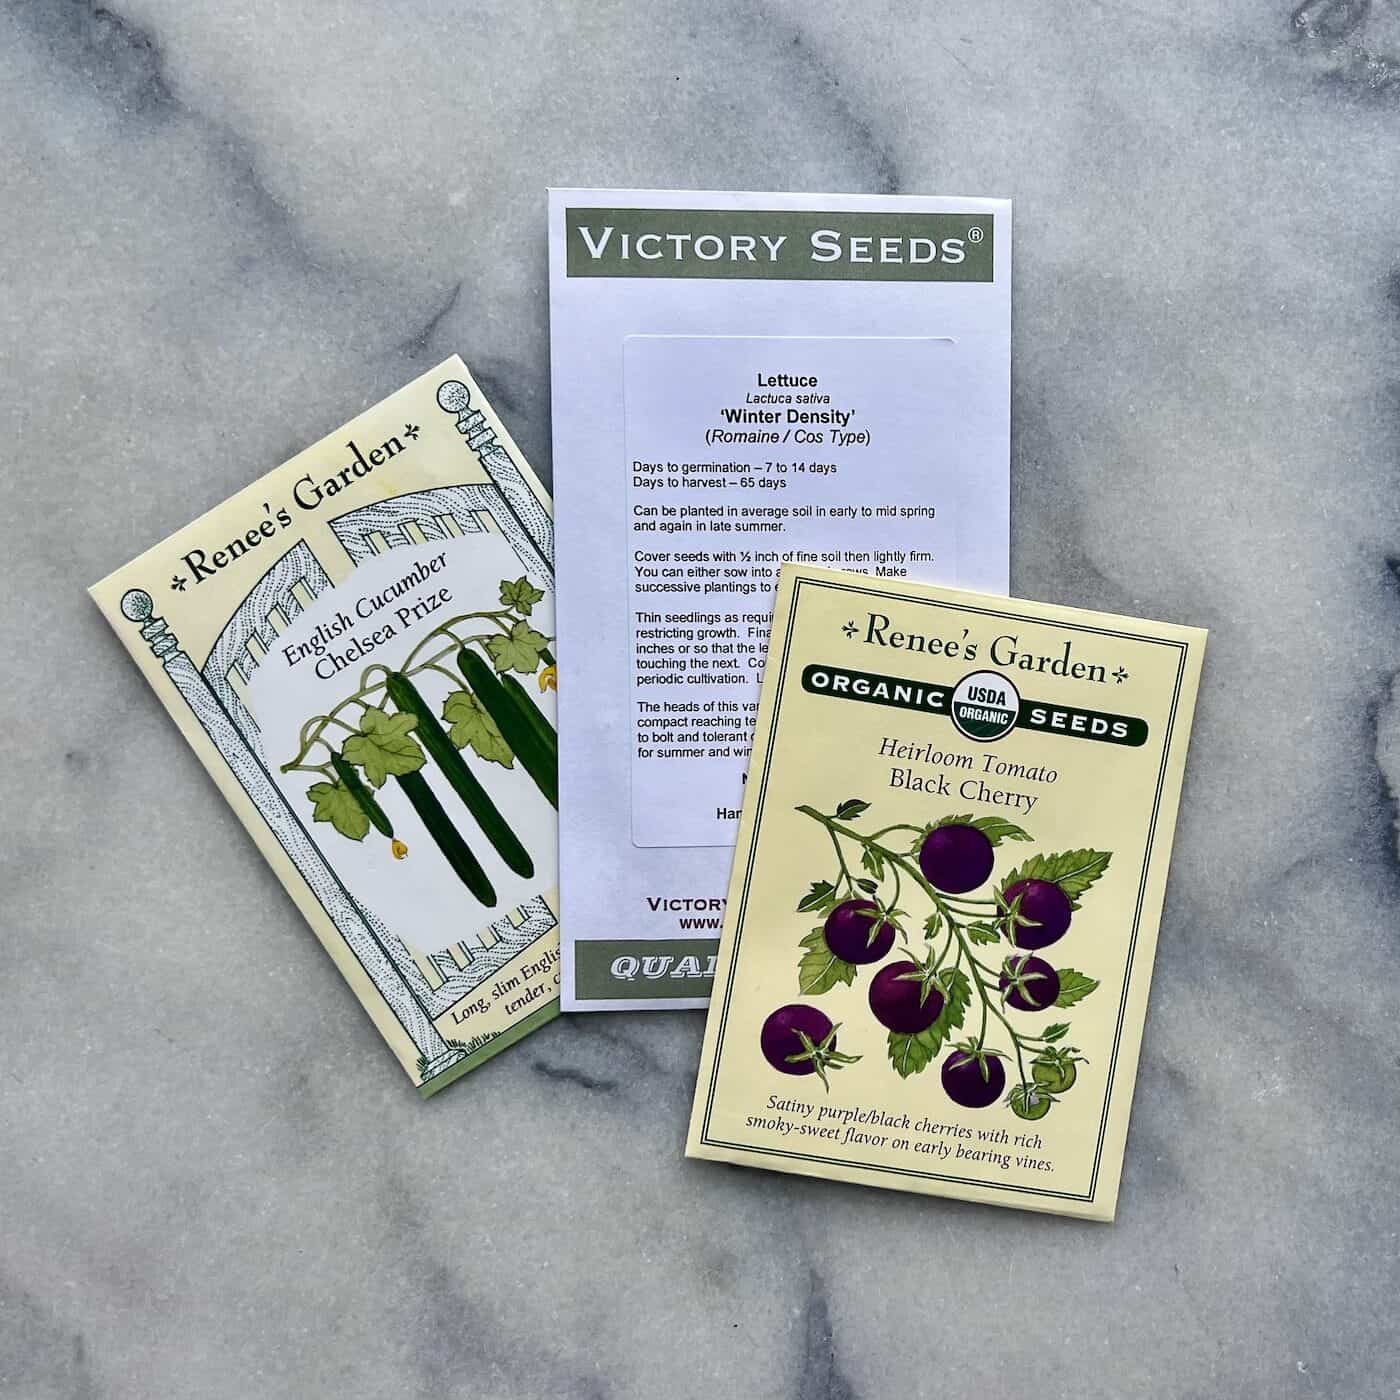
Next up is selecting which type of seeds you’d like to plant. Consider what vegetables or flowers are best suited for your climate zone and when you plan on transplanting them outdoors after they’ve sprouted (this information should be listed on the back of each seed packet). Be sure not to purchase more than what you need as most packets contain multiple seeds.
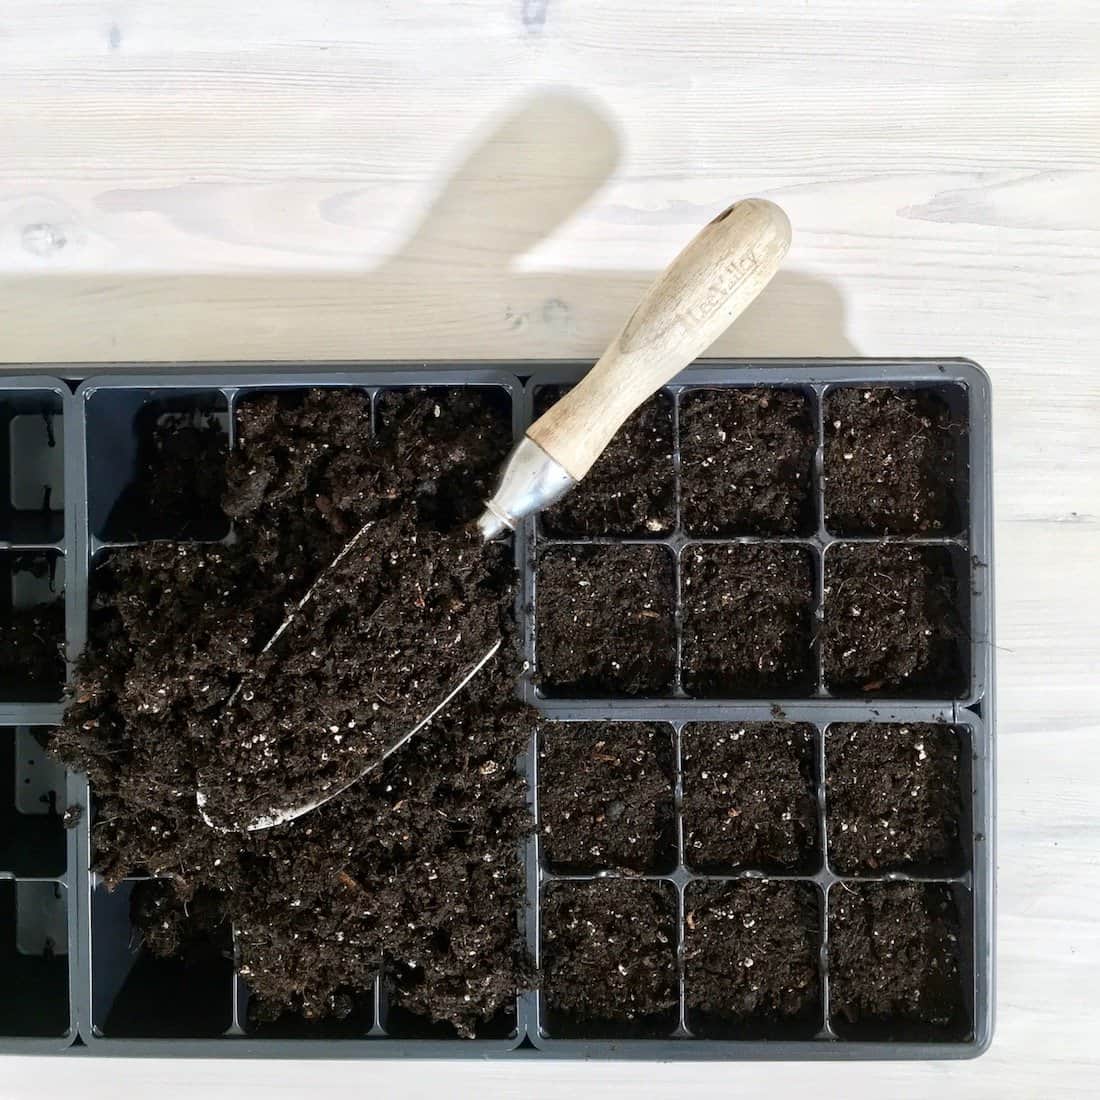
Once all supplies are gathered it’s time to prepare the soil mix for planting. Use an organic potting mix specifically designed for starting seeds; this ensures good drainage so roots don’t become waterlogged while providing enough nutrients for proper growth until transplanting outside into your garden bed later on in springtime. Fill each tray/pot with soil leaving about 1 inch from the top before gently pressing down lightly with fingers – this helps create air pockets within which help keep moisture levels balanced during the germination process (too much water = bad.).
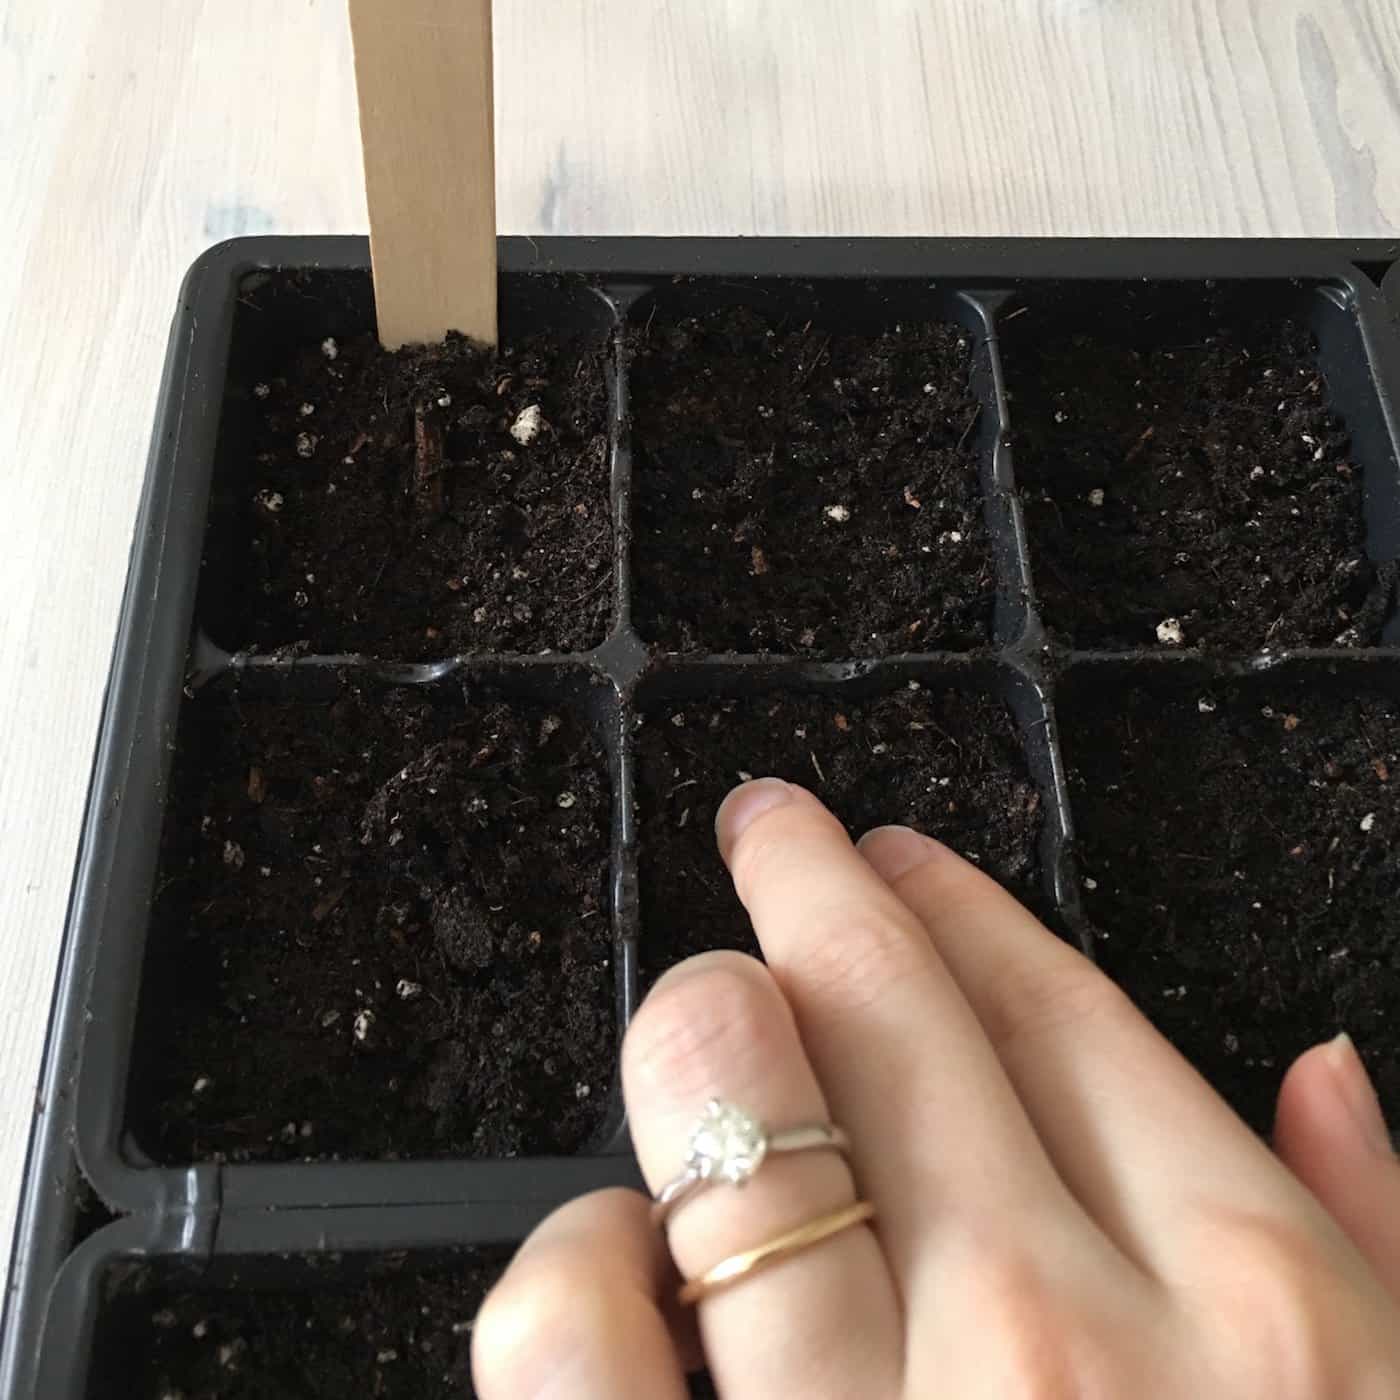
Now comes one of the most exciting parts – planting. Place two-three small-sized seeds per cell/container depending upon size then cover lightly with additional soil before misting overtop with a spray bottle filled with lukewarm filtered water (not too hot nor cold). Label each container clearly so there’s no confusion later when trying to identify different varieties once sprouts appear above surface level.
Keep containers moist but not soggy by watering regularly either through misting spray bottle method mentioned earlier or by placing the entire tray inside a shallow dish filled partially full with lukewarm filtered water until the top layer feels damp when touched. Do not let sit submerged though as this can cause root rot issues down the road if left unchecked. For optimal germination rates, maintain the temperature between 65°F–75°F (18°C–24°C) depending upon the crop being grown; use heating mats if necessary and adjust accordingly throughout day/night cycles according to the guidelines set forth by USDA Plant Hardiness Zone Map found online here…
With the right supplies and a bit of patience, you can successfully start your own seeds indoors. Now let’s take a look at what supplies are needed to get started.
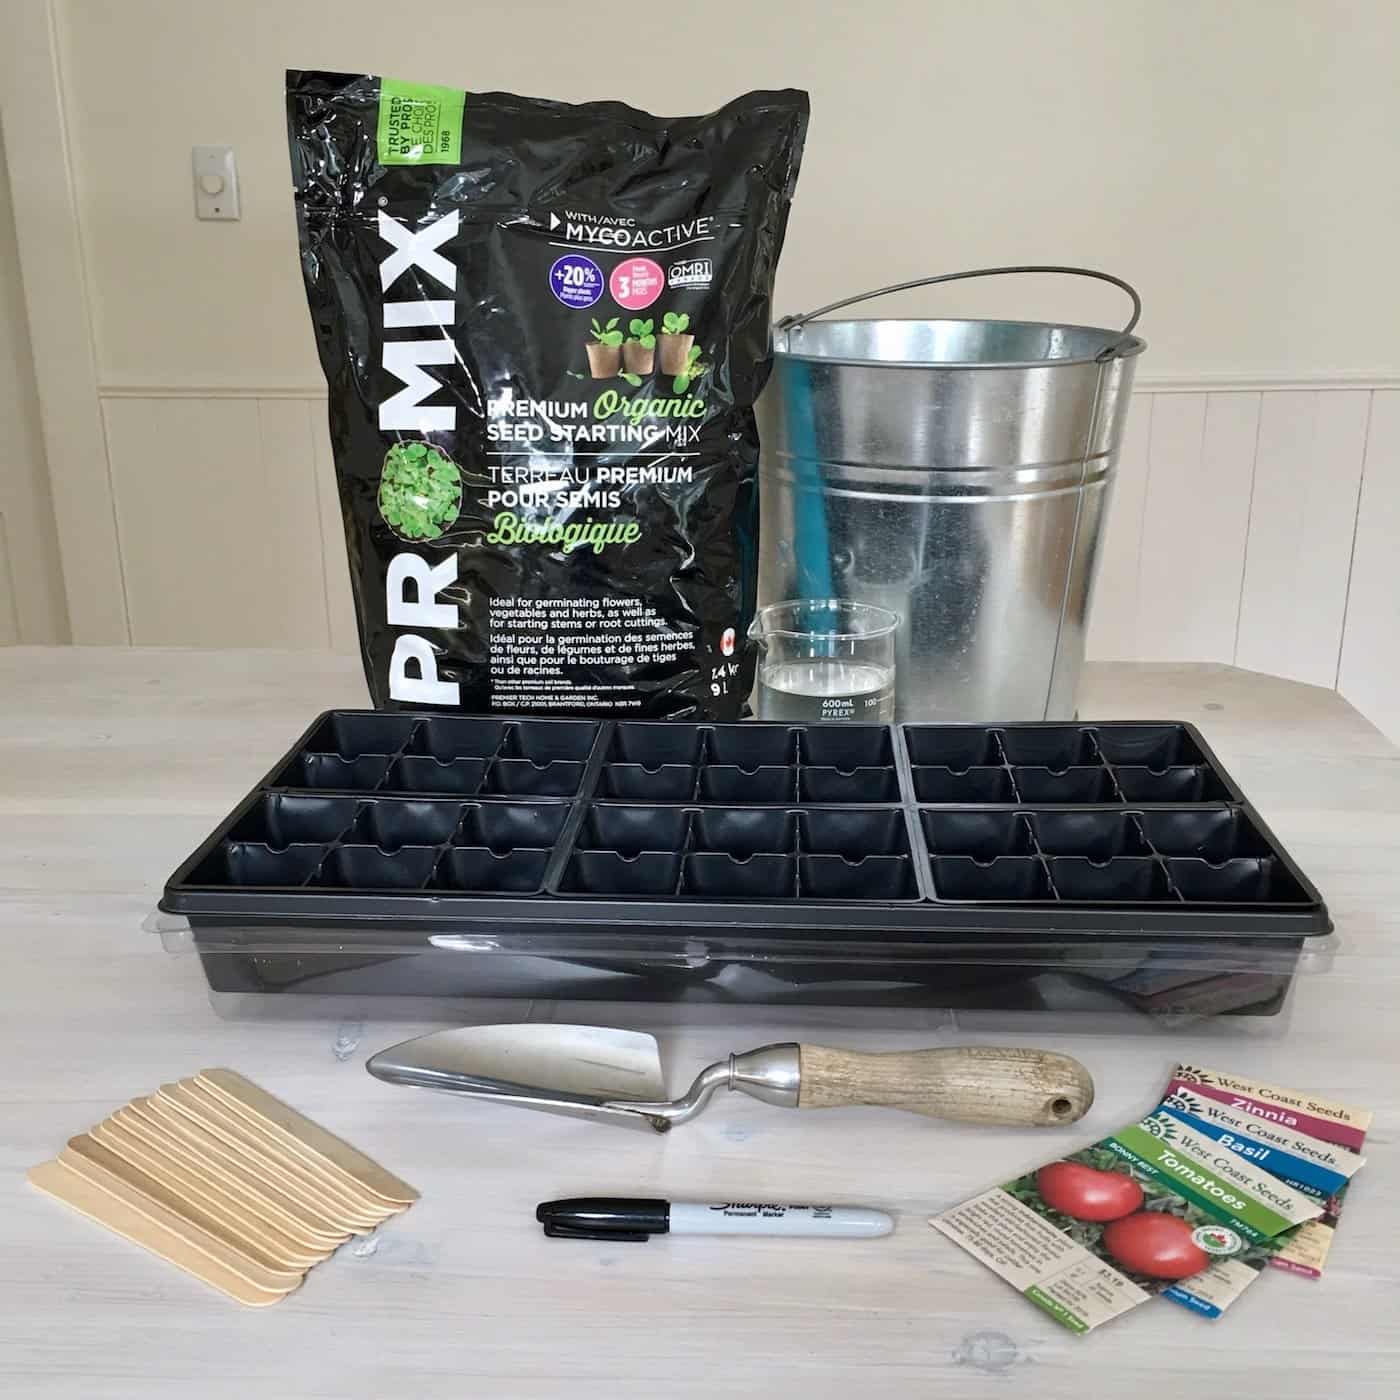
Supplies for indoor seed starting
Starting seeds indoors can be an exciting and rewarding experience, but it does require some supplies. Here are the basics you’ll need:
Seed trays
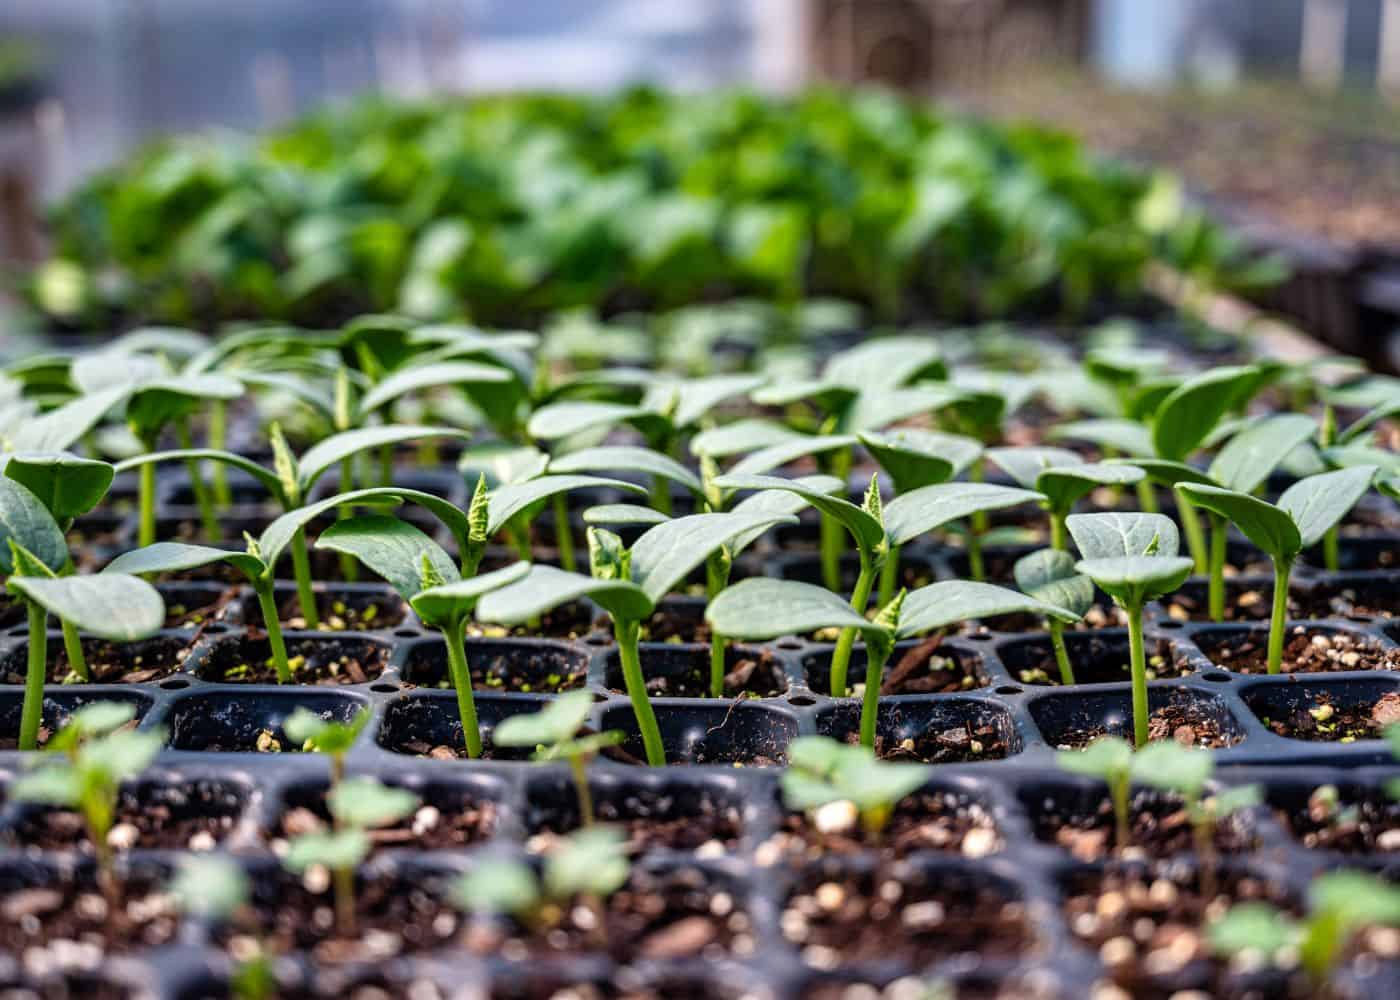
Seed trays come in various sizes and materials such as plastic or biodegradable peat pots. The size of your seed tray will depend on how many plants you plan to grow. Make sure to choose one with drainage holes at the bottom so excess water can escape.
Potting soil
You’ll need soil specifically designed for starting seeds indoors that has been sterilized and is free from disease-causing organisms, weed seeds, and insects. Look for potting mixes labeled “seed starter mix” or “germination mix” which typically contain vermiculite or perlite for aeration, moisture retention, and better root growth.
Water
Watering is essential when starting seeds indoors because too much water can drown them while not enough water will cause them to dry out quickly before they have a chance to germinate. Use room temperature filtered water if possible since tap water may contain chlorine which could damage delicate seedlings; rainwater is also an option if available where you live.
Bright light
To ensure your seedlings have the best chance of thriving, make sure there is plenty of natural sunlight coming into your home, or consider investing in artificial lighting such as LED grow lights. These provide specific wavelengths needed by plants during different stages of their life cycle, for example, blue light for vegetative growth. With adequate light and the other supplies mentioned above, you can start growing healthy plants indoors.
Plant labels
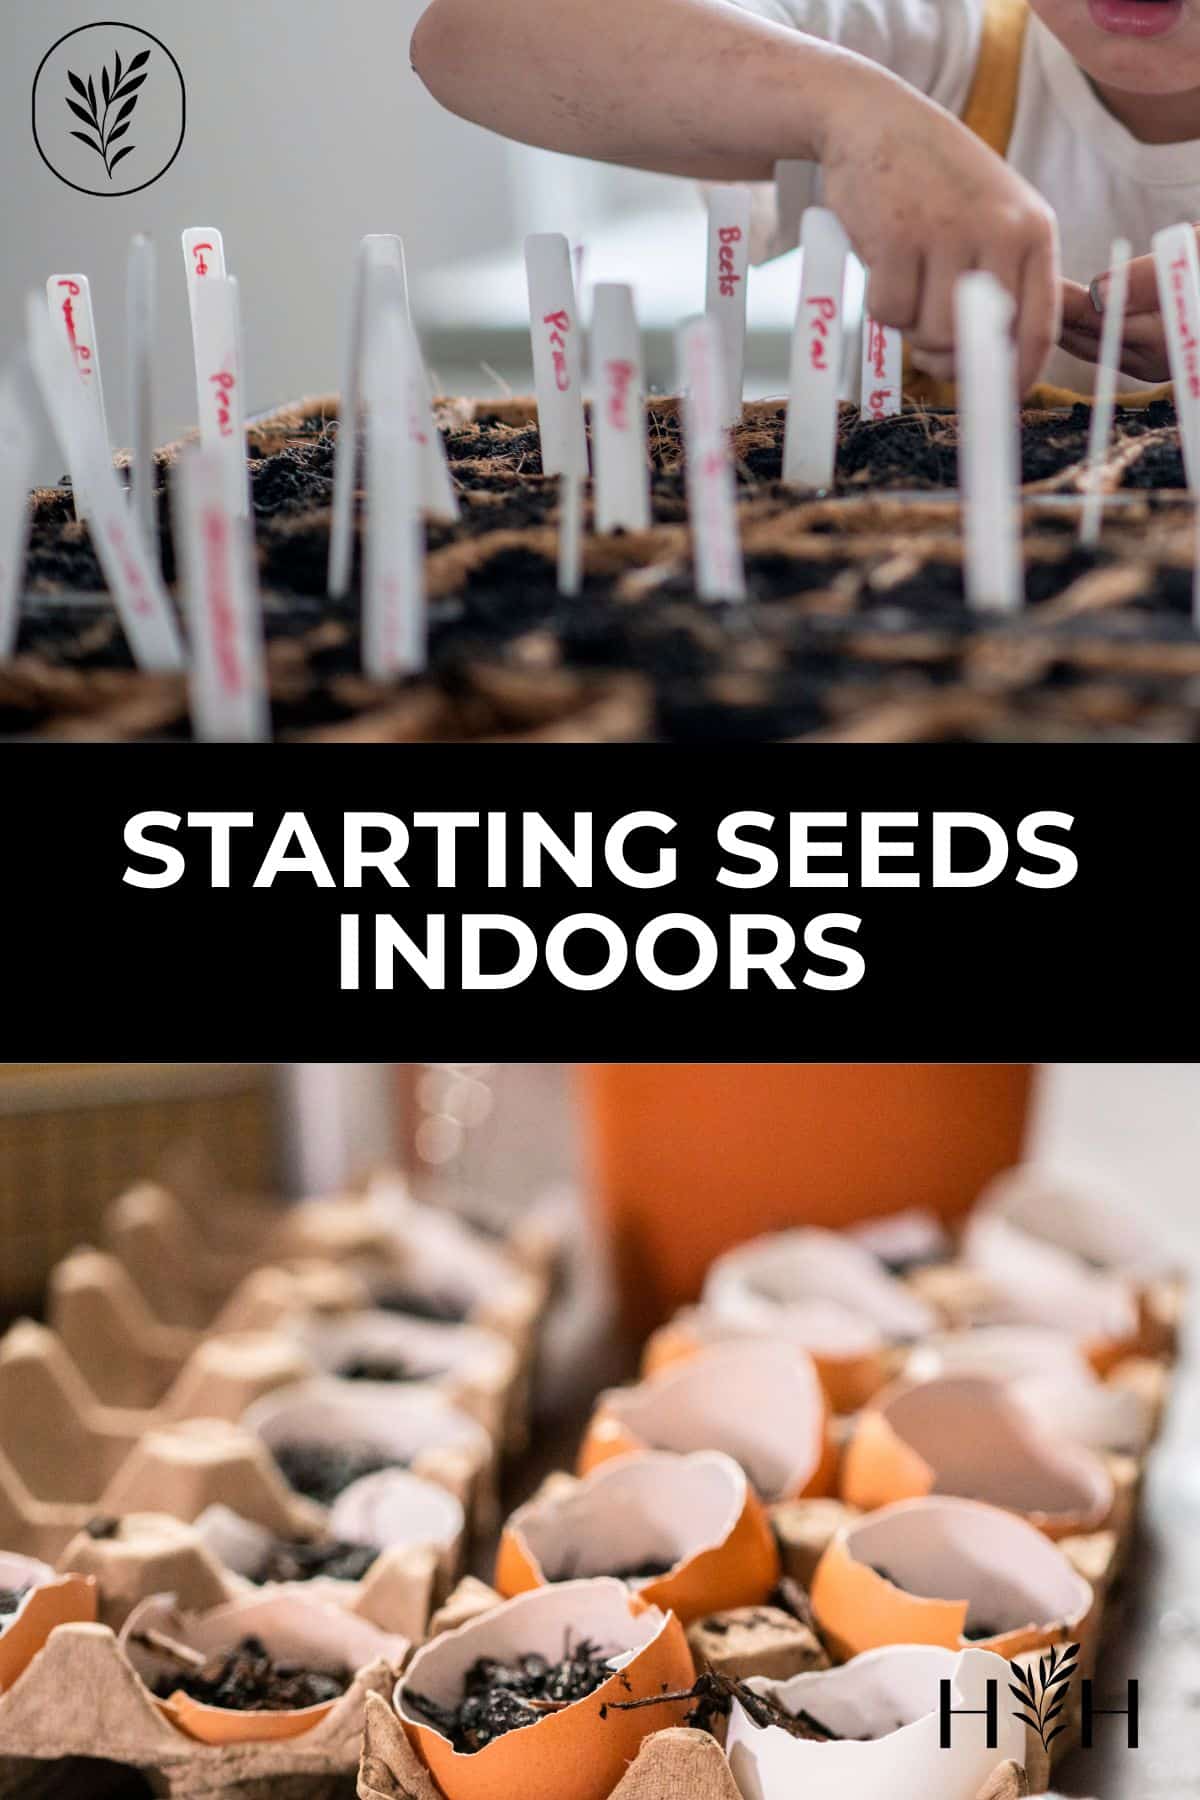
To help keep track of what you’re growing, label each seed tray with its contents using popsicle sticks or markers so you don’t forget what type of plant it is later on down the line. Additionally, tweezers are useful tools when planting small seeds since they allow precision placement without disturbing other nearby ones; magnifying glasses can also come in handy when dealing with tiny specimens as well.
With the right supplies, you can start your own seeds indoors and create a beautiful garden that will last for years. Now let’s look at choosing the best seeds to get started.
Choosing seeds to germinate indoors
When it comes to choosing the right type of seeds for indoor planting, there are a few things you should consider. First, make sure the seeds you choose are suitable for growing indoors. Some plants that are commonly grown from seed indoors include tomatoes, peppers, many flowers, and herbs like parsley and cilantro.
Next, look at the size of your space and decide how many plants you want to start with. This will help determine which types of seeds are best suited for your needs as some varieties take up more room than others when they mature. Consider if you’d like to keep them all together in one container or spread out across multiple containers depending on their size and growth rate once they sprout.
You also want to think about how much time and effort is required when selecting your seed variety; some may require extra attention while others may only need minimal care after being planted. For example, some vegetables like tomatoes may require frequent pruning or staking while herbs such as basil might need occasional watering and trimming back every now and then so they don’t become too leggy or overgrown in their pots.
Once you have chosen the right seeds for your project, it’s time to get started on prepping the soil so that it can thrive and grow.
Preparing the soil flats
Preparing soil for planting is an important step in the gardening process. It helps to ensure that your plants have the best chance of thriving and producing a healthy crop. To prepare soil, you’ll need to mix it with compost or other organic matter. Compost adds nutrients to the soil and helps retain moisture, which can be beneficial for many types of plants.
When adding compost, start by tilling or digging up the top layer of soil in your garden bed. This will help break up any large clumps and make it easier to incorporate compost into the existing dirt. Once you’ve done this, spread a thin layer of compost over the area and use a rake or hoe to work it into the ground until it’s evenly distributed throughout all areas of your garden bed.
If you don’t have access to compost, there are other options available such as manure or peat moss that can also be used as an amendment for your soil mixture. Manure contains nitrogen which is essential for plant growth while peat moss helps improve drainage and aeration within soils so they don’t become too compacted when wet weather hits them hard during certain times of year like springtime rains here in North America.
Finally, once everything has been added together properly, give one last fluffing with either hands or a shovel before planting seeds or seedlings directly into the prepared beds accordingly.
Once the soil is properly prepared, it’s time to start planting your seeds. With a little care and attention, you’ll be able to watch them grow and thrive in no time.
Planting the seeds
Planting seeds is a great way to get your garden started. It’s an easy and inexpensive way to grow flowers, vegetables, or herbs. Before you start planting, make sure you have the right supplies on hand. You’ll need containers such as seed trays or pots with drainage holes, potting soil mix, and of course the seeds themselves.
When choosing which type of seed to plant indoors, look for varieties that are specifically labeled “for indoor sowing” or “for starting indoors”. These types of seeds are usually smaller in size and easier to handle than larger outdoor varieties. Make sure the package also indicates when it should be planted (e.g., springtime).
Once you have your supplies ready, it’s time to prepare the soil for planting. Start by filling each container with potting soil mix until it is about two-thirds full. Gently press down on the soil so that it compacts slightly but still allows air circulation around the roots of your plants once they sprout up later on in their growth cycle.
Now it is time to plant your seeds. Place one seed into each container, at least 1/4 inch deep in the soil mix. Cover lightly with more potting mix or vermiculite – just enough so that you can barely see where they were placed originally. This will provide some protection from pests like birds who may try snacking on them before they even get a chance to germinate without smothering them.
Once your seeds are planted, it’s time to nurture them with the right amount of water and temperature – two key elements that will determine their success.
Watering and temperature considerations for good germination
Watering is an important part of the seed-starting process. The amount of water needed will depend on the type of soil you are using and how much light your seeds receive. Generally, it’s best to keep the soil moist but not soggy. Too little water can cause seeds to dry out and die, while too much can lead to root rot or fungal diseases.
If you’re using a potting mix that contains peat moss or vermiculite, these materials tend to absorb more moisture than other types of soils so they may need less frequent watering. You should also be aware that some types of containers (like plastic) retain more moisture than others (like terracotta).
When it comes to temperature, most vegetable and flower seeds germinate best in temperatures between 65°F and 75°F (18°C – 24°C). Some plants prefer cooler temperatures for germination such as lettuce which prefers 55°F – 60°F (13°C – 16°C).
Here’s a chart with temperature requirements for some common veggie seeds:
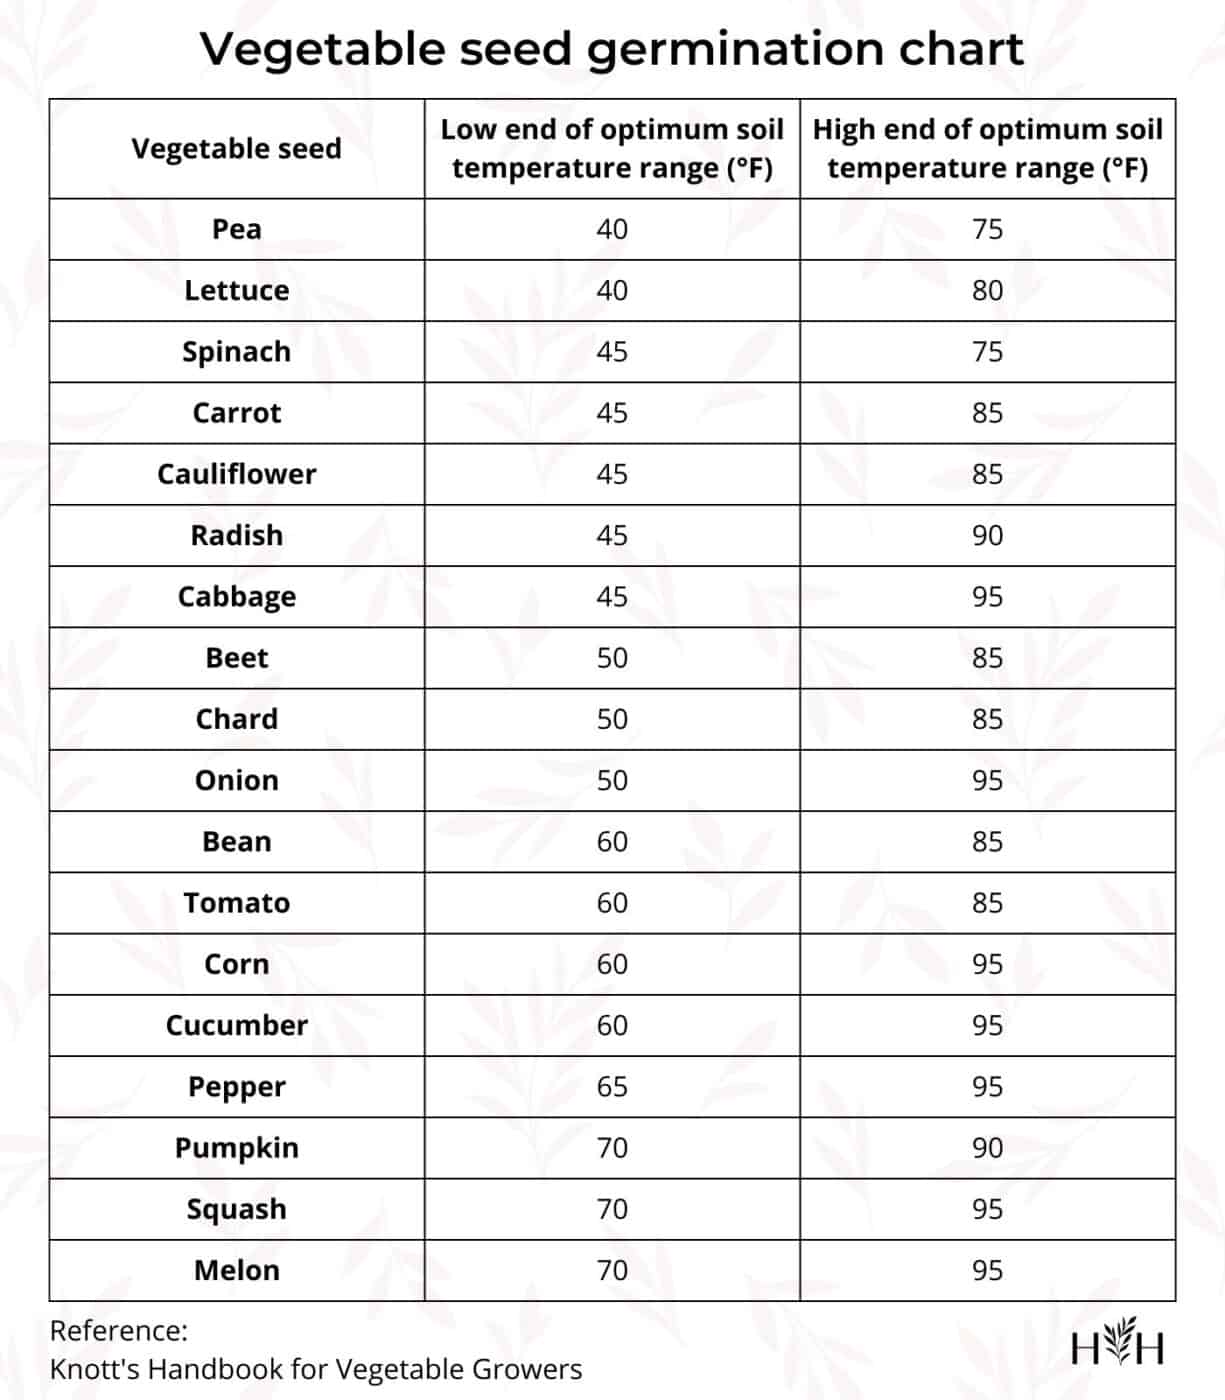
Once your seedlings have emerged from their shells, they will need slightly warmer temperatures—between 70-85 degrees Fahrenheit—to thrive. If you don’t have access to a heating mat or grow light setup, try placing them near a sunny window where they can get plenty of natural sunlight during the day but avoid direct exposure at night when temperatures drop significantly lower than during daylight hours.
Finally, make sure there is adequate air circulation around your seedlings by providing enough space between each one so that air can circulate freely without creating drafts or excessive heat buildup which could harm delicate young plants.
When it comes to watering and temperature, understanding the needs of your seeds is key; now let’s look at how much light they need in order to thrive.
Light requirements for seedlings
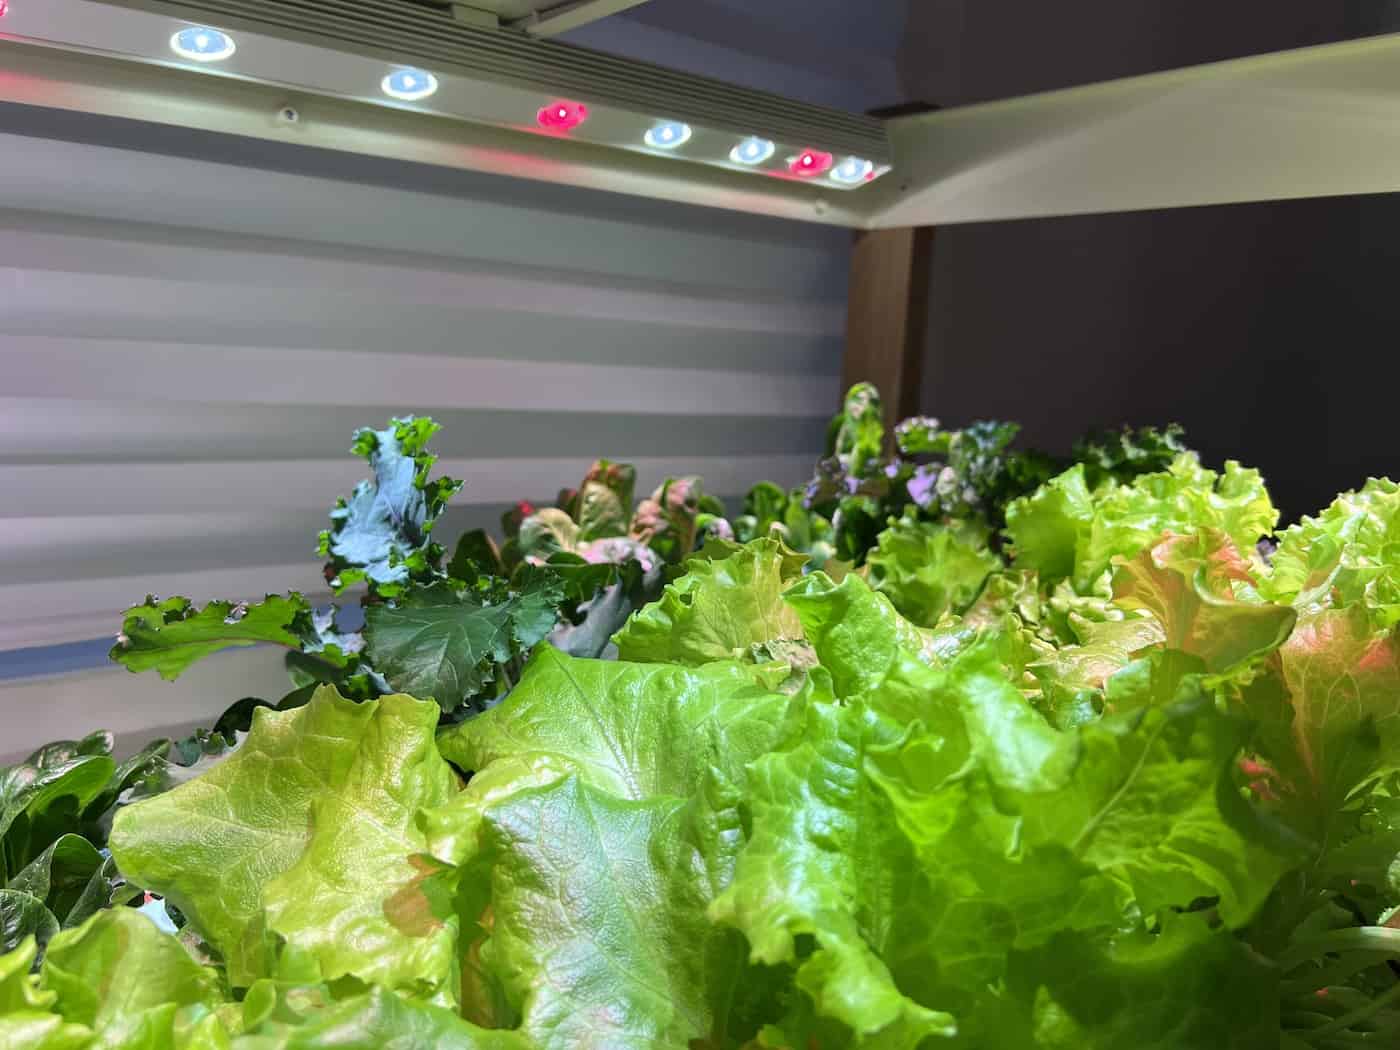
Light is an essential element for seedlings to thrive. Without it, they will not grow and develop properly. While natural sunlight is wonderful, most homes do not have enough ambient light for seedlings. Instead, you can use artificial lightings such as grow lights or fluorescent bulbs. You’ll want a light intensity of about 5000-foot candles or greater for your seedlings.
Grow lights are specifically designed to provide plants with the right amount of light that they need in order to grow and develop properly. They come in a variety of sizes and shapes and can be adjusted depending on the needs of your particular plant species. Fluorescent bulbs also work well for providing adequate light for seedlings, although they may require more frequent adjustments than grow lights do.
When using either type of lighting system, make sure that you place them close enough to your plants so that they receive adequate amounts of light without being too far away or too close together which could cause overheating or burning issues respectively. It’s important to keep track of how much time each day your plants are receiving direct light from these sources as well as indirect diffused light throughout the day since both types are necessary for healthy growth and development in most cases.
For certain varieties, providing additional lighting during nighttime hours such as LED lamps or moonlights may be beneficial for promoting flowering. It is important to follow the manufacturer’s instructions regarding duration and intensity settings per plant species type requirements in order to ensure proper use of these supplemental light sources.
It is also important to consider not only the type of lighting system you choose but also where you position it relative to other objects around it such as windowsills or walls. This is because these can block out certain wavelengths needed by certain species, thus preventing their optimal growth potential from being reached even with sufficient wattage outputting from those devices themselves due to a phenomenon known scientifically as “light blocking”.
Once you’ve ensured your seedlings are receiving the right amount of light, it’s time to move on to the next step in starting seeds indoors: transplanting them into larger containers.
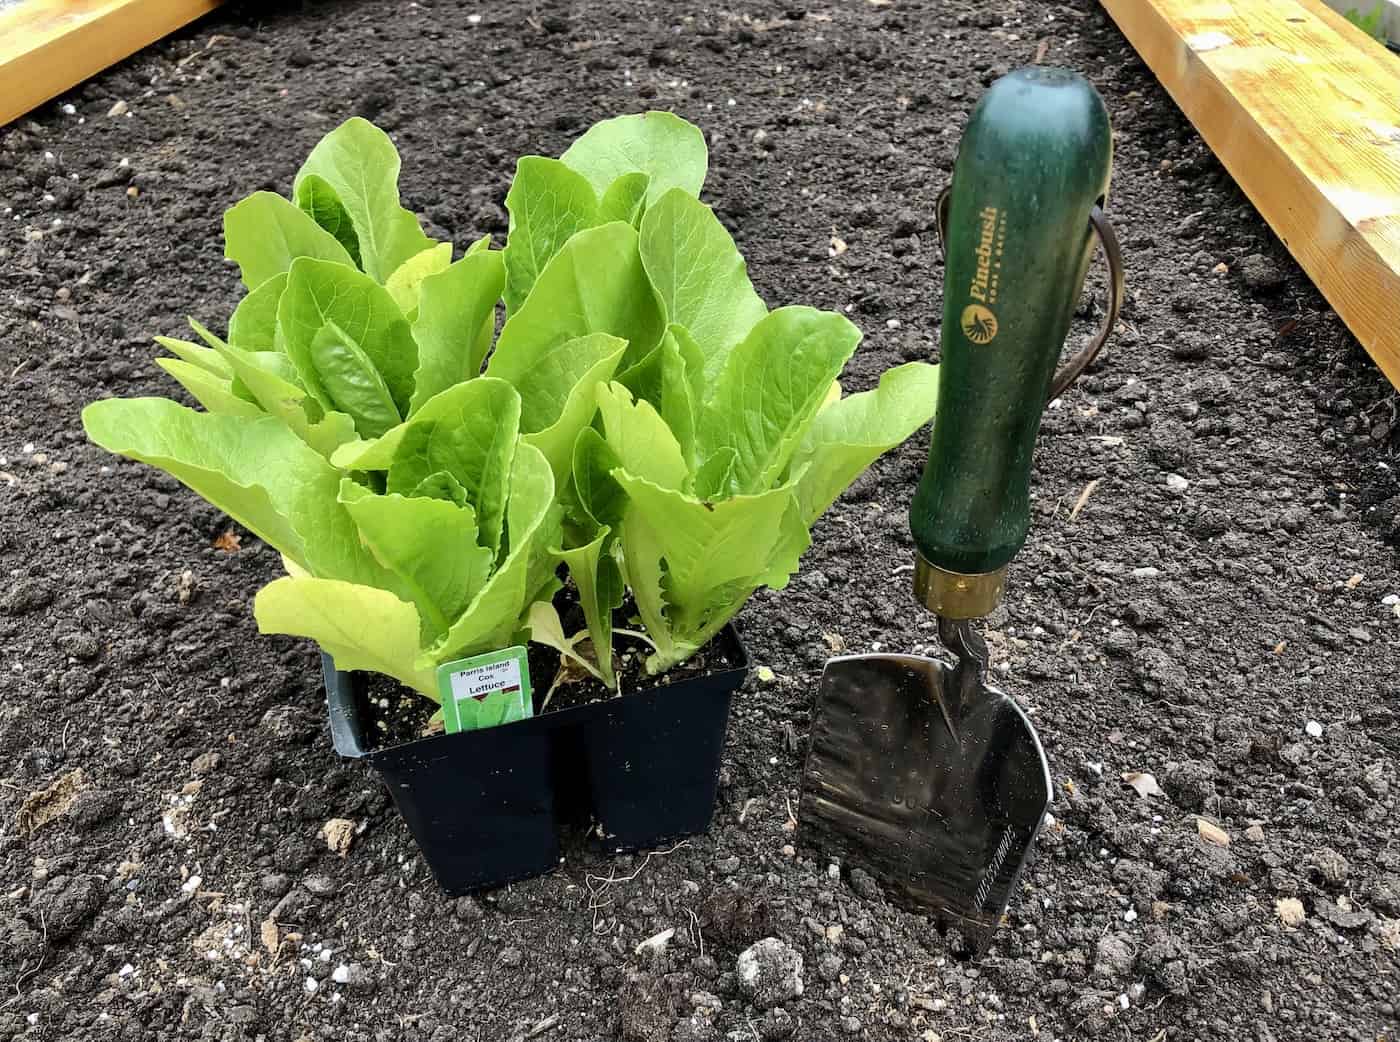
Transplanting seedlings
Transplanting seedlings is an important step in the gardening process. When it comes to transplanting, timing is everything. Knowing when and how to transplant your seedlings will help ensure they grow into healthy plants that produce beautiful flowers or delicious vegetables.
Before you begin, make sure you have the right supplies on hand: larger containers with drainage holes, potting soil mix, a small trowel or spoon for scooping soil, and a spray bottle for misting the leaves of your seedlings.
When choosing which seeds to plant indoors first, consider what type of climate you live in and how much sunlight your home receives each day. Some types of plants need more light than others do so be sure to read up on the requirements before getting started.
Once you’ve chosen your seeds and gathered all necessary supplies it’s time to prepare the soil mix for planting. Fill each container with enough potting soil mix so that there is about one inch between the top of the container and where you plan on planting your seeds. Gently press down on the surface of each container until it’s evened out then use a spoon or trowel to create small indentations in which you can place individual seeds or multiple smaller clusters depending on their size/type (some may require more space). Water lightly after planting but don’t overdo it as this could cause root rot if done too often/incorrectly.
Watering frequency should be determined by the amount of light exposure your seedlings receive; those exposed to direct sunlight will need more water than those kept in shadier spots. Generally, most should be watered every few days once established, although you may want to start off with daily watering until they are well-rooted. Temperature also plays an important role; keep them away from drafts as these can stunt growth or cause disease issues later on and avoid exposing them directly to heat sources like radiators which could dry out their roots quickly leading to potential problems down the line.
Finally, when it comes time for transplanting, make sure that both containers are clean before transferring any plants over – this helps reduce the risk of disease spread throughout different parts of garden beds/pots, etc. If possible, wait until late afternoon or early evening when temperatures tend to be lower outside and less likely to shock delicate new transplants due to a sudden change in environment temperature (i.e., going from a warm indoor area outdoors to cold night air). Once ready, carefully remove the plant from its original pot using your hands and gently loosen the surrounding dirt around its roots being careful not to damage them while doing so. Then transfer it in the same way into a larger container filled with fresh potting mixture pressing firmly around the edges to secure placement without leaving gaps between sides walls etc. Finally, water thoroughly to finish off the job making sure there are no air pockets left inside otherwise this might lead to root rot further down the road. Happy growing everyone.
FAQs about how to start seeds indoors
How do you start seeds for beginners?
It’s an easy and inexpensive way to grow your own plants from scratch. To start, you’ll need some quality soil, seed trays or pots, and of course the seeds themselves. Make sure the soil is moist but not too wet when planting the seeds – this will help them germinate faster. Planting depth should be no more than twice as deep as the size of the seed itself; larger seeds may require deeper planting depths. Finally, make sure to keep your seedlings in a warm environment with plenty of light until they’re ready to transplant outdoors.
How do you germinate seeds quickly indoors?
Germinating seeds indoors is a great way to get a jump start on the growing season. To do this quickly, you’ll need to provide the right environment for your seeds. Start by preparing a potting mix that’s light and airy with good drainage. Moisten it before adding your seeds and cover them lightly with soil or vermiculite. Place the container in an area where temperatures are warm (ideally between 70-80°F) and there’s plenty of indirect sunlight or artificial lighting from grow lights. Keep the soil moist but not soggy, as too much water can cause mold growth which will damage seedlings. Finally, check daily for germination – when they sprout, move them into larger containers with fresh potting mix so they have room to grow.
Do seeds need light or dark to germinate?
Seeds need light to germinate. The amount of light needed depends on the type of seed, but generally speaking, seeds require some form of light for them to sprout and begin growing. Light helps trigger a chemical reaction in the seed that causes it to break down its stored food reserves and use them as energy for growth. Without adequate light, this process will not occur and the seed will remain dormant until conditions are right.
How do you start seeds indoors without grow lights?
Starting seeds indoors without grow lights can be done with a few simple steps. Begin by finding a sunny spot in your home and purchase seed trays or small pots to plant the seeds in. Fill the containers with potting soil, then add water until it is moist but not soggy. Place two to three seeds into each container and cover them lightly with more soil before placing them on a windowsill that receives plenty of sunlight throughout the day. Keep an eye on moisture levels and water as needed, then wait for your plants to sprout. With proper care, you should have healthy seedlings ready for transplanting outdoors soon.
Before you go…
Starting seeds indoors is an easy way to get a jump start on the growing season. Not only will this give you access to more varieties of plants, but it can also help ensure success for those who have shorter growing seasons or limited outdoor space. With just some basic supplies and knowledge, anyone can begin their journey towards self-sufficiency and sustainability! Get started today by learning how to start seeds indoors!
Resources
- The best garden catalogs for seeds, live plants, tools, and supplies
- Types of seeds: Open-pollinated, heirloom, organic, hybrid, & non-GMO
- Best seeds for winter sowing
- Winter sowing guide for planting seeds outdoors in cold climates
References
- Grove, E. (2021). The Gardener’s Guide To Starting Seeds Indoors For Self-Sufficient Backyard Homesteaders: Discover How To Sow, Germinate, & Transplant All The Veggies, Herbs, Flowers & Fruits You Love Most
- Knowing when to start planting seeds
- Gardening: January is planning time for starting seedlings indoors
Need more info?
Are you interested in learning more about how to start seeds indoors? Here are our best articles about it!


