Wondering if you can you put seeds straight into soil? This method of planting seeds is called direct seeding, because you’re directly putting the seeds into the soil.
For successful direct seeding (putting seeds straight into soil), the seeds need to be at the right temperature, have ample moisture, have access to air, and sometimes, certain lighting conditions. For most plants, this means waiting until the soil warms up in the spring before planting. The seeds are more likely to sprout if the soil is loose, fine-textured, and free from weeds and other plant debris.
In this blog post, we will explore how best to prepare your soil before planting, what kind of seed works best with direct sowing methods, and tips on caring for your new garden bed after all those precious little seeds are tucked safely away. So don’t let gardening intimidate you – read on and learn how easy it can be!
Can you put seeds straight into soil?
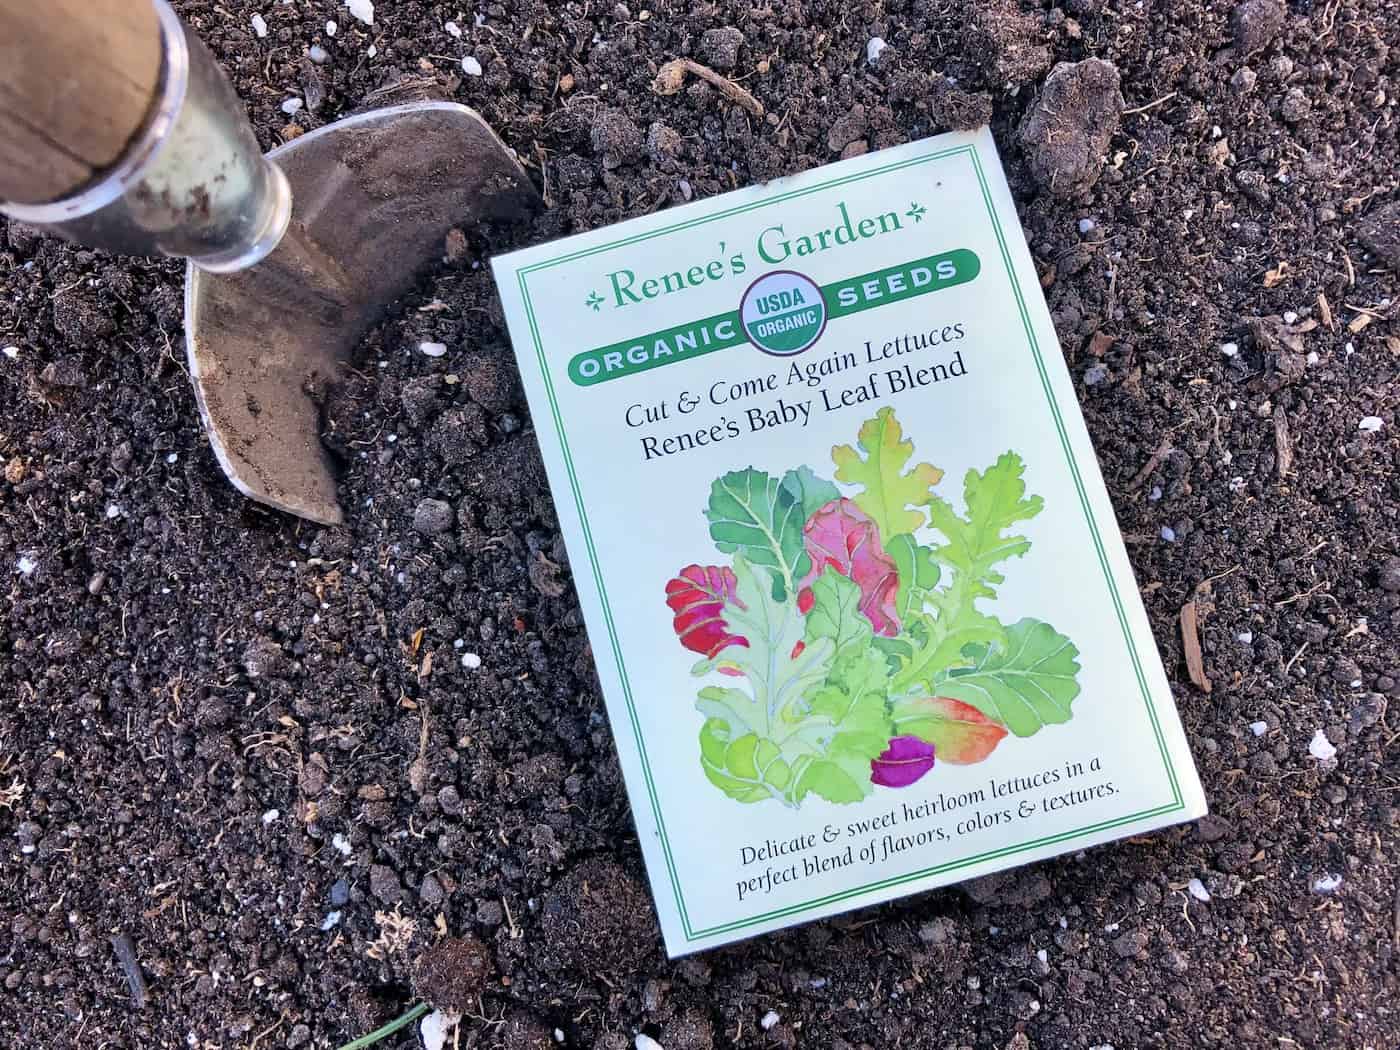
Planting seeds directly into soil is a great way to get started with gardening. It’s easy, cost-effective, and can be done in any season. All you need is some soil, seeds, and a bit of patience. Putting seeds straight into the soil is called “direct seeding”.
Direct seeding can be quite successful, as long as you take care to check the soil temperature and make an effort to keep the seeds moist until they germinate. Get yourself a soil thermometer to measure the soil temperature a few inches below ground surface. Here are the target soil temperatures for some common seeds.
Before planting your seeds directly into the soil it’s important to make sure that the soil is ready for them. This means removing any weeds or debris from the area where you plan on planting as well as loosening up the dirt so that it will be easier for your seedlings to grow roots and thrive once they sprout up. You may also want to add compost or fertilizer if needed depending on what type of plants you are growing.
Once your soil has been prepared properly it’s time to plant your seeds. Make sure that you read all instructions carefully before planting because different types of plants have different requirements when it comes to depth and spacing between each seedling. Generally speaking, though most vegetable or flower seeds should be planted about an inch deep in loose soil with at least two inches between each one for optimal growth potential later on down the line.
After planting your seeds, there are still some steps that need to be taken in order for them to reach their full potential come harvest time. Watering regularly (but not too much) is essential since this helps keep moisture levels consistent which encourages healthy root development while also keeping weed growth at bay by preventing other competing plants from taking over valuable space near yours.
Additionally, adding mulch around newly planted areas can help retain moisture while providing extra nutrients as well – just make sure not to cover up any emerging shoots. Finally, don’t forget about weeding; even if you’ve prepped beforehand there may still be pesky weeds popping up here and there so stay vigilant throughout the growing process and pull out anything suspicious looking right away before they have a chance to spread further than necessary.
The answer to the question of whether you can put seeds straight into soil depends on the type of seed, but preparing your soil is essential for successful germination and growth no matter what kind of seed you use. Let’s take a look at how to properly prepare the soil for planting.
Preparing soil for planting seeds
Preparing the soil is an essential step in gardening. It’s important to make sure your soil is ready for planting before you put any seeds into it. Loosening the soil with a garden fork or tiller will help aerate it and allow water, air, and nutrients to reach the roots of your plants more easily. Removing weeds and debris from the area where you’ll be planting will also help ensure that your plants have enough space to grow without competition from other vegetation.
Adding compost or fertilizer can give extra nutrients to your soil if needed. Compost adds organic matter which helps improve drainage, increases nutrient availability, and provides food for beneficial microorganisms in the soil. Fertilizers can provide additional macro-nutrients such as nitrogen, phosphorus, and potassium (NPK) that are necessary for healthy plant growth. Make sure not to overfertilize though – too much fertilizer can damage plants by causing them to burn or become stunted in their growth due to lack of oxygen reaching their roots.
Before adding either compost or fertilizer, test your soil’s pH level first using a home testing kit so you know what kind of amendments are needed for optimal growing conditions. You may need different types of amendments depending on what type of plants you’re trying to grow – some prefer acidic soils while others thrive in alkaline ones. Once you’ve determined what kind of amendment is best suited for your particular needs then add it accordingly following instructions on the packaging carefully as well as any local regulations regarding fertilizers/pesticides use near waterways etc
Preparing the soil is essential for successful gardening, and by ensuring your soil is in optimal condition before planting seeds, you can maximize the chances of a healthy harvest. Now that the soil is ready, let’s look at how to plant those seeds.
Planting the seeds in outdoor soil
Planting seeds is an exciting part of gardening. Once your soil is ready, it’s time to start planting. Depending on the type of seed you are using, you will need to place them at different depths in the soil. For example, if you are planting flower seeds, they should be placed about ¼ inch deep into the soil. Vegetable and herb seeds should be planted slightly deeper than flowers – usually around ½ inch deep. Make sure to read the instructions on your seed packet for more specific information about how far down each type of seed needs to go.
Once all your seeds have been placed in their respective spots, cover them lightly with a thin layer of soil and water gently but thoroughly. It’s important not to over-water as this can cause mold or mildew growth which could damage or kill off young plants before they even get started. If possible, try watering from below instead of above so that any excess moisture can drain away easily without affecting the delicate roots growing beneath the surface.
Finally, keep an eye out for signs that your new plants are sprouting up. This may take anywhere from a few days to several weeks depending on what kind of plant it is and how warm/cold it has been outside recently; temperature plays a big role in germination. Once those first little leaves appear above ground level then you know that everything went according to plan and your garden is officially underway.
Once you have planted the seeds, it’s time to give them the proper care and attention they need in order to grow into healthy plants. Caring for your seeds properly is key to having a successful garden.
Caring for seeds as they germinate and grow into seedlings
Caring for your seeds is essential to ensure a successful harvest. Watering regularly is key; make sure the soil remains moist but not soggy. If you’re in an area with lots of sun, providing shade can help keep the soil from drying out too quickly. Monitor for pests and diseases that could affect your plants, as well as signs of growth such as sprouts or leaves emerging from the ground.
Weeds can also be a problem when caring for your seeds; pull them up by hand if they appear near your seedlings or use mulch to prevent weeds from growing around them. Fertilizing may also be necessary depending on what type of plant you’re growing and its needs; consult with a local gardening expert if you need advice on this topic.
When it comes time to harvest, be gentle. Gently remove fruits and vegetables from their stems without pulling too hard so that you don’t damage the plant itself or any other nearby seedlings. Properly store harvested produce in cool, dry conditions until ready to eat or cook with it – this will help preserve its freshness and flavor.
FAQs about planting seeds straight into soil
Do I need to soak seeds before planting?
Yes, it is recommended to soak most larger seeds before planting. This helps to soften the seed coat and allows for better germination rates. Soaking also allows you to identify any damaged or non-viable seeds that can be discarded prior to planting.
The length of time required for soaking varies depending on the type of seed being planted, so it’s important to check specific instructions when available. Generally speaking, a few hours in lukewarm water should suffice but some species may require overnight soaking or even several days of pre-soaking treatment.
How do you put seeds in the soil?
To start, you will need to prepare the soil. Loosen it up and remove any large stones or debris. Next, create a shallow furrow in the soil with your finger or a trowel. Place the seeds into the furrow at an appropriate depth for that particular seed type; typically this is two to three times as deep as the seed’s diameter. Cover lightly with soil and press down gently to ensure good contact between seed and soil. Finally, water thoroughly but gently so as not to wash away any of your newly planted seeds.
Before you go…
With the right preparation and care, you can have a successful garden full of beautiful plants. It’s important to remember that not all seeds are suitable for direct sowing in soil, so make sure you research what type of seed you’re using before putting it straight into the ground.
Resources
- Soil temperature for planting vegetables (with charts)
- Types of soil common in home gardens
- Promix soil review for home gardeners
- What is dirt made of? Soil particles, minerals, and chemical elements
- The dirt: Detailed characteristics of garden soil
References
- Akeroyd, S. (2013). Kitchen Gardening for Beginners: A Simple Guide to Growing Fruit and Vegetables (p. 248). Penguin.
- Gogerty, C. (2023). The Magic of Seeds: The nature-lover’s guide to growing garden flowers and herbs from seed. David and Charles.
- Dickinson, B. (2021). Gardening to Eat: Connecting People and Plants (p. 39). White Owl.
Need more info?
Are you interested in learning more about planting seeds straight into the soil? Here are our best articles about it!