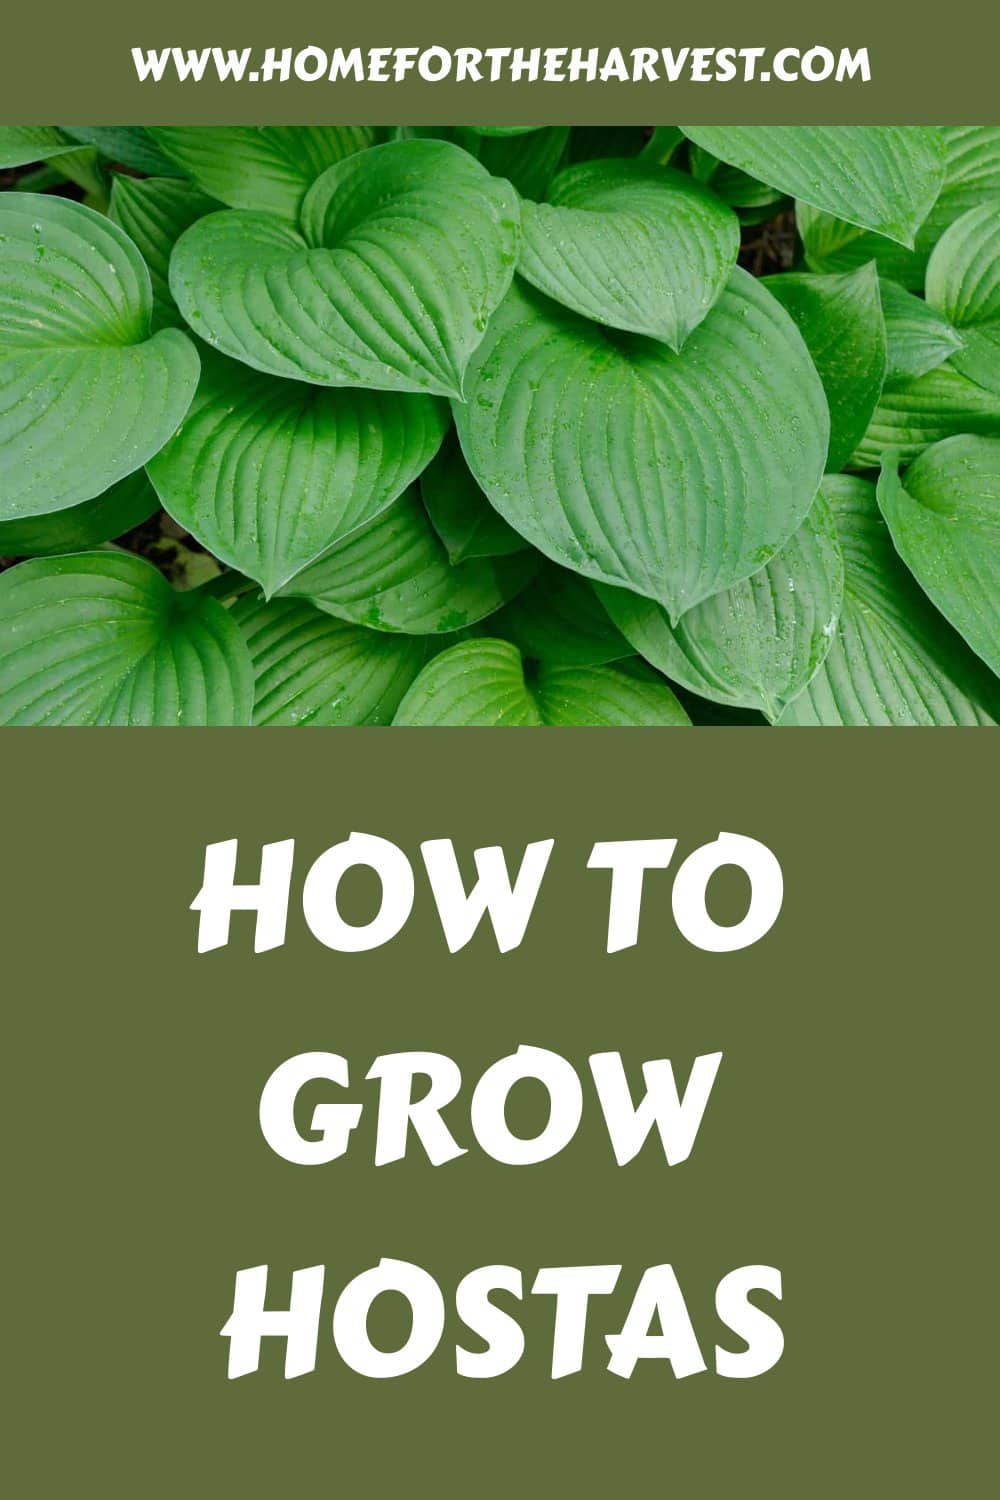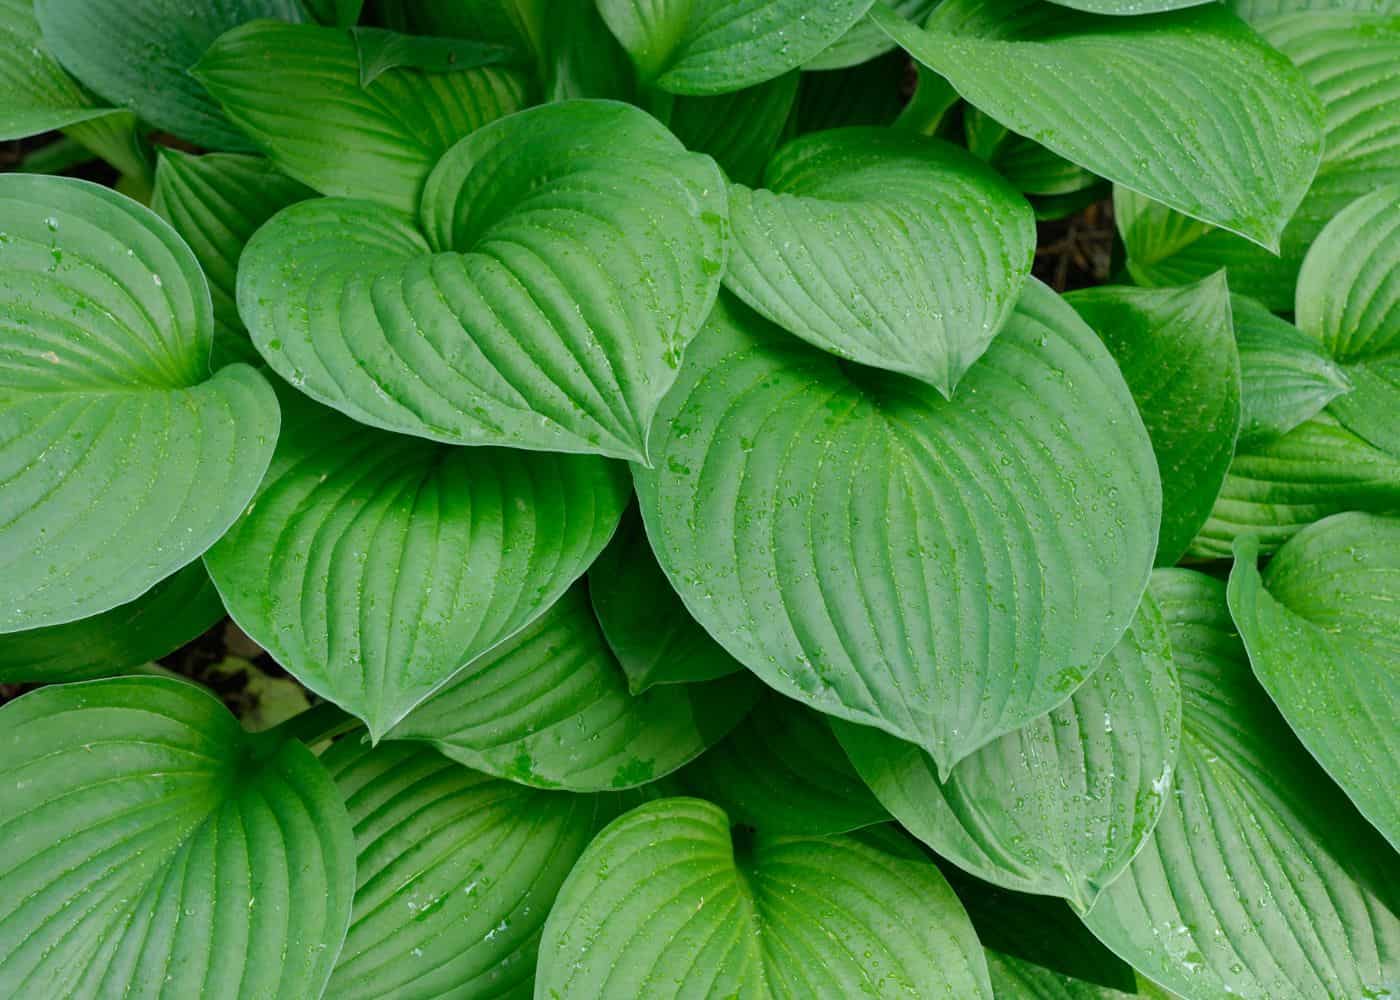
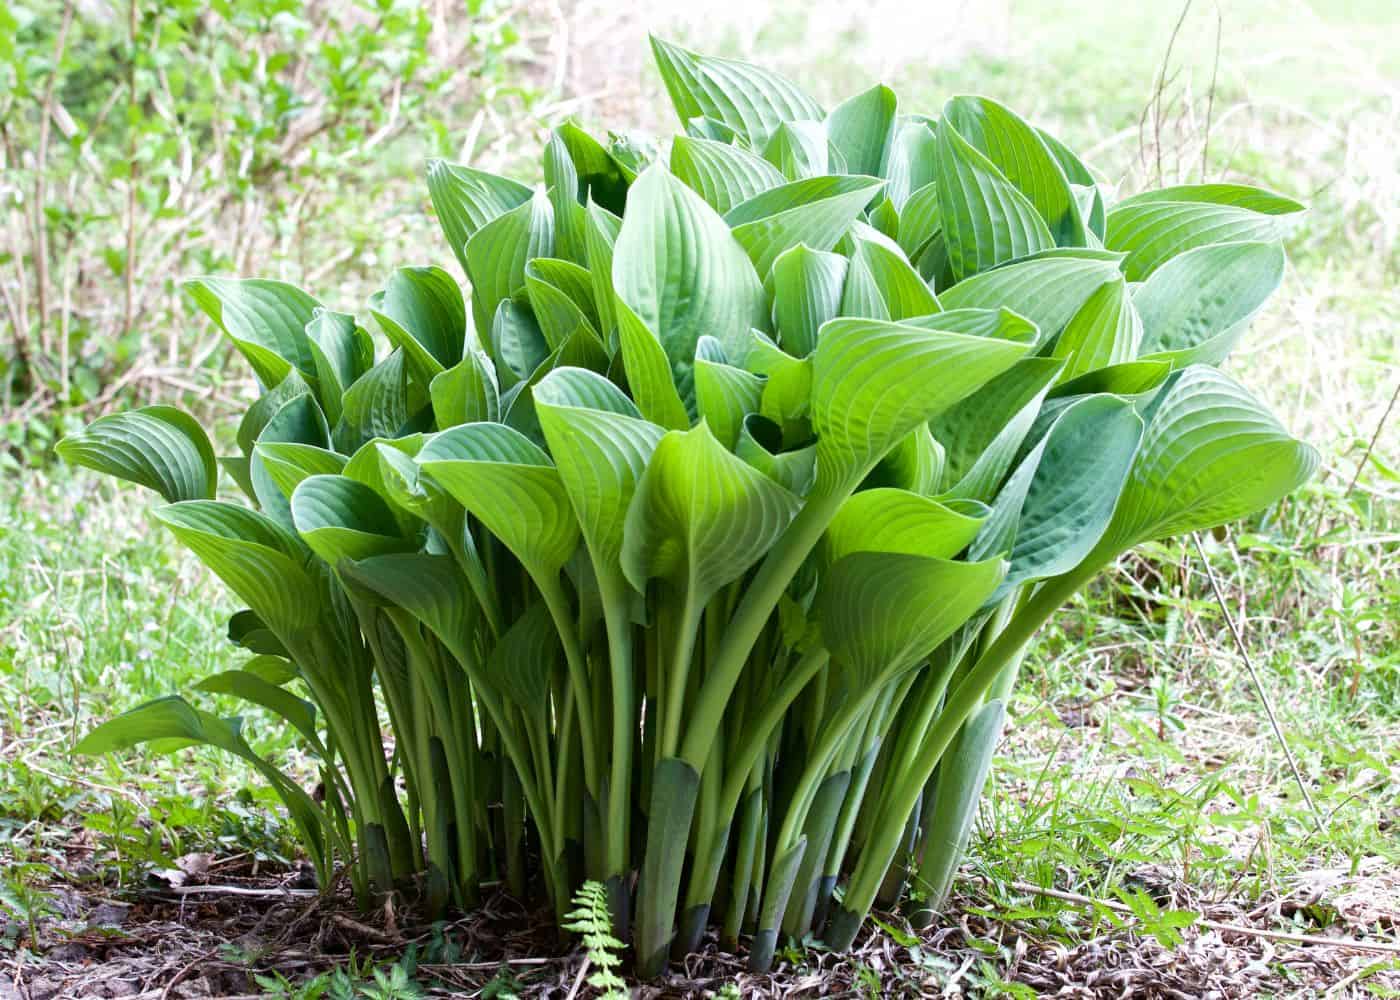
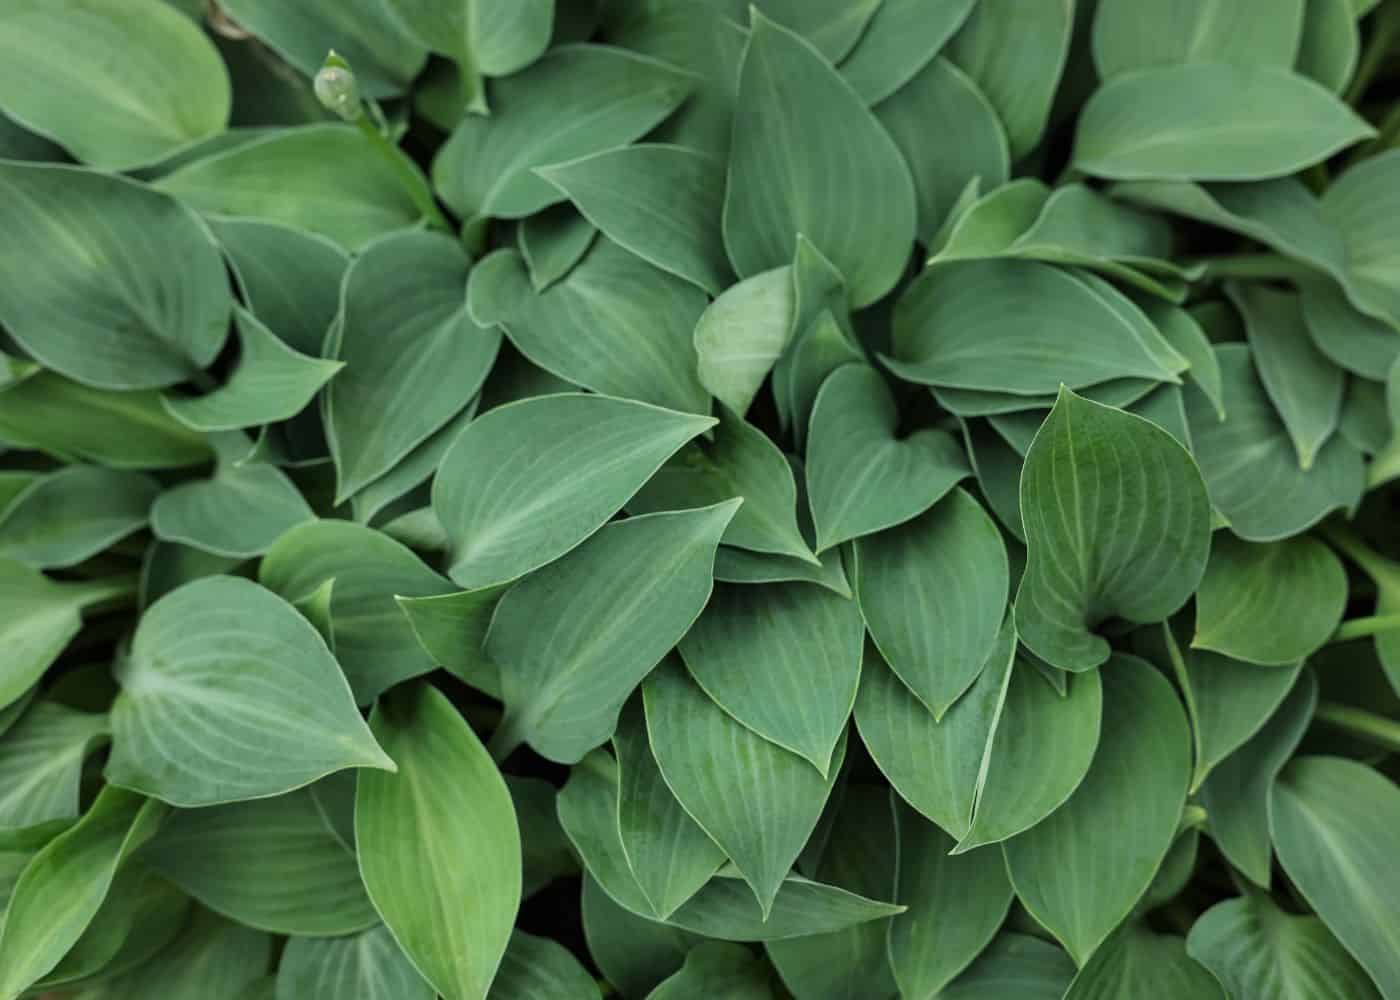
Are you looking for a low-maintenance way to spruce up your garden? Hostas are the perfect plant for any green thumb! Not only do they come in an array of leaf patterns and sizes, but they can thrive in shady areas (even with minimal care).
Start by planting your hostas in partial shade. They like a bit of morning sun but should be protected from harsh afternoon sunlight. Hostas grow best in well-drained, slightly acidic soil that’s rich in organic matter. They like regular watering, a few inches of organic mulch on the soil around them, and don’t need much pruning beyond removing spent foliage.
With these tips on how to grow hostas, you’ll be able to create a beautiful outdoor oasis without breaking too much of a sweat. So get ready: it’s time to learn about growing hostas!
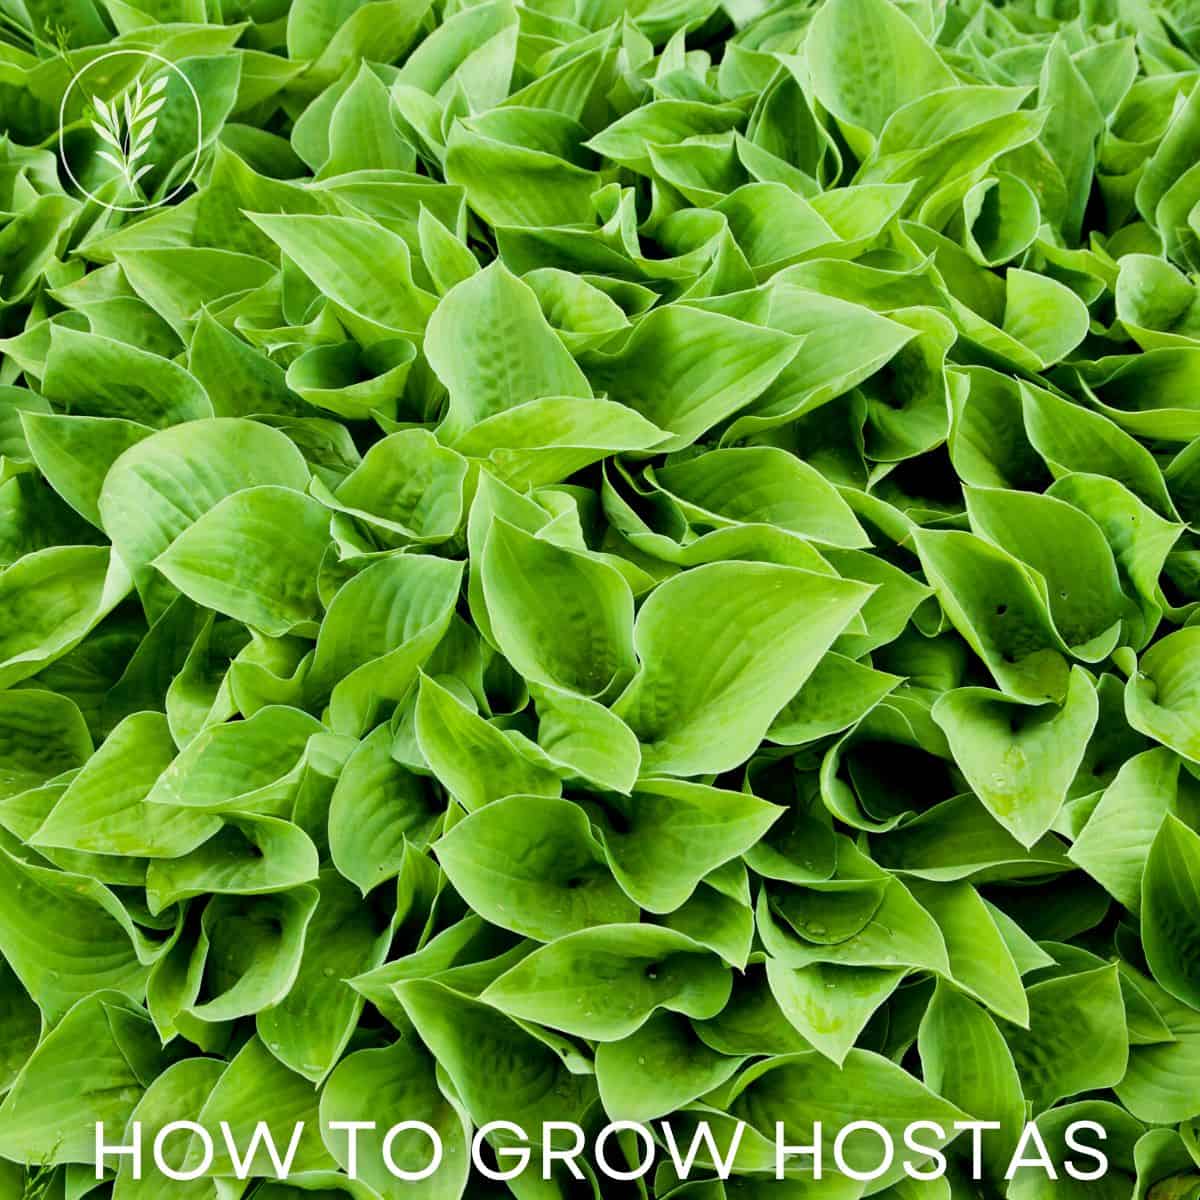
How to grow hostas
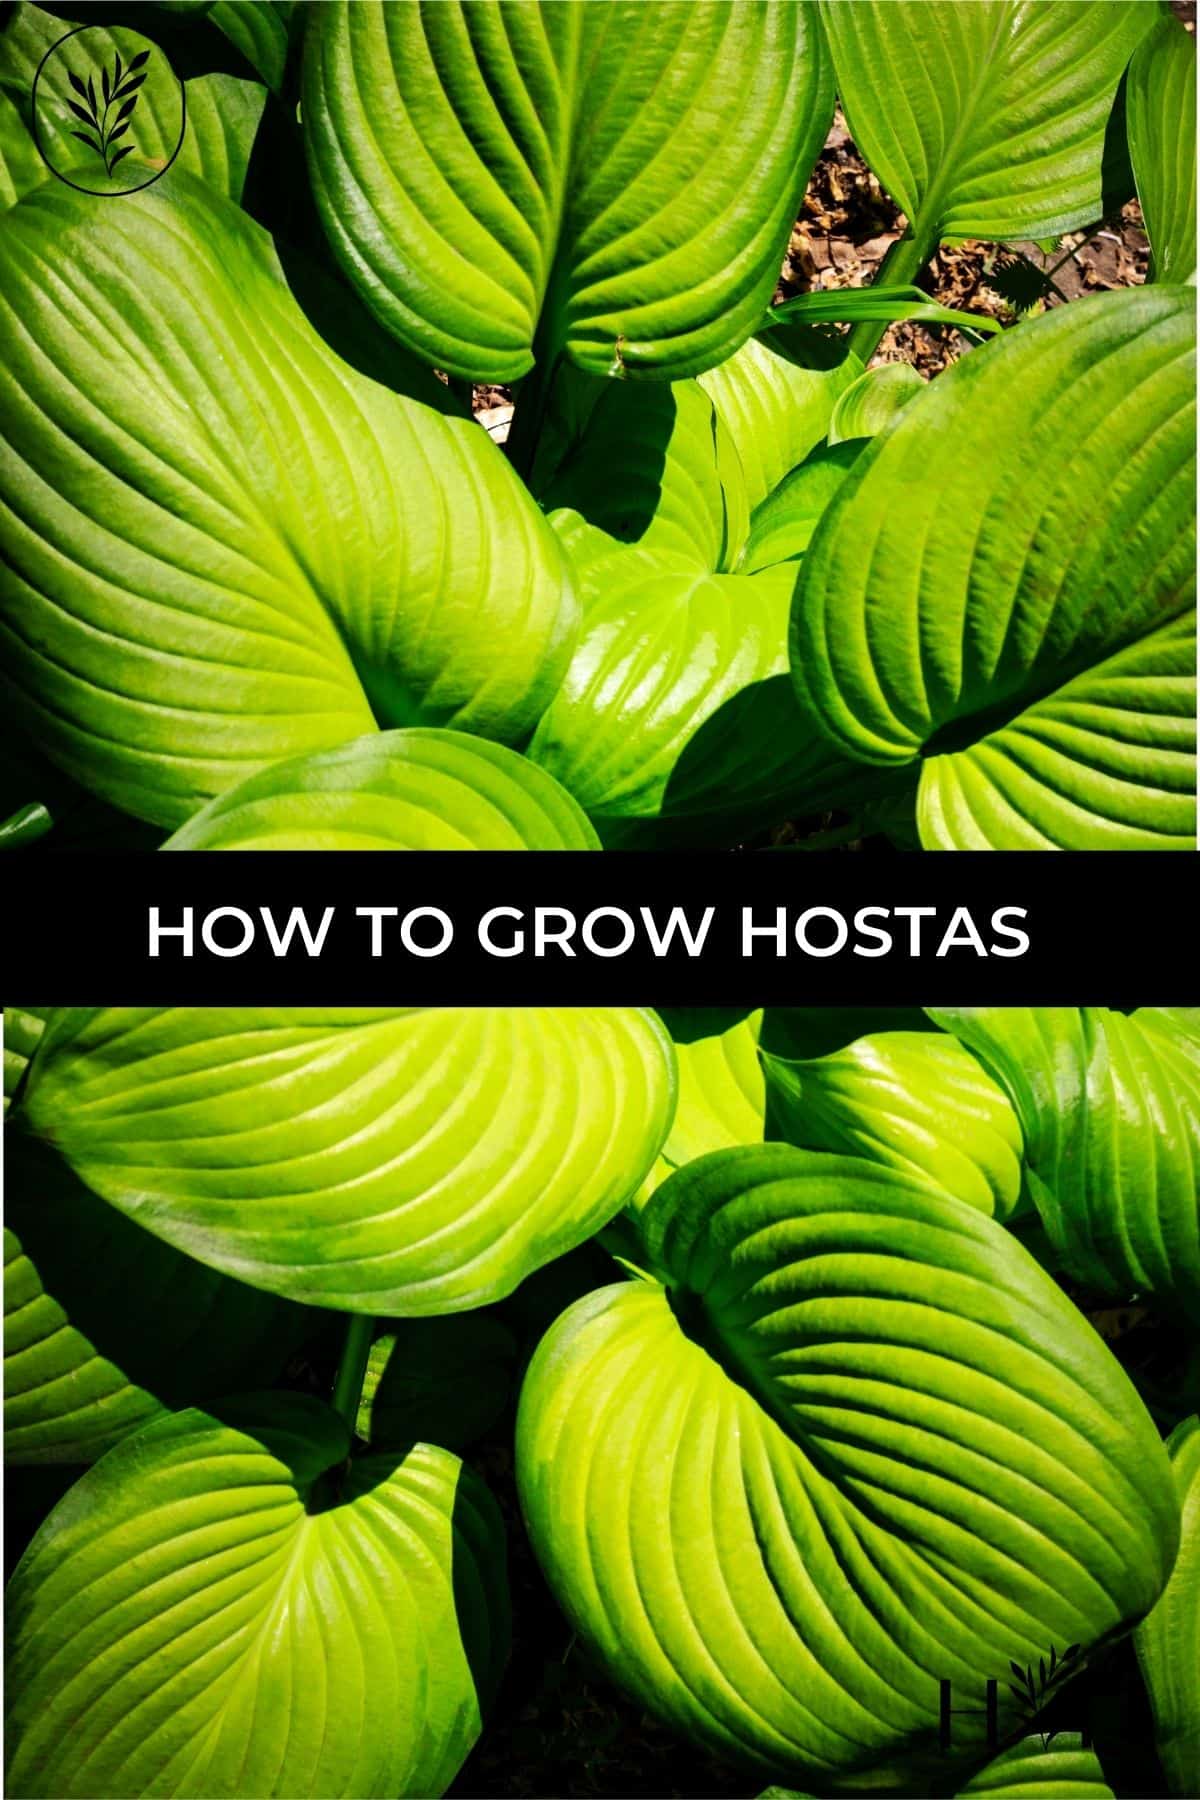
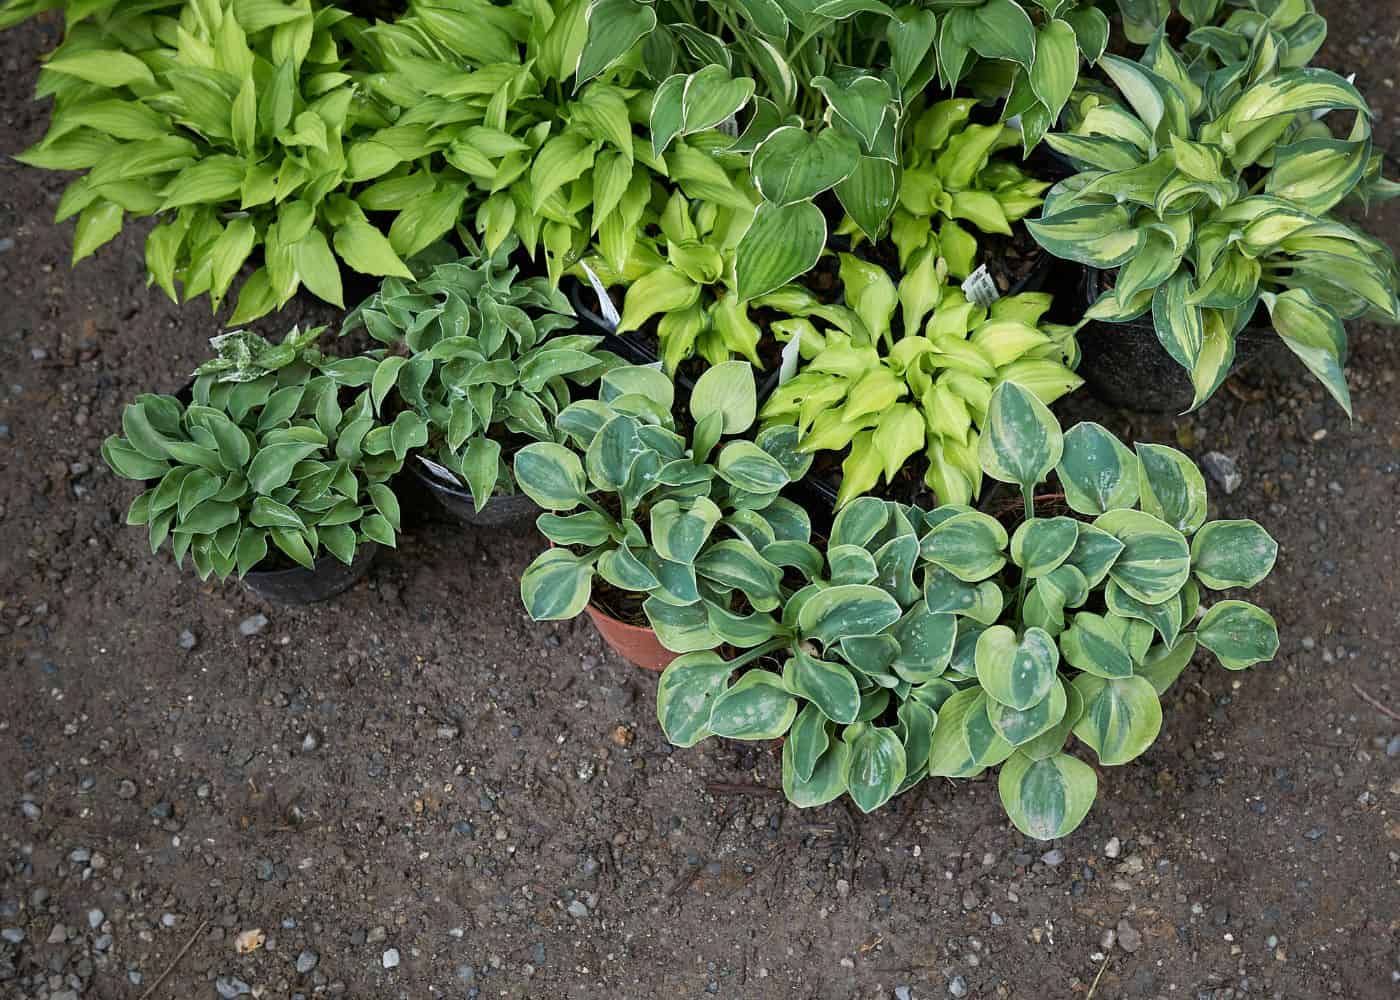
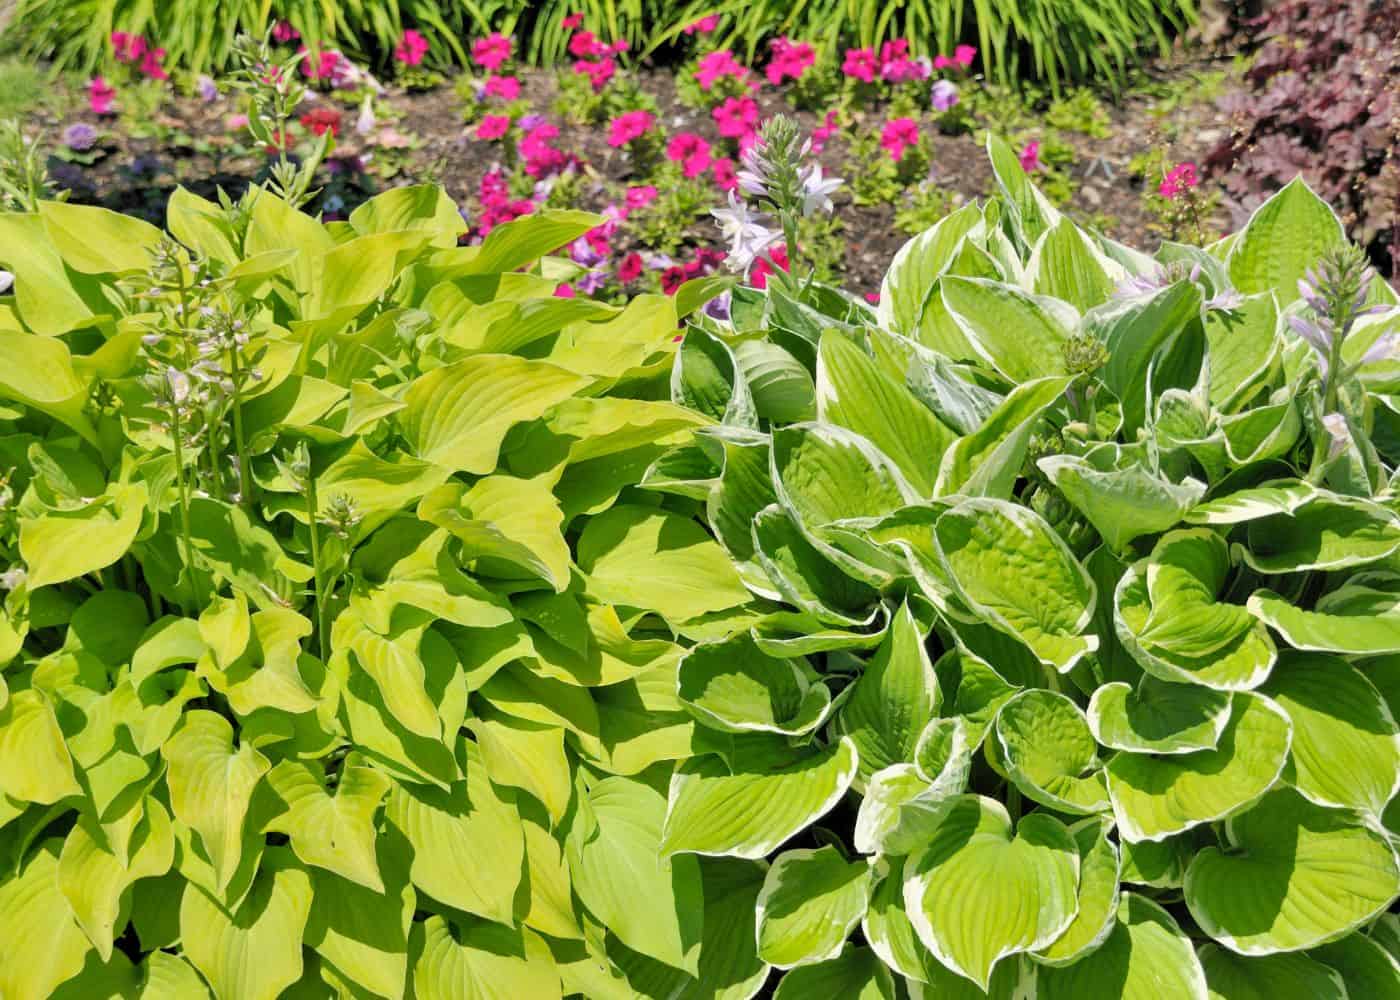
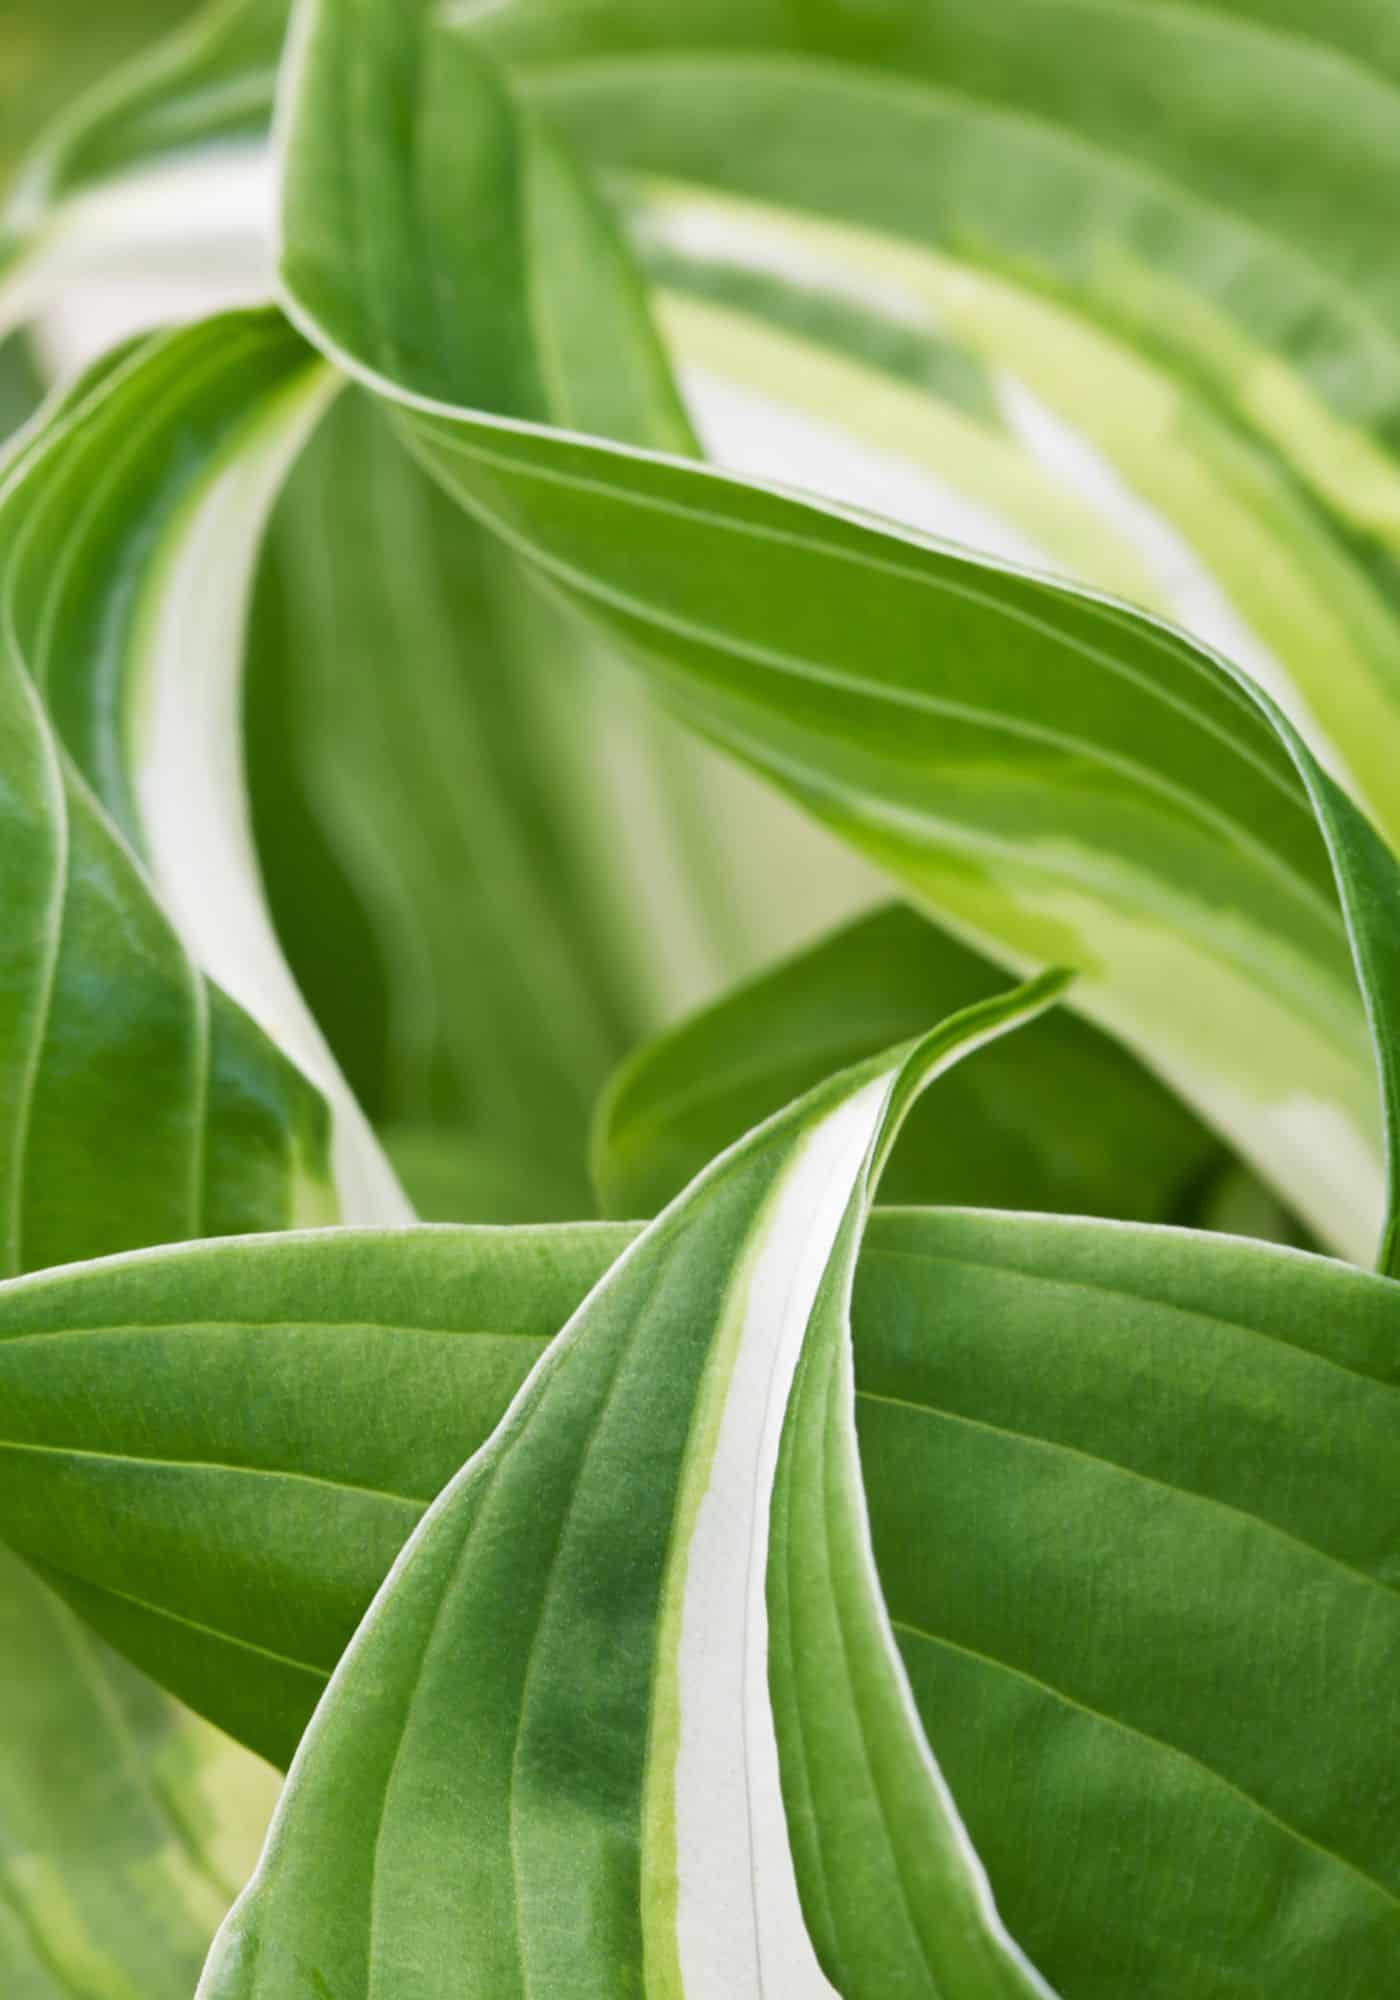
Hosta plants are a great addition to any garden. They come in many different sizes, shapes, and colors, so it’s important to choose a variety that will fit your space and look good with other plants. I love choosing new variegated hosta varieties to brighten up shady corners, as well as the classic blue hosta cultivars that add a dreamy tropical background to the border garden.
Consider how much sun or shade the area gets, as well as what type of soil you have. Also, think about how big the plant will get when it matures. Some larger varieties can grow up to three feet tall and five feet wide, while the smallest ones are under a square foot.
Once you’ve chosen your hosta variety, it’s time to plant it. Start by digging a hole twice as wide and just as deep as the root ball of your hosta. Place the root ball into the hole and fill around it with soil until it is level with the ground surface. Water thoroughly after planting and keep the soil consistently moist but not soggy for best results. Mulch the soil around the base of the hostas to keep moisture in and keep weeds down.
To ensure healthy growth for your new hostas, there are a few simple steps you should take throughout their growing season (spring through fall). Feed your hostas with an all-purpose fertilizer in the spring to help promote lush foliage growth during the summer months. Make sure weeds don’t compete with your plants by pulling them out regularly. Lastly, prune off dead leaves or stems to maintain a shapely appearance while also minimizing disease.
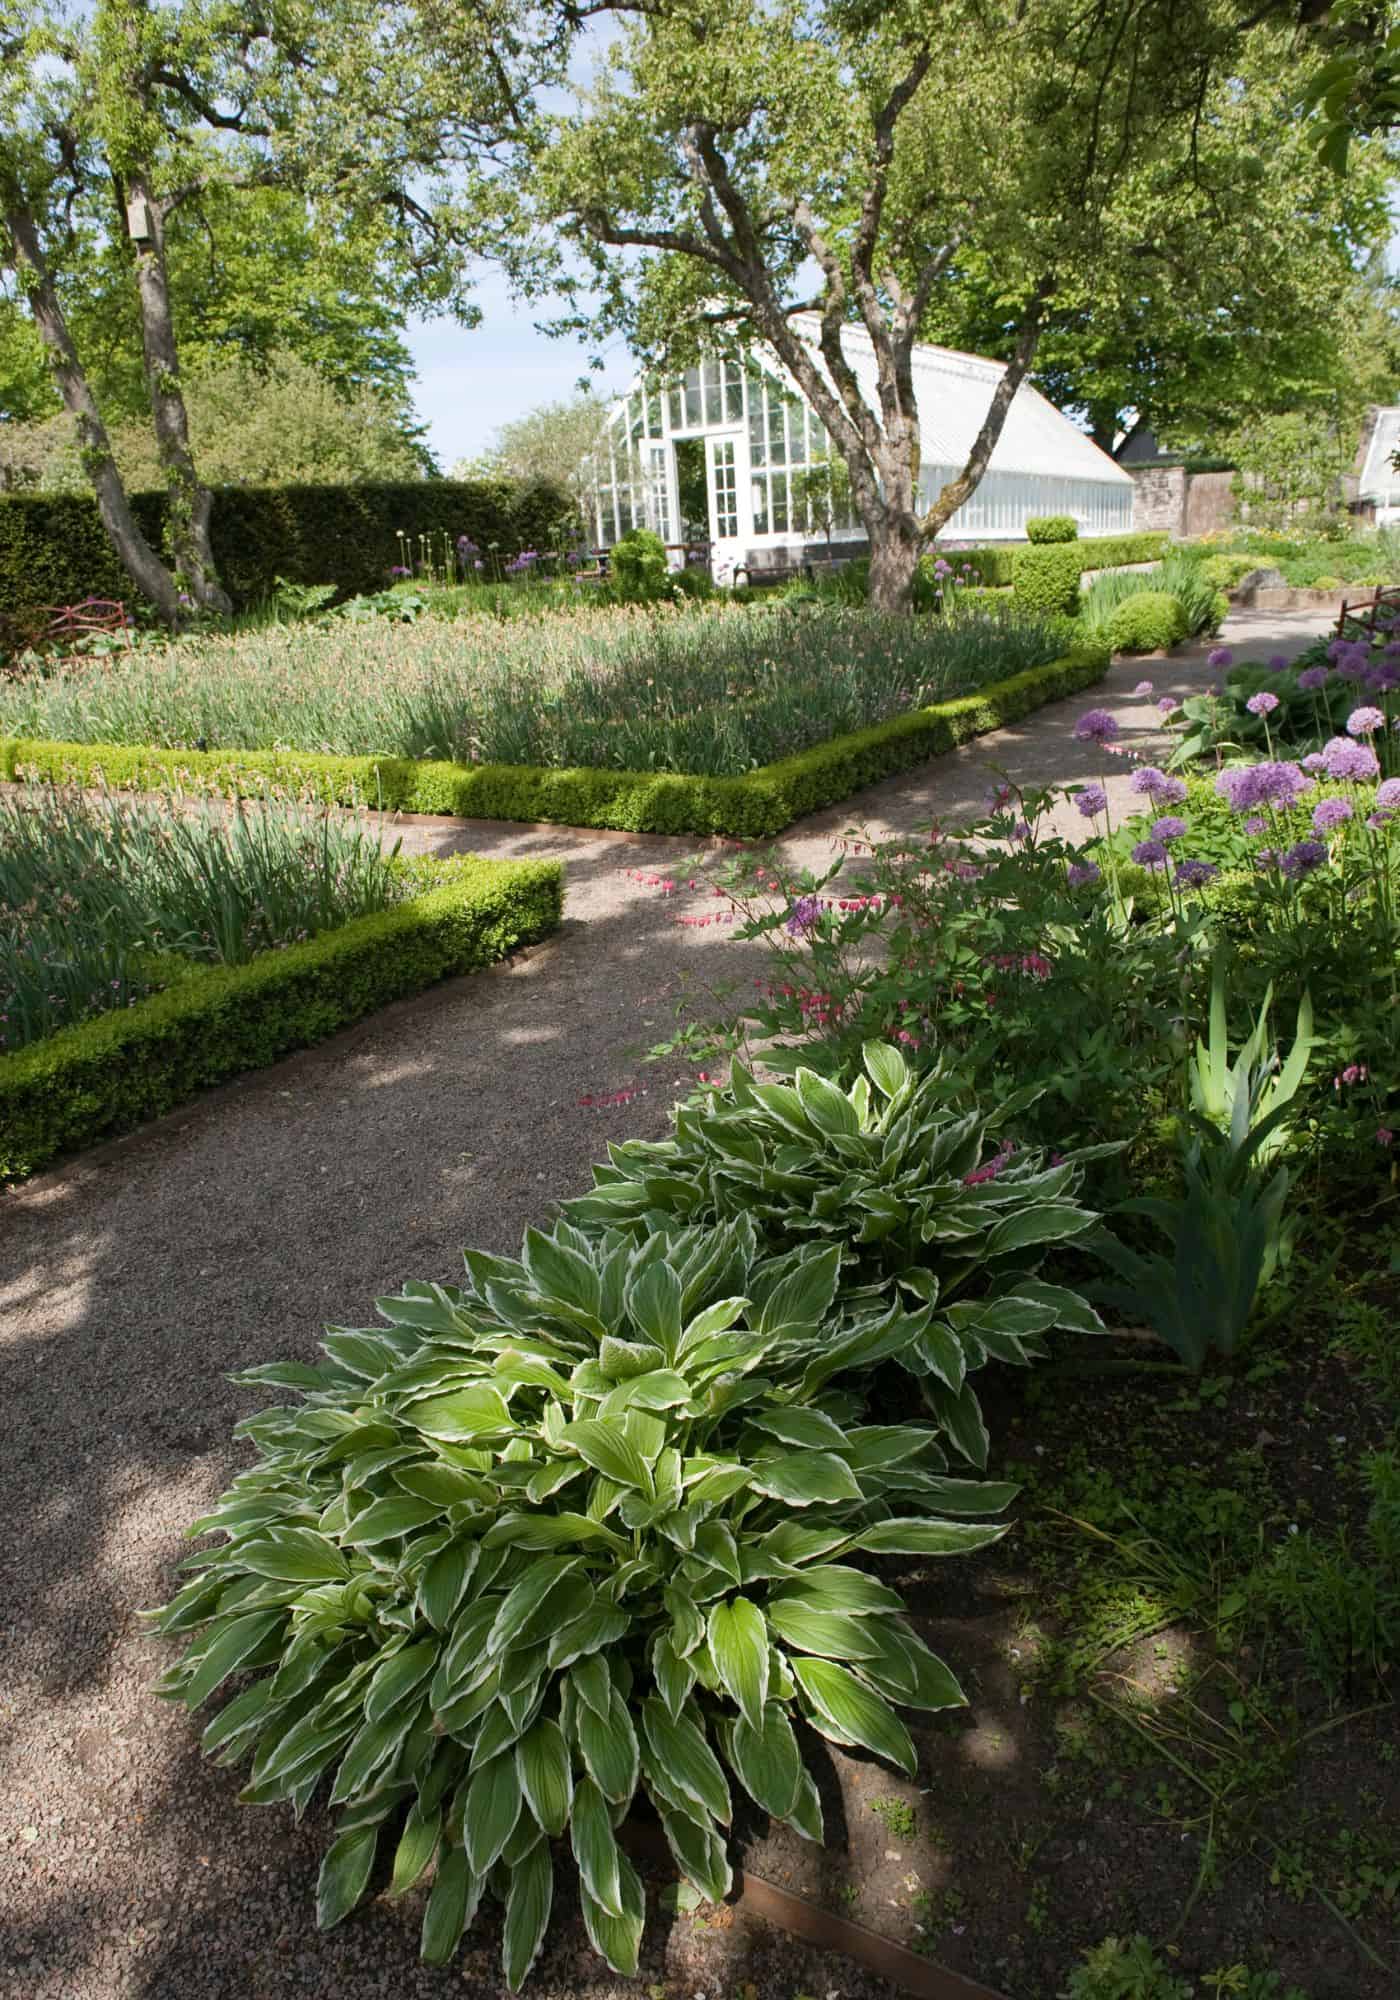
Ideal planting location for hostas
The ideal planting location for hostas is generally a partially shaded area that gets a bit of direct sunlight in the morning but is shaded from the harsh midday and afternoon light. All plants in the garden need some sunlight to grow, but hostas are adapted to the filtered, gentle light of a woodland understory.
While there are certainly sun-tolerant varieties, hostas generally don’t do well with direct sunlight (especially harsh afternoon sunlight). Hostas do not like the full sun as this will cause their leaves to scorch and turn brown. That said, some gentle morning sun can help them thrive as long as they are sheltered during the hotter parts of the day.
Planting location is particularly important when growing hostas in hot climates such as Zones 8-9. Afternoon shade is particularly important in these warm regions.
Additionally, make sure the soil is well-drained but rich in organic matter such as compost or manure. The soil should also be kept moist by providing fresh water regularly throughout the growing season (so make sure there is a source for irrigation water nearby). You’ll want to irrigate the plants very regularly, especially during hot weather.
Soil preparation before planting hostas
Soil preparation is an essential step in growing hostas. The right soil can make a massive difference in the success of your garden. Hostas prefer moist, well-drained soil with plenty of organic matter and a slightly acidic pH (5.5 to 6.0). They are tolerant of soil which isn’t ideal, but it’s always easier to improve the soil before you plant than trying to improve the soil around an existing plant.
Testing soil texture
Soil texture is the size of the particles that make up your soil. It affects how much water, air, and nutrients your plants get. Sandy soils have large particles which don’t hold moisture well and drain quickly. Clay soils are made up of small particles that hold onto the water but don’t allow much aeration or drainage.
Loam soils are a good balance between sandy and clay soils and usually provide the best environment for plants like hostas. I am fortunate to have a sandy loam in my yard, and my hostas thrive in this type of soil, especially when I take the time to mix in some compost to the bed prior to planting it.
Testing soil nutrients
Hostas need over a dozen different mineral nutrients that they source from the soil. Hostas can tolerate some mineral deficiencies, but it’s easiest to find out what you’re dealing with before you install a bunch of expensive plants and then wonder why they aren’t thriving. Get a soil test done before planting to check if the soil has any major deficiencies that need to be corrected prior to planting.
Testing soil pH
Testing your soil’s pH will help determine if it is suitable for growing hostas and any other plants you’re considering. A simple test kit from your local garden center can be used to measure the acidity or alkalinity of your soil. Hostas prefer slightly acidic conditions closer to 5.5-6.0 on the scale.
If needed, you can adjust the pH by adding sulfur or lime according to package instructions before planting hostas in order to create ideal conditions for them to thrive in their new home. Sulfur will make the soil more acidic, while garden limestone will make it more alkaline.
Adding organic matter
Adding organic matter such as compost or aged manure helps improve drainage and increases the amount of nutrients available for plants to use. It also helps retain moisture so that plants don’t dry out too quickly during hot weather or droughts.
The addition of organic matter also helps improve the soil structure, allowing for better root penetration and improved water-holding capacity. Furthermore, it can help reduce erosion that can occur with heavy rains or flooding. Finally, adding organic matter to your soil will attract beneficial soil organisms like earthworms, which help aerate the soil, make minerals available, and create humus.
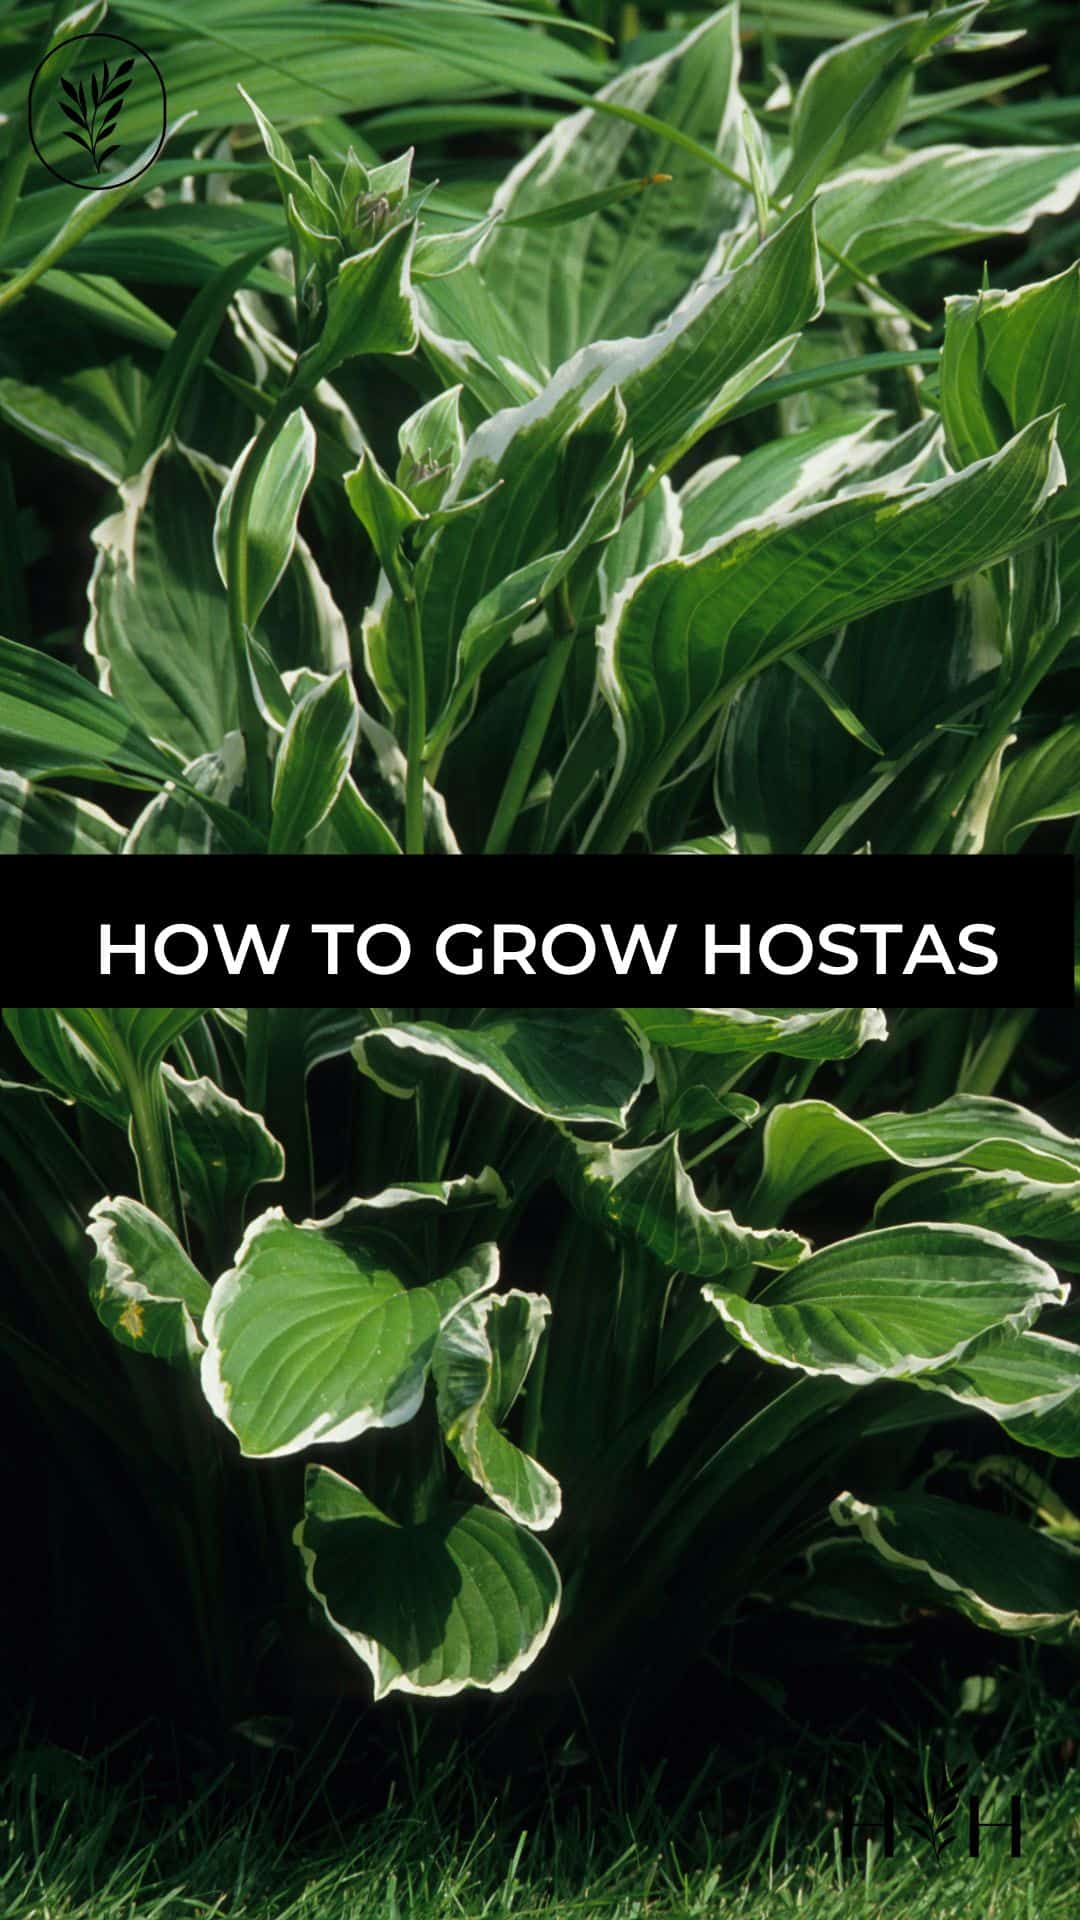
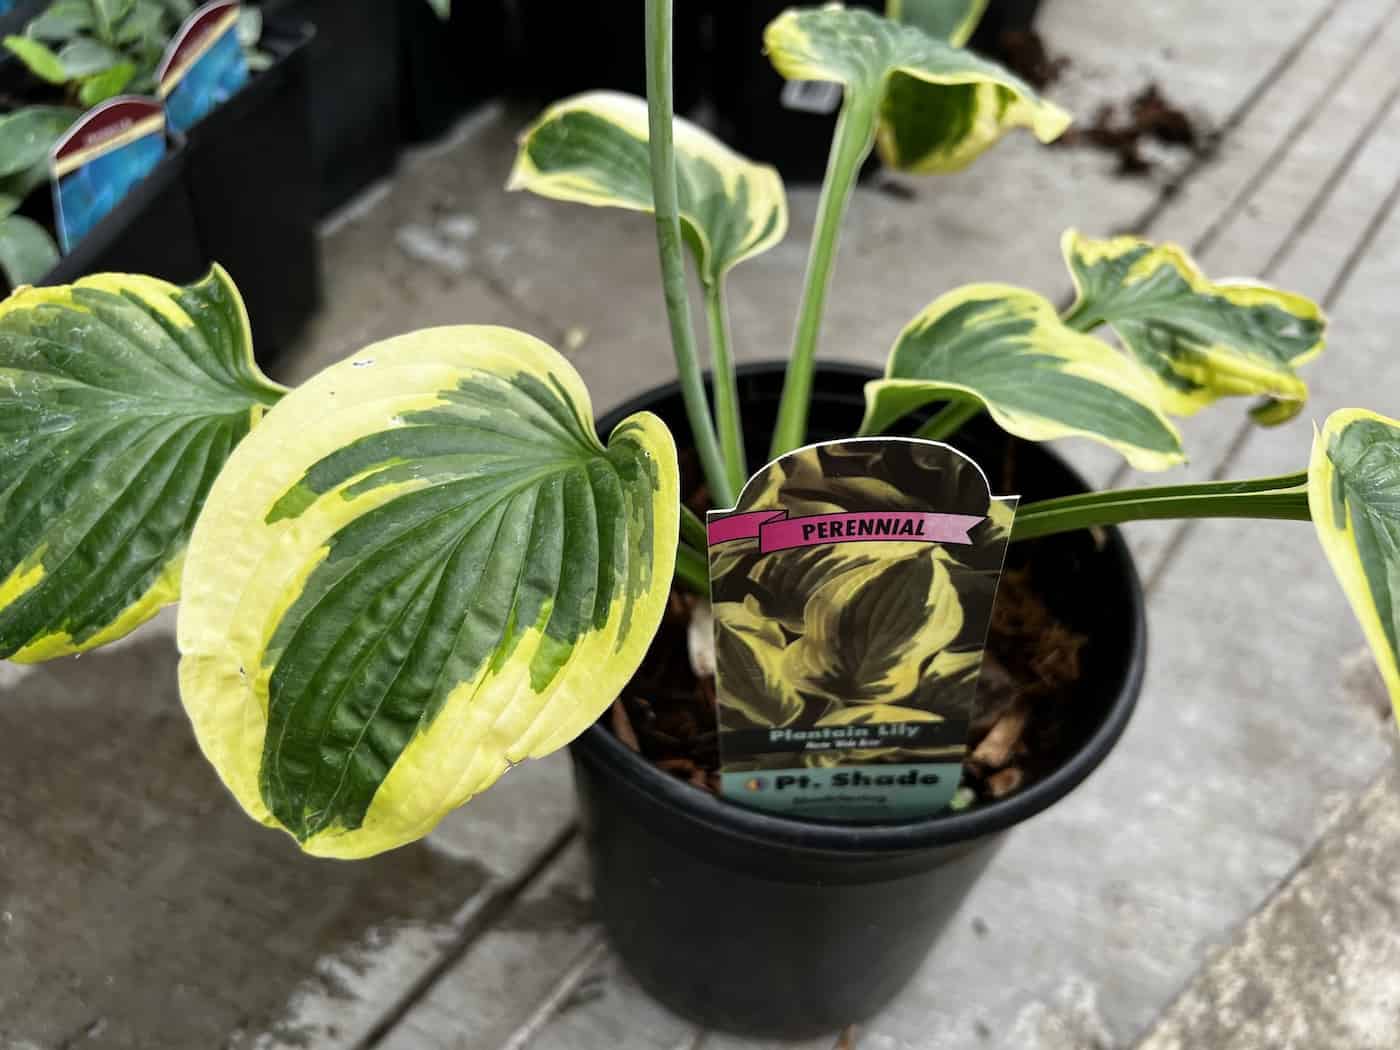
Choosing hosta varieties
There are thousands of registered hosta varieties, of which hundreds are common in garden centers and nurseries. It’s worth taking the time to find the most suitable variety for your space. One way to narrow your choices is to look for award-winning cultivars (of which there are about a hundred).
Here are the hosta cultivars that have been named Hosta of the Year by the American Hosta Growers Association:
- ‘So Sweet’ (1996)
- ‘Patriot’ (1997)
- ‘Fragrant Bouquet’ (1998)
- ‘Paul’s Glory’ (1999)
- ‘Sagae’ (2000)
- ‘June’ (2001)
- ‘Guacamole’ (2002)
- ‘Regal Splendor’ (2003)
- ‘Sum and Substance’ (2004)
- ‘Striptease’ (2005)
- ‘Stained Glass’ (2006)
- ‘Paradigm’ (2007)
- ‘Blue Mouse Ears’ (2008)
- ‘Earth Angel’ (2009)
- ‘First Frost’ (2010)
- ‘Praying Hands’ (2011)
- ‘Liberty’ (2012)
- ‘Rainforest Sunrise’ (2013)
- ‘Abiqua Drinking Gourd’ (2014)
- ‘Victory’ (2015)
- ‘Curly Fries’ (2016)
- ‘Brother Stefan’ (2017)
- ‘World Cup’ (2018)
- ‘Lakeside Paisley Print’ (2019)
- ‘Dancing Queen’ (2020)
- ‘Rainbow’s End’ (2021)
- ‘Island Breeze’ (2022)
- ‘Neptune’ (2023)
- ‘Mini Skirt’ (2024)
- ‘Skywriter’ (2025)
Here are the hostas that have received the Award of Garden Merit from the Royal Horticultural Society:
- ‘Blue Angel’ (1993)
- ‘fortunei var. aureomarginata’ (1993)
- ‘Francee’ (1993)
- ‘Golden Tiara’ (1993)
- ‘Krossa Regal’ (1993)
- ‘Love Pat’ (1993)
- ‘Sagae’ (1993)
- ‘sieboldiana var. elegans’ (1993)
- ‘Sum and Substance’ (1993)
- ‘undulata var. undulata’ (1993)
- ‘Wide Brim’ (1993)
- ‘Halcyon’ (1993)
- ‘June’ (2004)
- ‘Abiqua Drinking Gourd’ (2012)
- ‘Ani Machi’ (2012)
- ‘Blue Arrow’ (2012)
- ‘Blue Mouse Ears’ (2012)
- ‘Captain Kirk’ (2012)
- ‘Cathedral Windows’ (2012)
- ‘Christmas Tree’ (2012)
- ‘Cracker Crumbs’ (2012)
- ‘Daybreak’ (2012)
- ‘Devon Green’ (2012)
- ‘Dragon Tails’ (2012)
- ‘El Niño’ (2012)
- ‘Fire Island’ (2012)
- ‘Fireworks’ (2012)
- ‘First Frost’ (2012)
- ‘Fragrant Bouquet’ (2012)
- ‘Green with Envy’ (2012)
- ‘Guacamole’ (2012)
- ‘Gypsy Rose’ (2012)
- ‘Hadspen Blue’ (2012)
- ‘Liberty’ (2012)
- ‘Little Wonder’ (2012)
- ‘Minuteman’ (2012)
- ‘Niagara Falls’ (2012)
- ‘Night before Christmas’ (2012)
- ‘Orange Marmalade’ (2012)
- ‘Paradise Puppet’ (2012)
- ‘Patriot’ (2012)
- ‘Paul’s Glory’ (2012)
- ‘Popo’ (2012)
- ‘Regal Splendor’ (2012)
- ‘Satisfaction’ (2012)
- ‘Snowden’ (2012)
- ‘Stained Glass’ (2012)
- ‘Summer Music’ (2012)
- ‘Tea at Bettys’ (2012)
- ‘Touch of Class’ (2012)
- ‘Victory’ (2012)
- ‘War Paint’ (2012)
- ‘Whirlwind’ (2012)
- ‘Alakazaam’ (2018)
- ‘Allan P. McConnell’ (2018)
- ‘Autumn Frost’ (2018)
- ‘Blue Mammoth’ (2018)
- ‘Deane’s Dream’ (2018)
- ‘Déjà Blu’ (2018)
- ‘Forbidden Fruit’ (2018)
- ‘Fried Bananas’ (2018)
- ‘Hands Up’ (2018)
- ‘Harry van Trier’ (2018)
- ‘Iced Lemon’ (2018)
- ‘June Fever’ (2018)
- ‘Lakeside Little Tuft’ (2018)
- ‘Lakeside Scamp’ (2018)
- ‘Marilyn Monroe’ (2018)
- ‘Mourning Dove’ (2018)
- ‘Mrs Minky’ (2018)
- ‘Olive Bailey Langdon’ (2018)
- ‘Paradigm’ (2018)
- ‘Paradise Glory’ (2018)
- ‘Quill’ (2018)
- ‘Raspberry Sorbet’ (2018)
- ‘Risky Business’ (2018)
- ‘Rock Island Line’ (2018)
- ‘Saint Paul’ (2018)
- ‘Seducer’ (2018)
- ‘Slim and Trim’ (2018)
- ‘Smiling Mouse’ (2018)
- ‘Snake Eyes’ (2018)
- ‘Sunshine Glory’ (2018)
- ‘Tom Schmid’ (2018)
- ‘Toy Soldier’ (2018)
- ‘Twist of Lime’ (2018)
- ‘Volcano Island’ (2018)
- ‘Winter Snow’ (2018)
- ‘Yellow River’ (2018)
Planting hostas
The best time to plant hostas is in the spring when temperatures are mild, and there’s plenty of moisture in the soil. When you’re ready to get started, make sure your soil has been appropriately prepared for planting by removing weeds and loosening it up with a shovel or tiller.
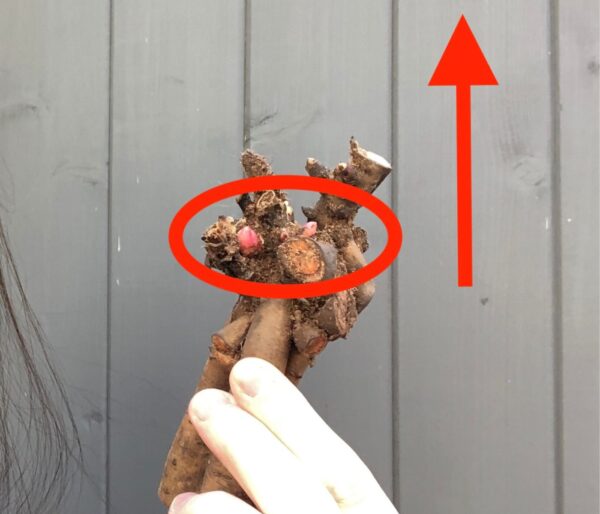
When planting a hosta, dig a hole twice as wide as the root ball but no deeper than its current depth. Place the root ball into the hole and fill in around it with soil until it is level with the ground surface. Space most varieties 12-18 inches apart so they have room to grow without overcrowding each other. Here’s a detailed guide on how to plant a hosta.
Water thoroughly after planting and continue watering regularly throughout their growing season (spring through fall). It also makes sense to lay a layer of organic mulch over the soil around the hosta.
While hostas are relatively drought tolerant once established, they should be watered quite often during their first 1-2 years to get those roots adequately established. Water even more frequently in the first 6-8 weeks as the plants establish feeder roots. This is also a good time to check to ensure that water is draining into the soil nicely (and not puddling on the surface).

Watering hosta plants
Watering is an important part of growing healthy hostas. Without enough water, the plants will become stressed and may not reach their full potential. Knowing how much and how often to water your hostas can help ensure they stay healthy and vibrant throughout the season.
Hostas need at least 1 inch of water per week during the growing season. If you don’t get that amount from natural rainfall, then you should supplement with a watering system or hand-watering as needed. The best time to water is in the morning so that any excess moisture has time to evaporate before nightfall when it could cause fungal diseases on foliage.
Drip irrigation is usually the most effective way of watering hostas. Watering at the base of the plant is much less likely to spread fungal disease in the way that overhead systems can. You can also just hand water the plants at the base.

If you are using a sprinkler system, make sure it is set up correctly for optimal coverage over your entire garden bed without overwatering certain areas while leaving others dry. When hand-watering, use a gentle spray setting on your hose nozzle so as not to damage delicate foliage or wash away the soil around the roots. You’ll also help conserve water by preventing runoff into nearby sidewalks and streets.
When determining if your hostas need more water, check the soil with a trowel about two inches below surface level. If it feels dry there, then give them some additional water. Also, look out for wilting leaves, which can be an indication of drought stress due to lack of moisture in the root zone – this usually means they need immediate attention. Finally, keep an eye out for signs of disease, such as yellowed leaves, which could indicate too much moisture leading to root rot or other fungal issues caused by overwatering.
Fertilizing hostas in the garden
Fertilizing is an important part of growing healthy hostas. The right fertilizer will provide the nutrients needed for strong, lush growth and vibrant foliage color. When choosing a fertilizer, look for one that is specifically formulated for perennials such as hostas. A slow-release natural formula is ideal since it will gradually release nutrients over time to keep your plants fed throughout the season.
It’s best to fertilize your hostas in early spring before new growth begins and again after blooming has finished in late summer or early fall. Before applying any fertilizer, water your plants thoroughly so they can absorb the nutrients more easily. Spread the fertilizer evenly around each plant at a rate recommended on the package label or by your local garden center expert. Be sure not to get too close to the crown of each plant when applying, as some formulations can cause burning or damage.
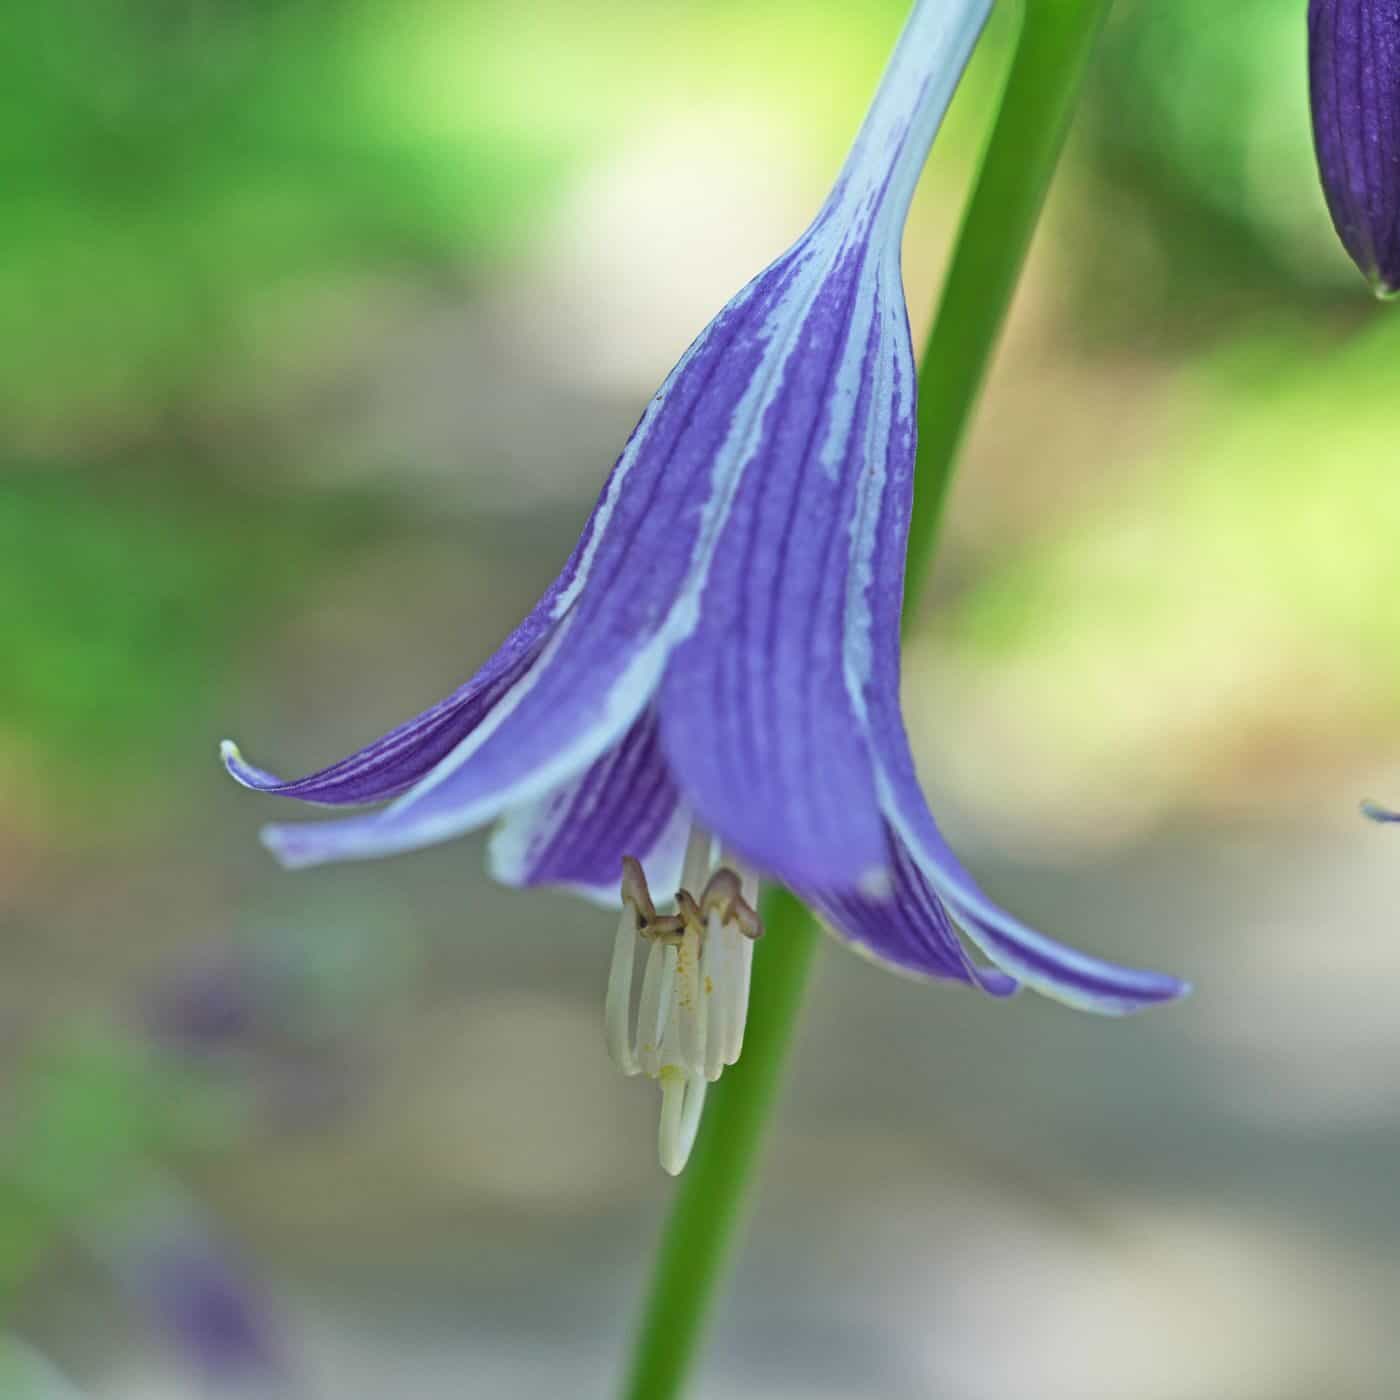
Pruning hostas & deadheading flower scapes
Pruning and deadheading hostas are important parts of keeping your garden looking its best. Pruning helps to maintain the tidy appearance and shape of your plants, while deadheading removes spent flowers that can detract from the overall look of your garden.
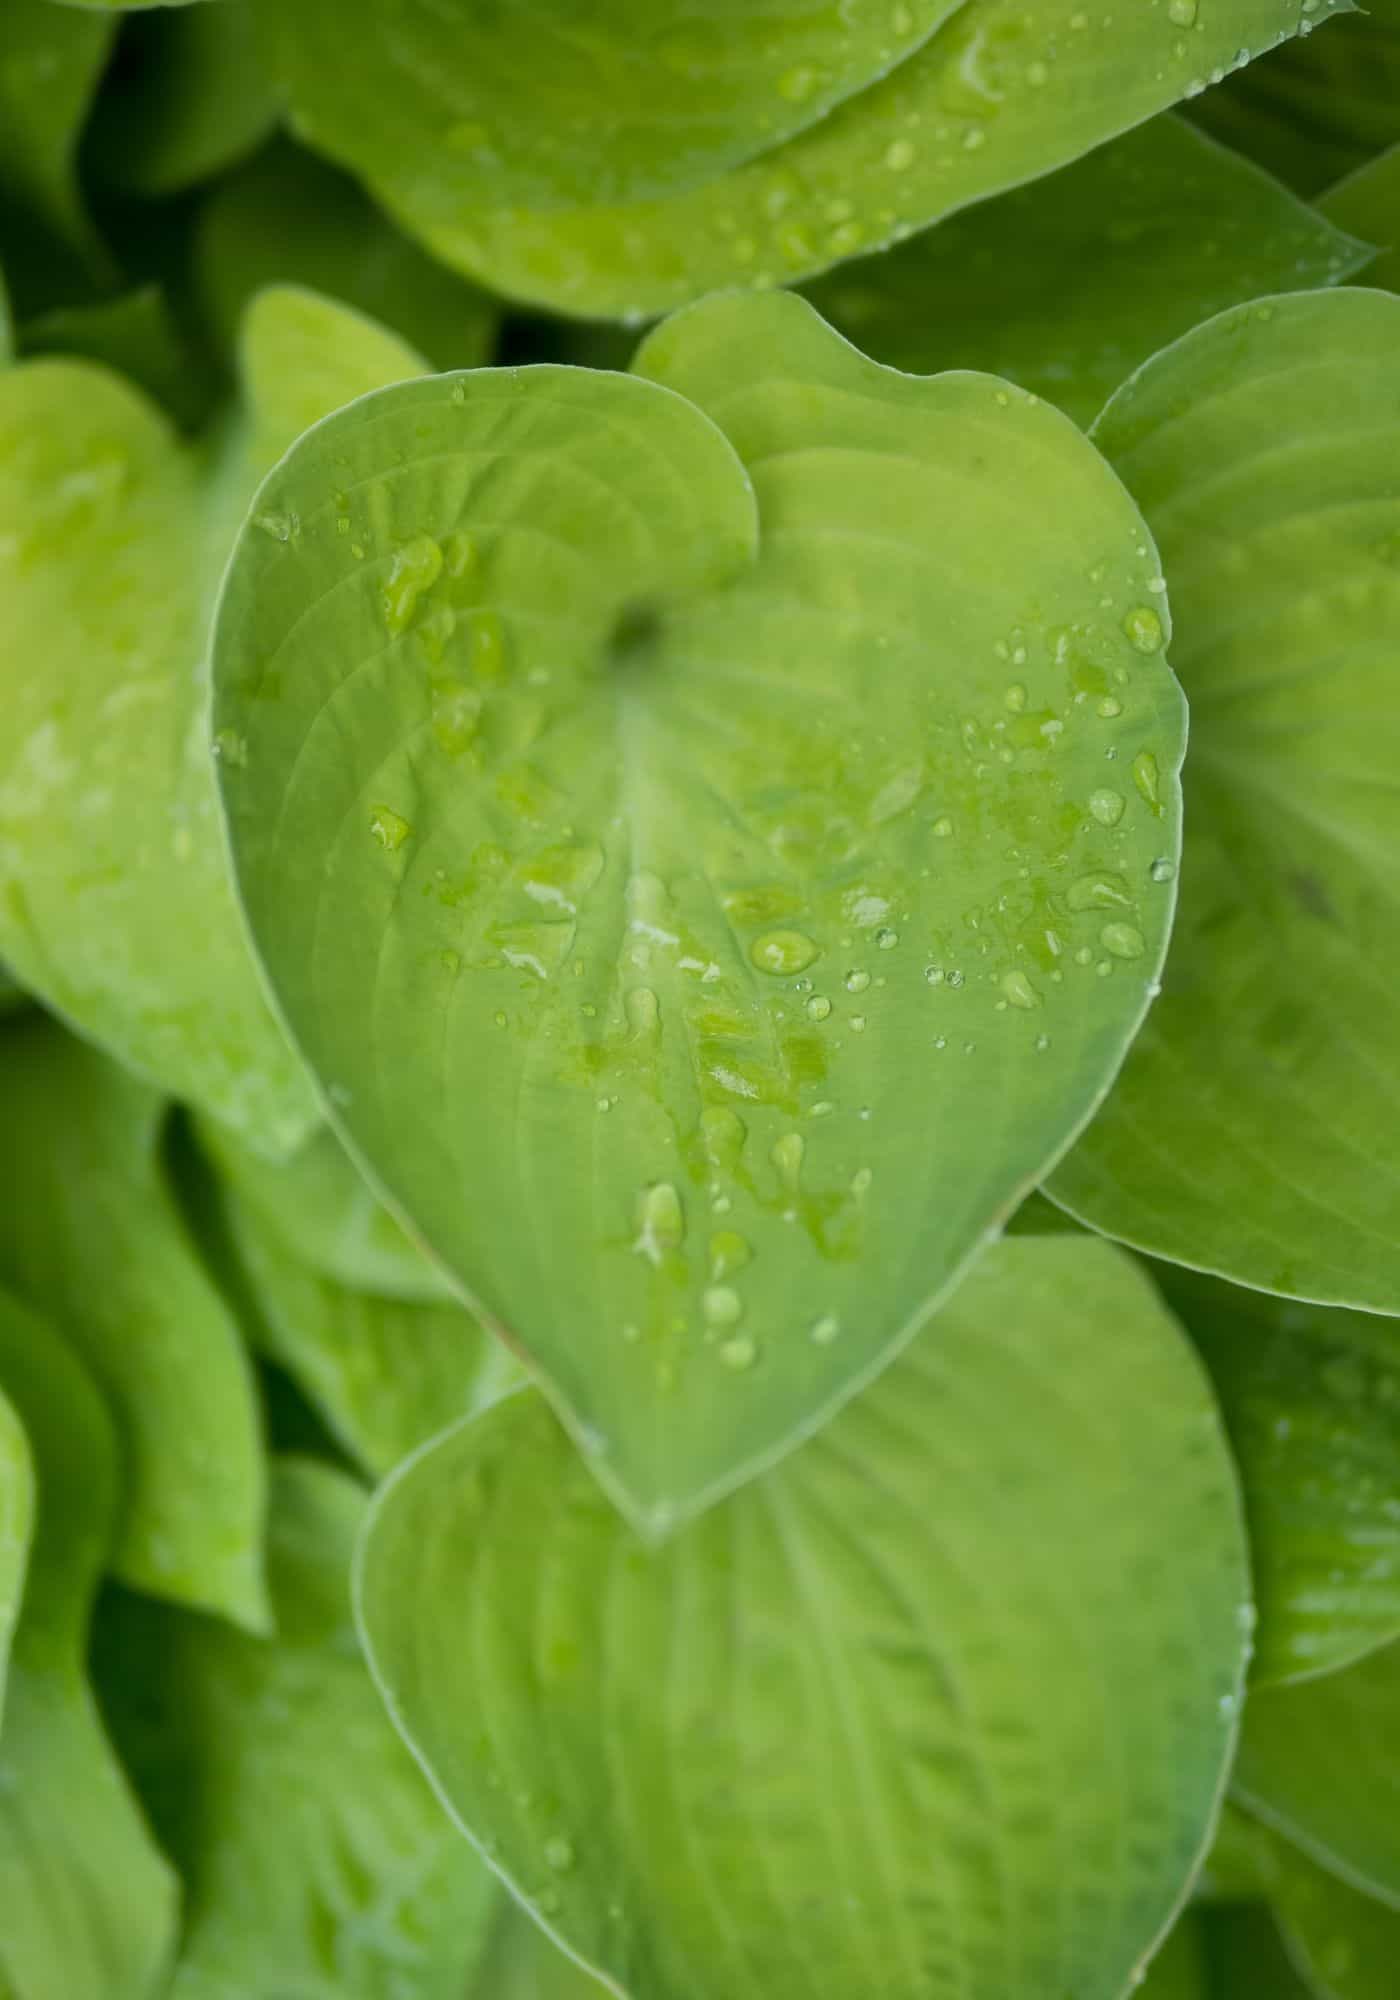
Hostas require minimal pruning. All I really do is remove any dead or damaged leaves (right at the base of the leaf) as they appear. I usually let my plants flower and then trim off the dead stalks at the base. And then, in the mid-late fall, I cut the whole thing back to the ground.
Too much pruning can be detrimental for hostas. Excessive trimming can reduce the plant’s vigor over time because the plant needs those leaves for photosynthesis to create energy. As such, only remove the dead leaves. This will keep them looking lush without sacrificing long-term health benefits.
Deadheading involves simply snipping off spent flowers at their base with a pair of scissors or clippers when they start to fade away from their original coloration and die off naturally over time. Deadheading prevents seed production, which could result in unwanted self-seeding around your garden beds but also encourages the plant to focus more on foliage (instead of growing seeds).
Pests & diseases affecting hostas
Hostas are generally low-maintenance, but there are a few pests and diseases that can affect them. Aphids are the most common small pests, while larger animals like to snack on the leaves. The most common culprits are slugs, snails, rabbits, and deer. In terms of diseases, fungal diseases are generally the most common.
Aphids are small insects that feed on the sap of hosta leaves. They cause yellowing or curling of the foliage and leave behind sticky honeydew secretions. The easiest way to deal with them is just to spray them off with a sharp stream of water from the hose. If the problem is really bad, you can follow up your water spray with a spray of insecticidal soap or an organic insecticide product.

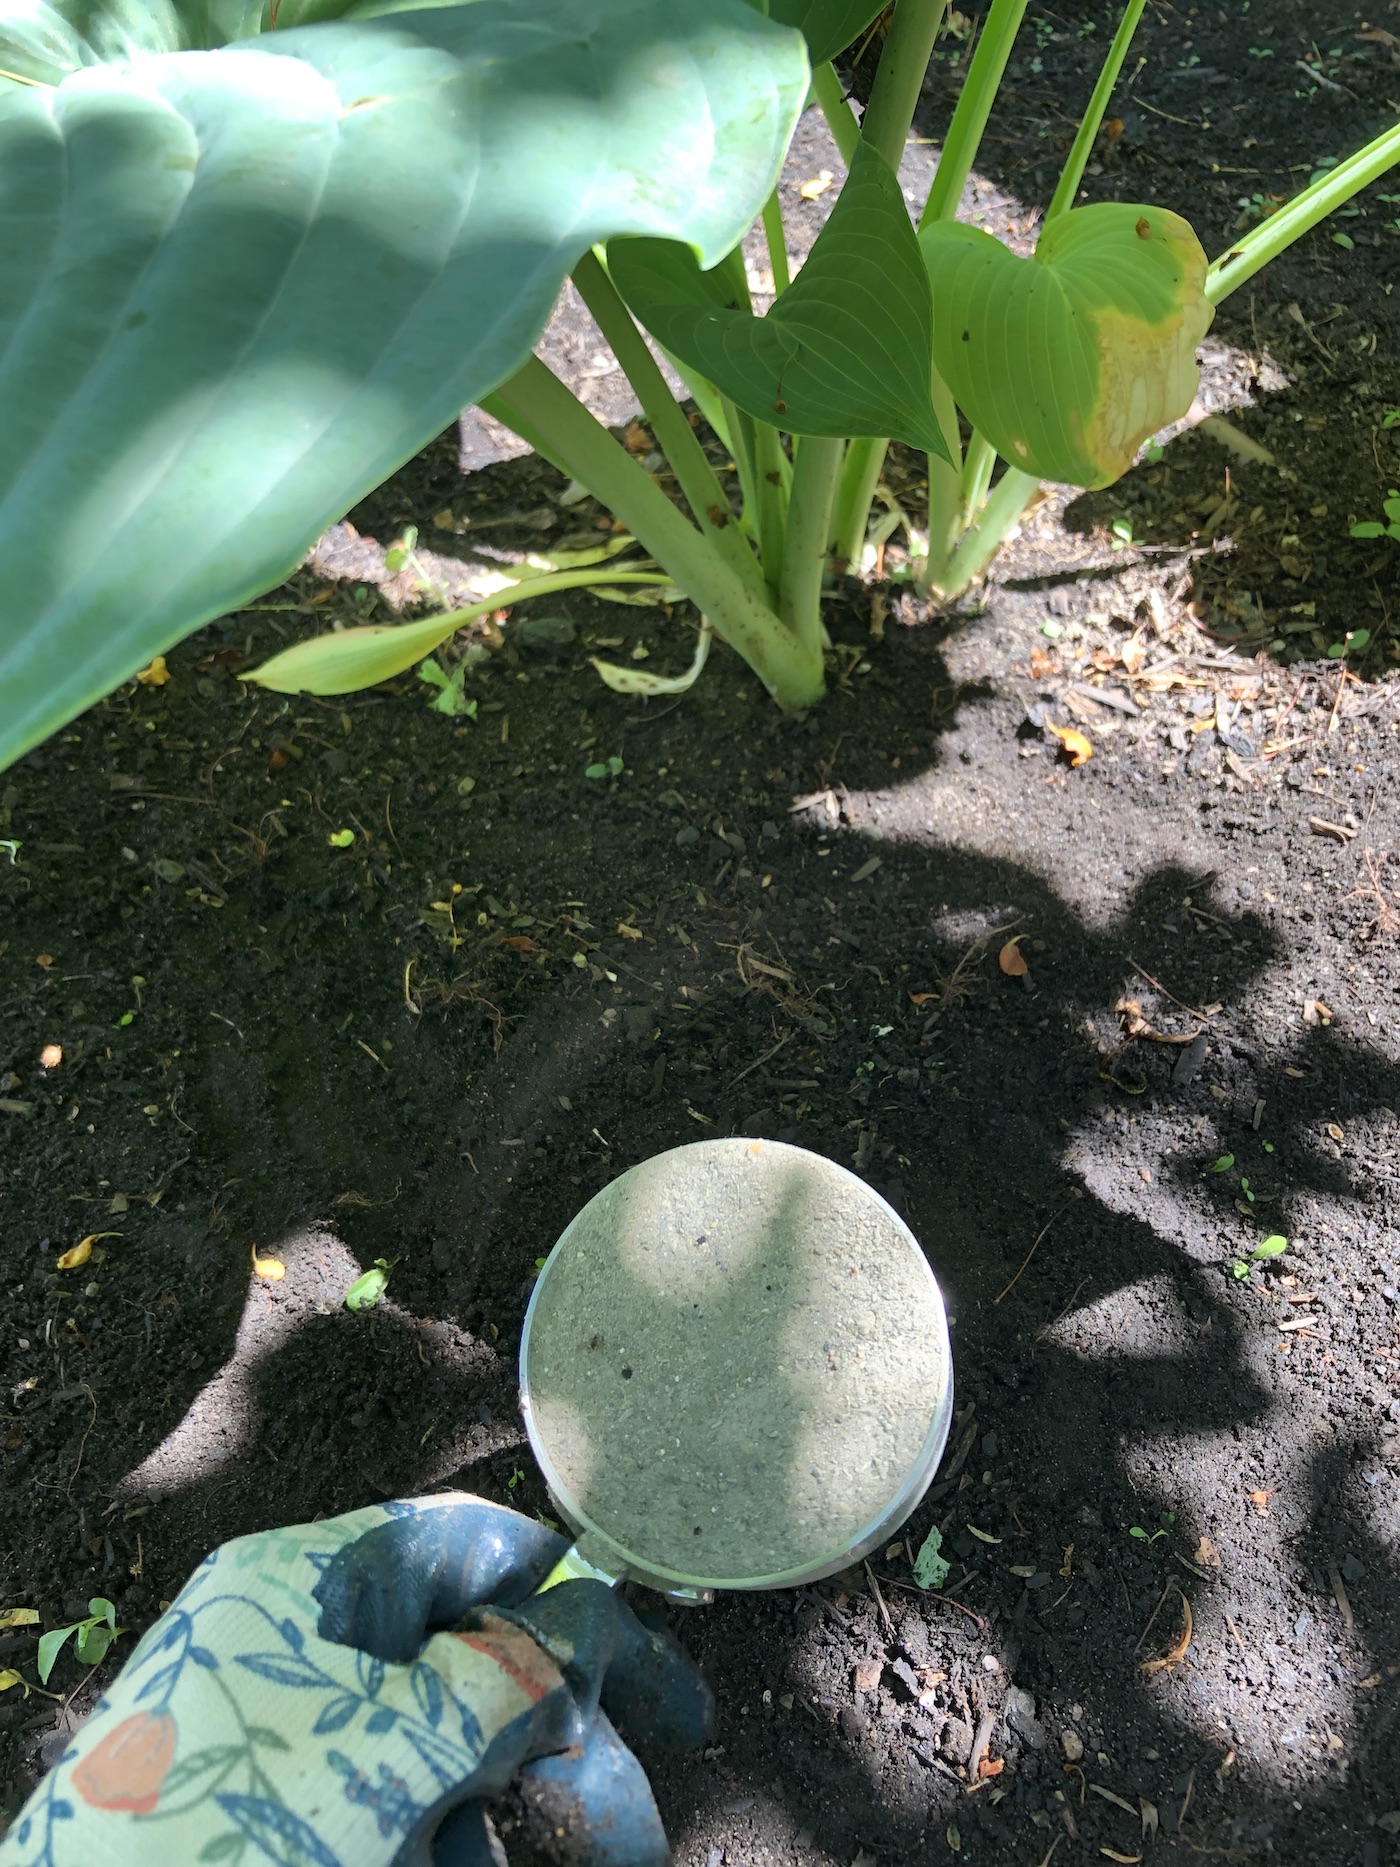
Slugs and snails love to munch on tender young hosta leaves. These slimy pests hide in damp areas during the day, so it’s important to inspect your garden regularly for signs of damage caused by these pests. You can also set up traps around the base of your plants by placing flat boards or shallow dishes filled with beer near affected areas. Slugs gather under boards, and will be attracted to the smell of the beer traps and drown in the liquid.
Fungal diseases like powdery mildew can affect hostas. Additionally, prune away any dead or dying foliage as soon as possible. Prune back other plants in the area to create good air circulation and decrease the likelihood of disease. To avoid this issue altogether, try planting disease-resistant varieties.
Hostas may also suffer from leaf spot diseases. These pathogens create circular spots on their leaves that eventually turn brownish-black in color over time. Spots usually appear after periods of heavy rain when moisture levels remain high for extended periods (this encourages fungal growth). Provide adequate spacing between each plant, so air circulates freely around all sides. If required, apply natural fungicides such as copper sulfate.
FAQs about how to grow hostas
Where do hostas grow best?
Hostas do best when planted in a somewhat shady area with some morning sun and afternoon shade. They prefer acidic soils with a pH between 5.5 and 6.5 but can tolerate slightly alkaline soils as long as they are not too dry or waterlogged. Mulching around the plants helps to keep the roots cool and moist during hot summer months while providing extra nutrients for healthy growth throughout the season.
What month is best to plant hostas?
The best time to plant hostas is in the spring, typically between April and May. This allows them enough time to establish a strong root system before the summer heat arrives. You can also plant them in late summer or early fall (August-September) when the soil is still nice and warm.
Planting in late fall or winter can also be successful, but it’s important to ensure that the ground isn’t frozen when you do so. It also makes sense to avoid planting them during the hottest months of summer.
How do you encourage hostas to grow?
To encourage hostas to grow, start by planting them in well-draining soil with plenty of organic matter. Make sure the soil is slightly acidic (pH 5.5–6.5) and has adequate moisture levels for optimal growth. Place your hosta plants in an area that receives at least four hours of direct sunlight each morning, but avoid overly hot or dry spots, as this can cause stress on the plants.
Water your hostas regularly throughout the growing season and mulch around them to help retain moisture and protect their roots from extreme temperatures. Finally, fertilize your hostas regularly during spring and summer with a balanced fertilizer specifically designed for leafy plants. With proper care, you’ll soon have healthy, vibrant plants.
Are hostas easy to grow?
Yes, hostas are easy to grow. They thrive in partial shade and moist soil, making them an ideal choice for many North American gardens. Hostas are also relatively low-maintenance plants that require minimal pruning or fertilizing. With a little care and attention, they can be grown successfully with minimal effort. Additionally, they come in various sizes and colors, so you can find the perfect one to fit your garden’s needs.
Before you go…
Growing hostas is a great way to add beauty and texture to your garden. With the right soil preparation, planting location, watering, fertilizing, pruning, and deadheading techniques, you can ensure that your hostas will thrive for years to come. If pests or diseases become an issue, don’t worry – there are solutions available! All in all, growing hostas is a rewarding experience.