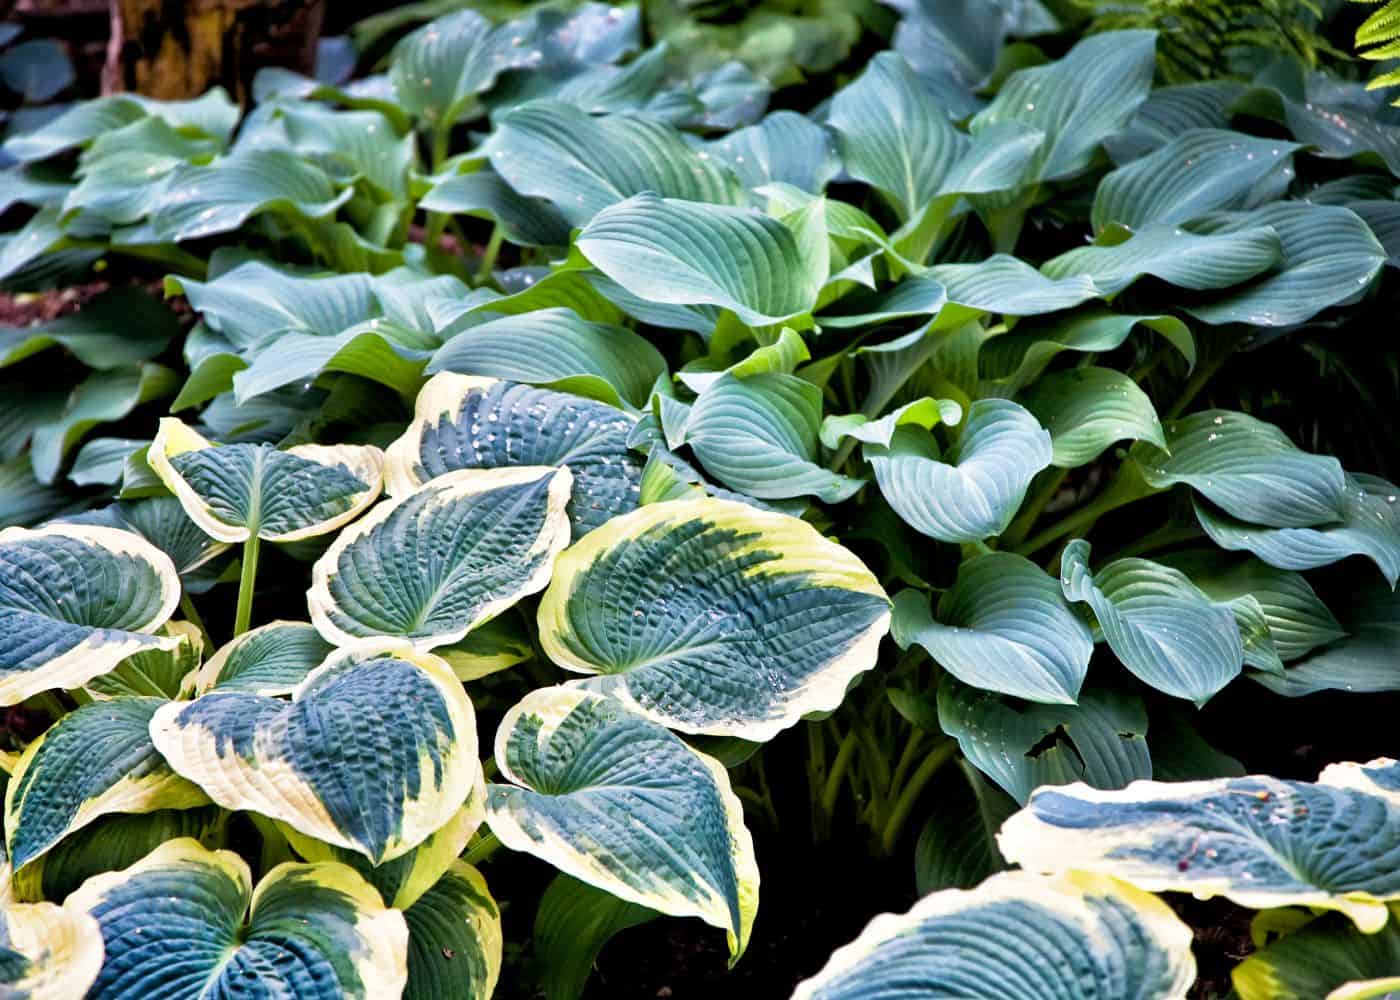
Hosta care starts with planting in a location with rich soil and mulching the soil surface after planting. Hostas also benefit from regular watering, especially during hot summer days.
To prevent the leaves from burning, use a soaker hose or drip irrigation system to apply water at the base of the plant. Lastly, hostas are susceptible to slugs and snails, so check your plants regularly for signs of damage.
Hosta care basics
Hostas are one of the easiest ornamental plants to grow in residential and commercial landscaping. These shade-loving perennials are known for their large, textured leaves and ability to tolerate various growing conditions.
Hosta care starts by assessing their current growing location. Most types of hostas grow well in partial shade. Some varieties can handle direct sunlight, but most do best when direct sun is limited to the morning hours (rather than harsh afternoon sunlight). Hostas growing in sunnier spots will also require more frequent watering than those in full shade.
Hostas are native to rainy woodland areas and thrive with at least 1 inch of weekly rainfall. Since most climates don’t receive this much rain, most gardeners choose to water hostas regularly. As with most garden plants, deep watering at regular intervals is preferable to frequent shallow watering.
Hostas are heavy feeders and grow best in nutrient-rich soil. The easiest time to improve the soil is while planting hostas, but you can help improve the soil for your hostas by mulching the ground over the roots with a nutrient-dense organic mulch like compost topped with shredded yard trimmings. Hostas may also benefit from regular applications of slow-release hosta fertilizer.
Hosta plants are very versatile in terms of climate, with a typical growing range of zones 3-9. Certain hosta varieties grow well in hot climates like Zone 9. For areas on the coldest end of the range (zone 3, and sometimes even down to zone 2), a thick temporary winter mulch of about 4″ of shredded leaves can be applied after the ground freezes to insulate the roots.
Watering requirements for hostas
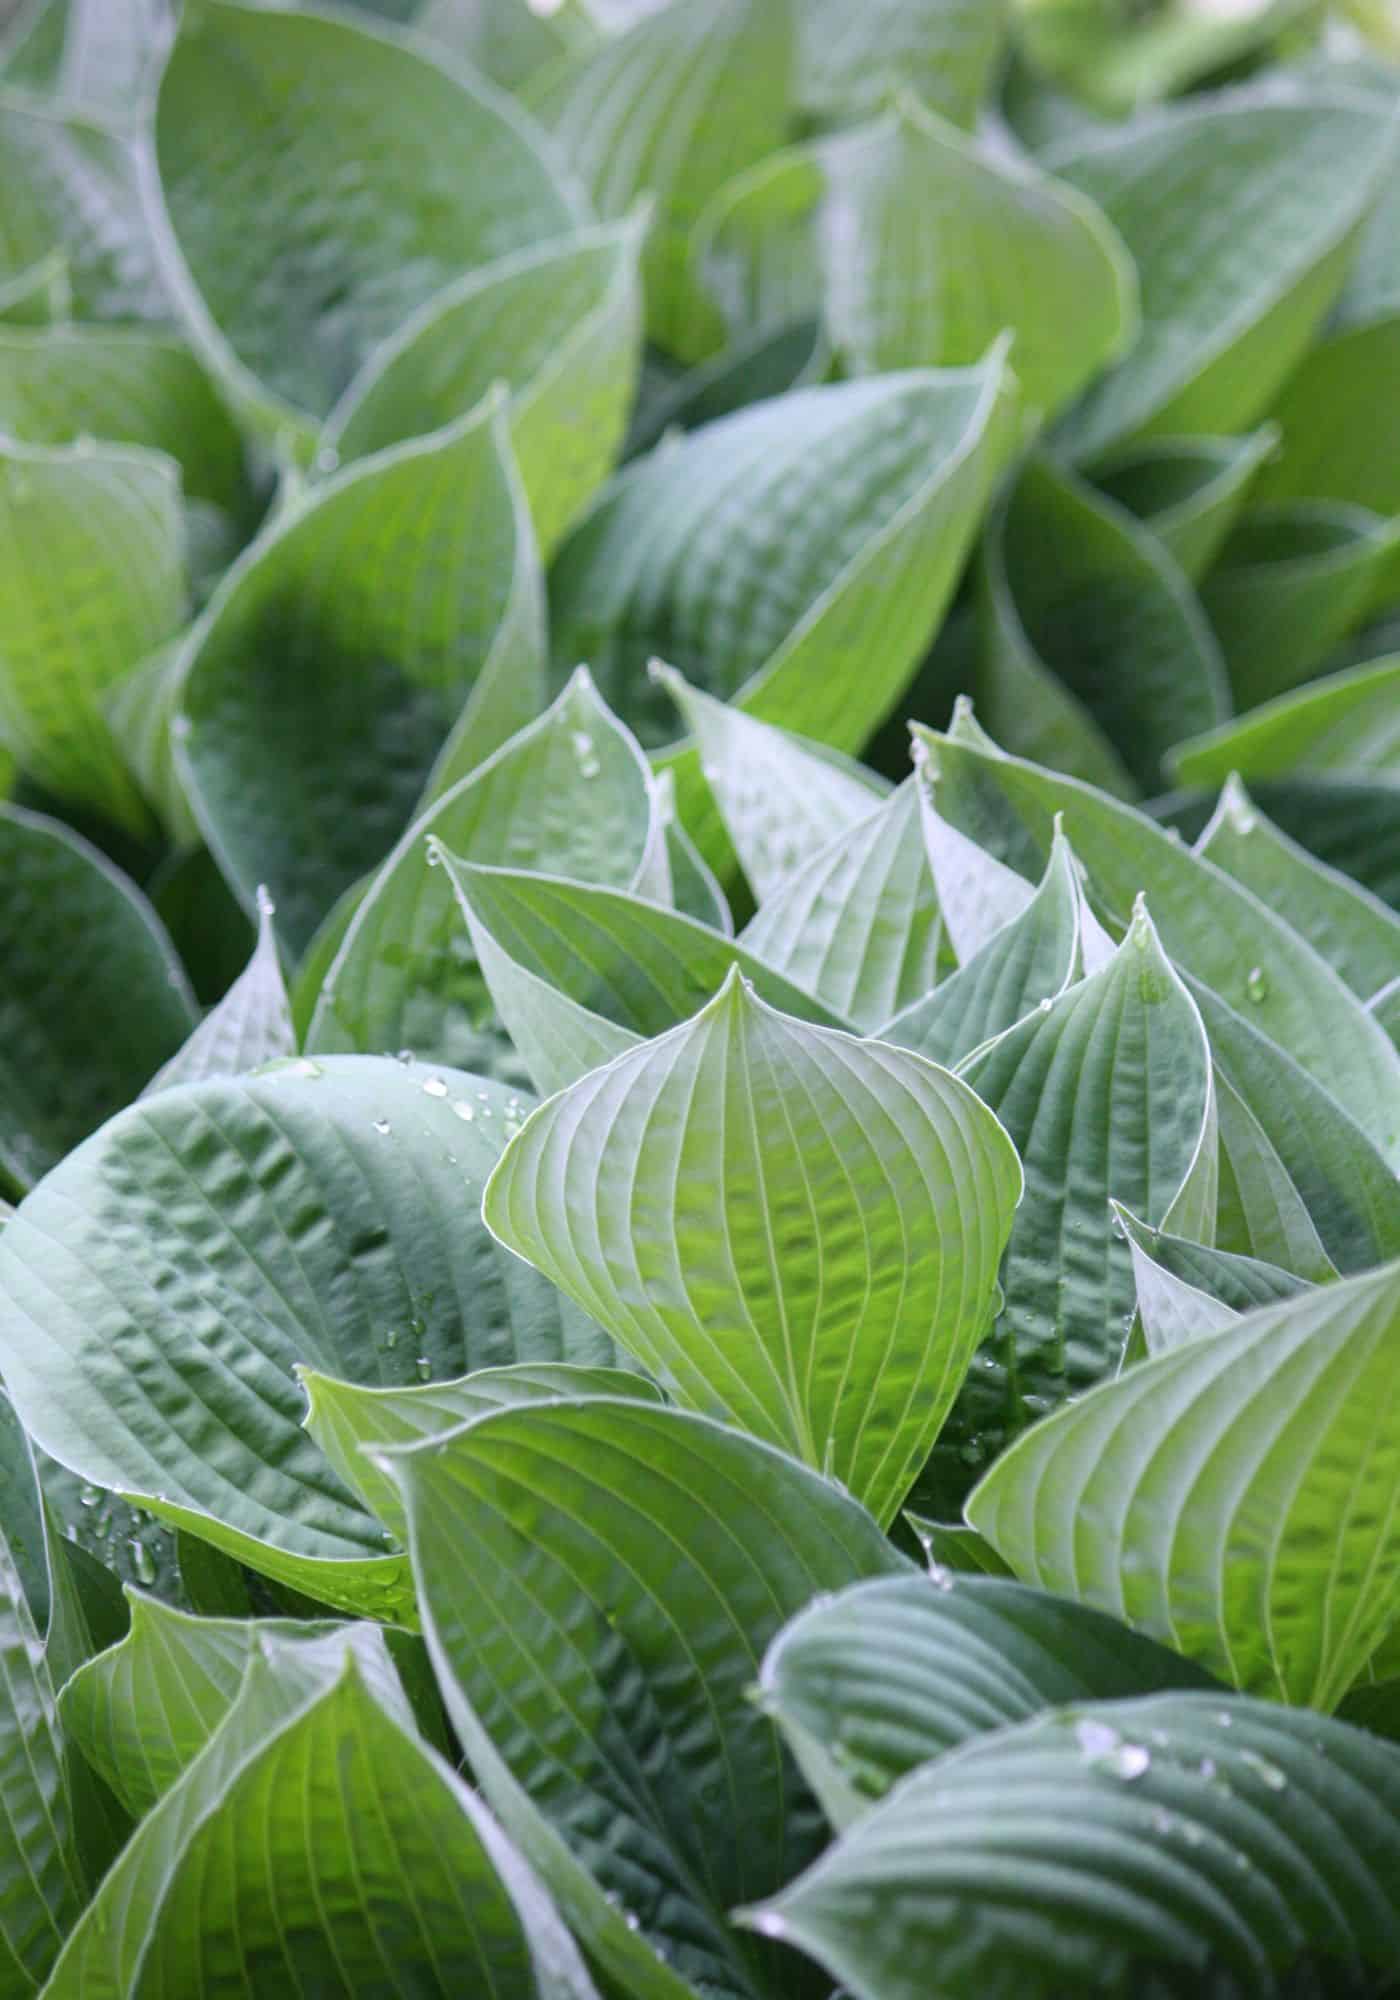
Hostas are not overly sensitive to different watering routines. In general, these plants should be watered quite frequently the year they are planted, but the watering frequency can be decreased once the plants have become established. They are best watered in the morning and right at the soil surface. Avoid getting the leaves wet regularly.
Hostas appreciate a good soaking once or twice a week rather than small daily waterings. Check the soil with a trowel to ensure the water is soaking at least 4″-6″ down into the ground. These plants are quite tolerant of drought conditions and will go dormant in summer heat if they do not receive enough water. If your hostas start to look wilted, it’s best to water them immediately.
My favorite watering method for hostas is drip irrigation. Drip emitter hoses can be laid around the base of the plants and even hidden under the mulch. You can use an automated timer to set the watering schedule. In a dry climate, you may want to set the timer to water every couple of days for the first year and then reduce watering to once or twice a week in subsequent growing seasons. Try different lengths of time for the first few days and monitor the soil’s moisture to ensure the hose is running for enough time to soak the soil without wasting water.
Sunlight for hostas
While adjusting the amount of sunlight that hostas receive can be tricky, it can certainly help the plants thrive if they are not already doing so. The ideal amount of sunlight for hostas is dappled shade throughout the day. Most hosta varieties should receive some direct sunlight, but not for more than a couple of hours at a time. Morning sun is far preferable to harsh afternoon light. Too much sun can lead to scorched leaves (but can help hostas grow bigger if they have enough water).
Hosta varieties with blue-green leaves will do best in shadier conditions, while those with green-yellow or chartreuse variegated leaves can usually handle direct sunlight. Here are some sun-tolerant hosta varieties.
Large shade trees are often poor canopy trees for hostas as they grow large enough that they may not let enough sunlight through (although removing lower branches usually helps tremendously). Trees with very shallow roots are also a poor choice for providing shade as the roots tend to compete with those of the hostas. You’ll also want to avoid trees that attract aphids if they are a problem in your yard, as they drip sticky residue onto the leaves of the plants below.
Here are some good shade trees to grow hostas under:
- Oak
- Apple
- Japanese maple
- Honey locust
Fertilizing requirements for hostas
Hostas are heavy feeders. They will benefit from both concentrated organic fertilizers and gentle soil amendments. I like to start with a slow-release hosta fertilizer applied in the spring. You can reapply many brands of this type of fertilizer every 4-6 weeks through the growing season. Be sure to check the directions on your product for application frequency (see more about when to fertilize hostas).
In addition to a granular fertilizer, hostas also appreciate regular applications of compost or other organic matter. This can be added to the soil around the plants in the spring and fall. For best results, work the organic matter into the top 6-8 inches of soil whenever dividing and/or transplanting the hosta roots.
Hosta growers also like to adjust the pH of the soil for optimal growth. Hostas tend to grow best in a slightly acidic, rich loamy soil. A pH level of about six is considered ideal. Alkaline or neutral soil can be acidified with a natural garden soil acidifier, while overly acidic soil can be amended with garden lime.
Pruning hostas
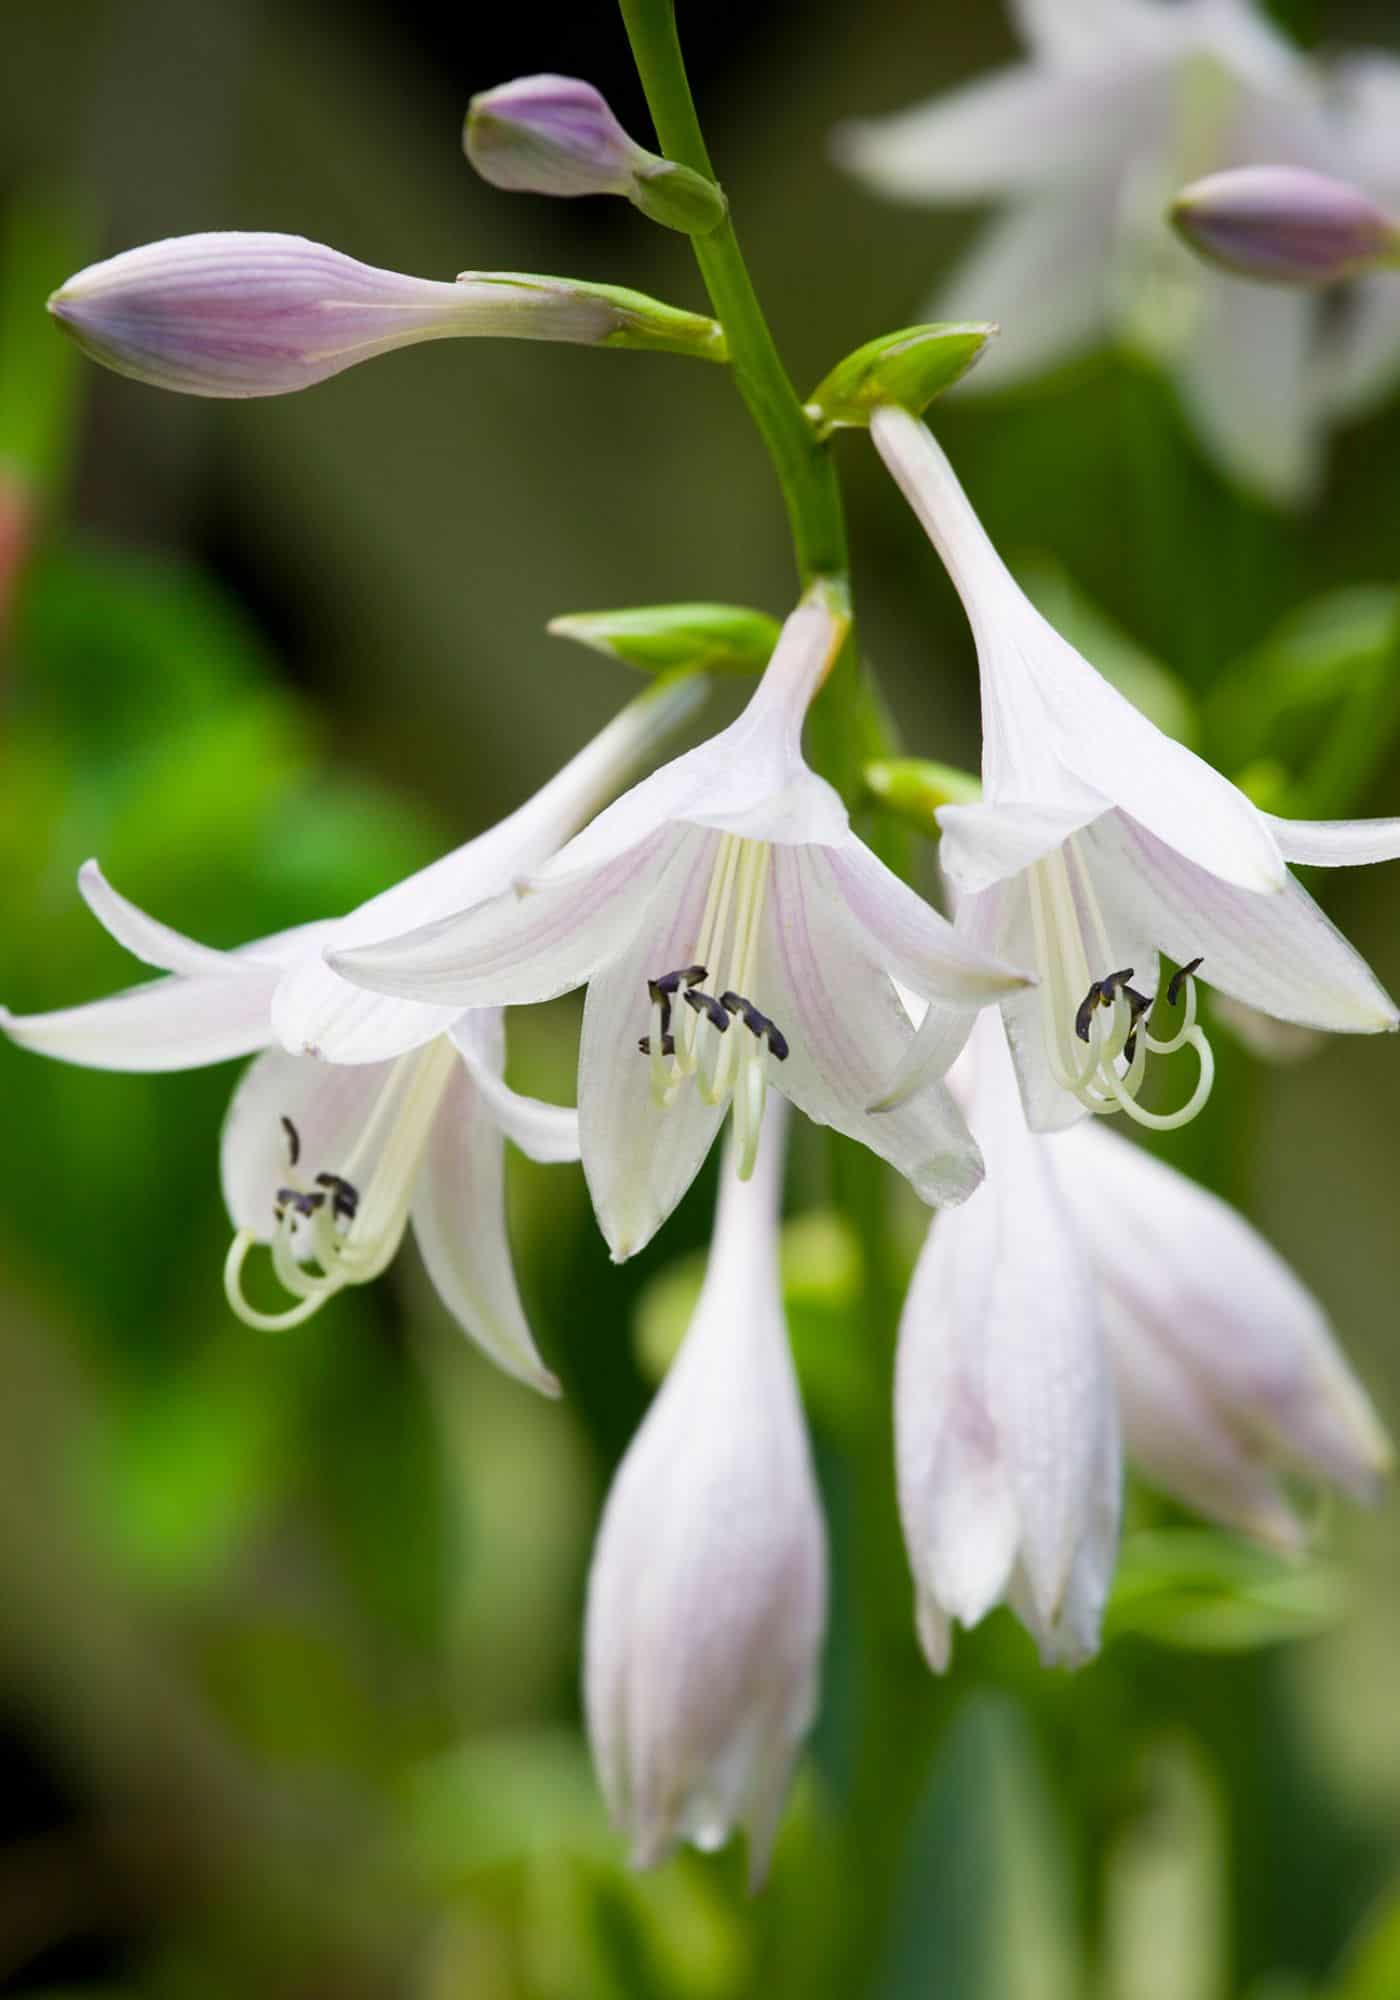
Hostas require minimal pruning. During the growing season, pruning is limited to cosmetic trimming. Remove any yellowed, brown, or torn leaves for a well-kept plant. Diseased leaves should always be removed from the area (whether you trim the plant for aesthetic value or not). You can also cut back the flower stalks after the hosta flowers have finished blooming.
Hostas are usually cut back in the fall after the leaves have been killed by the first hard frost of autumn. You can just leave the leaves on the ground to decompose and add nutrients back into the soil. That said, most gardeners trim them off with pruning shears and take them away so that pests don’t turn the old leaves into a wintertime home. If you want a tidier garden, you can rake up the spent stalks and leaves and compost them.
Mulching requirements for hostas
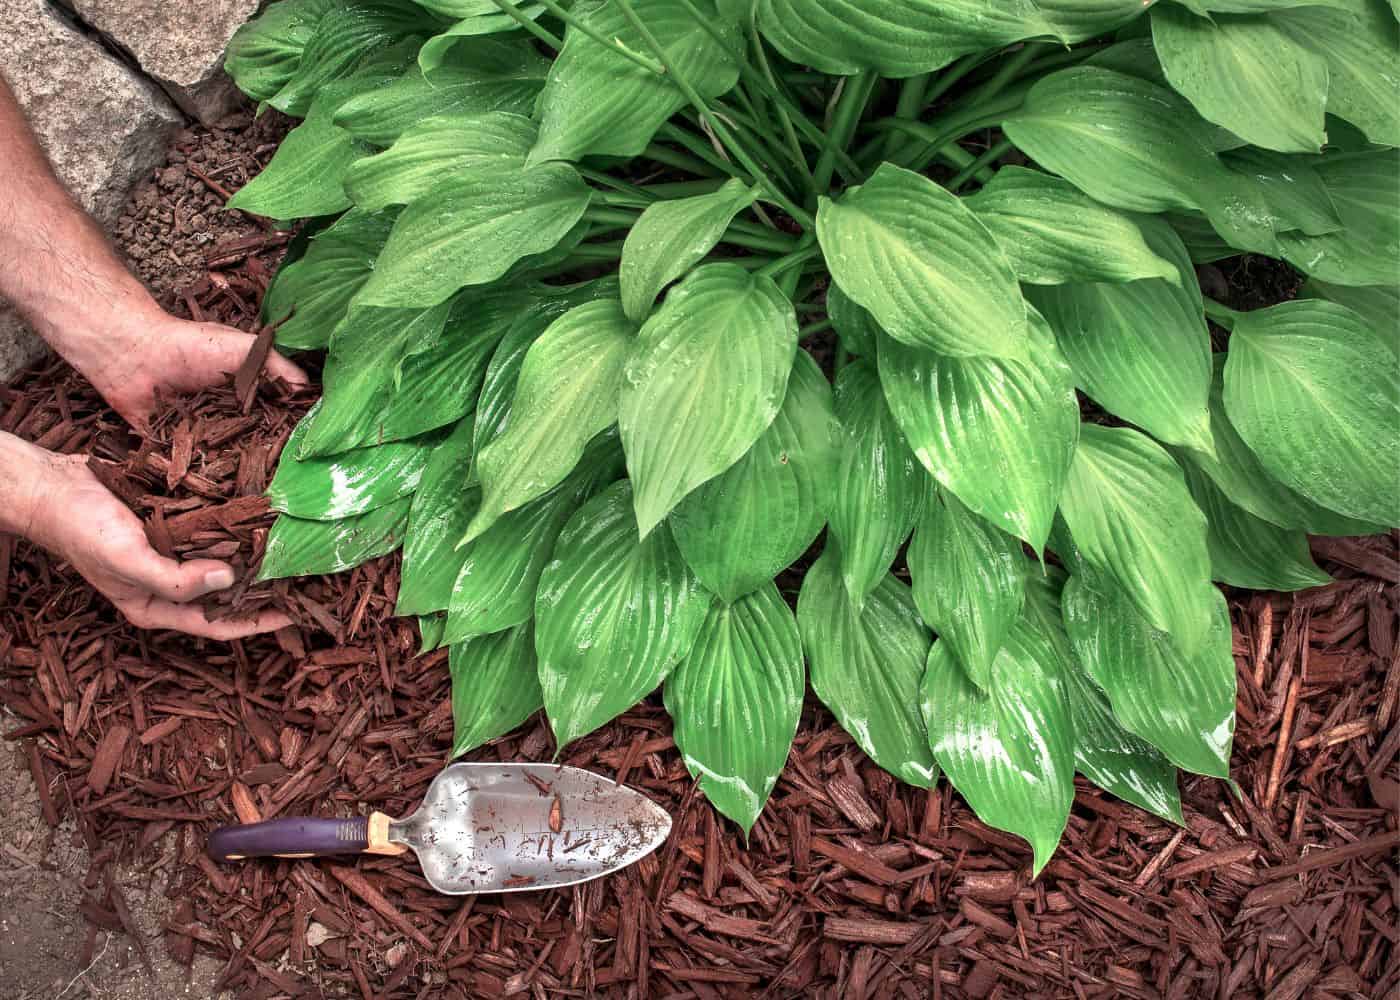
Hosta plants have large, fleshy roots that benefit from a thick layer of mulch. I like to use shredded leaves, which break down quickly and help to improve the soil quality. You may not want to use shredded leaf mulch if slugs and snails are a problem in your garden. Dark, rich, organic compost is also a beautiful mulch. You can also use other types of organic mulch, such as wood chips, straw, or pine needles.
The mulch should be applied in early spring around the base of the plant. Don’t bury the crown of the plant. Just add about an inch of mulch in a ring to the ground around the plant.
Care for hostas in the fall
Fall hosta care varies with the climate. Hosta leaves tend to survive light frosts in early fall, usually down to a temperature of around 28°F (-2°C). Once temperatures fall to about 28°F (-2°C), the leaves die back to the ground, and the roots fall into winter dormancy. Hostas need a “winter chill” period to grow properly, just like other cold-weather plants like tulips and apple trees. The plants should receive a regular winter chill period of at least 2-4 weeks at temperatures below 40°F (4°C) to thrive.
In warmer hosta growing zones such as zones 8-9, the temperature may not dip below freezing in the winter, and the leaves may not die back naturally. If this is the case, simply cut the leaves off in the late fall or early wintertime. Hopefully, the plant can achieve a short dormant chilling period before it sprouts anew in the springtime.
In very cold climates, such as zones 2-4, hosta growers often mulch their hostas over winter to protect the dormant roots from extreme temperature swings. This protective winter mulch is a protective temporary measure that differs from regular mulching of the soil.
Winter temporary mulch usually consists of a 4″-6″ thick layer of material placed over the crown of the plant. Popular options include pine needles, shredded leaves, straw, and even snow. Wait until the ground freezes before applying the protective mulch. The mulch should be removed in the springtime once other earlier-sprouting plants like tulips and daffodils are visibly sprouting.
Dividing hostas
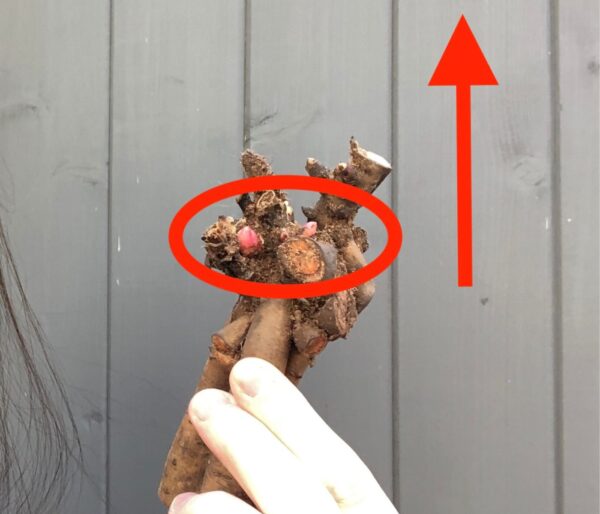
In general, hostas do not need to be divided very often. They can live in the same spot for many years. However, if you notice the plant starting to crowd its space or produce fewer blooms, it may be time for division. Dividing hostas is also a great way to multiply your plants to cover a wider area or to share with friends.
The best time to divide hostas is in the spring, just as new growth emerges. You can also divide them in the fall after the leaves have died back, but I find it easier to see what I’m doing when the plant is just starting to leaf out.
To divide a hosta, use a spade or sharp knife to cut through the roots. You can then replant the divisions in other areas of your garden. Be sure to water them well and mulch around the base of the plant to help it establish itself in its new home.
Transplanting hostas
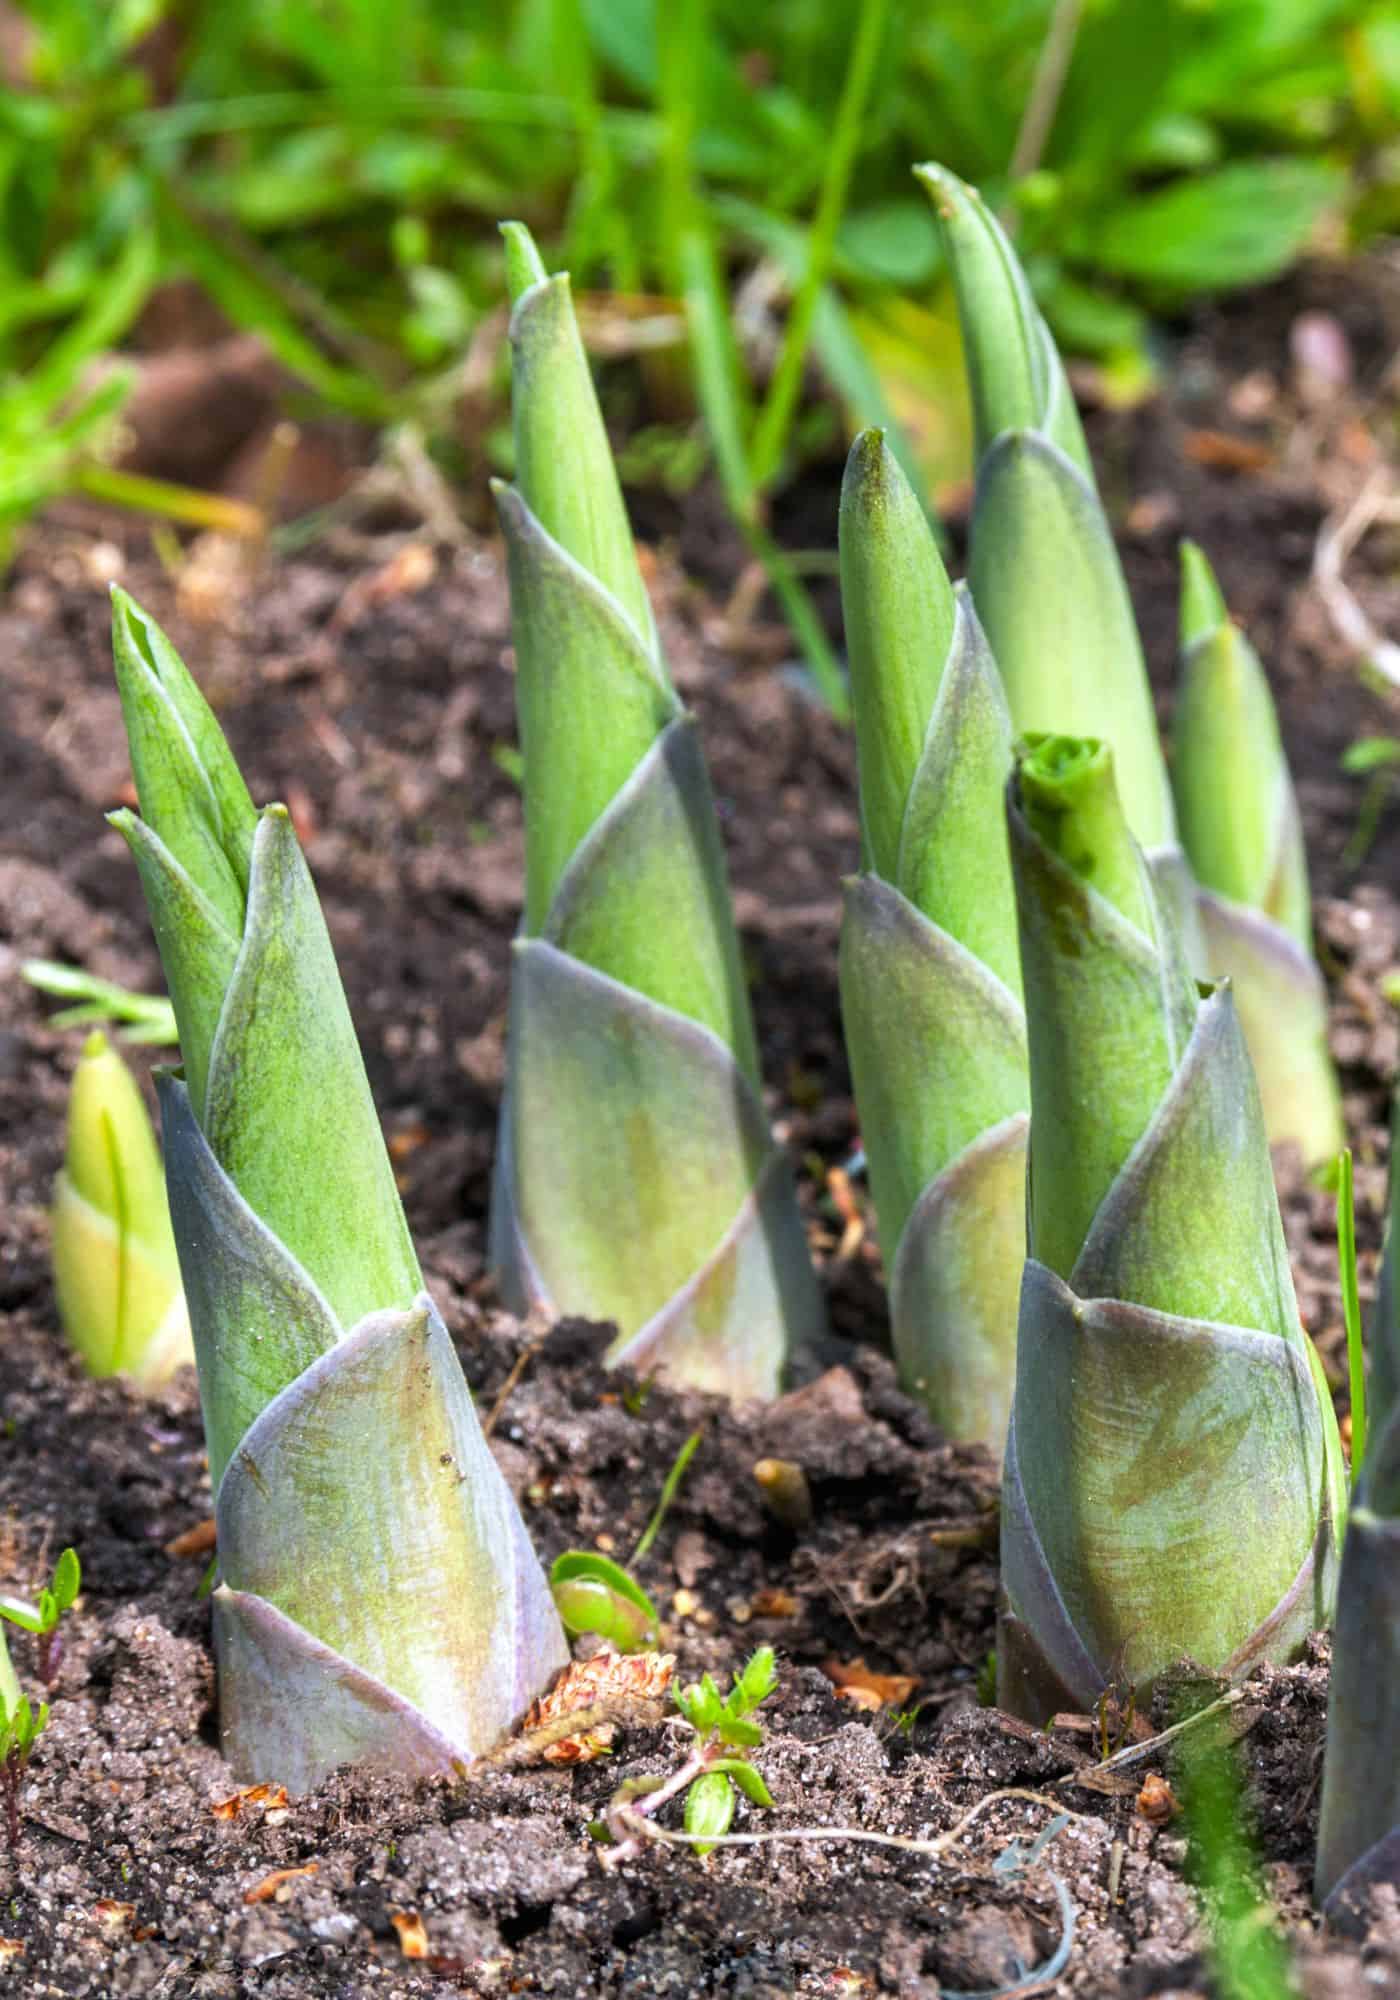
Hostas can be transplanted from one location to another. You may need to do this if a previously shady area is now in full sun (which can happen after the loss of a large tree) or simply as a part of re-arranging your outdoor landscaping. Hostas are usually transplanted in the spring, but you can also transplant them in the fall.
You can either transplant an entire hosta or divide the root up and transplant the pieces. You can transplant small pieces if you don’t mind waiting a few years for the hostas to expand. For a hosta that’s bigger sooner, choose a giant variety and transplant the whole root intact. Here are more details on how to transplant hostas.
Caring for hostas in pots
Potted hostas have similar care requirements to hostas grown in the ground but generally require more frequent watering and fertilizing. The containers tend to dry out quickly, and the root ball is isolated from the natural soil food web ecosystem.
Pests affecting hostas
Pests affecting hostas include slugs, snails, deer, cutworms, rodents, and gnats.
Slugs and snails
Slugs and snails are the most common pests affecting hostas. These slimy creatures feast on the plant leaves, leaving behind ragged holes. If you suspect that slugs or snails are to blame for damaged leaves, look for these pests in the evening or after a rainstorm. You can also put out a piece of cardboard or plywood overnight and check it in the morning to see if any pests are hiding underneath.
If you find slugs or snails, you can hand-pick them off the plant and dispose of them. You can also use a product like Sluggo. Another option is to create a barrier around the hosta using diatomaceous earth, coffee grounds, eggshells, or sand. Whatever you use, make sure it’s a fine jagged powder so that the pests can’t simply crawl over it.
If slugs and snails are a problem, consider planting hosta cultivars with thick, attractive foliage, as these tend to be naturally slug-resistant.
Deer
Deer eat hosta plants (and seem to consider them a delicacy, especially in early spring). Gardeners use various methods to deter them, including DIY deer repellant sprays, scarecrows, shiny ribbons, and even Irish Spring soap. Other options include getting a big dor or building a deer fence.
Rodents
Rodents like mice, squirrels, rabbits, and voles can eat the leaves (and sometimes even the roots) of hostas. Gardeners in affected areas sometimes plant their hosta roots with angular gravel to deter digging. You can also spray the plants with a predatory spray to repel them. The last resort may involve trapping the rodents.
Diseases affecting hostas
The most common diseases affecting hostas are foliar nematodes, leaf spot, Southern stem blight/petiole rot, Hosta Virus X, and crown rot. The best defenses against these diseases include starting with healthy plants, using clean tools, and observing the plants regularly.
Foliar nematodes
Foliar nematodes are microscopic worms that eat hosta leaves. Common species of foliar nematodes affecting hostas include Aphelenchoides fragariae (strawberry crimp nematode) and Ditylenchus dipsaci (bulb and stem nematode). These parasitic pathogens overwinter in the moist soil at the base of the hosta (the crown) and spread via splashing water.
Hostas affected by foliar nematodes tend to have slightly brown stripes down the leaves in mid-late summer. The browning usually appears down the veins of the leaves. To treat affected plants, start by removing and disposing of affected foliage. You can also try treating the base of the plant with an organic lawn grub insecticide product.
Fungal disease
Fungal leaf spot in hostas is also quite common. Common types of leaf spot include Alternaria leaf spot, Phyllosticta leaf blotch, and Anthracnose fungal disease. Treat affected plants by removing the affected leaves from the area and then treating the remaining leaves and stems with an organic fungicide spray.
Southern stem blight, or petiole rot, is another common fungal disease affecting hostas. Caused by Athelia rolfsii fungus, stem blight is most common in hot and humid environments. The fungus grows small white balls at the base of the plant where the stems meet the crown. A fungus can appear over the whole area, with the bases of the leaves turning brown and the leaves falling over or releasing easily if pulled.
Treatment of petiole rot or crown rot is usually by digging up the plant and soaking the roots in a fungicide such as hydrogen peroxide.


