
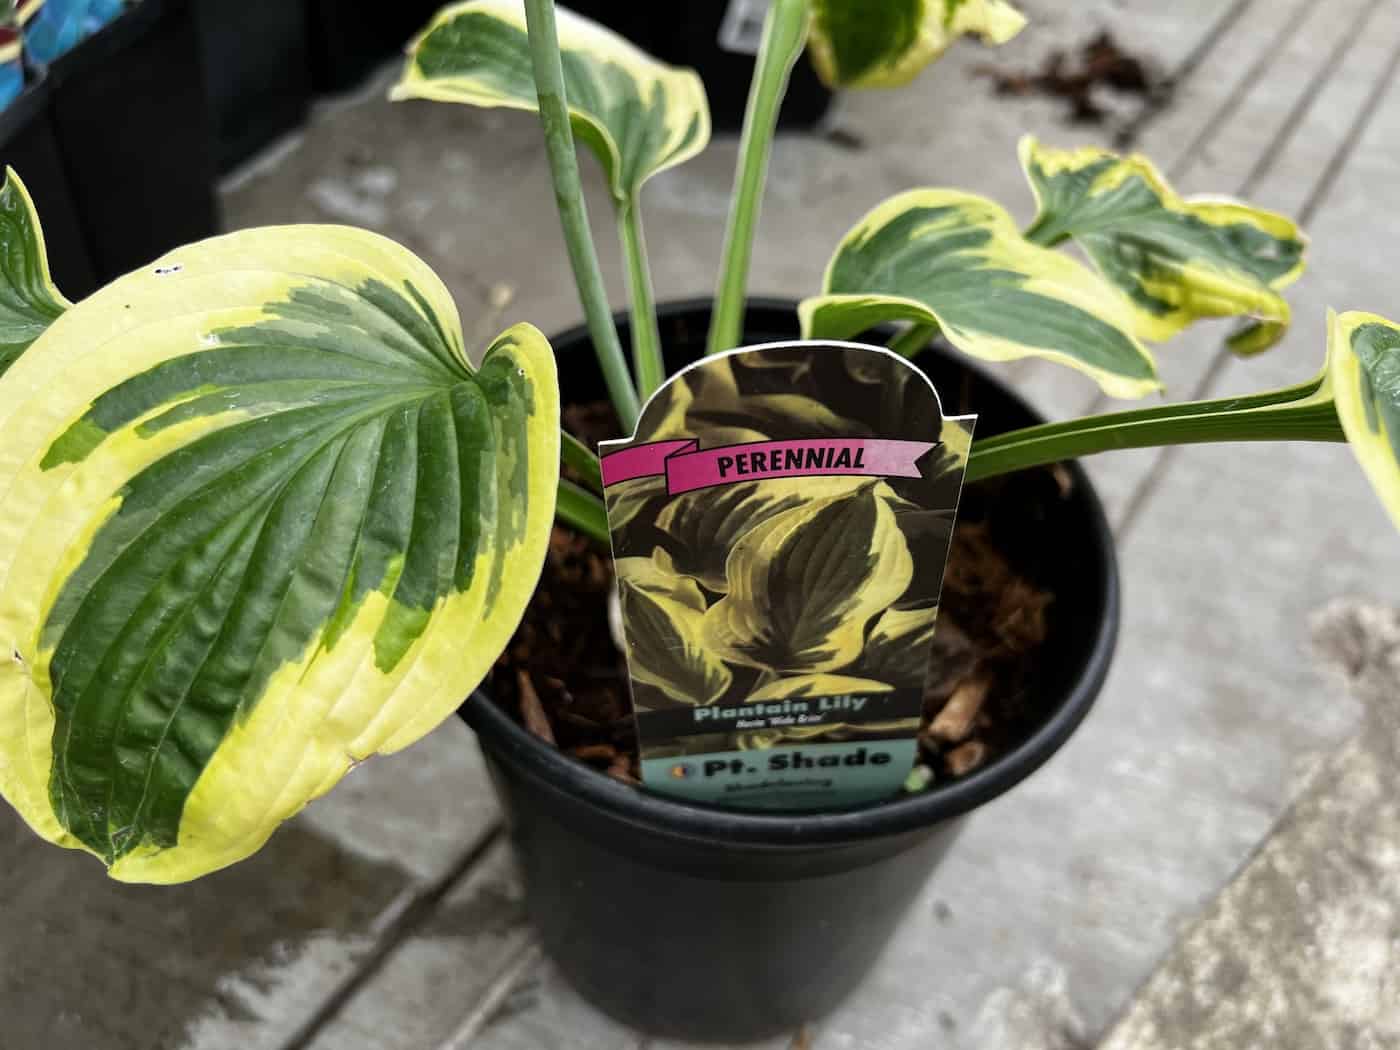
Planting hostas starts with choosing a location in full or partial shade. If possible, you’ll also want to look for sandy loam soil rich in organic matter. Start with a healthy potted hosta from the garden center (or a dormant root). Dig a planting hole that’s twice as wide as the pot (but no deeper).
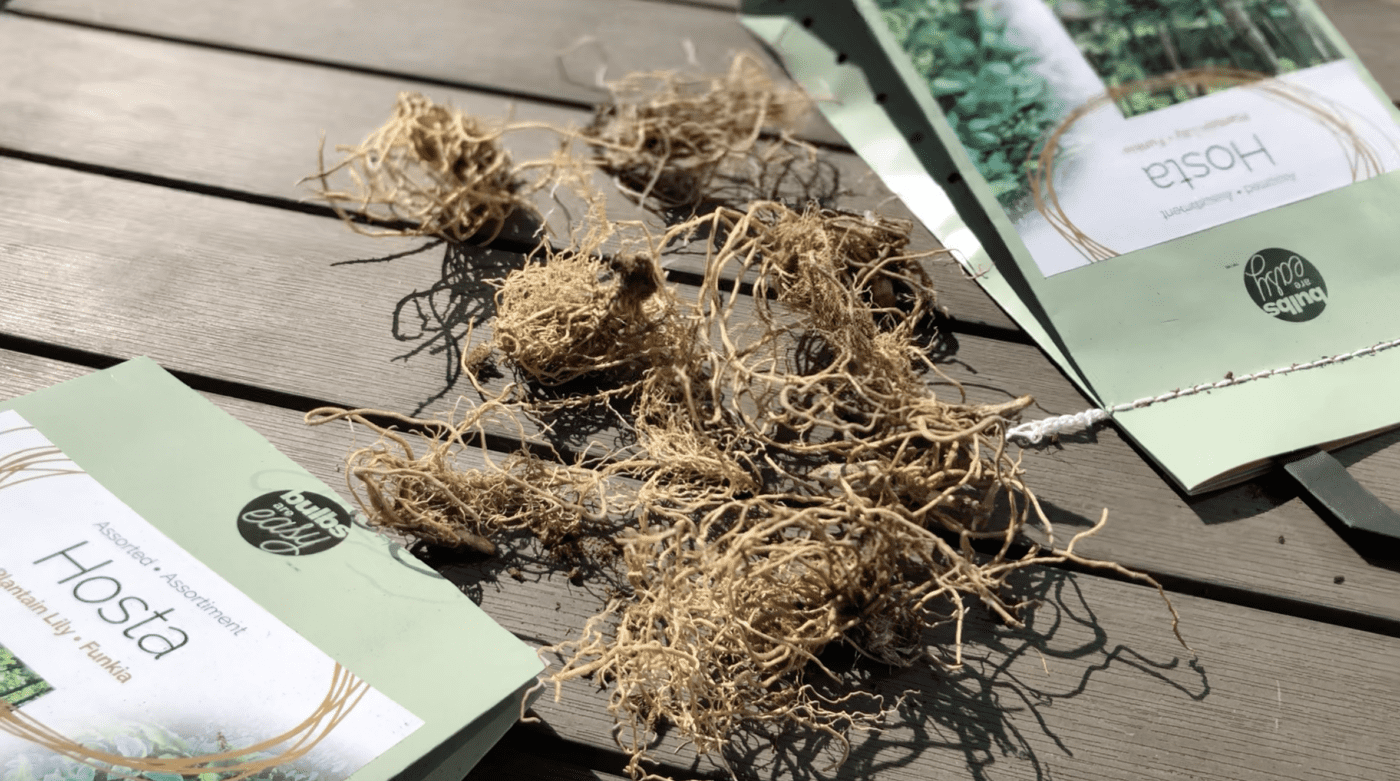
Remove the root ball from the planter, loosen up any thick white circling roots, and place the root ball into the planting hole. Backfill gently with the soil that came out of the hole. Water thoroughly after planting.
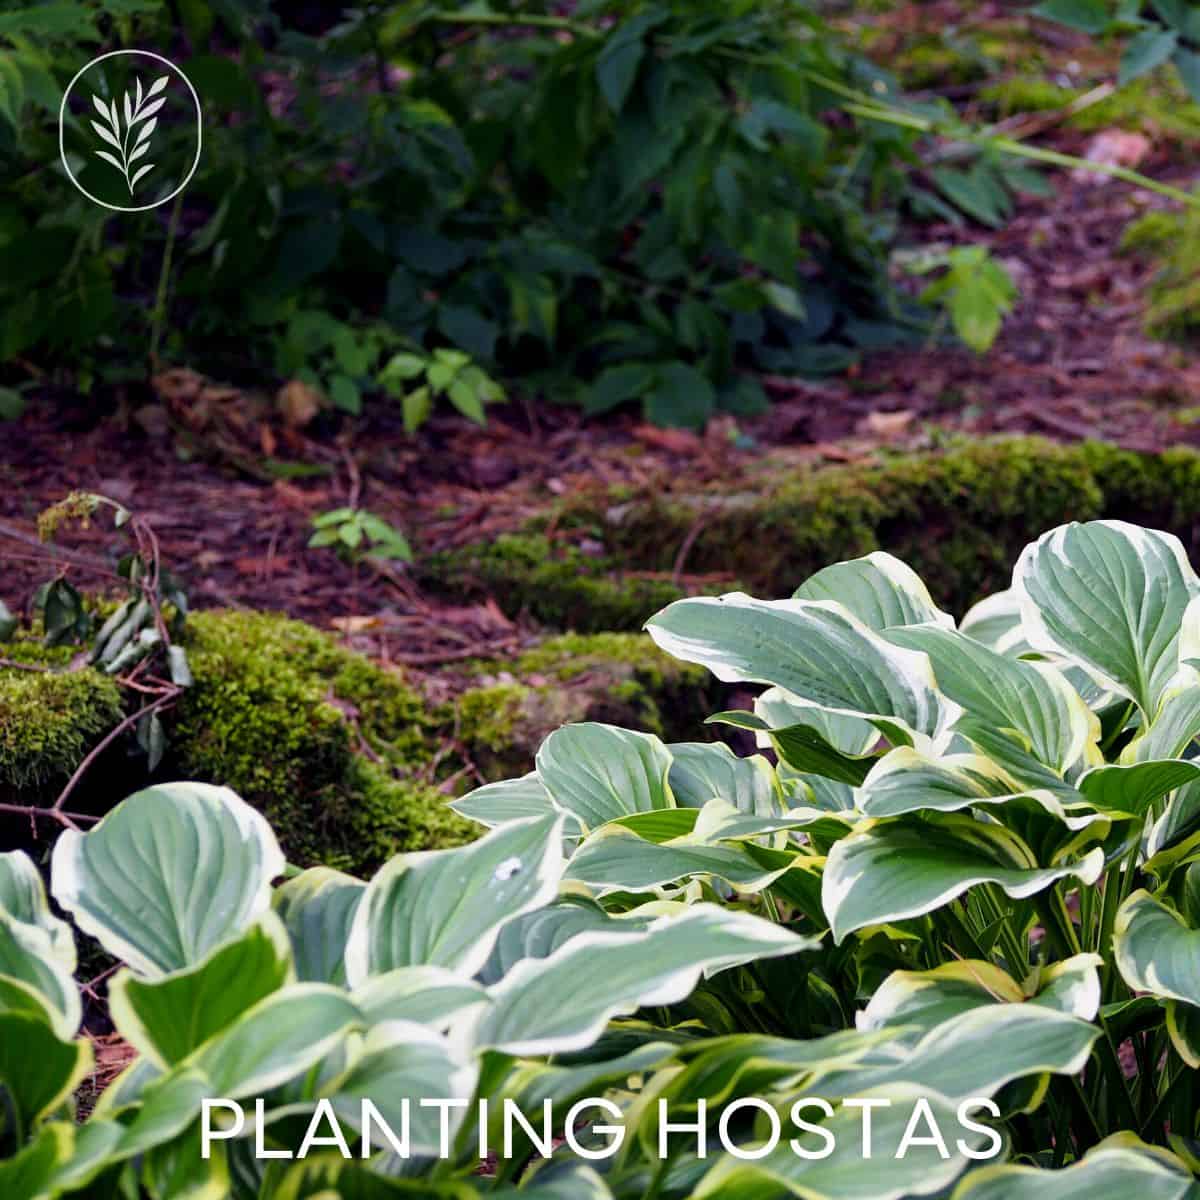
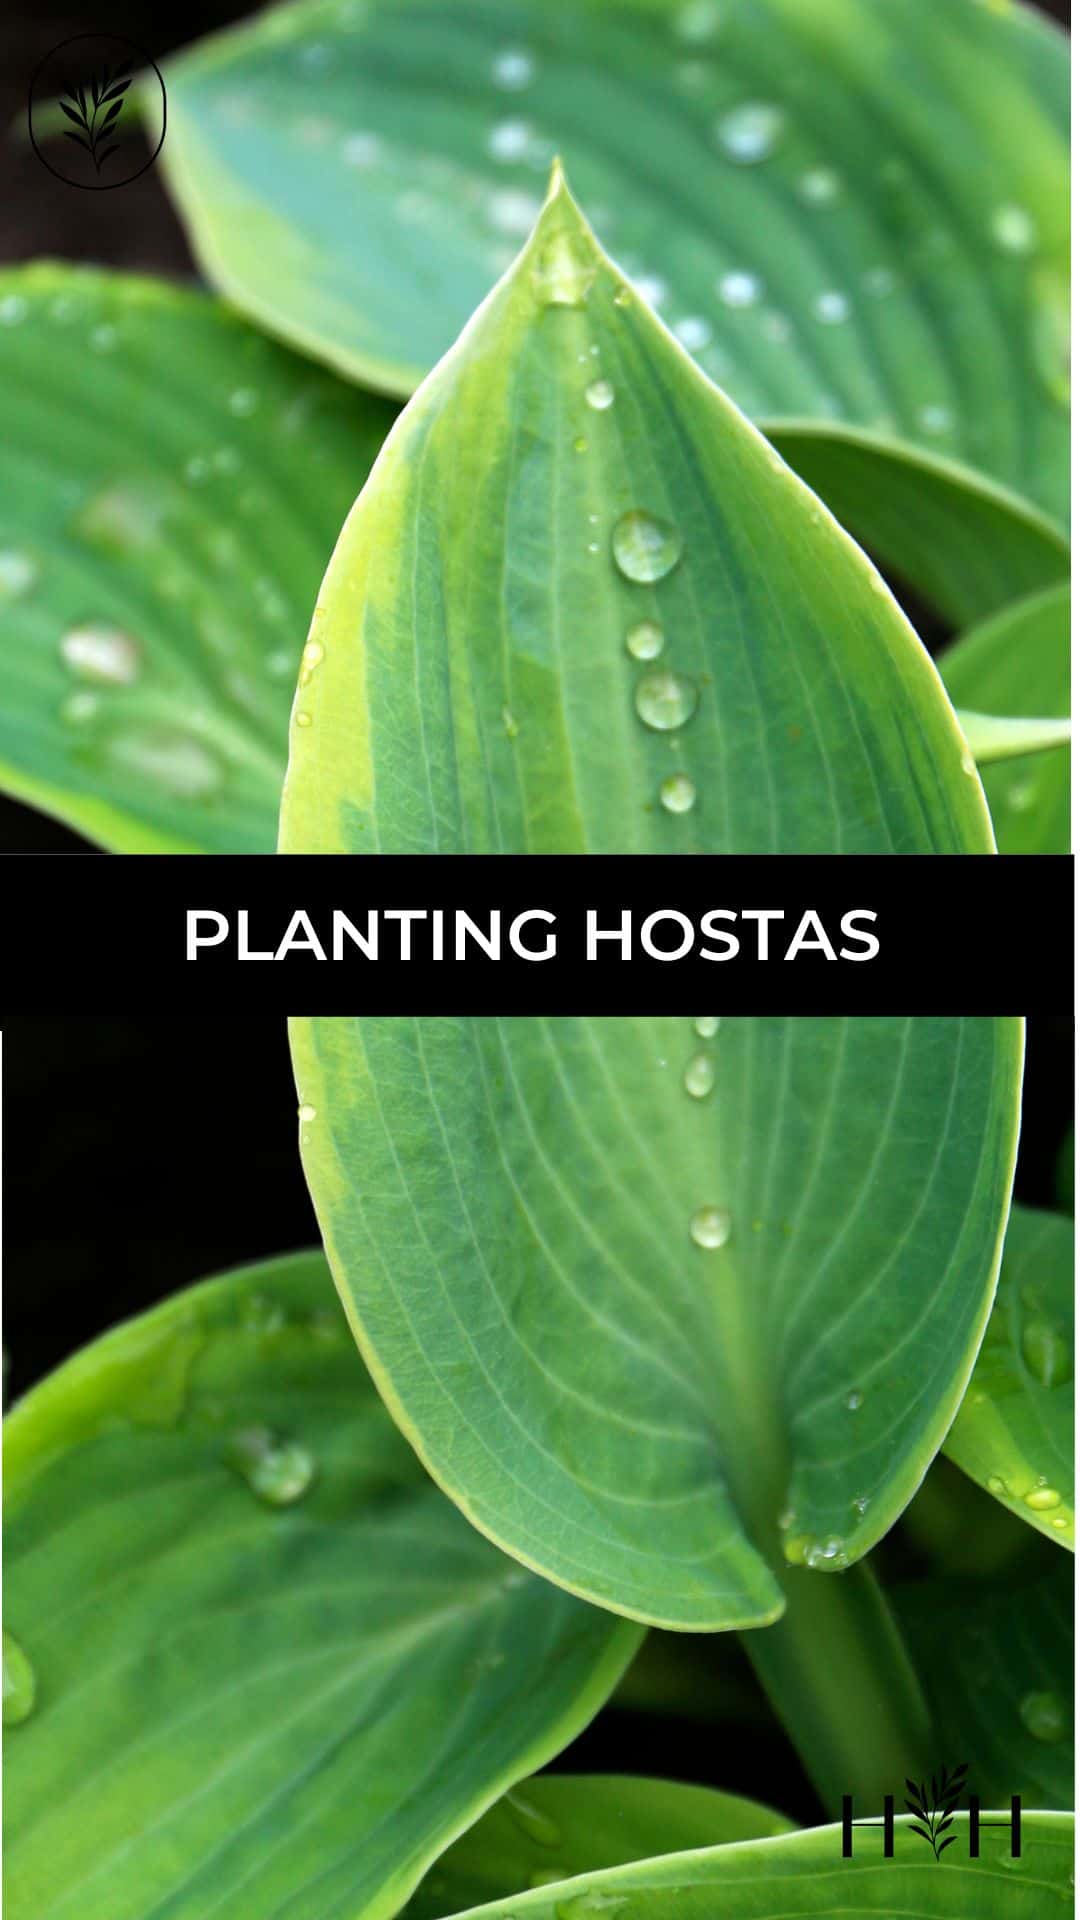
Planting basics for hostas
Hosta plants (Hosta spp.) are known for being easy to plant and easy to care for once they’ve become established in the soil. That said, there are a few things you can do to ensure these hardy plants are off to a good start.
Choose a planting location that offers some shade, as too much sun can cause the leaves to scorch. Hostas also prefer well-drained soil, so if your planting area tends to be on the wet side, consider planting on a raised bed or mound. Try not to plant hostas in areas where water pools after rainfall.
To prepare the planting hole, dig it twice as wide as the root ball (or the roots themselves if planting a bare root hosta) but of the same depth. If your soil is very heavy, you may want to make the planting hole a bit deeper and mix in sand and compost to help drainage.
Loosen any circling roots on the root ball before planting. This will encourage the roots to grow outward into the surrounding soil instead of continuing to circle around in the planting hole.
Place the root ball in the planting hole and backfill it with the soil that came out of the hole. Gently firm the soil around the plant to secure it in place.
Water thoroughly after planting. Hostas are drought-tolerant once they’re established, but they need a good soaking immediately after planting and typically for the first year in the soil to help them get started.

When to plant hostas
Hostas can be planted anytime from spring to fall, as long as the soil is not frozen. Spring planting gives the plants a chance to establish themselves before the heat of summer, while fall planting allows them to get a head start on next year’s growth.
Where to plant hostas
Hostas grow best in partial shade to partial sun. While they are typically considered “shade” perennials, these plants need a bit of light to photosynthesize and create the energy they need to grow and expand. The best planting location for hostas tends to be a spot where the leaves receive direct sunlight for a few hours in the morning, but the plant is in the shade in the afternoon. This is particularly true in hotter climates where the afternoon sun can be quite harsh.
Hostas grow best in slightly acidic sandy loam soil that’s rich in organic matter. If you’re lucky enough to have this type of soil, your hostas likely won’t need any soil amendments to thrive. Gardeners in less-than-perfect soil can amend the soil with pH adjusters like sulfur or gypsum and can work in organic matter like compost or rotted manure.
Hostas should be planted in an area where the soil is consistently slightly moist. Avoid planting hostas in wet swampy areas. The roots of this plant do not do well when fully submerged in a puddle of water, as the roots must “breathe”. They also don’t thrive in dry soil (although they are drought-tolerant once established for a year or two). Either plant them in soil that tends to naturally stay damp if you live in a particularly rainy climate, or be sure to add drip irrigation or hand water them regularly (about an inch of water per week).
How to plant hostas
Here are detailed instructions for planting hostas:
- Start by preparing the ground by adding organic matter, slow-release fertilizer, and possibly pH adjusters. Mix in some organic compost, well-rotted manure, or coco coir to boost the natural organic content of the soil. Transplanting fertilizers like Espoma Starter Tone can also be added to the soil prior to planting. Neutral or alkaline soil can be brought down to an optimal pH level of about 6 with a soil acidifier product. Be sure to prepare the ground in the entire footprint of the mature plant, as the roots will start to extend out beyond the leaves as the plant becomes established.
- Dig a planting hole that’s about twice as wide as the planter pot that the hosta is in (or the roots if the hosta is a bare root hosta). The hole should be no deeper than the soil in the planter pot; it should be a wide shallow hole.
- If planting a potted hosta, gently pull the root ball out of the planter pot. The roots should be moist and hopefully not circling tightly around the root ball, indicating the plant is rootbound. If there are thick roots circling around the bottom of the root ball, gently pull them away from the mass so they can be spread out along the bottom of the planting hole. Dig the hole larger if the roots have to be bent to fit.
- Place the hosta plant down into the hole. Bare root divisions may need to be propped up (some gardeners like to make a little mound at the bottom of the planting hole to prop up the crown.
- Backfill the sides of the hole around the plant, carefully firming down the soil with your hands as you go. Try not to leave any large air pockets, but don’t stomp on the soil either. There should be the same soil level around the plant’s base after planting as there was when the plant was in the planter.
- Water the plant thoroughly after planting. Watering deeply can help settle the soil and is key to helping the hosta become established in the surrounding soil.
Caring for newly-planted hostas
Proper aftercare will help hostas become established more quickly. This includes planning for consistent moisture, mulching the soil, and future fertilizer applications. Growing hostas is mainly about choosing a good location and taking good care of the plant (especially during mid-summer heat).
Watering new hostas
Newly planted hostas require regular watering for the first year or two until they become well-established. The goal is to keep the soil moist but not soggy, as wet conditions can lead to fungal diseases. Stick your finger in the soil near the plant to check the moisture level; if it’s dry an inch or two below the surface, it’s time to water. You may need to water several times per week in the summer months.
Mulching soil around hostas
A layer of organic mulch around hostas helps the soil retain moisture and suppresses weeds. This is especially important in dry climates or if the plant receives morning sun. Apply a layer of mulch that’s two to three inches thick around the entire plant, being careful not to pile it up against the leaves of the plant. Good mulching materials for hostas include wood chips, shredded bark, pine needles, and compost.

Fertilizing hostas
Hostas are heavy feeders and will benefit from fertilizer applications a few times during the growing season. A slow-release fertilizer like Espoma Plant-Tone can be applied in early spring before new growth appears. Liquid fertilizers can also be used; follow the directions on the package for how often to apply them.
Planting hostas in containers
Hostas also make great container plants outdoors. Be sure to use a high-quality potting mix designed for containers, and don’t forget to water regularly; containerized plants dry out more quickly than those in the ground. Potted plants also tend to require more frequent feeding than hostas growing in the ground.
Hostas grown in pots generally need repotting every couple of years. Potted hostas can be repotted into a larger container or divided into pieces and repotted into pots of the same size.
Planting other plants around hostas
Most gardeners like to grow hostas alongside other hardy perennials and full-shade plants. Hostas thrive in similar conditions to many other shade-tolerant plants, such as Rhododendrons, Ferns, and Hydrangeas (see more Hosta companion plants). Hostas can also add some texture to the plants that only grow well in deep shade (although hostas in full shade don’t flower as well as those that receive some morning sunlight).
Be sure to note the mature height and width of plants prior to planting them in the ground. Hostas vary from mini varieties to giant hostas, spanning as small as 6 inches or as large as 6 feet across! Some have flower stalks that are only about a foot tall, while other hosta’s flowers may be up to 3 feet high.