Carrots aren’t the easiest or the most challenging vegetable plants to grow. They like the sun and do well in raised beds.
To grow carrots, prepare the soil by removing weeds and mixing in organic matter such as compost. Then carefully plant the tiny seeds directly in the soil, placing about 2-3 seeds per inch along a row. Keep the soil moist until the seeds sprout. When the seedlings reach a couple of inches tall, pull out alternating plants to create room for the healthiest specimens. Fertilize the plants as they grow and harvest as needed.
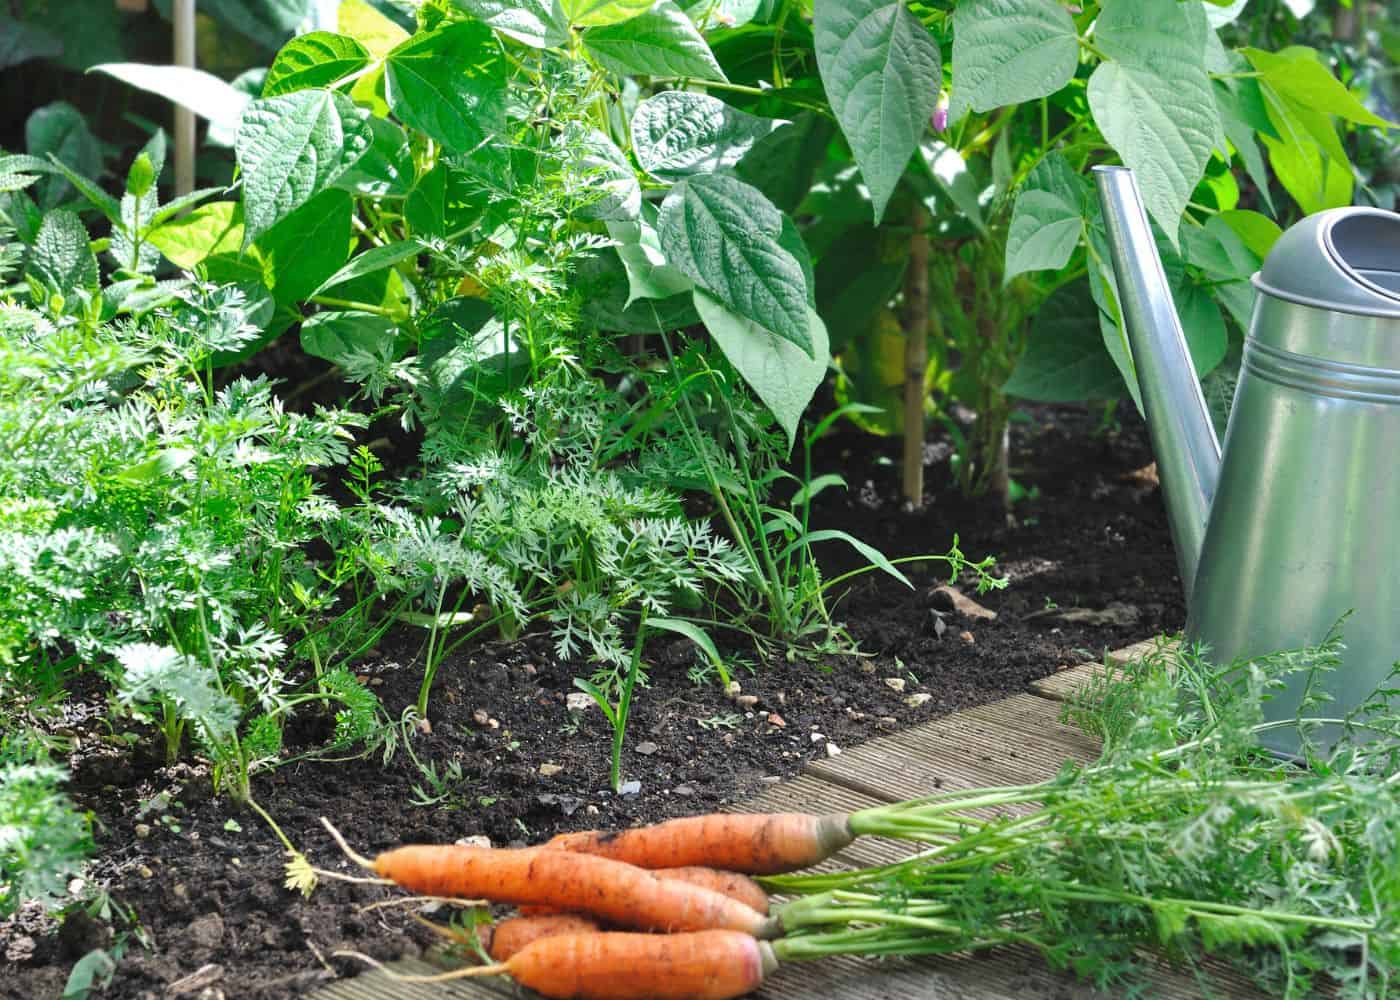
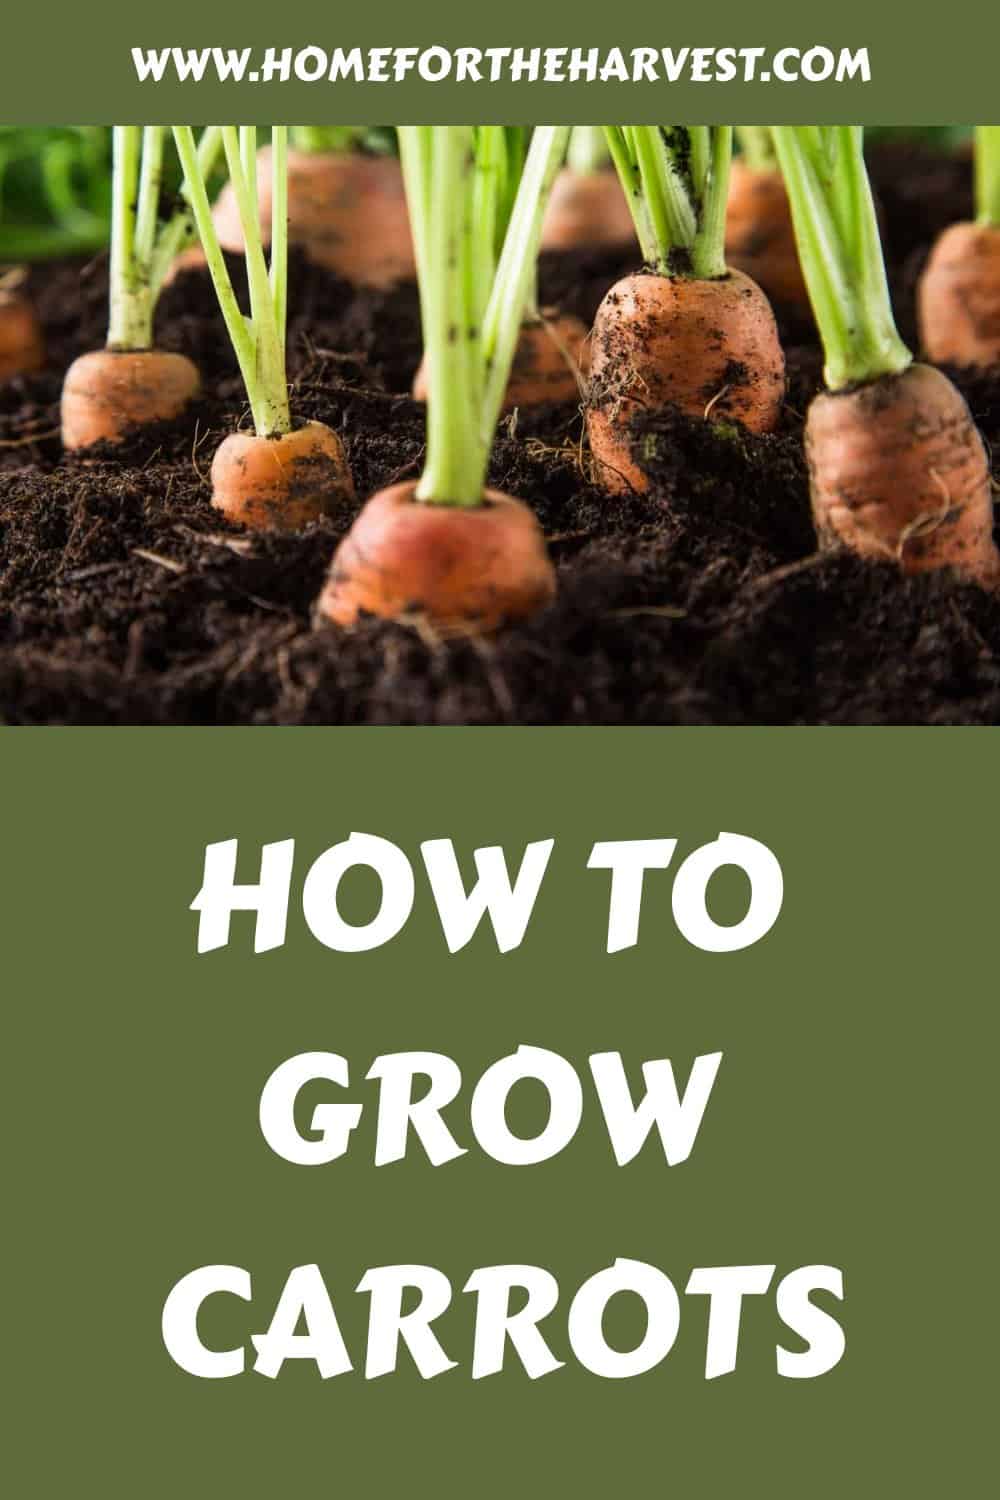
How to grow carrots
Growing carrots is an enjoyable and rewarding experience for gardeners of all levels. Carrots are root vegetables that prefer cool temperatures, full sun, and well-draining soil rich in organic matter.
To ensure the best results, preparing the soil properly before planting your carrot seeds is important. Begin by digging the earth deeply, around 6 inches, in the soil you want to plant your carrot seed. Incorporate organic matter such as compost, peat moss, or composted manure into the tilled soil for improved drainage and additional nutrients. Rake the soil flat after enriching it with organic matter.
Once your soil is ready, sow your carrot seeds directly into the soil about a 1/4 inch deep in rows spaced 12 inches apart. Once you’ve sown the seeds, lightly sprinkle with water; however, take care not to spray too harshly as this can dislodge the seeds. A water breaker works best for carefully watering newly planted seeds.
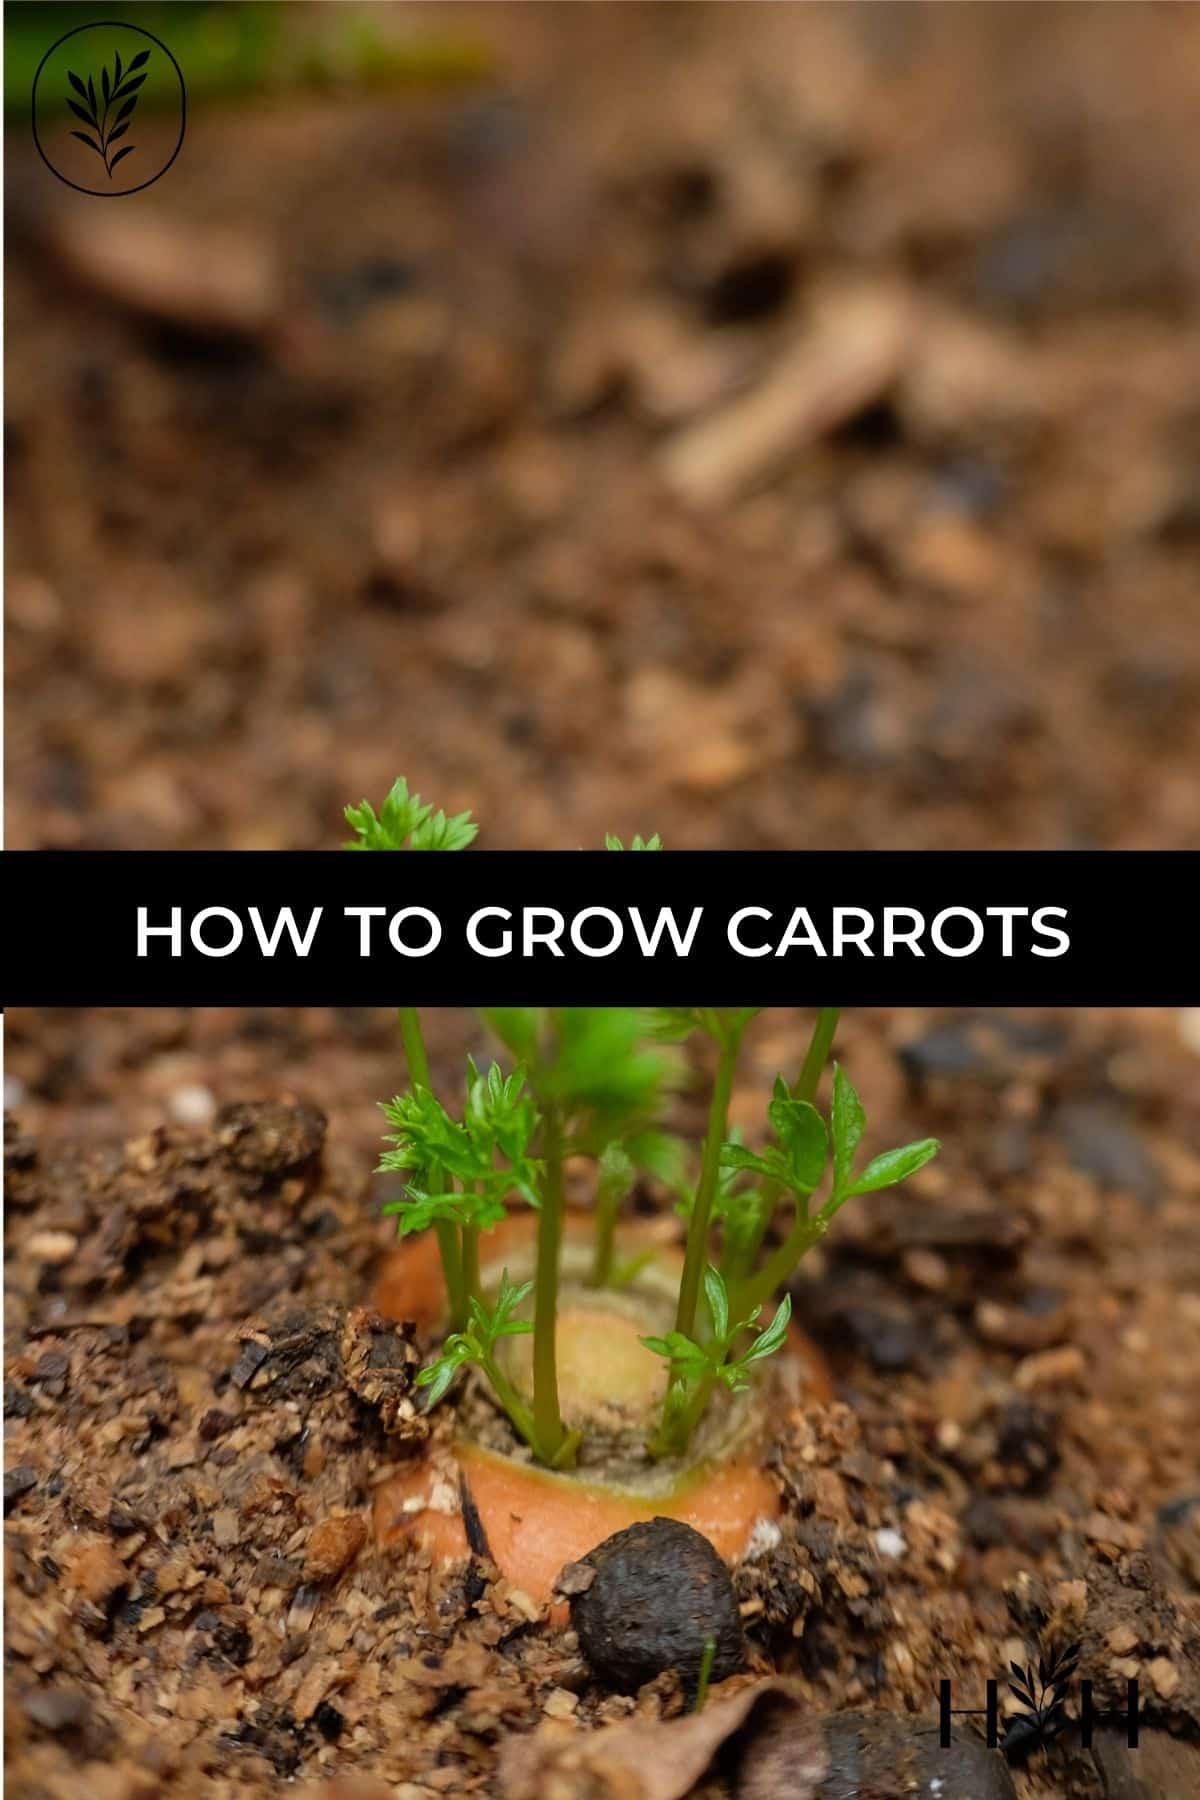
Seedlings usually start to sprout in about a week. Wait until they are about 3-4 inches high before thinning out your crop. Using scissors or a small garden tool, thin out any overcrowded seedlings once they reach 3-4 inches tall to provide each plant with enough space for optimal growth and prevent disease caused by overcrowding. In regions with shorter growing seasons, you may wish to hold off on thinning and plan to harvest skinny carrots.
Finally, keep an eye out for pests like carrot rust flies which can quickly destroy entire crops if left unchecked. Fortunately, these pesky critters can be controlled in several ways without resorting to chemical pesticides, such as companion planting radish seeds near your carrot plants since radishes repel these flies naturally. You can also try planting your carrots up in raised beds and mixing the seeds with coffee grounds when you plant them (to disguise the scent).

Prepare the soil before planting the seeds
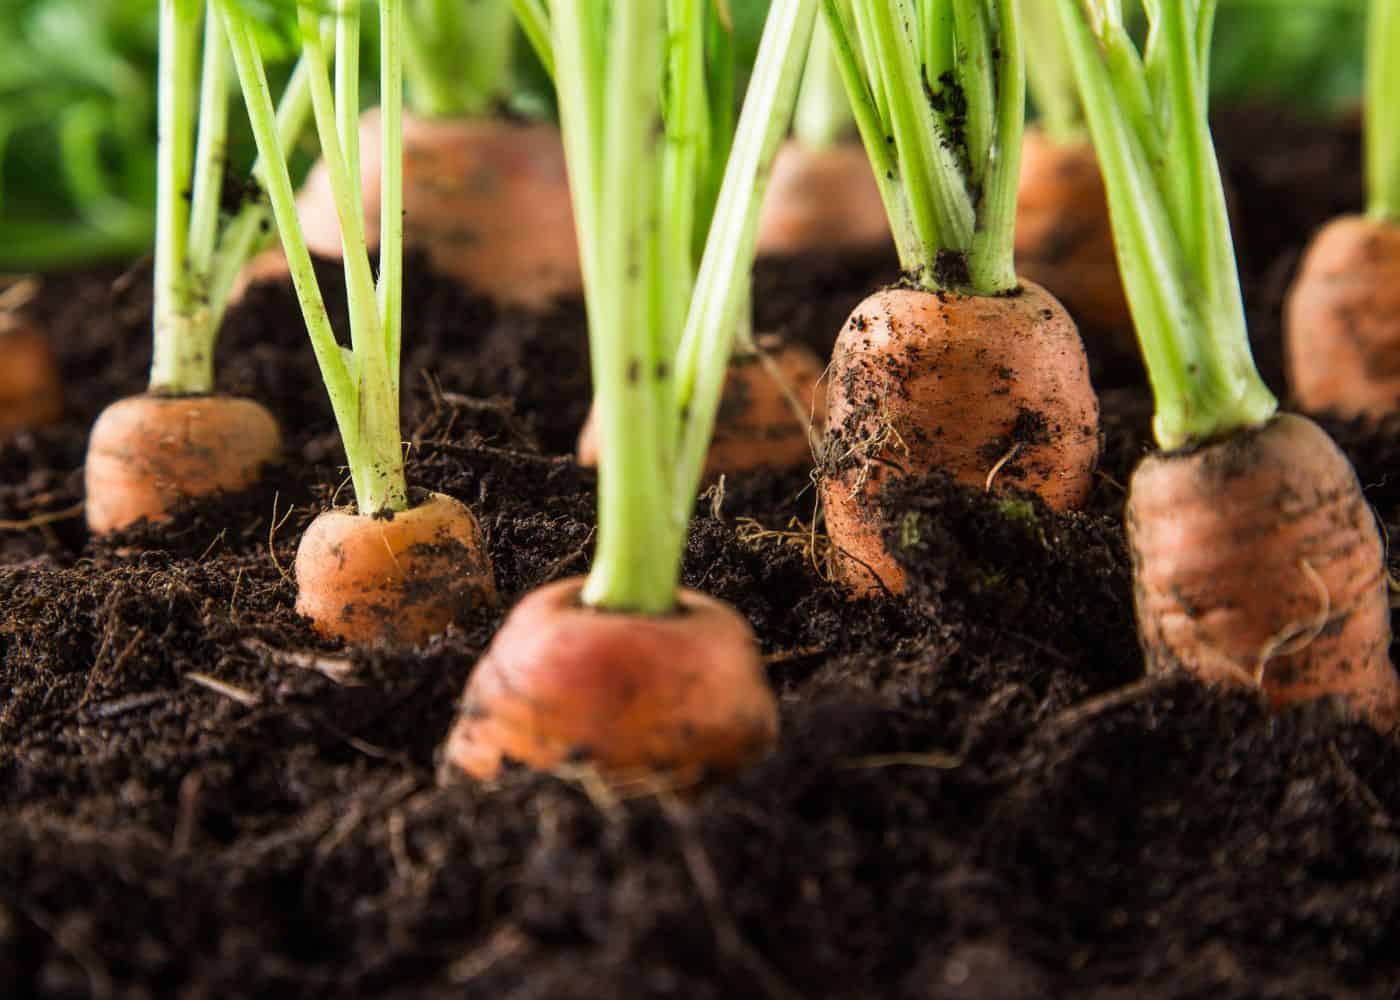
Carrots prefer loose and well-draining soil with a pH of between about 6.0 and 6.8 (slightly acidic). They do very well in raised beds, where they can be closely tended and may be less prone to certain pests. As carrots are cool-season vegetables, you can prep your soil in the spring as soon as it thaws and can be worked.
To achieve good soil for planting carrot seeds, it’s important to incorporate organic matter such as compost or aged manure into the soil prior to planting carrot seeds or nursery-grown seedlings. Doing so helps create an environment where carrots can thrive by providing space in the soil as well as providing essential nutrients like nitrogen, phosphorus, and potassium that are necessary for root development and photosynthesis in plants.
It’s also important to keep weeds at bay since they compete with carrot plants for resources like water and sunlight – both of which are essential for successful crop production. Hand weeding and using mulch around your carrot beds during the off-season can help reduce weed pressure while conserving soil moisture during dry spells throughout the long growing season ahead of harvest time.
Plant your carrot seeds
Planting carrot seeds is a relatively easy task, except for the fact that they are small and can be hard to handle. Carrots are almost always planted directly in outdoor soil (direct sown) rather than transplanted as seedlings because transplanting can be hard on root veggies like carrots.
Choose your variety carefully when picking which carrot seeds to grow. There are hundreds of carrot cultivars, and most of these varieties fit into four main type categories.
Start by creating shallow furrows (tiny trenches) about a 1/4 inch deep using a little trowel. Sow the carrot seeds directly into these furrows at a rate of two to three per inch; if you’re planting multiple rows, space them 12 inches apart from each other.
Using a seeding tool can help, as the seeds are tiny and can be hard to handle. Some gardeners like to mix the carrot seeds with coffee grounds to dilute them for planting (and confuse carrot rust fly with the scent). And now, many varieties come in coated/pelletized seeds that are larger and easier to control in terms of spacing. Lightly cover the planted seeds with a bit of additional soil and pat down gently so they make good contact with the ground below.
Finally, water lightly but consistently until germination occurs (typically over one to two weeks). You’ll need a gentle tool like a water breaker to avoid dislodging the tiny seeds as you water. It’s important not to overwater during this stage, as too much stagnant moisture can cause fungal diseases like damping off, which will kill your carrots before they have a chance to grow. Carrot seeds can germinate at low temperatures but can take a while, so it usually makes sense to let the soil warm up a little (use a soil thermometer).
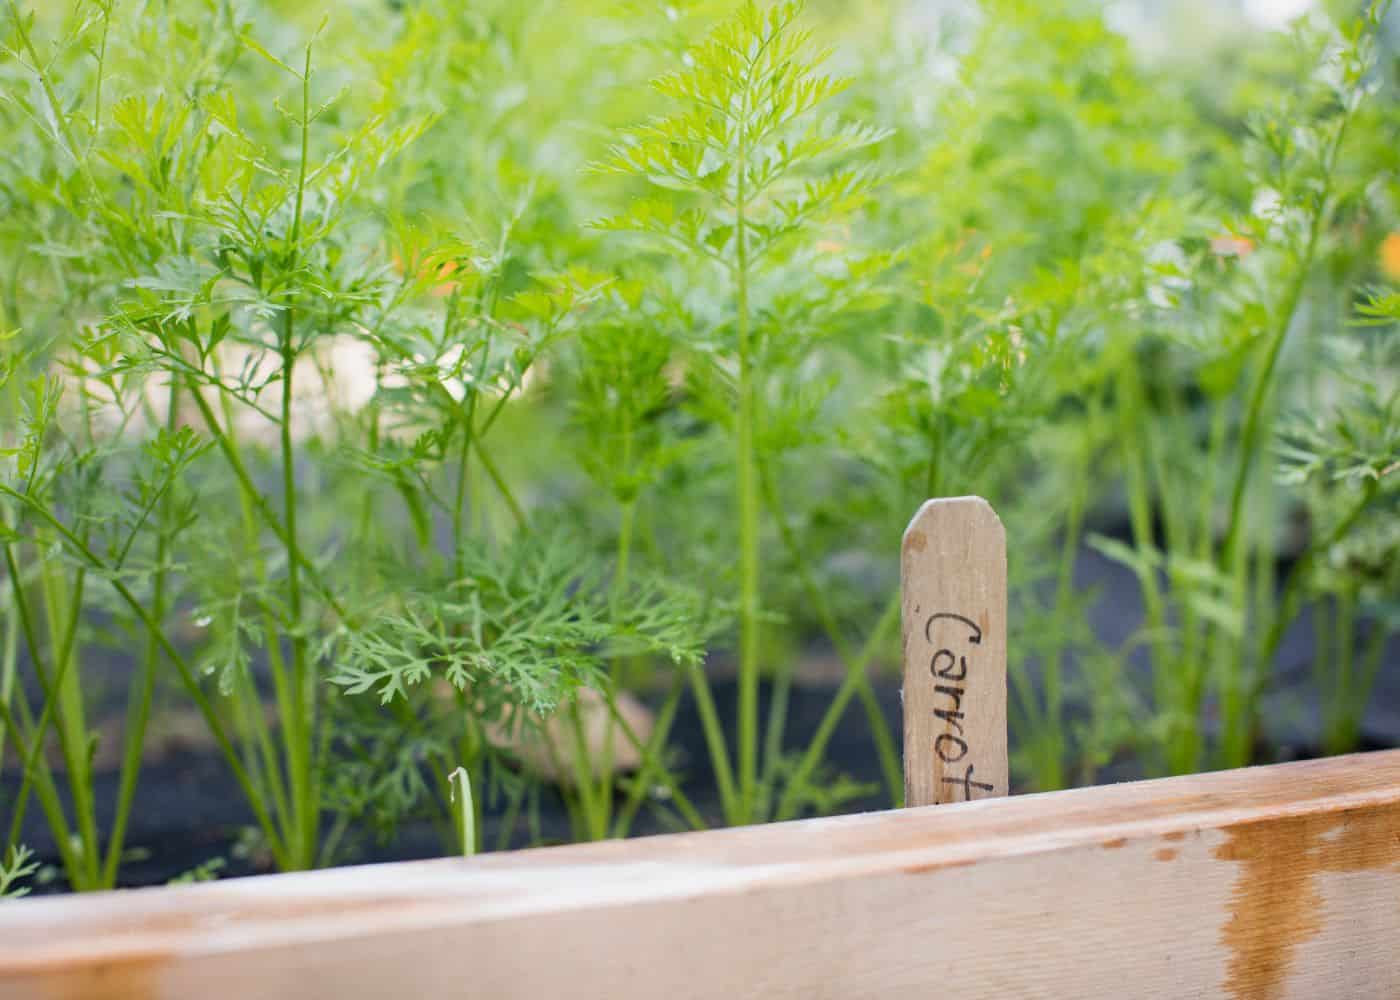
Water the growing plants regularly
Watering your carrots is an important part of their care. During dry spells, ensuring the soil remains moist but not soggy is especially important. This will help ensure that the carrots can grow properly and reach full maturity. Water your carrot patch regularly, especially in dry spells, using a soaker hose or drip line for even distribution.
When you water your carrots, be sure to avoid using too much pressure from the hose or sprinkler head, as this can damage delicate roots and cause them to rot before they reach maturity. Additionally, try not to let any standing water accumulate in low-lying areas of your garden bed, as this can create conditions that are favorable for disease growth and root rot in some cases.
Finally, don’t forget about mulching. A layer of organic material, such as straw or dry grass clippings, helps stabilize soil temperatures while retaining valuable moisture between watering sessions. Just make sure it doesn’t cover and come into direct contact with young seedlings until they’ve developed strong enough stems for support.
Watering your carrots regularly is essential to ensure they get the moisture and nutrients they need. Thinning out seedlings will help them grow strong, healthy roots as well as provide more room for air circulation between plants.
Thin the seedlings out
When growing carrots, thinning seedlings is an important step in the process. When the carrot seedlings reach about 3-4 inches tall, they should be spaced 3 inches apart to ensure proper root development. This will also help prevent overcrowding of your plants and give each plant enough room to grow.
To thin out your carrot seedlings, use some small snips to cut off any extra plants that are too close together. You can also pull them out by hand but do so carefully as this can damage the roots of other nearby plants.
Thinning is especially important if you’ve planted multiple varieties of carrots with different growth rates in one area since some may mature faster than others and take up more space. To make sure all your carrots have enough room for optimal growth, it’s important to keep an eye on their progress and thin them regularly throughout the season as needed.
Thinning your seedlings is an important step to ensure the health of your carrots. Once the thinning process is done, fertilizing the remaining carrots should be next in order to guarantee their health and bountiful harvest.
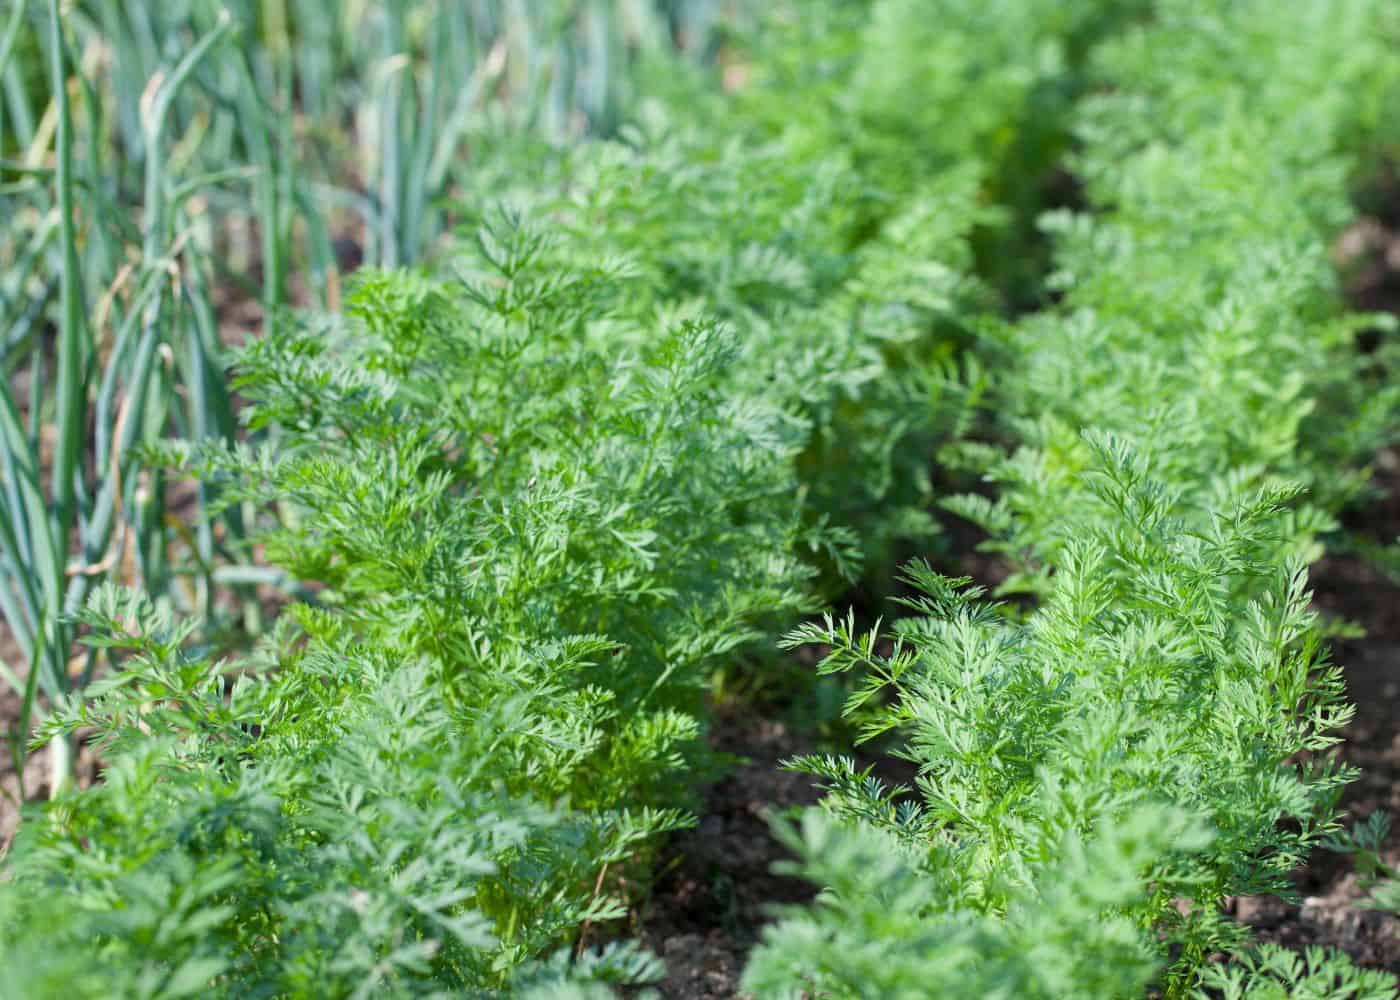
Fertilize the carrot seedlings
Fertilizing growing carrots is an important step in the gardening process. A balanced organic fertilizer should be used every few weeks to ensure healthy, vibrant plants. When choosing a fertilizer, look for one that contains nitrogen, phosphorus, and potassium at a minimum, as these are essential nutrients for plant growth. Fertilizers specially formulated for the veggie garden (like this one) are usually a good pick.
When applying fertilizer to your carrots, it’s important to follow the directions on the package carefully. Over-fertilizing can burn your plants and stunt their growth, so use caution when fertilizing and following the instructions.
Deeply watering your plants after each fertilizer application will ensure the nutrients reach down to their root zone for optimal absorption. Be sure to give your carrots adequate moisture, even when you’re unable to fertilize them in times of dryness or extreme heat – this will help avoid any nutrient deficiencies that could reduce their harvest output.
Nourishing young plants is key to guaranteeing that your carrots develop optimally. Common pests and diseases can affect carrot growth, so it’s essential to be aware of these issues when growing carrots.
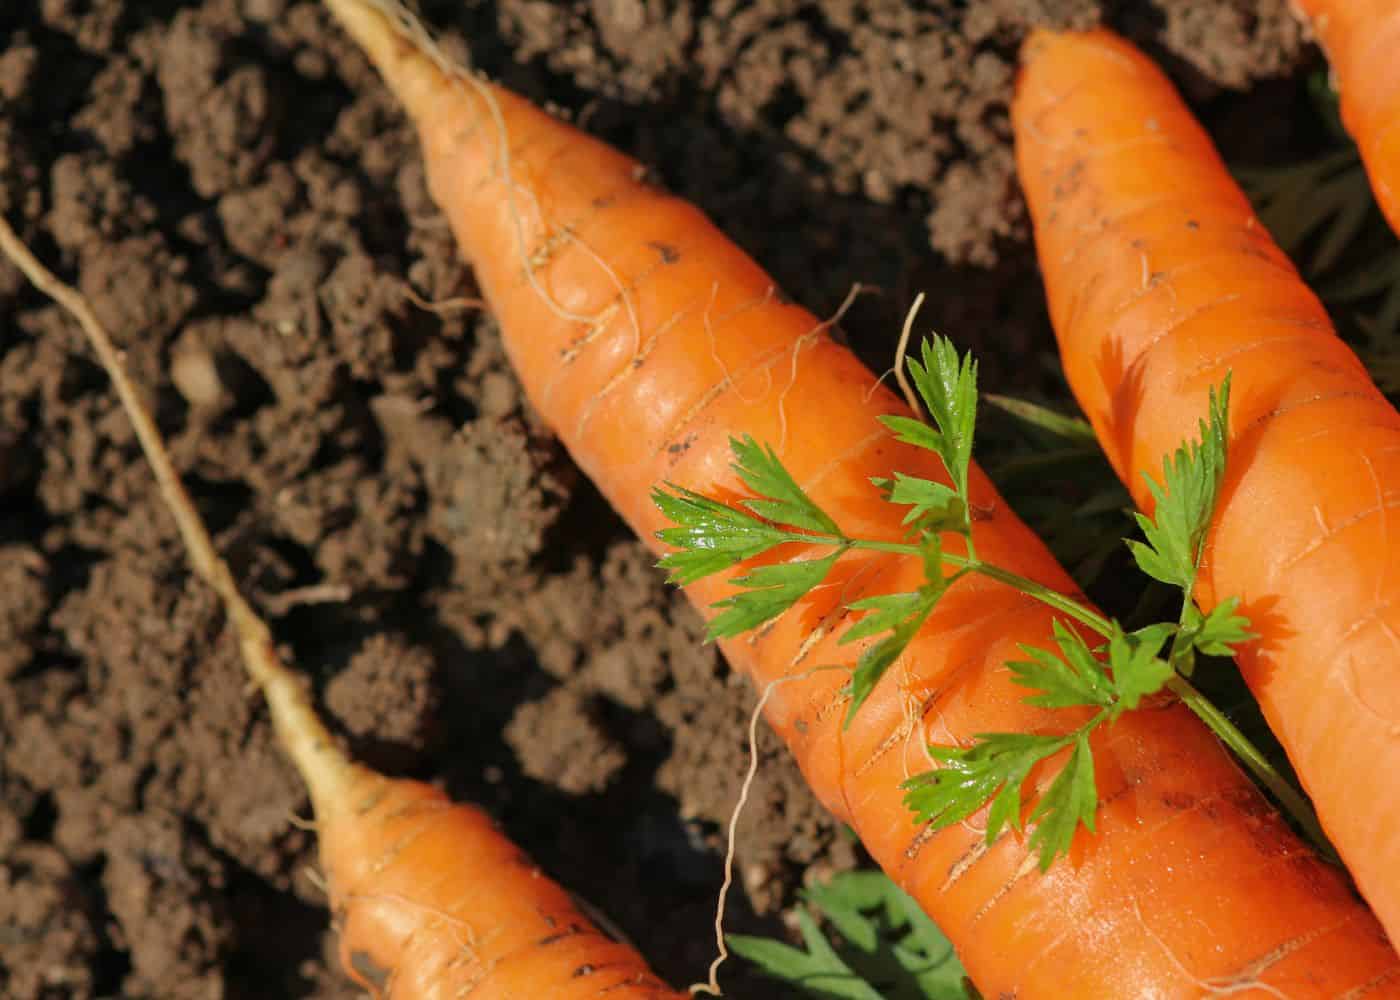
Common pests and diseases affecting carrots
Carrots are a popular vegetable, but unfortunately, the plants are also susceptible to various pests and diseases. Knowing what these are can help you take steps to protect your carrot crop from potential damage.
The most common pest affecting carrots is the carrot rust fly. The grown-up flies lay their eggs close to the plants, and when the larvae come out of them, they gnaw on the carrot roots, causing decay. To prevent this from happening, cover your beds with row covers or plastic mulch during early spring before planting time so that the adults cannot lay their eggs in the soil. They may also be less likely to lay eggs in raised gardens as they have to fly up off the ground.
Additionally, rotate crops each year so that you don’t plant carrots in an area where they were planted last season; this will reduce populations of both adult flies and larvae as well as other pests like aphids and flea beetles, which may be attracted to growing carrots. You can also mix your carrot seeds with spent coffee grounds before you plant them to confuse the flies with scent.
Another common disease is Alternaria leaf blight, which causes yellow spots on leaves that eventually turn brown or black. It’s caused by a fungus that thrives in warm weather conditions with high humidity levels; prevention involves promptly removing any infected foliage and providing adequate air circulation around plants by spacing them out properly when planting time comes around again next season.
Finally, root-knot nematodes are microscopic worms found living in soils all over North America; while harmless to humans, they can cause serious damage to carrot crops by feeding off of root systems until there’s nothing left for harvest. To prevent this from occurring, make sure you test your soil regularly for nematode presence before planting any vegetables, including carrots. If detected, use organic methods such as crop rotation or solarization (using plastic sheeting).
FAQs about growing your own carrots
What is the best way to grow carrots?
Positioning the carrots in a sunny spot with good draining earth is optimal for their growth. Start by loosening the top 6-12 inches of soil and adding organic matter such as compost or aged manure.
Sow carrot seeds about 1/4 inch deep, spaced with a few to an inch. Keep the soil moist but not soggy, and thin out seedlings when they reach about 3 inches tall. Harvest carrots when they reach full size for optimal flavor and texture.
Where do carrot seeds come from?
Carrot plants grow their seeds on tall flower stalks after the root has sat dormant in the soil for one winter. Carrot plants are biennial, meaning they live for two years. The root stays in the cold soil in the fall after it has grown all summer, and then sends up a flower stalk in the spring when the soil warms up. The flowers form seeds if pollinated. You can save the seeds for planting next season.
Before you go…
To ensure success, follow the steps outlined in this article to get your carrot crop off to a good start. It’s important to remember that when it comes to gardening, patience is key; however, with proper soil preparation and regular watering and fertilizing of the seedlings as they grow, you’ll soon find yourself harvesting delicious home-grown carrots.




Hi, thank you for this comprehensive guide on how to grow carrots. I learned a lot from your tips on soil preparation, seed sowing, thinning, and pest control. I also liked how you explained the different types of carrots and their characteristics. I can’t wait to try some of the varieties you recommended in my garden. You have inspired me to grow my own crunchy and delicious carrots!