AeroGarden tomatoes are mini cherry tomatoes that grow on special dwarf tomato plants. While red heirloom cherry tomatoes are the most popular, there are also yellow cherry tomato seed pods available. The plants take several months to grow from seeds into flowering plants.
Growing tomatoes indoors requires the gardener to hand pollinate flowers and potentially do some light pruning if required due to space constraints. AeroGarden tomatoes generally have a harvest period beginning about 8-12 weeks after planting.
AeroGarden tomato basics
Tomatoes are one of the most popular crops to grow in an AeroGarden. Growing AeroGarden tomatoes is especially common in the winter and early spring in cooler climates where fresh tomatoes can’t be grown outdoors during the winter. AeroGarden tomatoes grow quite quickly and are also known for being easy to grow (even for beginners). These hydroponic cherry tomatoes are grown from non-GMO seeds and the indoor garden system is free from pesticides and herbicides.
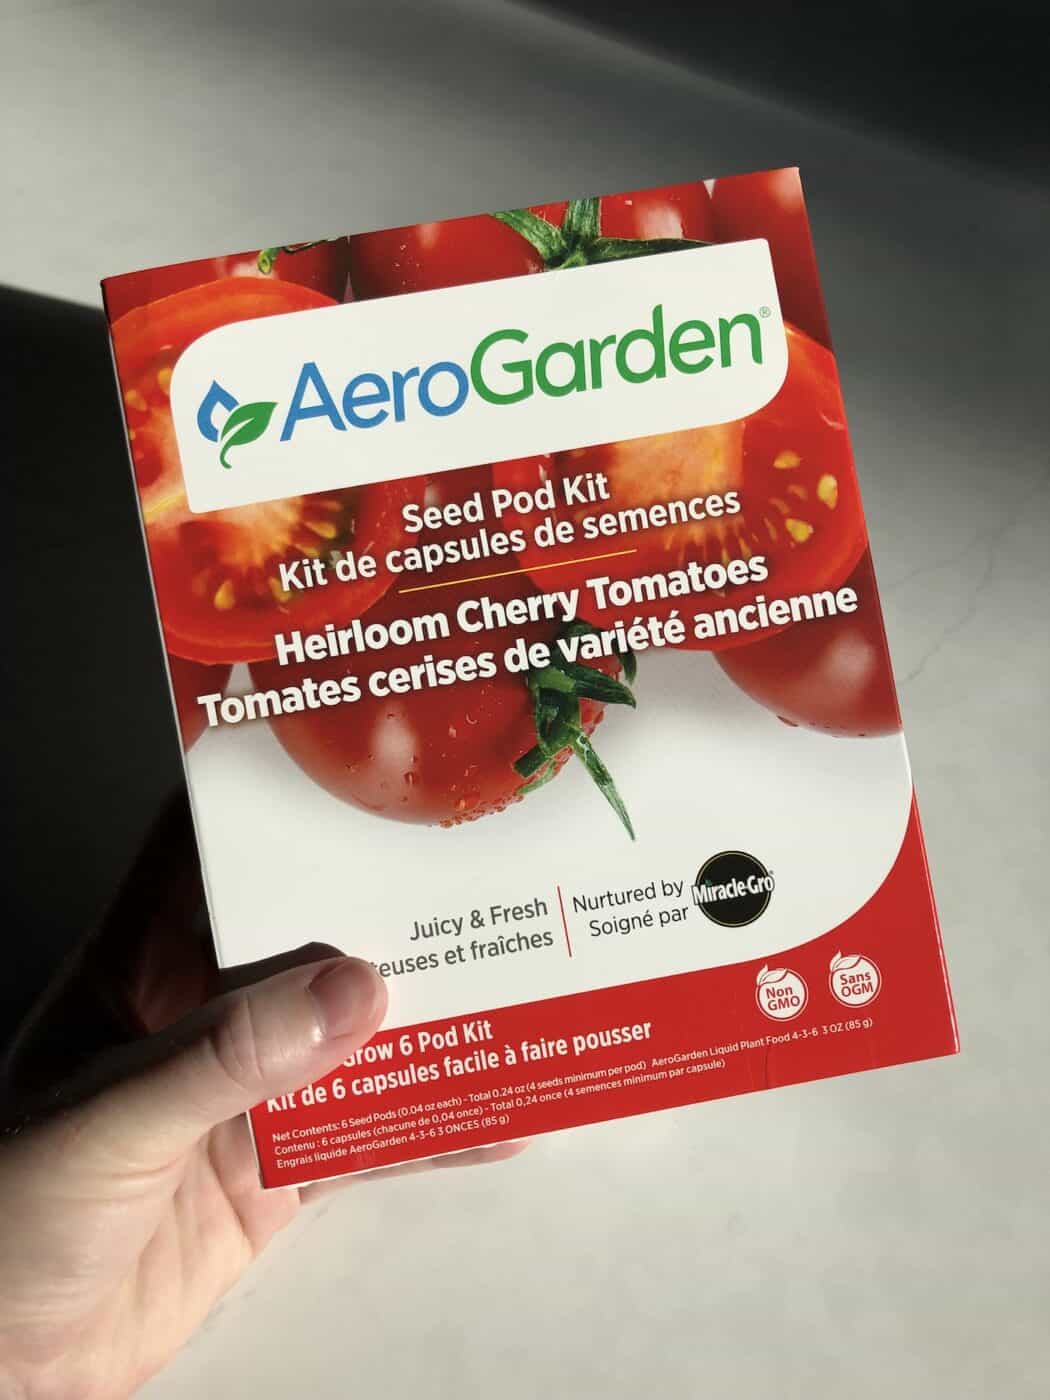
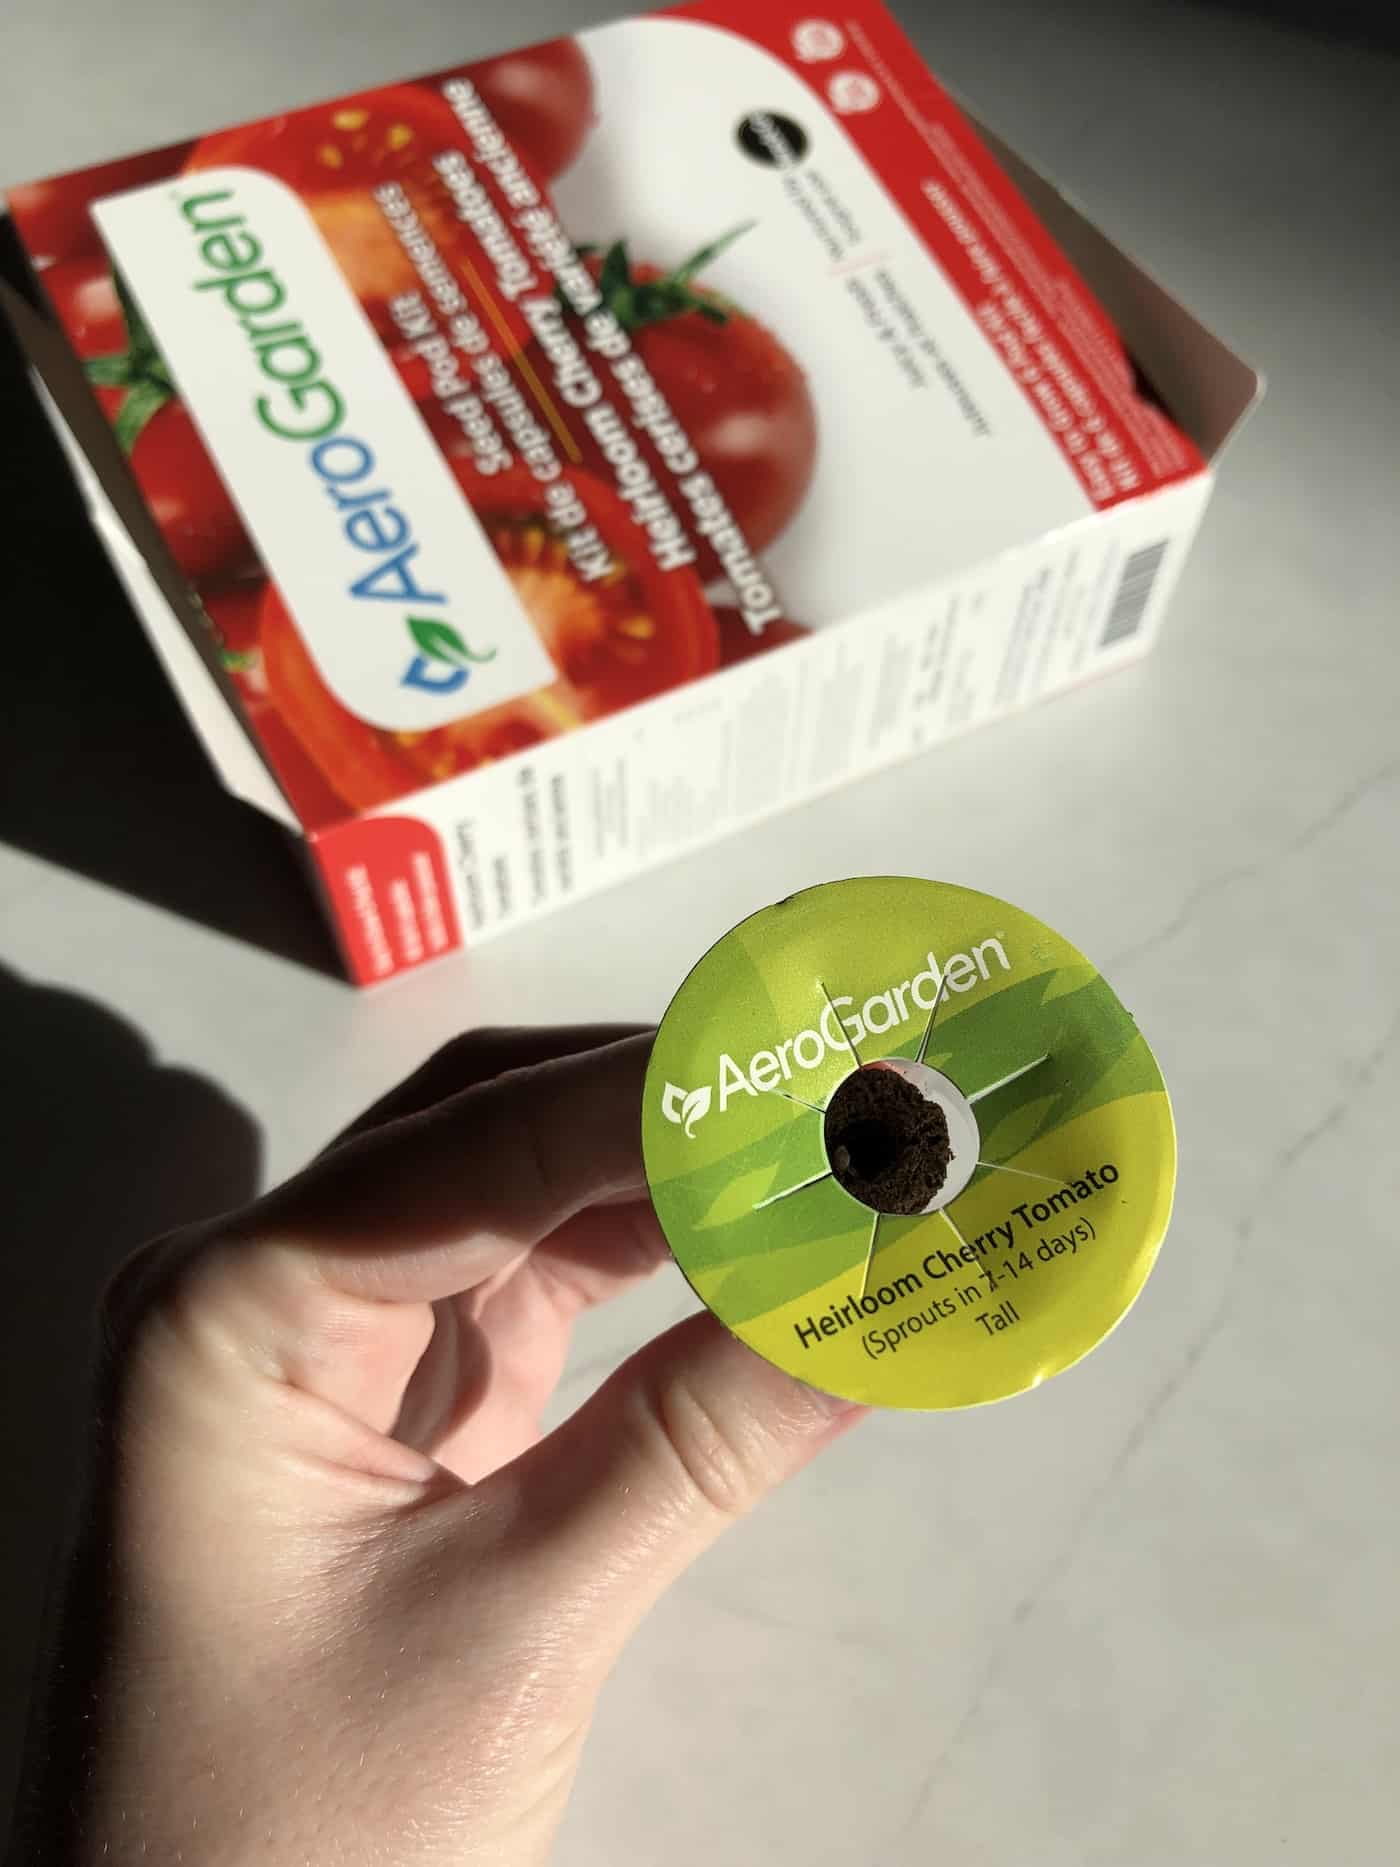
AeroGarden offers many several different types of tomatoes in their pre-seeded pods. The most popular AeroGarden tomato seed pod kit is the Red Heirloom Cherry Tomato Seed Pod Kit. You can also buy mixed seed kits containing a few tomato pods and pepper seed pods.
AeroGarden tomato growing tips
Here are some basic tips for growing AeroGarden tomatoes:
- Position your AeroGarden in a warm indoor location. Tomatoes are a warm-season vegetable, and the plants should not be placed in a location where air temperatures are less than 50°F (10°C). Warm indoor room temperature locations are preferable.
- Keep the LED grow lights about 4″ above the plants. Keeping the light close to the plants will help them grow quickly and encourage them to flower and set fruit. That said, do not let the leaves of the tomato plants get within an inch or two of the LED light plate if possible, as the lights can brown the leaves if the leaves get too close. Keep extending the light arm upwards as the plants grow.
- AeroGarden tomatoes are determinite tomatoes. These varieties grow to a predetermined height (usually 12″-18″ tall for dwarf indoor varieties). The tomatoes all grow near the top of the plant in clusters. These plants set all their fruit over the period of several weeks before ending their life cycle.
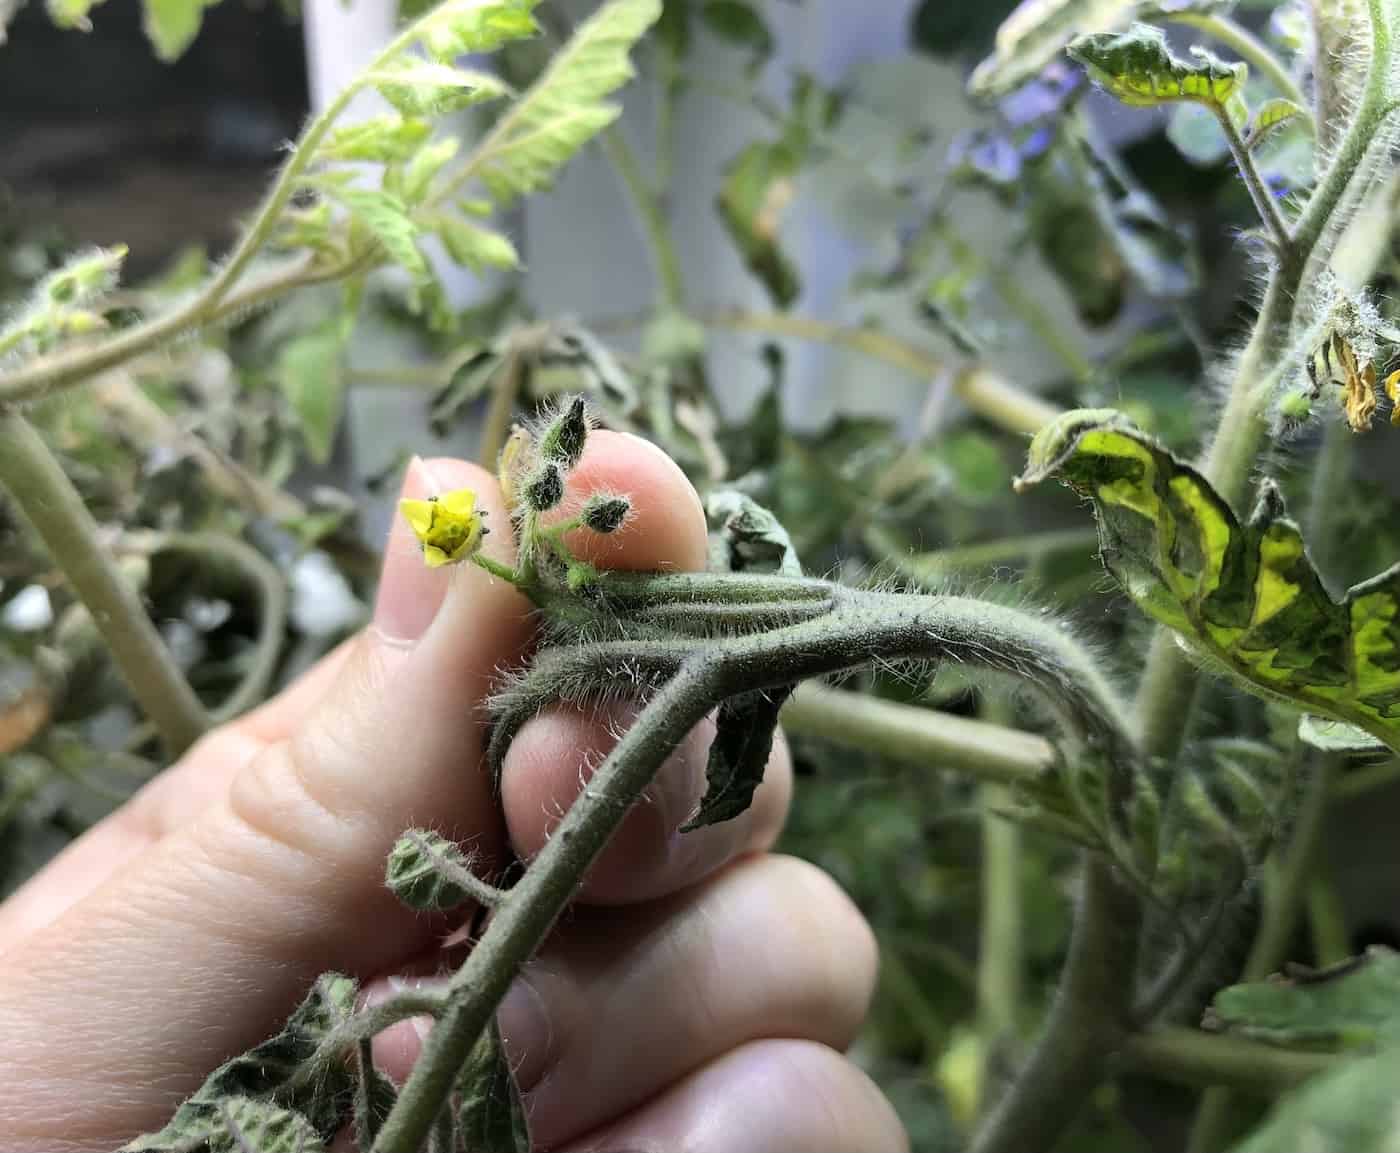
- Indoor-grown tomatoes require hand pollination in most cases. Each flower must be pollinated individually because these plants are shielded from wind and pollinating insects. You can do this by gently tapping on each flower, brushing the inside of each flower with a small paintbrush, or using AeroGarden’s “Be The Bee” pollinator brush tool.
AeroGarden tomato pods
There are four main types of AeroGarden Tomato Pods available. You can order the tomato seed kits or assemble a custom seed pack mix with different types of cherry tomatoes. Prices for the tomato pods range from $13.95 for a 3-Pod Seed Kit to $16.95 for a 6-Pod Seed Kit and $21.95 for a 9-Pod Seed Kit.
There are 4 types of AeroGarden Tomato Pod Seed Kits available:
- Red Heirloom Cherry Tomato Seed Pod Kit
- Mighty Mini Cherry Tomato Seed Pod Kit
- Golden Harvest Cherry Tomato Seed Pod Kit
- Mega Cherry Tomatoes Seed Pod Kit (For Bounty & Farm Only)
Custom Tomato Seed Pod Kits are also available for order, where you mix and match Red Heirloom Cherry Tomato and Golden Yellow Cherry Tomato pods. You can also order mixed variety packs that contain tomato pods, including the Salsa Garden Kit, Jumbo Veggies Kit, and Salad Bar Kit.
AeroGarden seed pods are made of a plastic outer frame grow basket with a peat soil sponge inside. The pods are free from pesticides and herbicides, and the seeds inside are GMO-free. If the pods don’t germinate and sprout, AeroGarden offers free replacements under their “100-Percent Germination Guarantee”.
How to grow tomatoes in the AeroGarden
Here are detailed instructions for growing AeroGarden tomatoes:
- Ensure the AeroGarden is clean and fully assembled. Here are instructions for cleaning your AeroGarden between plantings.
- Place the garden on a flat, dry indoor surface, preferably where air temperature is at or above 70°F (21°C).
- Plug the garden in. The best time to plug the garden in is first thing in the morning. The garden then will be “on” for 15 hours and “off” for 9 hours each day. You can reset the timing by holding the light button down for 3 seconds. To reset the plant food reminder and the light, you can start a new planting by holding down the leaf button for 5 seconds. The light will flash three times to confirm a new planting has been started.
- Add water to the “Fill To Here” water level indicator.
- Add the liquid plant food to the water tank bowl following the instructions on the bottle.
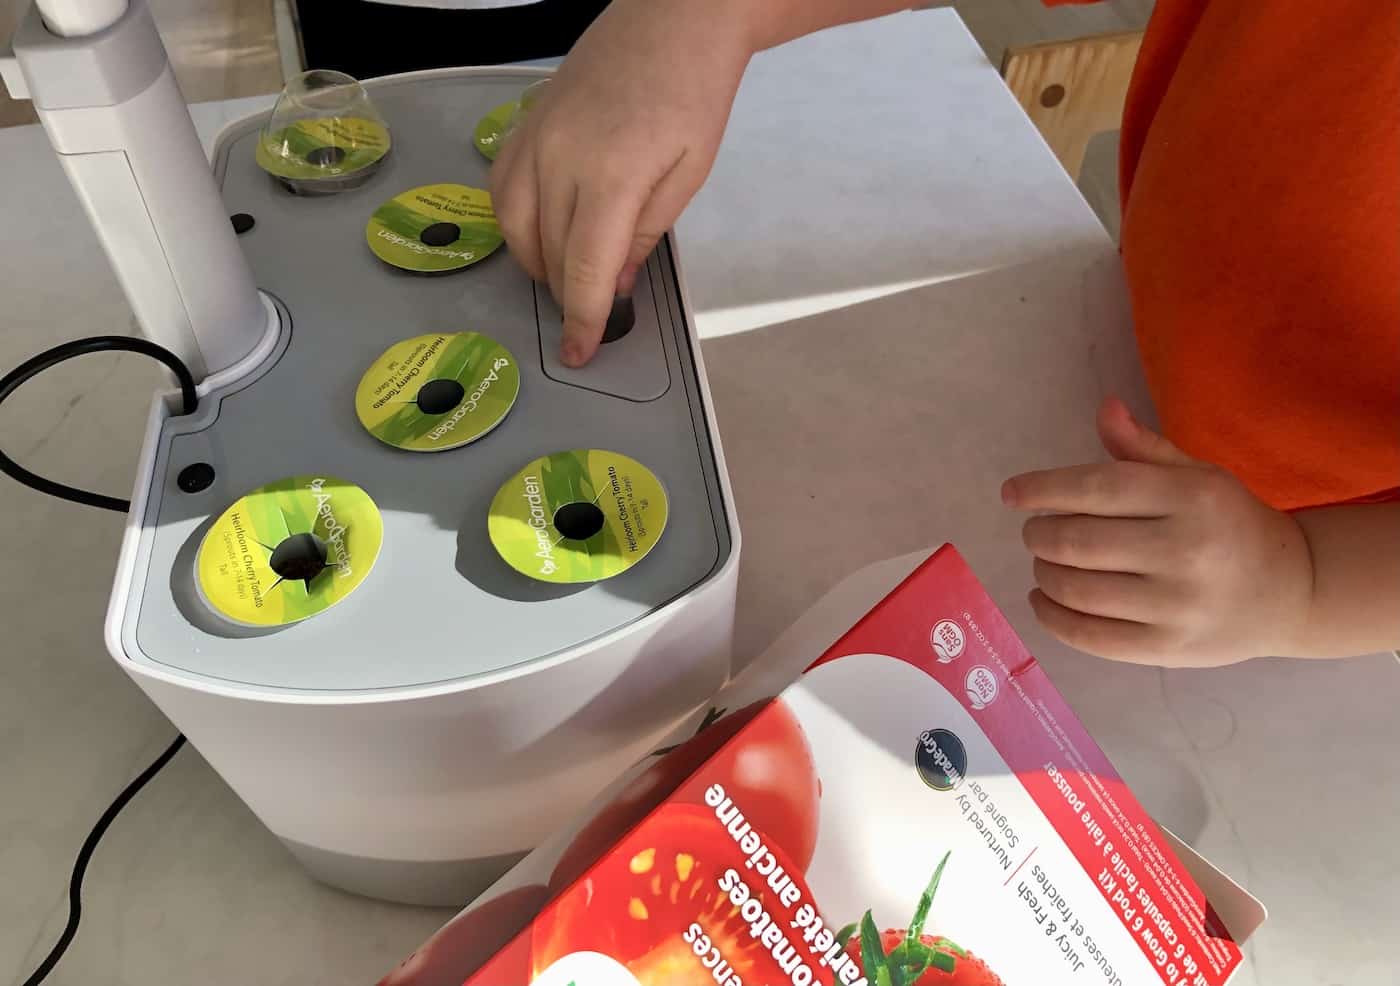
- Place the tomato seed pods into the circular openings on the grow deck.
- Cover the top of each seed pod with a clear germination grow dome.
- Observe the tomato pods every few days to watch for small green sprouts appearing at the top of the seed pods.
- Each tomato pod may sprout several seedlings. The weakest seedlings will need to be removed to allow the strongest ample space. Wait until the first pair of “true leaves” appear before deciding which seedlings to remove. These are the serrated leaves that follow the initial oval seedling leaves. Once these serrated leaves are visible, choose the tomato plant with the thickest straightest stem. Trim the other seedlings off near the soil line with sharp scissors.
- Continue adding water whenever indicated and adding plant food according to the schedule on the bottle.
- As the tomato plants grow, move the lamp arm upwards so that the light plate stays about 4″ above the top of the leaves.
- Some gardeners like to prune and “top” their plants at about 5 weeks old, but this is not strictly necessary (see pruning section below). In most cases, it is fine to leave the plants unpruned at this point.
- Watch for signs of yellow flowers appearing at the top of the plant. Flowers usually start to appear about 5-7 weeks after planting the tomato pods.
- Pollinate each flower by gently tapping on each flower, brushing the inside of each flower with a small paintbrush, or using AeroGarden’s “Be The Bee” pollinator brush tool.
- A small green tomato will form where each flower is pollinated. Leave the tomatoes on the plant until they become the desired ripe color and until the fruits have a little bit of “give” when squeezed (but are still firm, not soft).
- Harvest the ripe tomatoes with sharp clean scissors or pruning shears.
Here’s a video I made showing even more details about growing tomatoes in an Aerogarden:
How to prune AeroGarden tomatoes
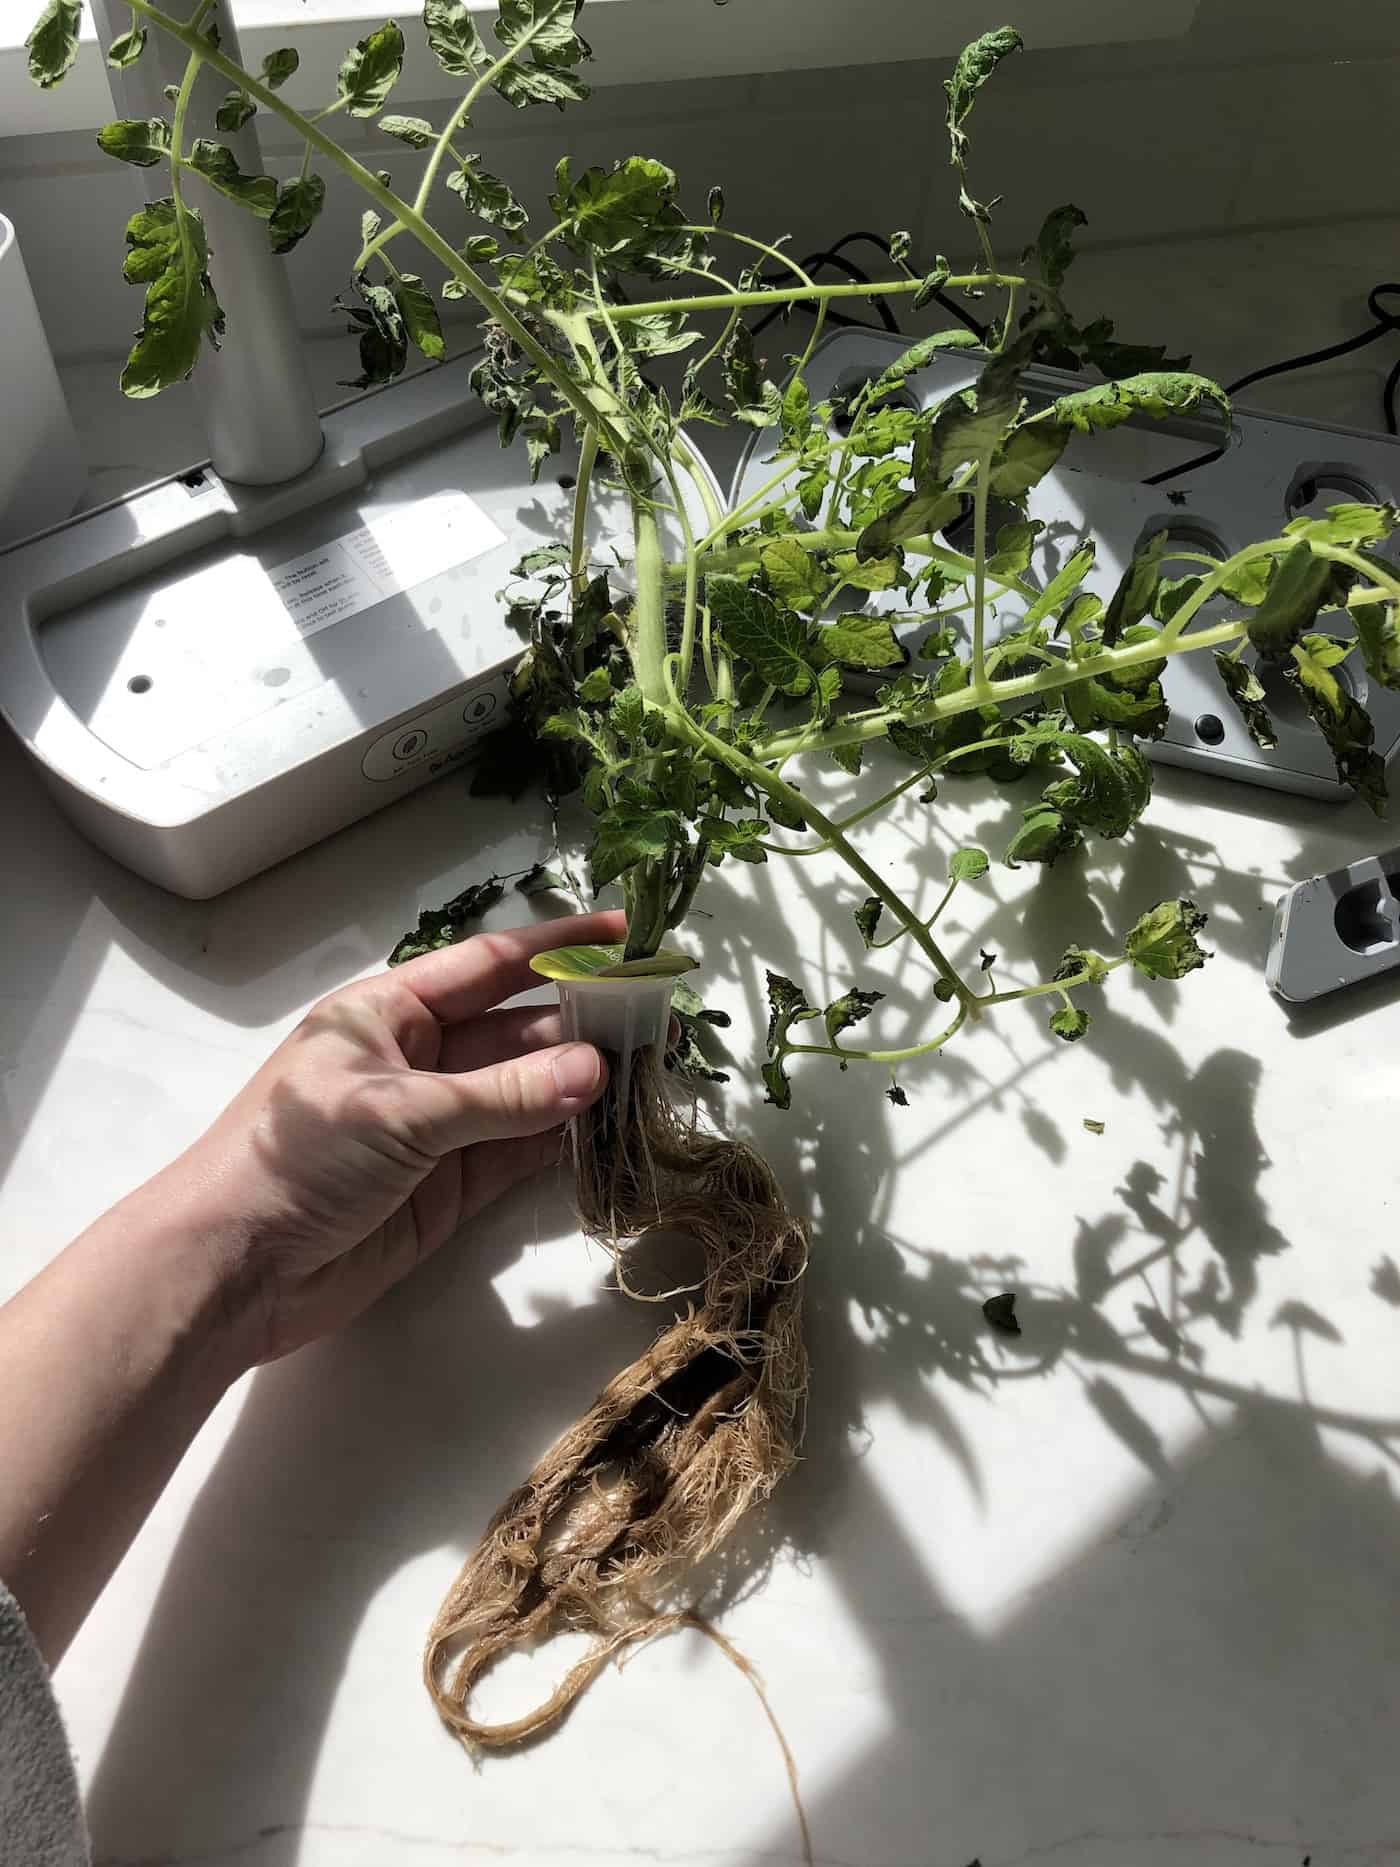
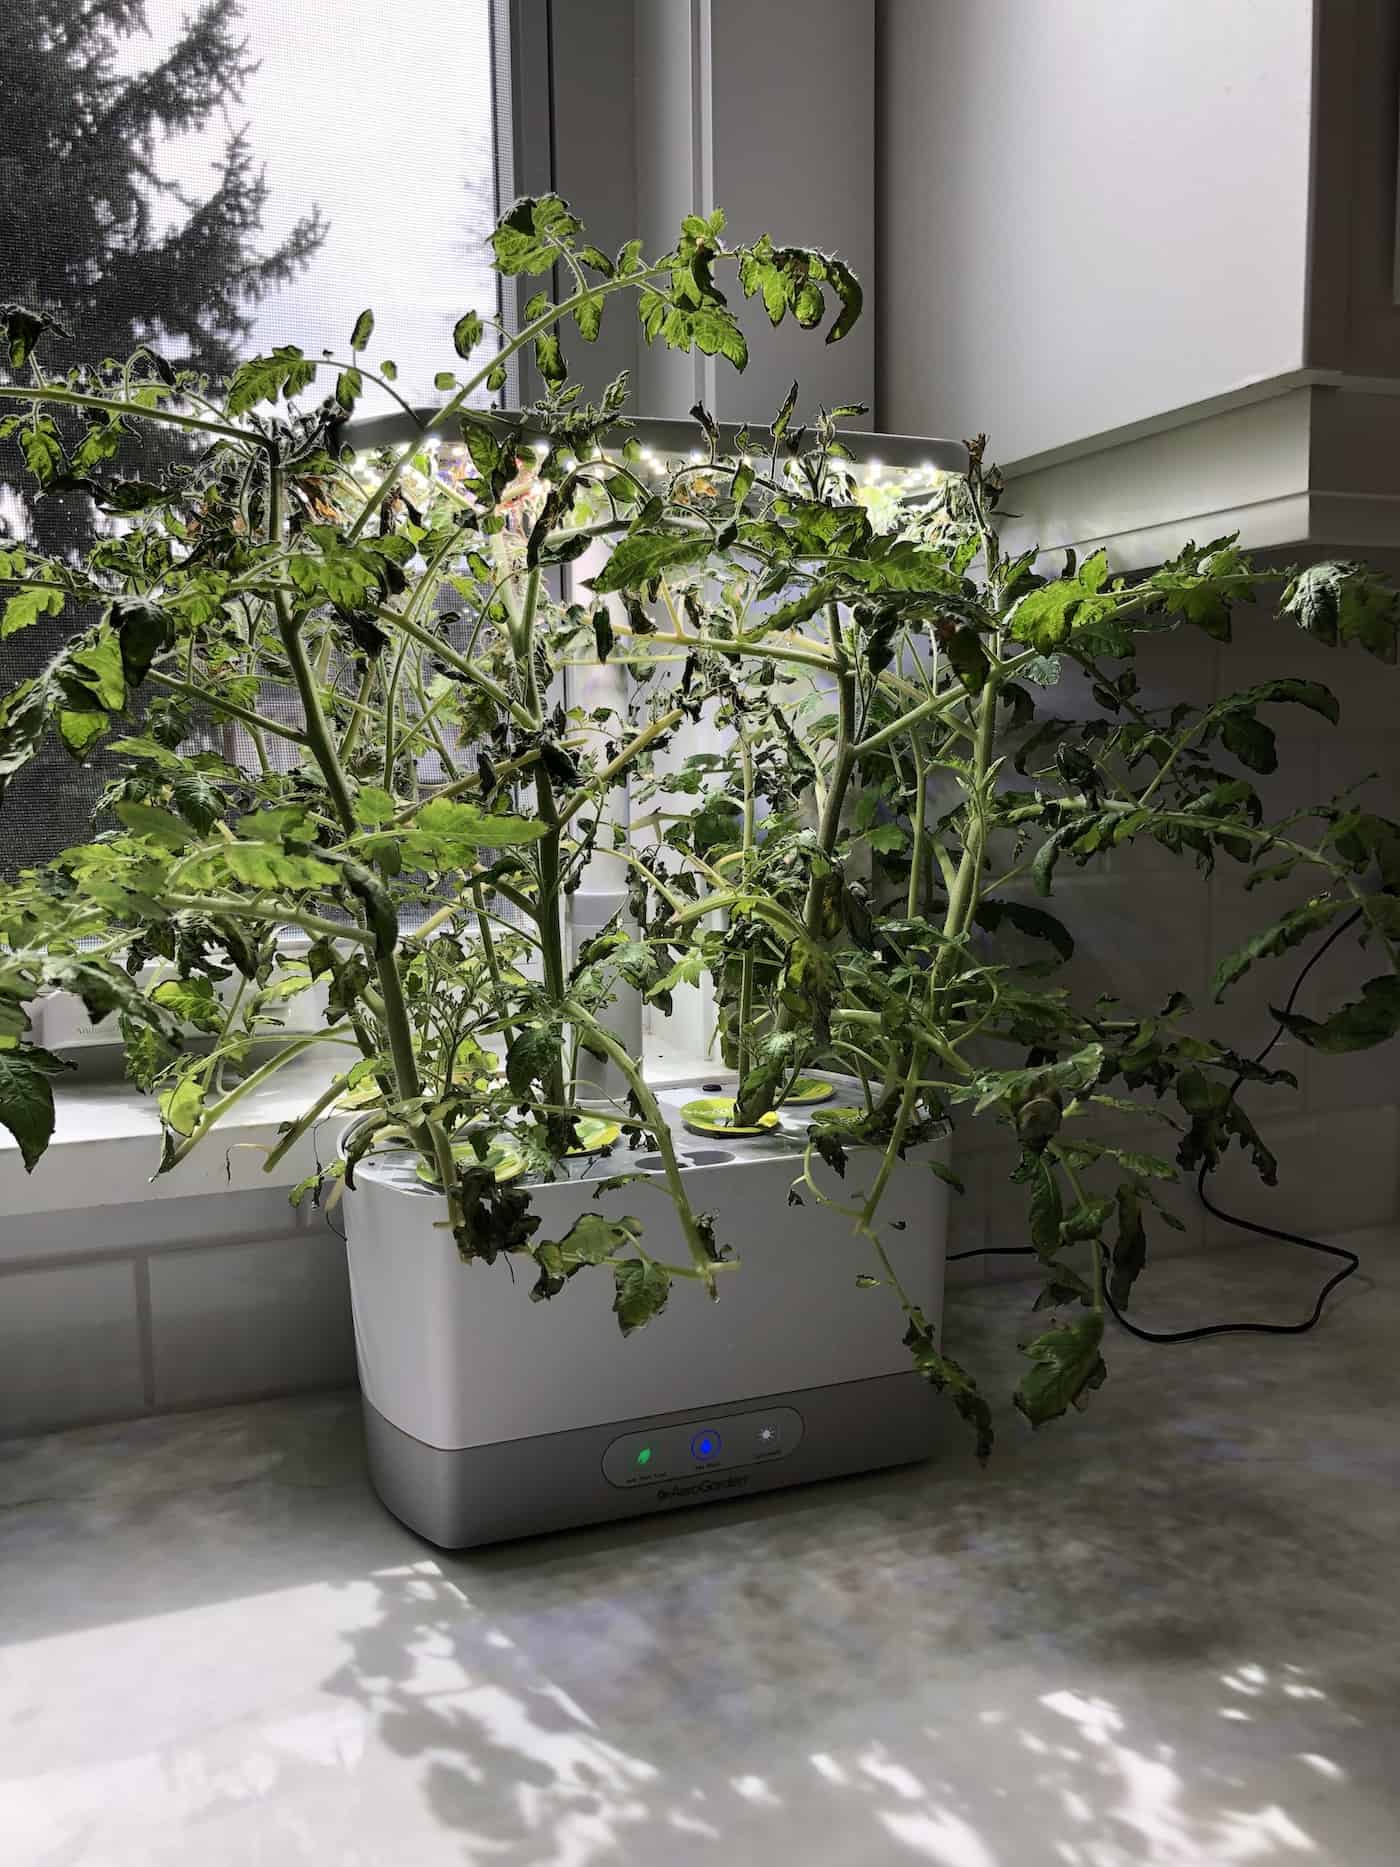
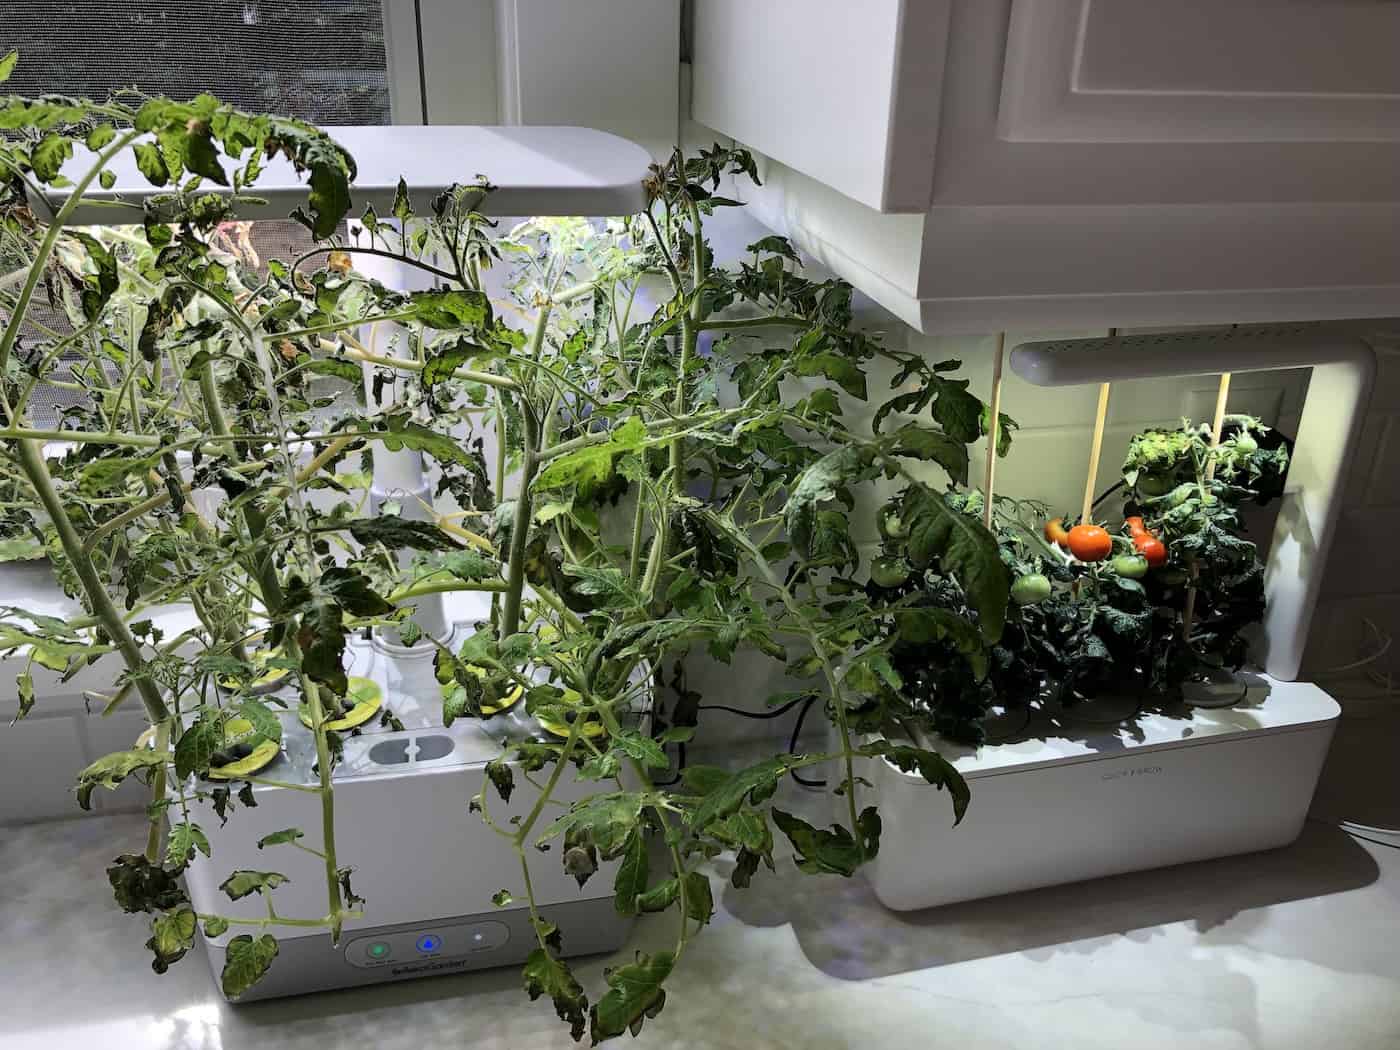
Aerogarden tomatoes require minimal pruning. These determinate varieties have been bred to “self-prune” to create a stocky bushy shape. That said, they do tend to get leggy and taller than Click & Grow tomatoes (see photo below). Experiment with pruning vs. not pruning to see what suits you best, given your AeroGarden model, air temperature, and gardening habits.
One common pruning method is to “top” young AeroGarden tomato plants by snipping the top off the main stem about five weeks after planting. This removes any flower buds that are developing at the top of the plant and forces the plant to develop its side stems instead. The idea behind this type of pruning is that while flowering/fruiting is delayed, the multiple side shoots will grow a greater number of flowers and, therefore, tomatoes. This can lead to a larger yield in optimal scenarios and a weak plant and underripe tomatoes in less-than-perfect situations.
Pruning AeroGarden tomatoes does make sense in specific scenarios. One common situation is planting an entire garden with tomato pods. In this case, there often isn’t enough horizontal space for each plant, so you may need to trim off side shoots/suckers or large leaves that are interfering with other plants. Keep this pruning as minimal as possible, and do not cut the main stem at any point, as this will encourage more growth of side shoots.
To avoid this scenario, plant only about two tomato pods in an AeroGarden at one time to give the plants ample room to bush out and grow the leaves they need for photosynthesis (and delicious tomatoes).
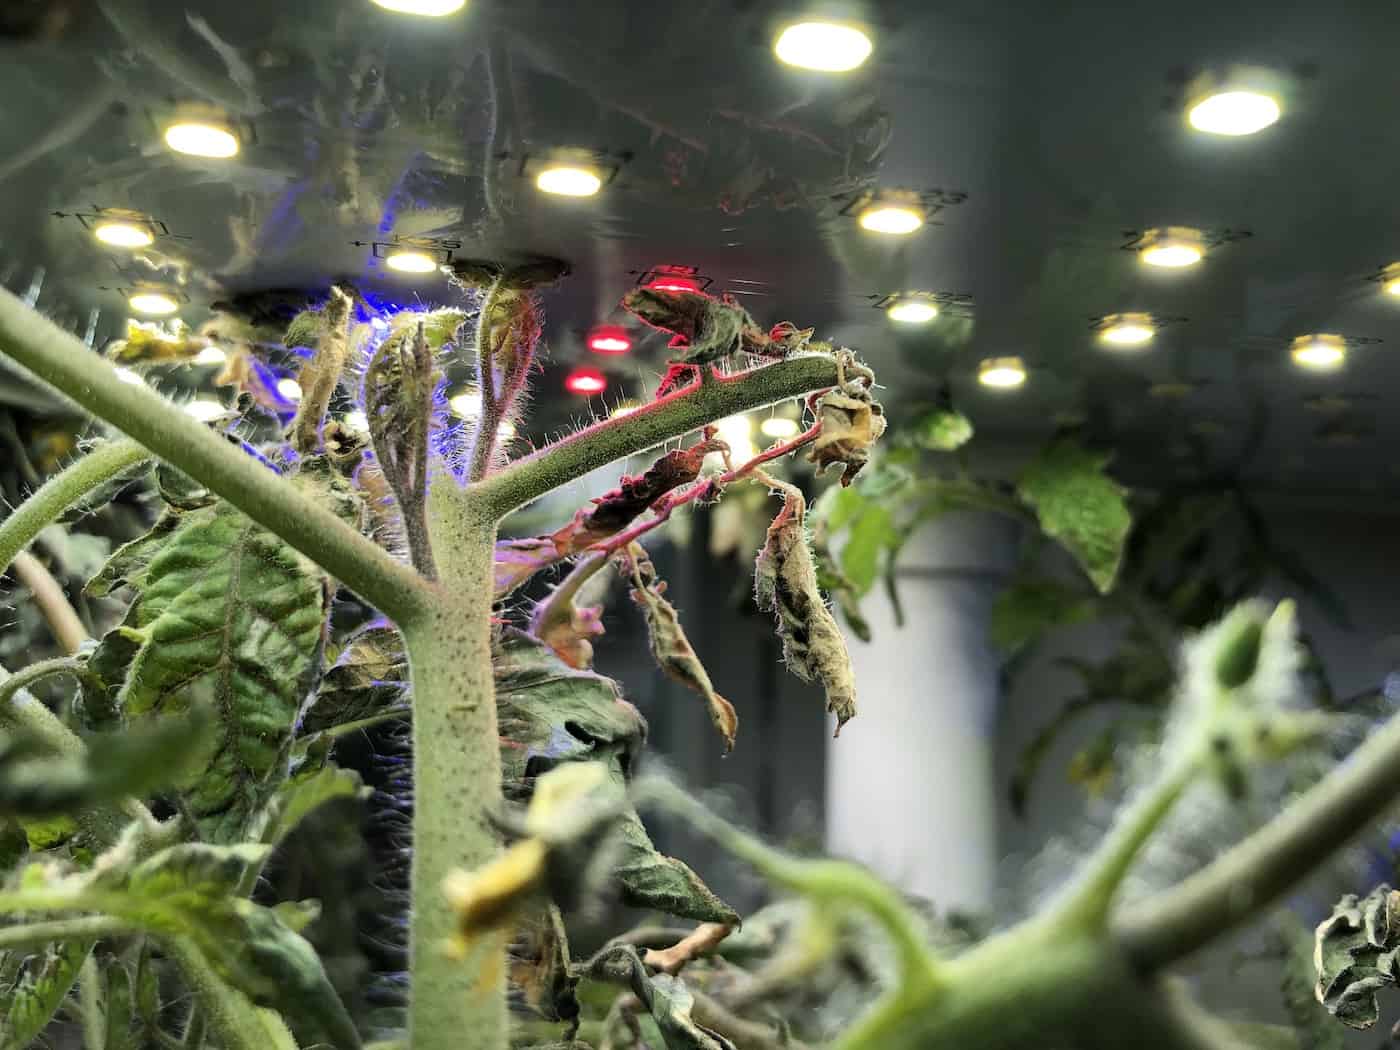
Sometimes the main stems just grow too tall for the Aerogarden and start to get close to the LED lights. The leaves will burn if they get too close or touch the light plate. In this case, you can move the stems out beside the light plate so they bypass it. Alternatively, trim off the leaves, but try to leave as many of the flowers as possible (or just try not to remove all the flowers, as each flower has the potential to become a tomato).
Best AeroGarden for tomatoes
Different Aerogarden Models are better for growing tomatoes than others. In general, the taller/larger the AeroGarden, the better for growing tomatoes. Tomatoes thrive with lots of light and lots of space, making the Bounty and Farm models optimal for AeroGarden tomatoes.
That said, you can grow better tomato plants in any model simply by growing fewer tomato plants in the same amount of space. By planting only ~2 pods at a time, each plant will have ample room to bush out and grow the leaves needed to photosynthesize the energy required to grow delicious tomatoes. Tomatoes grown in shorter Aerogardens like the Sprout and Harvest may end up touching the light plate, requiring repositioning or pruning (see above).
AeroGarden tomatoes not ripening
Sometimes AeroGarden tomatoes tend not to ripen and instead seem to stay green or pale yellow for weeks. This usually indicates that the plant does not have enough energy and/or has a sub-optimal growing environment.
One reason this can happen is if a tomato plant grows a high number of flowers that are all pollinated successfully. This frequently happens on pruned tomato plants that have been topped, as each side branch acts like its own leader and produces a cluster of flowers. If each flower is also then pollinated, the plant simply may not have enough energy to ripen all the fruit at once. In this case, remove some of the greenest fruits and allow the plant to focus on the remaining tomatoes.
Tomatoes that don’t ripen on the vine are also frequently delayed due to a poor growing environment. Make sure your garden is in a warm indoor location at a minimum of 70°F (21°C). Ensure the light is no further than 5″ from the top of the plants and is on for at least the standard 15-hour cycle each day. You may also wish to empty the water tank and refill it with clean, fresh water and fresh liquid plant food.
