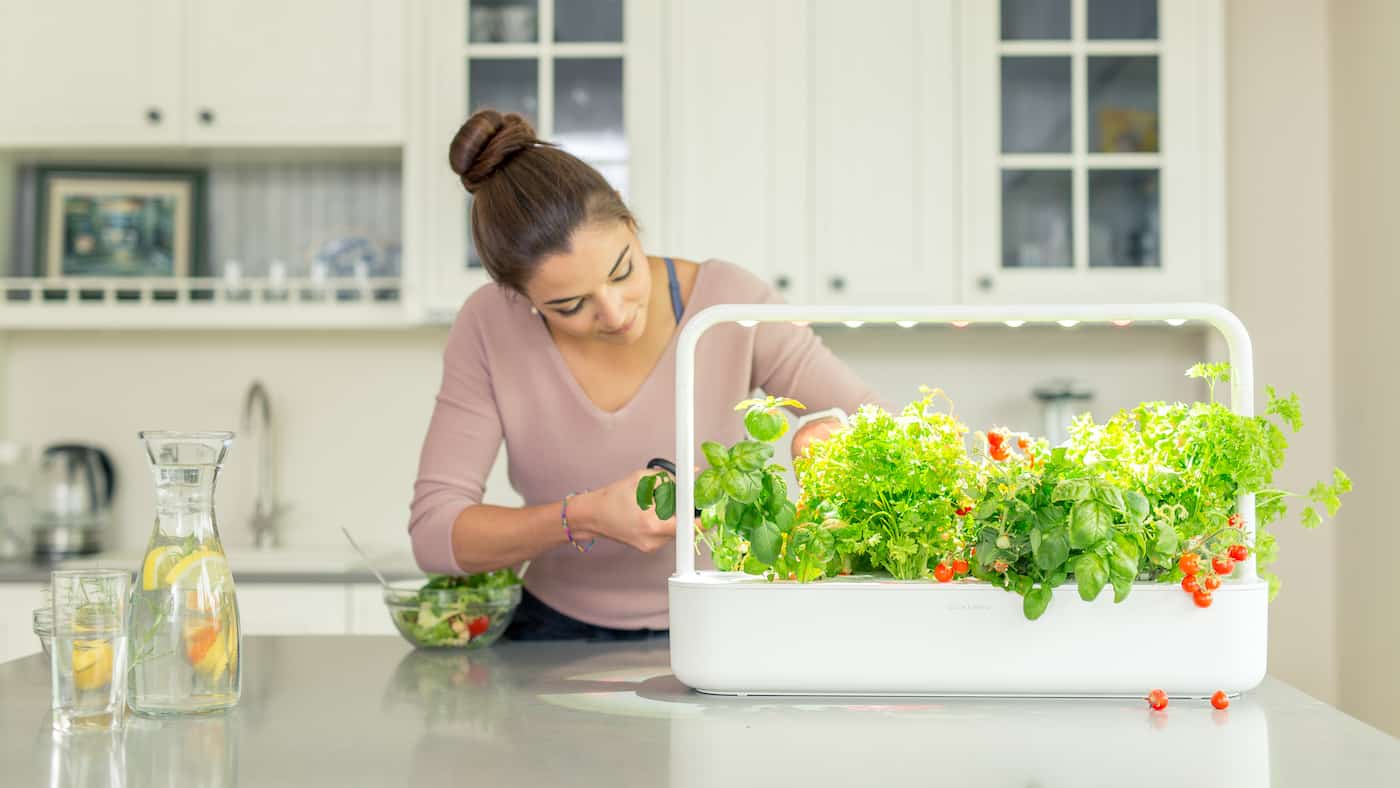
Growing tomatoes indoors is a wonderful gardening project for the wintertime! While they can be tricky to grow in a regular planter pot, small tomato plants are easy to grow in a smart garden. Click and Grow tomatoes are some of the easiest tomatoes to grow indoors.
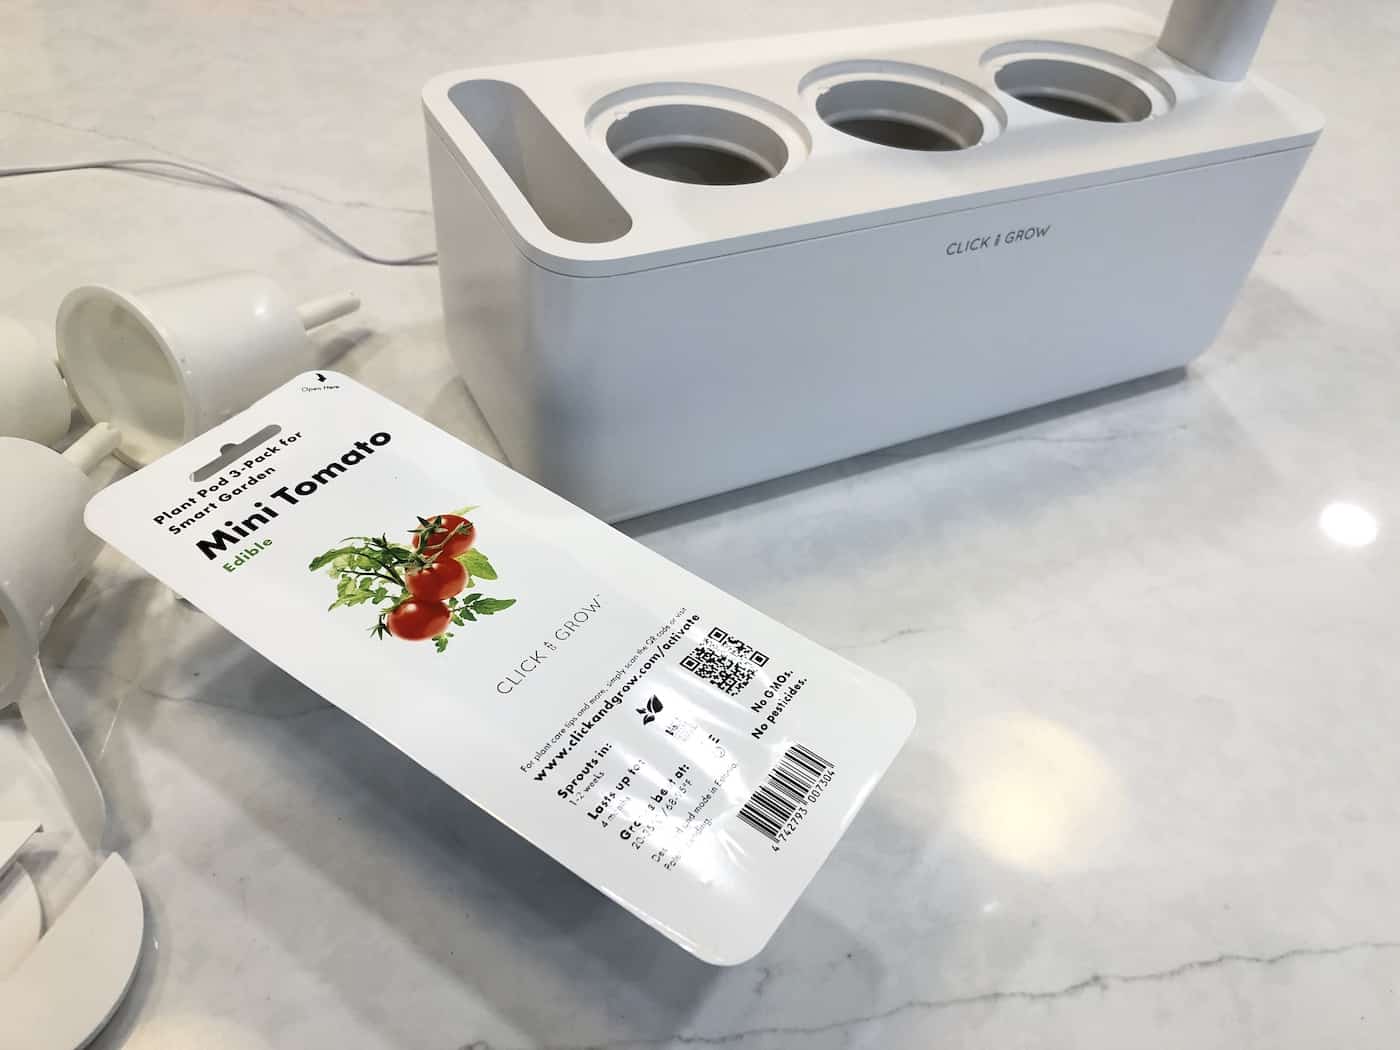
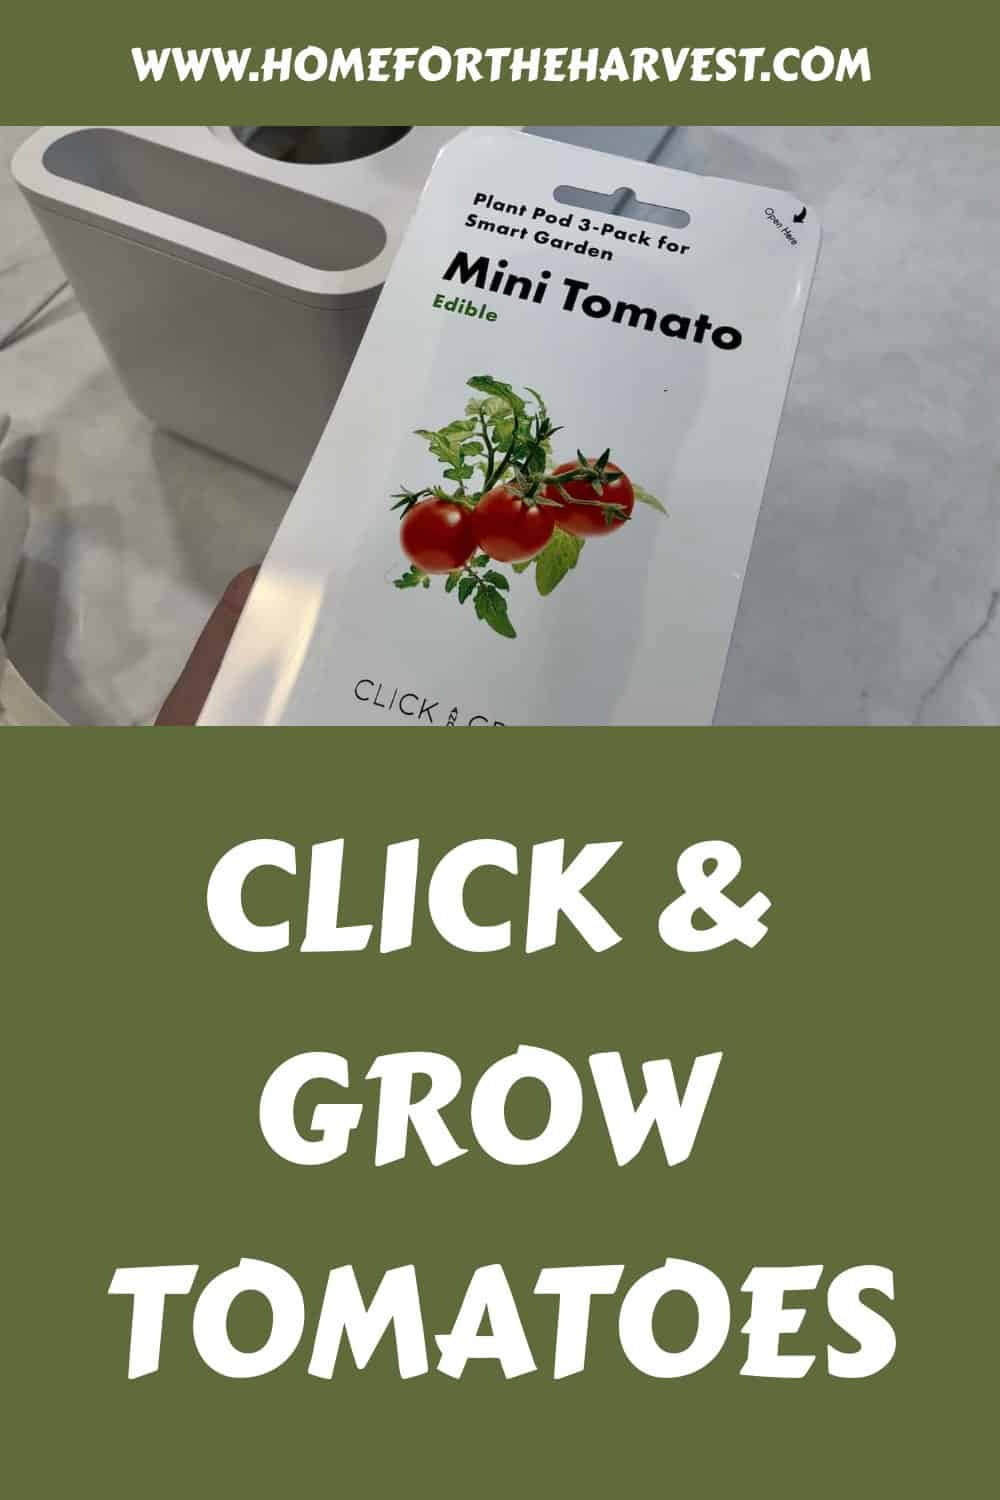
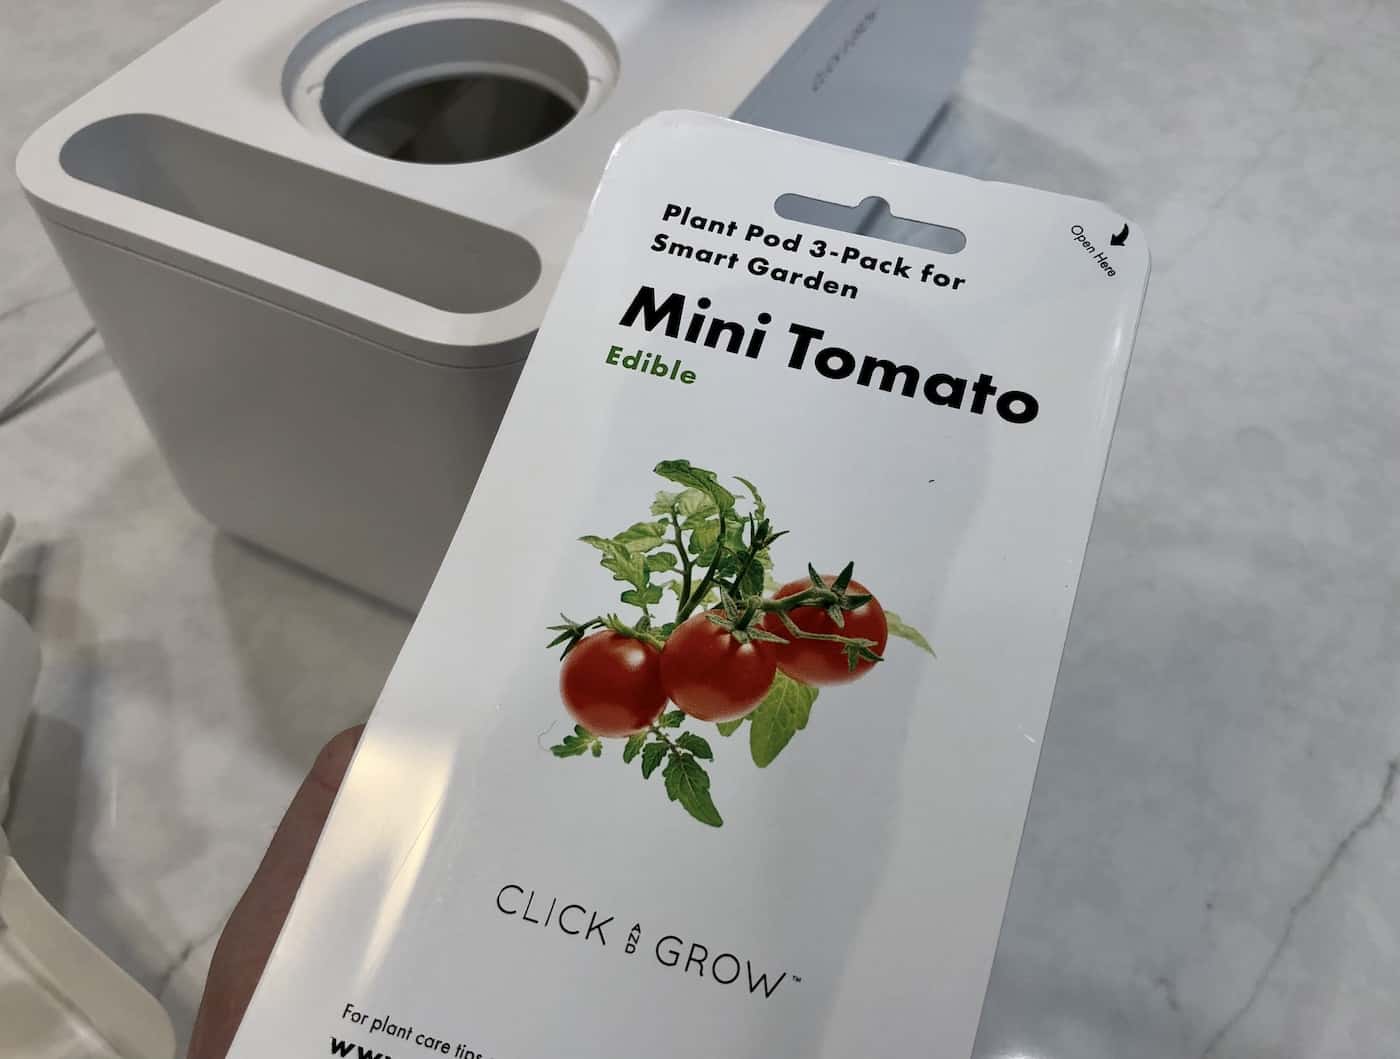
Click and Grow tomato seed pods
Click and Grow tomatoes are grown from pre-seeded tomato plant pods. The tomato seeds in these pods have been bred naturally to have a very short mature height (perfect for indoor growing). The Mini Tomato plants grow red cherry tomatoes that take about 3 months to grow in the Click & Grow Smart Garden.
Tomato seed pods currently cost $12.95 USD for a 3-pack or $29.95 for a 9-pack. Tomatoes are one of the most popular pods for the Click and Grow. And you can use my promo code HHARVEST for 15% off your pods!
If you have tomato seeds for dwarf tomato plants (like Tiny Tim Tomatoes) already, you can also use the blank “Grow Anything” empty seed capsules to grow those seeds. Just pop the seeds you have into the soil sponge pods when they arrive. I recommend putting 2-3 seeds in each capsule.
Timeline: Growing tomatoes in a Click & Grow
Tomato seeds generally take 1-3 weeks to germinate, depending upon a number of factors including soil temperature, moisture, and seed health. Germination of tomato seeds is usually quite quick in Click & Grow gardens as they control for these environmental factors. Tomato seeds tend to germinate in about 8 days when soil is 68°F (20°C) and reach their quickest germination of under 6 days at a temperature of 77°F (25°C).
Click and Grow Tomatoes are generally ready to harvest 14 – 18 weeks after planting (source: Click & Grow). The quickest time to harvest is estimated at 70 days from planting the pod to harvesting ripe tomatoes, although more like 85-90 days is much more likely.
Instructions for growing tomatoes in a Click and Grow smart garden
Click and Grow tomatoes are easy to grow! Here are the basic steps for growing Mini Tomatoes in a smart garden. Make sure you’ve cleaned your Click & Grow before planting the tomato pods. Also, be sure to read the instructions on the package. Tomatoes grow best in warm ambient temperatures of 68°-95°F (20°-35°C).
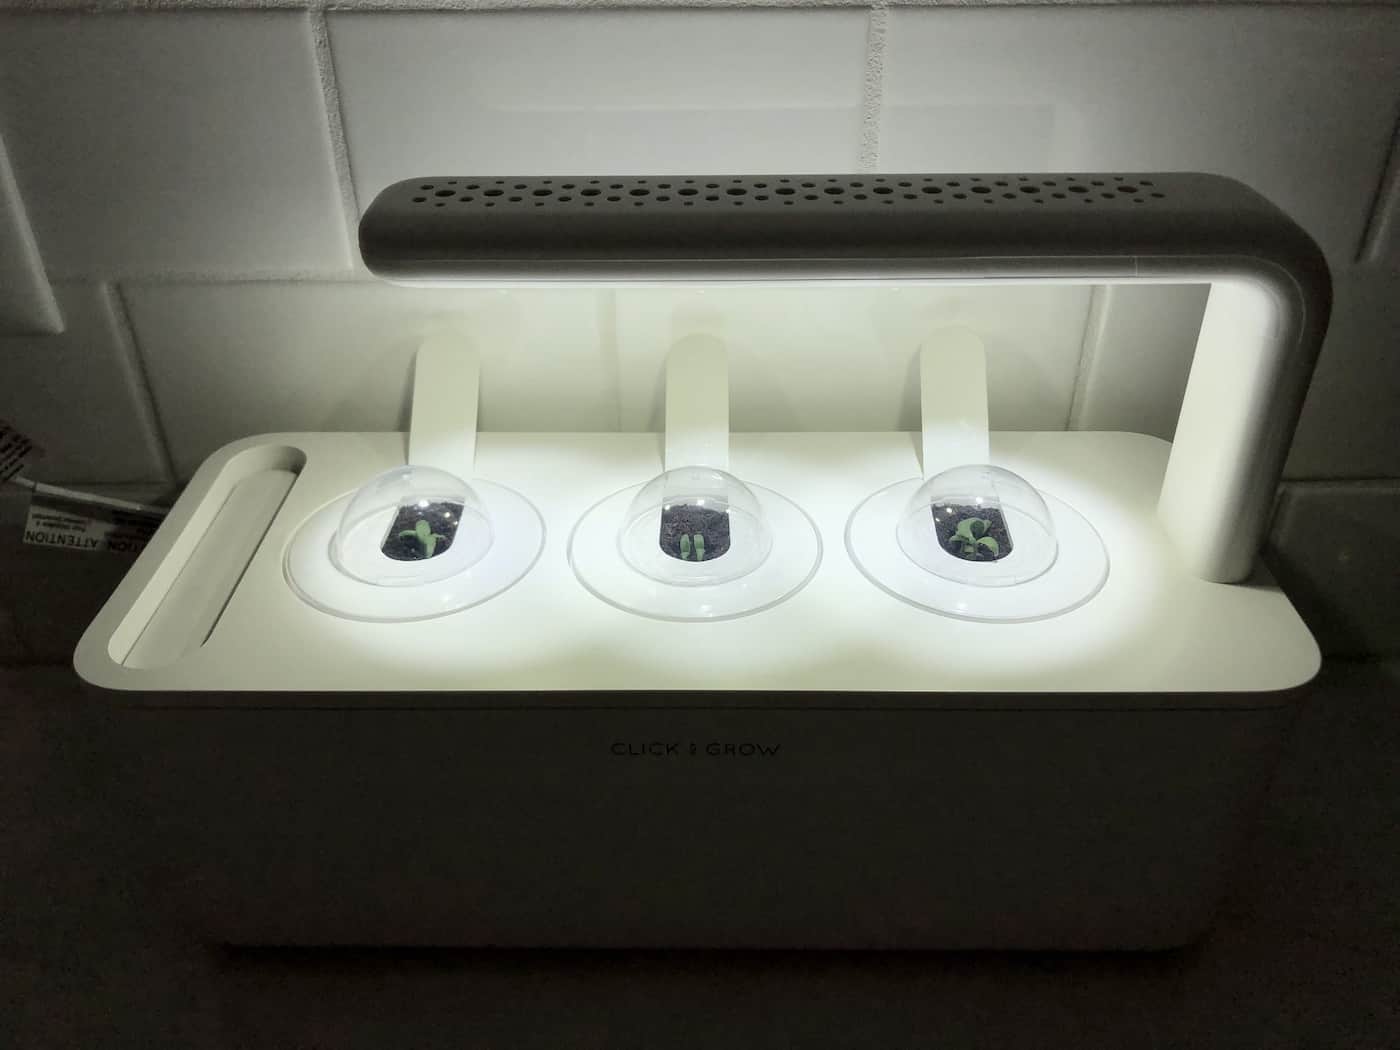
- Take the tomato seed pods out of the package and place each one into a plant cup. Alternatively, use only one tomato seed pod at a time, and plant the other slots with companion plants for tomatoes like parsley, basil, or cilantro. Click a U-shaped pod lid onto the top of each plant cup. Then place a clear germination dome over the white U-shaped lid. Label the tab on each cup if desired.
- Fill the water tank with fresh water until the float is at the same level as the top deck of the garden.
- Plug in the smart garden and ensure the plant light turns on. The light will turn on for 16 hours and will automatically turn off for 8 hours during each 24 hour period. To match daylight hours, plug the smart garden in first thing in the morning. You can set a custom light schedule on app-controlled models.
- Check the smart garden every few days to watch for sprouts and to ensure the soil in the plant pods is moist. The tomato seed should germinate and sprout within 10 days, but may take longer if conditions are not optimal (for instance, if the room is quite cold).
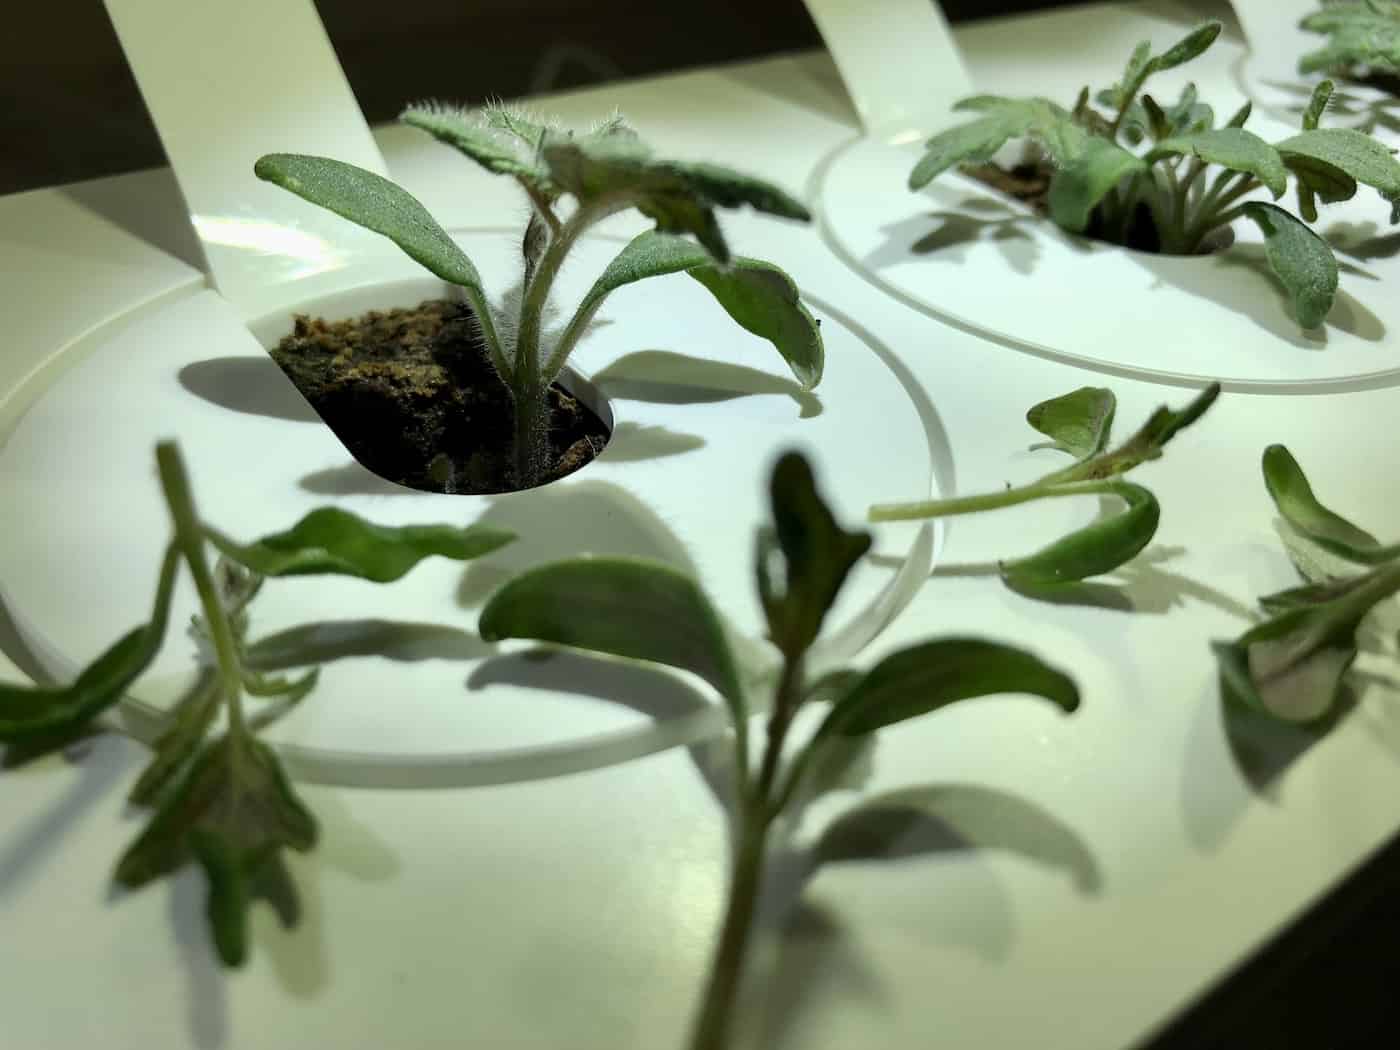
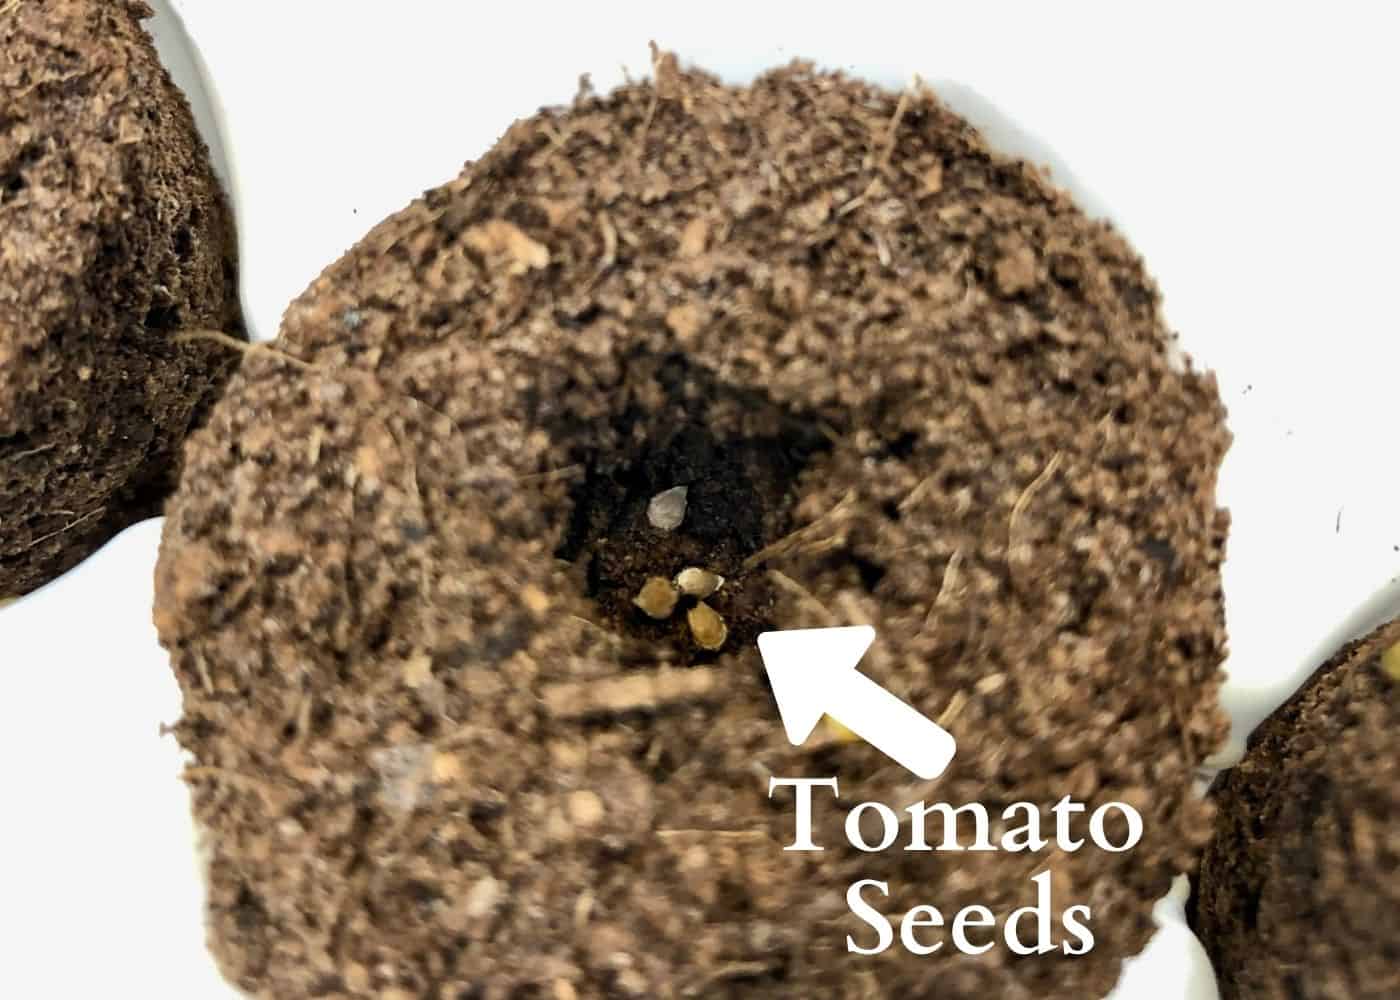
- Once sprouts appear, remove the clear germination domes from the top of each plant pod. There may be several tomato plant seedlings growing in each pod, as the pre-seeded pods contain about 4 tomato seeds each.
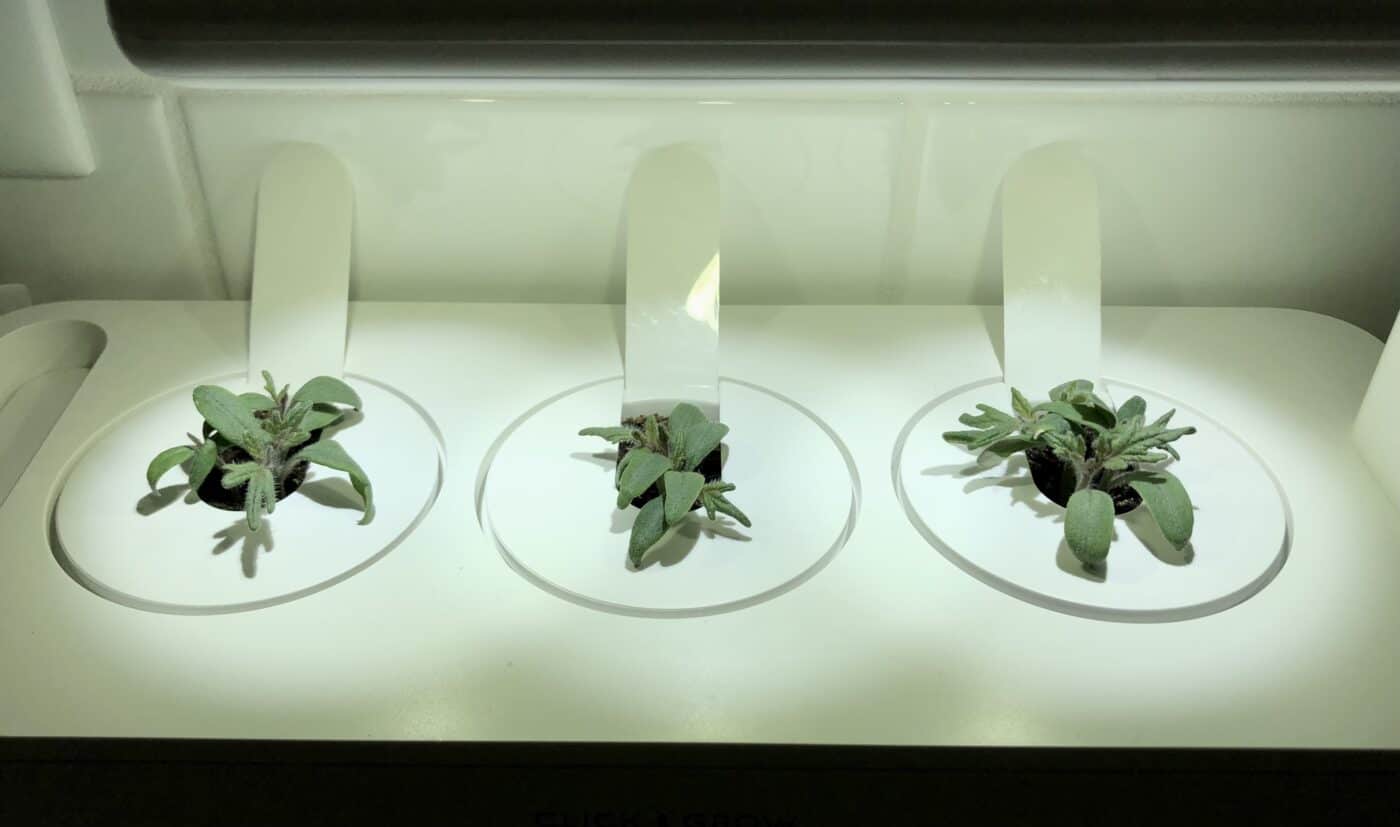
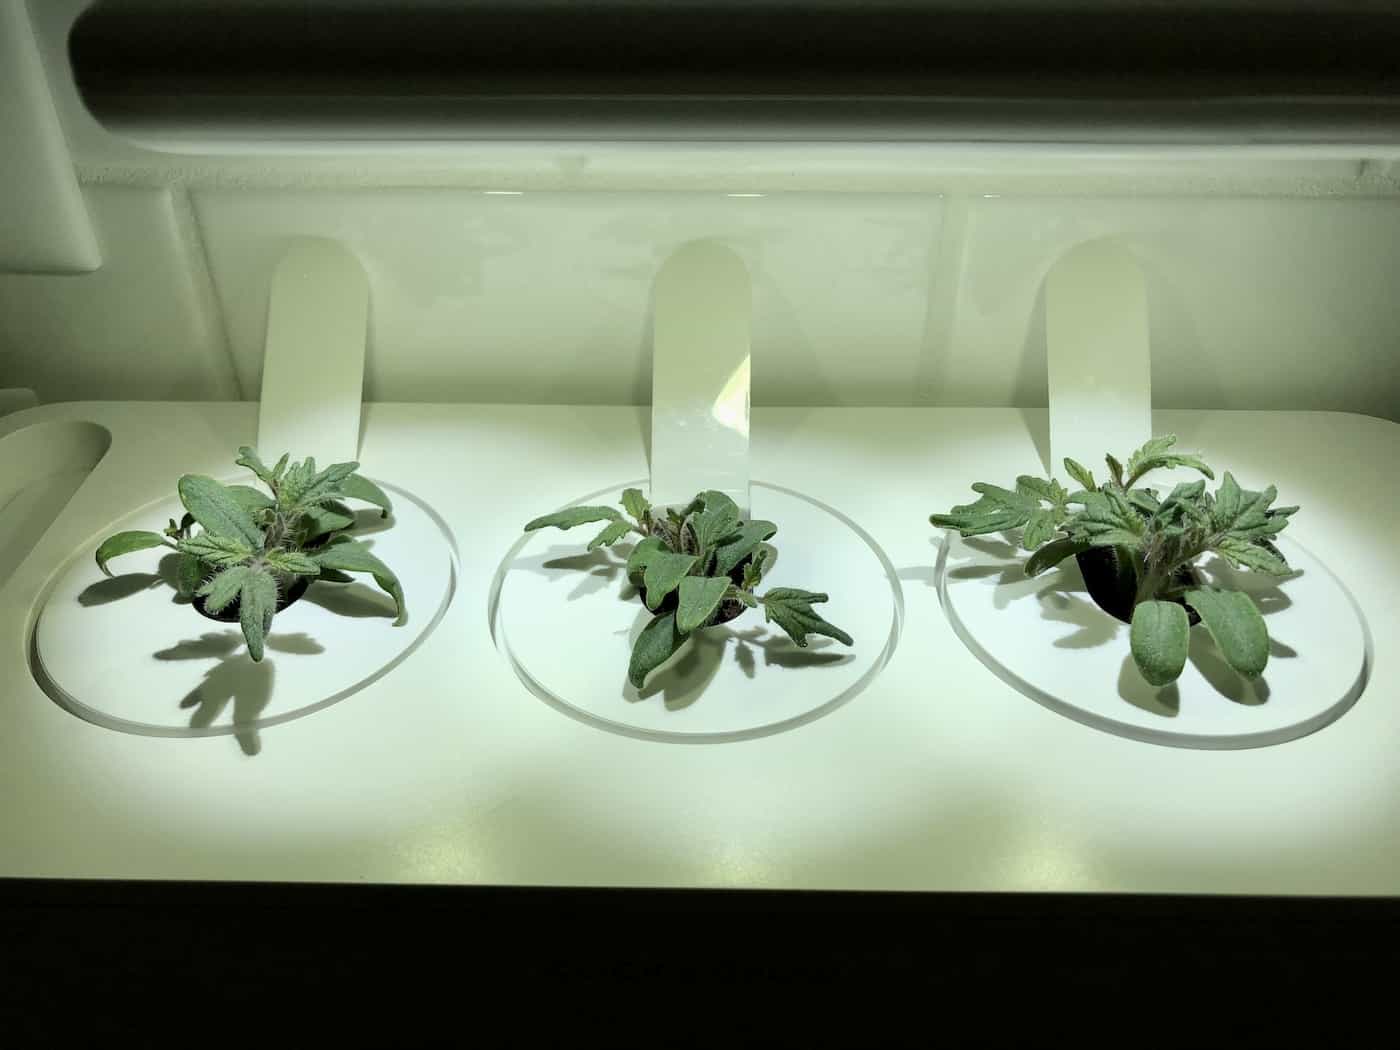
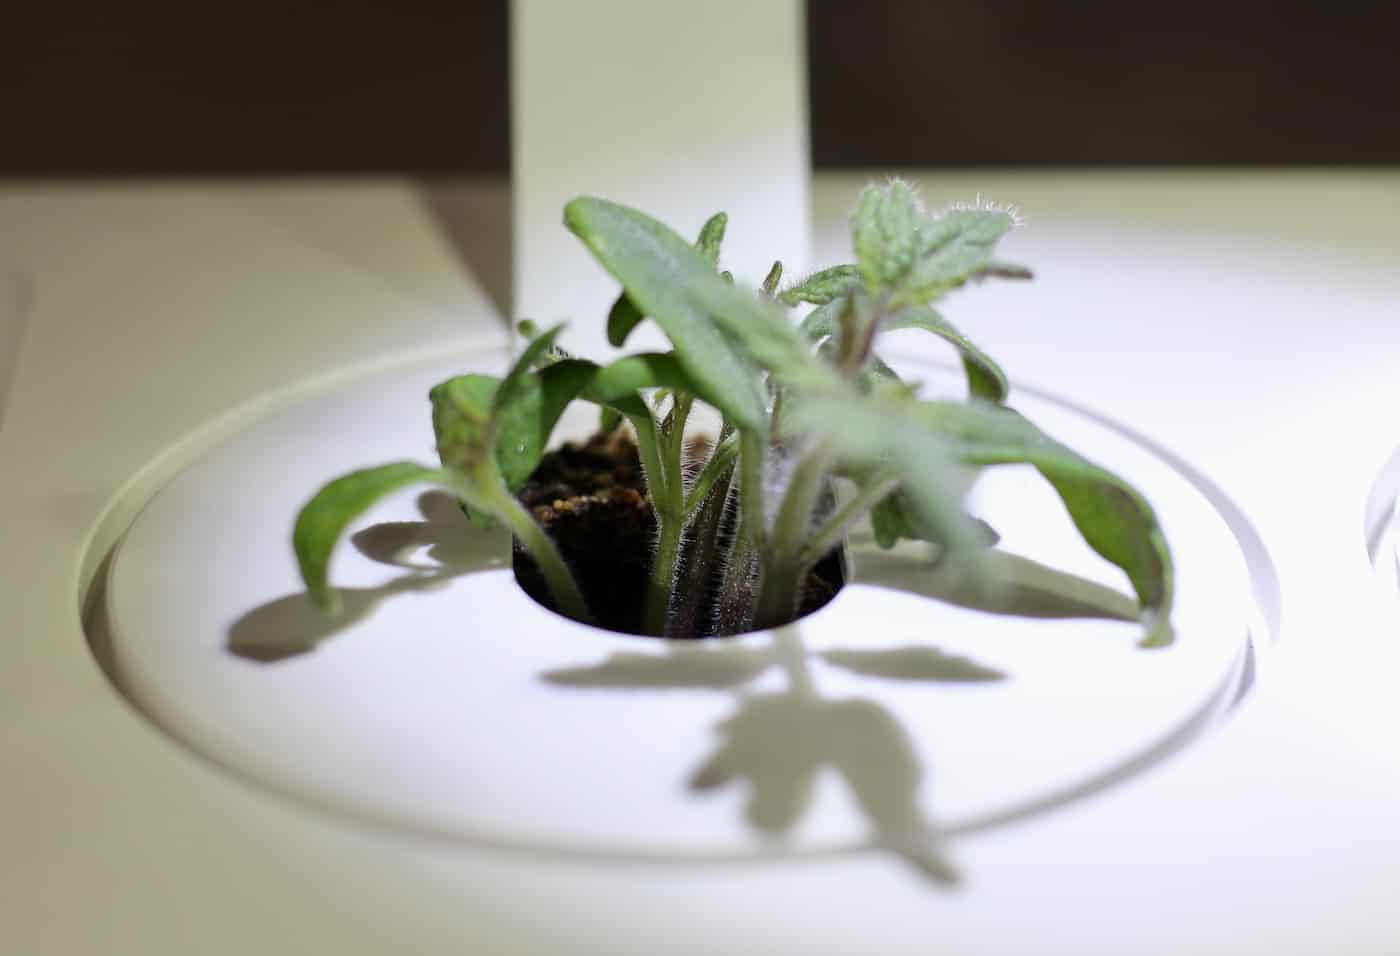
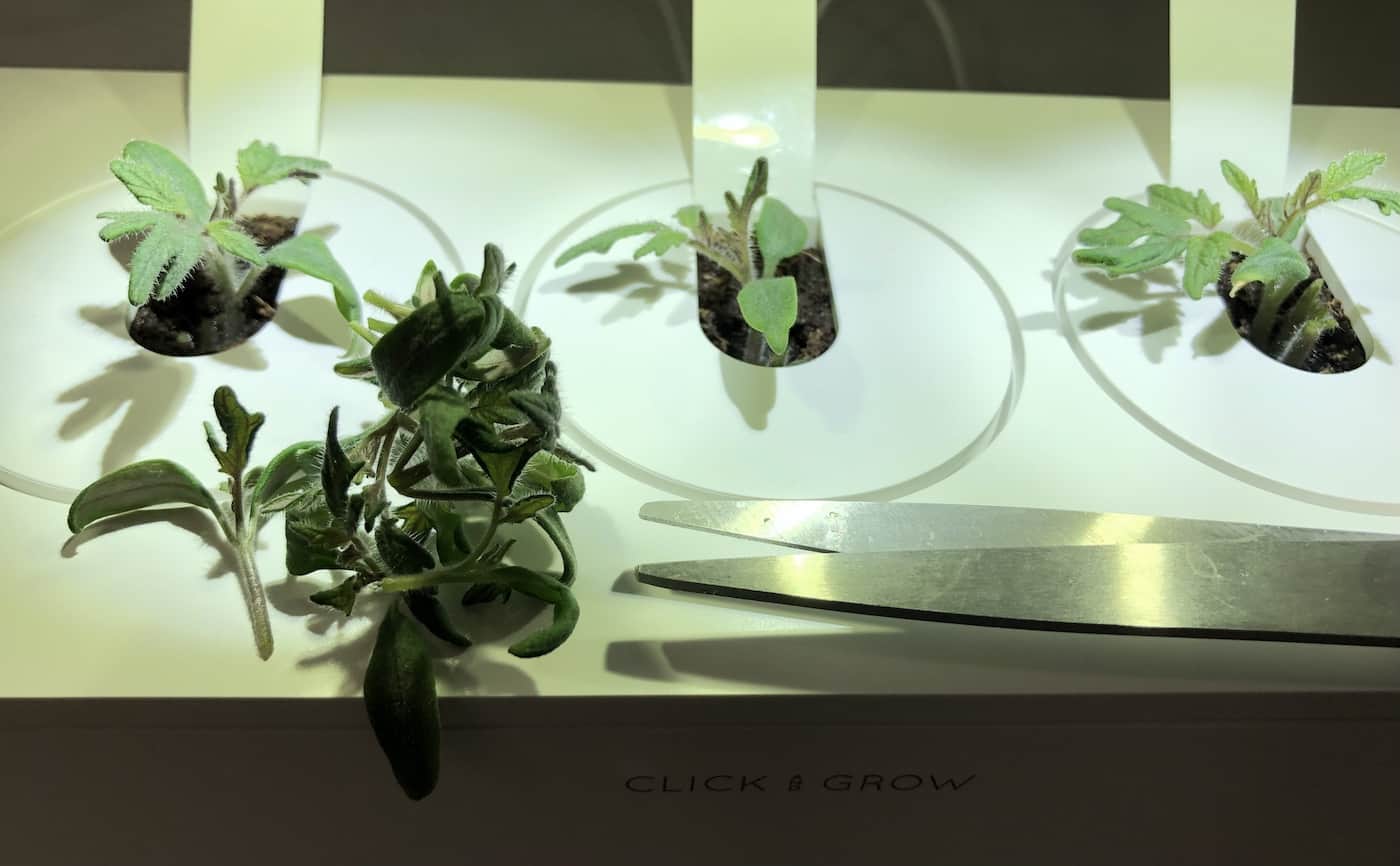
- Once the tomato seedlings grow their first set of true leaves (the serrated leaves that appear after the first pair of oval leaves), the plants can be “thinned”. This means trimming off the weakest plants so that each pod has only one strong seedling. Choose the strongest seedling in each pod, which is typically the one with the thickest, straightest stem. Trim the other competing seedlings off near their base with clean, sharp scissors. See the photos below.
- Watch the level of the water indicator and refill the water tank whenever the float drops below the level of the growing deck.
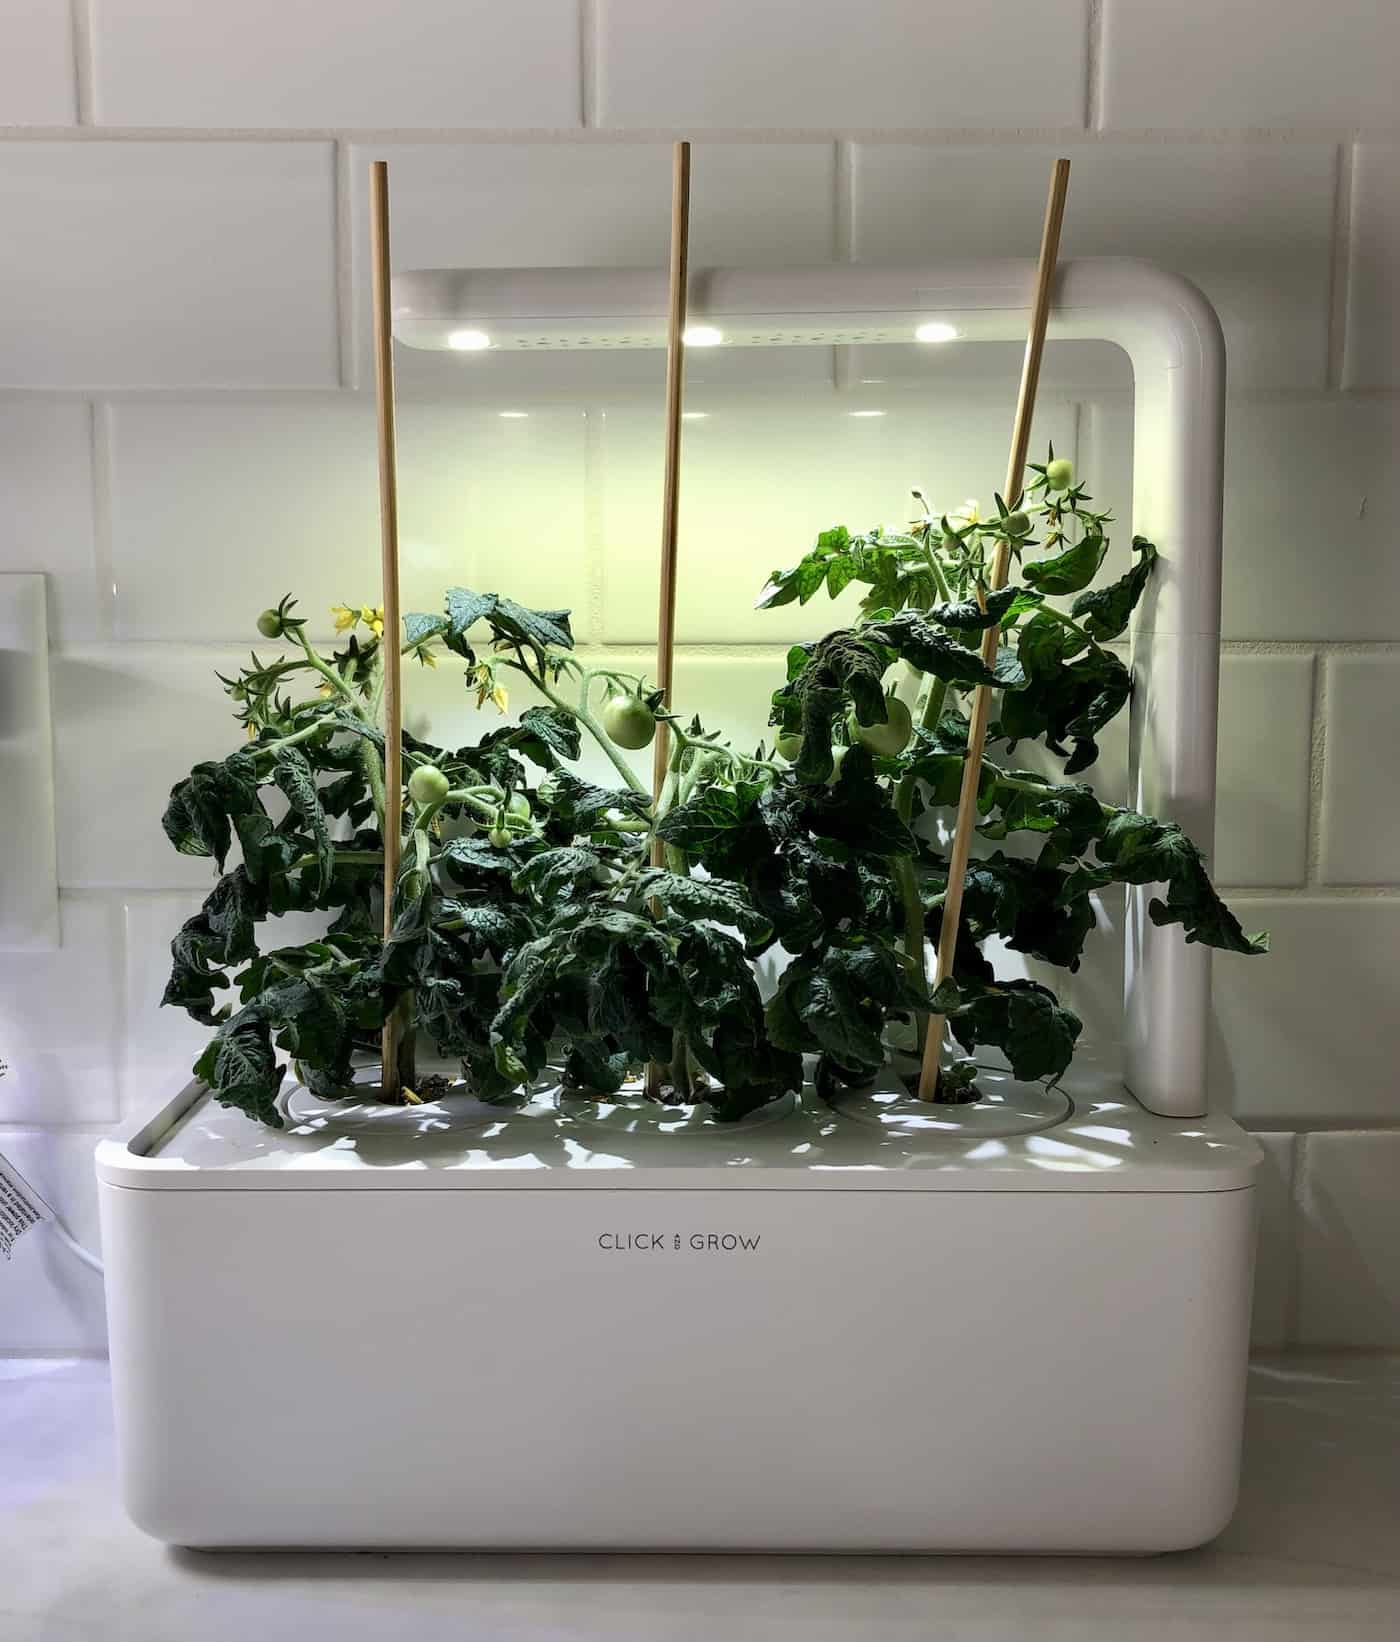
- Monitor the height of the 3 seedlings as they grow. Add extension arms onto the plant light to keep the light above the foliage. The leaves will likely scorch/burn if they contact the plant lightly. Do not trim the tomato plants, as this type of plant grows its tomatoes at the ends of its stems.
- Tomato plants are generally staked to support the vines. Staking is easiest if done early, usually within a month of planting. Mini Tomato plants can be staked with chopsticks or kitchen skewers. Drive the pointy end into the soil at least a half-inch from the base of the plant’s stem if possible (this can be tricky with the pod caps). Then use twine or string to gently secure the main stem to the stake with a gentle loop.
- As the plants mature, look for signs of flowering. While tomato plants don’t require bees for pollination, it can be helpful to support the pollination process with hand pollination. Hand pollinates by giving the plants a little shake, tapping on each flower with your finger, or using a paintbrush to jostle the pollen inside each yellow tomato blossom.
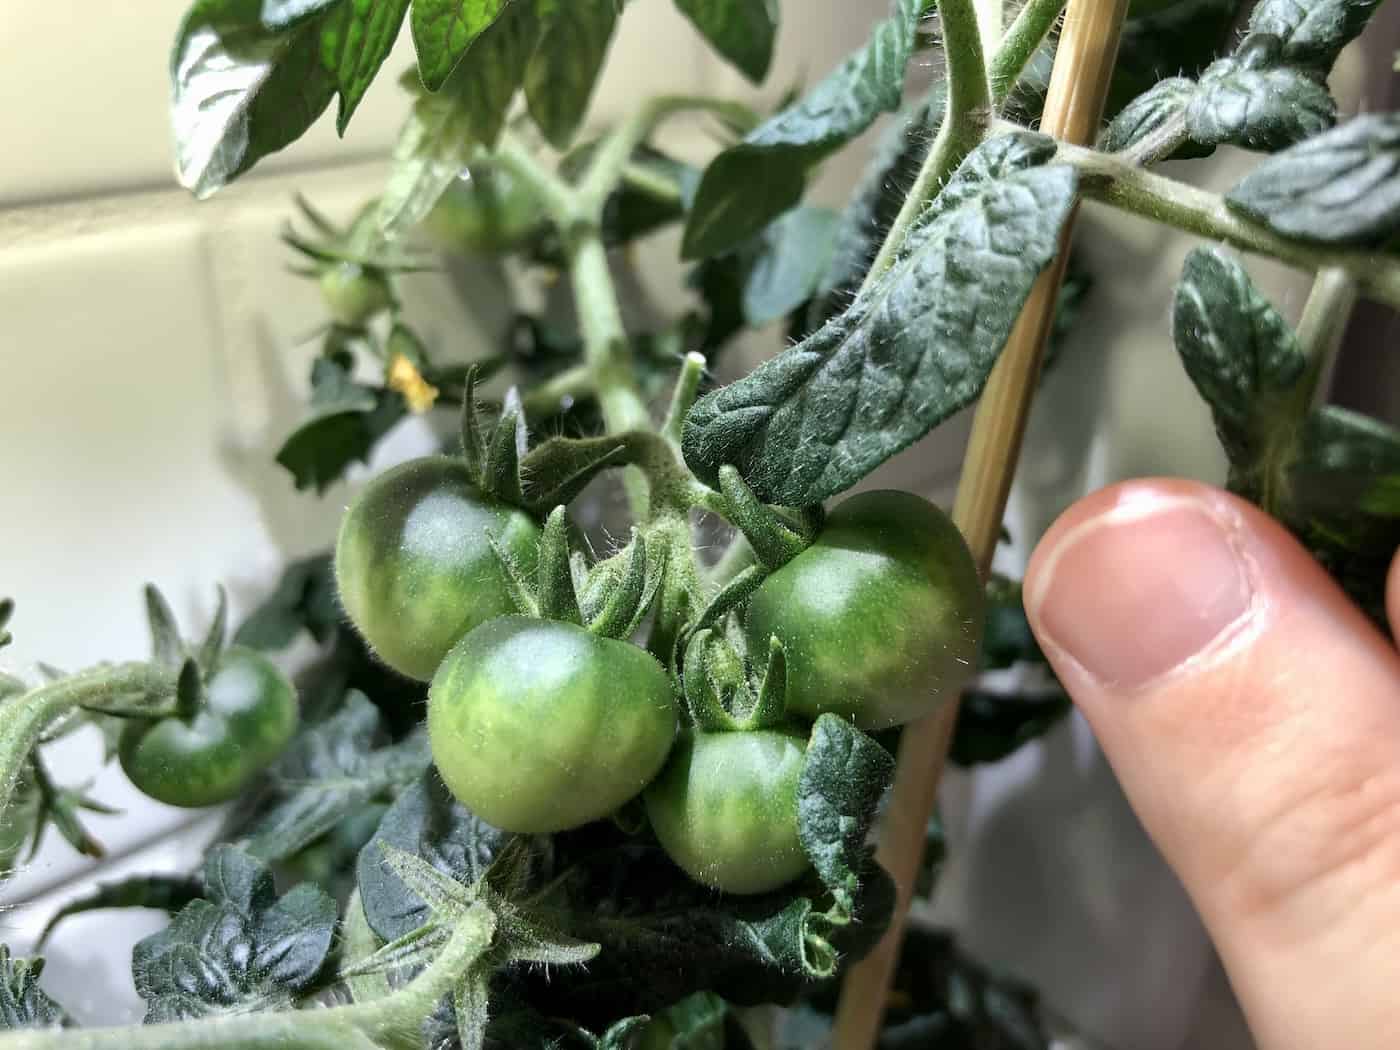
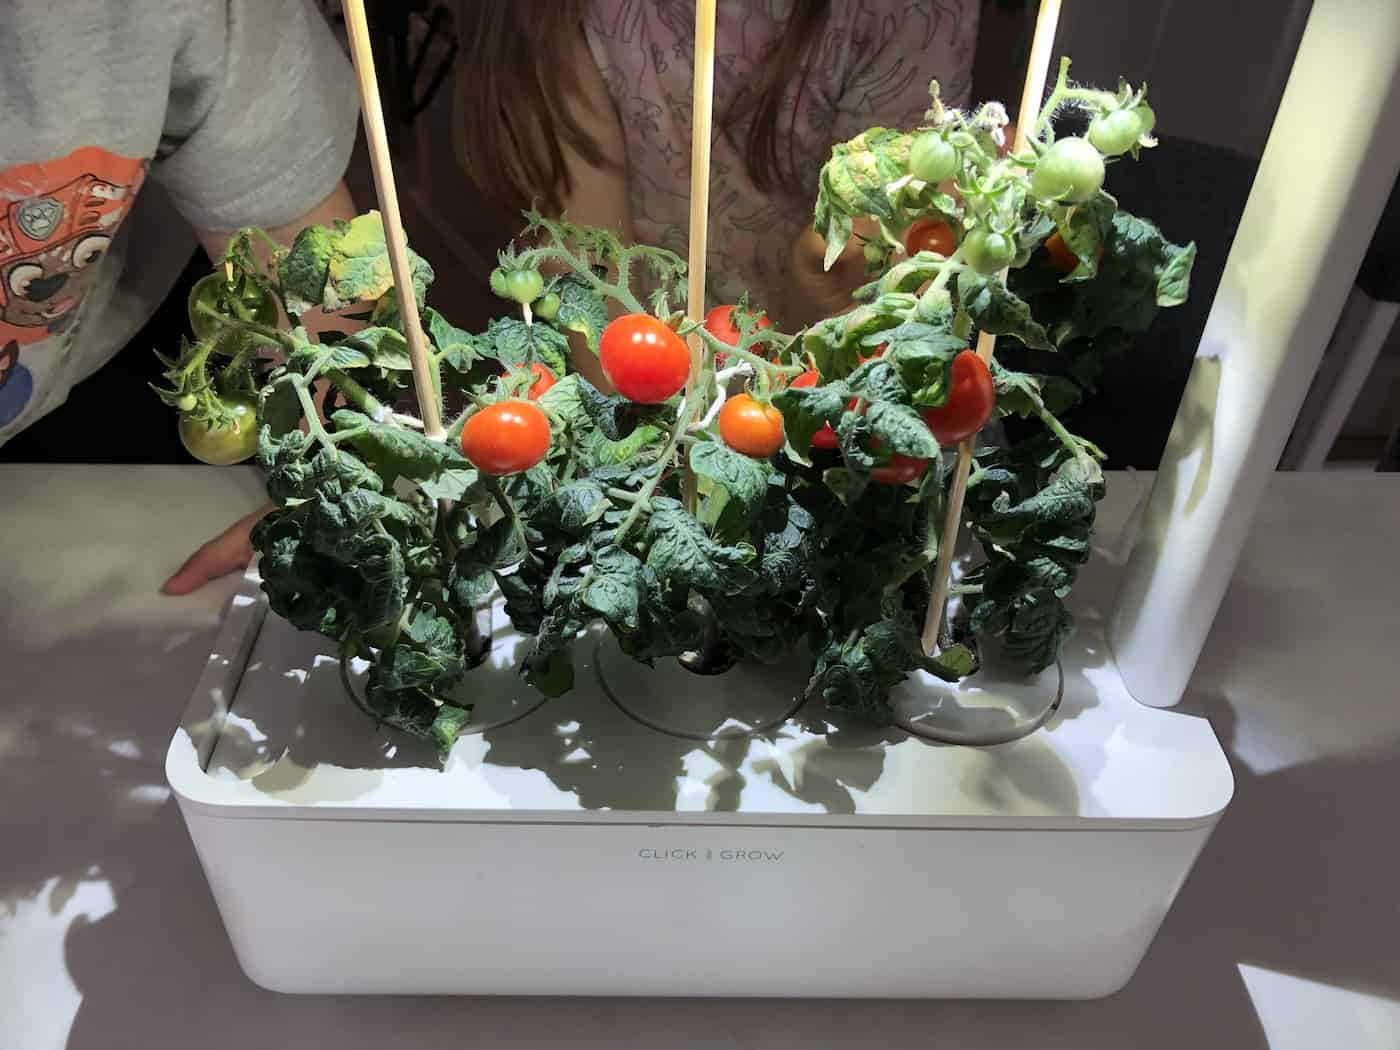
- Tomatoes will start to grow at the location of each successfully pollinated flower. The tomatoes will first be green and start turning red as they ripen. Cherry tomatoes are usually ready for harvest when they are a rich red color and when they are still firm but have a little bit of “give” when squeezed gently.
- Harvest ripe tomatoes by pinching the stem off the plant with a fingernail or by trimming the stem off with kitchen scissors or pruning shears. Determinate tomatoes like the Mini Tomato grow all of their fruit in one harvest that takes about 2-3 weeks.
- Once all the tomatoes on the plant have turned red and have been harvested, the plant can be disposed of. These plants will not continue to fruit as they have completed their life cycle. I compost the plants from my Click & Grow in my Lomi indoor electric composter (see my Lomi Review)
That’s it! Tomatoes are SO easy to grow in a Click and Grow smart garden. Here’s a video I made showing even more details:
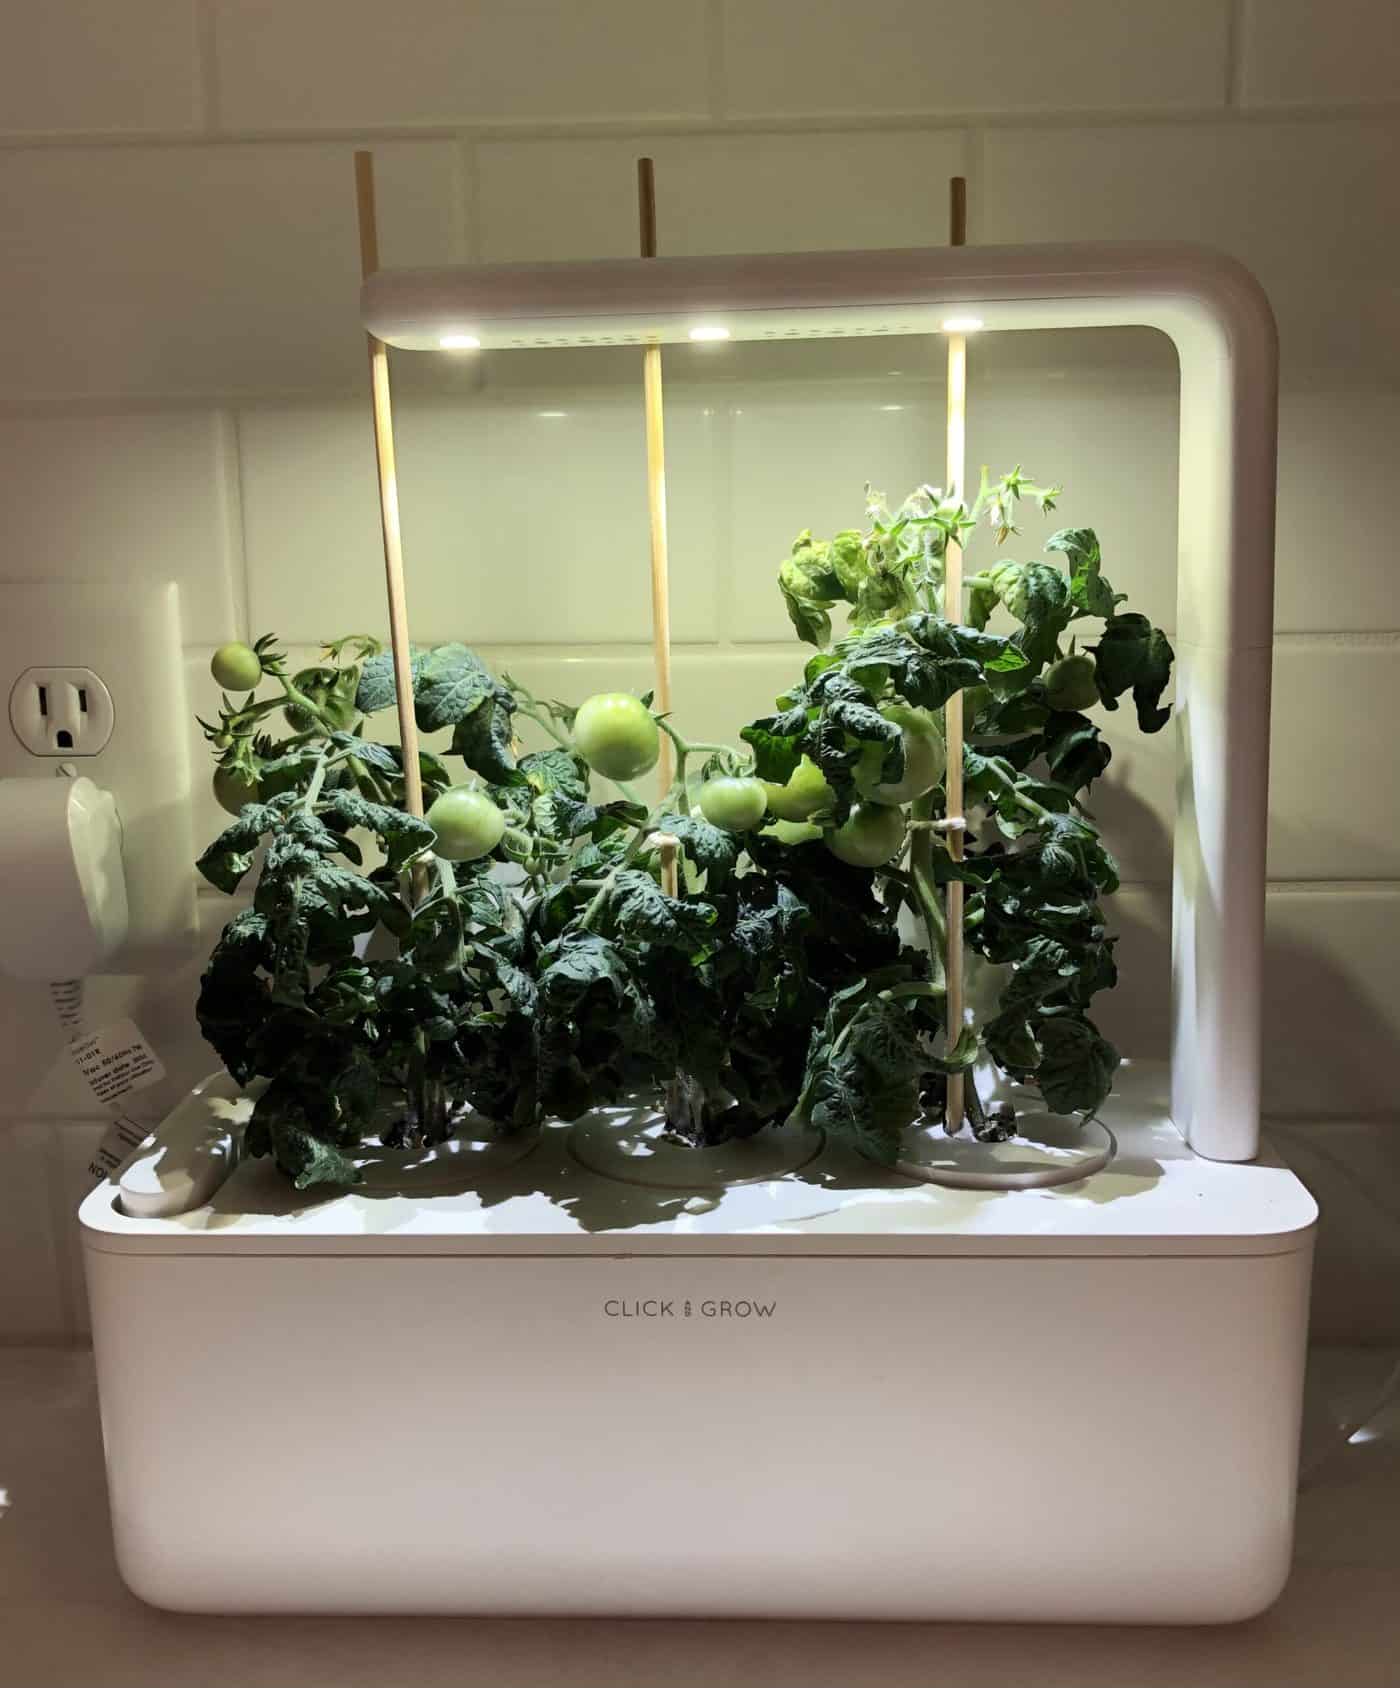
Photos of growing tomatoes in Click and Grow smart gardens
Here are some photos showing the process of growing tomatoes in a Click & Grow: