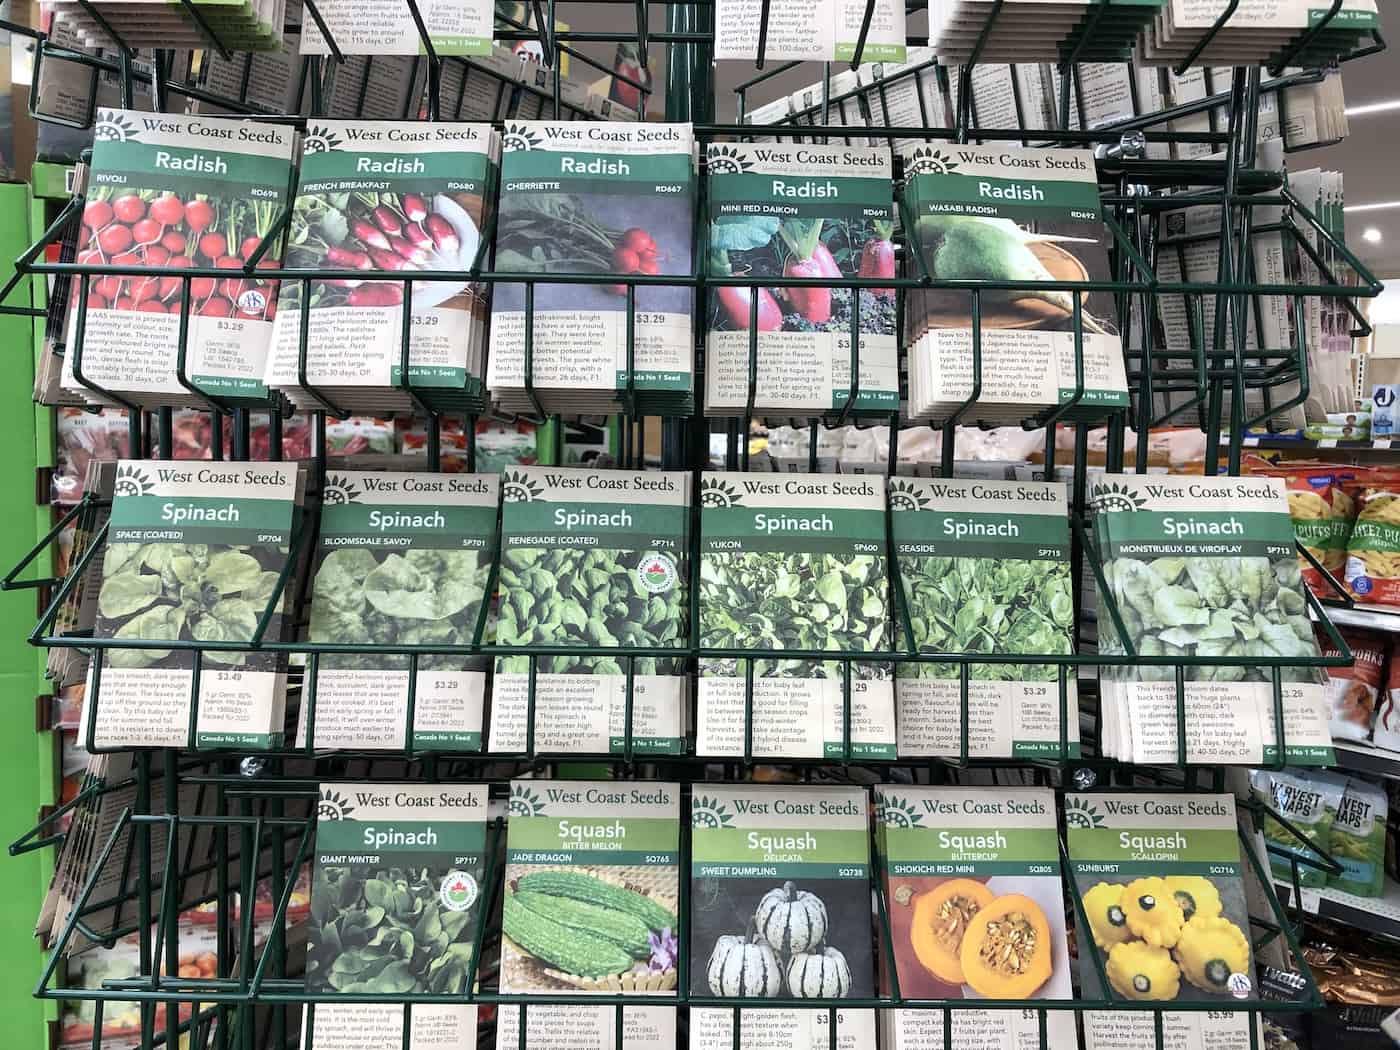
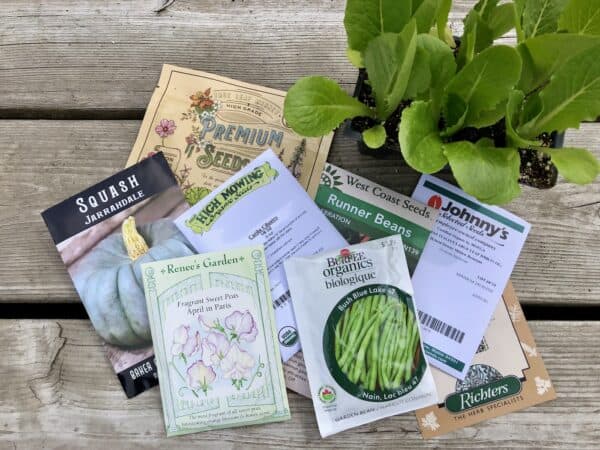
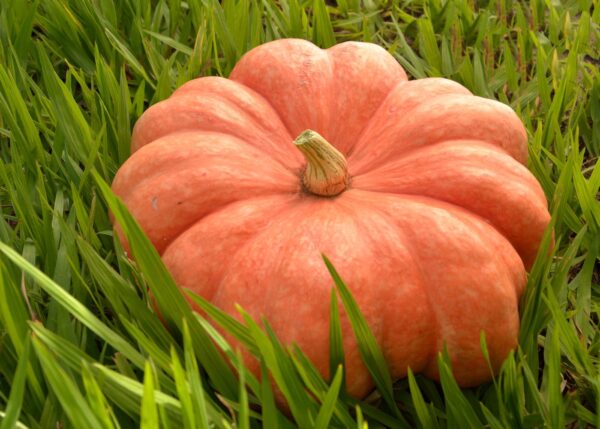
Interested in learning how to plant vegetable seeds From tomatoes to pumpkins, there are so many delicious vegetables that you can grow in your own backyard with the right knowledge and preparation.
The basics of how to plant vegetable seeds
Planting vegetable seeds starts with making a plan for your garden, including what you’d like to grow and where you’ll grow it. Here are the basic steps for planting veggie seeds:
- Start by selecting the type of seeds you would like to plant. Consider factors such as climate, soil conditions, and sun exposure when deciding.
- Prepare the soil for planting by tilling it to a depth of at least 6 inches and adding compost or fertilizer if needed. Make sure the area is free from weeds and debris before planting begins.
- Check the temperature of the soil outdoors with a soil thermometer. Then check the soil temperature for germination of the seeds you’ll be planting. If the ground is quite cold, it might make sense to start a majority of your crops indoors.
- Plant the seeds according to their individual instructions – some may need to be planted directly in the ground, while others require starting indoors first and then transplanting later on outside once they have grown bigger roots and leaves.
- Water regularly with a gentle spray so that moisture can reach all parts of the soil without washing away any newly planted seeds or damaging delicate seedlings already growing in place.
- Monitor growth daily, looking out for signs of disease or pests that could harm your plants; take action quickly if necessary using natural methods whenever possible instead of harsh chemicals which can damage surrounding vegetation too.
Some veggie seeds do best when planted right in the soil outside, while others do best when planted indoors if it’s cold outside. Seed starting typically works best when you use high-quality seed-starting potting soil and then pay attention to keeping the seeds moist. Let’s look at ten of the most common vegetable seeds to plant, as well as tips for planting each one.
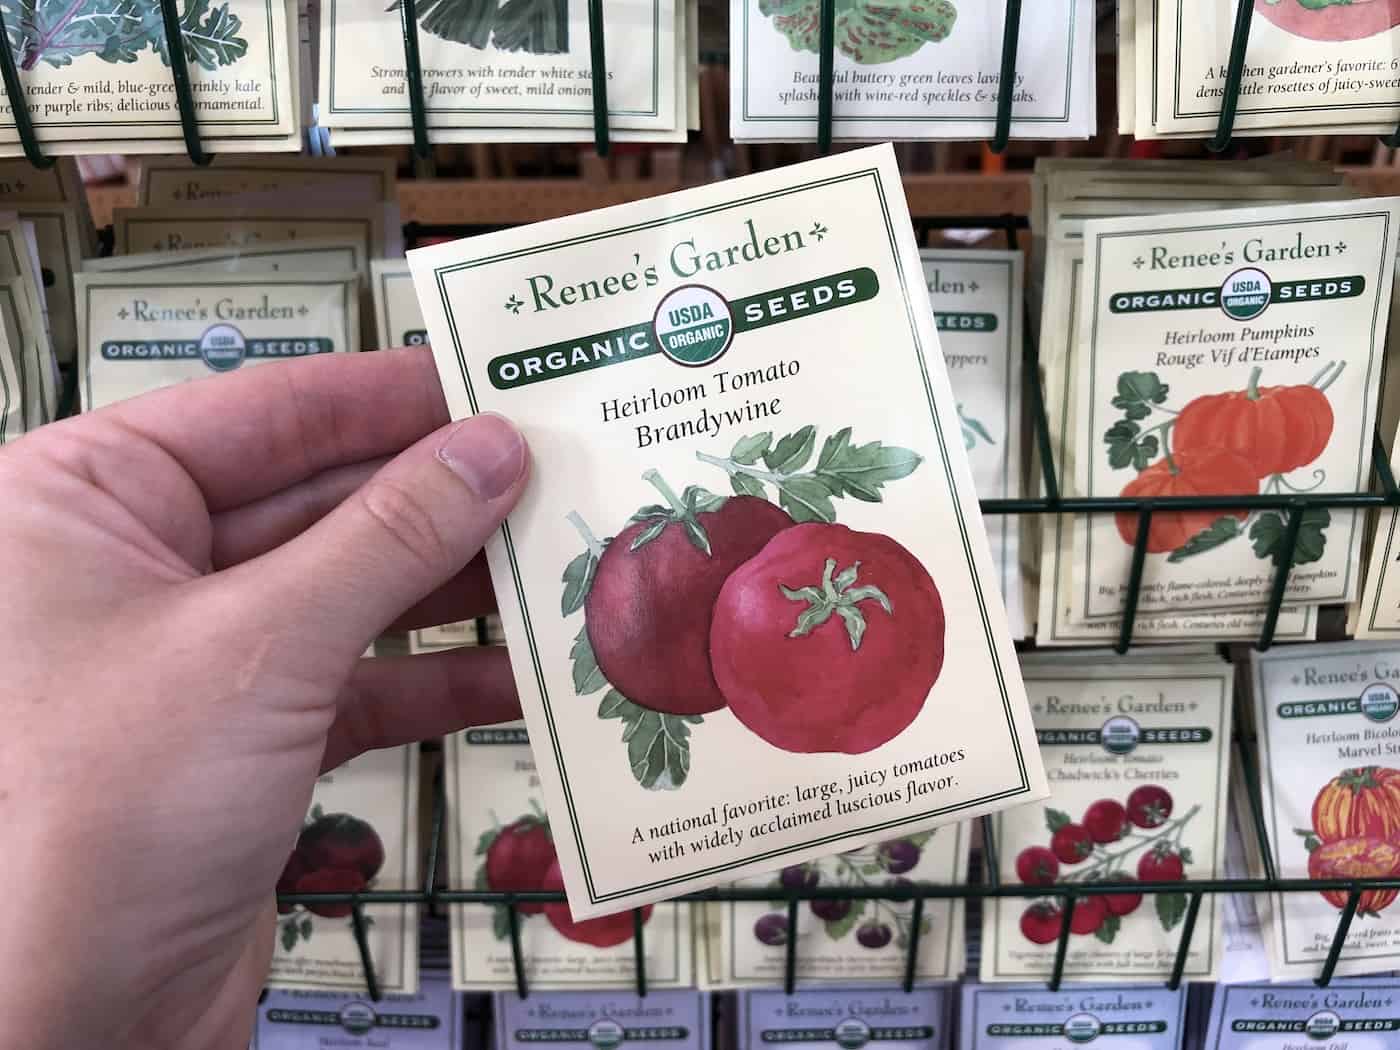
1. Tomato seeds
Tomato seeds are a great way to start your garden. They’re easy to plant and can be grown in almost any climate. The best time to plant tomato seeds is usually indoors, 6-8 weeks before the last frost of spring. This gives the plants plenty of time to get established before they’re exposed to cooler temperatures outdoors.
When planting tomato seeds, it’s important that you use sterile potting soil or seed starting mix and containers with drainage holes at the bottom. Plant two or three seeds per container about 1/4 inch deep and keep them moist but not wet until germination occurs (which usually takes 7-14 days). Once the seedlings have sprouted, thin out all but one of each group so there isn’t too much competition for resources like light and water.
Tomatoes can be planted outdoors when nighttime lows are consistently at or above about 50°F (10°C). The plant can’t grow at temperatures cooler than this, and the cells can be damaged at temperatures below about 42°F (6°C). So while you could seed them outdoors in warmer places, in colder places they really need to be started inside.
When transplanting your tomato seedlings outside, make sure you choose an area with full sun exposure (at least 8 hours a day) as tomatoes need lots of sunlight for optimal growth. Make sure the soil is well drained and enriched with compost or other organic matter prior to planting – this will help ensure healthy roots. If necessary, stake your plants when they reach 12 inches tall so they don’t fall over from wind or heavy fruit production later on in the season.
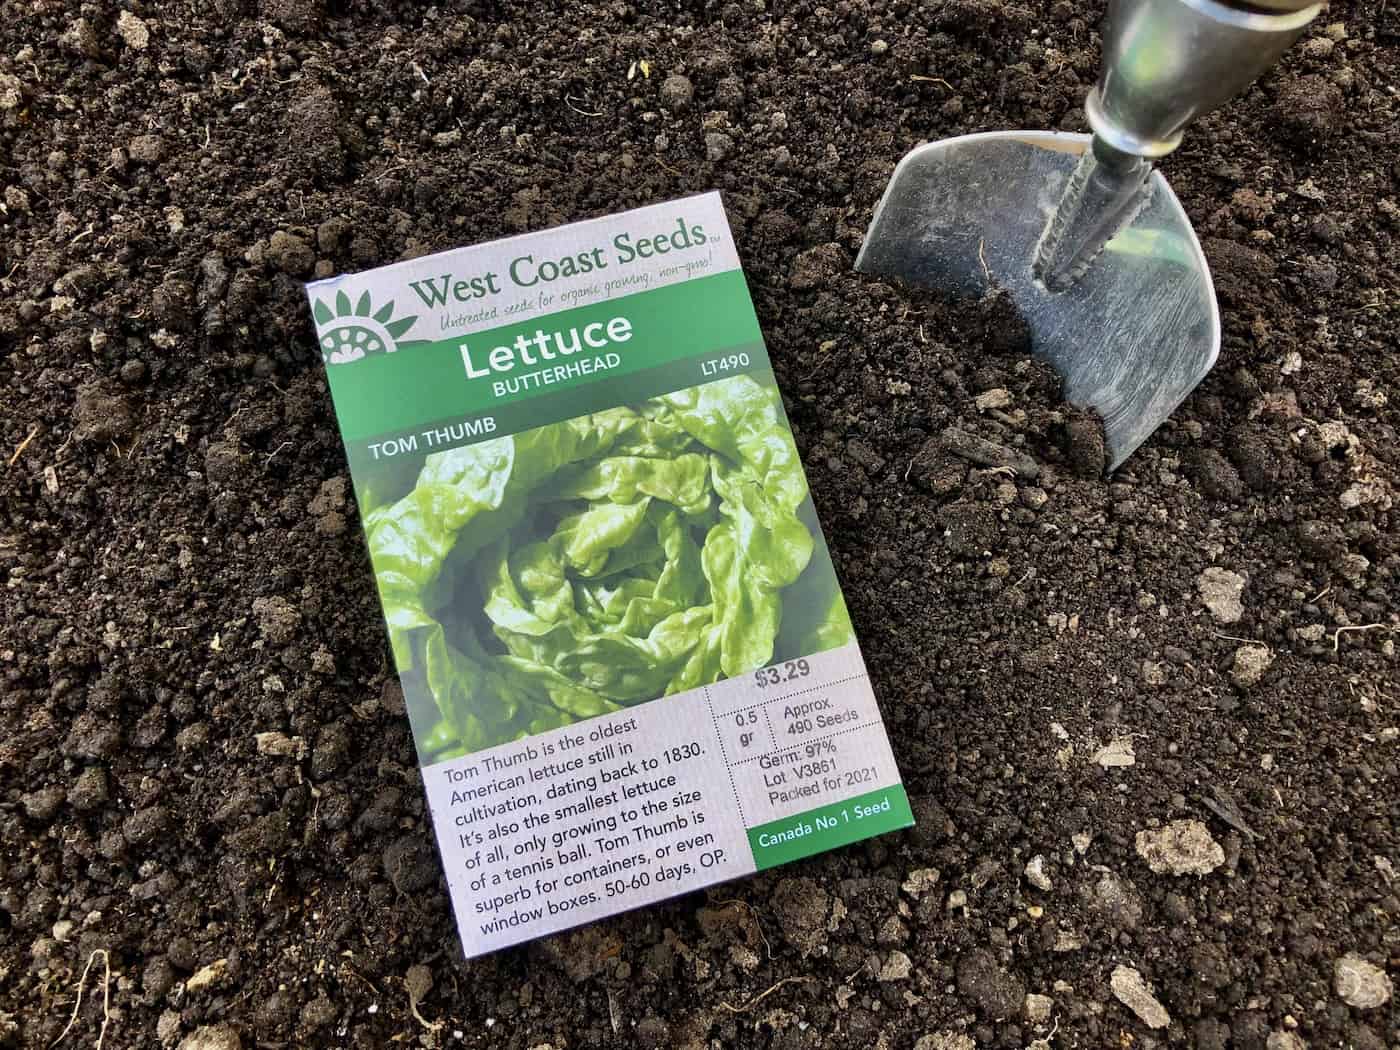
2. Lettuce seeds
When selecting your lettuce seeds, consider the type of lettuce you want to grow. There are several varieties available, including leafy green lettuces like romaine and butterhead; crisphead lettuces such as iceberg; and looseleaf types like oakleaf or lollo rossa. Each variety has its own unique flavor and texture so choose one that appeals to you.
Once you have chosen your variety of lettuce seed, it’s time to plant them. You can direct seed them outdoors for baby greens or start them indoors for head-type lettuces.
Plant the seeds about ½ inch deep in well-drained soil with plenty of organic matter added in for good drainage and nutrition. Water regularly but avoid over-watering as this can cause root rot or other problems with growth later on down the line.
You should begin seeing sprouts within 7-14 days after planting depending on conditions such as temperature and moisture levels in the soil at the time of planting. When harvesting mature heads of lettuce remember not to pull them out by their roots – instead cut off each head individually using scissors or a sharp knife near ground level leaving some leaves behind for regrowth if desired. This will ensure that more than one harvest is possible from each plant throughout its life cycle which could extend up to 3 months when cared for correctly.
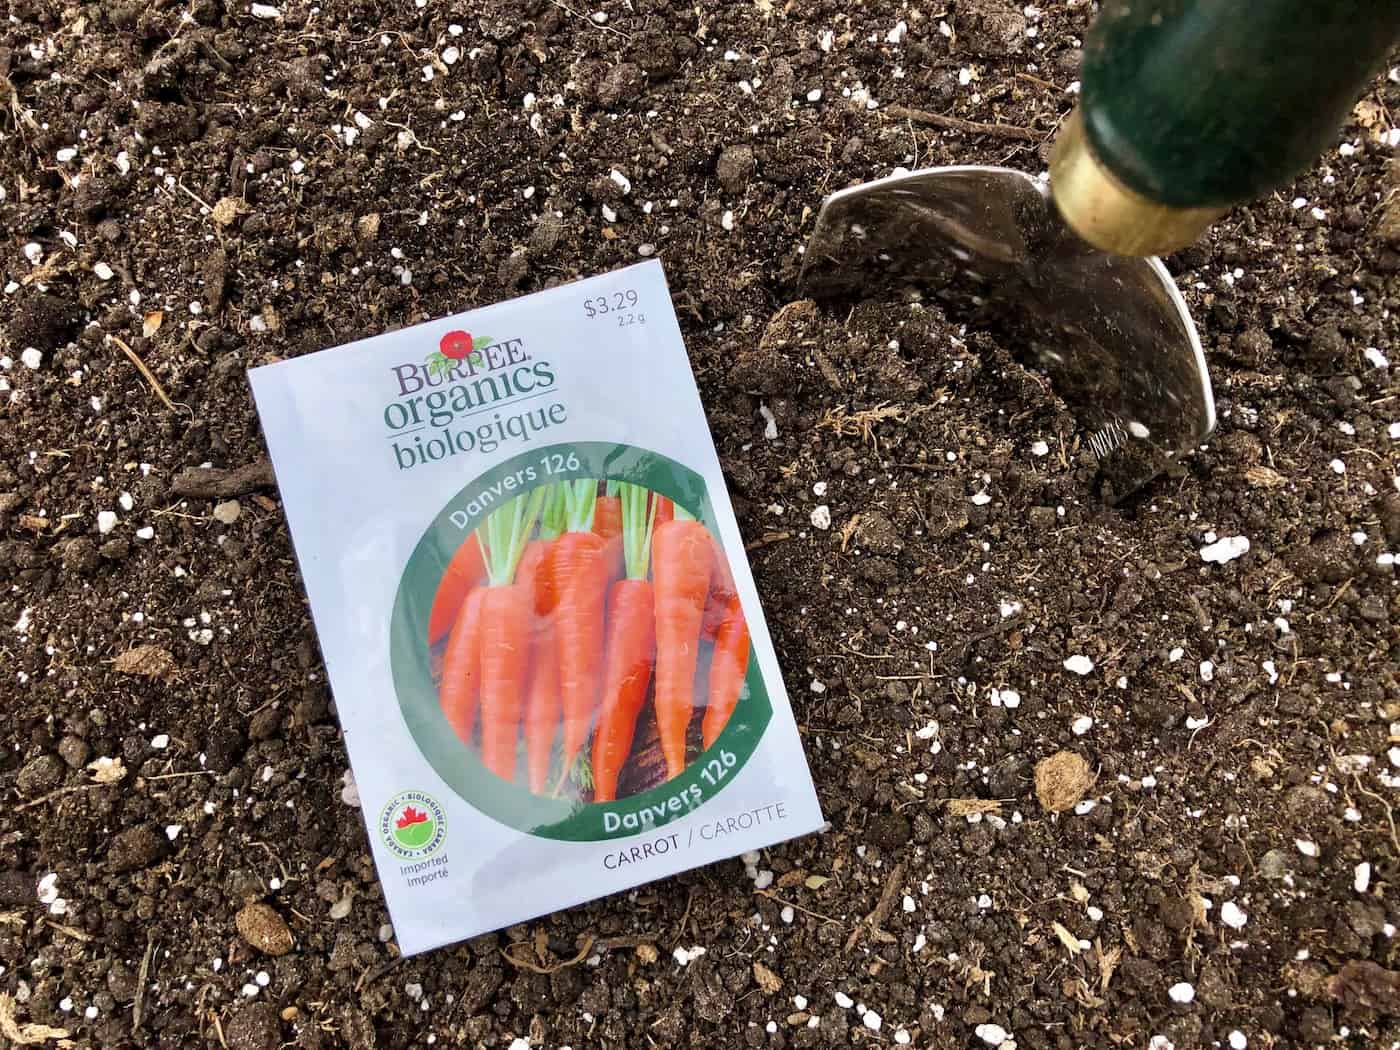
3. Carrot seeds
Carrot seeds are a great way to add color and nutrition to your garden. They come in many varieties, from classic orange carrots to purple, yellow, white and even rainbow-colored carrots. Carrots can be direct sown outdoors in early spring when the soil has warmed up.
For easy seeding, it is important to mix the carrot seeds with coffee grounds or use a seeding tool as they are small and difficult to space out evenly. But don’t worry if you plant too many – most gardeners thin the plants out later on. Carrot seeds are almost always direct seeded straight into the soil because they don’t transplant well.
When planting carrot seeds you should sow them shallowly at about 1/4 inch deep into well-worked soil that is free of stones and clods of dirt. Planting too deeply can cause poor germination rates so make sure not to bury them too far down. Once planted, water lightly but regularly until sprouts appear then reduce watering frequency as needed once established plants start growing larger leaves.
Carrots need full sun for optimal growth but will tolerate some shade if necessary; however, this may result in slower growth or smaller root sizes depending on how much light they receive each day. Make sure that your soil is kept moist throughout the growing season by adding mulch around the base of each plant which helps retain moisture while also keeping weeds away from competing for nutrients and water resources with your carrots.
Fertilize your carrots every two weeks during their active growing season for optimal growth. An organic fertilizer such as fish emulsion or compost tea should be used to provide essential nutrients like nitrogen, which promotes healthy leafy green foliage growth, and trace minerals like iron, which encourages strong root development below ground level.
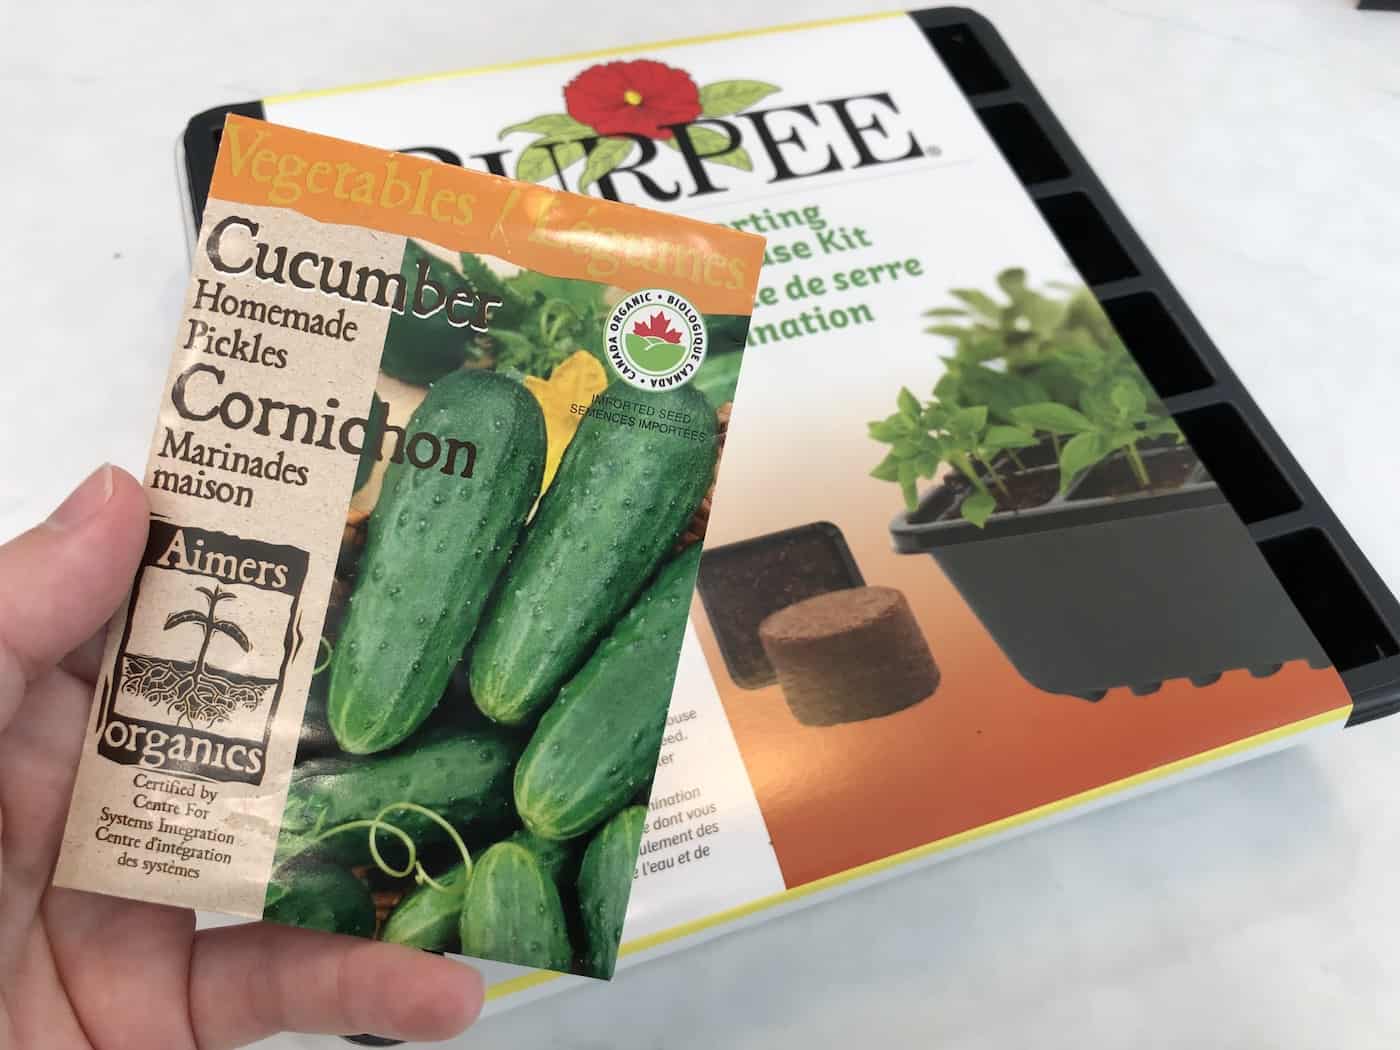
4. Cucumber seeds
Cucumbers are easy to grow and can be planted in either the ground or in containers. They need full sun, plenty of water, and well-drained soil for best results. When planting cucumber seeds, it’s important to choose the right variety for your climate and growing conditions. Some varieties do better in warmer climates while others prefer cooler temperatures.
Cucumbers do best when direct seeded outdoors. That said, if you live in a cooler climate, they can be started indoors if it’s cold outside in the spring. Just take care when transplanting.
When starting from seed, you should plant them about 1/2 inch deep into moist soil that has been worked with compost or other organic matter. Plant several seeds together at each spot since not all of them will germinate; thin out the weaker plants as they grow so only one remains per spot when they reach 3 inches tall. Make sure to keep the soil evenly moist until germination occurs which usually takes 7-10 days depending on temperature and humidity levels.
Once established, cucumbers require regular watering but don’t overdo it – too much water can cause root rot and other problems like mildew or disease issues down the road if left unchecked. Fertilize every two weeks with an all-purpose fertilizer during their active growth period (May through August). If you want more fruits per plant then prune off some of the leaves near the base of each stem – this helps increase air circulation around each fruit cluster which encourages larger yields overall.
5. Pumpkin seeds
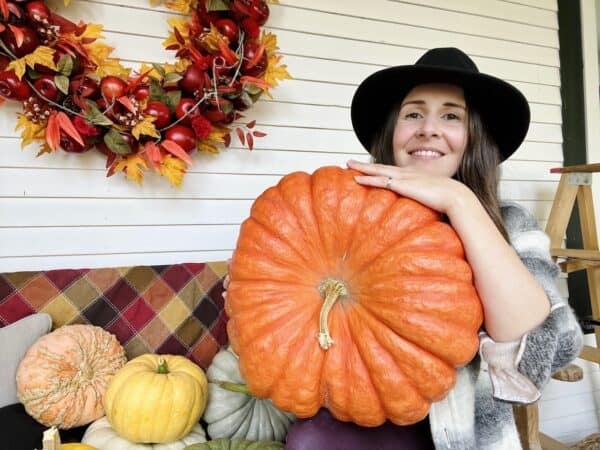
Pumpkin seeds are a great addition to any garden. They’re easy to grow, and they produce large, delicious pumpkins that can be used for baking, carving or just eating raw. Planting pumpkin seeds is simple and straightforward. All you need is some soil, compost or manure, water and the right conditions for your plants to thrive.
When it comes to planting pumpkin seeds, timing is key. In cool climates with short growing seasons, starting the seeds indoors can give them a head start on the season so you get bigger pumpkins in less time. While the seedlings don’t like to be transplanted, it’s sometimes the only way to get big pumpkins in cool climates. If you live in an area with longer summers and mild winters, then direct sowing into prepared beds will work best for your climate.
No matter where you live or what type of seed you choose (pie pumpkins tend to have smaller fruits than those grown specifically for jack-o’-lanterns), there are a few tips that will help ensure success when planting pumpkin seeds:
- Choose a sunny spot – Pumpkins love full sun. Make sure your chosen location gets at least 6 hours of sunlight each day during peak summer months; more if possible.
- Prepare the soil – Before planting your pumpkin seedlings (or direct sowing), make sure that the soil has been amended with plenty of organic material like compost or aged manure. This will provide essential nutrients as well as improve drainage which helps prevent root rot caused by overly wet soils.
- Water regularly – Keep an eye on moisture levels throughout the growing season; too much water can cause problems but not enough can stunt growth and reduce yields significantly. Aim for about 1 inch per week during dry spells; more if temperatures soar above 90 degrees Fahrenheit consistently over several days in a row.
- Fertilize lightly – A light application of fertilizer once every two weeks should be sufficient throughout most of the growing season; avoid over-fertilizing as this could lead to nutrient burn which causes yellow leaves and stunted growth.
Once plants have begun producing fruit (usually two months after germination), it may be necessary to thin out overcrowded areas in order to promote better air circulation between vines/plants. This can help reduce the risk of disease caused by fungal spores present in humid environments such as gardens and greenhouses.
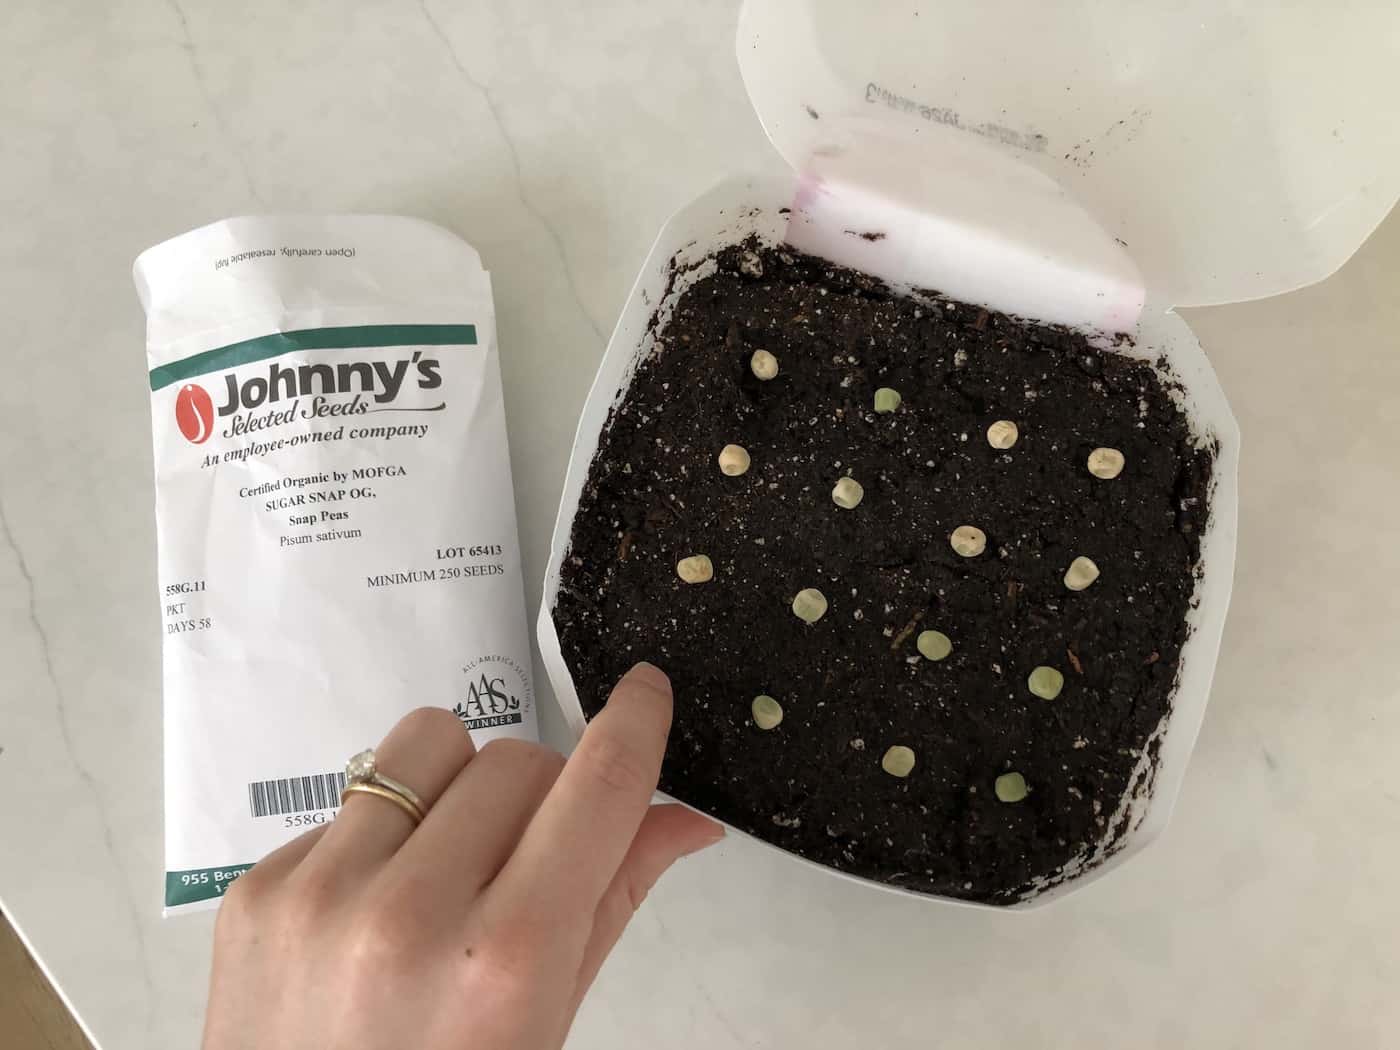
6. Pea seeds
Pea seeds are a great way to get your garden started in the early spring. They’re easy to grow and don’t require much effort or maintenance.
Peas are usually planted straight outdoors. Planting too early can lead to frost damage or poor germination rates, so check the soil temperature before planting. It’s best to sow peas directly into the soil rather than starting them indoors as they don’t transplant well.
Choose a sunny spot with well-draining soil that has been amended with compost or manure for optimal growth and yield potential. For bush varieties of peas, space plants 2-3 inches apart in rows 18-24 inches apart; vining types should be spaced 4-6 inches apart in rows 24-36 inches apart so they have room to spread out as they grow taller and longer vines.
To ensure good seed contact with the soil, lightly rake over the surface after sowing then water gently but thoroughly using a watering can or hose attachment set on low pressure – this will help settle the seeds into place without washing them away from their intended location. Once planted, keep an eye on moisture levels during dry spells by providing supplemental irrigation if needed (about 1 inch per week).
7. Zucchini seeds
Zucchini seeds are a great way to add some delicious flavor and nutrition to your garden. Zucchinis are an incredibly versatile vegetable, with many different varieties available for planting. Whether you’re looking for a classic green zucchini or something more unique like yellow or even black zucchini, there is sure to be something that fits your taste and needs.
When it comes to planting zucchini seeds, the best time of year is usually in the spring when temperatures begin to warm up. Planting should take place outdoors about two weeks after the last frost date in your area so that the soil has had enough time to warm up properly before you plant.
Make sure you choose a spot with plenty of sun exposure as well as good drainage since too much water can cause root rot and other problems. Once planted, keep an eye on them throughout their growing season; they will need regular watering and weeding if necessary.
8. Pepper seeds
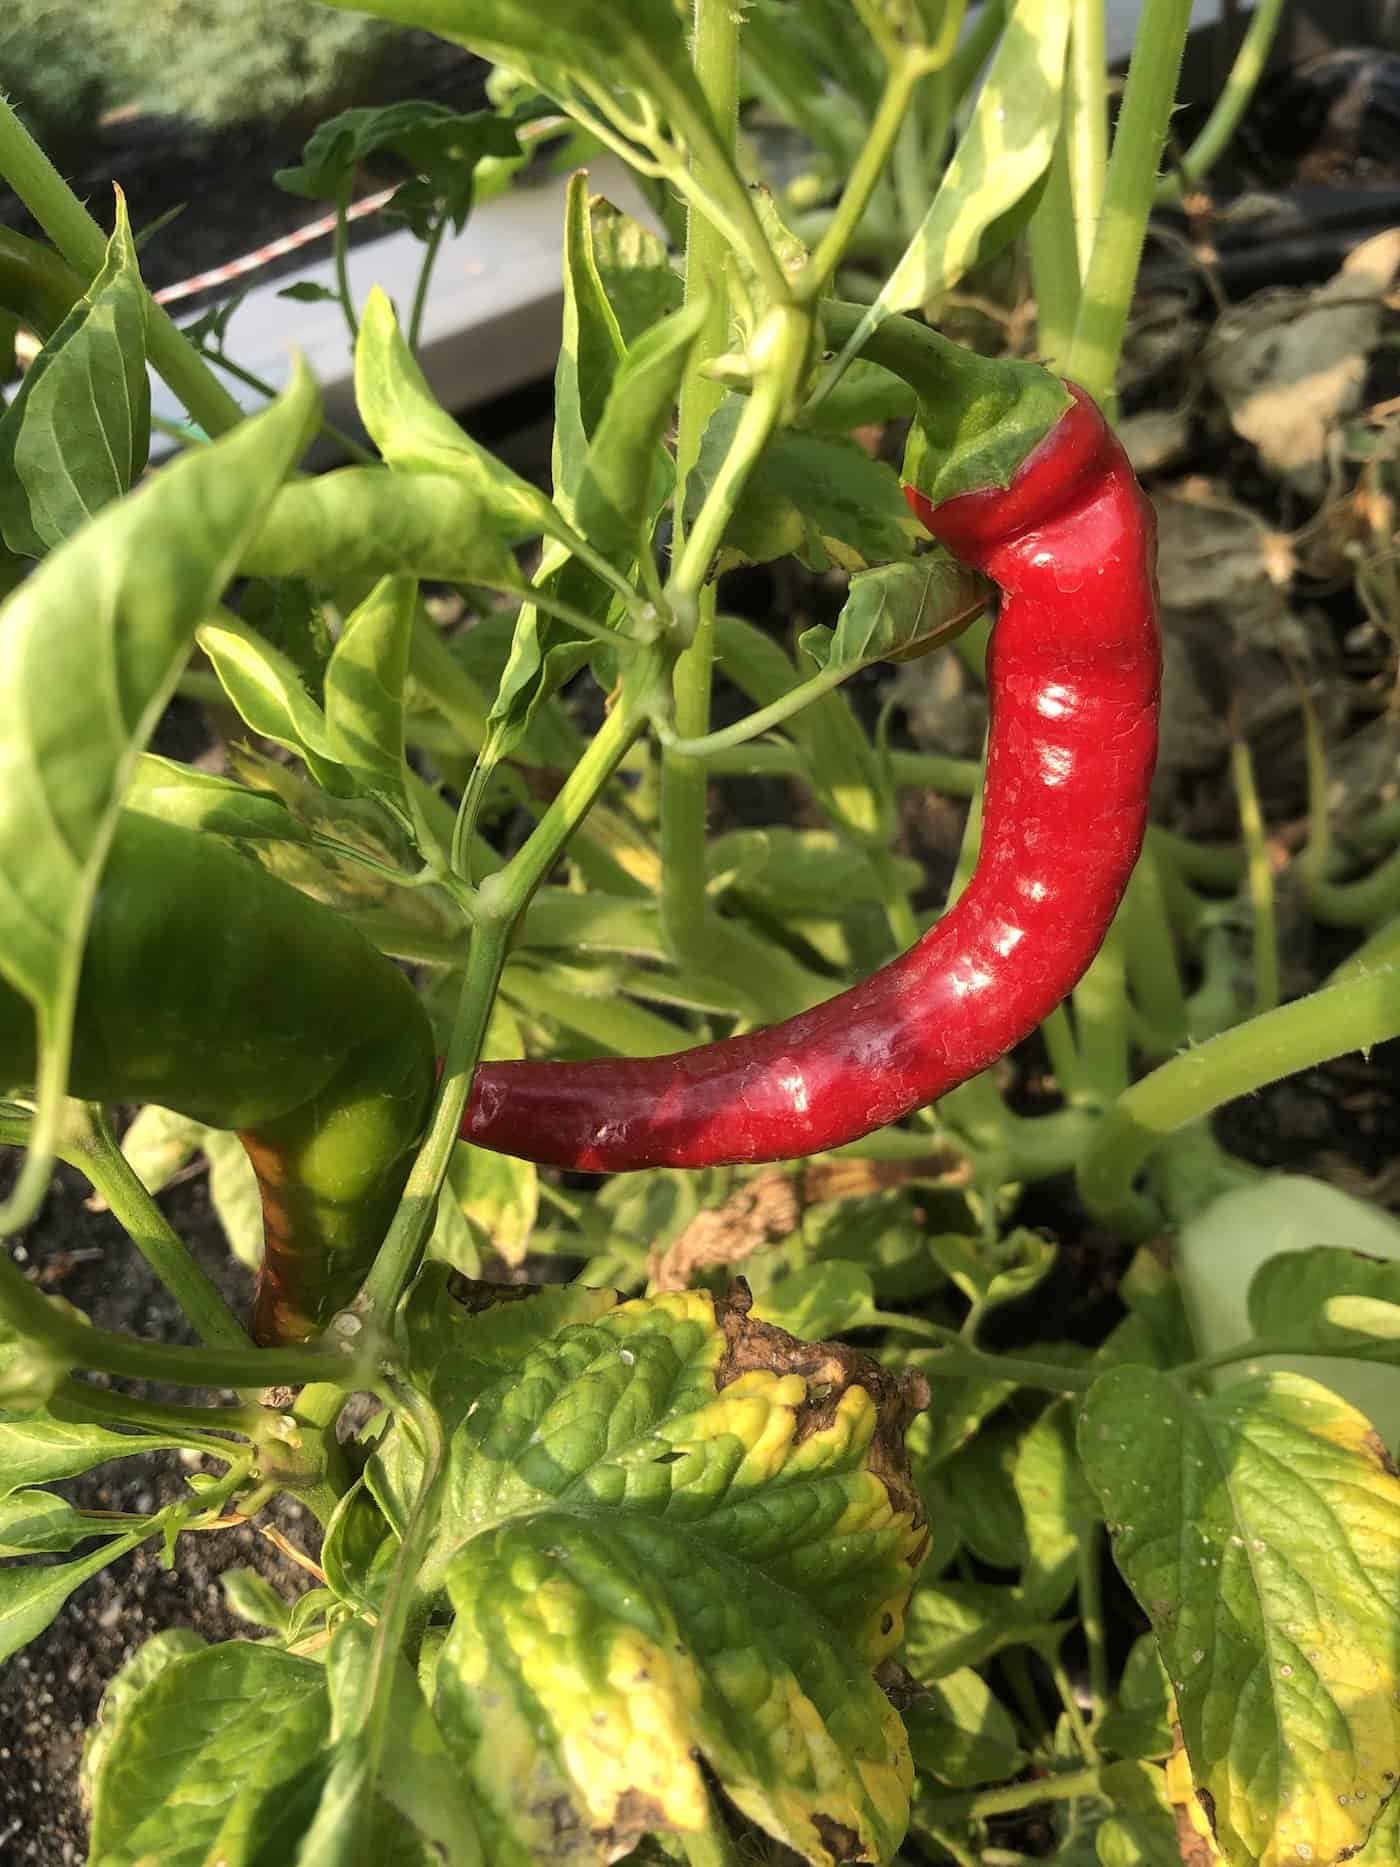
Pepper seeds are a great way to add some spice and flavor to your garden. They come in many different varieties, from sweet bell peppers to hot chili peppers. Whether you’re looking for something mild or something with a kick, there is sure to be a pepper that will fit your taste buds.
Pepper seeds are usually planted indoors and transplanted outdoors when temperatures are warm. When planting pepper seeds, it’s important to remember that they need warm temperatures in order to germinate properly. The soil should also be well-draining and nutrient-rich so the plants can thrive once they sprout up.
Once planted, water regularly but don’t overdo it as this can lead to root rot or other problems down the line. Fertilize every few weeks with a balanced fertilizer for best results. When harvesting peppers from your garden, pick them when they are still green if you want milder flavors; wait until they turn red if you’re looking for spicier ones.
9. Onion seeds
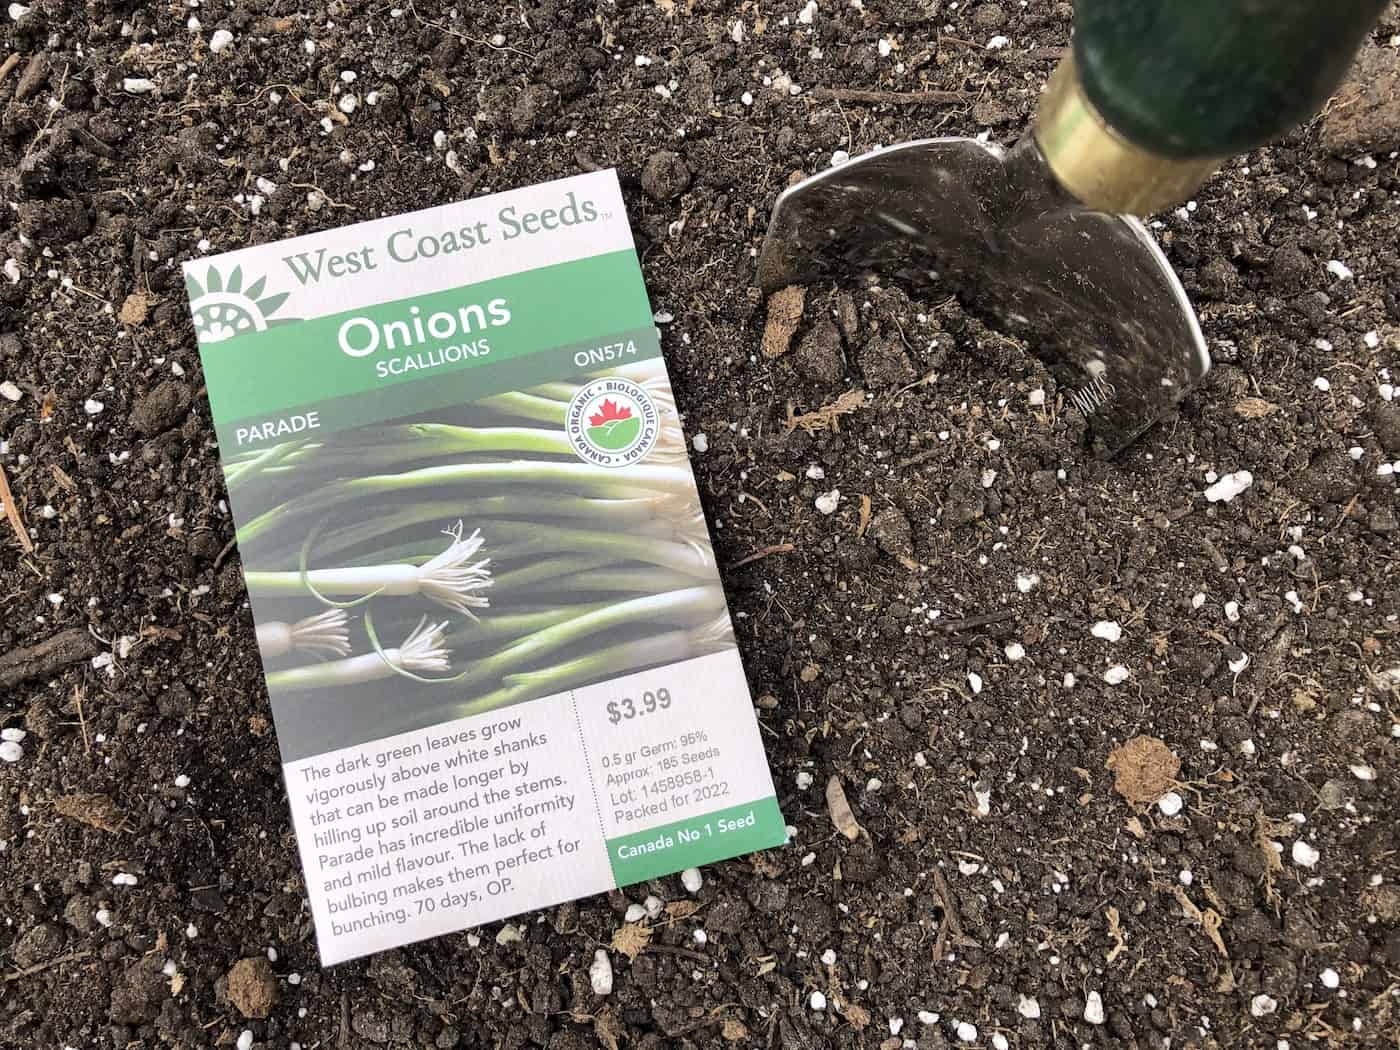
Onion seeds are a great way to start your garden, but they take patience. Onions need to be started 10-12 weeks before the local last frost date in order for them to mature and produce a good crop. If you’re looking for an easier option, consider starting with onion sets instead of seeds. Onion sets are small onions that have already been grown from seed and can be planted directly into the ground outdoors when the weather is warm enough. You can also grow green onions, as they have a shorter time-to-maturity.
When planting onion seeds, it’s important to choose varieties that will grow well in your area and climate. Different types of onions require different amounts of sunlight and water, so make sure you select one that will thrive in your environment. Once you’ve chosen a variety, prepare your soil by tilling or spading it until it’s loose and free of weeds or debris. Planting depth should be about 1/4 inch deep – any deeper than this could cause the seedlings not to emerge properly from the soil surface. Water regularly after planting – keep soil moist but not soggy – as too much moisture can lead to rot or disease problems later on in development stages of growth.
Fertilizing is also important for healthy onion plants; use an organic fertilizer such as composted manure at least once during their growing season (usually mid-spring). As onions grow larger they’ll need more space between each plant; thinning out overcrowded areas helps ensure adequate air circulation which prevents fungal diseases like mildew or rust spots from forming on leaves or bulbs themselves Keep weeds under control by hoeing around plants regularly – this also keeps down competition for nutrients among other nearby vegetation.
Harvest time usually occurs anywhere between 90-150 days after planting depending on type and size desired; look for signs such as yellowing foliage and softening necks when deciding if it is time to pull up those tasty treats. Store harvested onions in a cool, dry place away from direct sunlight – proper storage conditions help maintain freshness and prevent spoilage over longer periods of time.
10. Broccoli seeds
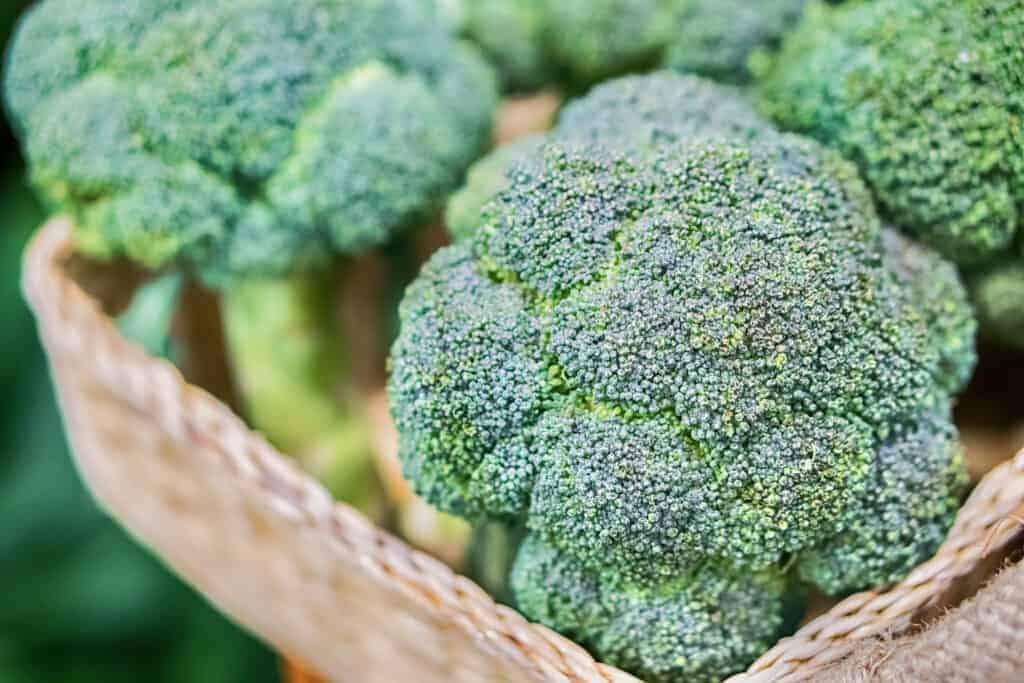
Broccoli is a popular vegetable that can be grown in home gardens. It’s not the easiest vegetable to grow (especially in hotter climates), but you can certainly still grow this yummy veggie in your own home garden.
When selecting broccoli seeds, look for varieties that are suited for your climate zone. Most types of broccoli require full sun but some will tolerate partial shade. Choose a variety with disease resistance if possible; some common diseases affecting broccoli include black rot, downy mildew, clubroot, and white rust.
Brocolli seedlings are pretty easy to transplant. Sowing the seeds indoors about 8 weeks before the last frost date gives you a jump start on the growing season; however, direct sowing into the garden is also an option once temperatures have warmed up enough for germination (around 60°F).
Planting depth should be no more than 1/4 inch deep in moist soil or compost-enriched soil mix. Keep the soil consistently moist until sprouts appear then water regularly throughout the growing season – too much or too little water can cause bolting (premature flowering) which results in bitter-tasting florets.
Once plants reach 6 inches tall, thin them out so they are spaced 12-18 inches apart depending on variety size requirements. It is best not to transplant after thinning since roots may become disturbed during transplanting resulting in stunted growth or even death of transplanted plants due to shock.
FAQs about how to plant vegetable seeds
What is the best way to start vegetable seeds?
Starting vegetable seeds is a great way to get your garden off to a good start. It’s important to select the right type of seed for your climate and soil conditions, as well as choose varieties that are suited for the season you plan on planting them in. Once you have selected your seeds, it’s time to prepare them for planting. Soak larger seeds overnight in water before sowing, and lightly scratch or nick smaller ones with sandpaper before soaking them in warm water overnight. Planting depth should be twice the size of the seed itself; if unsure, refer to the instructions on each packet. Finally, keep an eye out for germination – when sprouts appear above ground – and thin out any overcrowded plants once they reach two inches tall.
How do you plant seeds for beginners?
Planting seeds is a simple process that anyone can do. First, select the type of seed you want to plant and purchase it from your local garden center or online. Next, prepare the soil by tilling it with a shovel or rototiller and adding fertilizer if needed. Then, place the seeds in rows according to their recommended spacing requirements and cover them lightly with soil. Finally, water regularly until they germinate and begin to grow. With patience and care, you will soon have a beautiful garden full of vibrant plants.
Can I plant vegetable seeds straight into the ground?
Yes, you can plant vegetable seeds straight into the ground. However, it is important to take certain steps before doing so in order to ensure that your plants have the best chance of thriving. It is essential to prepare the soil by removing any weeds and rocks, adding organic matter such as compost or manure, and tilling it up for better aeration. Additionally, you should make sure that the area receives adequate sunlight and water throughout its growing season. With proper preparation and care, planting vegetable seeds directly into the ground can be a rewarding experience.
How do you plant seeds step by step?
1. Start by selecting the type of seeds you would like to plant. Consider factors such as climate, soil conditions, and sun exposure when making your decision.
2. Prepare the soil for planting by tilling it to a depth of at least 6 inches and adding compost or fertilizer if needed. Make sure the area is free from weeds and debris before planting begins.
3. Plant the seeds according to their individual instructions – some may need to be planted directly in the ground while others require starting indoors first then transplanting later on outside once they have grown bigger roots and leaves.
4. Water regularly with a gentle spray so that moisture can reach all parts of the soil without washing away any newly planted seeds or damaging delicate seedlings already growing in place.
5 . Monitor growth daily, looking out for signs of disease or pests that could harm your plants; take action quickly if necessary using natural methods whenever possible instead of harsh chemicals which can damage surrounding vegetation too.
Before you go…
As you can see, there are many types of vegetable seeds that you can plant in your garden. From tomatoes to pumpkins, cucumbers to onions, the possibilities are endless. Planting vegetable seeds is a great way to get started with gardening and provides an opportunity for you to enjoy fresh produce from your own backyard. With some patience and care, you’ll be able to reap the rewards of growing your own vegetables in no time. So don’t wait any longer – start planting those vegetable seeds today.
Resources
- The best garden catalogs for seeds, live plants, tools, and supplies
- Types of seeds: Open-pollinated, heirloom, organic, hybrid, & non-GMO
- Best seeds for winter sowing
- Winter sowing guide for planting seeds outdoors in cold climates
References
- Bradley, F. M. (2014). Saving Vegetable Seeds: Harvest, Clean, Store, and Plant Seeds from Your Garden. A Storey BASICS®. Storey Publishing, LLC.
- Thompson-Adolf, J. (2020). Starting & Saving Seeds: Grow the Perfect Vegetables, Fruits, Herbs, and Flowers for Your Garden. Cool Springs Press.
- Florida, R. (2020). Plant Seeds for Vegetable Gardening: The Perfect Guide to Grow Healthy Vegetables, Herbs, and Fruits. Learn About Seed Propagation. Independently Published.


