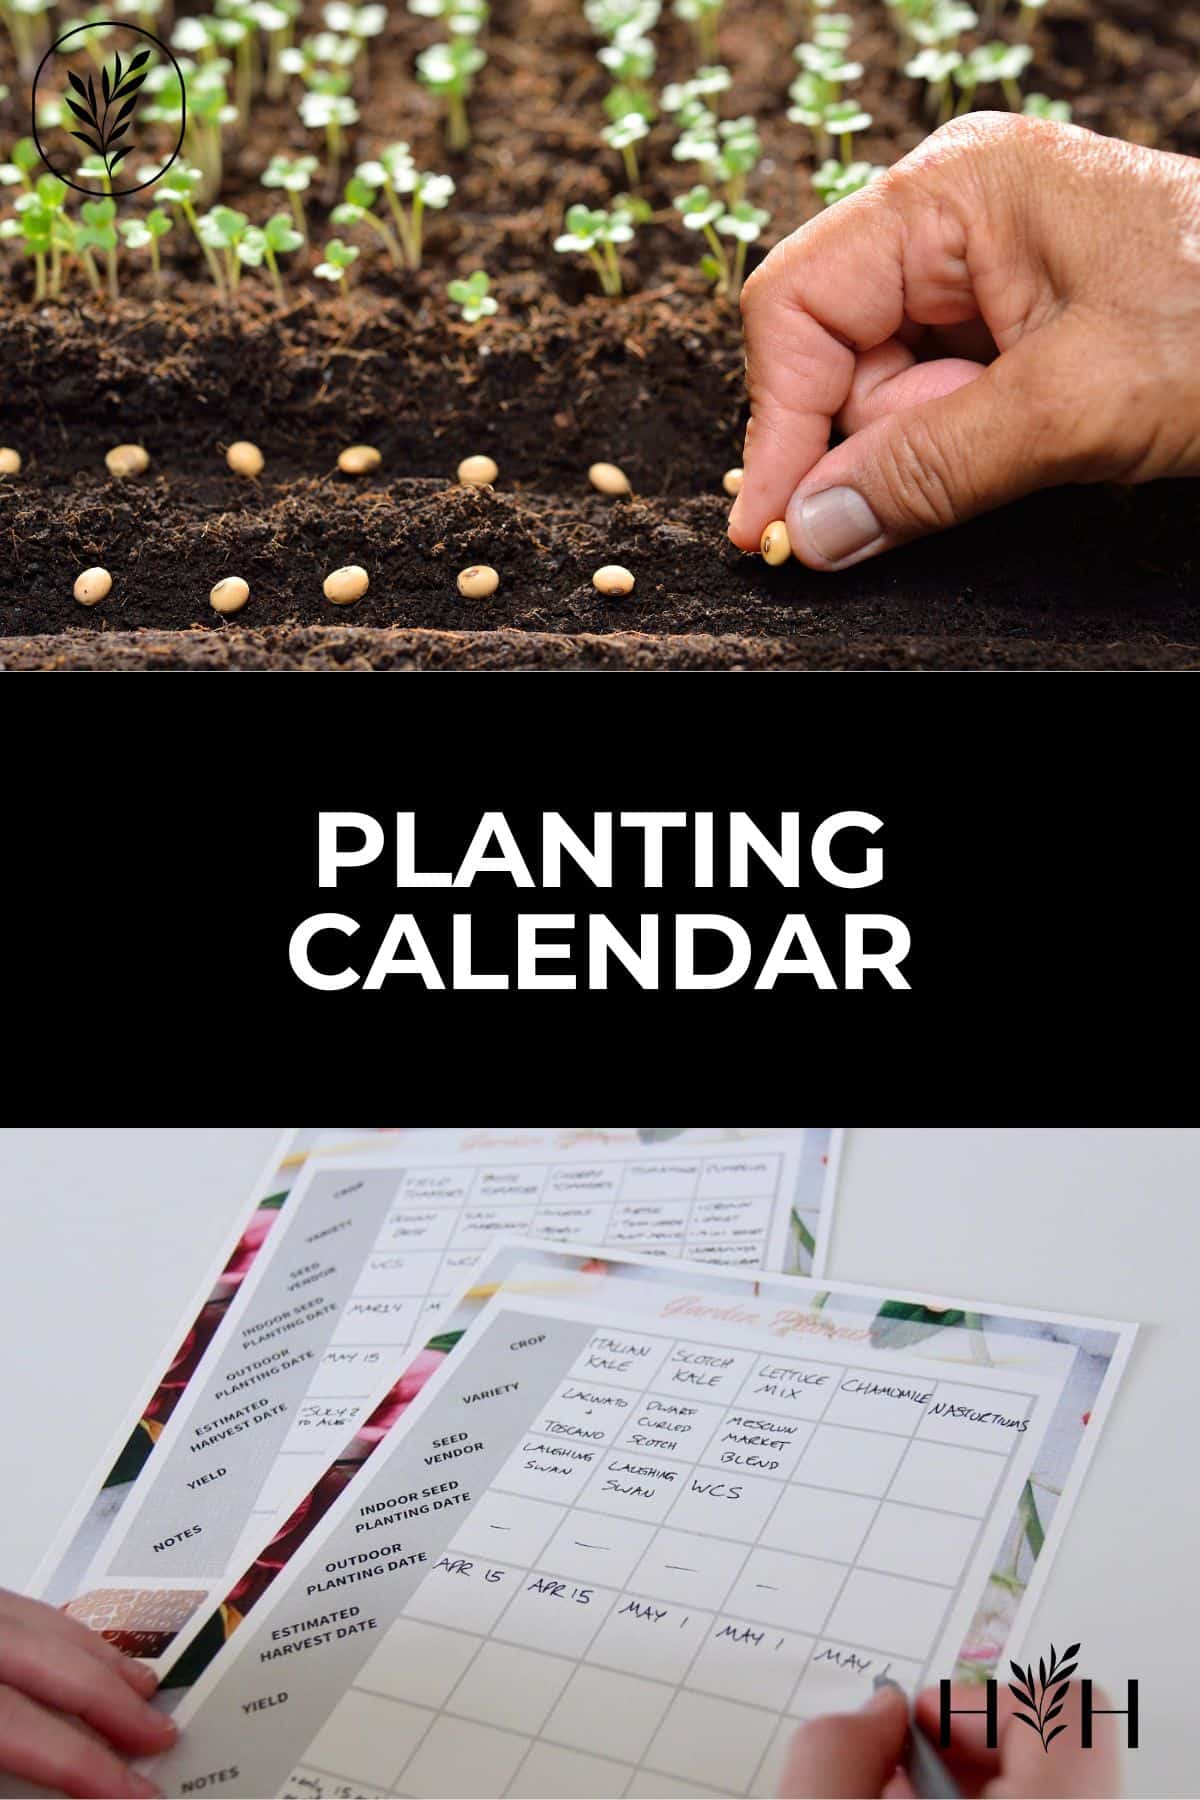
Once you’ve selected the crops for your garden and decided on the layout, it’s time to create a garden planting calendar! Organizing your seed starting, transplanting, and harvesting activities will make a huge difference in growing a successful garden. Once you’ve scheduled out your garden crops into an easy planting calendar, you’ll be ready to get those veggies in the ground!
Creating a planting schedule
Having an abundant garden means you can grow the right amount of healthy crops with a reasonable amount of time and effort. If you’ve already selected your garden crops, you’ll have noticed that each plant has different preferences.
Some plants like to be grown indoors for the first few weeks of their lives (seed-starting), while others will do well when planted directly in the ground (direct seeding). Some can survive chilly weather, while others will suffer when temperatures drop.
Here’s a chart that shows which seeds to direct sow and which to plant. Here’s a list of different seeds and the temperature at which they germinate best. You need to go through the process of creating a planting calendar before you start your garden to ensure each crop gets the correct treatment.
How to schedule your plants in the right order
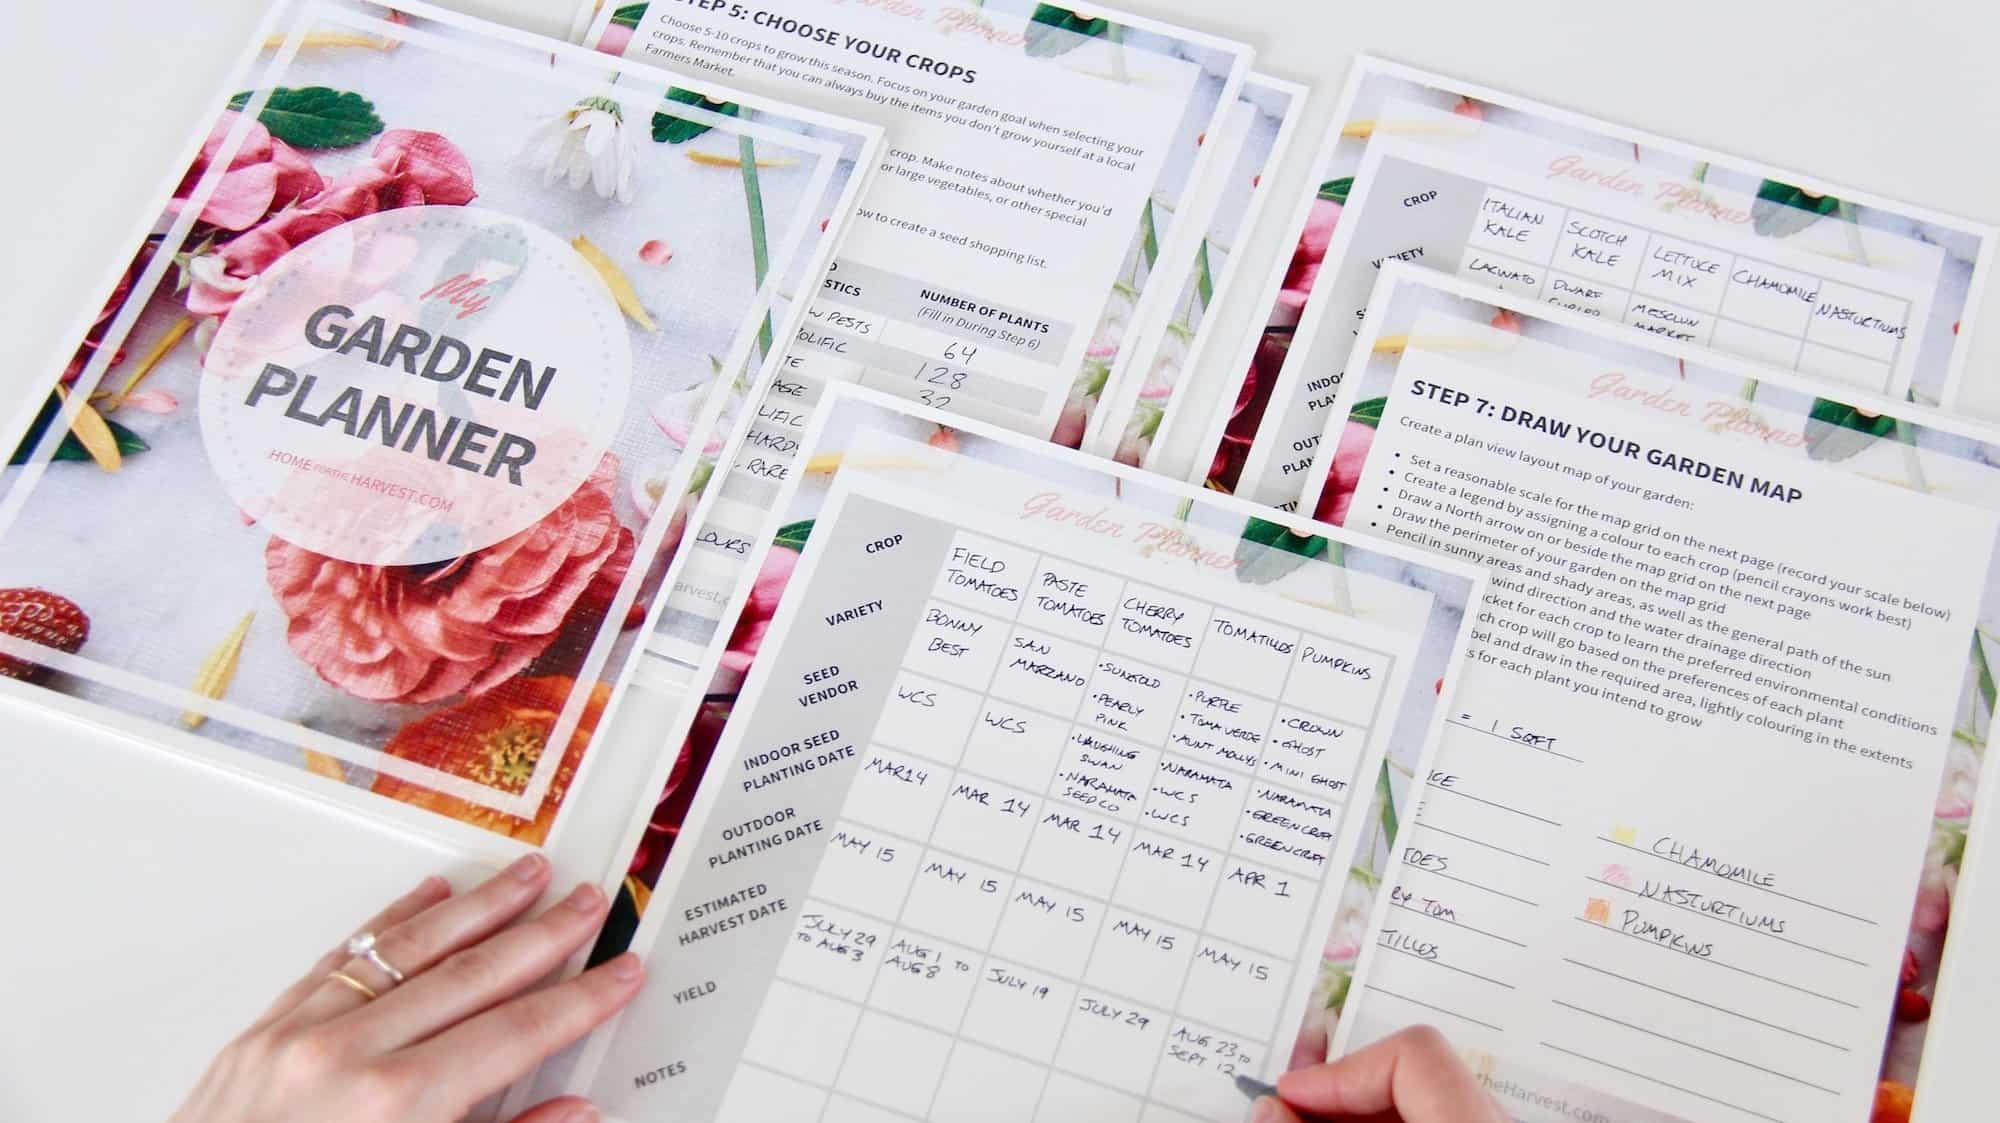
Once you’ve selected your crops, it’s time to schedule them out for the year into a planting calendar. Seed planting dates are generally referenced to the last spring frost date for your area. You will have recorded this date earlier in your free garden planner while completing the growing zone step.
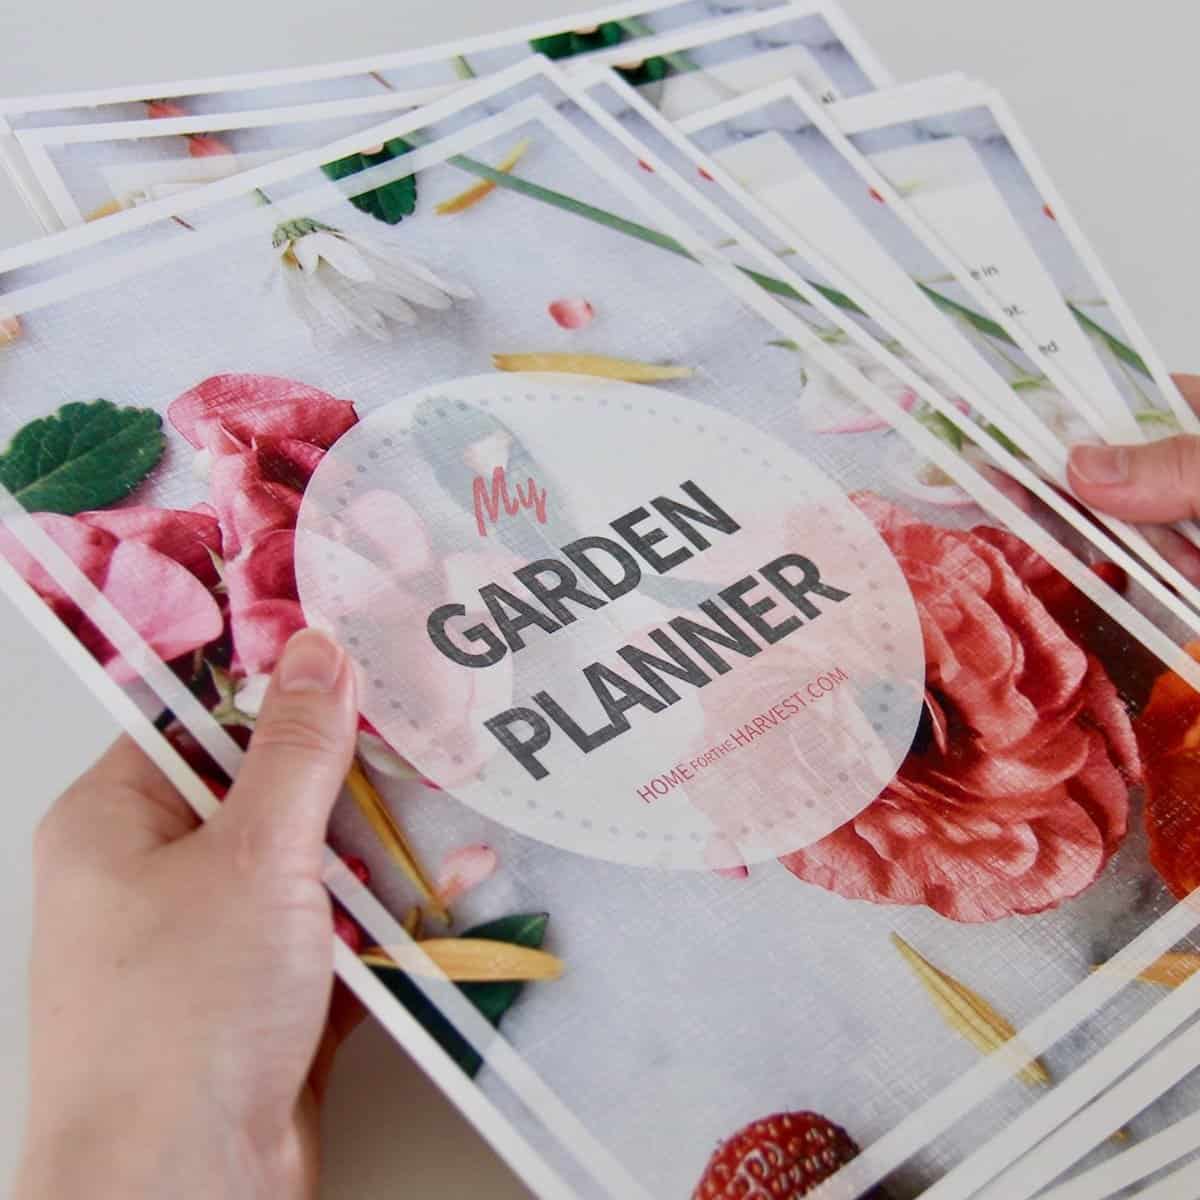
(If you don’t yet have your free garden planner, you can grab a copy and read about the previous steps in the garden planning process here).
Step 1: Putting your seeds in order
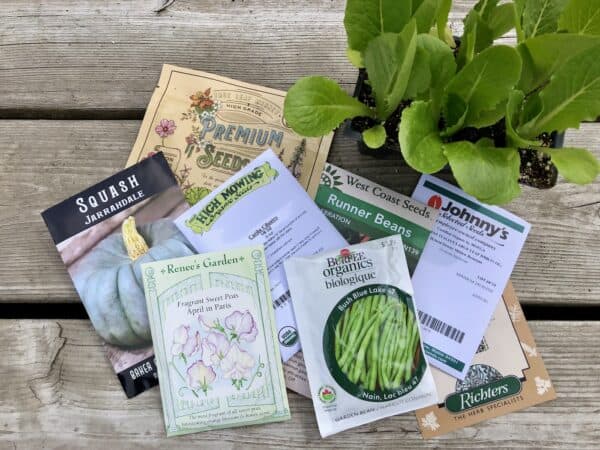
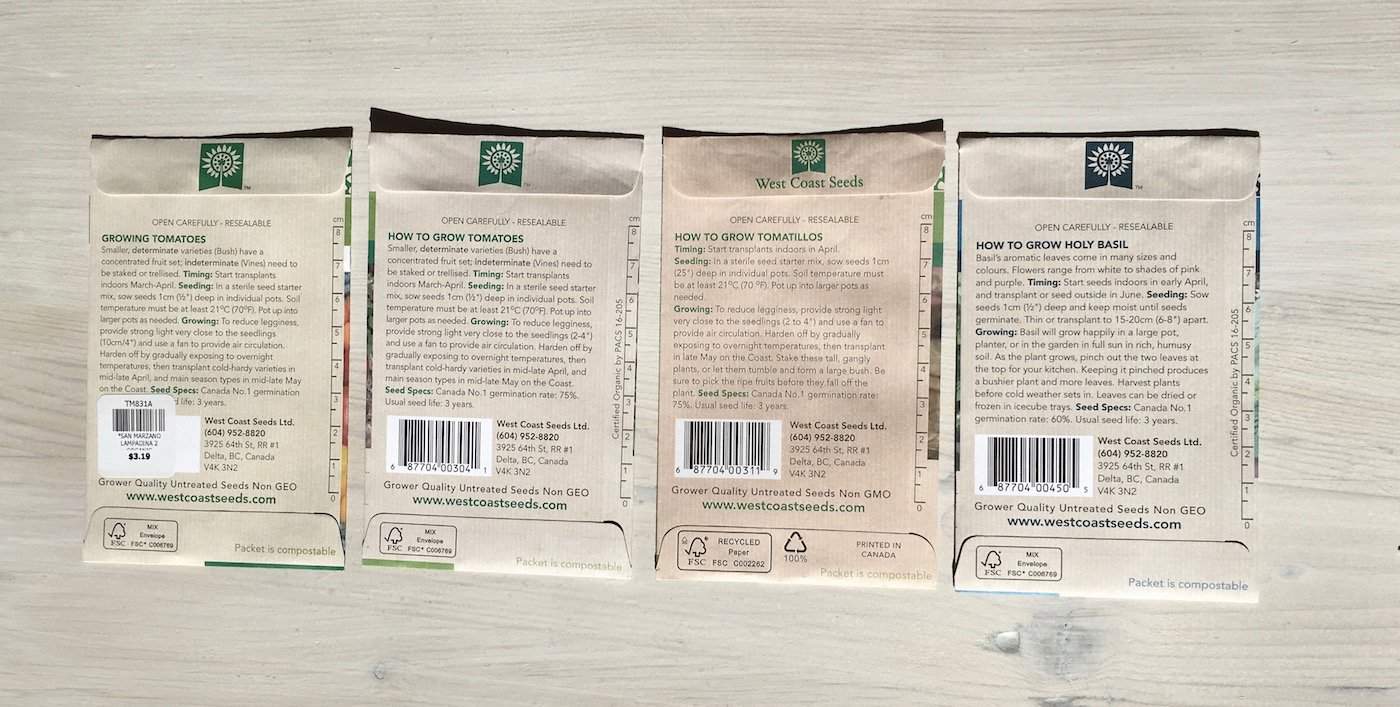
The first step is to sort through your seeds, either using the catalog/website or the packets themselves. Lay the packets out on a flat surface and put them in order of the date that the seeds are to be first planted. Some seeds will be planted indoors (indoor seed starting), while others can be planted directly into your garden soil outside (direct seeding). Use the first date that the seeds will be taken out of their packet (either indoors or outdoors) when putting them in order.
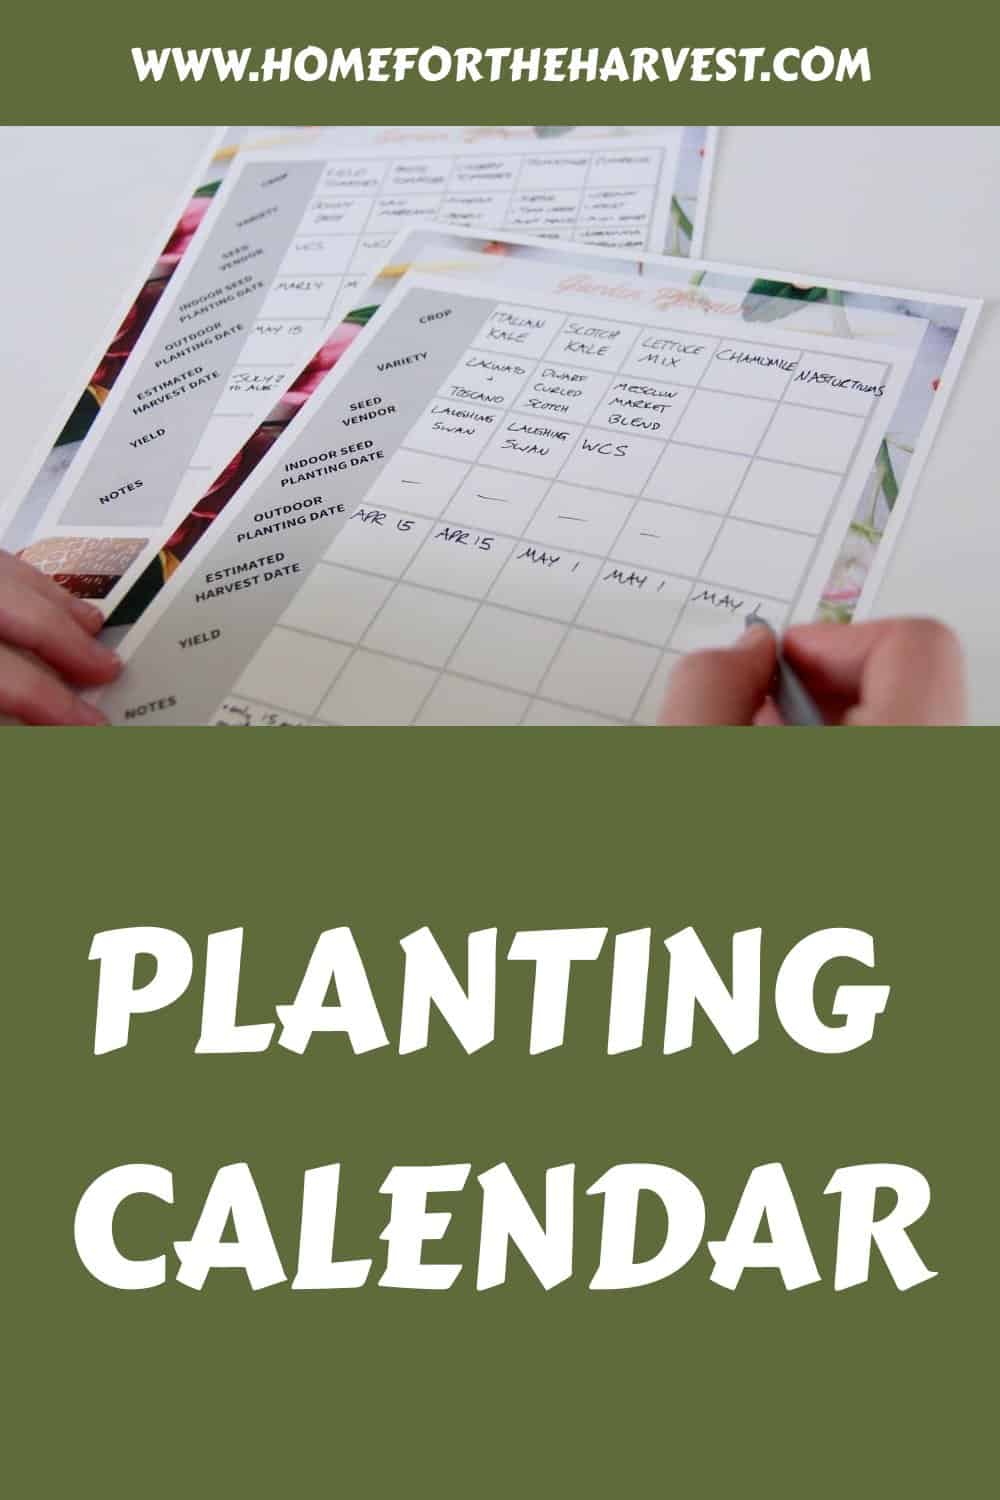
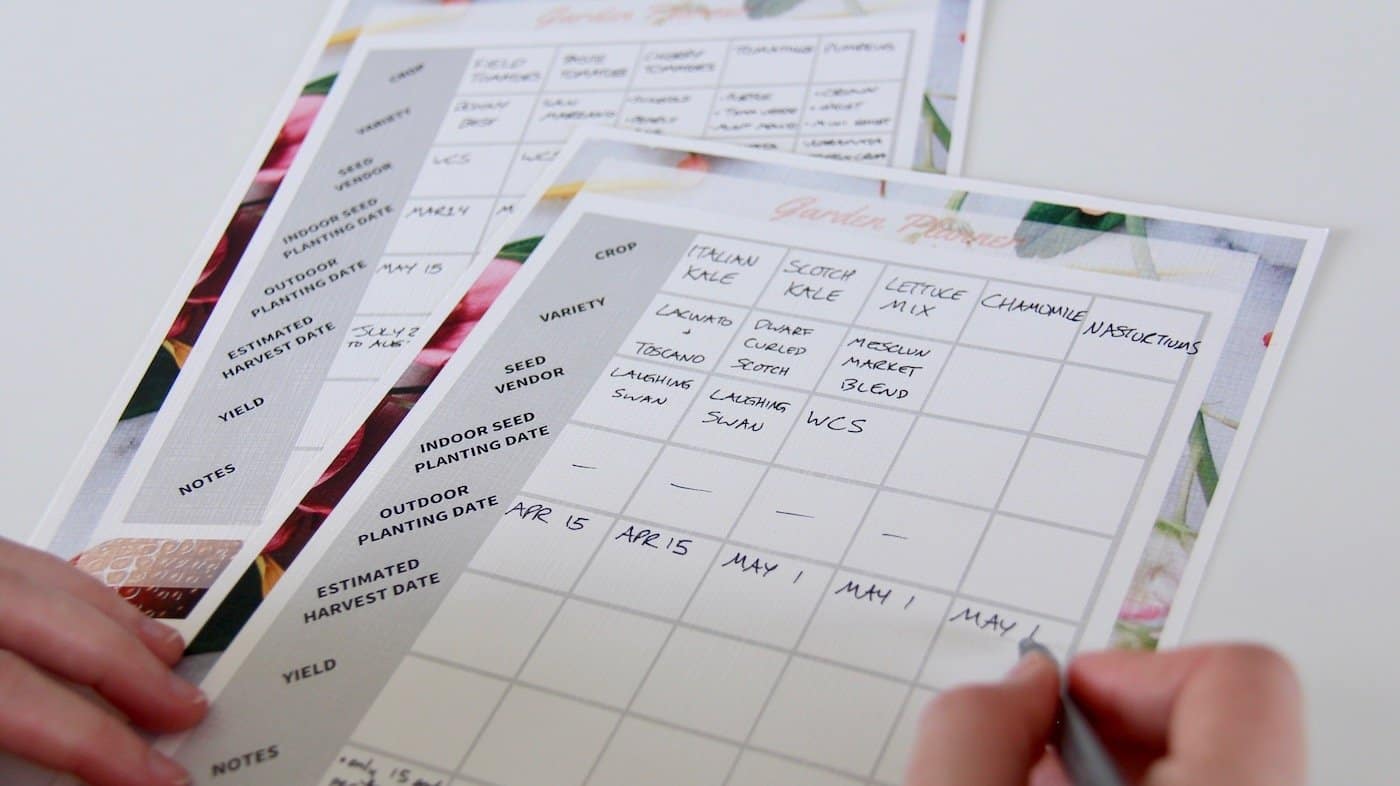
Step 2: Write down your crops in order
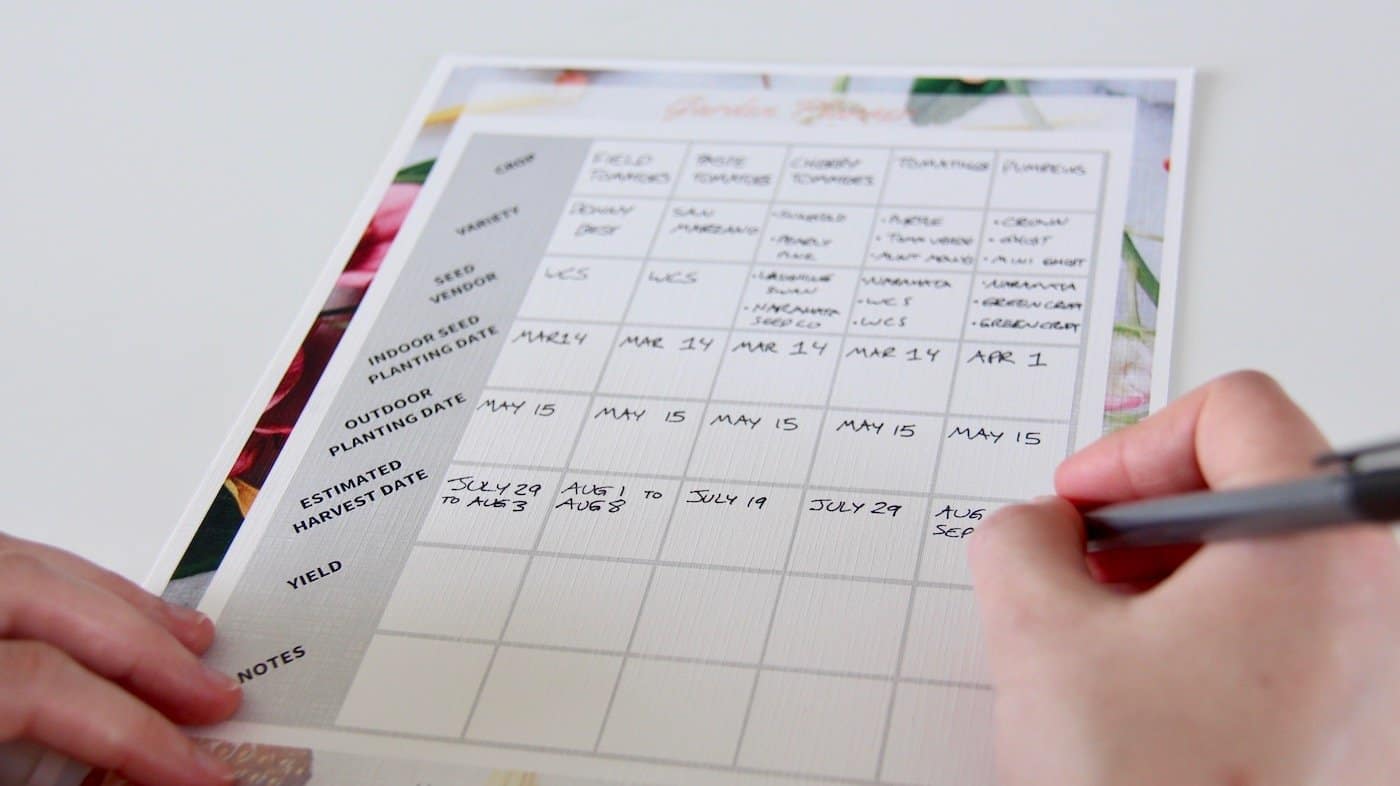
Once you have your seeds in order of their first planting date, use the scheduling table at the end of your garden planner to write down the crops in order in the top row. This table will become your planting calendar. Start with the earliest seeds to be planted at the top left-hand side of the first sheet.
How to schedule your crops to create a planting calendar
Once your seeds are written down in order of which to plant first, you’ll need to schedule actual dates. Seeds from local companies may give you a specific month or planting date, but most packets will just provide guidance on how many weeks before/after the last frost date in your area.
Step 3: Record the indoor and outdoor planting dates on your calendar
Once you have an estimate of your last frost date, count backward/forwards to find out when to plant each seed. In general, cool-season crops like lettuce, peas, and carrots can be planted 4-6 weeks before the last frost date, while warm-season crops should be planted at least a few weeks after the last frost date has passed.
Fill out the planting date rows of your garden planner for each crop. If the seeds for a certain crop need to be started indoors, you’ll have two planting dates (indoors and outdoors). Seeds that will go directly into the garden (called direct seeding) will only have one date (the outdoor planting date).
If you’re growing a lot of crops, you may wish to group some of the dates together so that you do not have to start new seeds every day of the week. I like to group mine together in frequencies no more than once weekly.
Remember that starting seeds slightly later is generally better than starting them too early. Most gardeners “rush the season” when creating their planting calendar after waiting all winter to get gardening again. If you can’t wait and really must start some seeds, try growing some microgreens to hold you over.
Once you have the outdoor planting date listed for each crop, take some time to jot down the expected harvest date. Most seed packets list a days-to-maturity for the variety. Count out the days from your planting date so you can check on your crops when the estimated first harvest date arrives. In good conditions, the first plants of that crop should be ready once the days-to-maturity window is reached.
Note: Days-to-Maturity is generally calculated from the outdoor planting date. So, if you grow your tomatoes from seeds indoors, the clock on the Days-to-Maturity doesn’t actually start until you plant the seedlings out into your garden outdoors.
More factors to think about when scheduling out your gardening season
Some gardeners also choose to group their dates by external factors. In my area, for instance, many gardeners love to plant their whole garden outdoors on May Long Weekend. It’s a bit of a tradition. They will do all of their direct seedings during that weekend and back-calculate all their indoor crops so they’re ready for transplanting outside on May Long Weekend. This works well for people who want to do it all in one go.
Finishing your garden plan for the year
Once you’ve finished your garden map and created a planting schedule, you’ve finished the garden planning process! Your free garden planner should now be full of all the info you’ll need in the spring. You’re now ready to get out into the garden with confidence!
If you don’t yet have your free printable garden planner, now is the time to get your copy. Start at the beginning, and plan out a wonderful garden for the year! The planner includes a special table to help you schedule your garden, a page for mapping, and the other sections required for planning a successful garden.