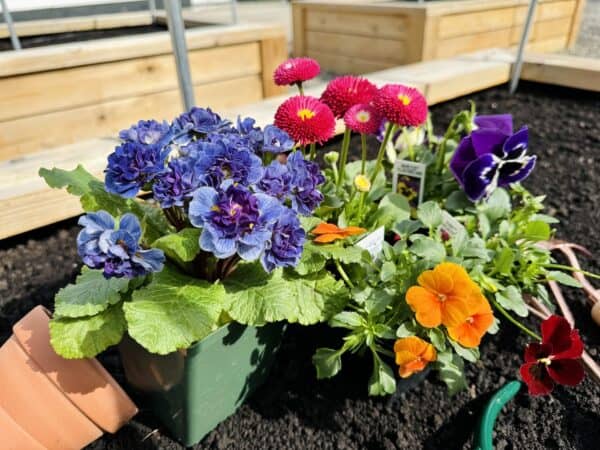
Anyone can grow seeds into healthy plants with the right process and supplies. You don’t need to be born with a “green thumb.” You just need to provide the conditions in which seeds are already naturally programmed to grow.
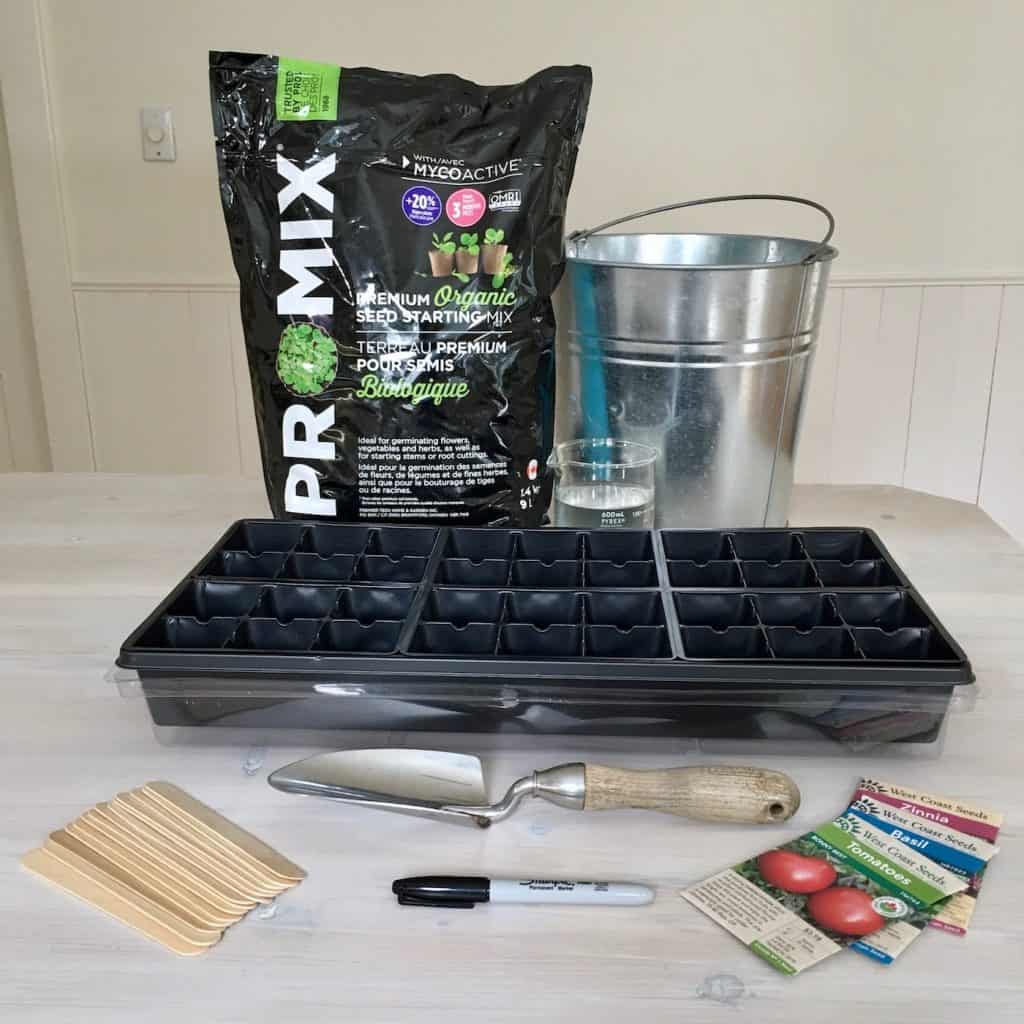
Supplies you’ll need for seed starting
- Bucket or Large Mixing Bowl
- Garden Trowel
- Seedling Tray with Inserts & Cover
- Seed Starting Soil-Free Mix
- Filtered Water
- Organic Seeds
- Labels or Wide Craft Sticks
- Permanent Marker (Bleed-Resistant if Possible)
- Misting Bottle
- Plant Light or Fluorescent Tube Light
- Fan
For each standard 52cm x 26 cm (22.5” x 10”) tray of seedlings, use 16 cups of moist seed starting mix. That’s usually about a gallon per tray.
Steps: Seed-starting (how to grow seeds into plants)
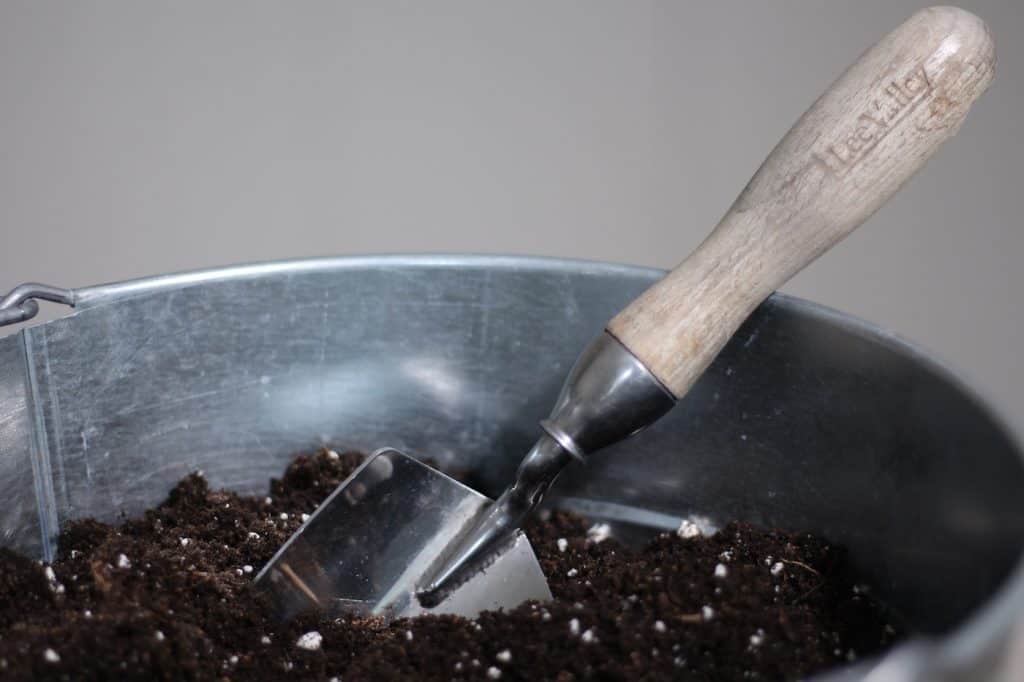
- Place the soil-free mix in the mixing bowl/bucket. You’ll need about 16 cups of moistened mix for every standard tray if using regular inserts (as pictured). If you’re buying mix in small 9L bags (such as the Pro-Mix pictured above), one bag will fill two trays of inserts with the mix.
- Moisten the soil-free mix with filtered water. Add enough moisture so that the mix is damp but not dripping wet. Mix very well with the trowel. It should be crumbly and moist.
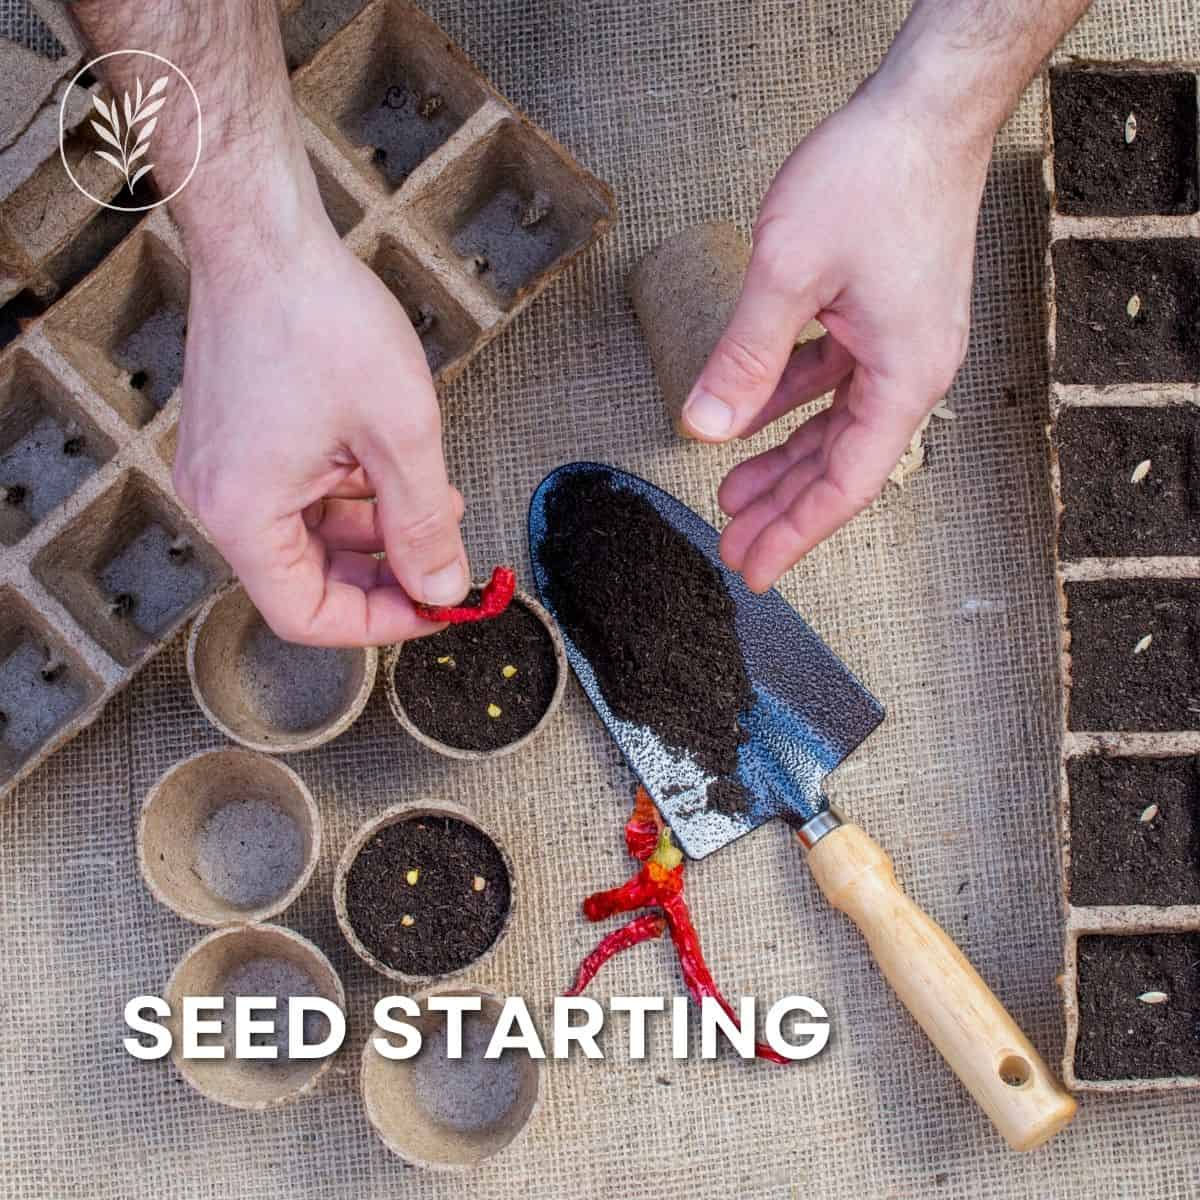
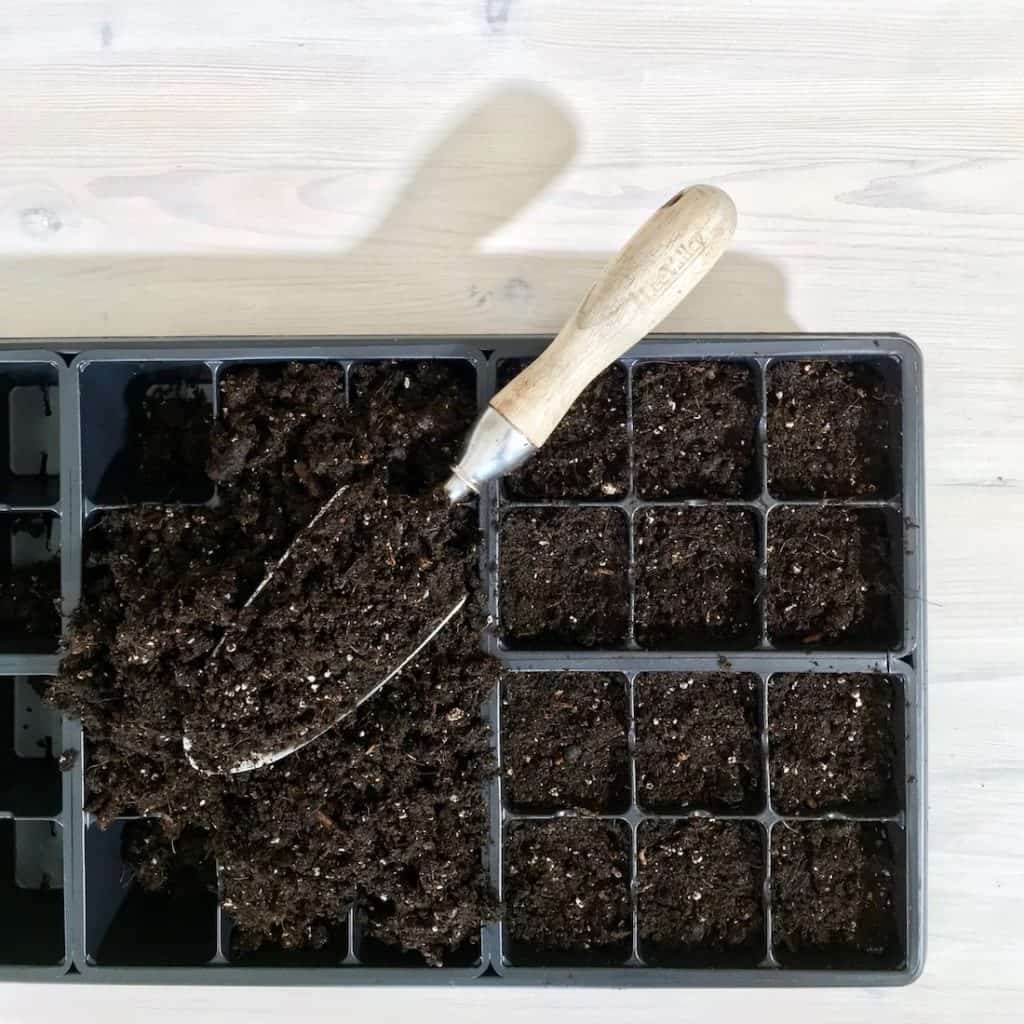
- Use the trowel to place the soil-free mixture into the seedling tray inserts.
- Compress the mix gently into each insert. Press out any air pockets. The mix shouldn’t be overly compact, but it shouldn’t have large air voids. Leave about 1 cm (just under a 1/2”) of room at the top of the inserts for future top-watering.
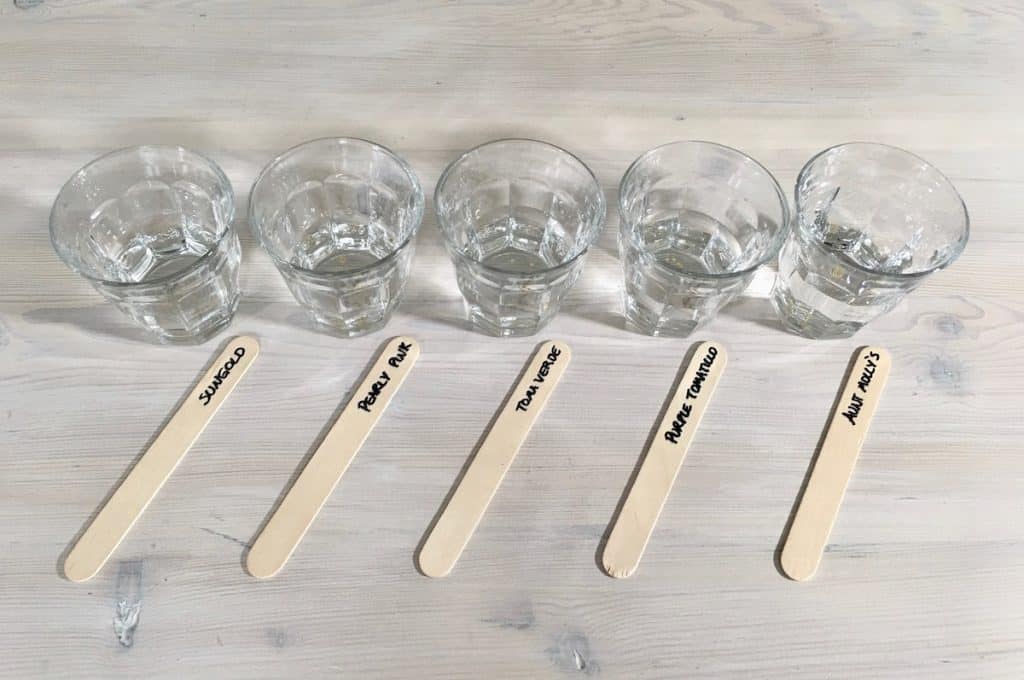
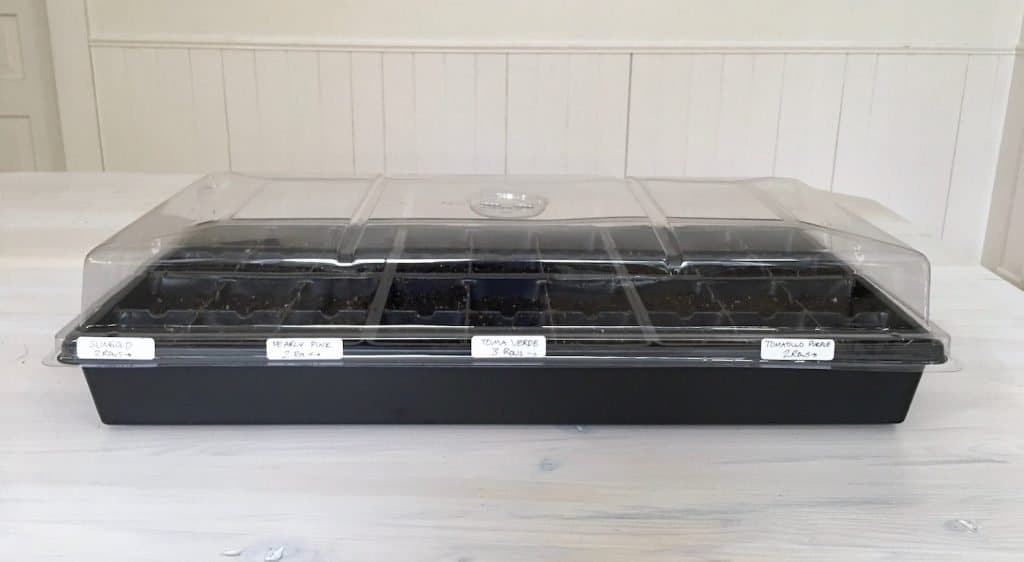
- Prepare your plant labels with the type and variety name for each seed. Sticky labels work well for germination, as they can fit under the covers that come with standard seed-starting trays. Craft sticks work well later on, as they stick up, and you’re less likely to wash those labels off accidentally. I like to make both labels just to ensure nothing gets confused. Use a bleed-resistant pen.
- Plant the seeds according to the instructions on the seed packet.
- If you have lots of seeds, consider planting several seeds per container/insert (you’ll thin out the weaker plants later). Alternatively, select the largest, most uniform seeds in the packet to use.
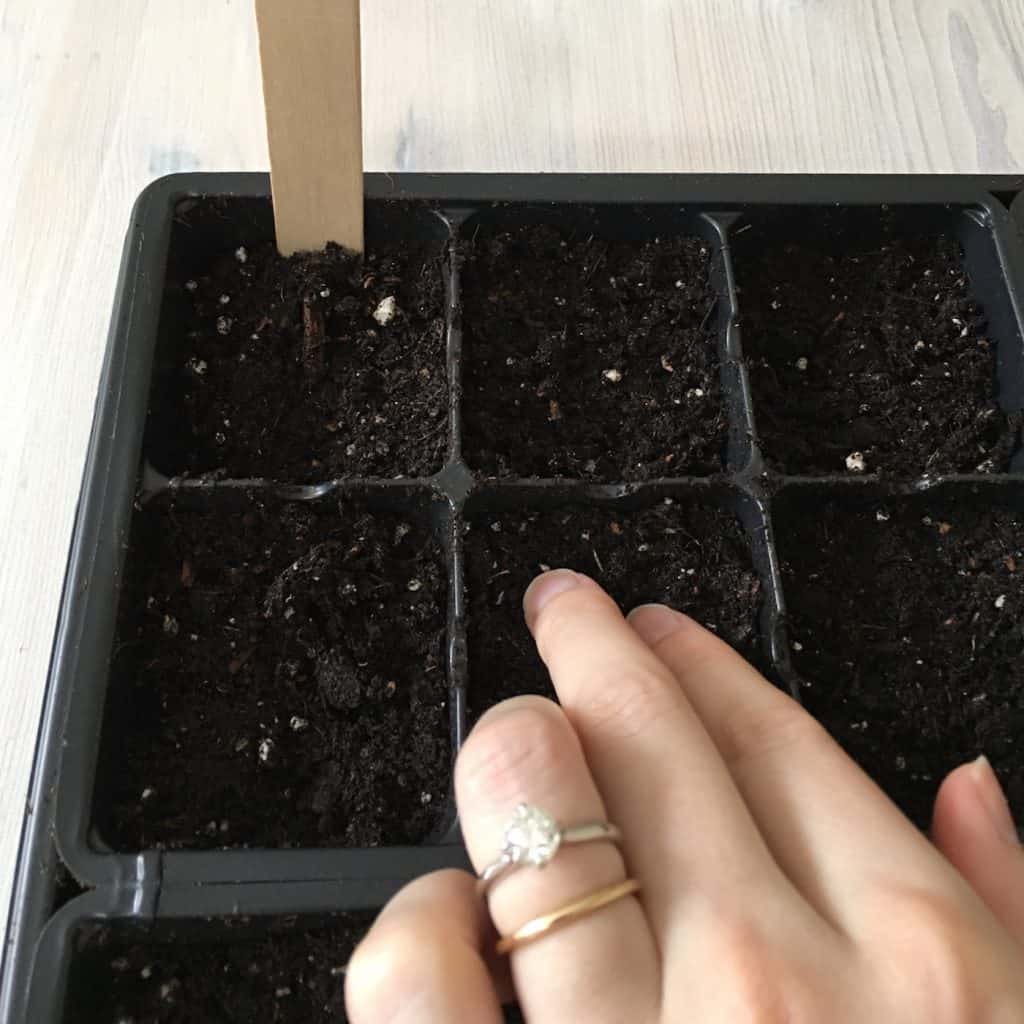
- Using your fingers or one of the craft sticks is easiest to create a small gully in the soil-less mix and then gently push the seed down into the hole.
- If you have trouble remembering which cells have planted seeds and which haven’t been planted yet, place all the seeds on top of the soil in each cell before pushing them into the mix. That way, you can see the seeds as you place them. Wait until you’ve placed all the seeds of a given type (and the rows are properly labeled) before pushing the seeds into the soil.
- Mist the planted tray to be sure that the seeds become moist. This is especially important if the seeds have not been pre-soaked. Moisture is essential for germination.
- Cover the tray loosely with the cover or with clear plastic sheets to create a humid environment. Open the vents in the cover or poke holes in the plastic. If your trays do not have covers, use damp newspaper or plastic wrap (with holes) to cover the seeds until they start to sprout.
- Place the trays in a warm area to encourage germination. Some people purchase special seedling mats to keep the soil warm, others put the trays on top of a warm appliance, and others keep their homes pretty warm anyway!
- Record the planting date in your garden planner. Also note the estimated transplant date if you haven’t already. You’ll want to refer to these notes next year when making your next planting calendar.
Seed-starting steps continued: Care and maintenance
- Check the trays daily for moisture levels. Keep the soil moist while waiting for the seeds to germinate and sprout. The misting bottle is a good way to do this. Watering with a stream of water may wash the seeds into corners or bury them too deeply to germinate.
- Be on the lookout for sprouts every day when you check the tray to get them under the lights (seed packets should indicate germination time).
- As soon as you see signs of sprouts, take off the plastic cover and immediately put the seedlings under the lights.
- At this point, lots of light becomes more important than extra warmth from appliances or soil mats.
- Seedlings can generally be placed 2-3 inches away from fluorescent tube lights. Raise the lights up as the seedlings grow to maintain the distance. I use a small chain with hooks to move up my lights.
- Some specialty incandescent plant lights get quite warm and are designed to be used further away from plants. If you have a specialty plant light, follow the instructions so your little seedlings don’t get roasted!
- Water the seedlings steadily as they become established, taking care not to over-water them.
- The least intrusive way to water them is by filling the tray with water and letting the soil-free mix wick the water up into the inserts. This is known as bottom-watering and works well when your seedlings have a few established roots. Just ensure that you pour off any excess water once the soil-free mix becomes saturated to avoid overwatering.
- The mist sprayer can be used for gentle top watering. A mister is gentler than a stream of water and less likely to dislodge/disrupt the seedlings. It’s best not to water the leaves of the seedlings if you can help it, though. If you’re finding the mister is getting the leaves wet, consider using a kitchen syringe to top-water the seedlings if necessary. Take care not to over-water when top watering (avoid puddles of surface water).
- Keep an eye out for the first set of “true leaves” on your seedlings. The true leaves appear after the initial leaves of the seedling. The seedling’s first leaves will often be small and have a simple shape. The first true leaves will generally be larger and will have a shape closer to the leaf shape of the mature plant.
- At this point, seedlings will also benefit from air movement (again, simulating ideal outdoor conditions). A fan can be plugged into the same timer as the grow lights to simulate breezy days. This will minimize the chances of fungal disease and other problems related to low air circulation. You can also gently ruffle your seedlings with your hand to encourage them to grow stronger.
- If you’ve planted multiple seeds in each insert, thin them after their second set of true leaves appears. Instead of pulling out the weaker plant, use a pair of scissors to clip the smaller seedlings off. This will allow the stronger plant to thrive.
- A week or two before it’s time to transplant the seedlings outdoors, begin “hardening them off.” This process involves taking the seedlings outdoors for increasing amounts of time each day to get them acquainted with the outdoor environment. Choose a mild day for the first time they go outside and place them in a sheltered area out of direct sunlight for an hour or two. Gradually increase the amount of time/sunlight/wind over the next week or two until they are fully accustomed to the outdoor environment.
First-time seed starting tips
Seeds want to grow into healthy, thriving plants (if you let them). To help them live healthy seedling lives, re-create all the best parts of spring in a clean, controlled indoor environment. Imagine a nice spring day with warm air, bright light, and a gentle breeze. If you can re-create that environment indoors, you can grow healthy seedlings (even as a beginner gardener).
Seed starting is all about learning to germinate and sprout seeds. Seeds need moisture, warmth, and air to germinate. Some also like light, but these requirements are pretty basic even with that added input. If you have never tried growing seedlings before and are nervous about the process, try growing a tray of microgreens before starting your garden seeds.
Microgreens can be grown in about a week, after which you’ll have a far greater understanding of the germination process. If you’re at all hesitant about your ability to grow seedlings, trying a tray of microgreens or wheatgrass first will be hugely helpful.
Another tip is not to start a bunch of different seeds in your first year of seed starting. Pick one or two types of seeds to start, and grow everything else from seedlings purchased from the nursery or by direct seeding the seeds into the garden soil outside. Some seeds are easier to directly sow outside anyways, so don’t worry about trying to do everything indoors.
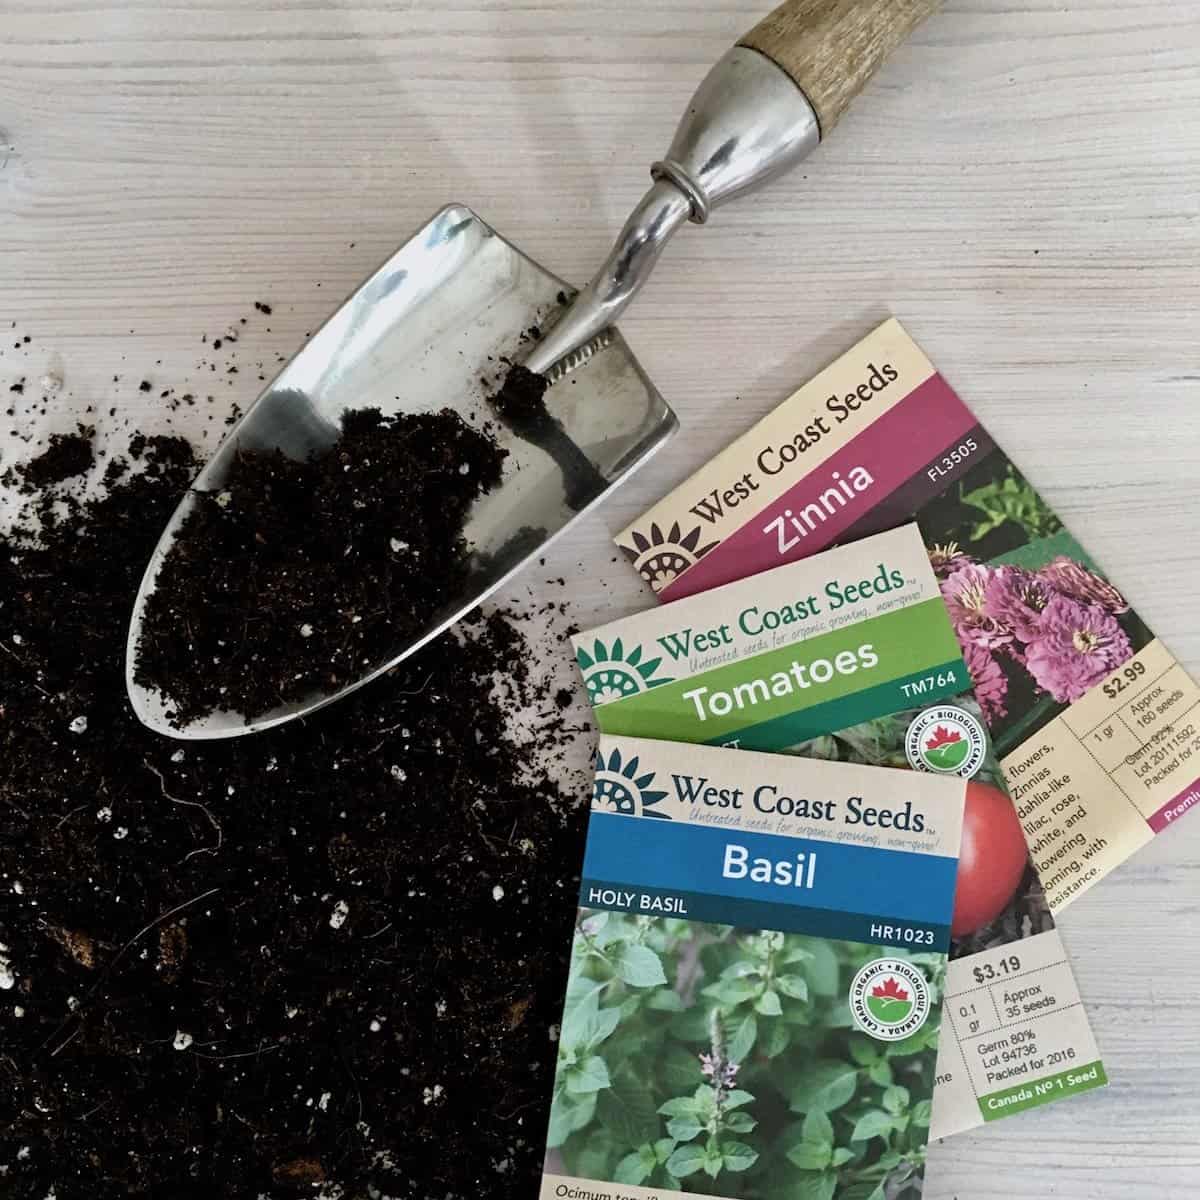
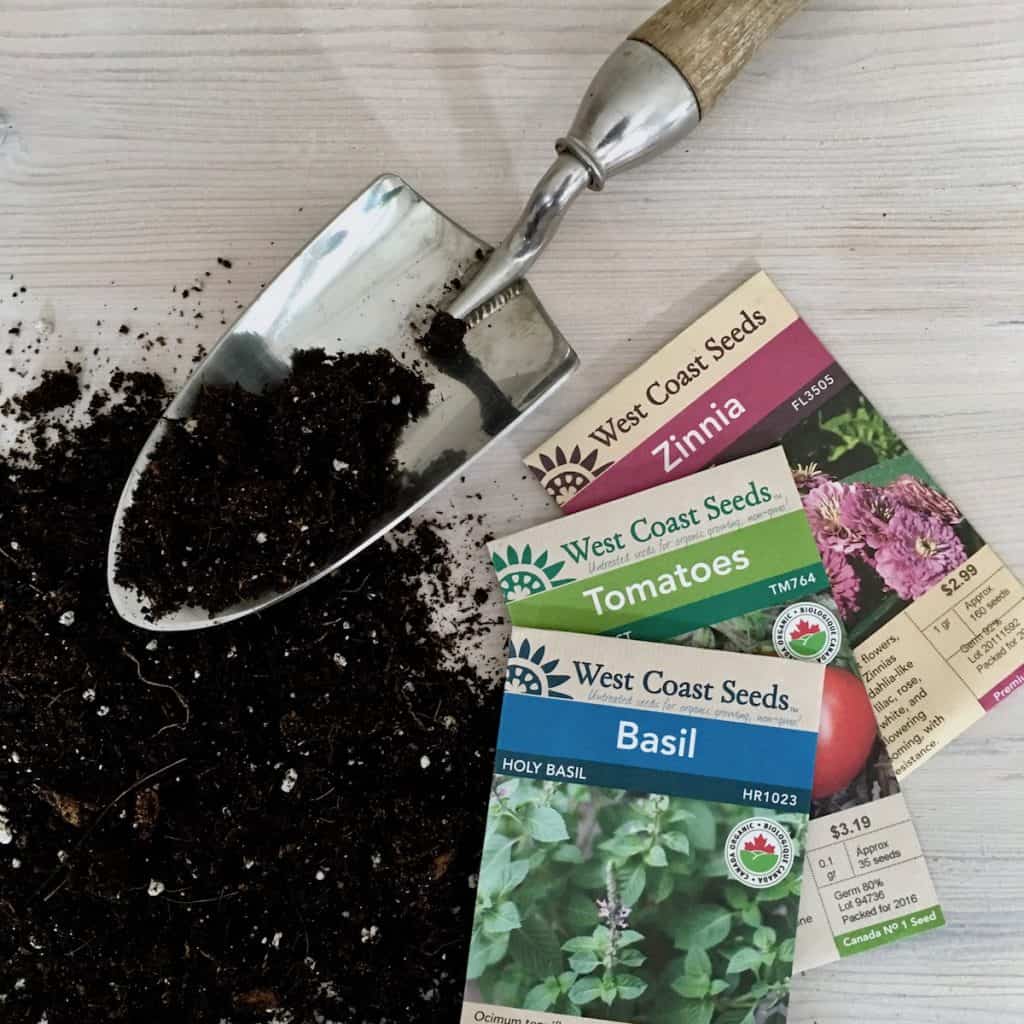
Limit your seed starting to seeds that are easy to sprout indoors, such as tomatoes, basil, or zinnia seeds. You’ll be much more likely to have a good year (and want to grow your own seedlings again next year)!
The dirt on seed-starting mixes
The best soil in which to start your seeds isn’t actually soil at all. Don’t get me wrong, garden soil is a wonderful matrix of mineral particles, organic nutrients, and life in general…but it’s not the best thing to use when starting your seed babies indoors.
The best seed-starting mixes are sometimes known as “soil-free” mixes. These mixes are generally made from several different ingredients, most of which are approved for organic gardening. They’re also “sterile”, meaning that they won’t contain any pathogens that will harm your precious seedlings. Although garden soil and homemade compost are wonderful, they might just contain the very nasties that your soil-free mix has been formulated to avoid.
Most soil-free seed-starting mixtures are made from milled peat moss and/or coconut coir for volume and water retention, plus perlite or vermiculite for air entrainment. Most mixtures may also contain fertilizer as an additive, which may or may not be approved for organic gardening. Read the package to check the ingredients before you buy the mix to ensure what you’re getting doesn’t contain any synthetic chemical fertilizer.
A good label to look for is the “OMRI-Listed” label, indicating the product is approved for organic use. My favorite mix for seed starting is Pro-Mix Organic Seedling Mix, which is available from both big box retailers and independent garden centers in North America. This mix is OMRI-Listed and contains enough plant food to sustain the seedlings (no seedling fertilizer required).
If your soil-free mix does not contain fertilizer or organic amendment, your seedlings will require some sort of plant food input during their time indoors. I use a mix of worm castings and glacial rock dust for this purpose, but you can use whatever organic-approved fertilizer is available in your area. Just be sure to follow the application instructions on the package.
Seed germinating hacks: Soaking, scratching, and chilling seeds
Most seeds will grow absolutely fine with minimal input, but a few types of seeds may germinate more easily with a trick or two. Special seed germinating tactics help to imitate the natural environment in which certain types of seeds usually germinate outdoors. The tactics in this section can be used along with the seed starting instructions below (just treat the seeds immediately prior to planting ).
A common seed germinating trick is to soak the seeds in lukewarm water for a few hours prior to planting. If you’ve grown microgreens before, you’ll be familiar with soaking seeds as part of encouraging germination. The pre-soaking process works best with large seeds.
If you’re up for trying pre-soaking, place your seeds in a small container with some filtered water for about 4 hours prior to planting. Alternatively, place your seeds on a wet paper towel. This will give the seeds a kickstart so they realize it’s time to germinate.
Another trick for plants that grow in cooler environments like strawberries and milkweed is to place the seeds in the fridge or even the freezer for a few weeks to trick them into thinking it’s winter. Then when the seeds are removed from the freezer and planted in warm soil, they’re convinced it’s spring (and time to germinate). The chilling process is called stratification.
The seed packet should indicate if a seed requires chilling/dormancy, and provide the details. Generally, seeds are placed in a wet paper towel inside a ziplock bag and then placed in the fridge. Seeds are then thawed slowly by keeping the bag sealed for a few hours after removing them from the fridge onto the countertop.
One less common trick for a few types of seeds is called scarification. Some seeds like lupin have particularly thick or impermeable coatings, which delay germination. These coatings can be worn down prior to planting to encourage speedy sprouting. Methods include pouring hot water over the seeds to break down the coating, as well as scratching the coating mechanically to expose the inner part of the seed to water.
Light requirements for seed starting
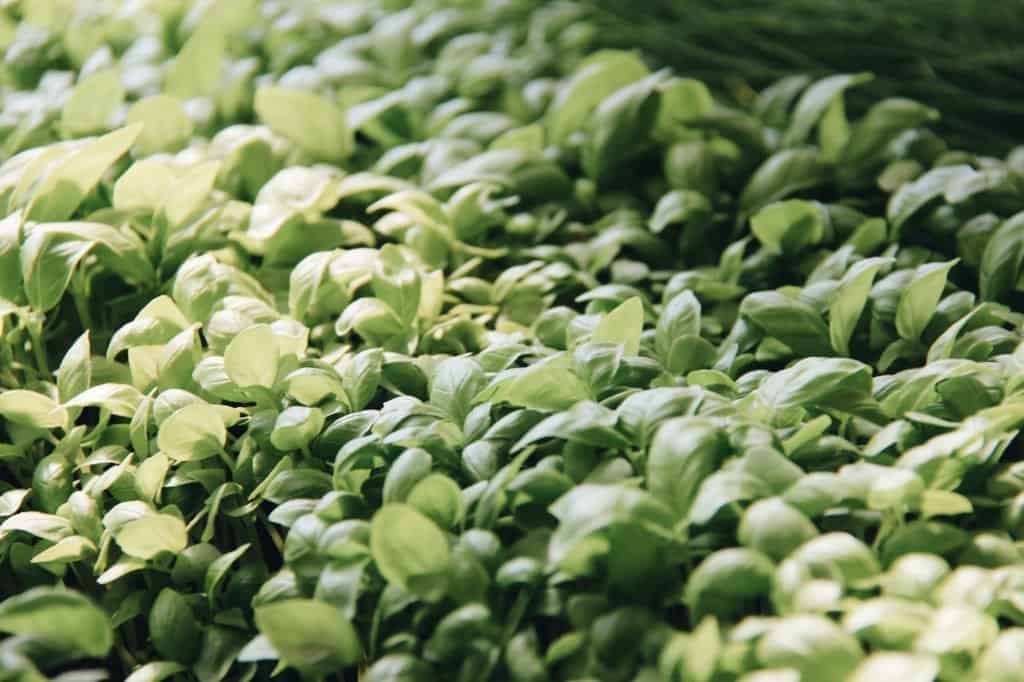
Seedlings require lots of light to develop into strong, healthy plants. In the wintertime, it’s rarely feasible for seedlings to get enough light through a window. It’s unlikely that a sunny south-facing window inside your home will provide enough light to grow healthy seedlings. Seedlings that don’t get enough light will be thin, “leggy,” and weak.
The best option to provide enough light is to use plant lights with a timer. A simple fluorescent tube plug-in light fixture from the hardware store will also work very well. If buying a light is going to keep you from starting your seeds at all, give it a try with a window light…but if you want them to really thrive, put them under a light.
For my seedlings, I use a dedicated plant light with a 14-hour light timer. My seedlings go on a sturdy metal set of shelves which I got for $62 at the hardware store. It’s easy to attach the fixtures below each shelf to provide light to the seedlings below. The light also has the added benefit of providing extra warmth during the day. This extra warmth and the variation it produces in room temperature when compared to the evening helps to mimic natural daily variation and helps the seedlings grow.
Frugal tips to keep seed starting affordable
If you’ve never grown seedlings before, it can get expensive to buy all this equipment at once. Fortunately, there are a few ways to cut costs.
The first place to save some money is on seeds. Seeds can even be free if you’re lucky enough to have a local seed swap in your area. Your friends may also have extra seeds for you saved from previous years. Lastly, most seed packets have more seeds than you’ll need in a given year, so the packets could be split between a few households.
The second place to save money is on seed starting trays. If you don’t mind a bit of water dripping out of the tray, consider making your own wooden trays from scrap wood. These wooden trays can be used with recycled containers instead of buying inserts. Containers such as yogurt cups, milk cartons, rolled newspaper, or paper cups work well (just make sure to poke some drainage holes in the containers).
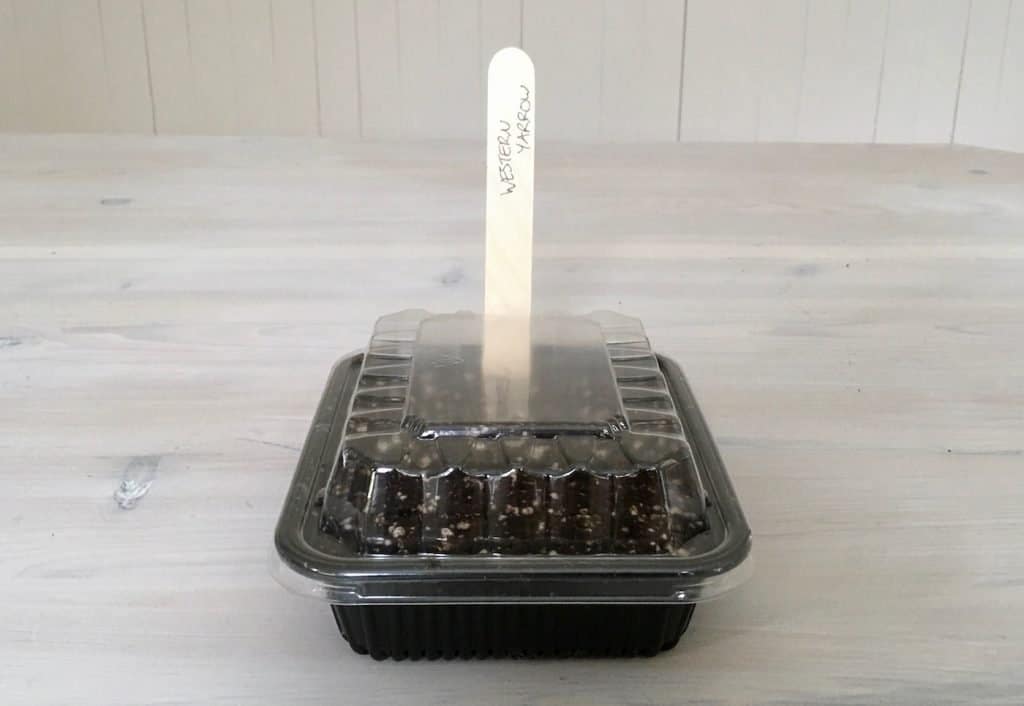
Alternatively, reuse last year’s nursery flats if you have some around, or repurpose a used take-out container that is 2-3 inches deep. Some take-out containers even come with their own clear lids…perfect for germination! If you wish to avoid plastic and other containers altogether, consider using a soil blocker to make seedling blocks. It costs more up-front but will save money in the long run.
Timing: When to start your seeds
Planning when to plant your seeds is a key part of seed starting. The best bet is to use a planting calendar to record the details for each type of seed. Most seed packets will provide a planting date estimate from the last spring frost.
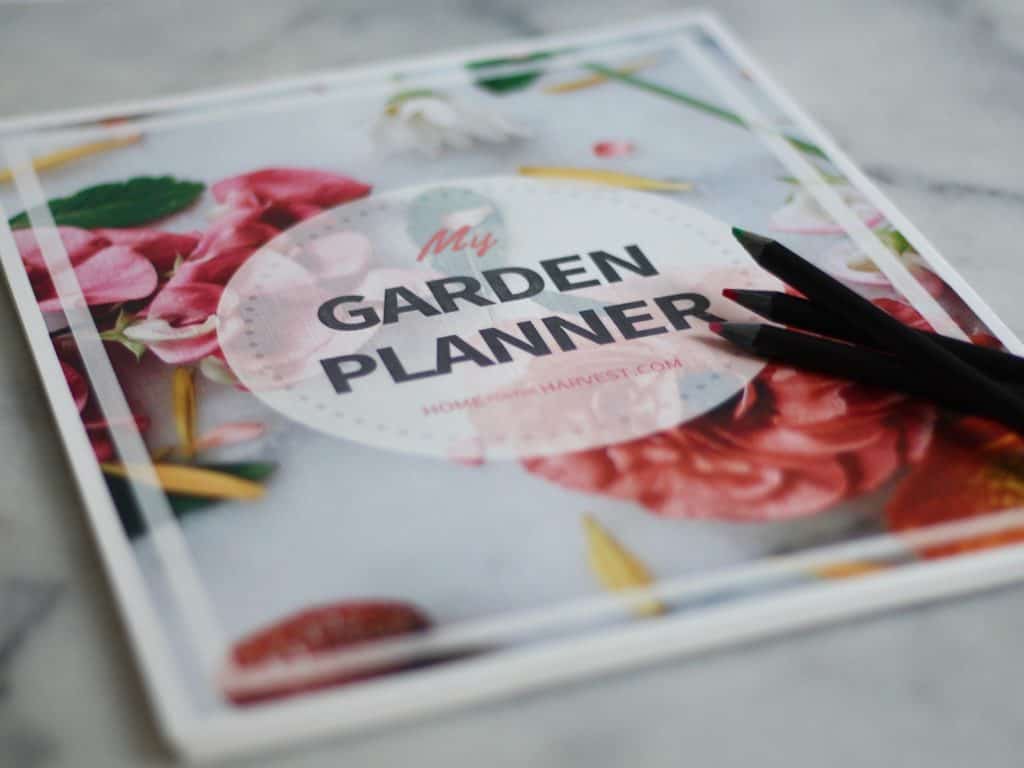
Once you have your dates for each type of seed, record the dates in a planting calendar. The free garden planner I put together has a scheduling table to record the dates for all your seeds together in one place. This will help you keep track of when to start your seeds indoors, when to plant the seedlings outside, and when to harvest the seedlings (plus you’ll have a record to refer to next year).
When it does come to be time to transplant your seedlings outdoors, don’t rely fully on the historic last frost date in your growing zone. It’s just an average, and the weather can vary from year to year. Instead, take the time to observe the weather and check the forecast before taking your seedlings outside. If in doubt, wait a week or two. Most gardeners tend to “rush the season” rather than wait too long.
It’s possible that some people you know will be seed-starting their entire vegetable garden the week after Christmas. Don’t fall for this over-exuberance. Maybe these people are optimistic about spring, or maybe they have massive greenhouses to house these gigantic plants, or maybe they have designs on entering the giant pumpkin contest at the local fall fair this year. Whatever it is, just realize that it’s best to wait until the time on the packet rather than rushing the season.
Grow a flat of microgreens to tide you over if you’re really getting antsy. Also, keep in mind that it’s better to keep your seedlings indoors for an extra week (and the lower risk of frost) than it is to be forced to put them outside early because they are huge and unruly. Just relax and follow the timing instructions on your seed packets.
Organization: Keeping seed starting enjoyable
In terms of supplies, it is very important that all supplies are clean and sterile prior to growing seedlings. Trays and inserts should be free of debris and sterilized to ensure that no pathogens are introduced to your seeds as they grow. There is no sense in paying for a sterile soil-free mix if it is going into dirty trays. You’ll also want to make sure you have enough trays for all your seeds (use the table in the free garden planner to calculate and record the right number of plants for each variety you’ll be growing).
Labeling everything at every step of the seed-starting process is also very important. The seeds should go into labeled inserts as soon as they come out of the package. It’s amazing how easy it is to lose track of how many seeds have been planted or which seeds are what. Get your labels ready before you plant your seeds to avoid this confusion. Using a pen that won’t bleed if the ink gets wet is also best. Even if your labels don’t get wet in planting, they may get wet as you mist or water the trays.


