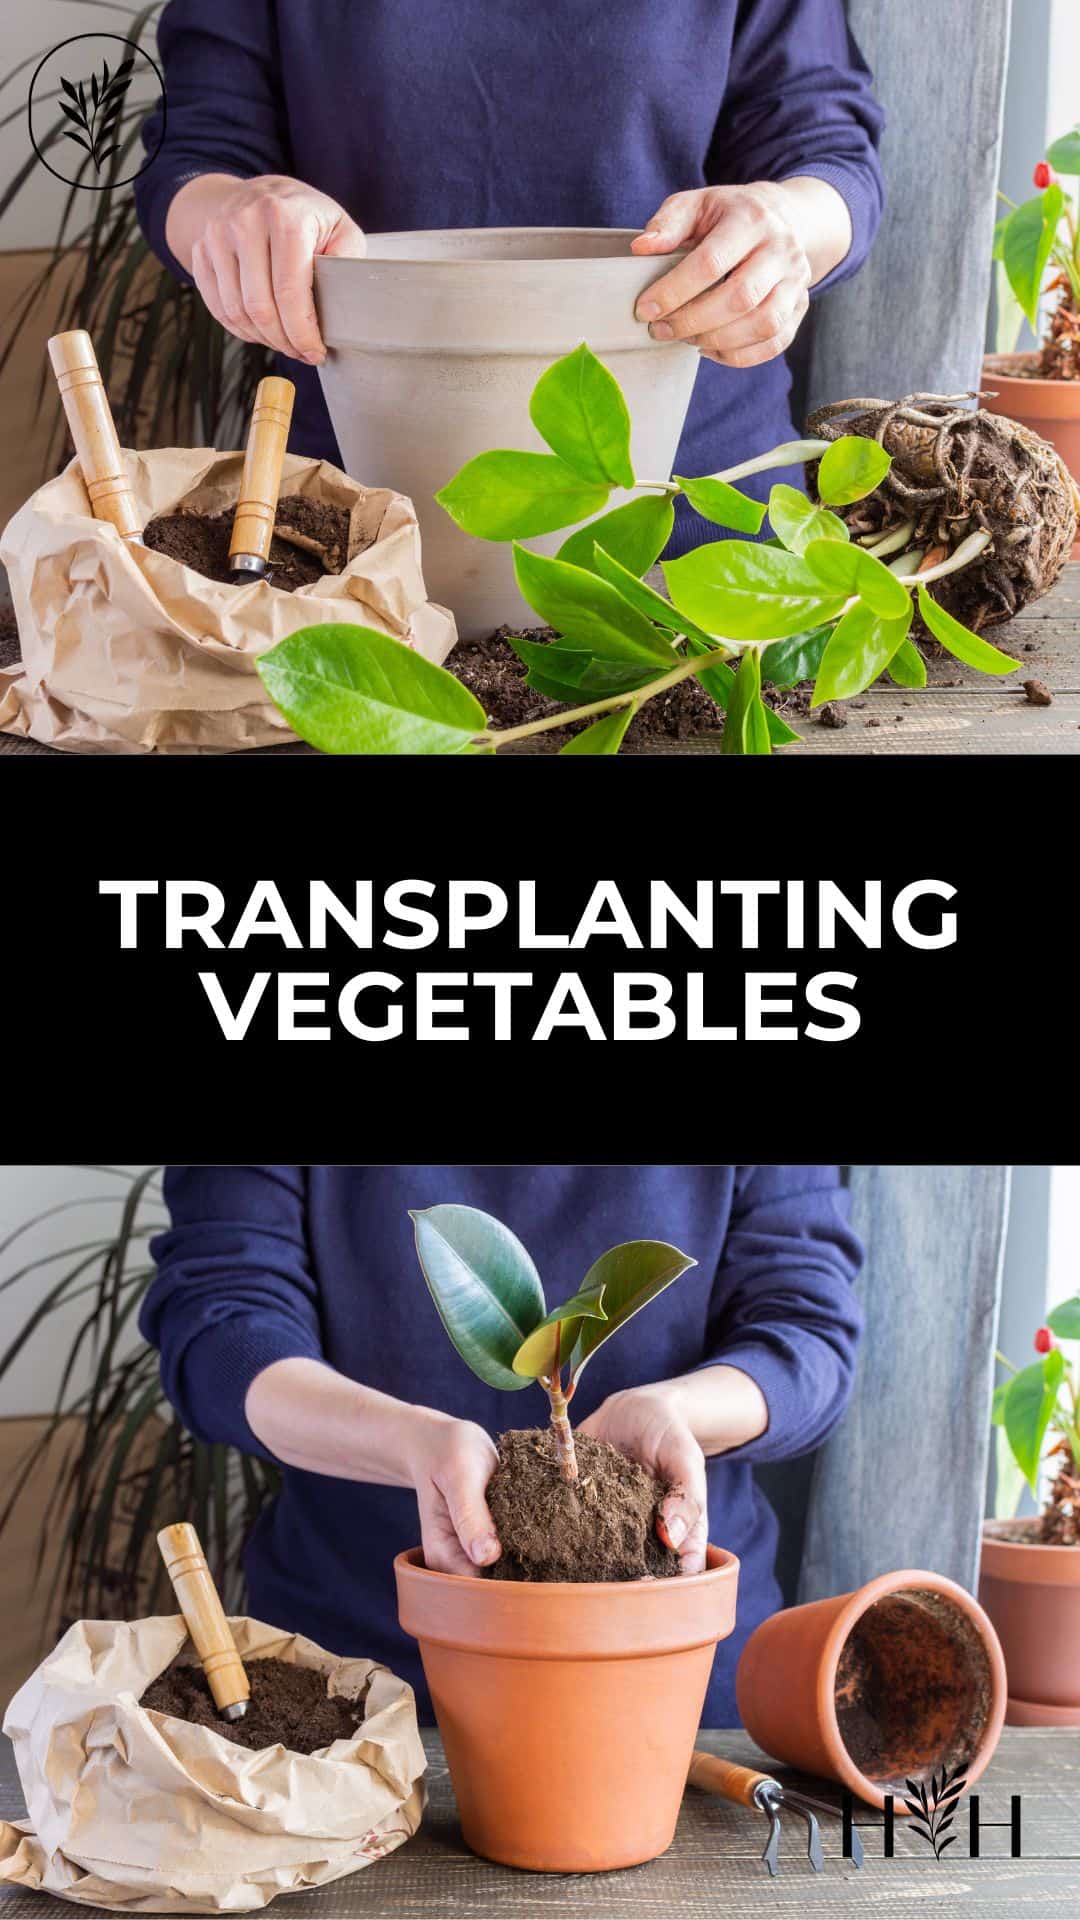
Transplanting vegetables is an exciting way to diversify the types of produce in your garden and make sure it thrives. From choosing the right varieties, preparing the soil, timing planting correctly and troubleshooting any issues that arise along the way – transplanting can be daunting but with our step-by-step guide we’ll help you get through it. Whether this is your first time trying out transplanting vegetables or if you are an experienced gardener looking for some new tips – join us as we explore how best to successfully add transplants into your garden.
Introduction to transplanting vegetables
Transplanting vegetables is the process of moving seedling plants out of their little nursery pots and planting them out into your outdoor garden. The key to successful transplanting is knowing when, where and how much work should go into preparing the soil.
Vegetable plants that are grown indoors are usually planted out into the garden once they are 4″-6″ tall but have not yet flowered. The seedlings may grow indoors for a few weeks before entering a transitional “hardening off” period of about two weeks. Once the seedlings have been hardened off and are tough enough for outdoors – and the outdoor weather is warm enough for them to grow – then they can be trasnplanted.
Preparing outdoor garden soil before transplanting
Preparing the soil for transplanting vegetables is an important step in successful gardening. It’s essential to provide your plants with a healthy environment that will promote their growth and ensure a bountiful harvest.
Start by pulling weeds and removing any dead plant debris. Break up any compacted soil, allowing air and water to penetrate more easily into the root zone of your plants. Also remove any rocks or debris from the area you plan on planting in.
Adding compost can help improve drainage, add nutrients, and increase organic matter content in your soil. Compost also helps retain moisture so it’s especially beneficial if you live in an arid climate where rainfall may be scarce during certain times of year. Spread 2-3 inches of compost over the area you plan on planting before tilling it into the top 6-8 inches of soil with a rake or hoe.
Fertilizer should also be added when preparing your garden bed for transplanting vegetables, as it provides additional nutrients needed by plants to promote strong and healthy root systems capable of producing abundant yields throughout their growing season. It is important to follow the instructions on the fertilizer package carefully; too much can cause damage to tender young seedlings while insufficient amounts may not provide enough nutrition for optimal growth rates once they are established outdoors after being transplanted from indoors or purchased at nurseries/garden centers already started in pots/containers.
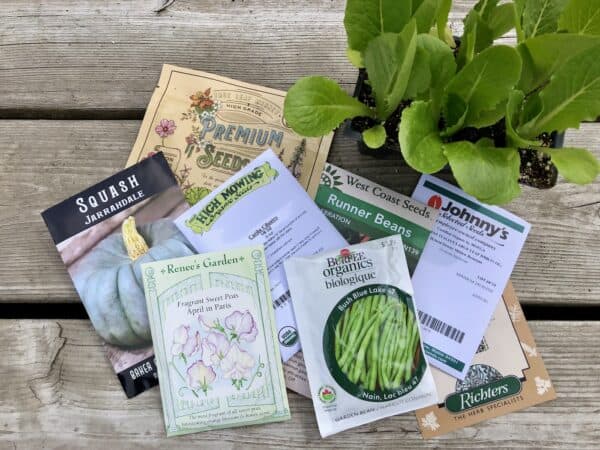
Once the soil is ready, it’s time to choose the vegetables that will be transplanted into the garden bed – each one with its own unique needs and requirements.
Choosing vegetables to transplant
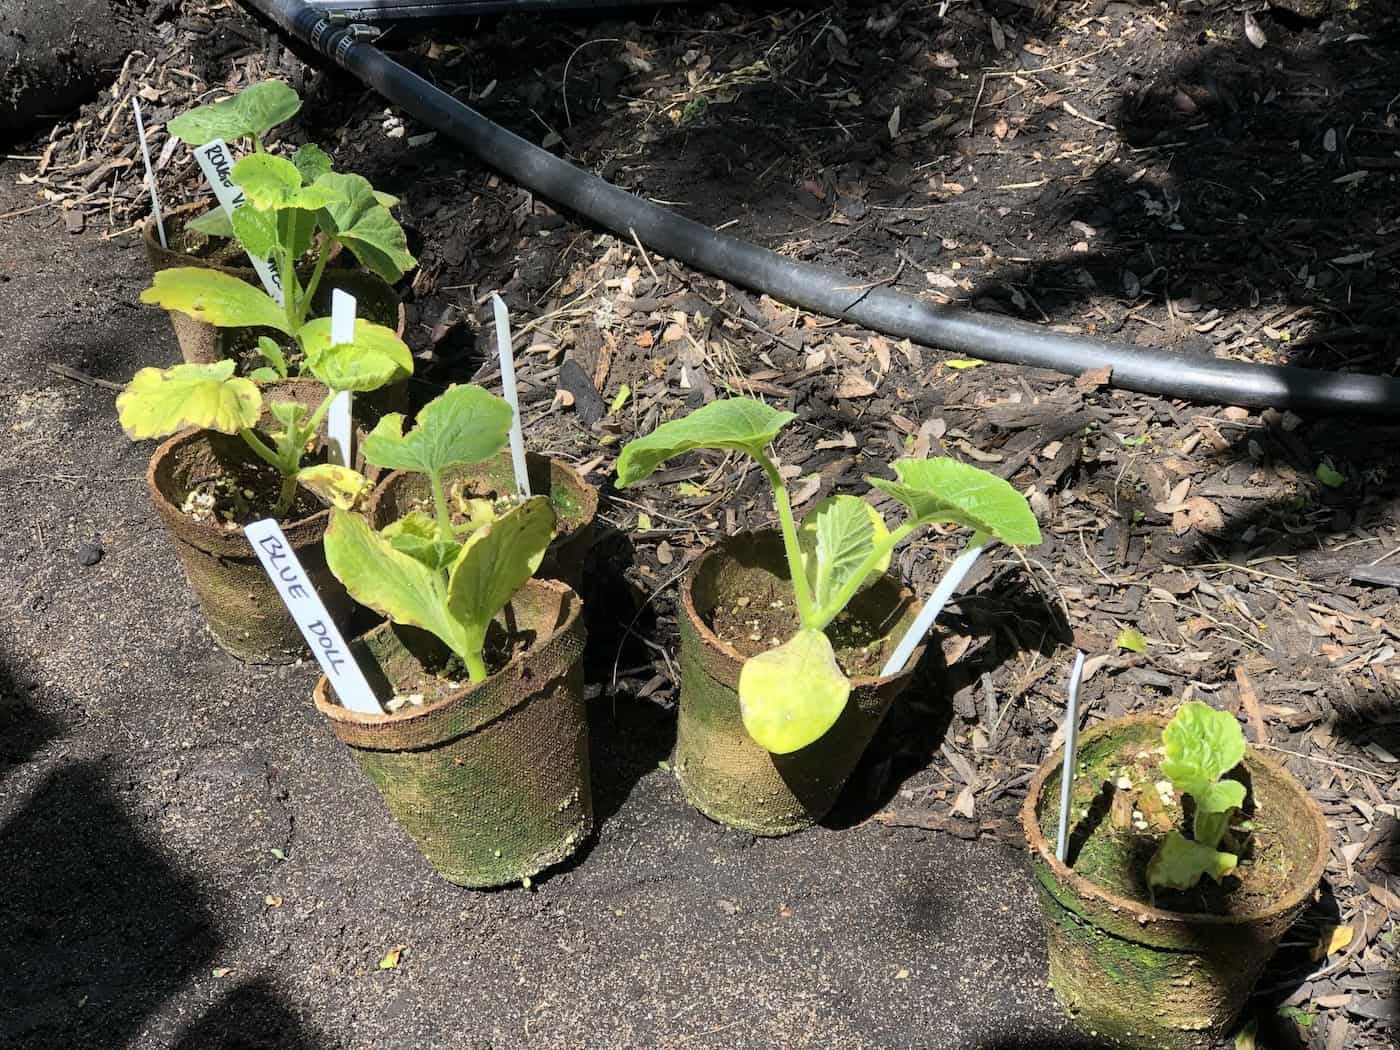
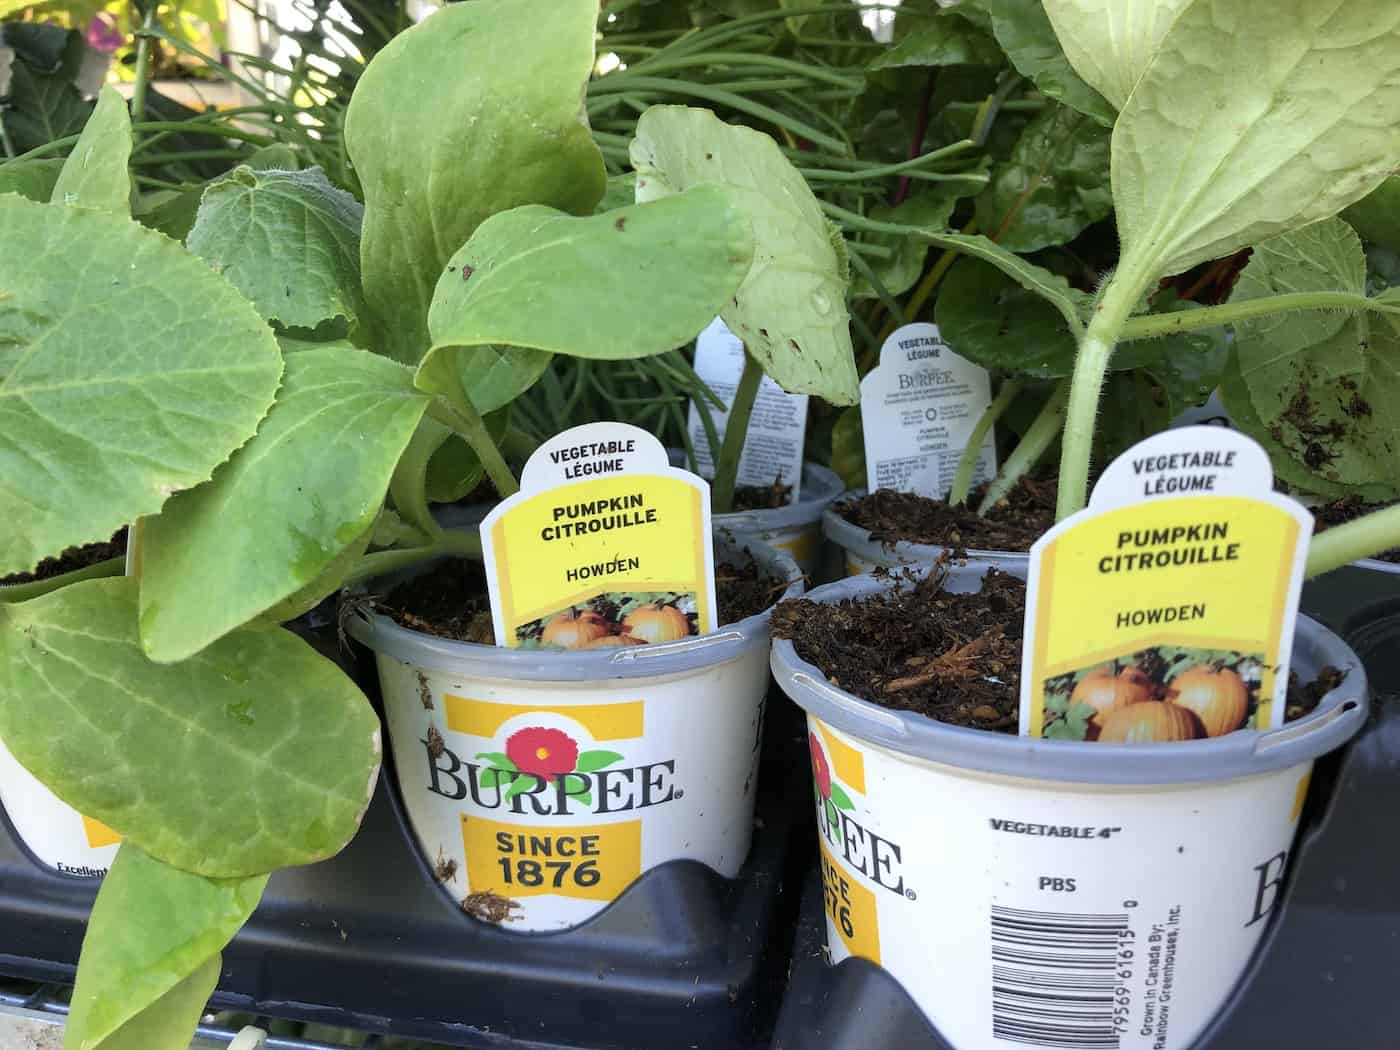
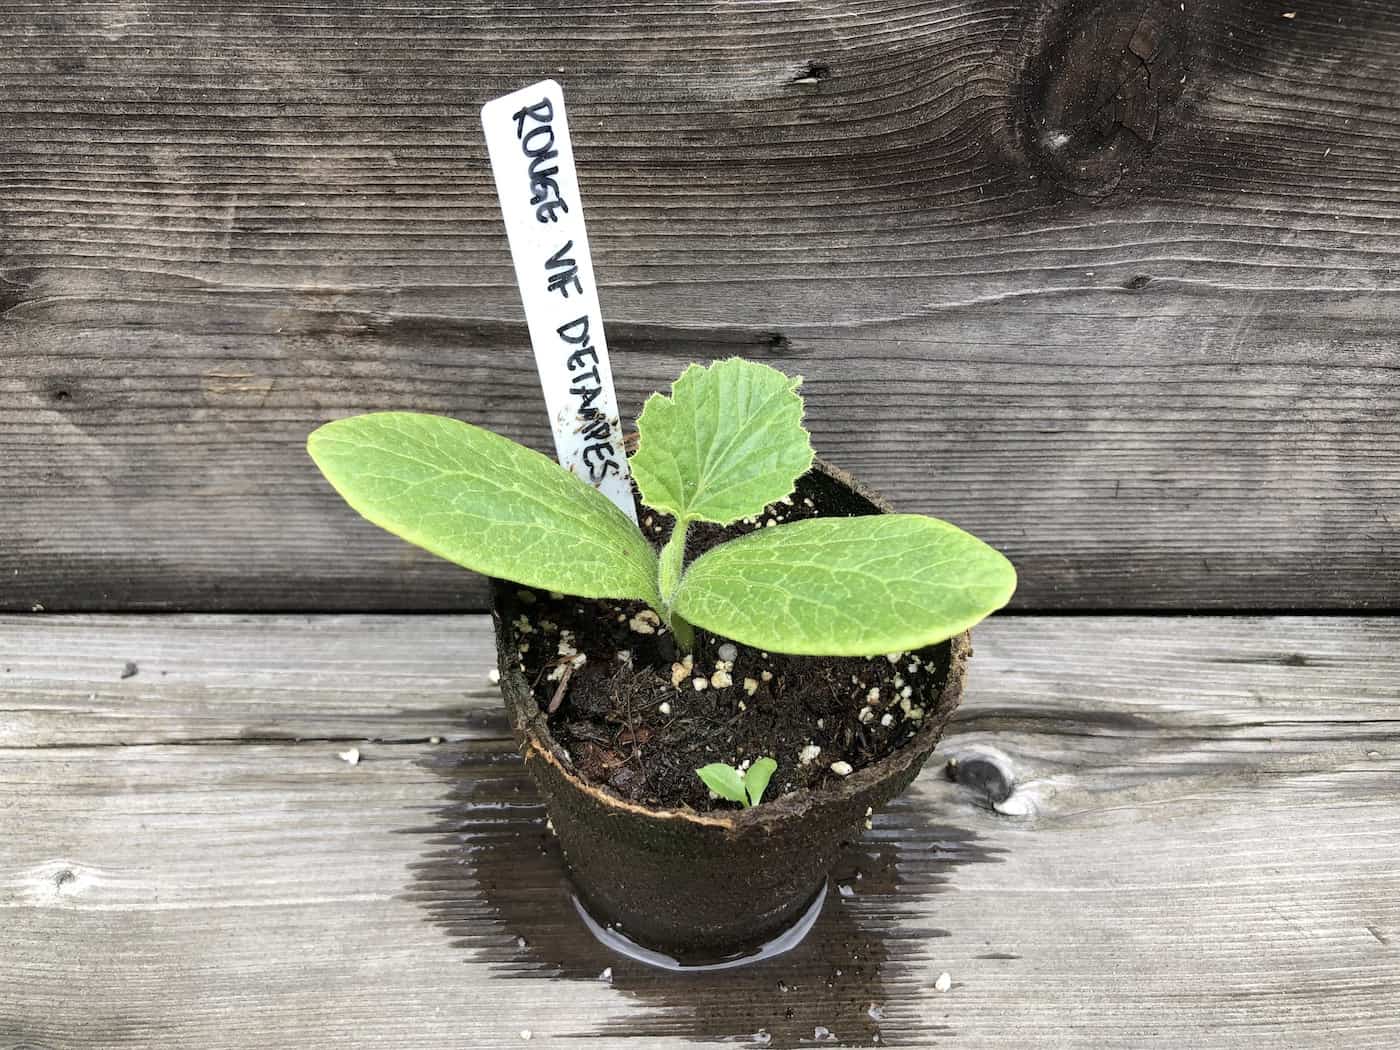
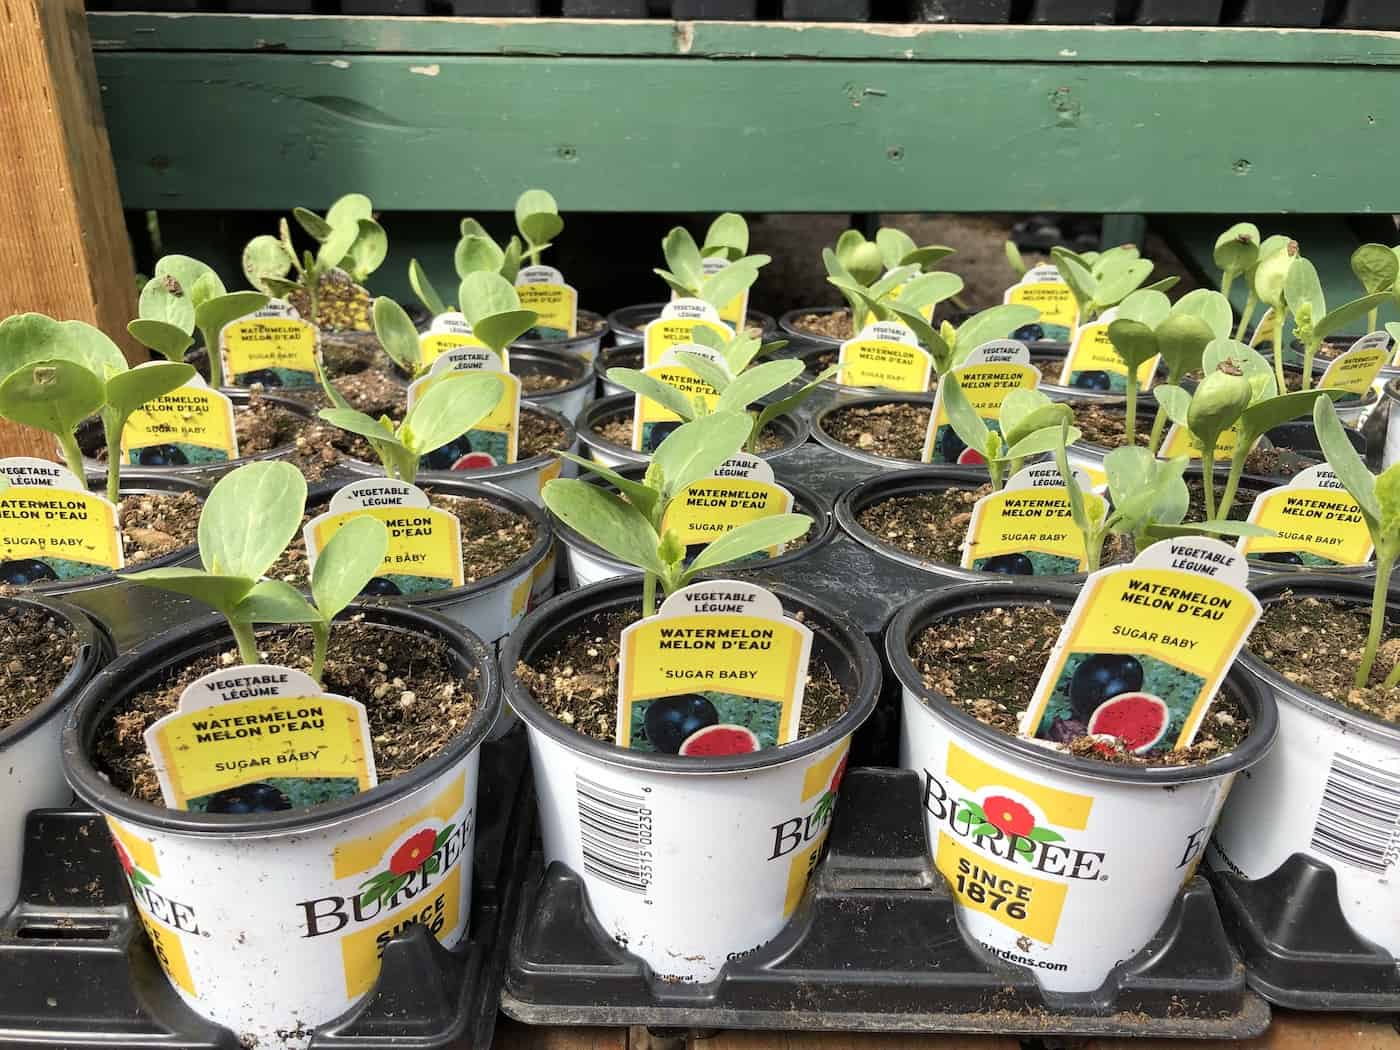
When it comes to transplanting vegetables, there are certain types that work best. Root crops such as carrots don’t do well when transplanted, so they should be sown directly into the garden. Other vegetables that do best when seeded straight into the garden include peas, beans, squash, cucumbers, pumpkins, and melons.
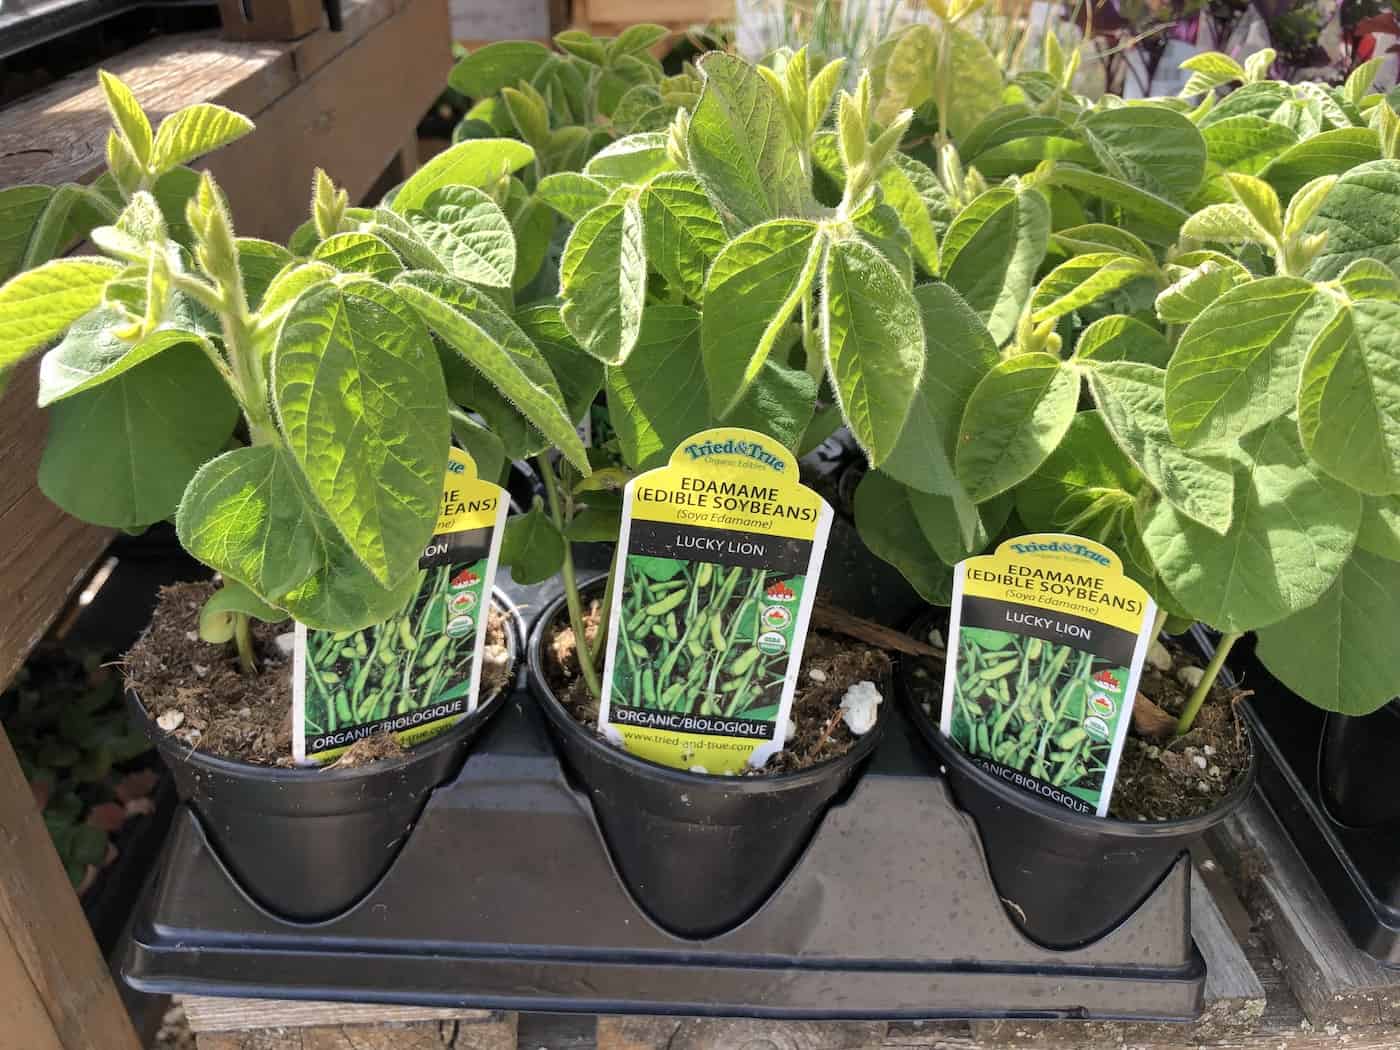
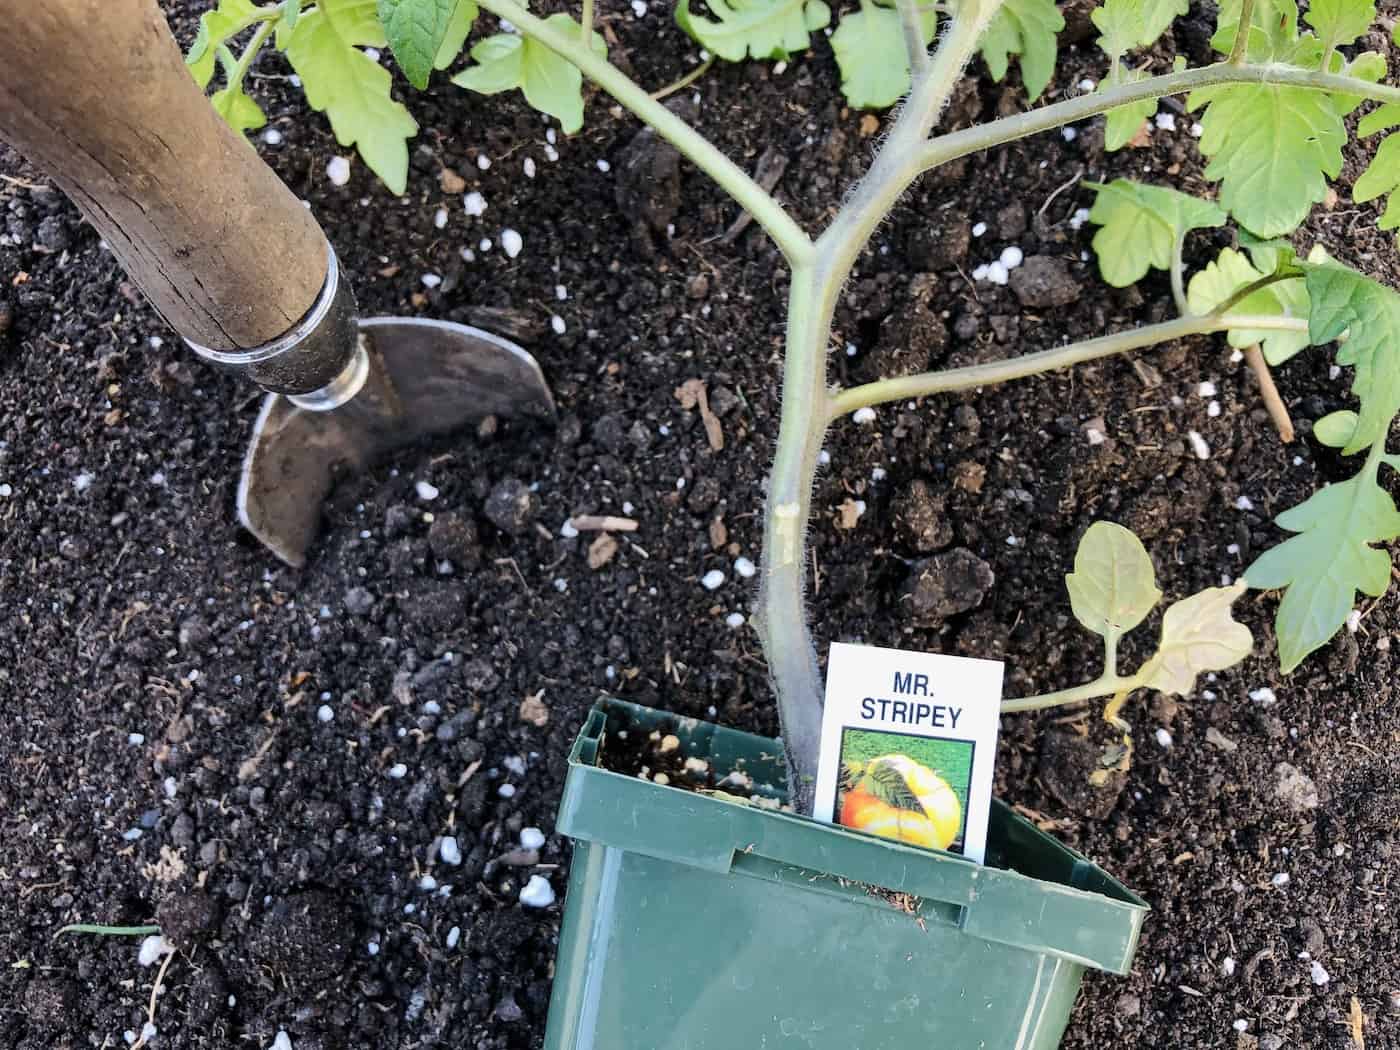
Tomatoes are a popular vegetable for transplanting because they require more time to mature than other vegetables and need warmer temperatures before being planted outdoors. They’re also pretty easy to transplant. Peppers also benefit from an early start indoors.
Other vegetables that do well with transplanting include eggplants, broccoli and cauliflower. Eggplants have long growing seasons so starting them indoors gives them a head start on producing fruit later in the season. Broccoli and cauliflower prefer cooler weather but the timing sometimes works out better if the weather tends to get hot quickly where you live (and cauliflower family plants are generally quite easy to transplant).
Planting timing considerations for veggie crops
When it comes to planting vegetables, timing is key. Knowing when to transplant your vegetables can make all the difference in how successful your garden will be. Generally speaking, the best time for transplanting varies depending on where you live and what type of vegetable you are growing.
In most parts of North America, early spring is a great time to start planting cold-weather crops such as broccoli, cauliflower, cabbage, and kale. These plants prefer cooler temperatures and do well with a bit of frost or snow still lingering in the air. Plant these veggies about four weeks before the last expected frost date in your area so they have plenty of time to establish themselves before the summer heat arrives.
Warm-weather crops like tomatoes, peppers, and squash should be planted after all danger of frost has passed—usually around late May or early June—so that they can take advantage of longer days and warmer temperatures during their growing season. It’s important not to rush things here; wait until nighttime temperatures remain consistently above 50 degrees Fahrenheit before putting these plants into the ground or containers outdoors.
If you’re opting for seedlings instead of seeds (which is often more convenient), keep an eye out for sales at local nurseries or garden centers near you; many offer discounts on transplants during certain times throughout springtime. However, if you purchase these plants as opposed to starting from scratch with seeds indoors first, it is essential that they are hardened off gradually by exposing them more each day over a period of about 2 weeks before planting outside so they do not suffer shock from going directly into full sun exposure too quickly after being kept inside under artificial light sources up until then.
Once you’ve determined the right timing for planting your vegetables, it’s time to start preparing for the transplanting process. Follow these next steps to ensure successful transplantation of your vegetables.
How to transplant vegetable seedlings
Transplanting vegetables is a great way to get your garden started. It’s important to know the steps involved in transplanting so that you can ensure success and enjoy a bountiful harvest.
First, it’s important to choose the right spot for your transplants. Look for an area with plenty of sunlight and good drainage. If possible, use soil amendments such as compost or manure to improve the quality of the soil before planting. Also make sure to clear out any weeds and other plant debris, and give the surface a nice flat rake before you plant.
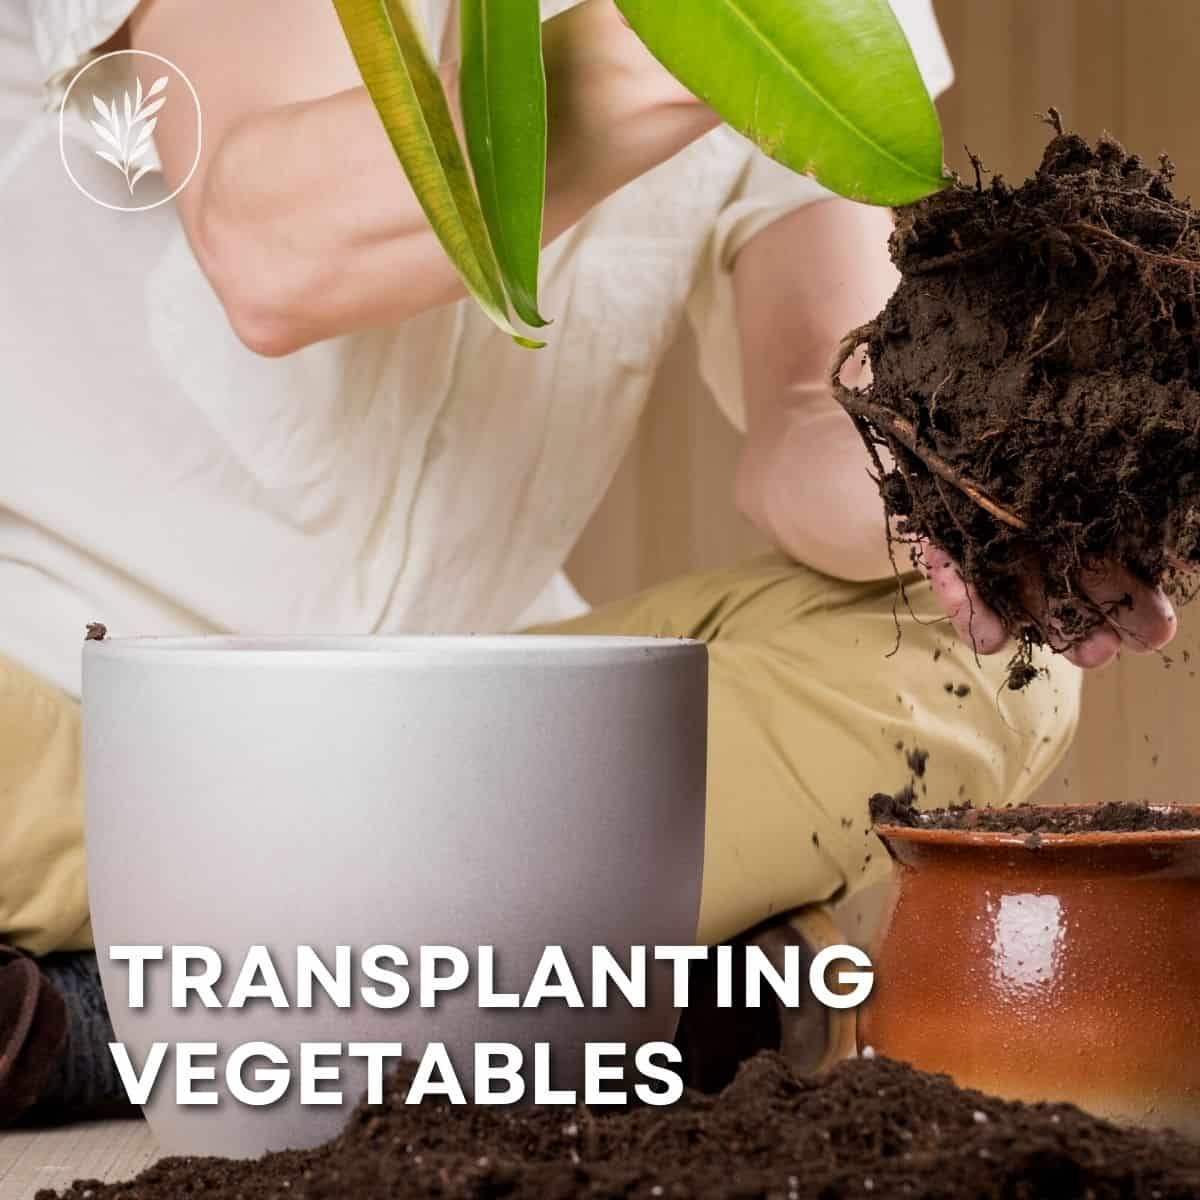
Once you have chosen your spot, dig a hole that is slightly larger than the root ball of your plant. Gently remove any weeds from around the hole and add some organic matter like compost or aged manure into it before placing your plant inside.
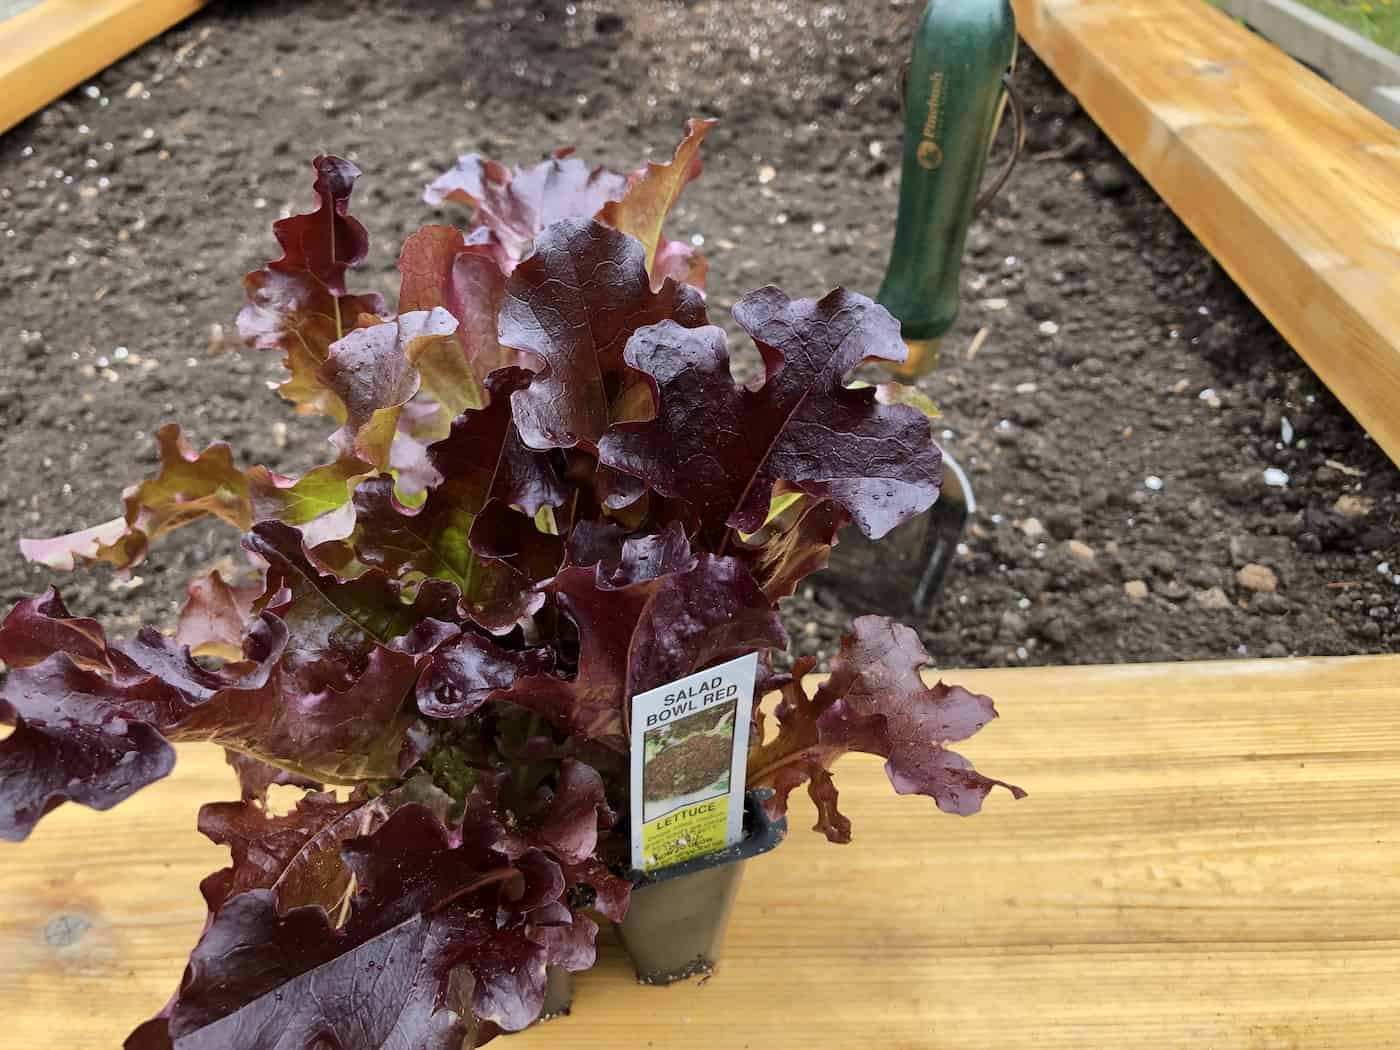
Make sure that all roots are pointing downward (or at least contained within the hole) when placing them in their new home. Most veggie transplants should be planted so that the soil in the pot is at the same level as the soil around the hole. The only exception is tomatoes, which are usually planted with about 6″ of stem beneath the soil (you remove the leaves from that portion).
After planting, water thoroughly until there is no standing water left on top of the soil surface – this will help settle any air pockets around the roots which could cause problems later on down the line if not taken care of now. Finally, mulch around each transplant with straw or wood chips to help retain moisture and keep weeds at bay while they become established in their new environment.
It’s also important to monitor plants after transplanting for signs of stress such as wilting leaves or yellowed foliage; these may indicate too much sun exposure or insufficient watering respectively. If either occurs, take action immediately by providing shade if needed (e.g., using burlap) or adding more water depending on what issue has been identified as causing stress in order to avoid further damage being done over time due to lack of proper care post-transplantation period.
Finally, be sure not to fertilize newly planted transplants until they have had several weeks time settling into their new environment. Otherwise, you risk burning delicate young roots with too much nitrogen content present within fertilizer formulas available commercially today. Enjoy watching your plants grow and thrive once they have been given adequate time to adjust properly before harvesting delicious fruits and veggies from them come harvest season.
Now that you have successfully transplanted your vegetables, it is time to focus on providing the best care for them in order to ensure their growth and health.
Caring for transplants
Caring for transplanted vegetables can be a challenge, but with the right tips and tricks, you can ensure your plants thrive. Here are some of the best practices for caring for transplants:
Mulching
Mulch is an essential part of caring for transplanted vegetables. It helps retain moisture in the soil, keeps weeds away from your plants, and provides additional nutrients to help them grow strong and healthy. Spread a layer of mulch around each plant after transplanting to give it the best chance at success.
Watering
Water is essential to any successful garden, but especially so when it comes to newly planted vegetables. Make sure that you water regularly (but not too much) until they become established in their new home; then adjust as needed depending on weather conditions or other factors like how deep you’ve planted them into the soil.
Weeding
Weeds compete with your vegetable plants for resources such as sunlight, water, and nutrients – so make sure you keep them away. Regularly check your garden beds for weeds and pull them out by hand or use an appropriate herbicide if necessary.
Fertilizing
Fertilizing is a key part of caring for transplanted vegetables, as it provides them with additional nutrients to help them get off to a strong start. To ensure that the beneficial elements are released slowly over time and not all at once, use an organic fertilizer specifically designed for vegetable gardens according to package instructions. This will prevent any potential damage or even death of young seedlings before they have had the chance to establish themselves in their new environment.
With the right care, transplants can thrive and give you a bountiful harvest. To ensure success, it’s important to be aware of potential problems that may arise. Let’s look at some troubleshooting tips in the next section.
Troubleshooting tips
Wilting or yellow leaves are common problems when it comes to transplanted vegetables. The cause of these issues can vary, but the solution is often simple.
Watering
If your plants are wilting, they may not be getting enough water. Make sure you’re watering them regularly and deeply so that the soil stays moist but not soggy. You can also use mulch around your plants to help retain moisture in the soil and reduce evaporation from heat or windy conditions.
Sun exposure
Too much sun exposure can also lead to wilted or yellow leaves on transplanted vegetables. If this is an issue for your garden, try providing some shade with a tarp or umbrella during peak hours of sunlight each day. You could also plant taller crops near shorter ones to provide natural shade for more delicate varieties like lettuce and spinach.
Pests
Pests such as aphids, caterpillars, slugs, and snails can all damage transplanted vegetables by eating their leaves or stems which will result in wilting or yellowed foliage. To get rid of pests organically you should remove any affected parts of the plant immediately and dispose of them away from your garden area if possible; then spray with a mixture of soap and water every few days until the problem subsides completely (make sure you cover both sides of each leaf). For more stubborn infestations you may need to use an insecticide specifically designed for vegetable gardens – just make sure it’s safe for edible crops before applying.
If you have followed the troubleshooting tips and still find yourself struggling, don’t give up. With a little bit of patience and determination, your efforts will soon pay off when it’s time to enjoy your harvest.
FAQs about transplanting vegetables
What vegetables should not be transplanted?
Transplanting certain vegetables can be tricky and should generally be avoided. Root crops such as carrots, radishes, onions, garlic, and potatoes are difficult to transplant successfully because their root systems don’t take kindly to disturbance. Additionally, some plants with large taproots such as parsnips or turnips may suffer from shock if moved after they have begun growing in a particular spot. Lastly, some vines like melons, cucumbers, pumpkins, and squash can suffer transplant shock and are usually direct seeded if the season allows.
Before you go…
Transplanting vegetables can be a rewarding experience for any gardener. With the right preparation, timing, and care, you can enjoy a successful harvest of fresh produce from your own garden. Transplanting vegetables is not as difficult as it may seem; with some patience and attention to detail, you will soon have healthy plants that are ready to provide delicious fruits and veggies.
Resources
- The best garden catalogs for seeds, live plants, tools, and supplies
- Types of seeds: Open-pollinated, heirloom, organic, hybrid, & non-GMO
- Best seeds for winter sowing
- Winter sowing guide for planting seeds outdoors in cold climates
References
- 7 Tips for Transplanting Seedlings into the Garden
- Hartman, B. (2017). The Lean Farm Guide to Growing Vegetables: More In-Depth Lean Techniques for Efficient Organic Production. Chelsea Green Publishing.
- Welbaum, G. E. (2015). Vegetable Production and Practices (p. 38). CABI.
Need more info?
Are you interested in learning more about transplanting vegetables? Here are our best articles about it!