Wondering how to use a soaker hose? While it can seem intimidating at first, it’s usually a straightforward process once you get going.
To use a soaker hose, unroll it near the base of your plants, ensuring it’s free from kinks/twists. Connect it to your regular garden hose or faucet and turn on the water at a low to moderate pressure, allowing the hose to seep irrigation water directly into the soil. Typically, a watering duration of 30 minutes to an hour is recommended, but it’s essential to check the soil’s moisture level and adjust your timing accordingly.
Let’s look at the details of how to use a soaker hose!
How to use a soaker hose
Start by unrolling the soaker hose and laying it out in your garden. Position it so that it runs close to the base of your plants, ideally within a few inches. This ensures that the water seeps directly into the roots. Make sure the hose is laid out flat and doesn’t have any kinks or twists. These can prevent water from flowing evenly through the hose.
Attach the soaker hose to your regular garden hose or directly to an outdoor faucet. If you’re using multiple short soaker hoses, you can connect them end-to-end or use a hose splitter to water multiple areas simultaneously.
Turn on the water supply. Check for leaks at the hose connections. Start with low to moderate water pressure to ensure that water is seeping out along the length of the soaker hose. High water pressure might cause the hose to spray rather than seep (which can damage the hose).
Let the soaker hose run for a while. The amount of time will depend on how dry your soil is and the specific needs of your plants. Generally, 30 minutes to an hour is a good starting point, but you’ll want to adjust based on your observations.
After using the soaker hose, check the soil a few inches down near your plants to ensure it’s adequately moist. Adjust your watering time as needed based on your findings (shorter and less often if the soil is quite moist, longer and more frequently if the soil is still dry).
When not in use, especially during winter or in areas where it might get damaged, coil your soaker hose. Store it in a dry place.
Tips for success with soaker hoses in the garden
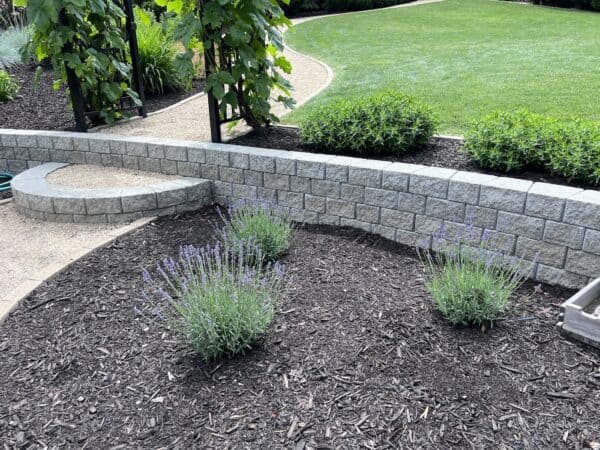
For a neater appearance and more direct watering, you can bury the soaker hose under a thin layer of organic mulch, such as composted yard trimmings. This also helps to prevent water from evaporating too quickly.
For consistent watering, consider attaching a timer to your outdoor faucet. This allows you to set specific times for watering, which can be especially helpful during hotter months or when you’re away from home.
Every once in a while, check your soaker hose for clogs. If water isn’t seeping out evenly, you might have a clog. You can usually clear it by back-flushing the hose (running water through it backward).
Remember, while soaker hoses are a great way to efficiently water your plants, it’s still crucial to monitor the moisture levels in the soil to ensure you’re not overwatering or underwatering your plants.
Choosing a different soaker hose
The main factors to consider are the length, diameter, material, rate of water delivery, and what kind of fittings will be required to create your ideal configuration.
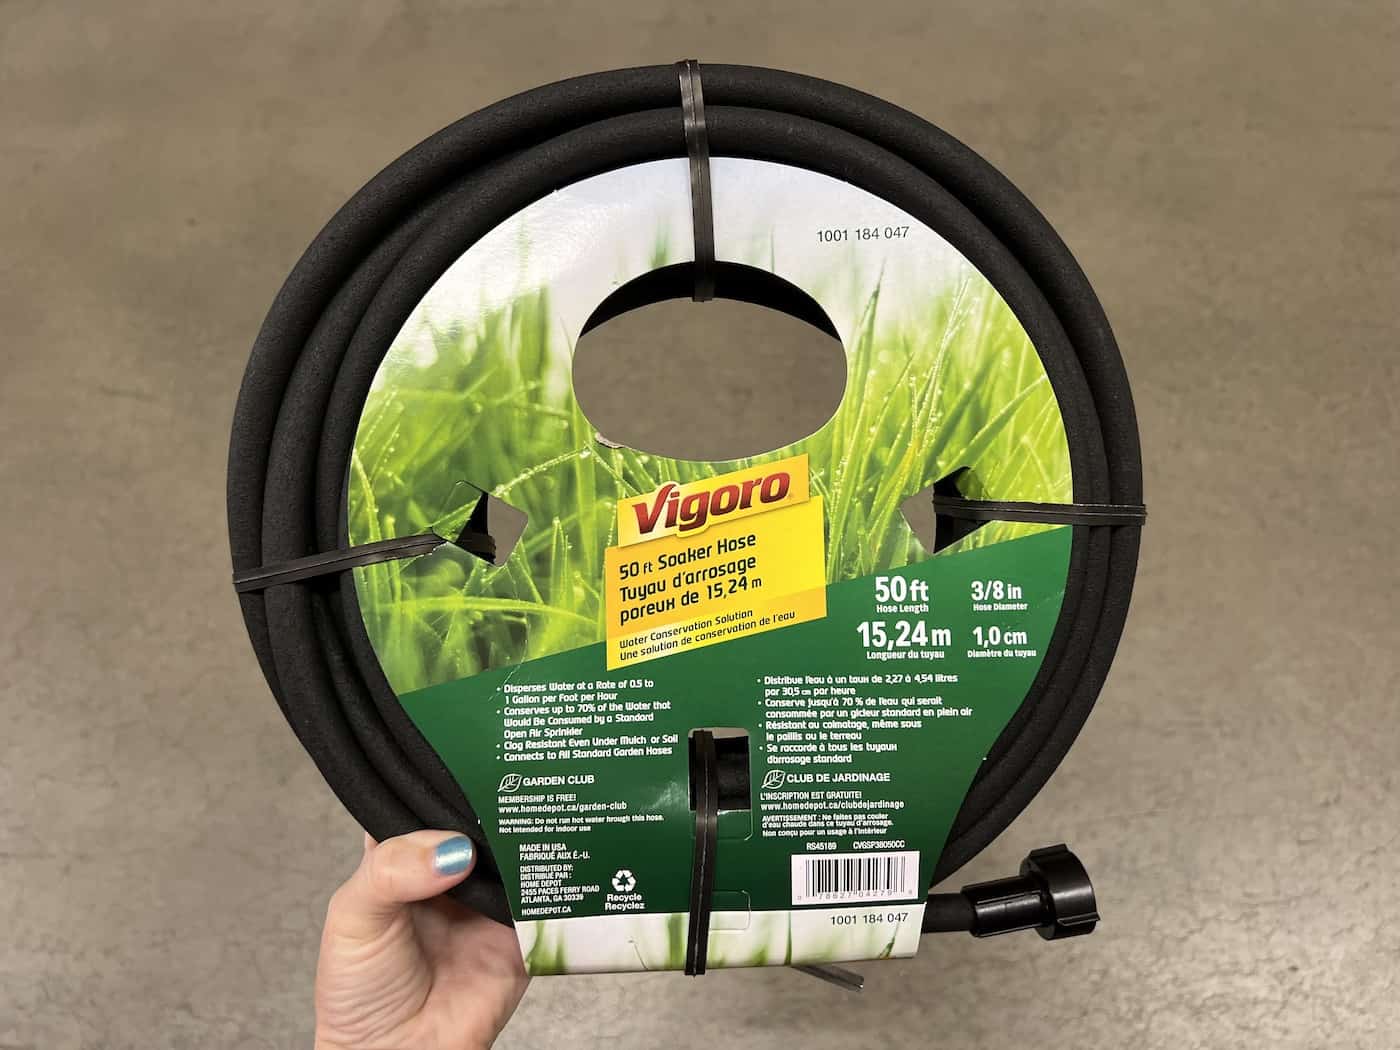
When considering length, start by measuring the area of the garden you’ll be irrigating. The most common length for a soaker hose is 50 feet, but there are also 25-foot and 100-foot hoses available.
Most soaker hoses will also list their diameter on the package. Typically this is the inner diameter (ID), as this measurement corresponds to water flow. Common dimensions are 3/8”, 1/2”, 5/8”, and 3/4”.
The diameter of the soaker hose affects the amount of water it delivers and how quickly it does so. Generally, wider hoses with a larger inner diameter deliver more water and do so more quickly, but they may also be heavier and more difficult to move around. That said, a heavy hose weight may indicate that the hose is quite durable, whereas lightweight hoses may need to be handled more carefully.
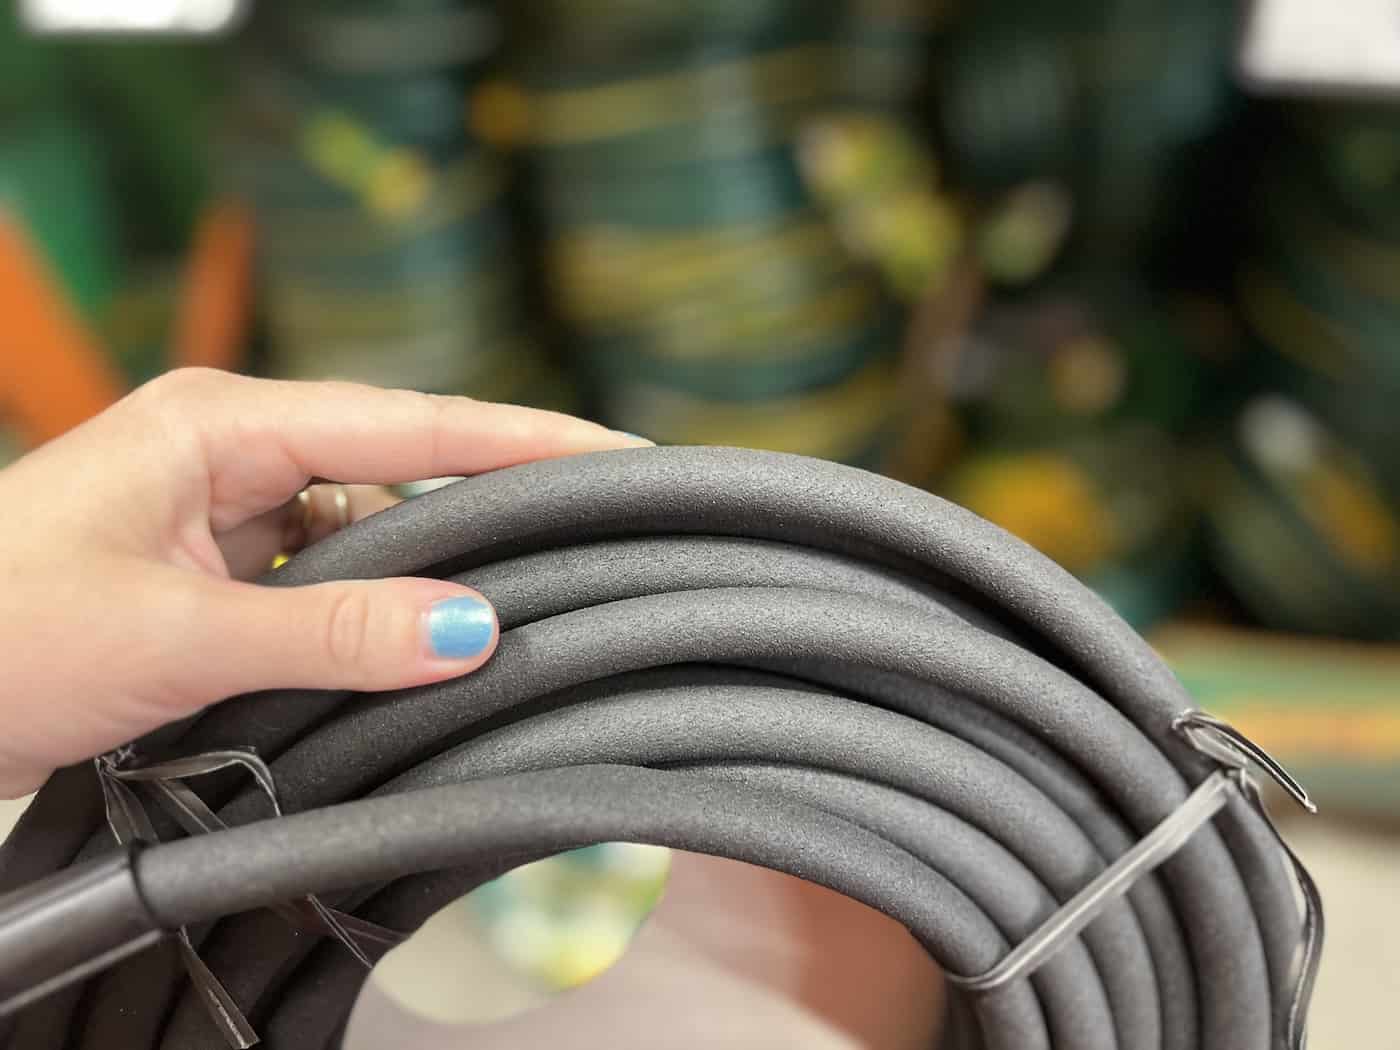
Soaker hoses can be made from a variety of different materials, including polyurethane, vinyl, and even recycled tires. Some hoses made from rubber or recycled materials can rub off a residue onto your hands when you handle them. And there is always the concern of leaching chemicals from the hose material into your irrigation water. I generally look for soaker hoses made of a non-leaching poly material that’s lead and BPA-free.
The amount of water that seeps out of the hose will depend on the porosity of the material. Look for a hose with even and consistent porosity along its entire length to ensure all plants receive the same amount of water.
The burst pressure of the soaker hose is the maximum amount of pressure it can withstand before it ruptures. There is a wide range of water pressures for residential outdoor spigots.
Some homes may have a low pressure of under 30 psi, while a moderate pressure of 60 psi is common and a high pressure of 100+ psi indicates a high water pressure. A plumber can measure the water pressure of your outdoor faucets for you. Homes with high-pressure water systems generally use a pressure-reducing valve (pressure regulator) to bring down the water pressure to a level the hose can withstand.
The flow rate of a soaker hose depends on the length and inner diameter of the hose, the pressure of the water supply, and the rate of the faucet. Using a low-pressure system of 5-25 psi, the flow rate will be low and slow, but the water will be delivered uniformly in a characteristic “weeping” manner. A high-pressure system at 50-75 psi will deliver more gallons per minute to your garden, but the hose may spray.
How long should you leave a soaker hose on?
The length of time that a soaker hose should be left on will depend not only on the characteristics of the hose and the water supply system but also on the existing moisture level of the soil, the water needs of the plants, the climate, and the soil type. Because there are so many factors that impact the flow rate and resulting soil moisture, the best way to determine how long to leave a soaker hose on is to do a simple test when you first get the hose.
Start by unpacking your new soaker hose and lay it out as flat as possible in the sun so it can soften up, making it easier to work with. While it lays in the sun, take a shovel over to the garden and dig a few small holes, about 6-8 inches deep. Take a look at the soil in the hole. Is it quite damp, or is it dry and crumbly? Is it granular like beach sand or fine and smooth like clay? Just try to get a feel for what the soil looks and feels like before you irrigate.
Pull back any organic mulch so that the hose is lying on the soil surface. Run your hose out over the garden area and connect it to the water source. Turn on the tap and walk the length of the hose, watching to see that water is seeping evenly out of the entire length of the soaker hose.
Set your timer for an hour and let the hose run during this time. After an hour, turn the hose off and go dig a few more little test pits with your shovel. Try to find the depth that the water from the hose has reached. In very sandy soil with a higher-pressure system, the entire 6-8 inches of depth may be freshly moistened. But in clay soil with low water pressure and flow rate, only the top inch or two may be wet.
Continue watering until the top 6-8 inches of soil receives water from the soaker hose. Take note of how many minutes/hours were necessary, given your conditions. This will be a good starting point when deciding how long to leave the hose on.
In general, most established plants do best when the soil is allowed to dry out a little bit between waterings. When the weather is mild, you may only have to run the hose once a week, whereas, in hot and dry weather, your frequency will likely have to be increased to every 2 or 3 days, depending on conditions.



Soaker hoses are very useful for those with a green thumb. Thank you for sharing all of your insight!