To start a garden, you’ll need a good plan, some high-quality seeds/plants, and a good understanding of how to care for your garden. This guide will teach you exactly how to start a garden so that you can enjoy the whole process.
Starting your first garden is a wonderful way to learn about how plants grow, connect with nature, understand your food supply, and cultivate a daily practice of mindfulness. There’s also nothing like fresh veggies or gorgeous flowers straight from the garden!
How to start a garden
There are 4 phases to the gardening season. We’ll go through each phase in detail so you’re clear on what’s important during each phase.
Phases of starting a garden
- Phase 1: Planning the Garden
- Phase 2: Planting Seeds and Seedlings
- Phase 3: Care and Maintenance
- Phase 4: Harvest
If you follow the steps in each of the four phases, your garden will be much more successful than just throwing a few seeds in the ground and seeing what happens (although that can be fun, too!). Take the time to work through each phase, and you’ll be rewarded with a thriving organic garden that fits your needs.
Phase 1: Planning the garden
The first phase of learning how to start a garden is the garden planning phase. This phase is incredibly important, yet it is often the most overlooked by new gardeners. A garden is like many DIY or home improvement projects…you’ll have the most success by creating a solid plan before you start. Planning doesn’t take very long at all, and it’s easy! Don’t skip this phase if you truly do want to learn how to start a garden.
There are 8 steps to planning your garden:
- Set Your Garden Goals
- Find Your Garden Mentor
- Discover Your Growing Zone
- Pick Your Type of Garden
- Choose Crops You’ll Love
- Determine the Right Number of Plants
- Draw Your Garden Layout Map
- Create Your Garden Schedule
These eight steps are key to getting a good start with your new garden. Once you’ve gone through this process, you’ll be well on your way to learning how to garden because you’ll have an effective plan to follow throughout the gardening season.
Because the garden planning process is so important, I’ve created a free garden planner to help you through the process. It’s so much easier to sit down and actually plan out your garden when you’ve got an easy template to follow! The planner also includes actionable steps to help you through the process.
Once you’ve downloaded your garden planner, it’s time to go through the eight steps of garden planning in more detail:
1. Set your garden goals
The very first step in learning how to start a garden is to set mindful goals. Rather than growing absolutely everything you can think of in your first garden, try to thoughtfully consider what you’d really like to achieve. Each one of us has different reasons for wanting to start a garden, so it’s important to get clear on your “why” before planning your “how”.
Some new gardeners just want to learn about how plants grow and see if they can grow some vegetables, herbs, and annual flowers themselves. Others would like to grow some of their own food to reduce the grocery bill or have easier access to fresh garden produce. Some beginner gardeners are starting a garden to learn alongside their children so the whole family can understand the process of how plants grow.
Whatever your vision of a successful garden is, it’s incredibly important to clarify your goal before you start planning and planting. Get clear on what success looks like for you. Everything you grow should directly support your personal vision of success. Clarifying your goals will give you a mindful reason for every plant in your garden, making the whole gardening season more worthwhile.
Use the format shown in the garden planner to set your garden goal. If you need a little more help with goal-setting, check out these tips for setting the right goals for your garden.
2. Find your garden mentor
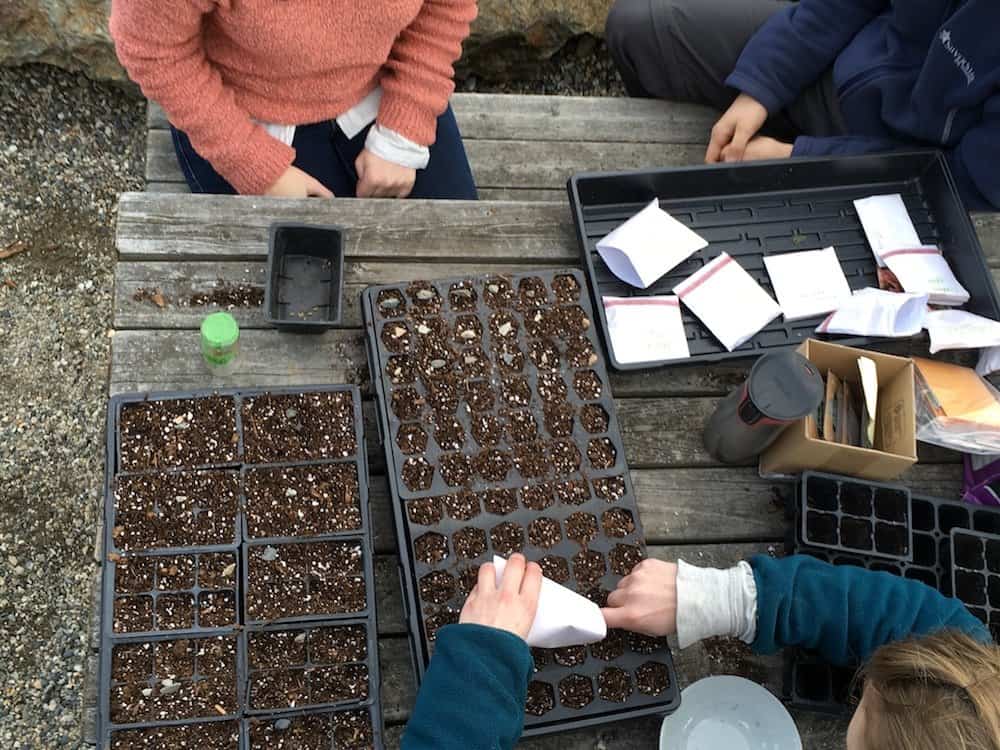
Once you’ve gotten clear on your goals for your garden, it’s time to gather support systems to call on during the gardening season. Having help from experienced gardeners while you learn how to start a garden is a huge help. There simply isn’t enough time in the day to research every question you’ll have. Identify resources and people who can help you early on in the garden planning process to set yourself up for success later.
Before you plan out your garden in detail, find a local skilled gardener who has direct experience growing the type of plants you’d like to grow. Look for gardening experts at local garden clubs such as Master Gardeners, organizations like colleges or botanical gardens, employees at independent garden centers, farmers at a local market, or experienced family friends. By connecting with local experts, you’ll have confidence that the plants you choose will grow well in your area, as well as tips specific to your local climate.
Another great place to connect with experienced gardeners is on the internet. For instance, the Organic Gardening Community Facebook Group hosts daily threads where you can ask gardening questions, share photos of your garden, and discuss gardening topics with other gardeners on a regular basis.
Fill in the name and contact info of your mentor in your garden planner. If you’re still looking for someone to help you with your garden, check out these tips for finding a mentor.
3. Discover your growing zone
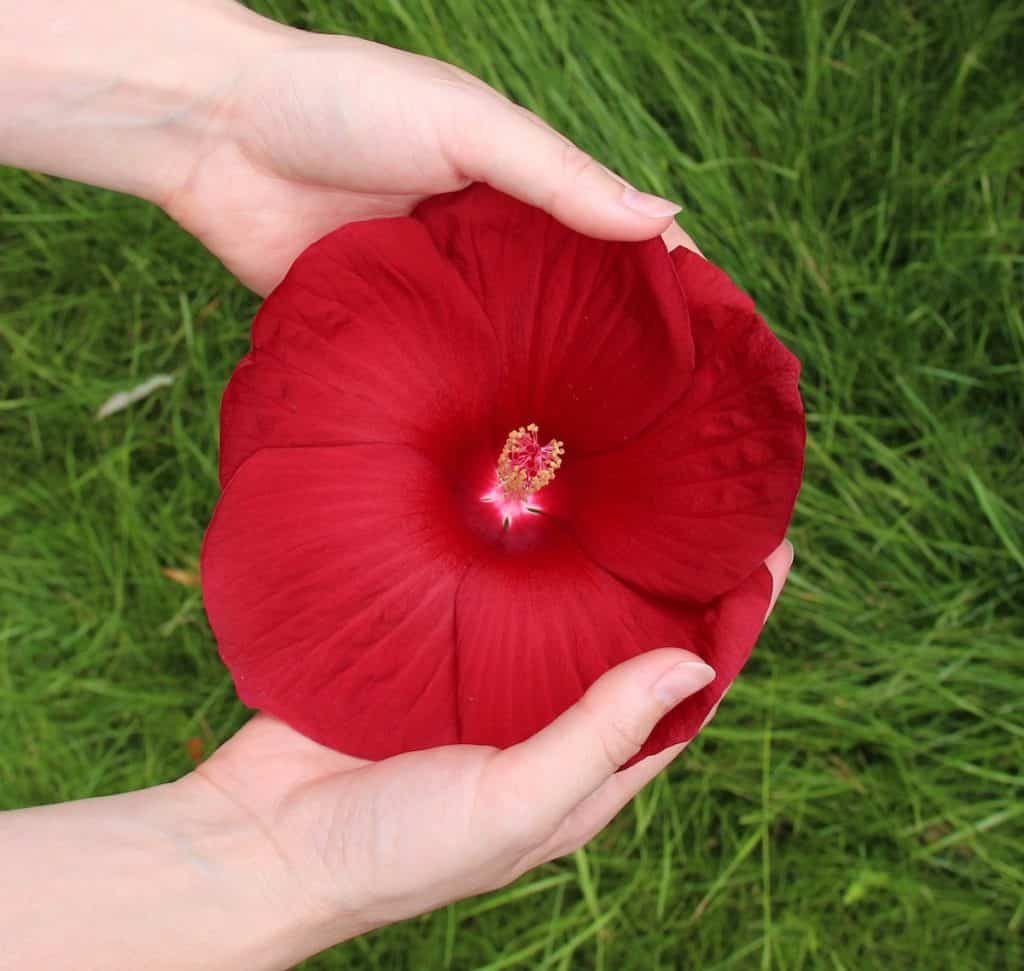
If you plan to grow your garden outdoors, it’s time to learn a little bit about your local climate. You’ll want to choose plants that thrive in your area, as well as know when it’s ok to plant them outside.
Gardeners refer to their local climate as their Plant Hardiness Zone or growing zone. If you don’t already know your zone, first consult a hardiness zone map for your area:
Plant Hardiness Zone maps are wonderful, but they can’t always show a great amount of detail in complex climates. Be sure to double-check your zone with your garden mentor. Also, make time to observe your yard to see if there are warmer spots or cooler spots in different areas. Lastly, you’ll want to research the average date of the last spring frost and first fall frost in your local climate.
Fill in your zone and frost dates in your garden planner. More detail on this topic can be found in this article about finding your local growing zone.
4. Pick your type of garden
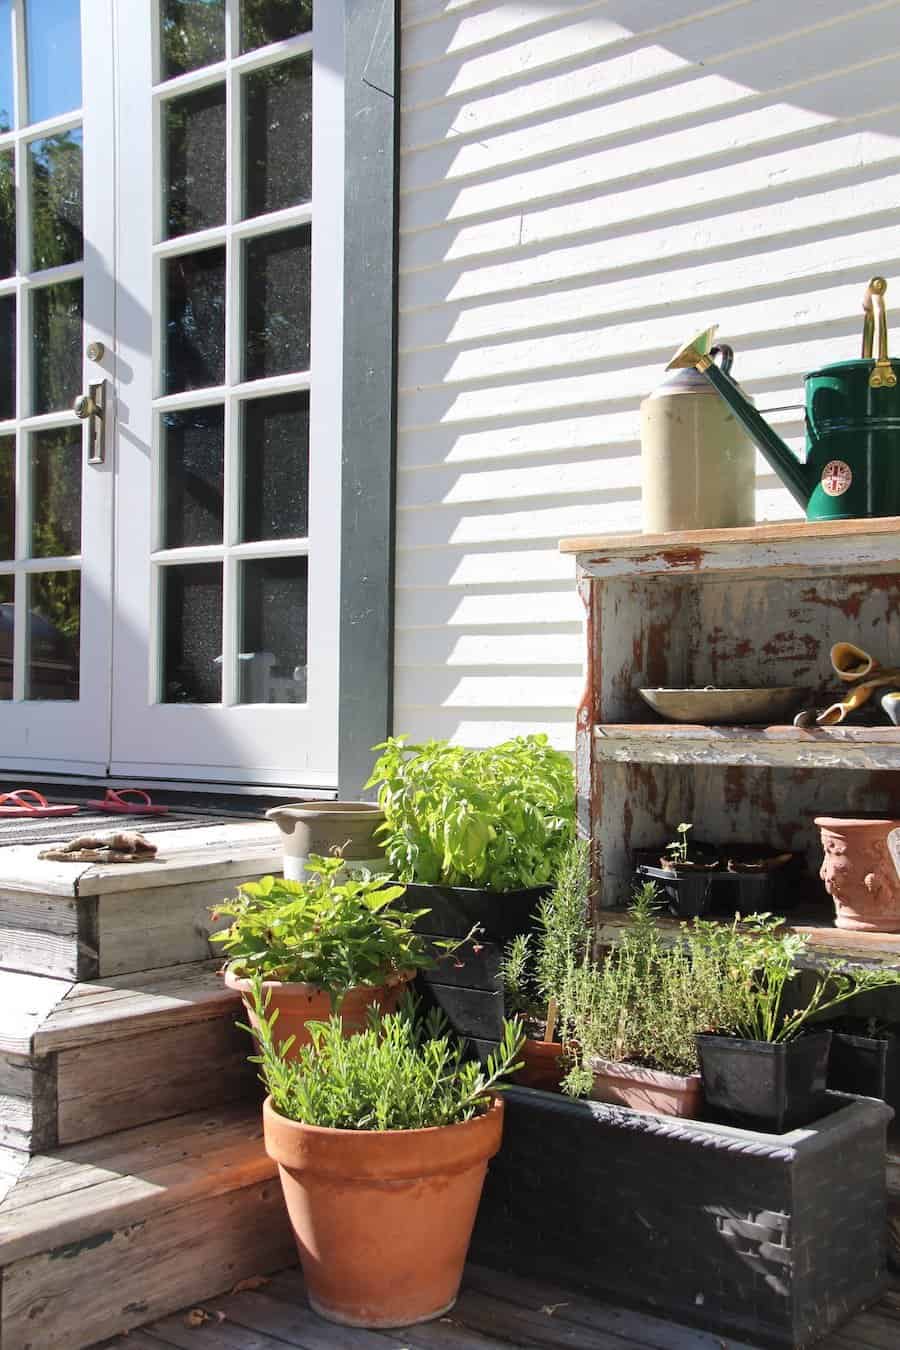
Now that you’ve got an idea of the climate in your area, it’s time to plan out how the garden will look and function. Some gardeners grow their entire garden in small containers. Others construct raised garden beds with wooden planks or stones. Still other gardeners choose to grow their vegetables directly in the ground.
Each type of garden has its own benefits and drawbacks. Many gardeners prefer raised beds because they are easy to use and customize. Raised beds are a great idea if you want to avoid using the soil in the ground (because it’s heavy clay or contaminated), and they’re also a great idea if you want to start growing earlier in the year and save your back by not bending over so far to tend your garden.
For more detail on picking a garden form and the pros/cons of each type, check out this article about choosing the right type of garden for your unique situation.
Planning the location of your garden
Planning the location of your garden is another key factor in learning how to start a garden. If possible, it’s wonderful to have the garden close to your house so you can pop out and grab produce whenever you like. The location should get adequate amounts of sun (especially in the morning), but also be shielded from strong winds and other detrimental environmental factors. You’ll also want to choose a location that is close to important resources such as water for your plants.
If your property is limited in space, or you simply enjoy the company of other gardeners, consider joining a community garden. These spaces are wonderful for learning to garden, as you’ll be able to meet and learn from other gardeners and observe their garden plots throughout the year. You’ll be inspired by all the different crops growing around the community garden and have a ton of ideas and new skills by next year.
5. Choose crops you’ll love
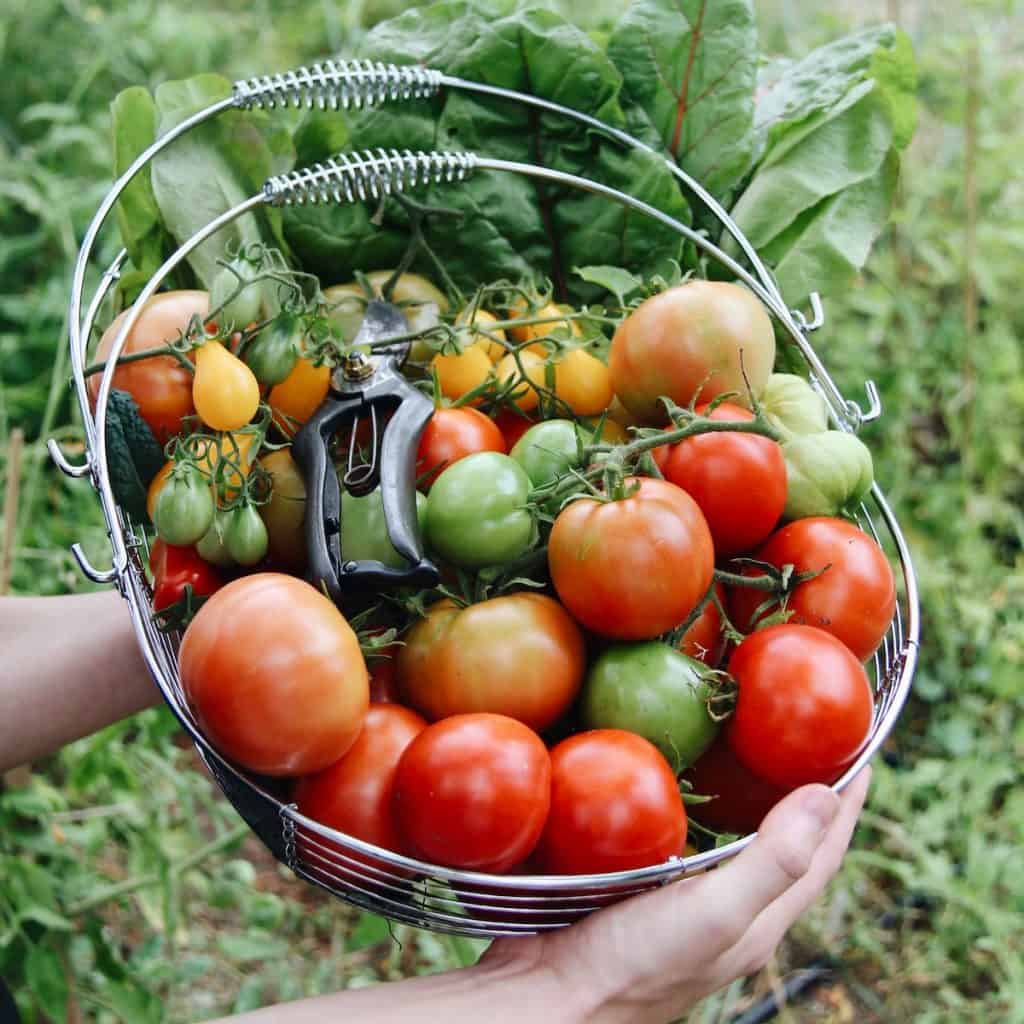
Now for the fun part! What crops can you grow to help you reach your goals for your garden? Pick crops you’ll know you’ll use and that your family will enjoy. Whatever crops you grow, make sure they’re aligned with the reason you wanted to start a garden in the first place. Also, keep this in mind when choosing the specific varieties of each crop.
If your garden is limited to a balcony, there are a few crops that will thrive in containers. There are also some great easy vegetables to grow for beginner gardeners, whatever the type of garden you choose to use.
Fill in the crop list in your free garden planner. To read more about choosing crops you’ll love, check out this detailed article about crop selection. Also, check out some of my favorite vegetable varieties to grow.
6. Determine the right number of plants
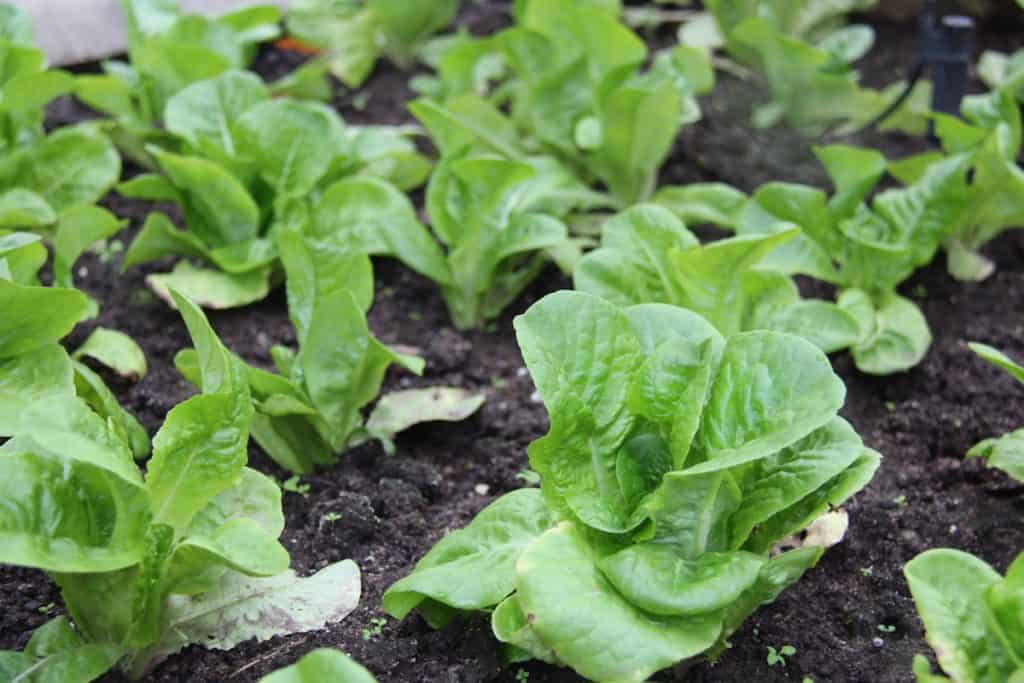
Choosing the right number of plants to grow in your first garden can be very tricky! It can be all too easy just to pick up a bunch of seed packets that look interesting from the seed swap and just toss them in the soil. Without a plan of how many plants you’ll need, you’re losing an important learning opportunity in your first garden.
Some plants get huge and produce a large number of vegetables. A single zucchini plant will produce many pounds of zucchini. Other plants don’t produce nearly as much. One carrot plant only produces one carrot, so you’ll need lots of carrot plants just to create one meal’s worth of carrots.
Consider your goals for your garden and the crops you’d like to grow, and then decide what feels like the right number of plants for each type of plant you’re growing. It’s way better to have a good experience with a small garden than to be overwhelmed by a large garden. There are many helpful resources for this step, including the Square Foot Gardening method.
Use the tables in the garden planner to calculate the number of plants to grow in your garden. For more info on this topic, check out this article on calculating the right number of plants.
7. Draw your garden layout map
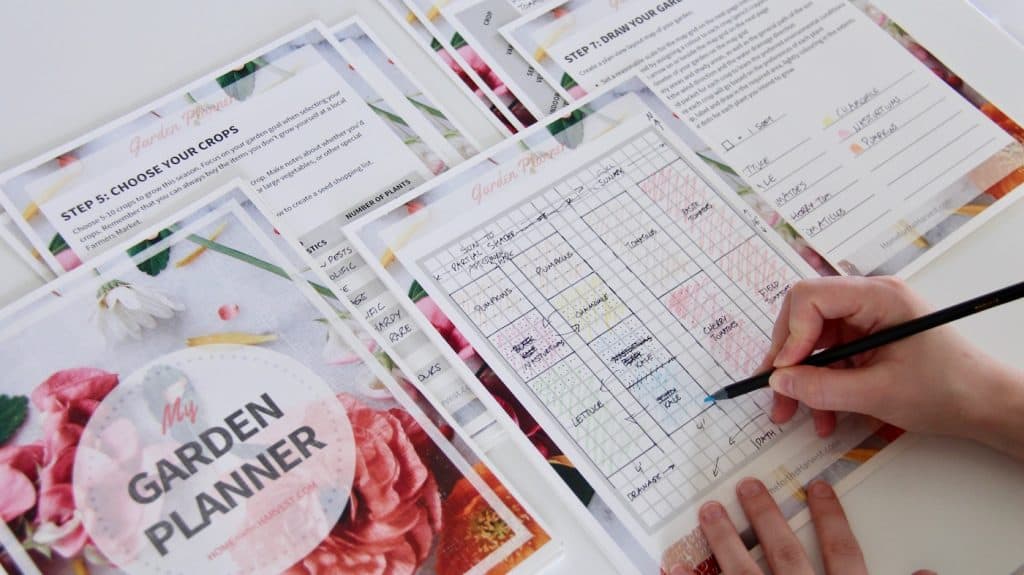
The garden layout map is perhaps the most enjoyable part of garden planning. In this step, you’ll create an outline of your garden and fill it in with all the crops you’ve chosen (in the number of plants you’ve calculated).
Having a layout map makes the actual outdoor planting process much easier. Once you’ve got your map, all you have to do is place the seeds and seedlings in their planned spot and you’re ready to go for the year.
To create your garden layout map, you’ll either need to use the measurement of your available garden space and then draw the plants inside that area, or you’ll use your calculation of how many plants you’ll be growing and then draw a garden big enough to accommodate all those plants.
Deciding which plants to put in which spots is very important. Some plants like lots of sun while others prefer shade in the afternoon. Read the seed packet or research each crop on your list before drawing them in to ensure you’re placing things in the optimal spot.
Use the garden mapping page in the garden planner to create your garden layout map. For a detailed tutorial on drawing your garden map, check out this article about exactly how to draw your layout.
8. Create your garden schedule
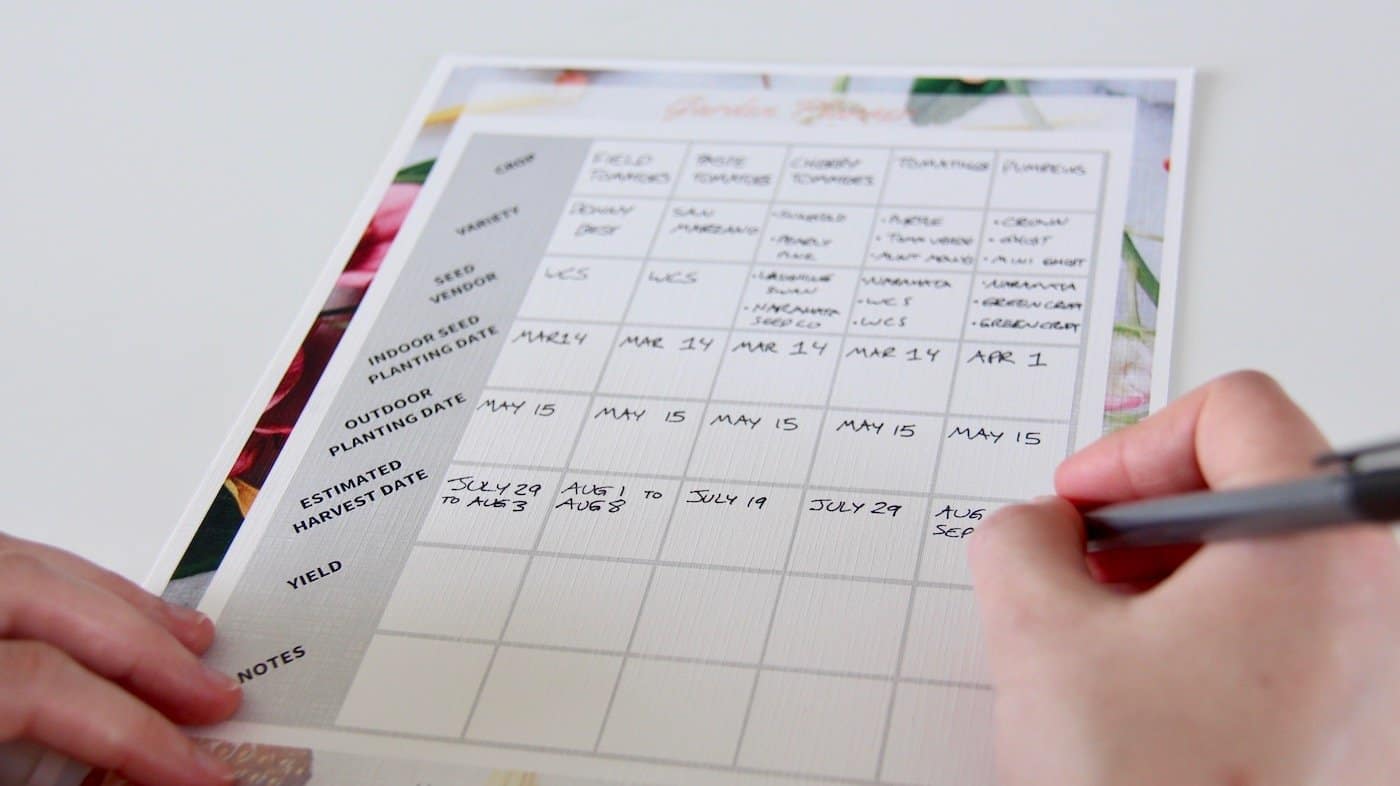
The timing of planting your outdoor garden depends on when the last frost happens in your area in the springtime. Use the seed packets or an online planting calculator to schedule your outdoor planting dates. Some crops can handle a bit of frost, but others really do need warm spring weather before they are ready to go outside.
Most garden veggie plants are either grown from seeds or from seedlings. Some gardeners like to start every single plant in their garden themselves directly from seeds, while others prefer to buy seedlings from a local nursery or favorite seed company. Plants grown from seed sometimes need to be started very early in the season (sometimes even when there is snow on the ground!).
If this is your first garden, plan on growing most of your garden outside directly from seed, and then purchasing a few seedlings for plants such as tomatoes and peppers (which are generally started indoors and transplanted out in the garden as seedlings). Save the process of growing your own seedlings indoors for next year when you’ve got a bit more experience.
Creating Your Planting Calendar
Each crop you’ve chosen to grow this year will have a specific time range in which to be planted outdoors. Some plants can grow from seed outside even during frosty temperatures, while others will die with even a hint of frost. Because veggie plants vary so much in their ability to withstand cold, check each packet of seeds or do some research about the crops you’ve chosen.
Use the planting calendar template in the free garden planner to create your garden schedule for the year. To read more on this, check out this article about how to create an effective garden calendar.
Phase 2: Planting seeds and seedlings
The second phase of the gardening season is to plant seeds and seedlings out into your garden. For your first garden, I recommend growing everything outside once it’s warm enough, rather than trying to grow your own seedlings indoors prior to the start of the outdoor season. Learning how to start a garden is busy enough as it is without the added work of indoor seed starting.
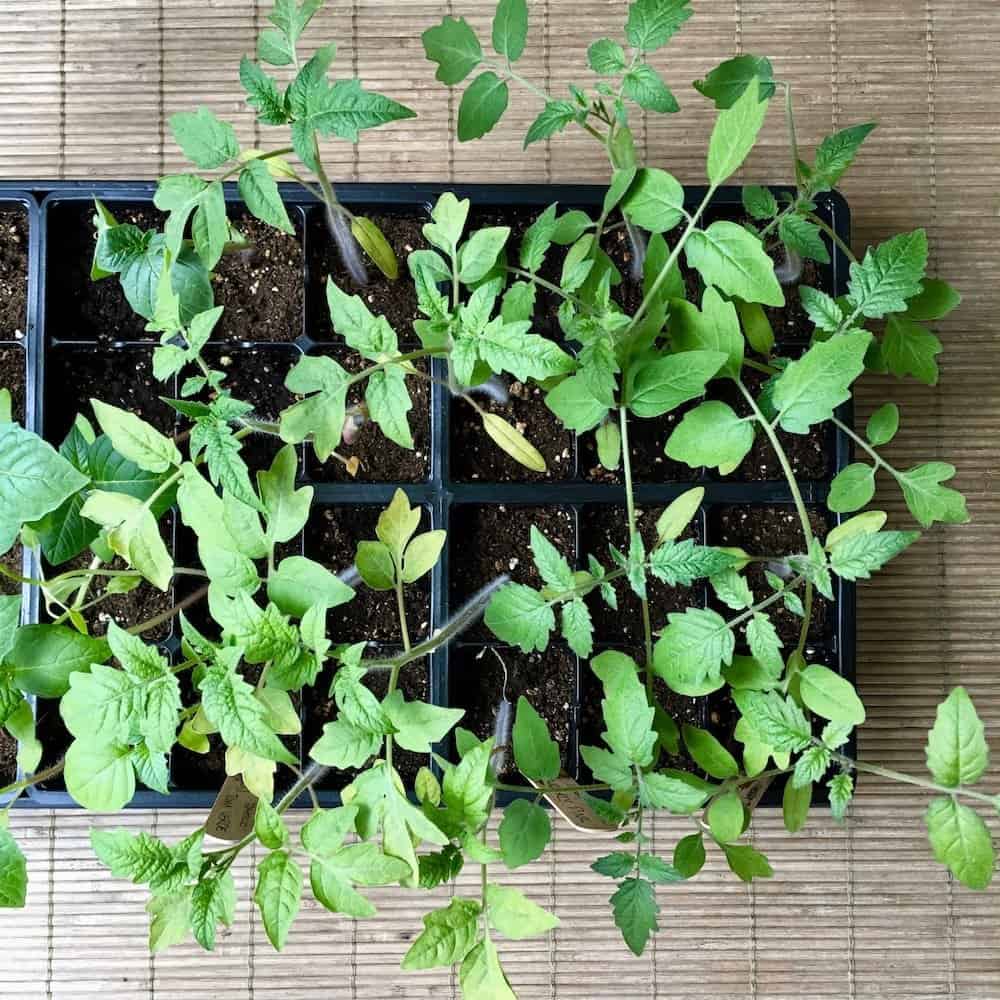
Outdoor direct seeding vs. indoor seed-starting
Although most types of plants are available as seedlings, some plants are more commonly “direct-seeded”, meaning that the seeds are sown directly in the garden once the soil is warm enough. In general, leafy greens and root vegetables can be sown outside in temperate areas, while tropical plants such as tomatoes are grown indoors as seedlings until all danger of frost has passed (see more details about when to transplant tomatoes outdoors). Many gardeners will grow their leafy greens, carrots, and sunflowers from seed directly in the garden, and buy seedlings for their tomatoes and peppers.
In your first year of gardening, the process of growing your own indoor seedlings (called seed-starting) can be a bit overwhelming. If you do want to try seed-starting in your first year, stick to one crop and consider it a learning experience. Tomatoes are a good crop to start growing your own seedlings because tomato seed-starting is common (so there are lots of tips available) and you can always buy tomato seedlings later on if yours don’t work out.
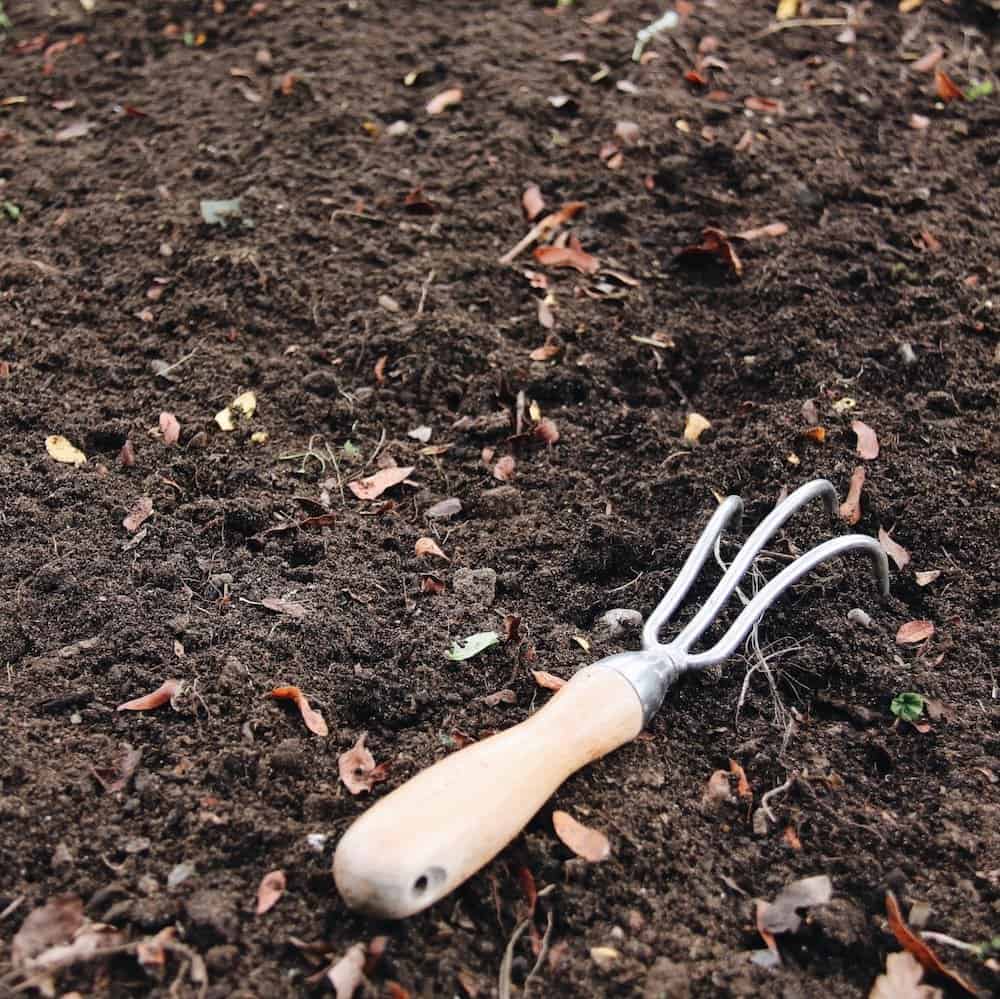
Sowing seeds
Each seed packet that you purchase for your garden should have specific instructions on it for that crop. If not, look up the seed planting instructions in a gardening book or online. There are tons of tips out there for every commonly grown garden vegetable (and even some uncommon ones!). You can also ask for specific tips in the Organic Gardening Community Facebook Group.
Pay attention to the depth of each seed while planting. In general, seeds are planted about 3 times as deep as they are wide. So, a large pumpkin seed would be planted much deeper than a small carrot seed. Each plant is different, though, with some requiring light to germinate and others requiring darkness. If the seed planting instructions that came with your seeds are at all unclear, do an online search for “seed germination tips” for the crop.
If you’re nervous about your ability to grow plants directly from seeds, give yourself some practice by growing some microgreens in your kitchen before learning how to start a garden outdoors. The process of growing and observing microgreens will really help you understand the seed germination process (a critical part of learning how to start a garden).
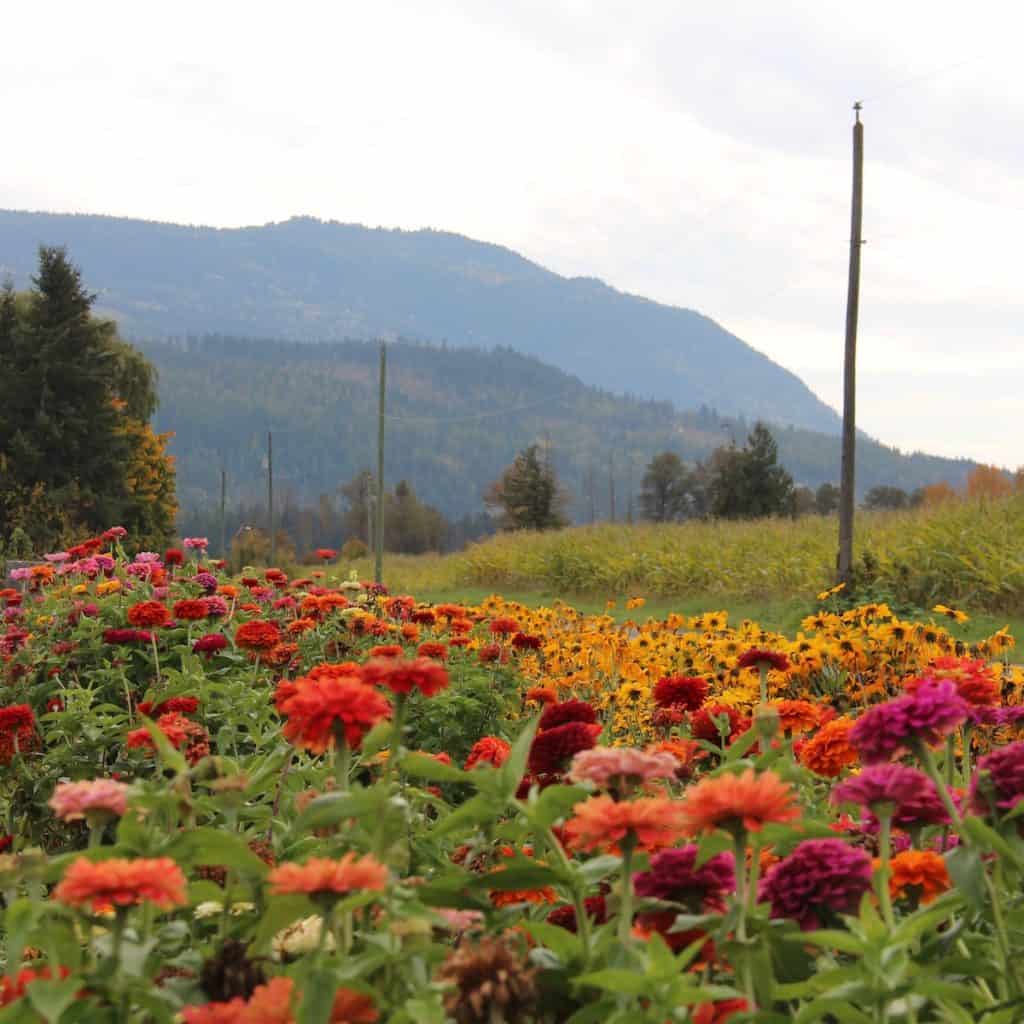
Organic gardening vs. Conventional gardening
At this point, it’s important to clarify what is organic and what isn’t. Organic gardening is preferred to conventional gardening by many home gardeners due to the focus on preserving and enhancing the natural biodiversity of the soil, as well as the safety factor of avoiding synthetically produced chemicals such as fertilizers and pesticides.
That being said, it can be hard to know what is considered safe for organic gardening and what isn’t when learning how to start a garden. In general, if a product itself is brightly colored or requires a lot of special safety equipment to use, it might not be organic (it’s likely a synthetic chemical).
Phase 3: Care and maintenance
The third phase of starting a garden is learning how to care for and maintain your new garden.
Getting enough light and water
Once your garden is planted out, the rest of the growing season is dedicated to ensuring your plants are thriving. You’ll want to make sure they’re getting the right amount of light, as well as regular deep waterings.
A great way to ensure that your plants are getting the right amount of water at the right times is to add a drip line in your garden. It’s quick and easy to install, and also quite affordable. Installing your own drip line irrigation will save you hours of work throughout the season, and will also help conserve water as it’s a very efficient method of watering your garden. Learning how to start a garden is a busy time, so anything you can do to reduce chores is a good thing! Here are instructions for how to install your own drip line so you can get started!
Feeding your plants
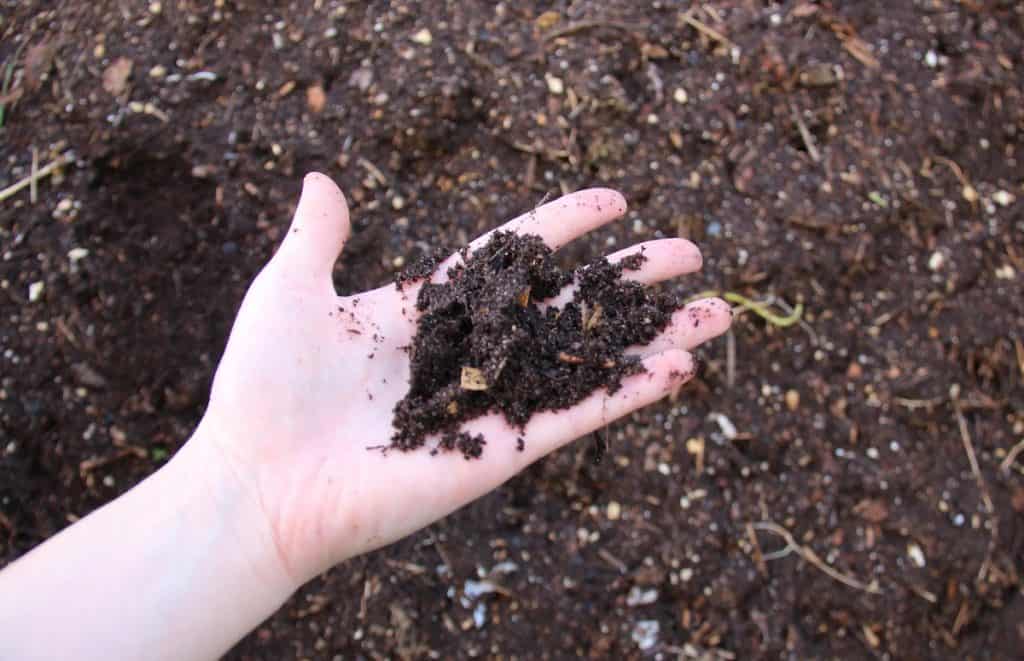
Growing healthy plants is a key part of learning how to start a garden. Your plants will likely require some plant food/fertilizer to thrive, alongside the photosynthesis the plant does naturally. In some cases, regular garden soil does not contain all the nutrients required for plants to be as healthy as possible. You can get a soil nutrient test completed for your garden soil if you’re growing directly in the ground, or read the nutrient availability of the package for purchased potting soil.
Before fertilizing your plants, do some research about high-quality organic plant foods available in your area. Many fertilizers offered for sale are made of synthetically-produced chemicals and are not approved for organic gardening. Investigate organic alternatives such as compost, worm castings, and fish emulsion. I like to top-dress my garden every spring and fall with an inch or two of homemade compost, and then feed my extra-hungry plants with worm castings during the growing season.
Observing your garden
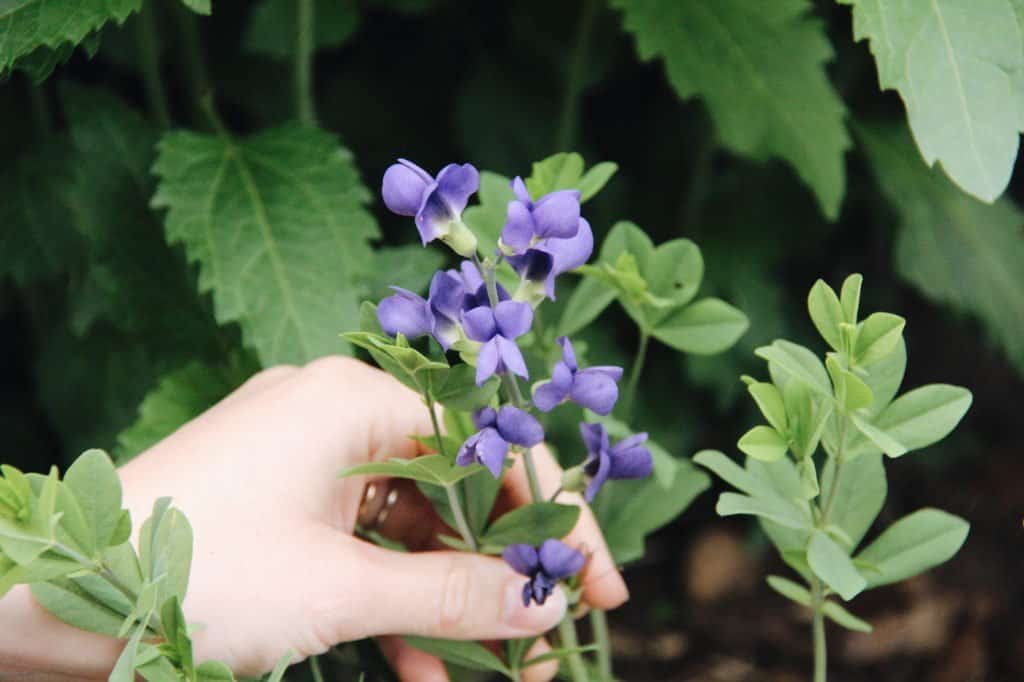
Make it a habit to walk through your garden on a regular basis to check up on your plants and make sure they’re doing well. Give any plants that aren’t thriving some extra attention. Also, make a note of how each crop is performing in your garden planner. These notes will be priceless when you plan your garden next year.
It can also be nice just to walk through the garden sometimes without doing anything or making any notes. Gardens can be incredibly calming places. Take time to enjoy the little moments of plant and insect life amidst the plants you’ve grown. It’s always worth it to take the time to appreciate the habitat you’ve created by growing a garden.
Phase 4: Harvest season
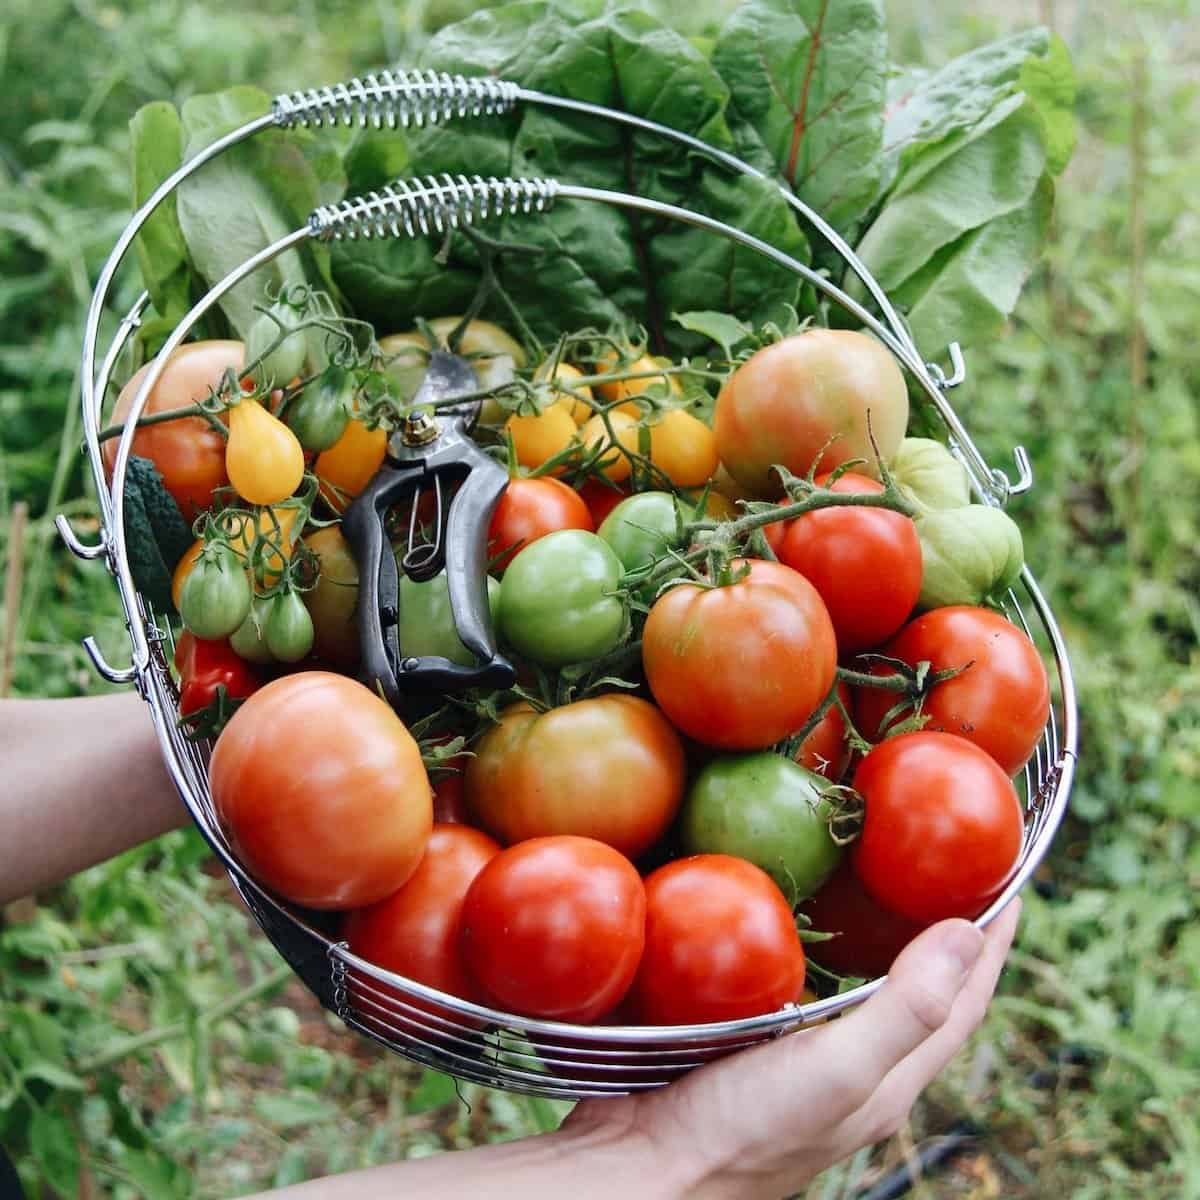
The final phase of learning how to start a garden is enjoying harvest season! This is the part where you get to enjoy the results of all of your hard work learning how to start a garden. There is nothing like a fresh tomato, straight from the vine, to make all of the work worth it.
When to harvest produce
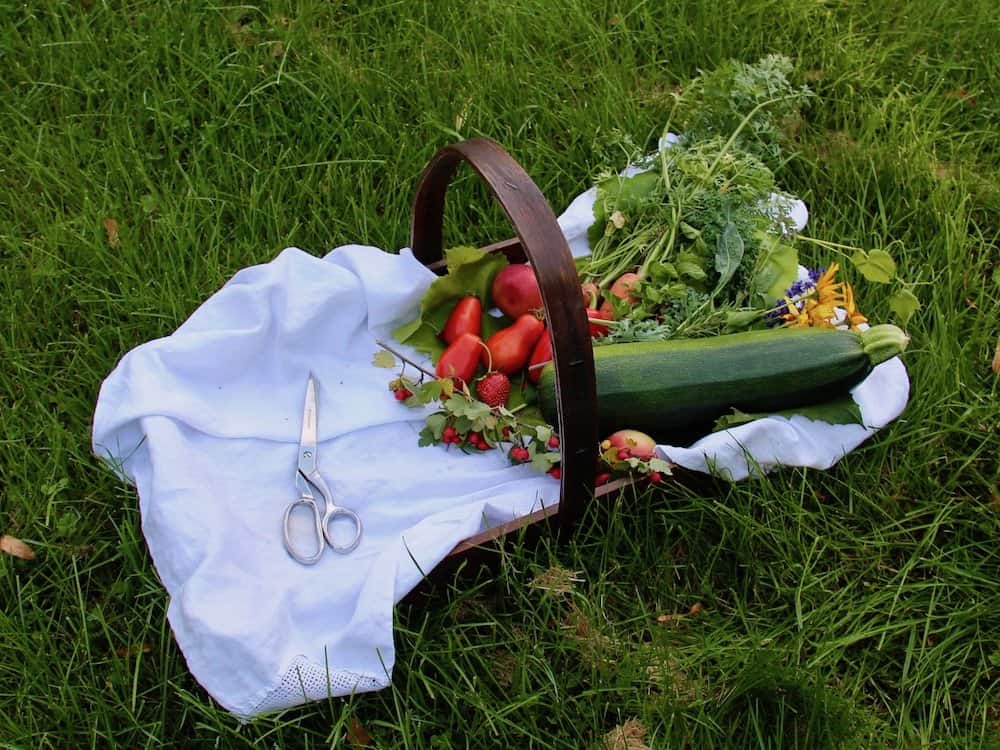
Harvest your vegetables in the morning if possible, after the morning dew has dried. The veggies will be fresh and plump with moisture, having not yet been dried out by the hot afternoon sun. They’ll be at the peak of their flavor and perfect for enjoying.
If you’ve got lots of one type of vegetable ripening at one time, consider giving some away to friends, family, or a local food bank. Alternatively, freeze your harvest so you can enjoy it throughout the winter. If you know how to can or pickle veggies, that is also a great option.
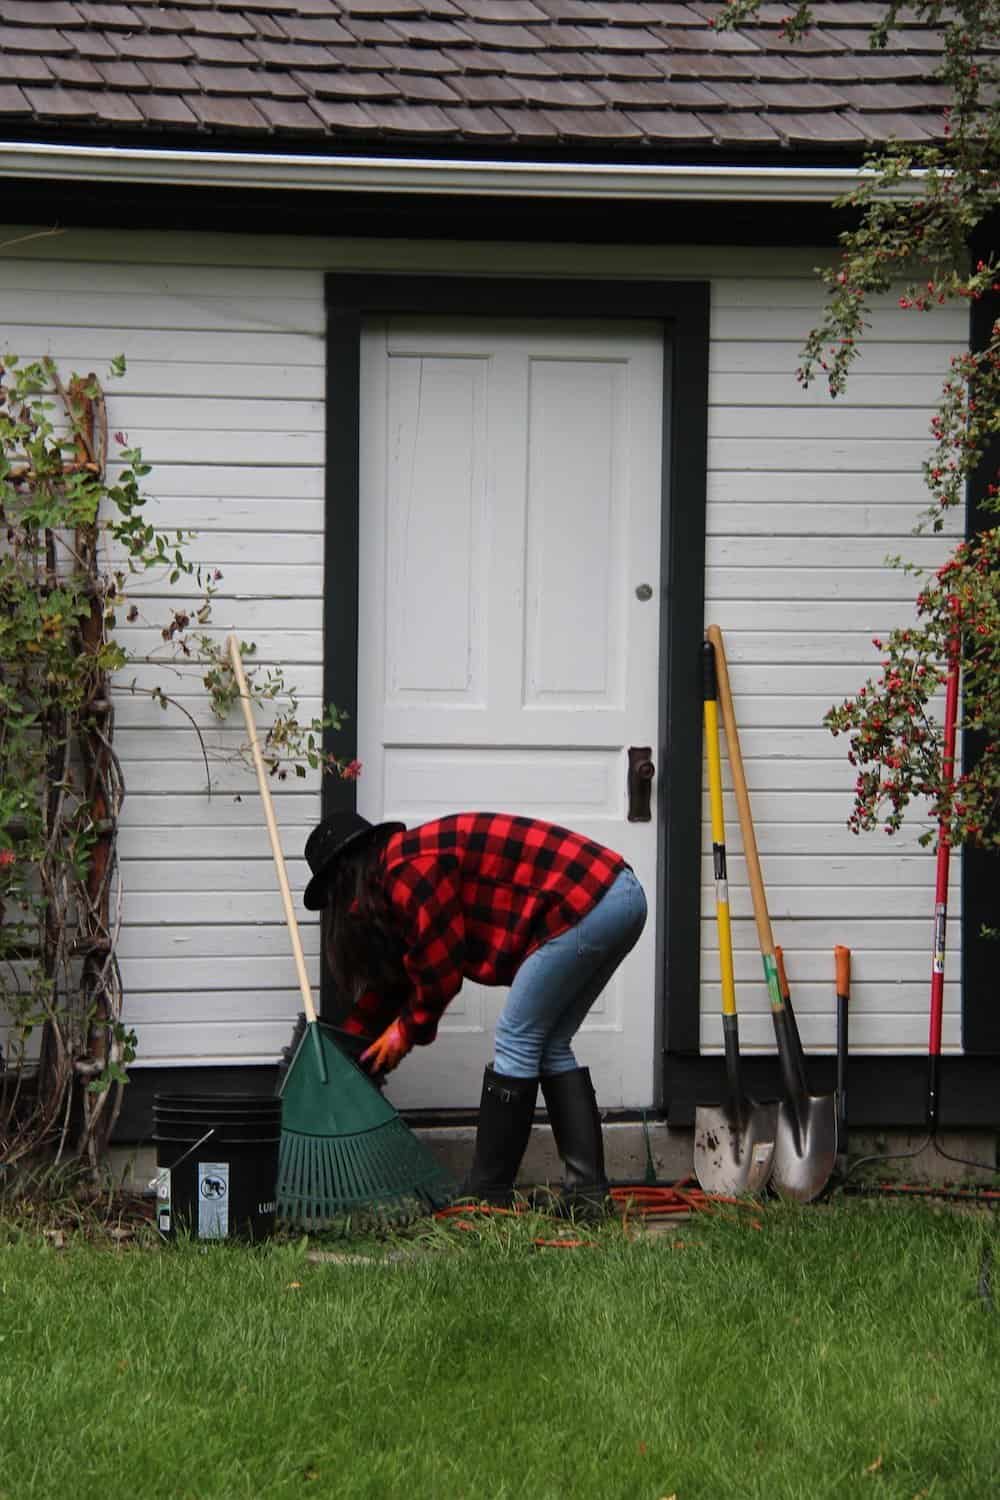
Fall garden cleanup
After all of your product has been harvested for the year, it’s time to clean up the garden. Many plants can be safely hot composted along with your fall leaves. Others can be left up throughout the winter to provide food and shelter for beneficial insects and other friendly critters. Fall is also a great time to plant winter cover crops or winter greens.
For more info about post-harvest garden clean-up, refer to this list of end-of-season chores to get your garden ready for winter. There’s also a dedicated guide for the fall clean-up of raised garden beds.
…and that’s it for the four phases of learning how to start a garden!
Your first year of gardening
No matter what happens in your first year of gardening, the most important thing is to start. Use the four phases above as a guideline, but don’t let anything get in the way of having fun as you learn how to start a garden. If you get too overwhelmed in your first year, you may not want to try again next year! Start small and enjoy all the things that happen along the way.
If you set your garden up for success by getting clear on your goals, making an effective plan, and carefully maintaining your garden, you’ll have a wonderful growing season. It’s likely that not every plant will thrive when you first learn how to start a garden, but you may also have some unexpected successes. Take it all in and make notes of what worked and what didn’t. Approach it with a good attitude, and you’ll have an amazing first garden!
Learn the steps to create your perfect garden! Enjoy all the gardening has to offer, even as a beginner. Start planning your garden today!
References
- University of Maryland: How to Start a Vegetable Garden
- University of New Hampshire: Preparing a Vegetable Garden Site
- University of Illinois: Starting a Garden: Begin with a Plan
- University of Minnesota: Planting the vegetable garden


