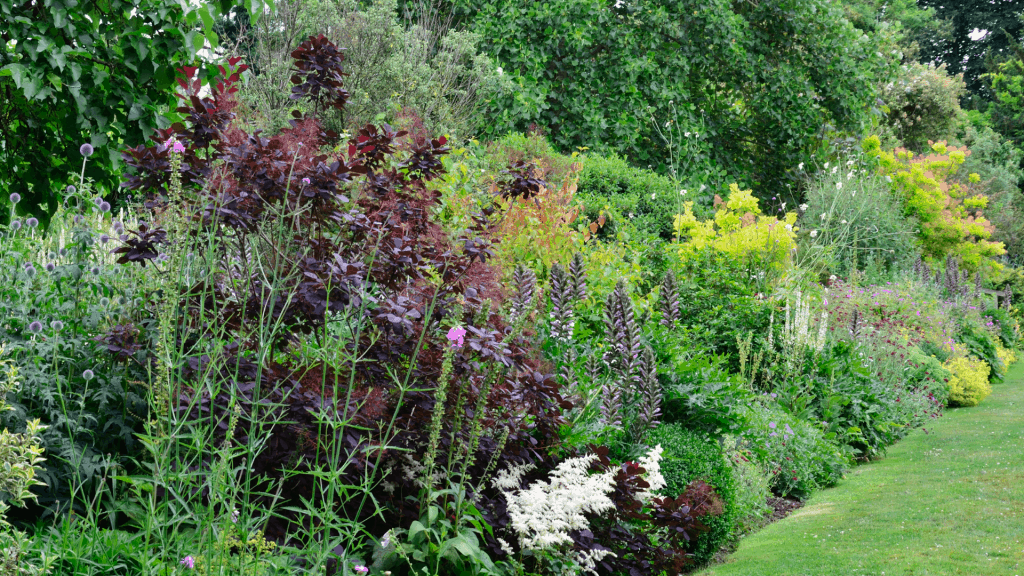
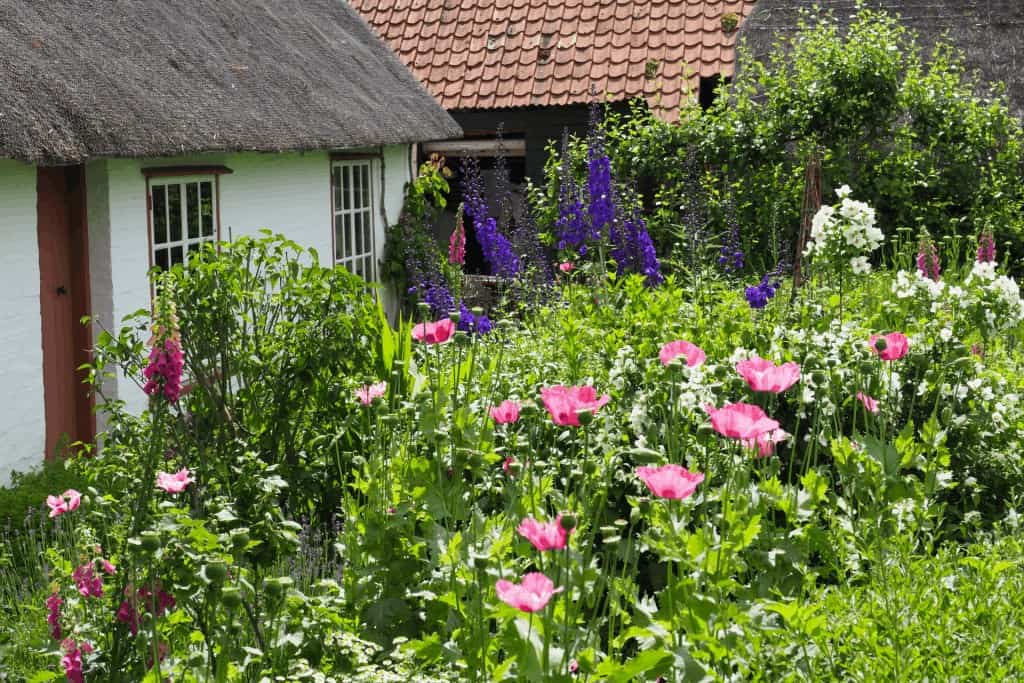
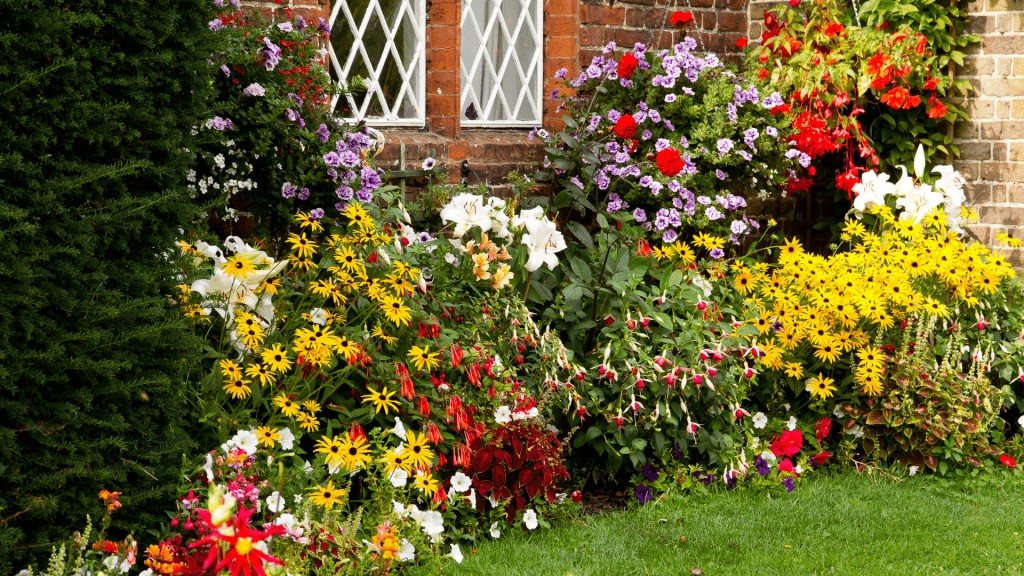
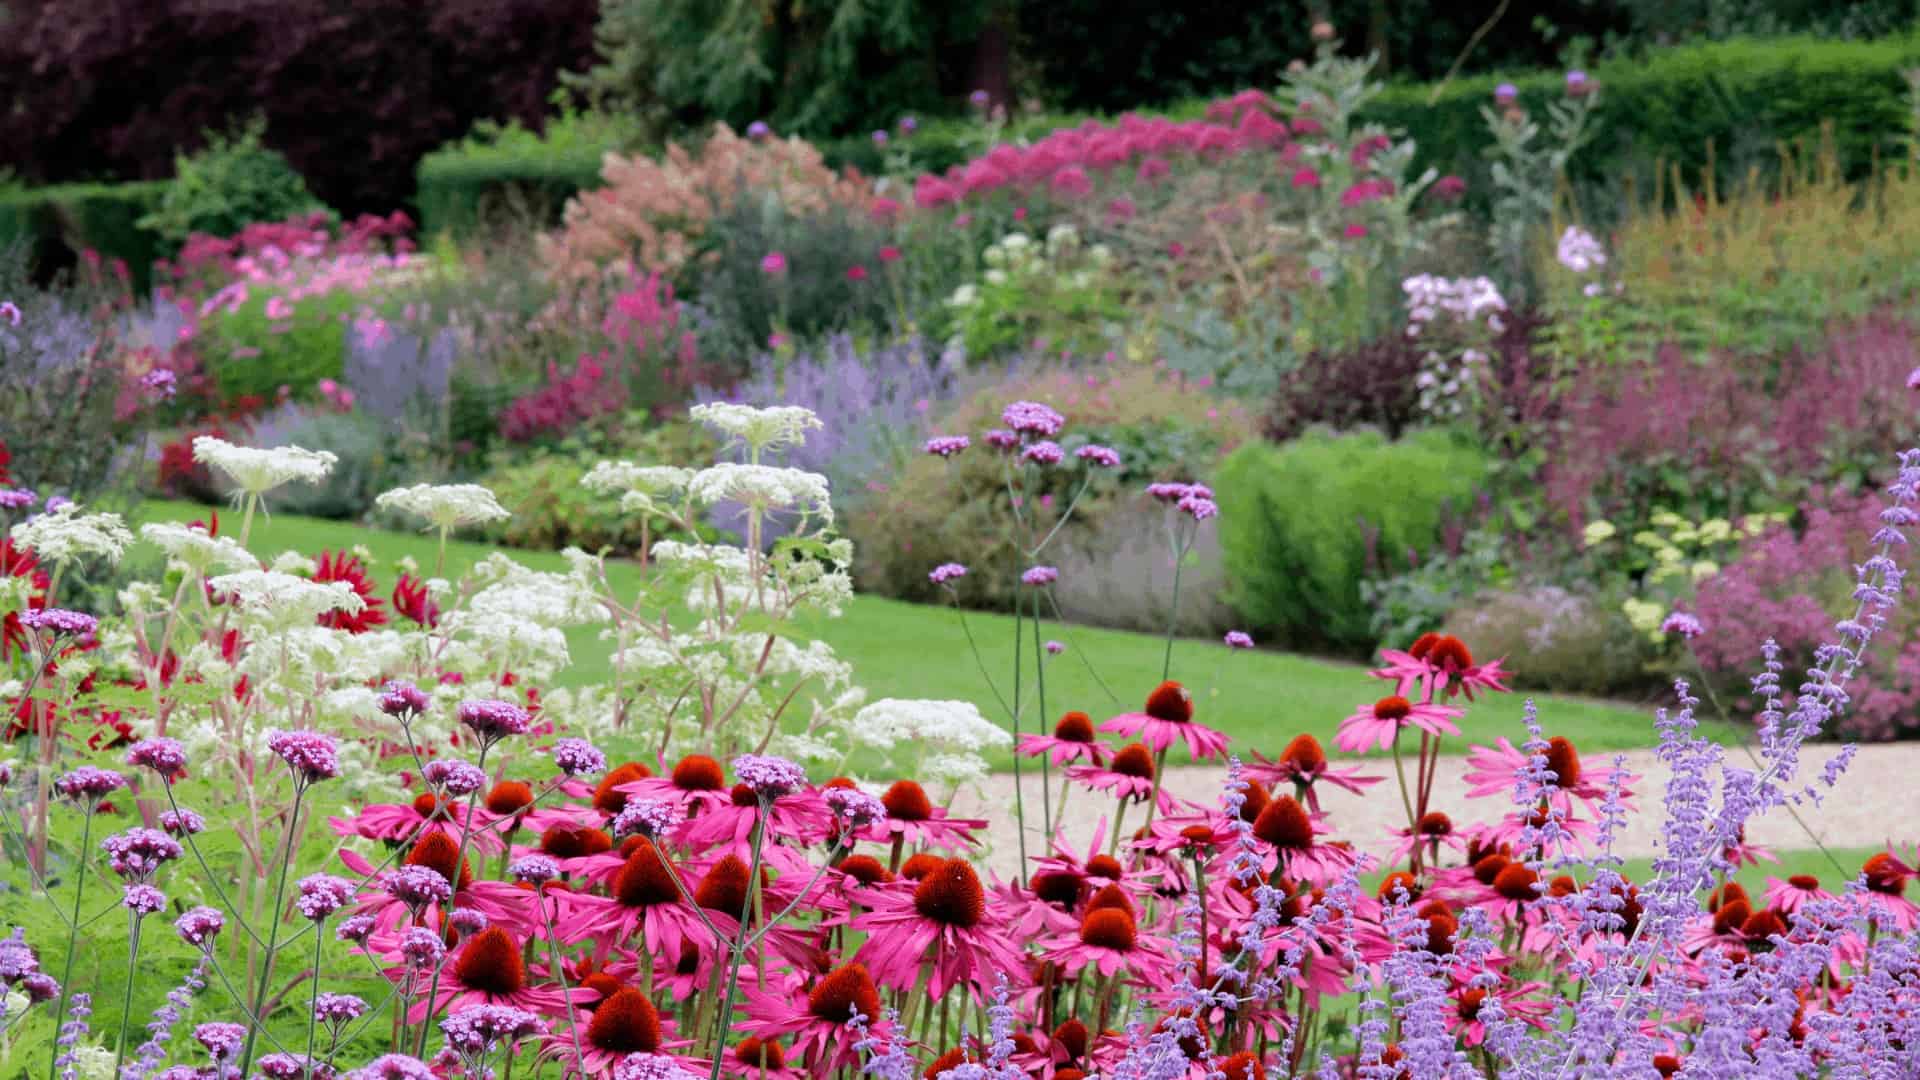
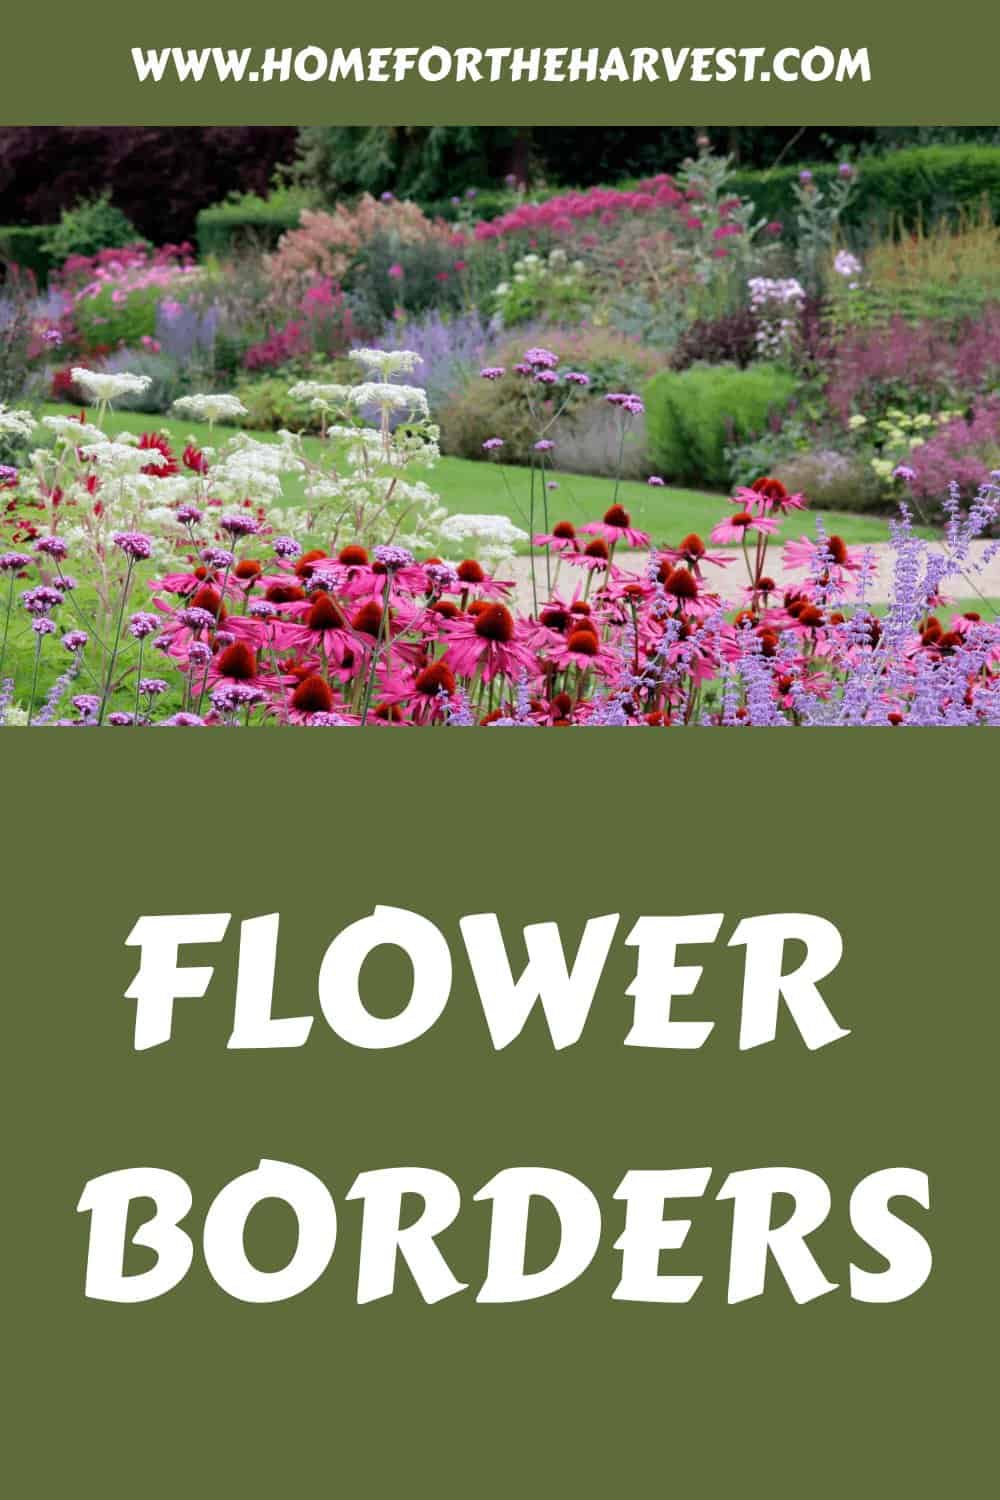
Flower borders are the mainstay of ornamental landscaping. These long flower beds decorate the perimeter of a yard or pathway with a succession of gorgeous blooms throughout the growing season. Here are the basics of planting and growing flower border gardens to help you create your own flower border in your outdoor space.
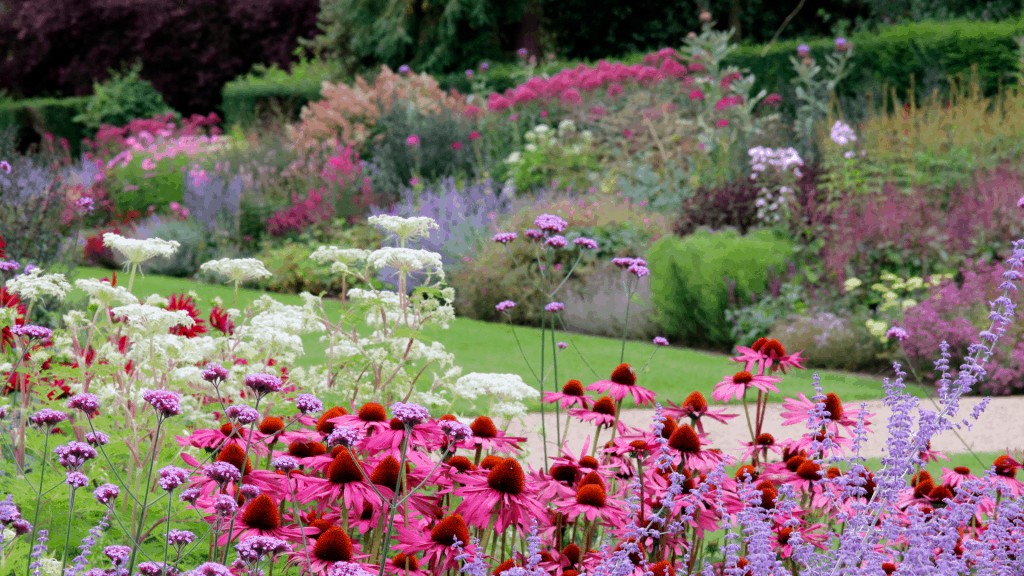
1. Make a flower wish list
Great flower border gardens start with great dreams. Before getting into the details of planning, take time to make a wish list of all the types of flowers you’d love to grow in your flower border. Don’t put restrictions on your dreams at this point – simply jot down all the flowers in your dream border garden. Include colors, heights, and any other specifics. Look for inspirational images in magazines, on Pinterest, or in garden design books. Here are a few places I look for flower border garden inspiration:
- Flower Border Gardens on Pinterest
- Fine Gardening Beds & Borders
Some of my favorite perennial flowers for a border garden include pink peonies, blue delphinium, English lavender, sedum, campanula, and rudbeckia. There are more ideas for great flowering plants in this Flower Border Garden article.
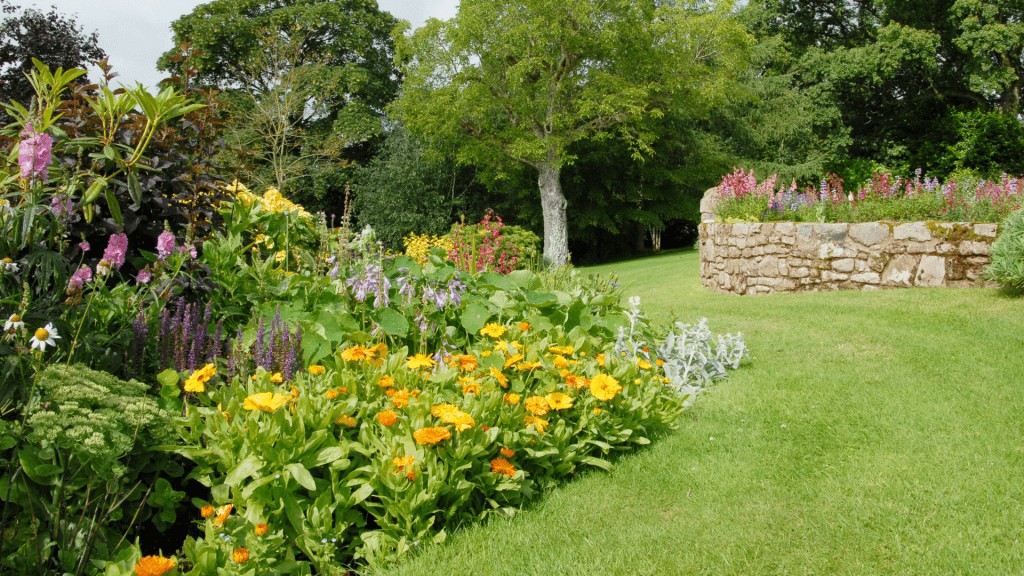
2. Choose a perimeter location
Flower borders grow best in sunny locations along the perimeter of outdoor space. Look for spots with at least 6-8 hours of direct sunlight each day to allow for the greatest variety of choice in terms of flower species. While some flowers will grow in shady spots, most produce far more flowers when planted in direct sunlight.
Border gardens can be as narrow as two feet wide or as deep as over ten feet. The bed’s width will be one factor in planning out the layout, so take care to measure the space available and potential dimensions.
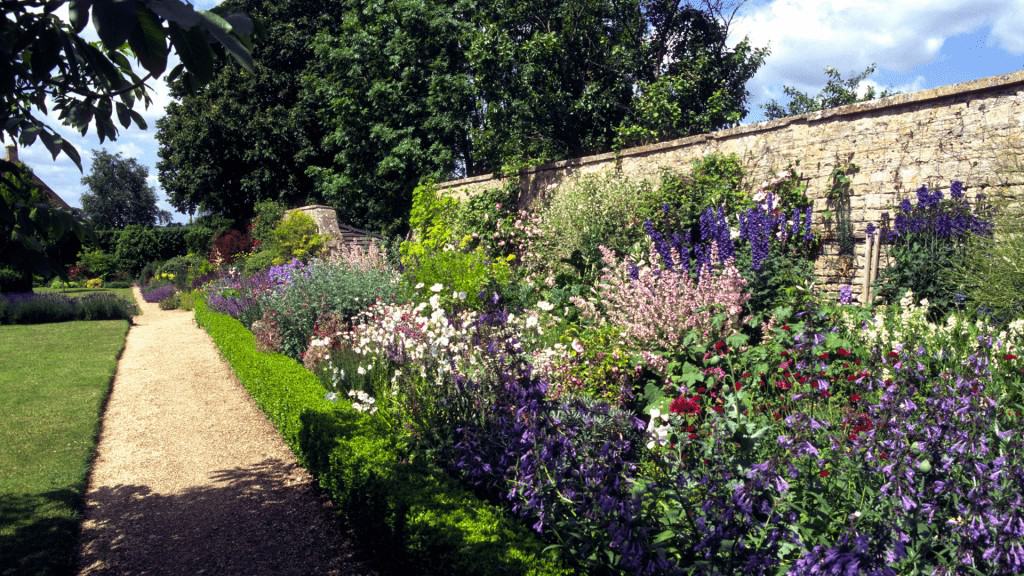
3. Plan the flower border garden bed
Before getting out the shovel, it’s time to plan your flower border garden. Decide on the placement of the perimeter, making note of the length and width of the bed. Note any slopes, shady spots, or other areas of variation that will have to be accounted for. Then draw out the whole bed, preferably on graph paper.
Now it’s time to start filling in the space with ideas of what flowers to plant in which spots. Generally, the tallest plants go at the back of the bed, and the shortest plants go at the front. This helps to add depth to the flower border while allowing the low-growing flowers to access sunlight (instead of being shaded behind taller flowers).
Start with any type of flowers that are must-haves for your border. Draw spots for these plants onto the outline map first to ensure they are included. Put the tall plants at the back and the short plants at the front. Most gardeners tend to draw a circular-oval “blob” shape where a single species of plant will go. Then label the circle with the type of plant and the color. Lastly, make a little “X” or dot where each individual plant will be located (if the cultivar/mature size is known).
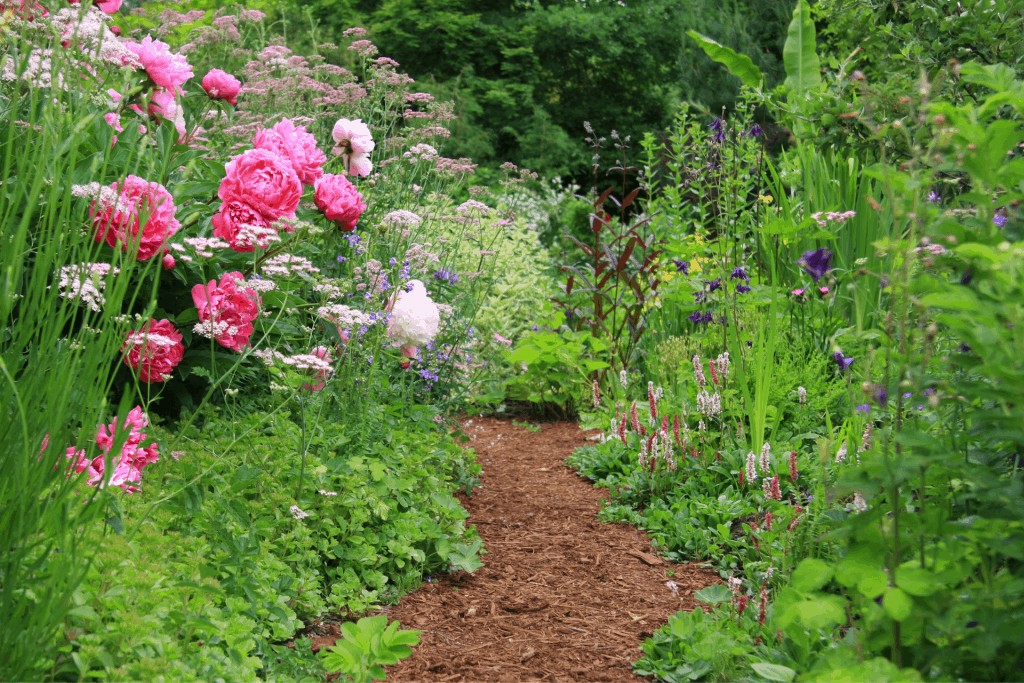
4. Prepare the garden bed
Flower borders are a type of flower bed, so the space must be prepared just like any other flower bed. Dig out any turf grass, top the soil with rich composted plant matter, and lay drip irrigation lines to water future flowers. You’ll also want to add edging material (or surrounding trench).
Once the border garden soil is prepared, it’s time to lay out the garden. Some gardeners prefer to hang string lines over the garden for precise planting (or spray chalk lines on the ground). Other landscapers simply place the potted plants on the soil surface in a more organic manner. Be sure to step back now and then to see how its looking!
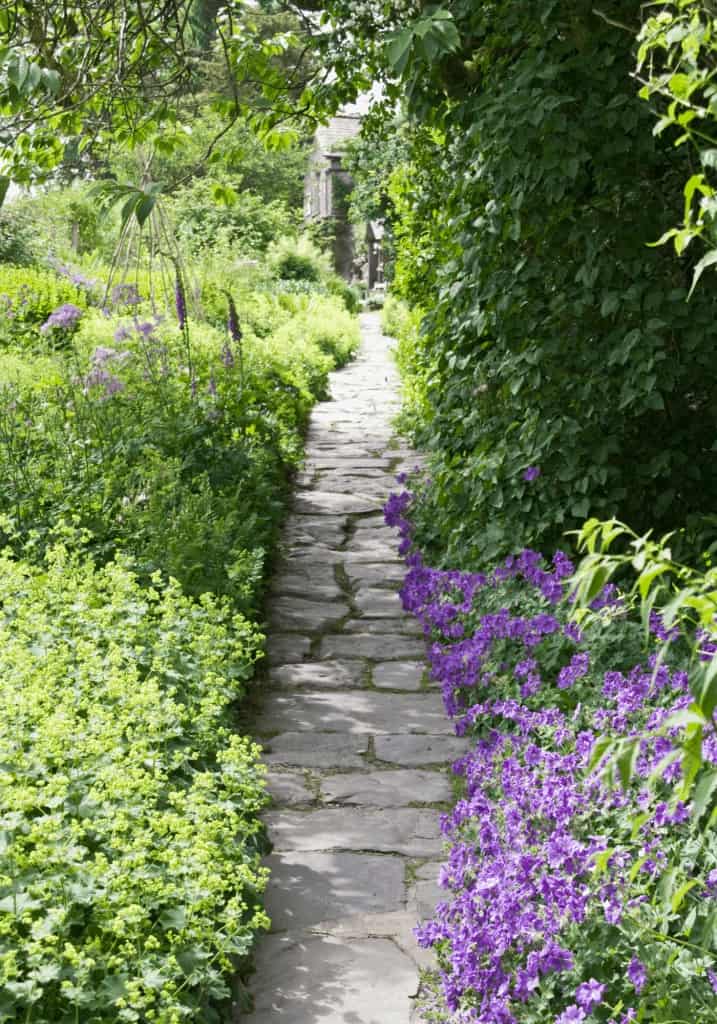
5. Plant the flowers
Plant each individual potted plant in its designated location. Make any field-fit adjustments that are required (for instance, if the color of certain plants isn’t as expected or if a delivered cultivar isn’t as tall/short as expected). Take care to ensure each plant is within the emitter drip zone of the irrigation tubing.
Once the flowers are planted, many types of irrigation tubing can be buried in place so they are not visible on the soil surface. Once all the plants and irrigation are in place, give the whole flower border garden a deep watering with a sprinkler or hose. While overhead watering is generally not recommended for flower gardens, this initial drenching will clean the dirt off plant leaves, help the soil settle in planting holes, and hopefully expose any small spots of missing soil or uneven ground. Future day-to-day watering will occur with the drip irrigation tubing rather than with sprinklers.
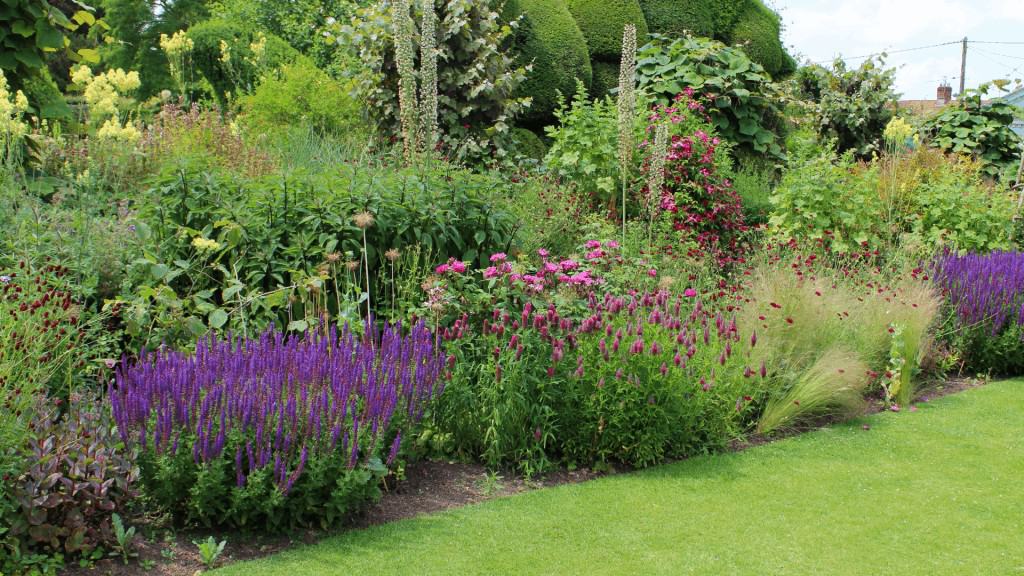
6. Apply organic mulch
Flower border gardens look and perform their best with a layer of organic mulch on top of the soil surface. A rich, uniform mulch such as homemade compost will provide a gentle supply of nutrients to the flowers, keep moisture in the soil, keep weeds down, and cool the roots of the perennials.
A 1″ thick layer of mulch is adequate for many types of mulch on flower borders. Try to apply the mulch as soon as possible after planting, as the flower plants do tend to get quite large quite quickly in the right conditions. Its much easier to get between the plants to place mulch when they are small! Be sure though not to place organic mulch directly against the woody stems of flowers such as roses, hydrangea, and lavender as it can cause rot (it holds moisture against the stem).
Here are some tips for keeping mulch in place.
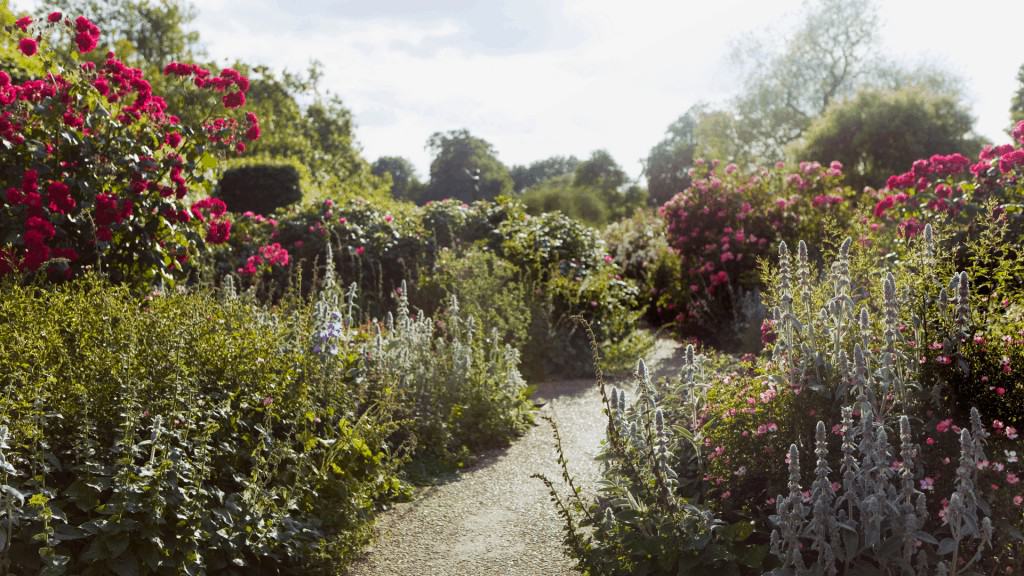
7. Maintenance of flower border gardens
Flower border gardens are among the higher-maintenance types of landscaping in most settings. Most border gardens require regular watering and weeding on a weekly basis throughout the growing season. Perennials are winterized annually in the autumn and must be cleaned up in the spring prior to new growth.
Many perennial flower plants also require root division every few years. While a single plant growing without many plant neighbors is free to expand laterally, border gardens are generally densely planted for that full-blooming appearance. Plants must be dug up, divided, and re-planted to keep the garden from becoming overgrown. Extra root divisions can be dug up and gifted to friends or donated to a local garden club plant sale.
Cottage border gardens look totally carefree, but that’s not quite the case in reality!
