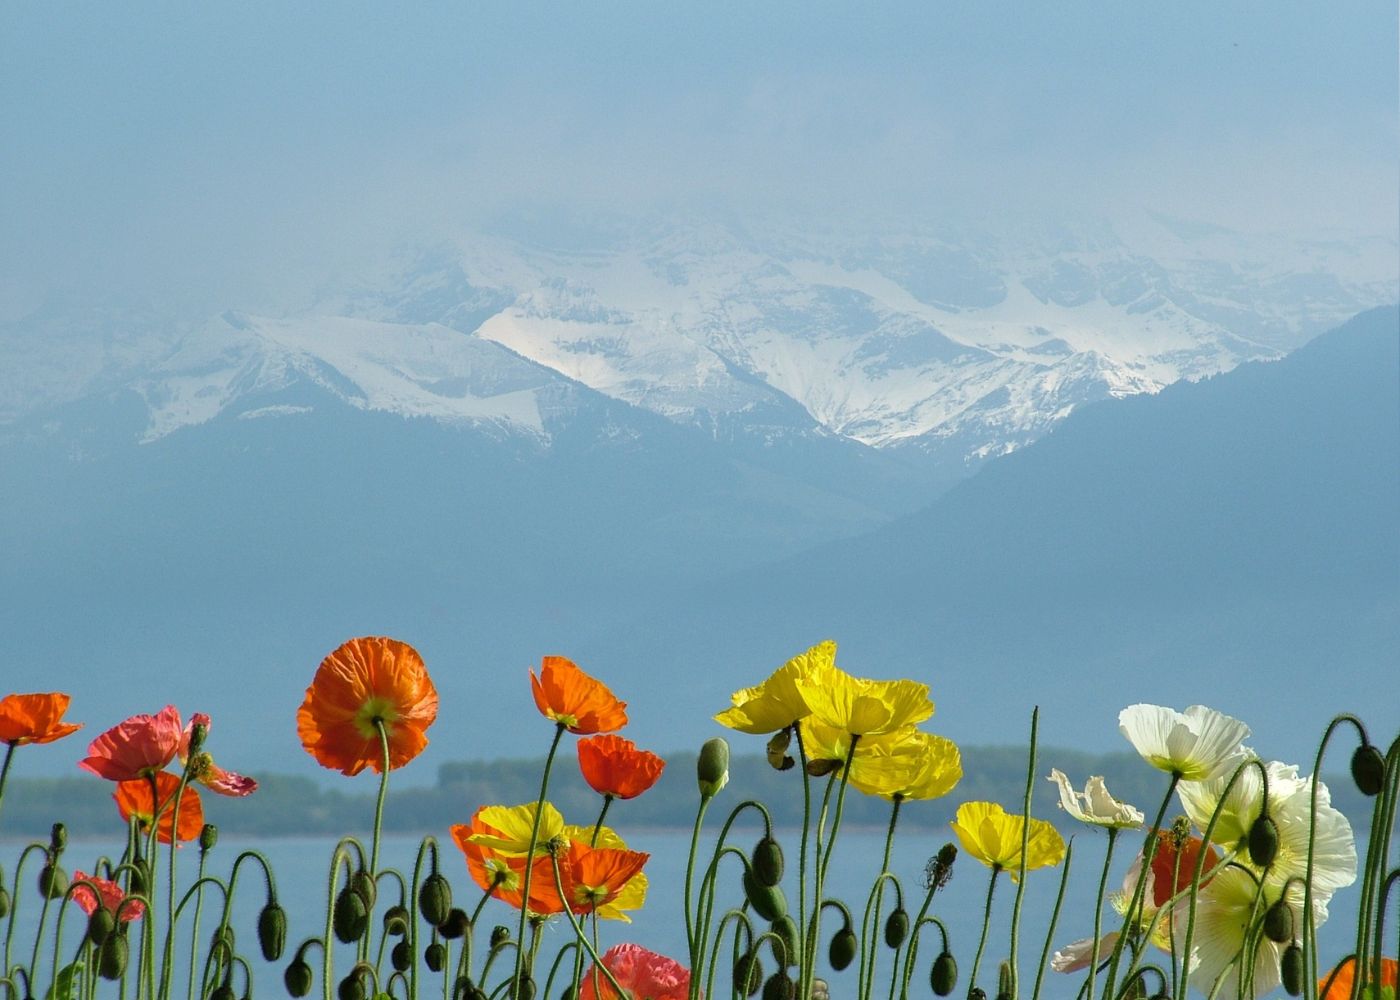
Winter sowing is a great way for home gardeners to get an early start on their poppy plants, and with just a few simple steps you can create beautiful blooms in your yard. Poppy plants are easy to grow, require minimal maintenance and provide amazing color all season long!
In this blog post we’ll discuss the benefits of winter sowing poppies, how to prepare containers for them, planting poppy seeds in the cold weather months as well as caring for and transplanting seedlings so that they will thrive when spring arrives. So if you’re looking forward to enjoying stunning pops of pink or orange from these popular flowers come summertime – read on!

Winter sowing poppies
Winter sowing is a low-cost method of planting that requires minimal effort yet yields beautiful results. With winter sowing, you can start poppy seeds outdoors in the cold months of winter without having to worry about frost or other weather conditions damaging them.
To begin, you will need some containers, such as plastic cups or milk jugs. Fill each container with potting soil and add several poppy seeds per container. Then place the lid on top and place the containers in a sunny spot outside where they won’t be disturbed by animals or people. The cold temperatures of winter help break down the seed coat so that when spring arrives, germination occurs naturally and quickly.
When it comes time to transplant your poppies into their permanent home in your garden bed, make sure you dig deep enough so that there is plenty of room for roots to grow beneath the surface level of the soil. Water regularly during dry spells and keep weeds away from your plants as much as possible – this will give them more space to thrive. Once established, enjoy watching these delicate flowers bloom throughout summertime until autumn arrives again.

Benefits of winter sowing poppies
One of the biggest benefits of winter sowing poppies is that they will usually bloom earlier than if planted traditionally. Poppy seeds can be started by planting them in the winter and allowing them to germinate naturally at the right time in the spring. You’ll get blooms weeks ahead of traditional direct sowing methods.
Another benefit is that poppy plants grown from seed tend to be more vigorous and produce larger yields than those grown from transplants or cuttings. The extra effort required for starting them from seed pays off with bigger and better blooms throughout the season.
Poppies also require very little maintenance once they’re established in your garden; simply water them regularly during dry spells and deadhead spent flowers as needed. They don’t need any additional fertilizer or other care, so you can sit back and watch them grow with minimal effort on your part.
Finally, winter-sown poppy plants are less likely to suffer from disease or pests since they haven’t been exposed to harsh chemicals used in commercial production methods like transplanting or cutting propagation techniques often used by nurseries and greenhouses. This means healthier plants overall with fewer problems down the road.

Preparing containers for winter sowing your flower seeds
Preparing containers for winter sowing poppies is an important step in ensuring that your poppy plants will thrive during the cold months. To get started, you’ll need to gather clean containers and add drainage holes at the bottom. These can be anything from plastic cups or yogurt containers. Flexible containers are best.
Milk jugs are very common. You do need to cut through the middle so there is a bottom and a top, plus add drainage holes. But you don’t have to add air holes – just take off the lid!

Winter sowing poppy seeds
Once all containers are prepared, sprinkle some poppy seeds onto each one evenly across its surface. Try not to overcrowd as this could lead poor results later on down line. Cover the seeds lightly with additional potting mix if you like (but not deep at all – the seeds are so tiny).
Mist the seed bed with some water. Tape the container shut, leaving some kind of opening for air circulation and for precipitation to enter gently. Place the container outside where it is exposed to cold temperatures and precipitation like rain and snow.
Caring for winter-sown poppies
Once planted, water your poppies regularly throughout the winter months if it’s really dry to ensure they receive enough moisture to survive until springtime arrives. Keep an eye on the soil and make sure it does not dry out completely or become overly saturated with water.
Make sure the area is well-drained, as too much standing water can cause root rot which could lead to the death of the plants. As poppy seedlings are quite delicate, avoid over-fertilizing them and instead opt for a balanced fertilizer once every few weeks during their growing season.
In addition, be sure to check for pests such as aphids or caterpillars, which may try to feed on young leaves of poppy seedlings; if found, these should be removed by hand before applying insecticides if necessary. Finally, remember that poppies need plenty of sunlight, so make sure you rotate their position periodically throughout the day for optimal growth.
Transplanting poppy seedlings
Transplanting poppy seedlings is an important step in the winter sowing process. Once your poppy seeds have germinated and grown into healthy seedlings, it’s time to move them from their winter sowing containers into larger pots or directly into the garden.
Before transplanting your poppies, make sure they are well-watered and that you have prepared a suitable spot in either a pot or the garden bed where they will live out their lives as beautiful flowers. When transplanting poppies, take care not to damage their delicate roots by handling them gently and using a trowel or spoon to scoop up each individual plant.
When planting poppies in pots, use high-quality potting soil with good drainage and mix in some compost if desired. If planting multiple plants together, space them about 6 inches apart, so they have plenty of room to grow without crowding one another out too much.
If you’re transplanting your poppies directly into your garden beds instead of pots, dig holes large enough for each plant’s root ball and fill back around it with soil before lightly pressing down around it with your hands or feet to ensure good contact between roots and soil particles for better absorption of nutrients when watering later on.
Make sure there are no air pockets left behind after filling back around each plant. After planting all of your transplants, water thoroughly to ensure adequate hydration while also helping settle soil particles around roots.
Once planted properly, keep an eye on newly transplanted plants over the next few days. Look out for wilting leaves due to shock caused by moving them from one environment (winter sowing container) into another (either pot or garden). If signs like these appear, give extra attention and TLC, such as providing additional shade and water during the hottest parts of the day until they start looking healthier again.
Deadheading poppy plants in the garden
Deadheading spent blooms is the key to keeping them looking their best all season long. This is the process of removing faded or dead flowers from plants in order to encourage new growth and prevent seed production. This helps keep your plants looking healthy and encourages more blooms throughout the season. It’s also important for winter-sown poppies because it prevents them from producing too many seeds, which can be difficult to manage later on in the year when you’re trying to maintain your garden beds.
Use clean pruning shears or scissors, and make sure that you remove only the flower head itself, not any foliage or stems attached to it as this could damage the plant’s overall health. Start by cutting off each individual bloom at its base, where it meets with its stem, then move on to other faded flowers until all spent blooms have been removed from the plant’s stem structure. Be careful not to over-prune as this could reduce the flowering potential for next season.
Deadheading has several benefits, including encouraging new growth and preventing unwanted seed production, which can help keep your garden beds tidy throughout summer months while still allowing plenty of opportunity for future blooming cycles if desired. Additionally, regular deadheading will promote healthier plants since there won’t be any old blossoms weighing down branches or taking up valuable nutrients needed elsewhere within a plant’s system.
FAQs about winter sowing poppies
Do poppies need cold stratification?
Yes, poppies do need cold stratification in order to germinate. This process involves exposing the seeds to temperatures below 40°F for a period of time (usually 1-3 months). Cold stratification helps break down dormancy and encourages seed germination. It can be done by storing the poppy seeds in a refrigerator or outside during winter months. Once the cold stratification is complete, you can sow your poppy seeds outdoors as soon as the soil can be worked in springtime.
Can you winter sow Iceland poppies?
Yes, Iceland poppies can be winter sown. This is a great way to get them started in the spring without having to wait for warmer weather. To do this, fill a container with potting soil and scatter poppy seeds on top. Cover lightly with more soil and water thoroughly. Place the container outside in an area that receives full sun or partial shade and keep it moist throughout the winter months until germination occurs in early spring.
Can you sow poppies in fall?
Yes, you can sow poppies in the fall. Fall is a great time to plant poppies because the cooler temperatures are ideal for germination and growth. Additionally, sowing in fall allows the plants to become established before winter arrives. It’s important to prepare your soil properly before planting by loosening it and adding compost or fertilizer if needed. Planting depth should be about 1/4 inch deep and spaced 6-12 inches apart depending on variety. Water regularly until seedlings emerge then reduce watering as needed throughout the season.
How long do poppies need cold stratification?
Poppies need cold stratification for a period of 4 to 6 weeks in order to germinate. This process involves exposing the poppy seeds to temperatures between 33-41°F (0.5-5°C). The temperature must remain consistent throughout the entire stratification period, and it is important that the soil or medium used remains moist but not wet during this time. After 4-6 weeks, you can then sow your poppy seeds directly into prepared beds or containers with well-draining soil and keep them consistently moist until they begin to sprout.
Before you go…
Not only will you have beautiful blooms, but you’ll also be able to enjoy the satisfaction of having grown them yourself! With just a few simple steps and some patience, you can easily winter sow poppy seeds and watch as they grow into vibrant flowers that bring beauty and joy to your outdoor space.


