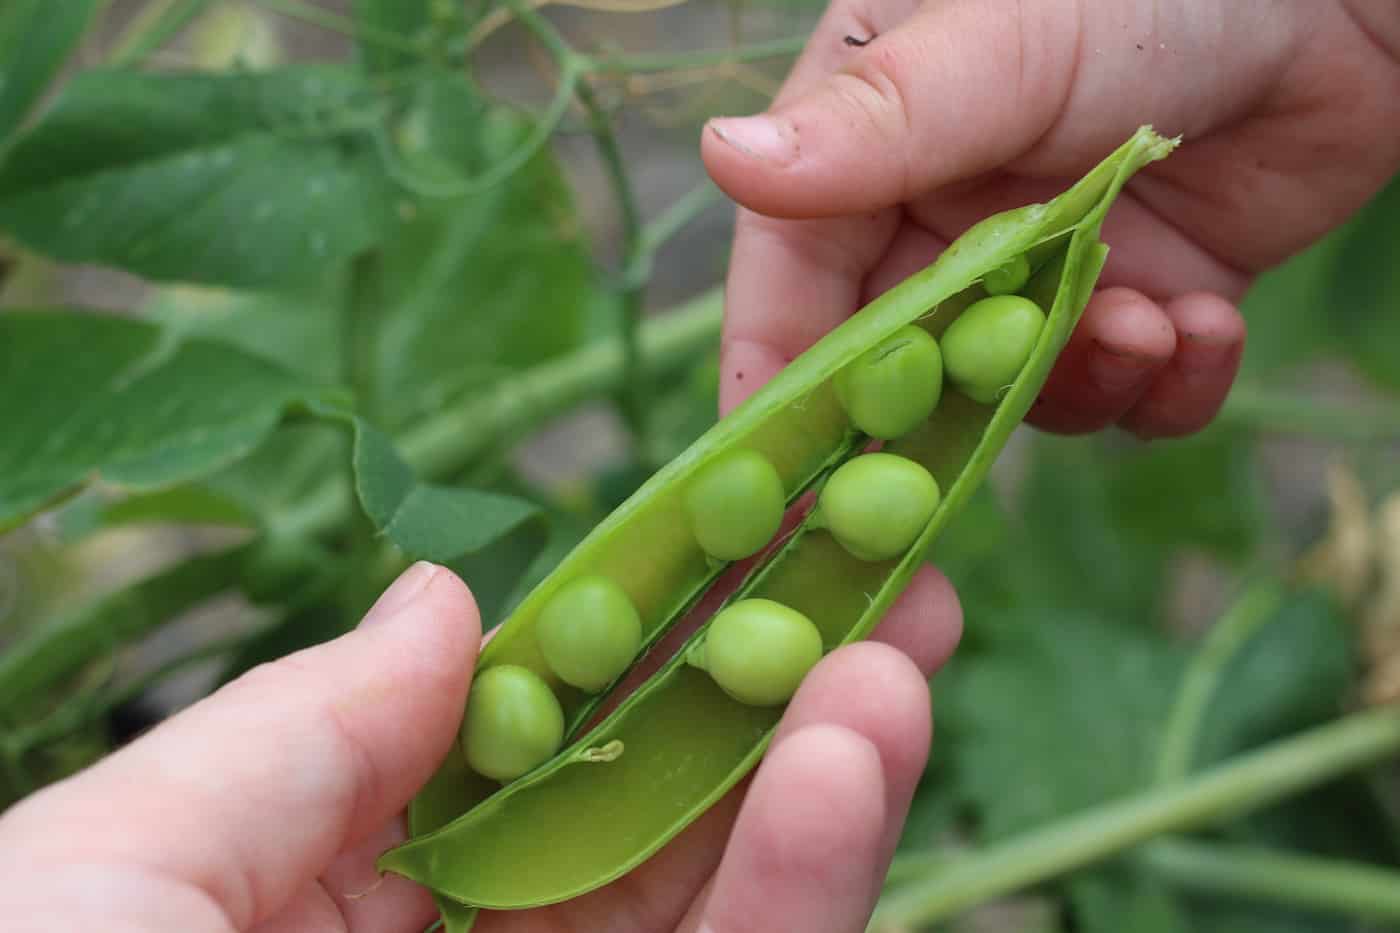
Ready to start winter sowing some veggies? Peas are a great way to start.
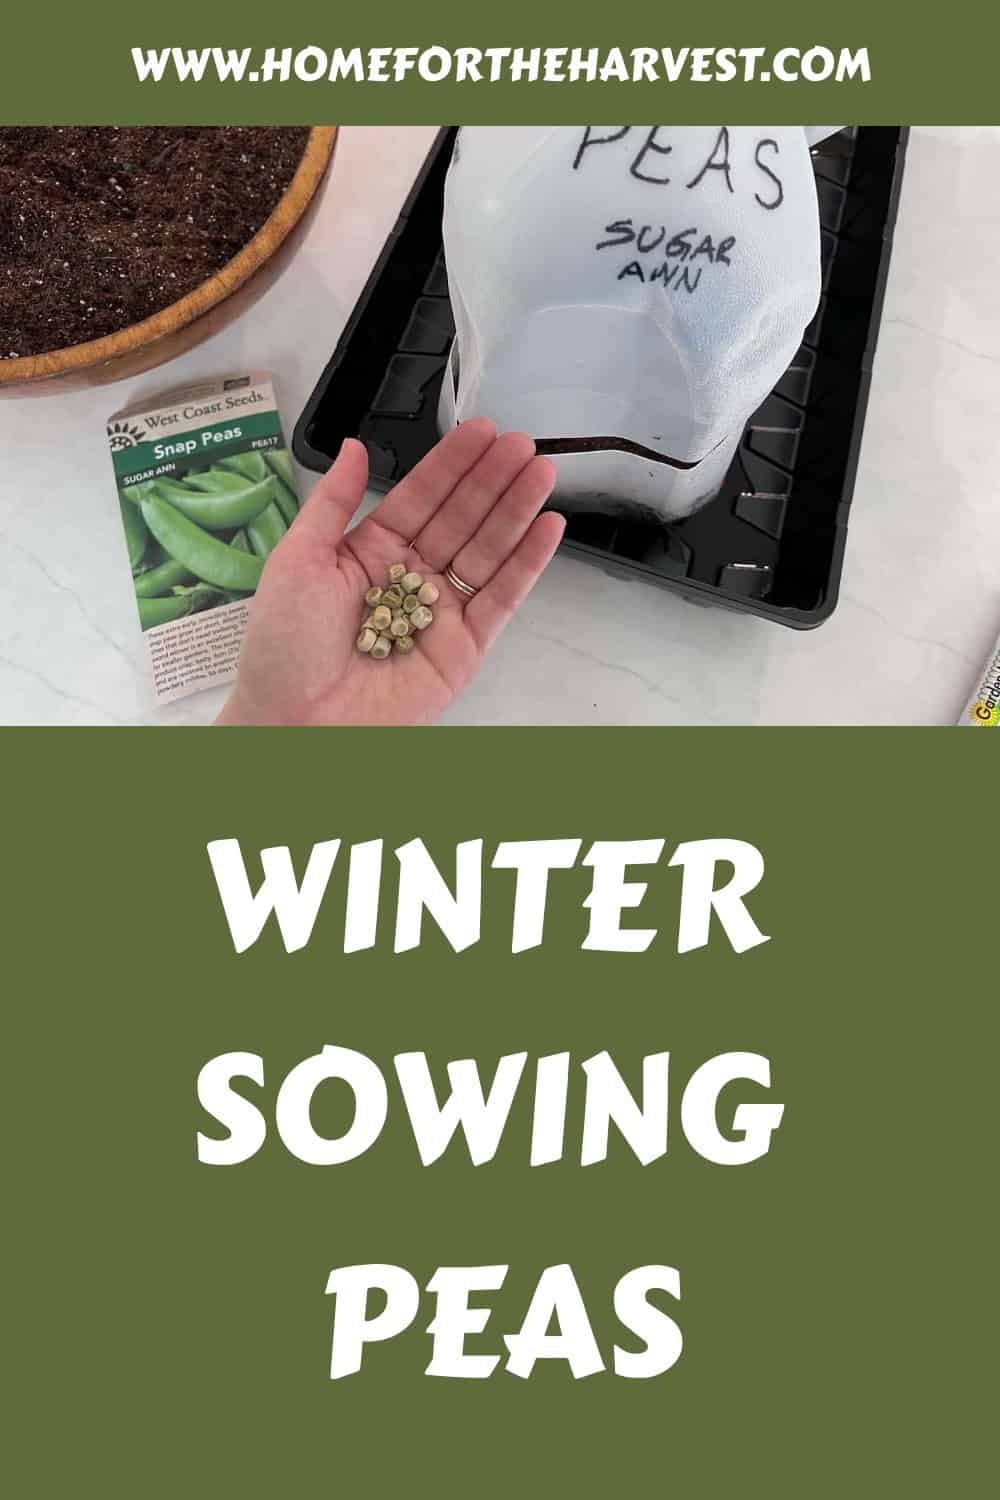
Winter sowing peas start by choosing a container with a transparent cover and a bottom that contains drainage holes. Fill the container with moist potting mix, plant the pea seeds, and water the container. Then place it outdoors in the elements where it will receive sun and precipitation. Peas are usually winter sown in January-February for germination in early spring.
Winter sowing peas
Winter sowing is a great way to get a jump start on your garden without having to worry about starting seeds indoors or buying seedlings from a nursery. Peas are one of the best vegetables for winter sowing, as they can tolerate cold temperatures and will germinate quickly when the weather warms up.
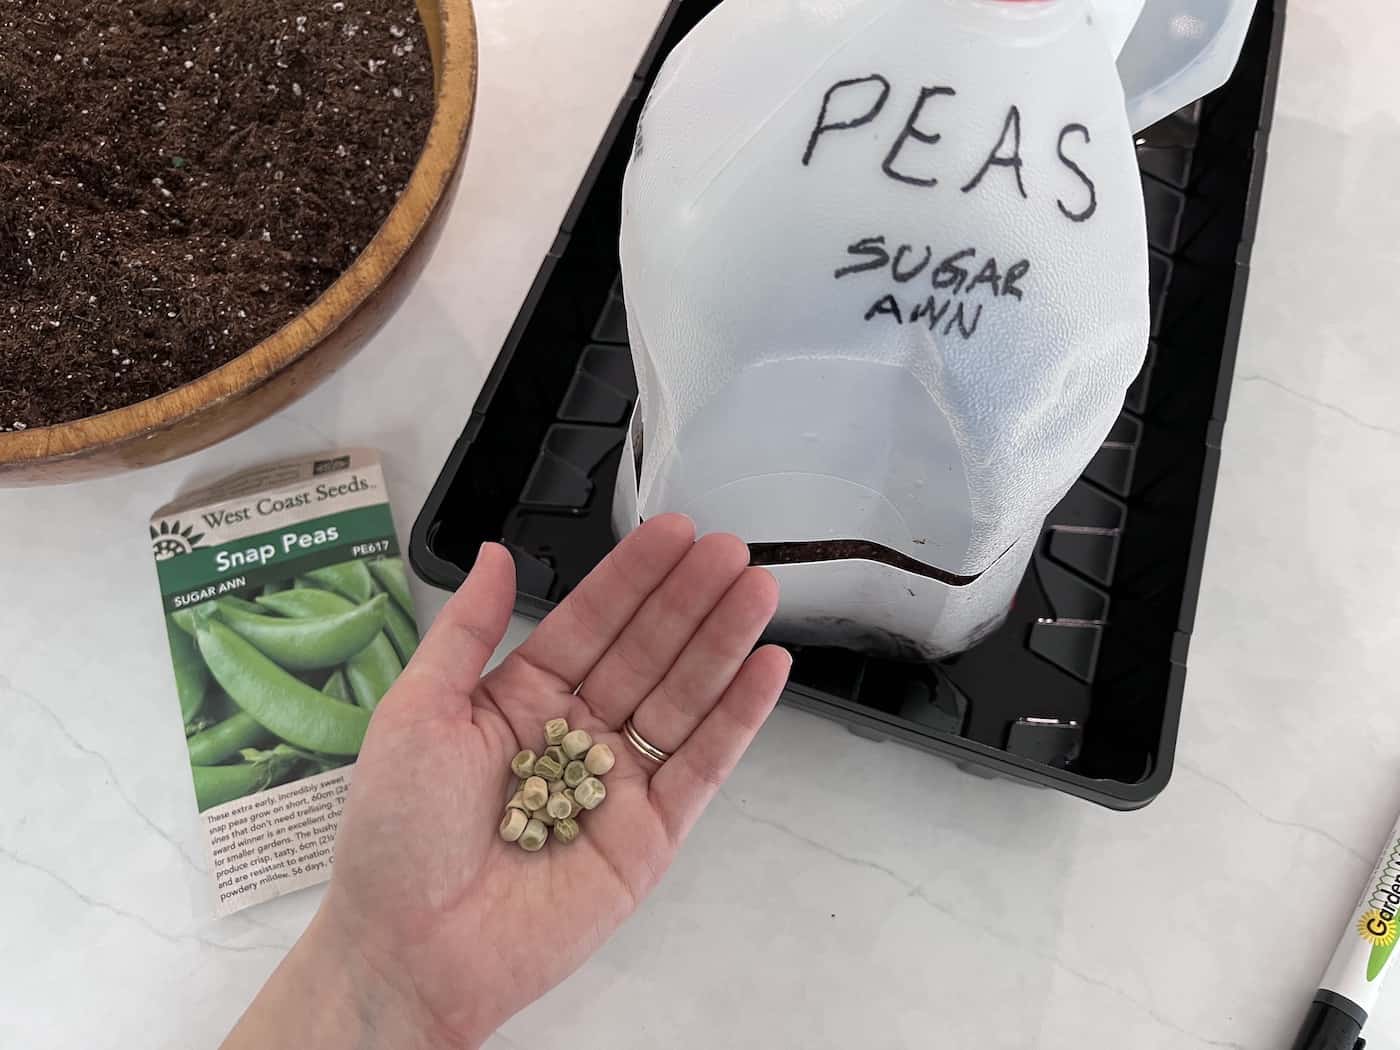
To begin, you’ll need some containers that have drainage holes in them (or added to them). Milk jugs, plastic cups, yogurt containers – anything with holes in it will work. Fill each container with potting soil and moisten it before planting your pea seeds.
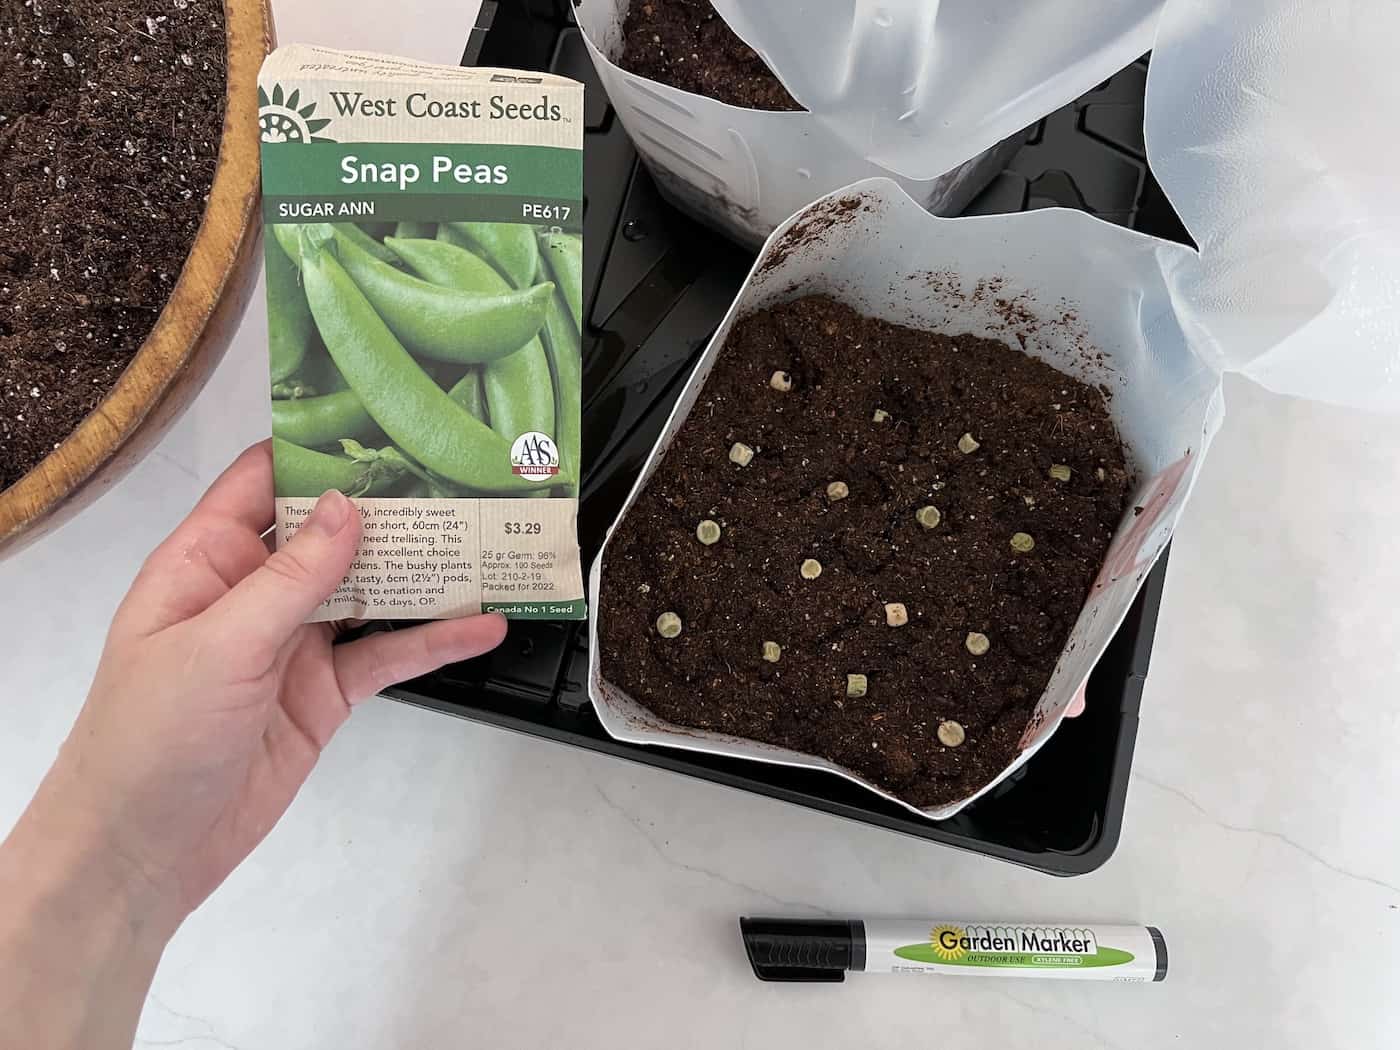
Once your containers are ready, plant anywhere from one to a dozen pea seeds per container about 1/2 inch deep into the soil. Cover lightly with more potting soil and water gently until damp but not soaking wet. Place lids on top of each container if available; otherwise, use plastic wrap or something similar to keep moisture inside the container while allowing air circulation at the same time.
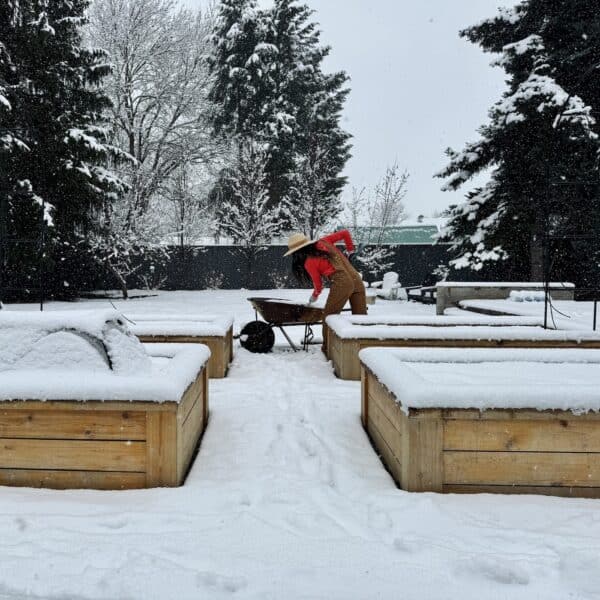
Now that you’ve planted your peas, you’ll need to find an appropriate place for them where they won’t be disturbed by animals or people during their growth period over winter months. A spot near a fence line works well since this area tends to be warmer than other areas due to the reflected heat. Make sure there is plenty of sunlight so that your plants can get enough energy from photosynthesis throughout their growing season (about 8-10 weeks).
Once 8-10 weeks have passed, check back on your peas every few days until you see small seedlings emerging. When they get a few inches tall, it is time to transplant them into larger pots or directly into garden beds outdoors, ensuring that there is no frost still lingering around first. Transplant carefully using gloves and taking care not to disturb roots too much as this could damage young plants permanently. After transplanting, water thoroughly and continue caring for them as normal until harvest time arrives.
Winter sowing peas is a great way to get an early start on the growing season. With the right preparation, you can easily create your own containers for planting and be ready to enjoy fresh pea pods in no time.
Preparing containers for planting
Here’s how you can compare different types of containers for winter sowing.
What You Need
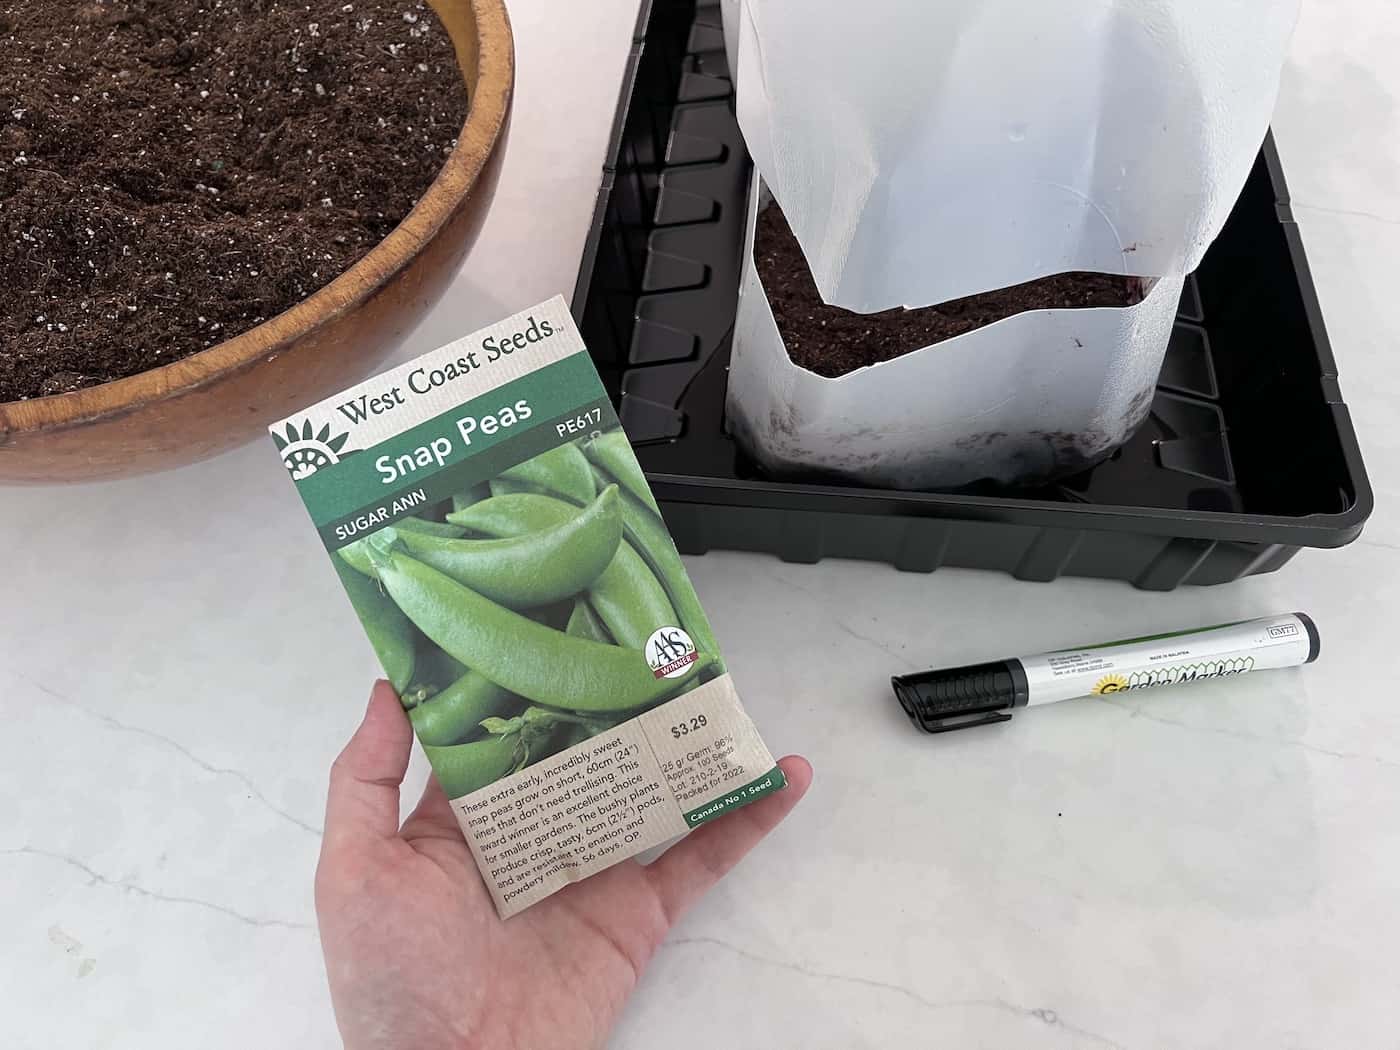
Before you begin, make sure you have the right materials. For winter sowing peas, you will need a container that is at least 6 inches deep and has drainage holes in the bottom. A plastic milk jug or other food storage container works well for this purpose. Additionally, you’ll need potting soil and pea seeds.
Preparing your growing container
Once your container is ready to go, it’s time to prepare it for planting. Start by filling the bottom of the container with an inch or two of moist potting soil; be sure not to overfill, as this can cause waterlogging and root rot in your plants. Usually, between 2-4 inches of soil works well.
Adding fertilizer (optional)
If desired, adding fertilizer to your containers before planting can give them a nutrient boost throughout their growth cycle. To do so, mix a small amount of balanced organic fertilizer into each gallon of potting soil before filling up your containers – just be careful not to add too much, as this can burn delicate seedlings once they emerge from the ground. Many potting soils have fertilizers added already, so you likely don’t have to do this.
Planting pea seeds with the winter sowing method
Planting pea seeds with the winter sowing method is a great way to get your garden off to an early start. This technique allows you to plant your peas in the late fall or early winter and have them ready for harvest by springtime. It’s also an easy way to save money on buying seedlings from a nursery, as you can use old containers and soil from around your home. Here’s how it works:
Place a few pea seeds in each container and cover lightly with more potting soil (about 1/2 inch). Water lightly after planting and place lids over each container if available – this will help keep moisture levels consistent while they germinate. If no lid is available, simply wrap cling film around each cup or jug instead.
Where to place your winter sown peas
When it comes to winter sowing peas, the location of your containers is just as important as the soil and seeds you use. Peas need plenty of sunlight in order to thrive, so choose a spot that gets at least six hours of direct sun each day. You should also make sure that the area has good drainage and isn’t prone to flooding or waterlogging.
Protection from strong wind can be helpful, but be sure to place your planted containers where they can receive both sunlight and precipitation. Snow and rain will enter through the holes in the top of the cover (and you shouldn’t have to water the planters often at all).
It can also help if you place some kind of windbreak around your containers such as fencing panels or even large potted plants like shrubs and trees which will provide extra protection against harsh weather conditions while still allowing enough light into reach your pea seedlings during their growth period.
Transplanting pea seedlings
Transplanting pea seedlings is an easy and rewarding task for any gardener. It’s important to wait until the soil has warmed up in spring before transplanting your pea seedlings, as cold soil can stunt their growth. When you’re ready to transplant, make sure that the area you choose is well-drained and sunny.
Choose a container or bed with plenty of room for each plant to grow without crowding its neighbors. Remove the soil and plants from the planted container. Carefully separate the seedlings if there are multiples, handling them by the leaves rather than the roots.
Dig a hole slightly larger than the root ball of each seedling and place it in the hole at the same depth it was growing before. Gently fill in around the roots with soil and press down lightly so that there are no air pockets left around them. Water thoroughly after planting and add mulch if desired to help retain moisture in dry weather conditions.
When transplanting multiple plants, space them out evenly according to their mature size so they have enough room when fully grown – this will also help reduce competition between plants for resources like sunlight, water, and nutrients from the soil. If necessary, use stakes or cages to support taller varieties such as pole peas once they reach maturity.
Finally, keep an eye on your transplanted pea seedlings over time; regularly check for signs of disease or pests such as aphids which may need treatment with insecticidal soap or other organic methods depending on the severity of infestation. With proper care during this stage of development, your winter sown peas should be ready for harvest by summertime.
FAQs about winter sowing peas
When do you winter sow peas?
Winter sow peas can usually be planted any time between December or March. These plants are cold hardy and will germinate in early spring when the soil inside the container thaws. Winter sown pea seedlings tend to be more hardy than those started indoors.
When should winter peas be planted?
You can plant peas in the garden in the fall if you like. Winter peas should be planted in late summer or early fall, when the soil temperature is at least 65°F. It’s best to wait until after the first frost for optimal results.
Winter peas require full sun and well-drained soil with a pH of 6-7. Make sure to provide adequate space between each seed as they will spread out over time. Water regularly during dry periods, but avoid overwatering as this can lead to disease and root rot. With proper care, you’ll have a healthy crop of winter peas come spring.
Can you winter sow peas directly into the ground?
Yes you can winter sow peas directly into the ground. If you have a small area with thawed surface soil, you can place a cover over the soil. While in-ground soil won’t warm as fast as soil in a container, the cover makes a mini greenhouse (like a cloche) over the baby plants.
Before you go…
We need to get creative and find ways to grow food during the cold winter months. Winter sowing peas is a great way to ensure that we can have fresh produce even when it’s too cold outside for traditional gardening. By using recycled containers, simple soil mix, and some seeds you can easily create an outdoor garden in any climate. Join us today in taking action towards providing sustainable solutions for our families by giving winter sowing peas a try!