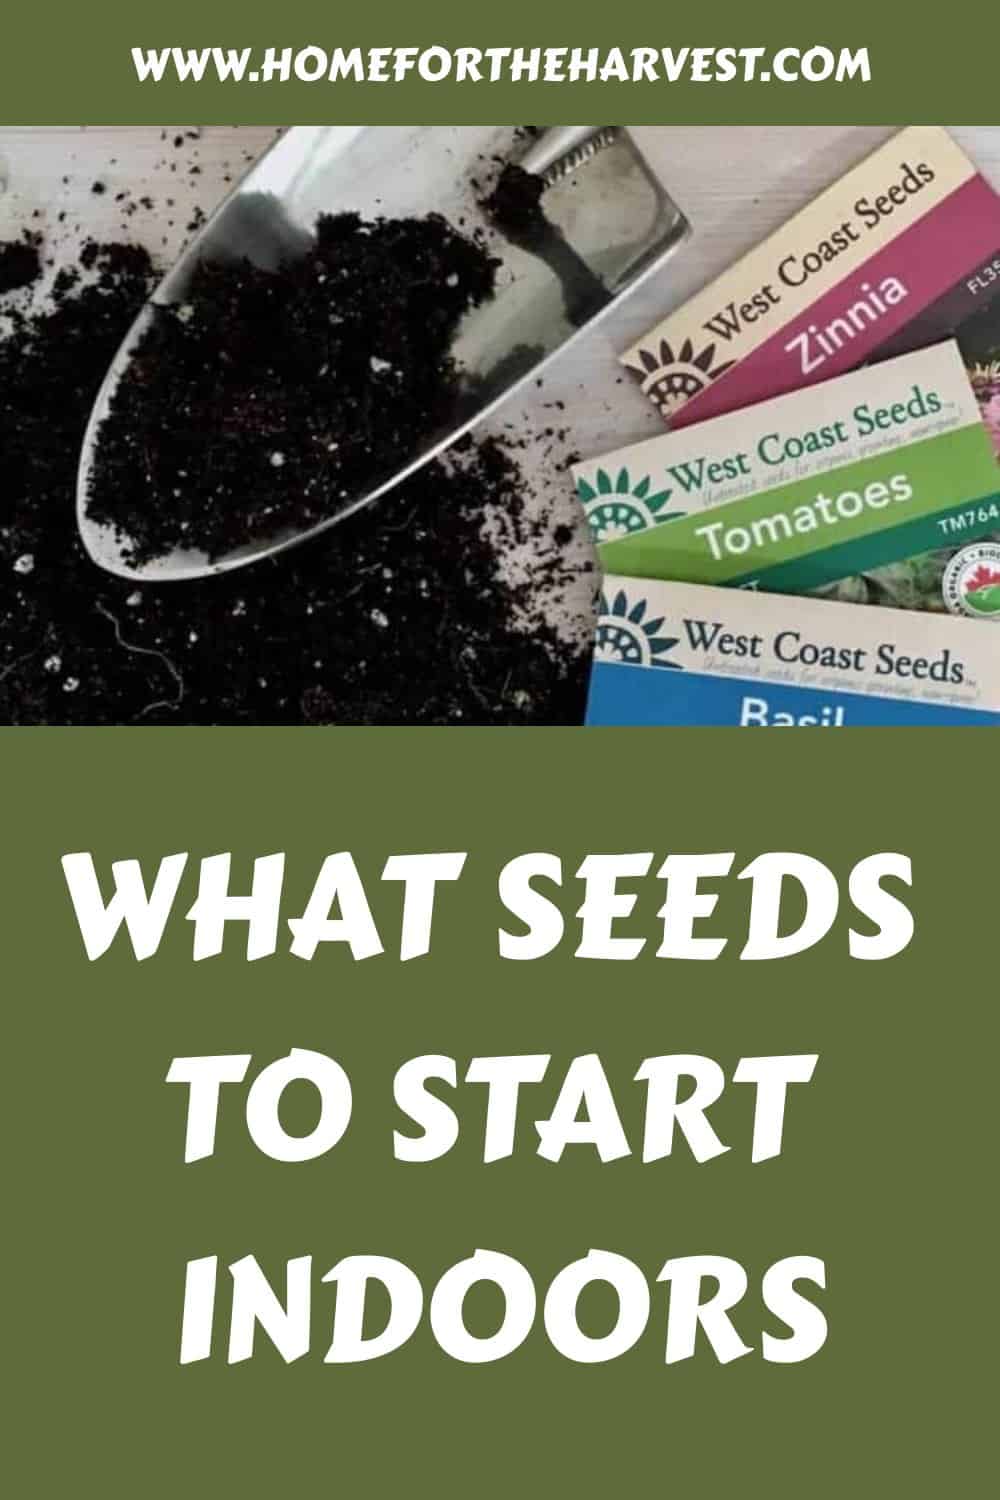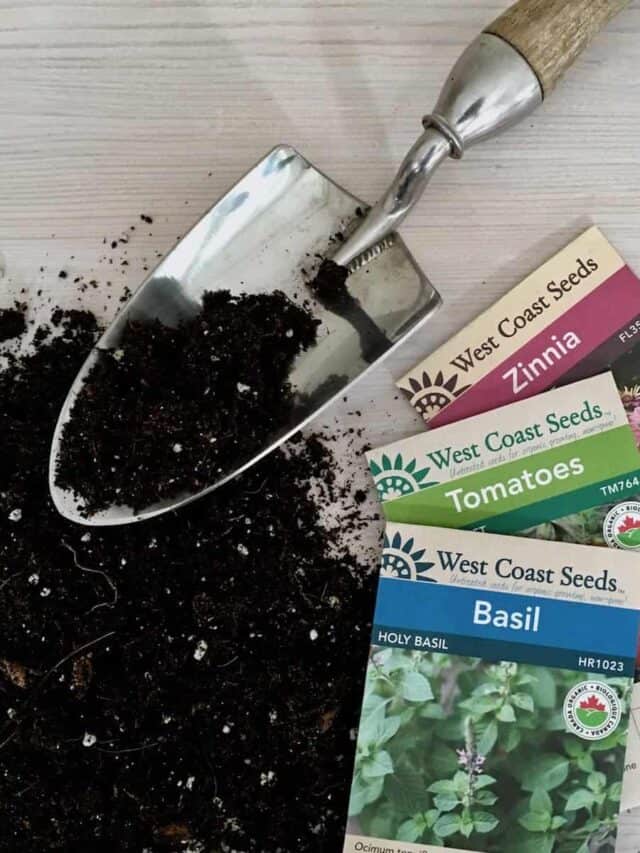


Wondering what seeds to start indoors? Whether it’s flowers, herbs, or vegetables, growing plants from seed is both rewarding and satisfying. With just the right combination of knowledge and effort, you can successfully start seeds indoors for an early head-start on the season.
In this blog post, we’ll discuss everything you need to know about choosing the right seeds to start indoors, preparing containers for planting, and caring for seedlings until they’re strong enough to be transplanted outdoors – all with a happy tone that will have you feeling excited and confident in no time. So grab those garden gloves and let’s get started.
Choosing the right seeds to start indoors
When it comes to starting your garden indoors, the first step is choosing the right seeds. It’s important to consider what type of climate and season you have in your area when selecting varieties that will be successful. Choose plants that are suited for your region and will have enough time to mature before the first frost.
Here are some different types of seeds that do well when you start them indoors:
- Artichoke
- Asparagus
- Broccoli
- Cabbage
- Cauliflower
- Celery
- Eggplant
- Endive
- Leek
- Lettuce
- Okra
- Onion
- Pepper
- Radicchio
- Scallions
- Shallot
- Tomatillo
- Tomato
Take into account how much space you have available and how much sunlight each plant needs. If you don’t have a lot of room or access to natural light, look for smaller varieties like celery, eggplant, leek, pepper, onion, or lettuce that can thrive in containers on windowsills or other sunny spots inside your home.
If you do have some outdoor space with plenty of sun exposure then consider tomato, globe artichoke, coleus, cauliflower, cabbage melon, cucumber, and basil. These are all great options for growing outdoors from seedlings started indoors. All these vegetables require at least 6 hours of direct sunlight per day so make sure they get enough light while they grow indoors before transplanting them outside later on in the season.
It’s also important to keep an eye out for any pests or diseases that could affect your plants while they’re still young and vulnerable – especially if you plan on bringing them outdoors eventually. Make sure to check regularly for signs of trouble such as wilting leaves or discoloration which could indicate something is wrong with one of your seedlings. Taking proper care now can save a lot of heartache down the line.
Finally, remember that even though gardening can seem intimidating at first, it doesn’t need to be complicated – just take things one step at a time starting with choosing the right seeds. With patience and practice, you’ll soon find yourself enjoying all sorts of homegrown veggies straight from your own backyard.
By selecting the right seeds for your indoor garden, you can ensure a successful harvest; now let’s move on to preparing the containers that will house them.

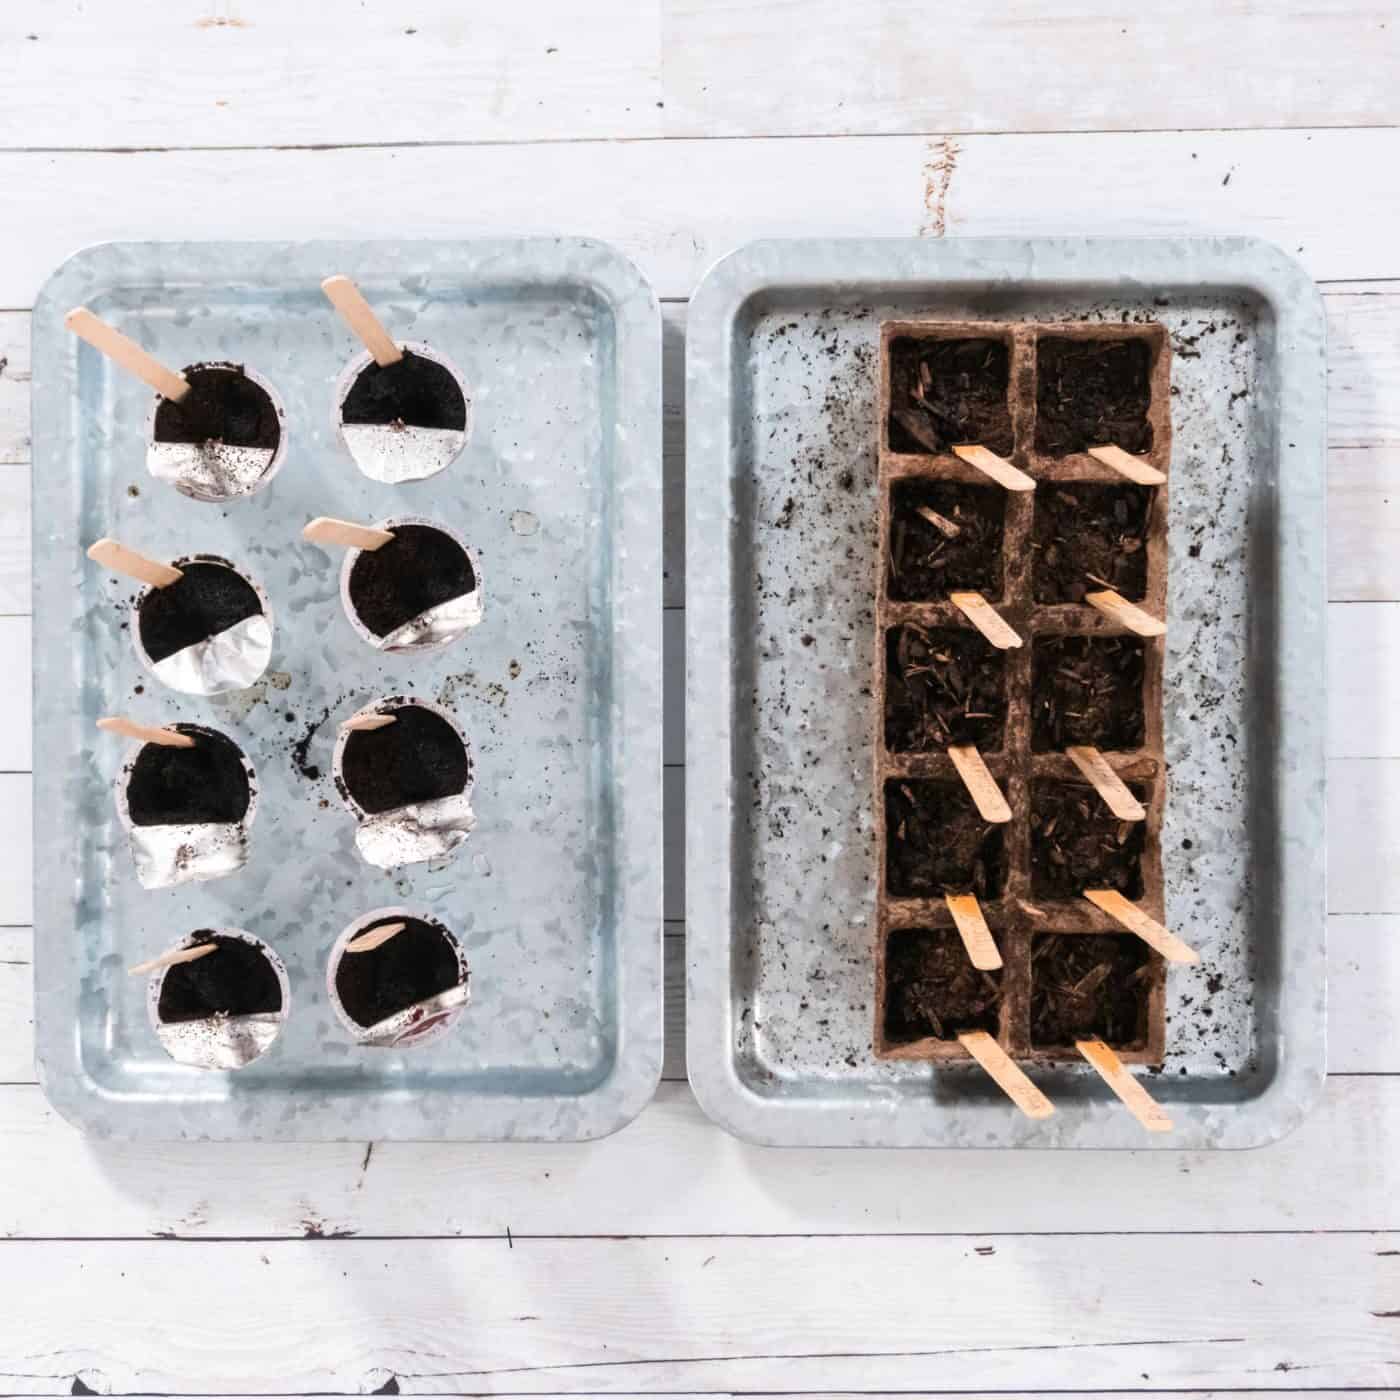
Preparing containers for seed starting
Containers are a great way to start your gardening journey. Whether you’re looking for an easy way to grow vegetables, herbs, or flowers, containers provide the perfect solution. Before you get started with planting your seeds, there are some important steps to take in order to ensure that your plants will thrive.
Choose containers
When selecting containers for growing plants, look for ones that are at least 3-4 inches deep and have drainage holes in the bottom. This will help prevent water from pooling around the roots of your plants and causing them to rot. Plastic pots work well as they are lightweight and affordable but ceramic or terracotta pots can also be used if desired.
Fill them with potting mix
Once you’ve chosen the right container size and type, it’s time to fill it with potting mix. Make sure that you use a quality mix specifically designed for container gardening as this will provide essential nutrients for your plants while allowing excess water to drain away easily. Moisten the soil before planting by adding a few cups of warm water until it is evenly damp throughout – not soggy.
Label the containers
It can be difficult keeping track of all the different types of seeds when starting out so make sure each container is labeled clearly with what type of seed has been planted inside it. This will save time later on when trying to identify which plant is which once they begin sprouting up.
Once you have your containers ready, it’s time to get planting. To ensure success with your indoor seed-starting project, follow the next step: Planting Your Seeds.
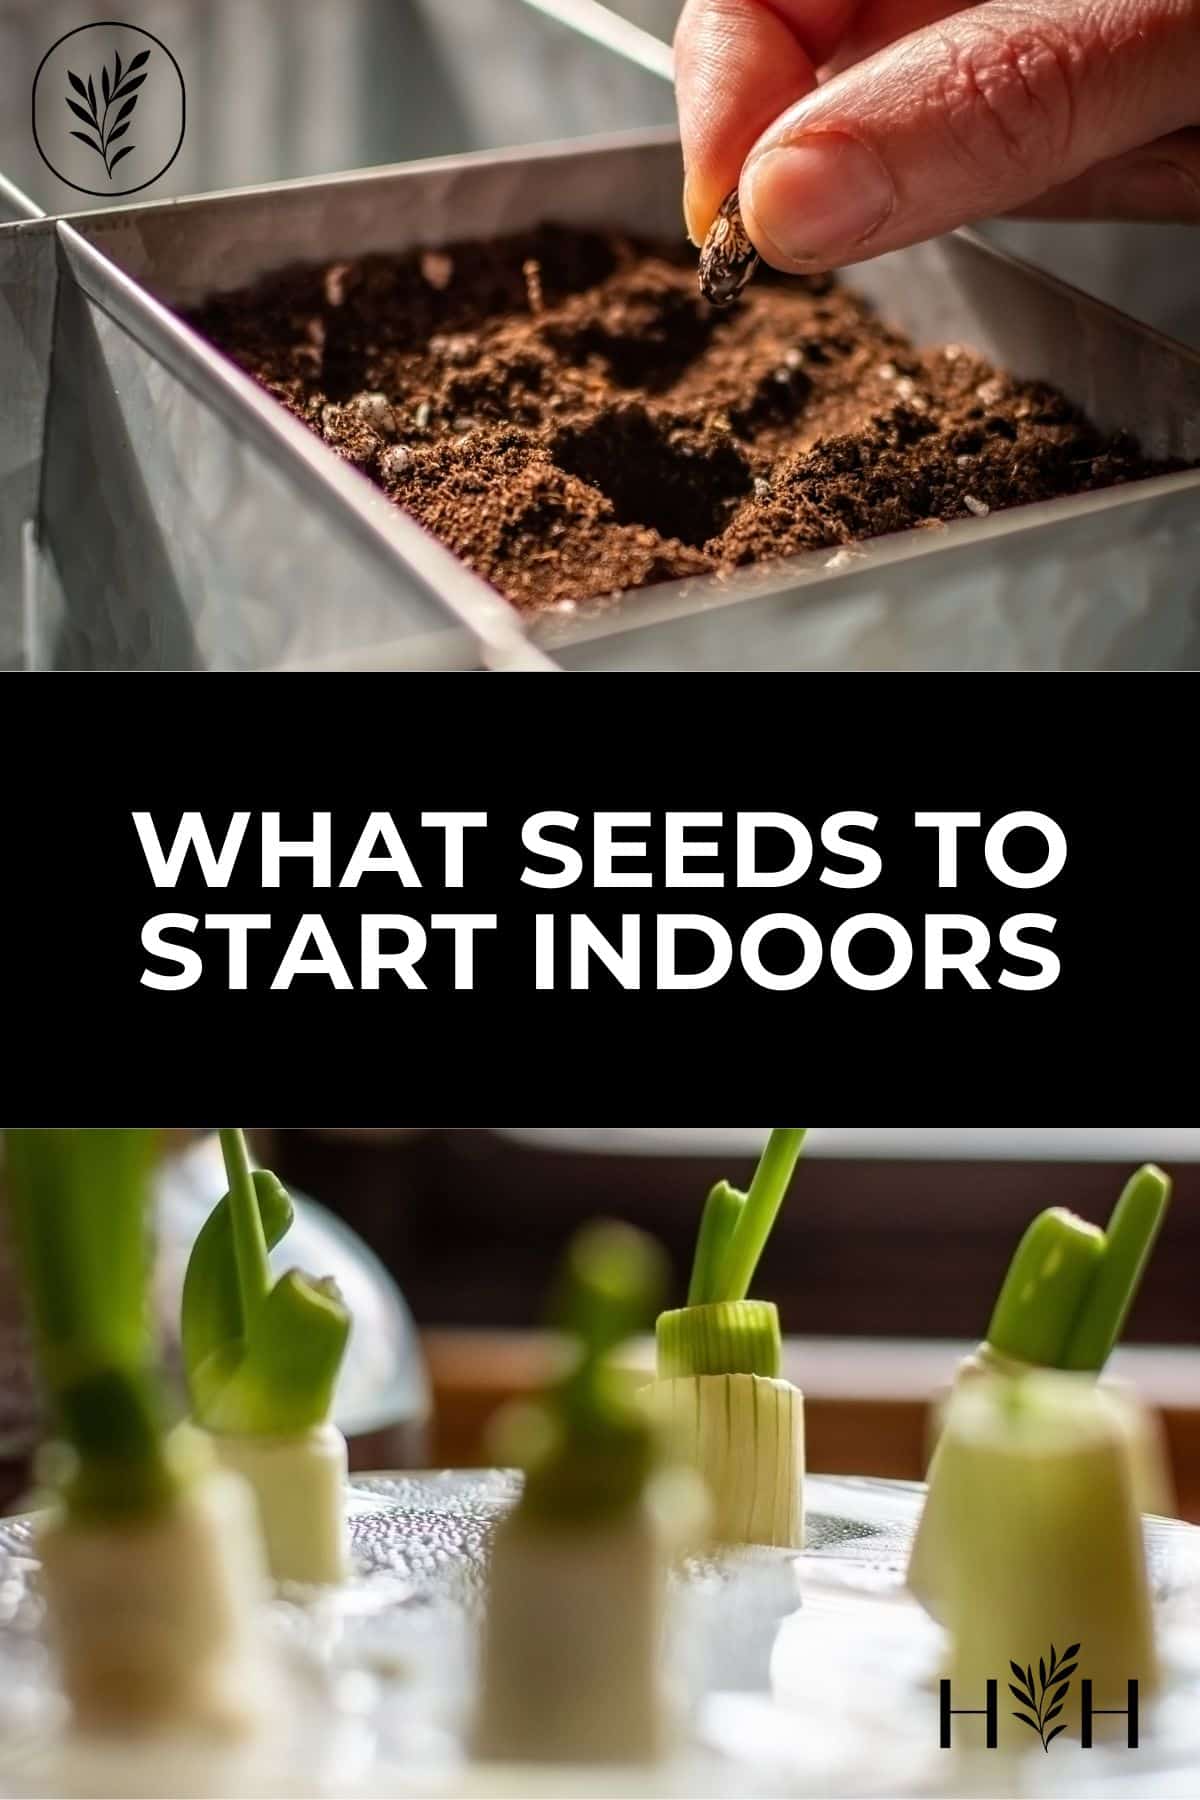
Planting your seeds
Planting your seeds is an important step in the gardening process. It’s a great way to get started on growing plants indoors and can be done with minimal effort. Before you begin, make sure you have the right type of seed for your climate and soil conditions.
Once you’ve chosen the correct seeds, it’s time to prepare your containers. Make sure they are clean and free from any debris or dirt that could harm your new seedlings. You’ll also want to ensure there are enough drainage holes in each container so excess water can escape without drowning the roots of your plants.
Next, fill each container with potting mix or compost up to about two-thirds full before planting two or three seeds per container at a depth of 1/4 inch deep into the soil and cover lightly with either more soil or vermiculite. Gently water until evenly moist but not soggy then places in a warm spot out of direct sunlight until germination occurs (usually within 7-14 days).
When watering, use lukewarm water as cold water may shock delicate young seedlings which could cause them to die off prematurely. Keep an eye on moisture levels during this period as too much moisture will encourage mold growth while too little will stunt plant growth due to lack of nutrients available for absorption by their root systems. If needed add additional fertilizer once seedlings appear above ground level for extra nourishment throughout their development stages if desired but always follow package instructions carefully when doing so.
Finally, when ready, transplanting outdoors should be done gradually over several weeks allowing plenty of time for acclimation between indoor and outdoor environments to ensure success rates remain high regardless of where you decide to grow them.
Now that you’ve planted your seeds, it’s time to move on to the next step: caring for your seedlings. With some attention and TLC, they’ll soon be ready to plant outdoors.
Caring for seedlings indoors
Once your seedlings emerge, move them to a sunny spot. Make sure the sun is not too intense for young plants as they can get scorched in direct sunlight. If you don’t have enough natural light indoors, consider using grow lights to supplement their needs. Water regularly to keep the soil evenly moist but not soggy; this will depend on the type of container and how quickly it dries out.
Fertilize every two weeks with a balanced liquid fertilizer diluted according to package directions – this helps provide essential nutrients that help your plants thrive. Thin out any overcrowded seedlings by snipping off extra plants at their base with scissors or tweezers when they reach 2-3 inches tall. This allows each plant room to grow and prevents competition for resources like water and light which can stunt growth or even kill weaker seedlings if left unchecked.
Lastly, make sure your seedlings are getting plenty of air circulation by gently shaking branches occasionally throughout the day. This helps prevent fungal diseases from taking hold in damp conditions and allows for healthier growth. With proper care and attention, you can enjoy healthy homegrown vegetables all season long.
Once your seedlings are established, it’s time to move them outdoors. With careful preparation and the right knowledge, you can ensure a successful transplanting experience.

Transplanting seedlings outdoors
Transplanting outdoors is an exciting step in the gardening process. When your seedlings are 4-6 inches tall and all danger of frost has passed, it’s time to move them from their indoor homes into the garden or containers.
Preparing for transplanting
Before you transplant, dig holes twice as wide as the root ball of each plant. Fill these with compost or aged manure before planting each one at its original depth from indoors.
Planting the seedlings
Once you have prepared your soil and chosen a sunny spot for your plants, carefully remove them from their container. Gently loosen any roots that may be tangled together before placing in the hole you dug earlier. Make sure to fill around the base of each plant with soil until there are no air pockets left and press down firmly on top of the soil to secure it in place. Water thoroughly after transplanting and mulch around each plant for added protection against weeds and moisture loss from evaporation.
Caring for your plants
After transplanting outdoors, keep an eye out for signs of stress such as wilting leaves or yellowed foliage which can indicate too much sun exposure or not enough water respectively. If this happens, adjust accordingly by providing more shade if needed or increasing the watering frequency if necessary. Additionally, check regularly for pests like aphids which can cause damage to new transplants quickly so they should be treated right away if spotted.
With proper care during this transition period between indoors and outdoors, your plants will soon begin producing fruit (or vegetables) ready for harvest. Enjoy watching them grow throughout the summer months while harvesting delicious produce along the way – happy gardening.
FAQs about which seeds to start indoors
What seeds grow best indoors?
Indoor gardening can be a great way to bring nature into your home. There are many types of seeds that grow well indoors, including herbs like basil and oregano, leafy greens such as kale and spinach, tomatoes, peppers, beans, peas, and even flowers. When selecting seeds for indoor gardening it is important to consider the amount of light available in the space you have chosen for your garden. Some plants require more sunlight than others so make sure to choose varieties that will thrive in the conditions you provide. Additionally, select varieties with shorter growing cycles since they will produce results faster than those with longer cycles. With careful selection and proper care, you can enjoy a beautiful indoor garden all year round.
What is the easiest seed to grow indoors?
The easiest seed to grow indoors is the pea. Peas are a great choice for indoor gardening because they require minimal space and attention, yet can produce an abundant harvest in just a few weeks. Peas thrive in cooler temperatures and don’t need much light, making them ideal for growing indoors. They also have relatively short germination times compared to other seeds, so you won’t have to wait long before seeing results. With some soil, water, and patience you’ll be able to enjoy fresh peas from your own home-grown garden.
What month do you start seeds indoors?
The best time to start seeds indoors depends on the type of plant you are growing and your local climate. Generally, most plants should be started 6-8 weeks before the last frost date in your area. For example, if the last frost date is May 15th, then seeds should be started around mid-March. However, some warm-season crops such as tomatoes can benefit from being started earlier than this – typically 8-10 weeks prior to the last frost date. Additionally, certain types of plants may require more or less time for germination and growth so it’s important to research each individual species before starting them indoors.
What seeds should I be starting now?
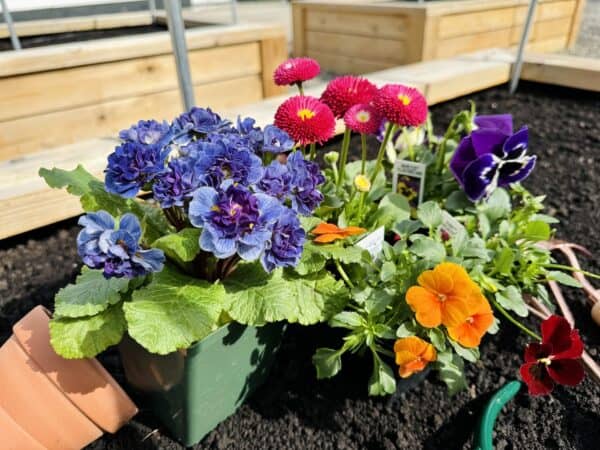
Now is the perfect time to start planting a variety of vegetable and flower seeds. Depending on your climate, some plants will do better in early spring while others can be planted later in the season. Consider starting cool-season vegetables such as lettuce, spinach, peas, kale, broccoli, and cauliflower indoors or directly outdoors if temperatures are mild enough. Additionally, you can begin sowing annual flowers like marigolds and zinnias for vibrant summer blooms. Lastly, don’t forget to plant herbs such as parsley and basil which thrive in warmer weather. With careful planning and research into what grows best in your area, you can have a successful garden this year.
Before you go…
Now is the time to start preparing for your garden! Indoor seed starting can be a great way to get ahead of the growing season and ensure that you have healthy plants come springtime. With careful planning, attention to detail, and proper care, you can grow many types of vegetables indoors before transferring them outdoors when it’s warm enough.
Resources
- The best garden catalogs for seeds, live plants, tools, and supplies
- Types of seeds: Open-pollinated, heirloom, organic, hybrid, & non-GMO
- Best seeds for winter sowing
- Winter sowing guide for planting seeds outdoors in cold climates
References
- Grove, E. (2021). The Gardener’s Guide To Starting Seeds Indoors For Self-Sufficient Backyard Homesteaders: Discover How To Sow, Germinate, & Transplant All The Veggies, Herbs, Flowers & Fruits You Love Most
- Knowing when to start planting seeds
- Gardening: January is planning time for starting seedlings indoors
Need more info?
Are you interested in learning more about what seeds to start indoors? Here are our best articles about it!