Thinking of having your own garden blog? Let me be the first to encourage you to start!
Starting a gardening blog has been a transformative experience for many other online garden writers I work with and for me. It’s so worthwhile to create our own spaces to share our real-life experiences and projects with the wider gardening community.
And these days, learning how to start a gardening blog is easier than ever! You no longer have to be a “tech-geek” to run your own website. Learning to blog has been much easier for me than learning to can veggies or even to do simple knitting projects.
Since you likely already know you want to start one, let’s get into the details of how to start a gardening blog so you can get yours up and running.

1. Choose your blog name
The very first thing you’ll need to choose is your blog’s name. Typically, it’s nice to have the name in the website’s address, as you’ll be sharing this name often. You can give it a garden-themed name or just use your own first and last name.
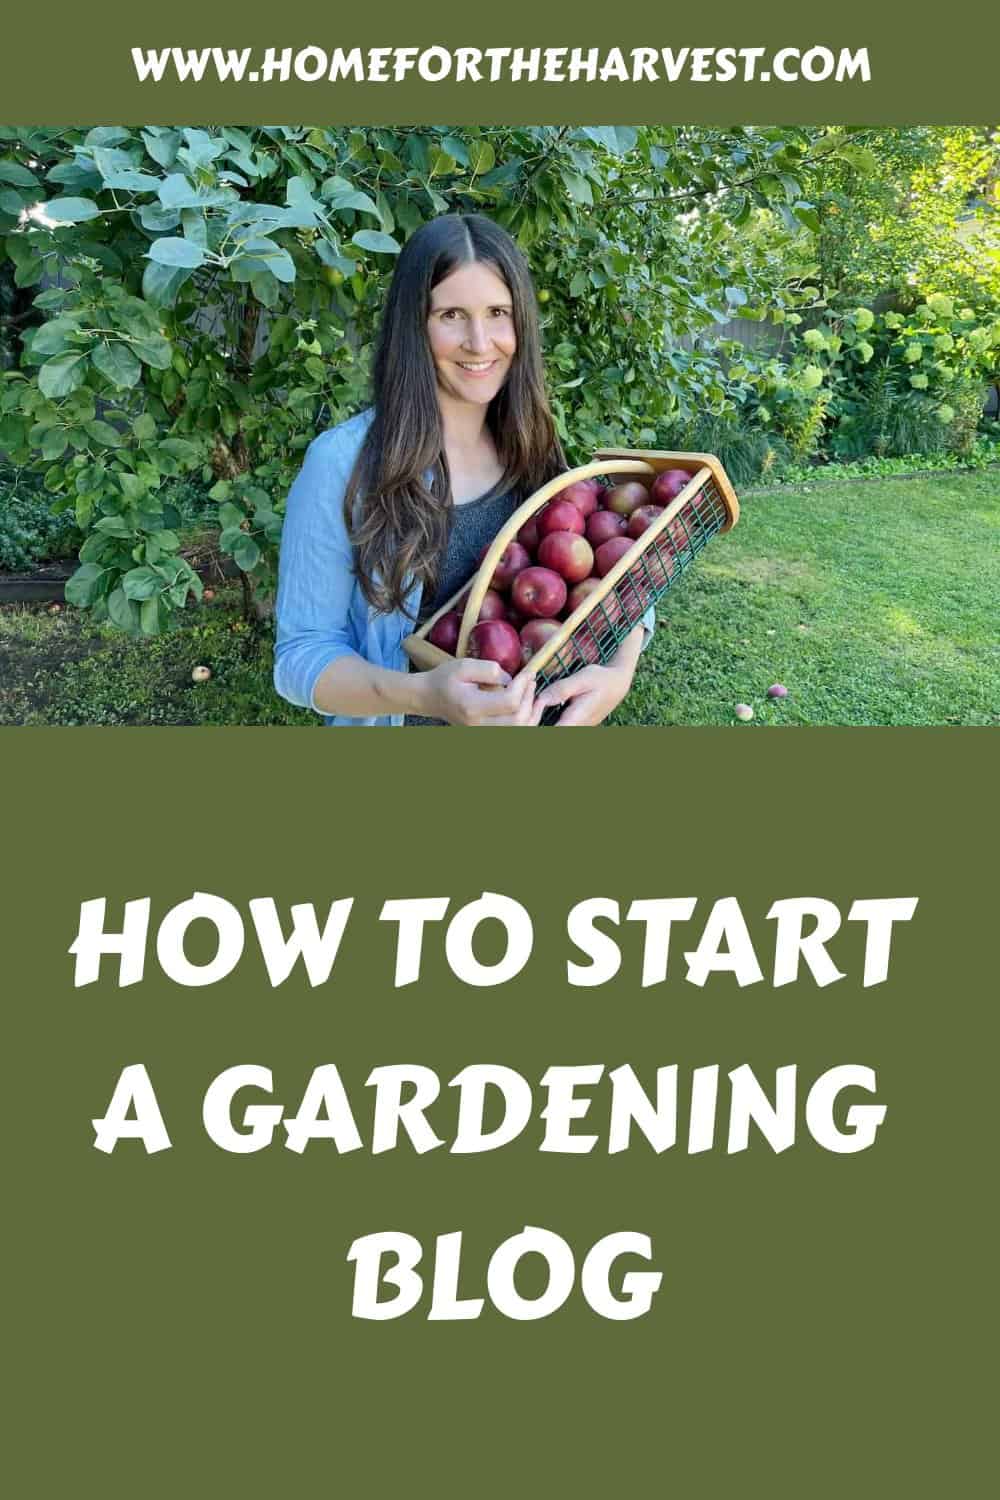
For instance, my garden blog is called “Home for the Harvest” and the website address URL is www.homefortheharvest.com. This website address URL is also called the “domain name”. It’s very nice to have the website address URL/domain name and the general spoken name be as close as possible.
Use a website address registration search site like Namecheap to see if your desired URLs are taken or not. Unfortunately, many website domain name URLs (.com’s, et cetera) are already registered. That said, there are still many wonderful unique website addresses to pick from.
Make a list of different options you’d consider for a website address. I usually purchase the domain for 5-10 years, and I do check the privacy protection box, but I don’t get any of the other add-on options that cost extra money.
2. Pick a server hosting company
Now that you own the website’s domain name for the foreseeable future, it’s time to get some storage space for all the files that will make up your website. All the text and photos that will display on the pages of your website have to be stored somewhere, and the easiest way to do this is by subscribing to a server hosting service from a reputable company. Think of it like a hard drive somewhere in a big warehouse where your website files will live.
I started on Bluehost and have also used SiteGround and WPX – all with good results. I still recommend them to friends starting new websites as its a good price for a decent entry-level service. You likely won’t need anything more until your site has quite a few pages and lots of daily visitors. Most hosting companies will give you a “free” domain name/URL for a year, but I like to buy my domains at a different company so I don’t have all my eggs in one basket.
Whichever hosting company you choose, be sure that they have a very simple process for installing WordPress for you. WordPress is the most popular content management system used by bloggers, and is used on 43% of all the websites on the internet (source: W3Techs). Like many bloggers, I tried seemingly easier website builders before WordPress and inevitably ended up switching to WordPress. Just be sure you’re using WordPress.org (not WordPress.com).
3. Choose a WordPress theme
Here is the theme I use for this website. My web developer recommended it as a nice balance between technical performance and design flexibility. I’m now switching all my sites over to this WordPress theme.
4. Install WordPress plug-ins
Here are the WordPress plugins I like to install on my new websites:
- RankMath
- Shortpixel Image Optimizer
5. Sign up for Google Analytics
Now that your website is live, it’s time to add Google Analytics tracking code if you would like to understand traffic patterns for your website. The current version is GA4.
6. Sign up for Google Search Console
You’ll also want to sign up for Google Search Console. This can be a bit tricky as you have to “verify your domain”. Usually this means getting a little piece of verification code from Google Search Console, giving it to your hosting company through their helpdesk portal, and asking them to add it to your domain nameservers.
Social networks are also handy to have, especially if you can secure the same profile names as your website domain. Sign up for the networks, add your profile picture, and add a link to these profiles from your new website.
The time to set up an email newsletter is now…before you get too far into anything else! This is the software service that you’ll use to send out regular emails to your readers. Your current gardening friends can then sign up to receive updates from you, and you can invite other gardeners to join your newsletter.
I use ConvertKit to build and send my email newsletters to my readers. I didn’t think I was ready to start a list when I did, but now I’m so glad I started early! Plus, the service is free until you have over 300 subscribers on your list to send emails to.
8. Make a list of articles you’d like to write
Make a list of all the gardening articles you’d like to write. Try to think of at least 50 separate article titles on specific topics. It can be hard to choose topics, so spend some time thinking about this! You can use this list of articles to create an editorial calendar later on.
I like to choose topics that are not too big and not too small. For instance, writing a post called “sunflowers” would be too general, as I’m sure there could be whole books about them! I’d choose topics to write like “when to plant sunflowers in the springtime”, or “giant sunflower varieties to plant in your home garden”. I wouldn’t, however, write “when to plant sunflowers in the spring in Arlington, Texas”, as that seems too specific.


