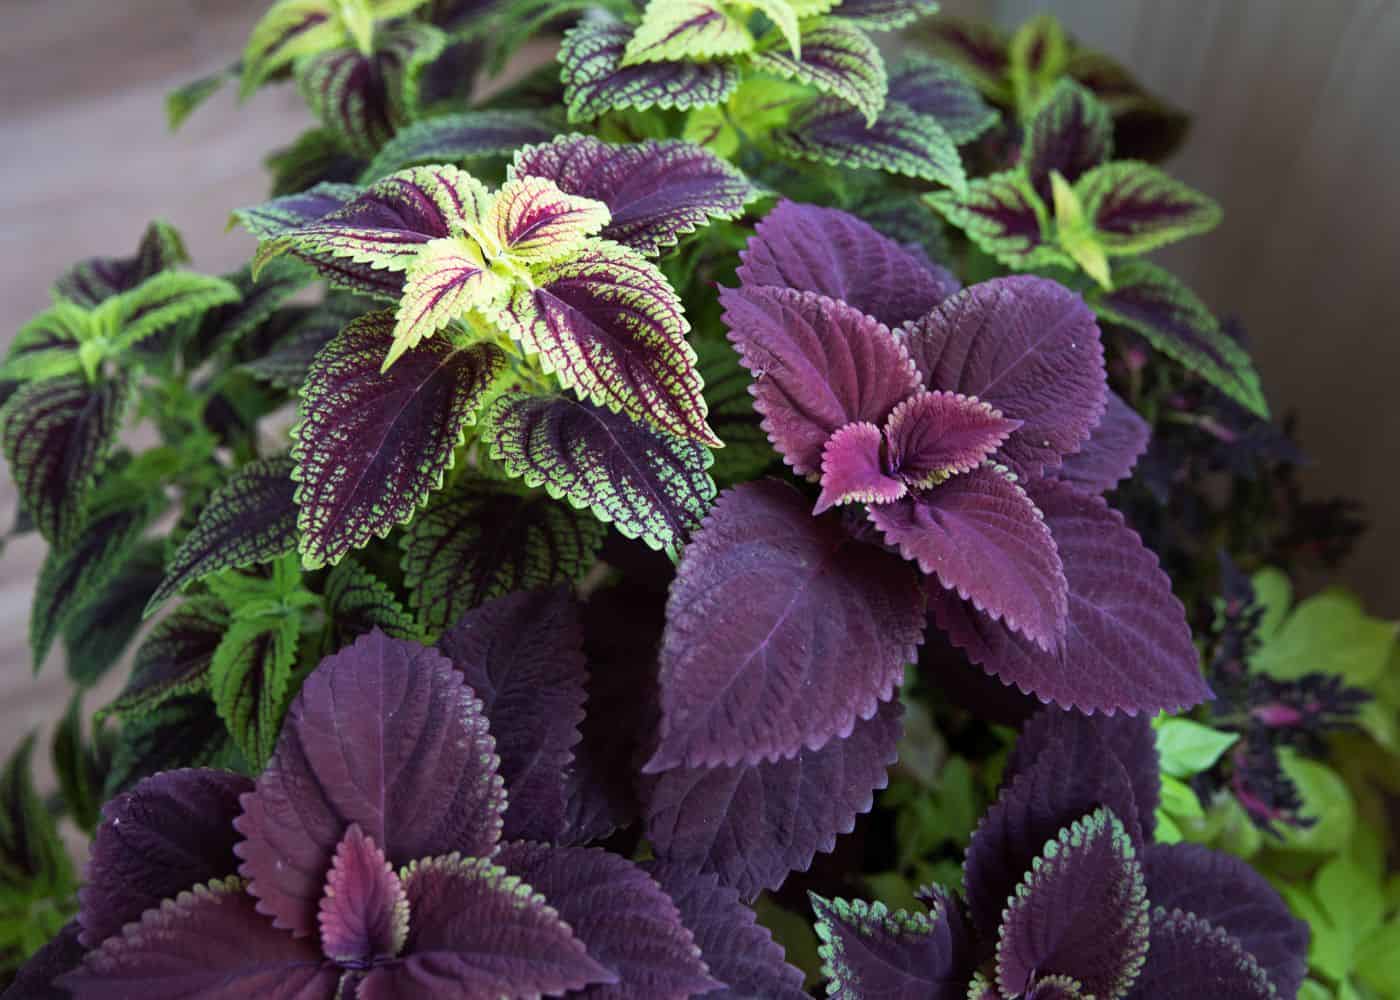
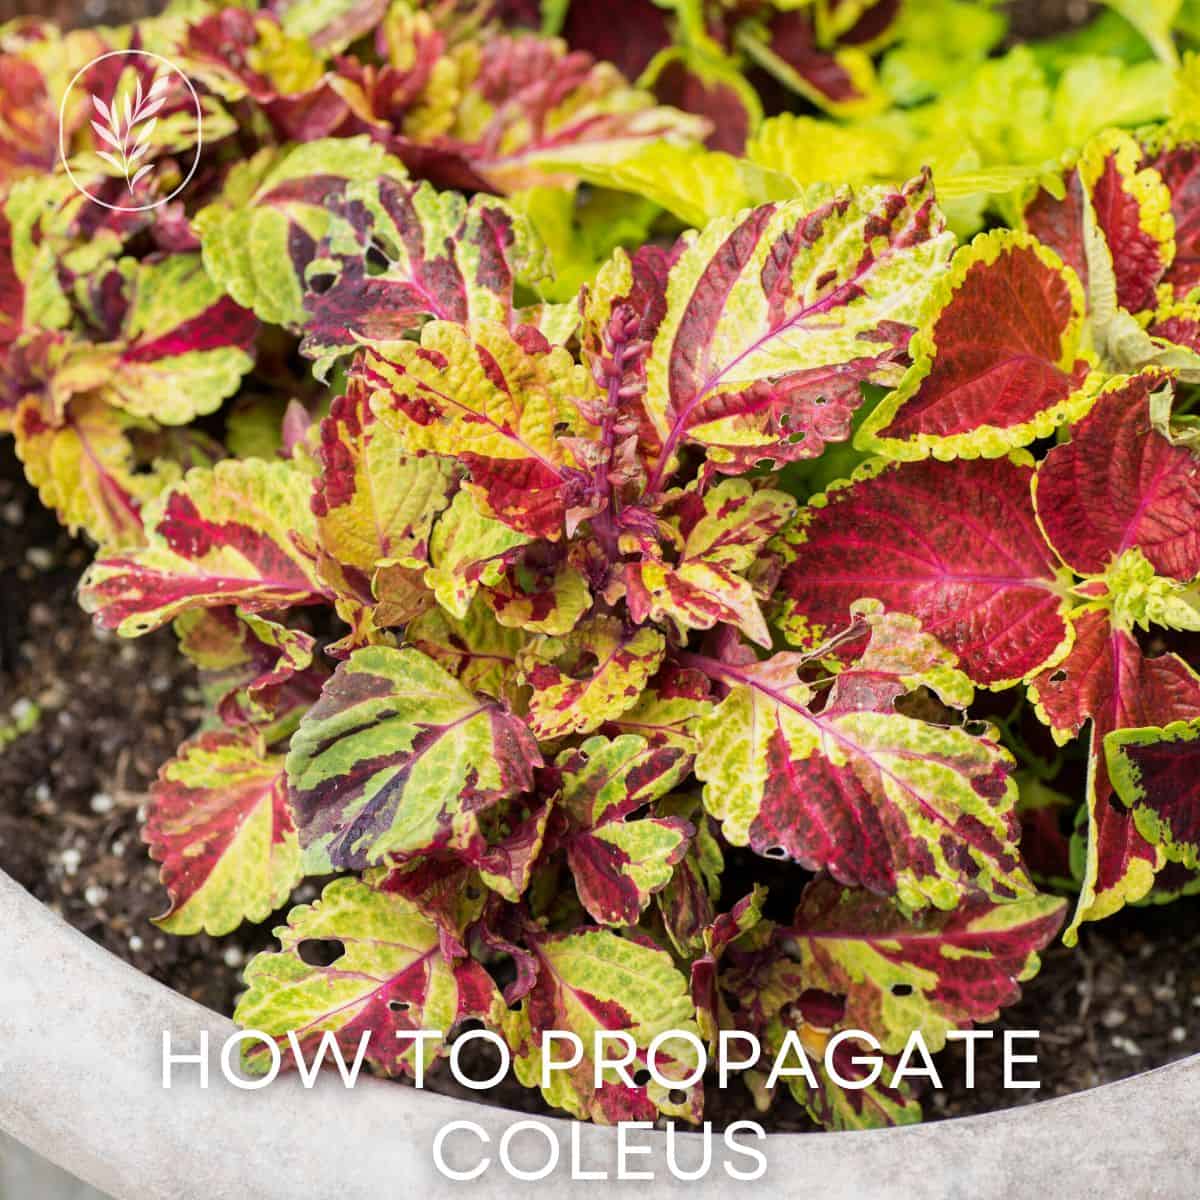
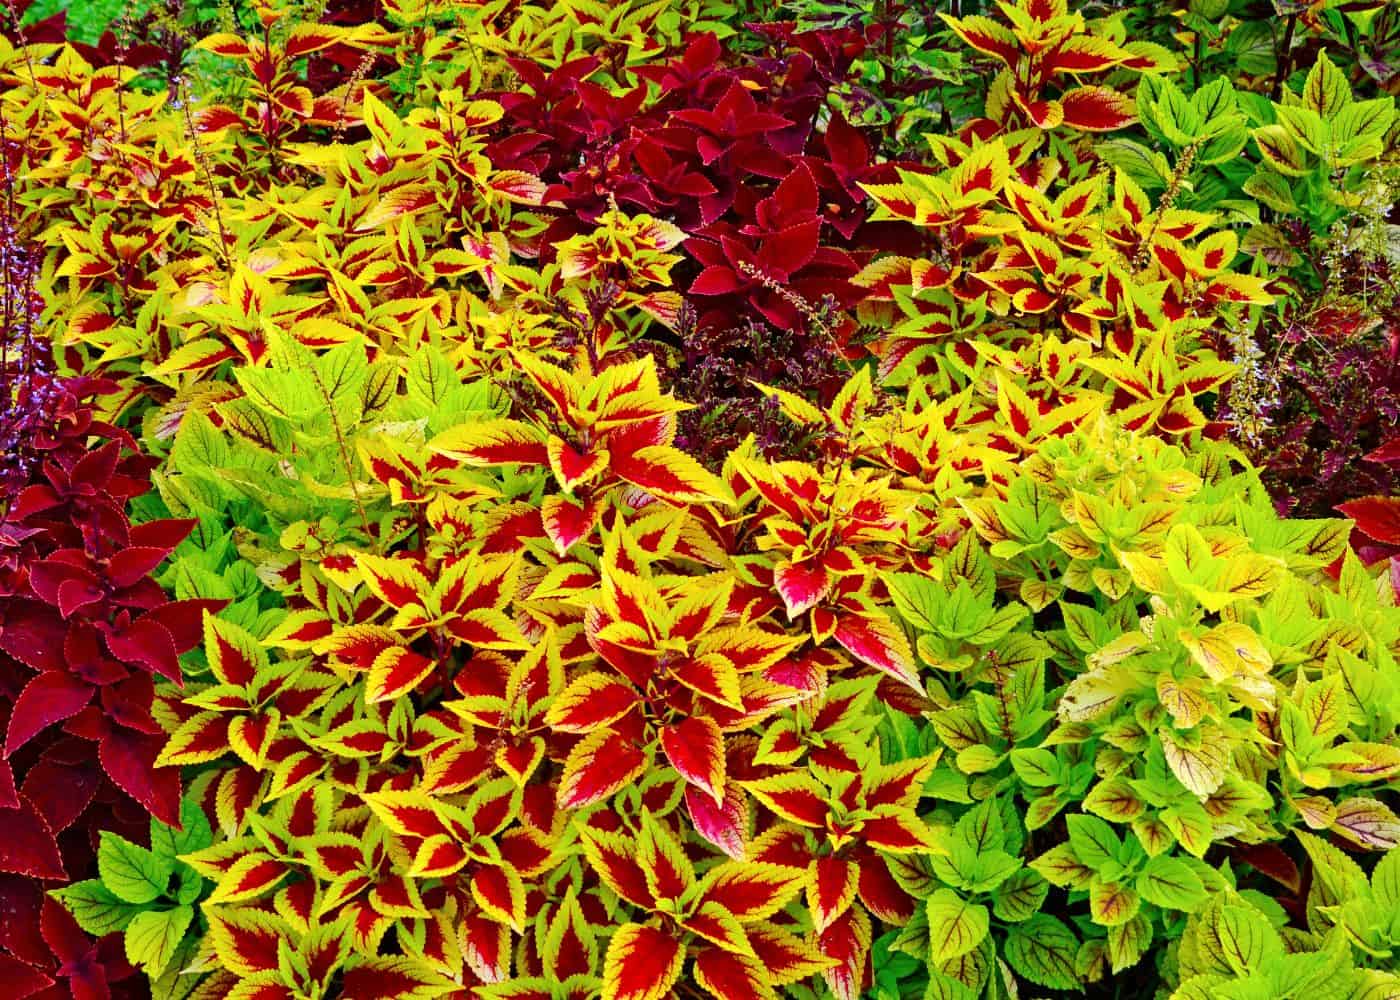
In the wonderful world of foliage plants, you can’t miss coleus. These plants feature stunning leaves in a wide range of colors and patterns, turning your garden into a riot of color.
Coleus can be propagated from seeds or cuttings, however, as they don’t grow true to seed, cuttings are best. Remove a cutting below a node and root in water or soil. In about a month, roots should have developed and the cutting will be ready for transplanting.
Coleus propagation methods
There are two common methods for propagating coleus, each with benefits and downsides. The first is propagating from seeds collected from your plant at the end of the season.
While this does allow you to grow far more coleus plants at once, cultivars won’t produce true to seed. That means that the new plant you grow may not look like the one it came from. This can make an exciting gardening experiment, but isn’t ideal if you’re looking for an exact replica of the plant you already have.
In these cases, it’s best to try the other propagation method – cuttings. Coleus plants grow quickly from stem cuttings rooted in either water or soil. This way, you can be sure the new plant will look exactly like the parent it came from. You won’t be able to grow as many plants at once as you would propagating from seed, but you can easily expand your collection over time.
When is the best time to propagate coleus?
Coleus plants love warmth, growing best during the spring and summer seasons. Aim for early spring once temperatures have risen in your area for the strongest root growth throughout the rest of the season and quick establishment.
If you can keep the cuttings consistently warm indoors or in a greenhouse, you can propagate any time of the year. But if you want to move your cuttings outdoors after rooting, it will need to be done during the warmer months.
How to propagate coleus from cuttings
To start propagating from cuttings, you’ll need a mature and healthy plant. The healthier the plant, the better your chances of success. Also grab a pair of sharp and clean shears to remove the cuttings.
Step 1: Remove a cutting
Take a look at your coleus plant and identify the perfect stem for cutting. It should be around 5 inches long, with a few sets of leaves and no signs of damage or disease. Grab your shears and trim the cutting off just below a set of leaves where the node ends.
If you have recently used your shears to trim other plants in the garden, clean them thoroughly before use to avoid transferring harmful bacteria. Also make sure your shears are sharp to avoid damaging the stem, affecting moisture and nutrient absorption.
For the highest chances of success, remove several cuttings at once, but don’t remove more than one-third of the plant at one time. It’s best to combine this process with pruning to ensure no cuttings go to waste.
Step 2: Remove the bottom leaves
With all your cuttings prepared, you need to expose the bottom nodes to make space for roots. Strip all the leaves off the bottom half of the cutting, leaving a few at the top for photosynthesis. Avoid damaging the node when removing the leaves by using your sharp shears rather than your fingers.
If any leaves are left on the bottom part of the cutting, they will quickly rot and spread the problem to the rest of the cutting. Only the very top leaves should be left so the part of the cutting buried in water or soil is completely bare.
Step 3: Root
Coleus roots well in either water or soil. The cuttings will develop stronger roots in a propagating mix, but rooting in water allows you to monitor root growth and the health of the cutting. Rooting in water does involve a bit more maintenance too, so you need to decide which is best for you.
To root in water, simply pop the cuttings into a glass of water – preferably filtered water or rainwater. The leaves should stay out of the water to prevent rotting, with only the bottom half submerged. Top up the water every few days to keep the water line above the lower nodes to promote root growth. Change the water completely around once a week and clean the container.
Rooting in soil requires a light propagating mix that drains well, such as a combination of equal parts coconut coir (or peat moss) and perlite. Fill a container with this mixture, make small holes for each of the cuttings, and plant. Water immediately to encourage root growth.
Step 4: Transplant
The final step in the process is transplanting to their long-term home. Your cuttings will be ready for transplanting when the roots are around an inch or two long. When rooting in soil, gently pull on the cuttings to determine the level of root growth.
Replant into separate containers with a light and well-draining potting mix, or straight into the garden if you live in a warmer climate. Water after planting to keep your coleus happy in its new home.


