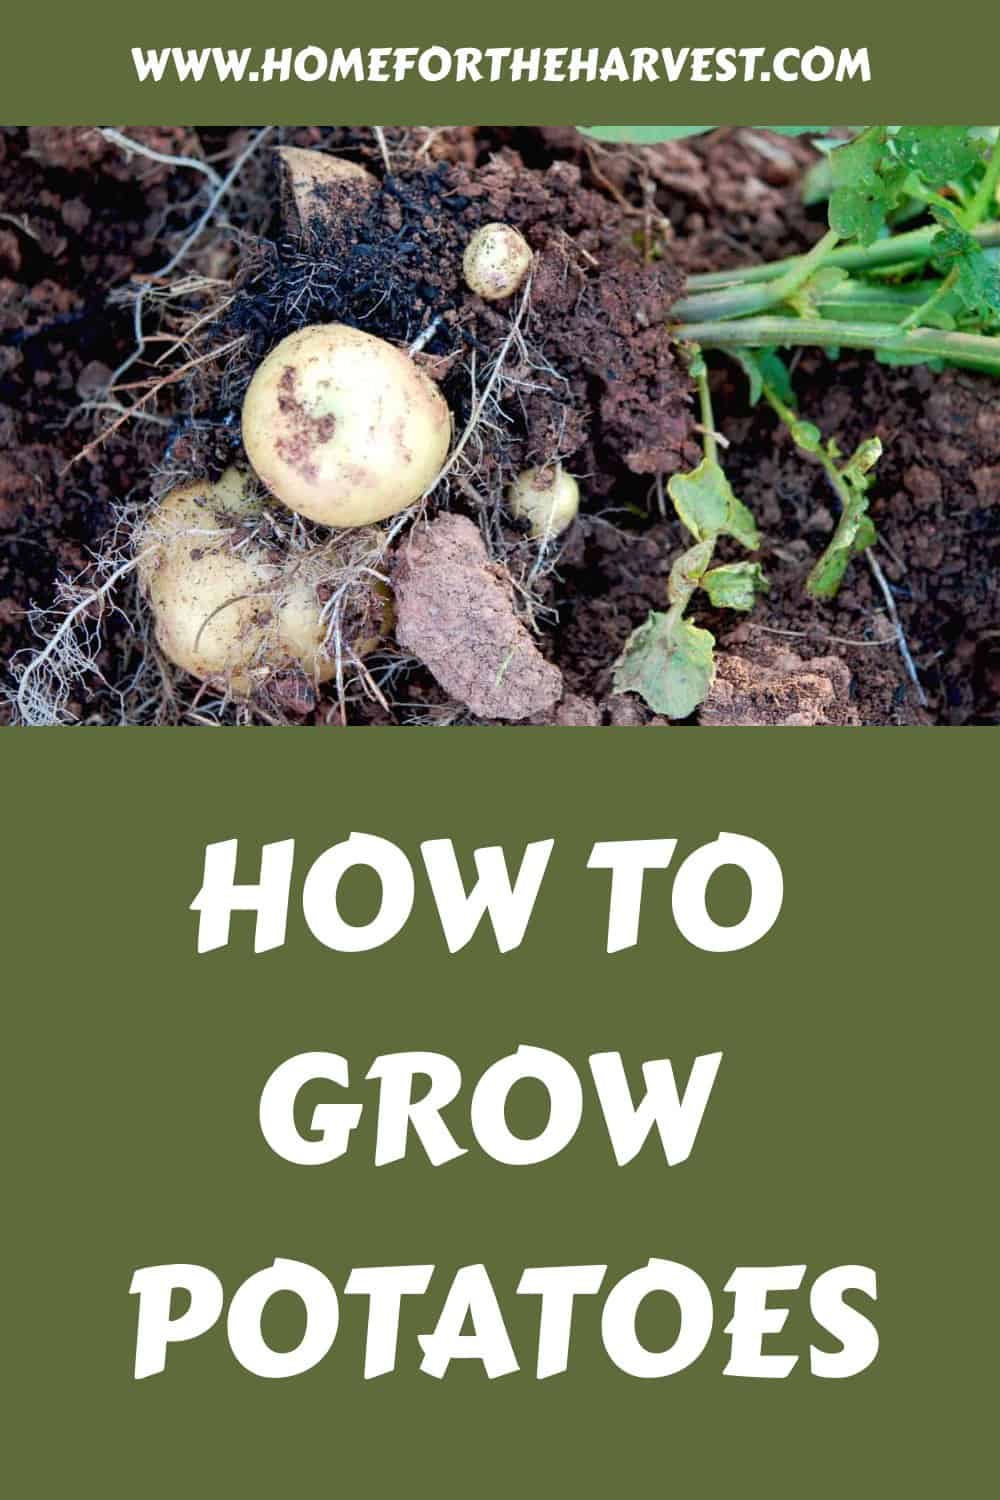
Gardening is a great way to get your hands dirty! Growing potatoes can be especially rewarding, as it’s not only simple but also very satisfying. With the right soil preparation, planting technique, watering routine, pest control methods, and harvesting tricks you will be well on your way to growing delicious potatoes that are sure to impress.
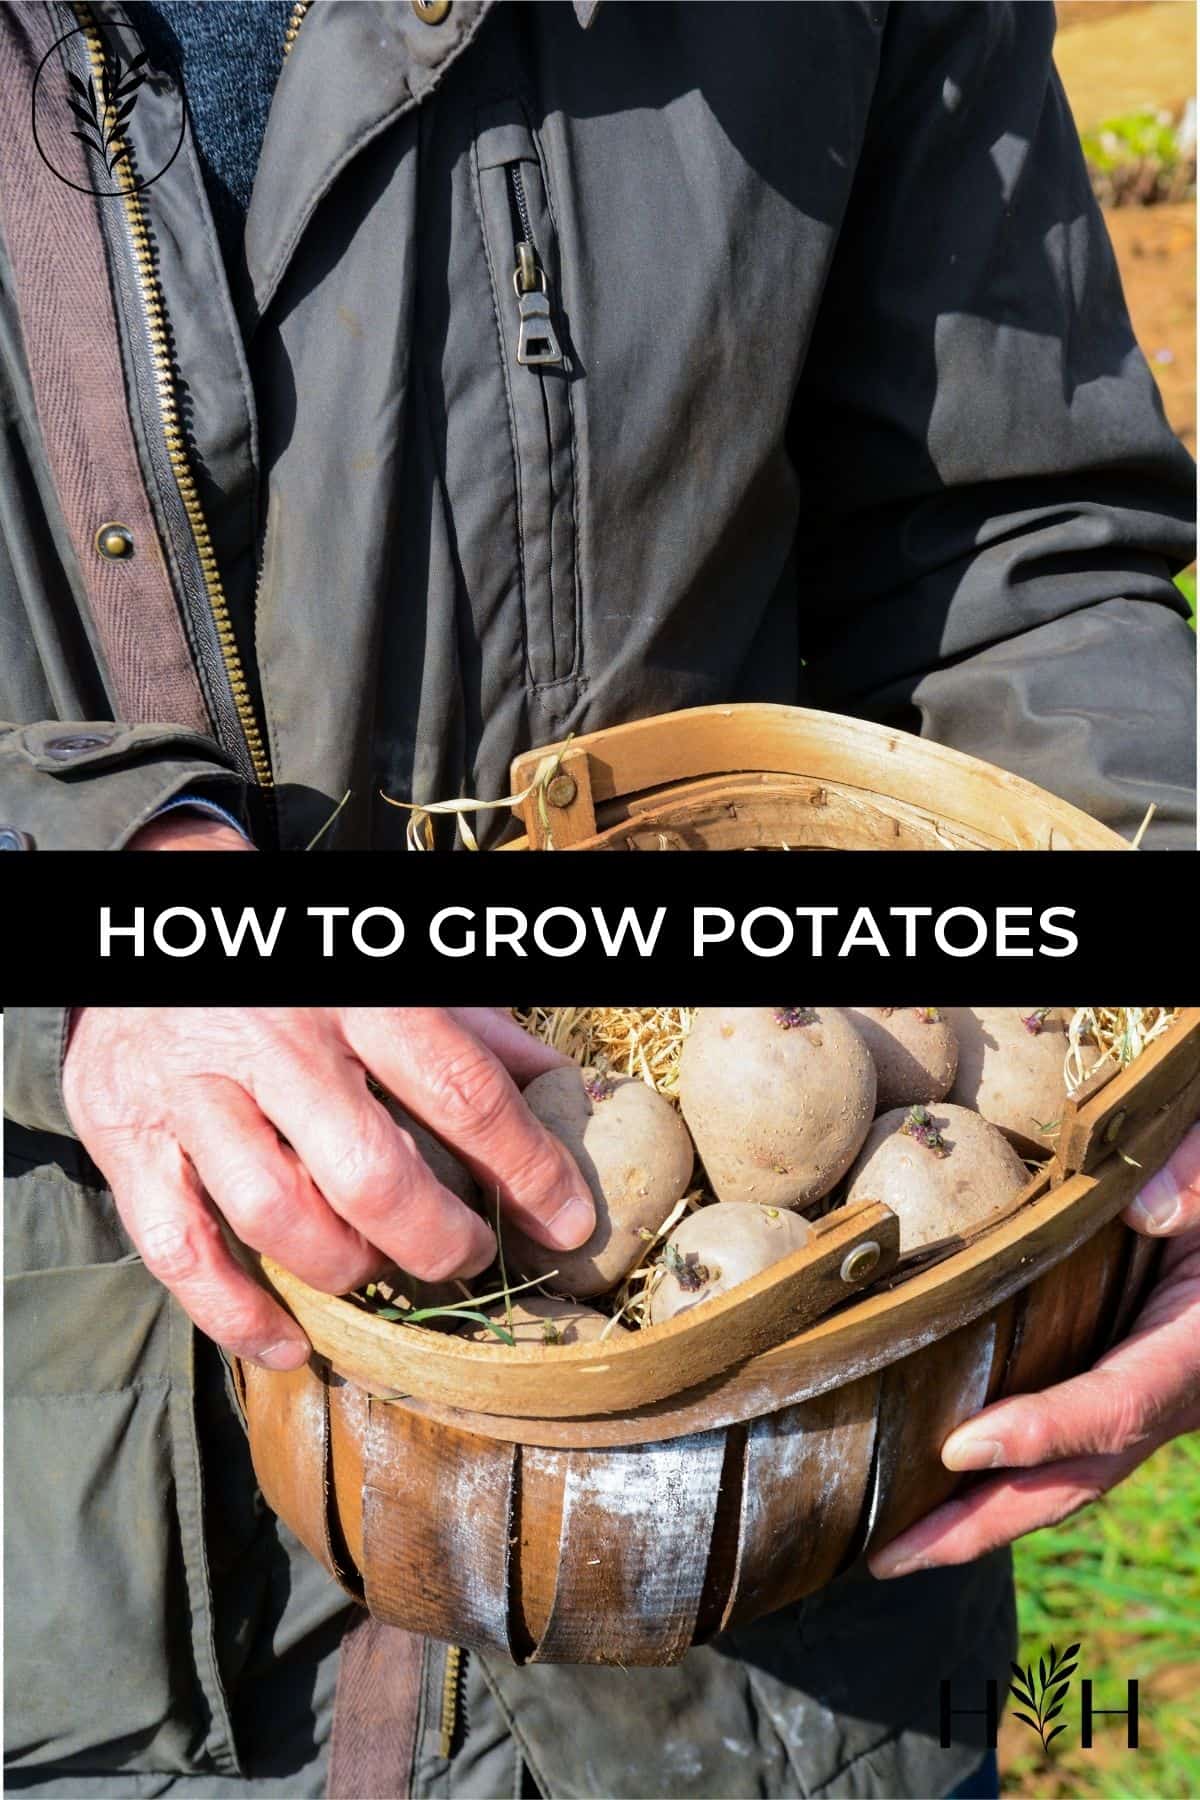
To grow potatoes, start by finding seed potatoes of a variety you like to eat. Let them start to sprout and then plant them in the garden or a potato grow bag. As the plants grow, pile more soil up against the stem so more potatoes have room in the soil to grow. Harvest potatoes after the plant dies back naturally in late summer.
Whether you’re an experienced gardener or just starting out in the world of gardening, this guide will provide all the tips and tricks needed for successful potato cultivation so that anyone can grow potatoes like a pro! So let’s start by learning how to prepare our soil before we dive into planting these tasty tubers.
How to grow potatoes
Potatoes are a staple crop in many parts of the world, and they’re easy to grow in your own garden. To get started, you’ll need some soil preparation, planting potatoes, watering and fertilizing them, controlling weeds and pests that may affect them, harvesting potatoes when they’re ready for harvest, and storing them properly.
Potatoes prefer well-drained soil with plenty of organic matter like compost or manure added to it. Potatoes grow best when soil pH is between 5.0 – 6.5 or so, but are tolerant of less-than-perfect conditions.
You can either buy seed potatoes from a garden center or use grocery store potatoes as long as they haven’t been treated with chemicals to prevent sprouting (check labels). Buying certified disease-free seed potatoes from a reputable source is the safest path for sure.
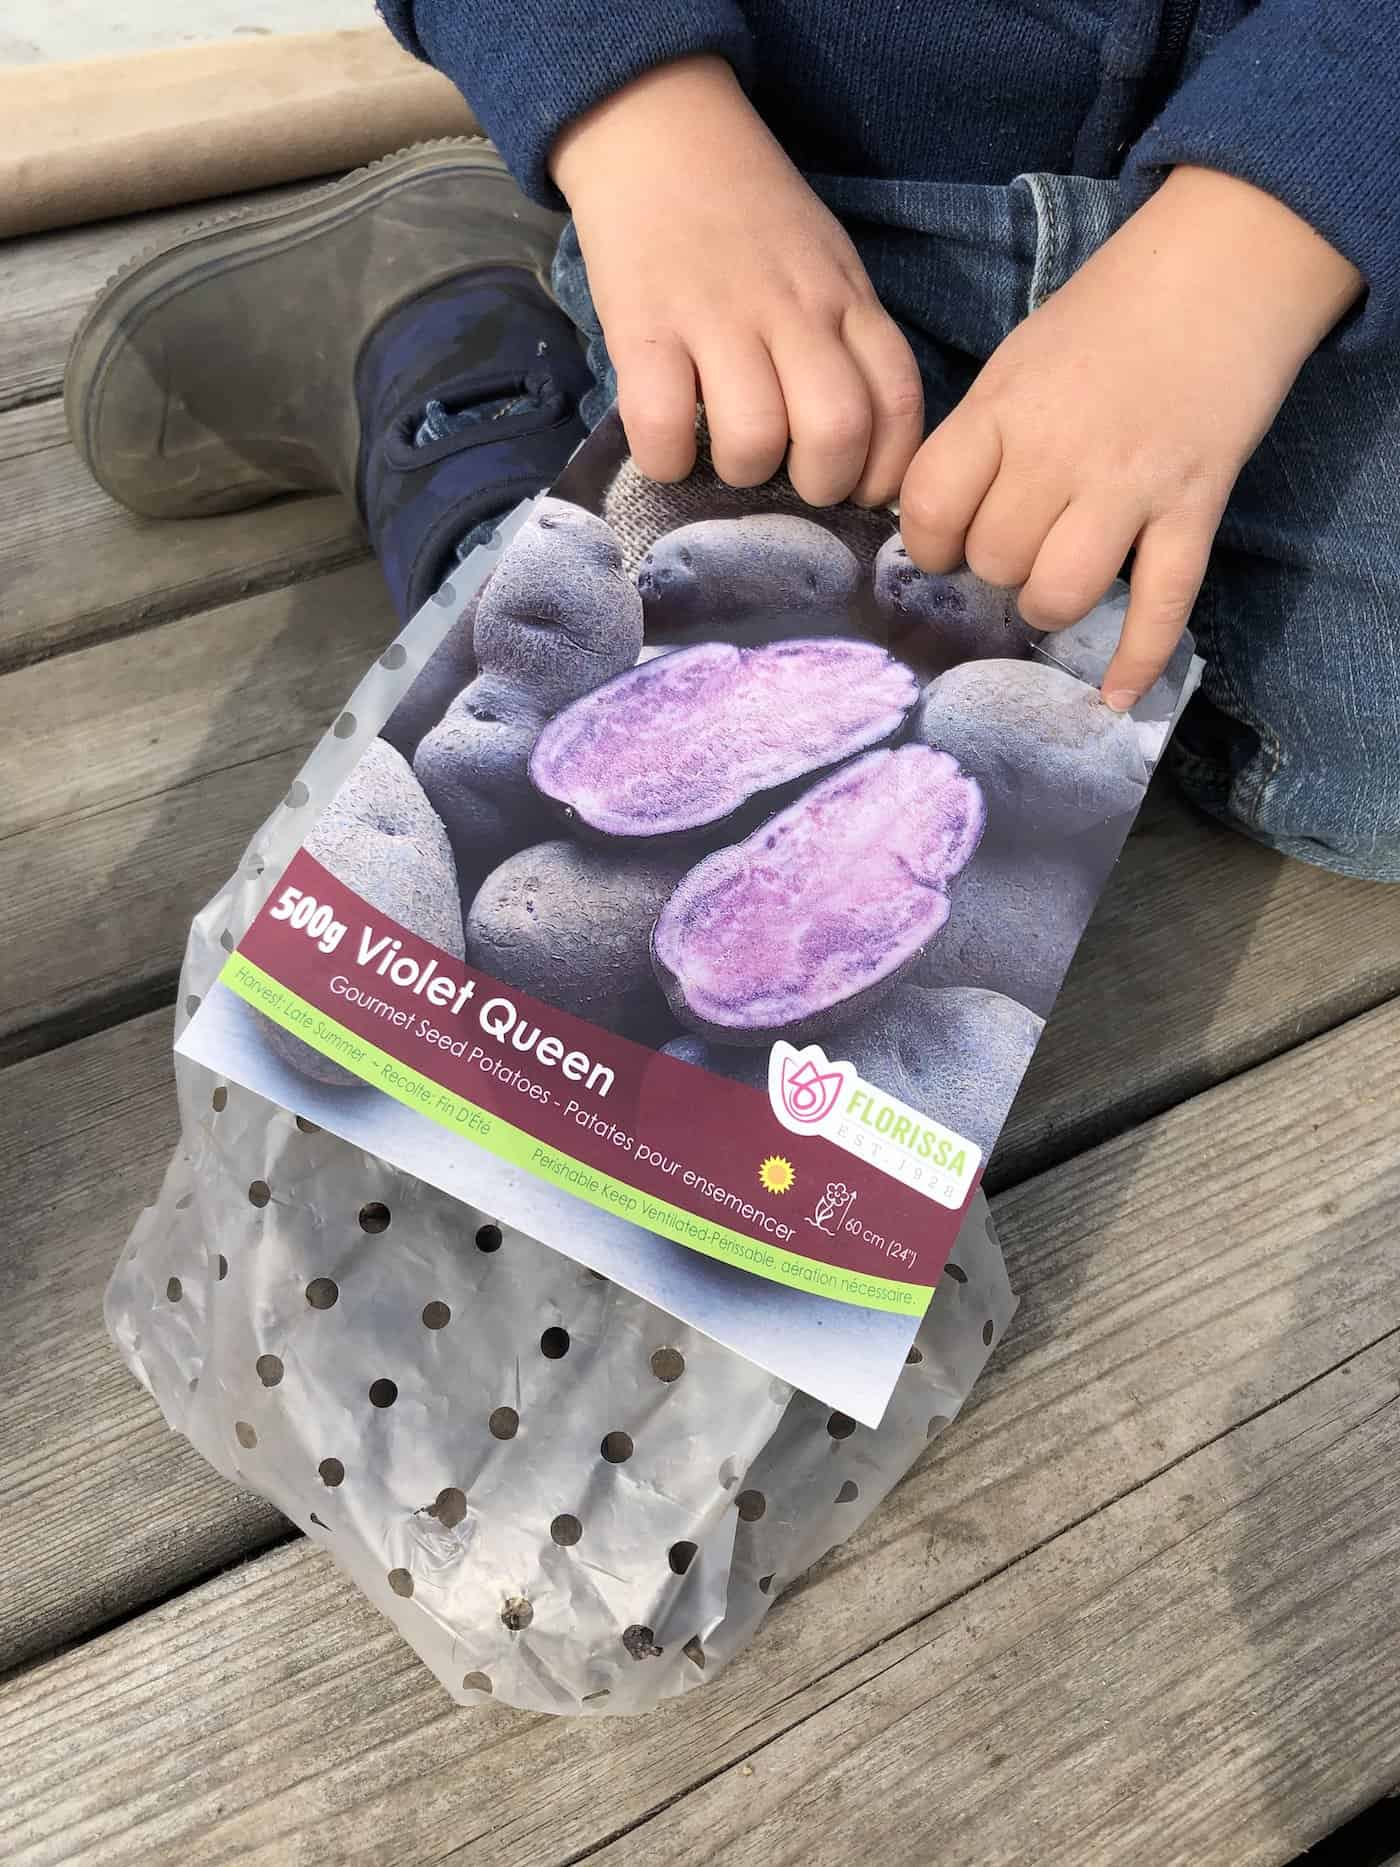
Cut larger seed potatoes into smaller pieces making sure each piece has at least two “eyes” (sprout holes) on it. Small seed potatoes (about the size of new potatoes 1-2 inches wide) don’t need to be cut up before planting and can be planted whole.
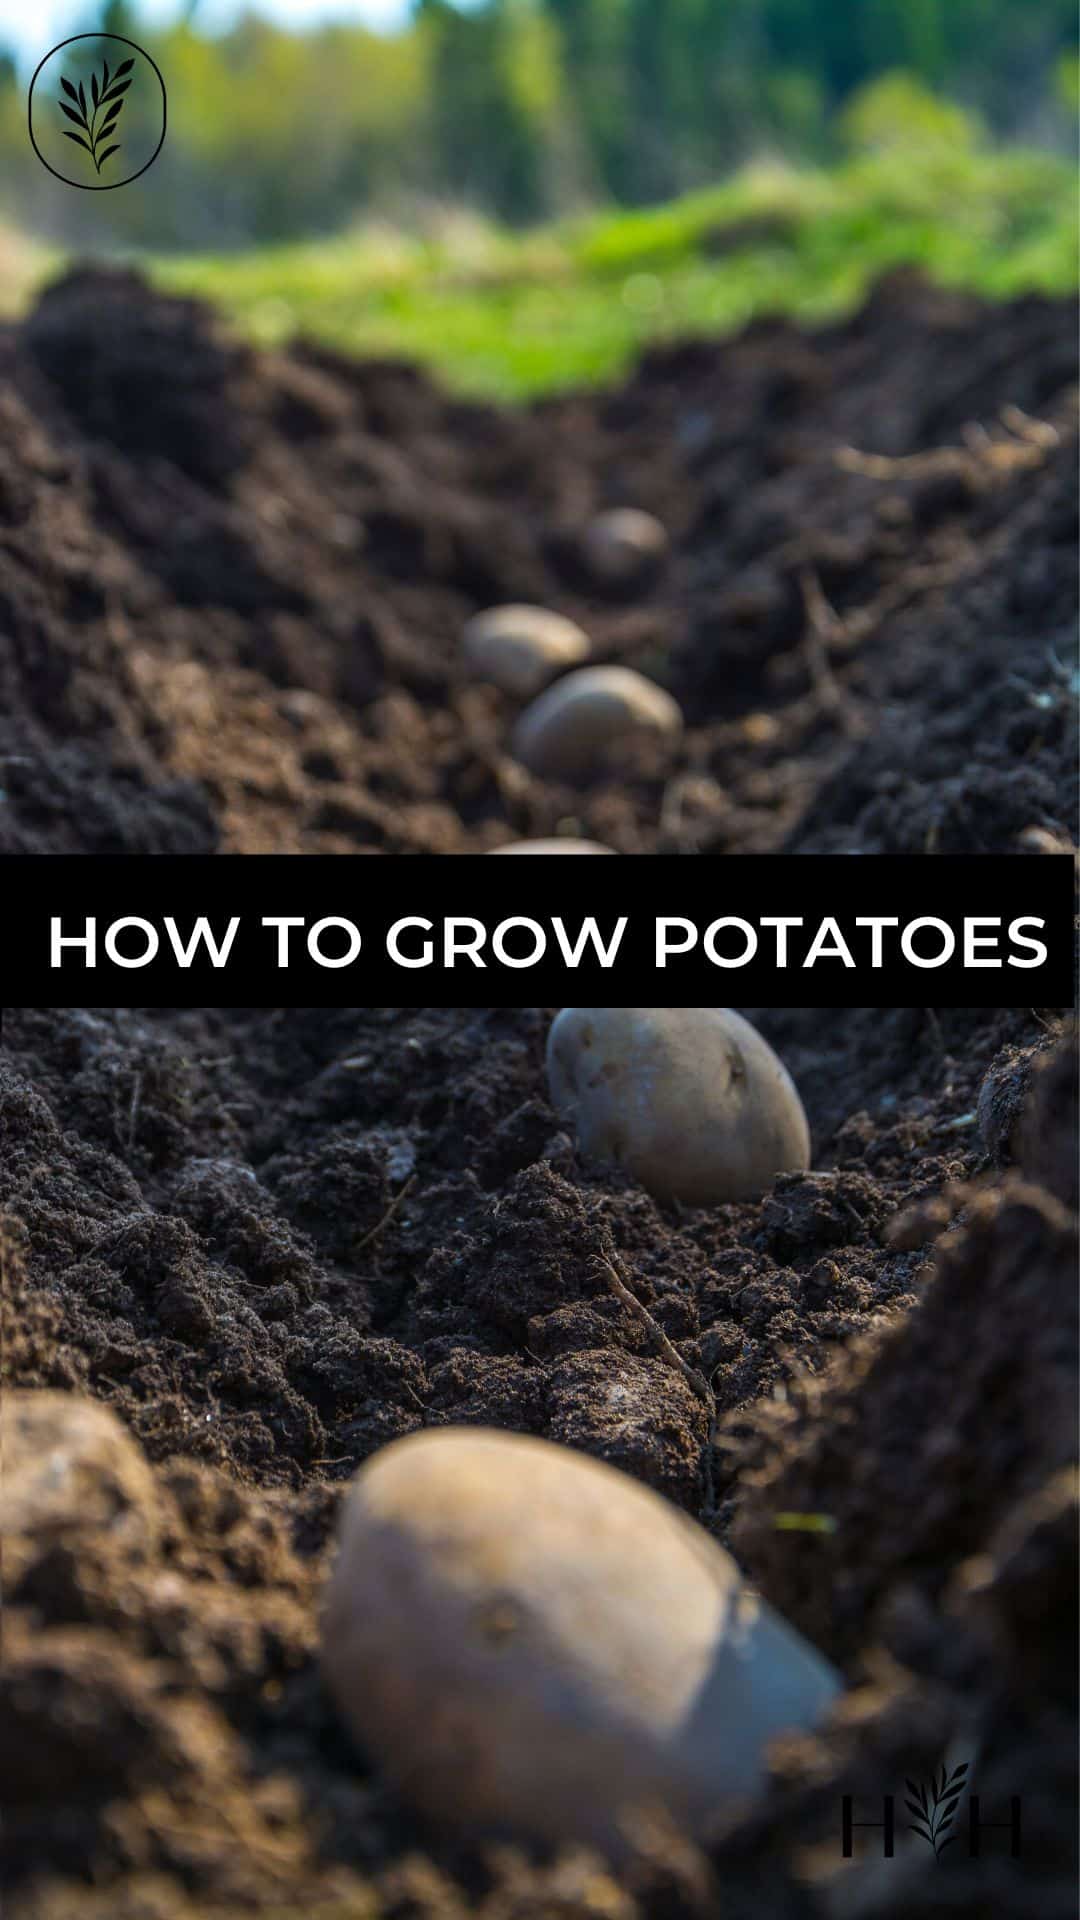
Plant them underground about 4 inches deep and 12 inches apart in rows spaced 24 inches apart then cover lightly with soil after planting. You can also plant them in a potato grow bag, in a box, or in a raised bed.
Once planted, keep the area moist but not waterlogged by giving an inch of water per week during dry spells using drip irrigation systems which are best for keeping moisture levels consistent throughout the growth season. When blooms appear on potato plants, usually around mid-summer time, reduce watering but still give enough to keep the plant healthy without over-saturating roots. If needed, add fertilizer such as fish emulsion every couple of weeks during the growing season according to package instructions.
Weeds compete for resources like sunlight, nutrients, and space, so hand-pulling weeds regularly are recommended especially when young since it’s easier than waiting till later stages when roots become more established. For large areas, mulching can help reduce weed growth while helping retain moisture too.
Common pests that attack potato crops include Colorado potato beetles, aphids, flea beetles, and wireworms. Monitoring plants regularly helps identify problems early on before damage becomes severe, which makes pest control easier. Use insecticidal soap spray or neem oil solutions if necessary, following directions carefully taking care not to harm beneficial insects also be aware of different types of birds who might eat away at ripe fruits too.
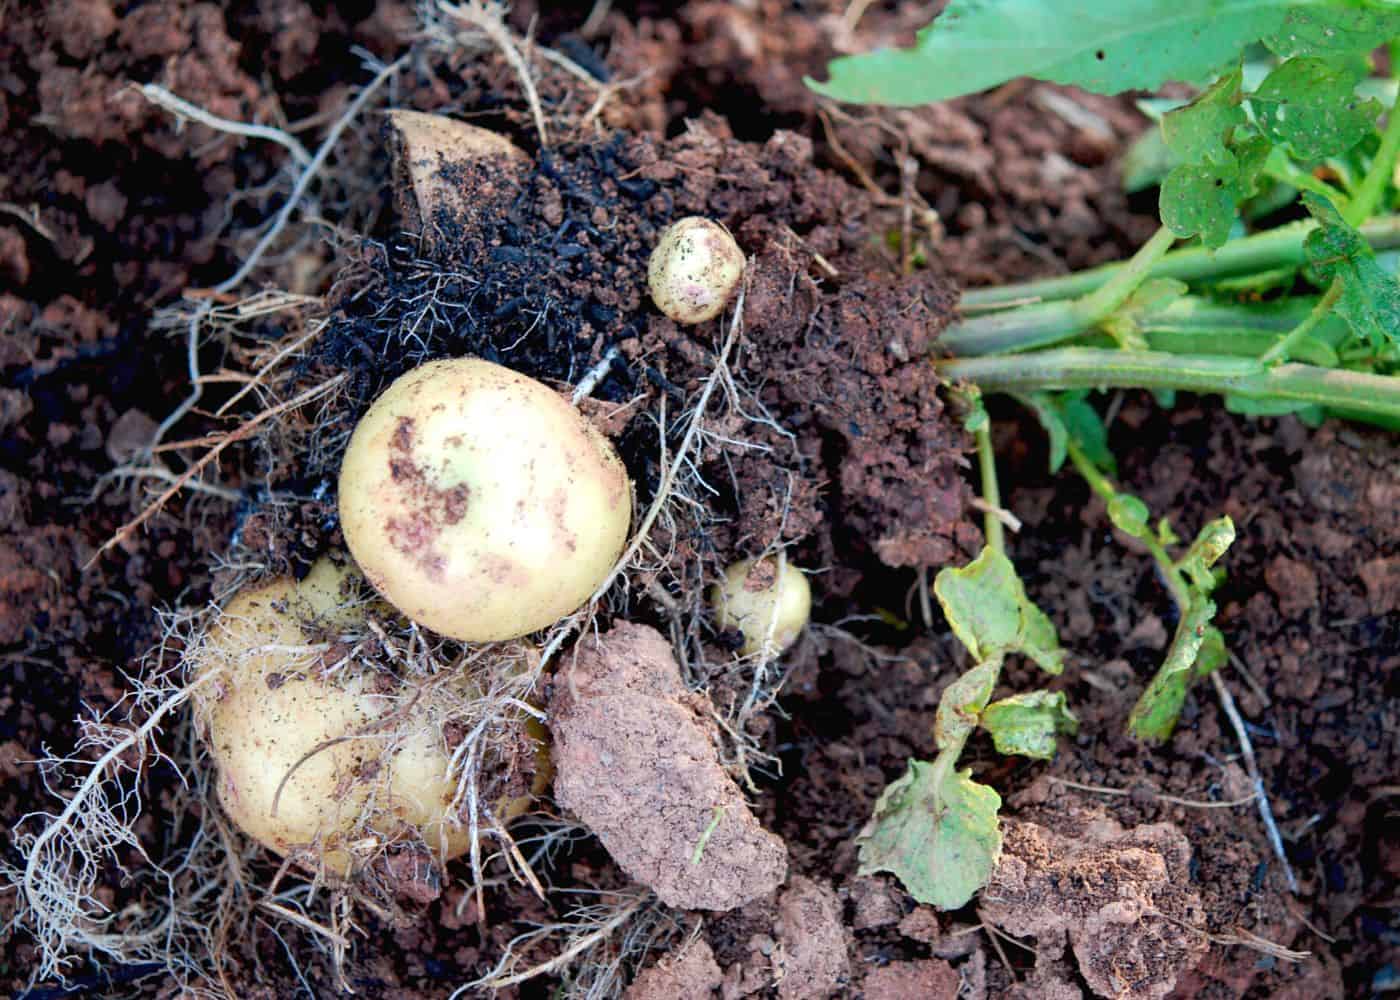
Growing potatoes typically takes about 3-4 months. You can harvest baby “new” potatoes at 2 months. Full-sized regular taters take more like 3 months, while some specialty and large cultivars take 4 months to mature.
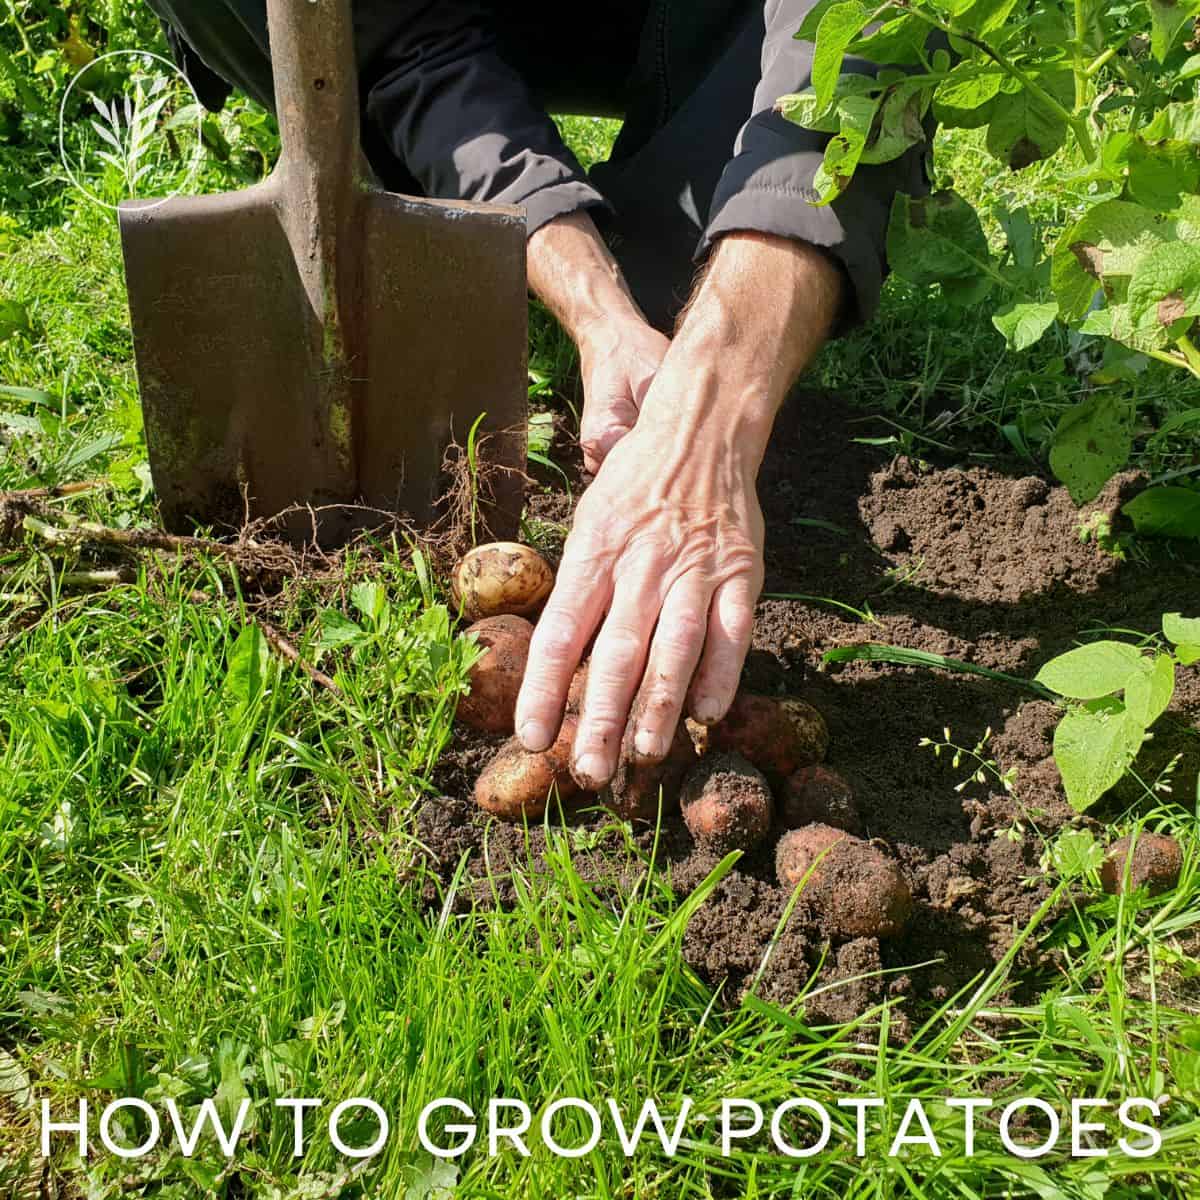
When the leaves start turning yellowish-brown near the end of summer, it is time for harvest. Depending on the variety, maturity times may vary slightly. Dig up tubers carefully using shovels being careful not to bruise skin as otherwise storage life decreases significantly. Once harvested, let them sit out for a few days allowing skins to toughen up before storing them away.
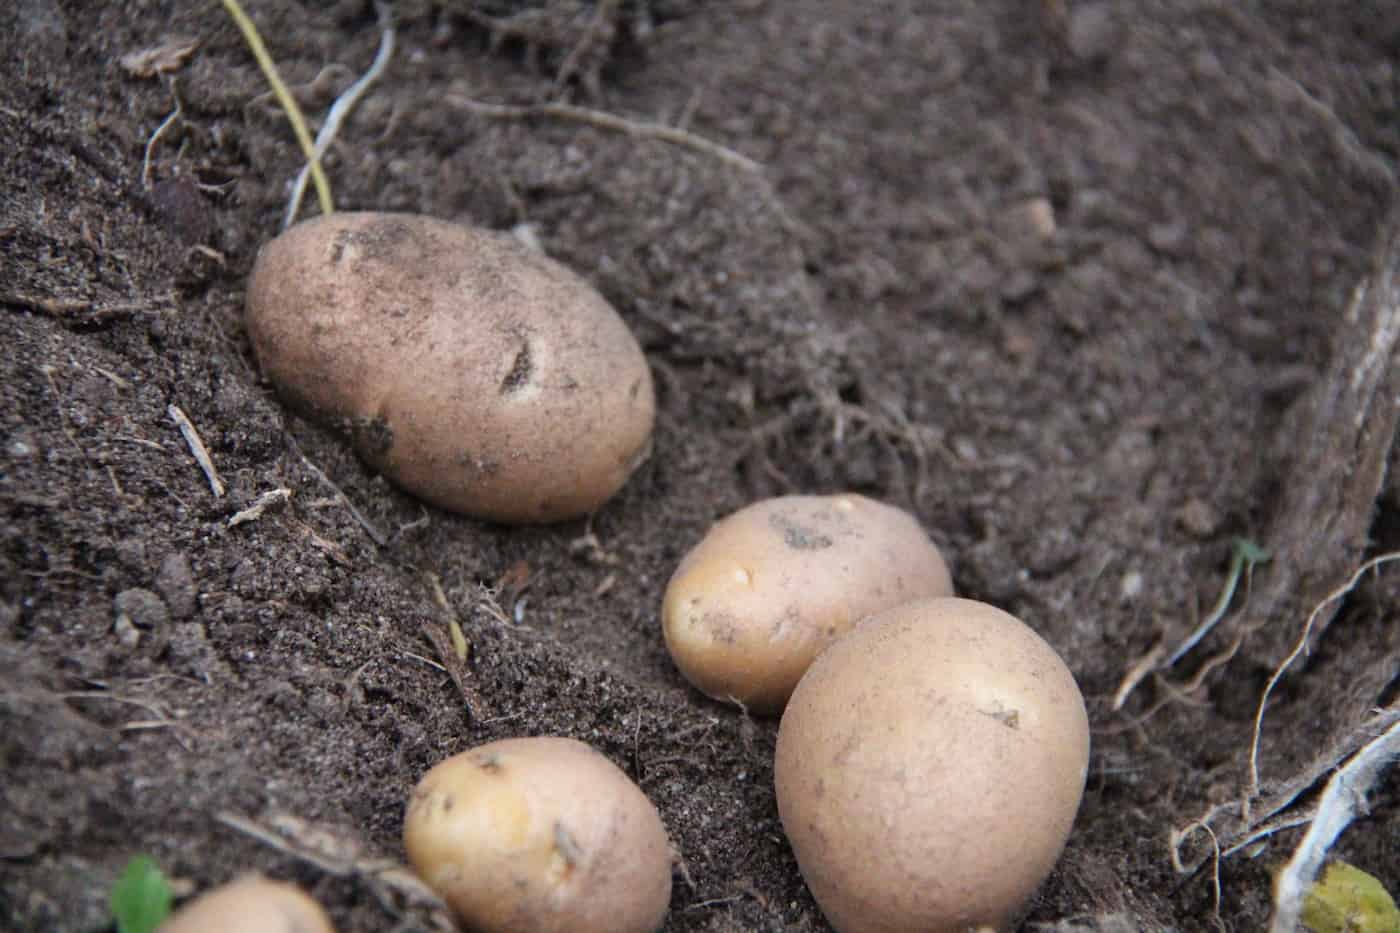
Soil preparation before planting potatoes
Soil preparation is essential for successful potato growth. The ideal pH level for potatoes is between 5.0 and 6.5, so it’s important to test the soil before planting to make sure it falls within this range. If not, you can amend the soil with lime or sulfur depending on whether your soil is too acidic or alkaline respectively.
The best type of soil for potatoes is a light loam that drains well and has plenty of organic matter in it such as compost or manure. To prepare the bed, dig down 8-10 inches deep and mix in 2-3 inches of compost or aged manure into the top layer of soil before planting begins. This will help improve drainage while also providing nutrients to your plants throughout their growth cycle.
You should also consider adding some fertilizer at this stage as well; a balanced fertilizer works great for potatoes because they need equal amounts of nitrogen, phosphorus, and potassium during their growth cycle (check out our blog post on fertilizing vegetables here). Be sure to follow package instructions when applying any fertilizer – overfertilizing can cause more harm than good.
Weeds are another issue you’ll want to tackle prior to planting your potatoes; weeds compete with plants for resources like water and sunlight which can stunt growth if left unchecked. You can use either manual methods like hoeing or mulching around your plants with newspaper/cardboard/straw etc. or chemical herbicides if necessary (always read labels carefully.).
Finally, take steps now to protect against pests such as wireworms by rotating crops every year (do not plant potatoes in the same spot two years running) and using row covers over young seedlings until they get established. These simple measures go a long way towards preventing problems later on.
Proper soil preparation is essential for a successful potato crop, so make sure to follow these steps before planting your potatoes. Now let’s move on to Planting Potatoes.
Planting your potatoes
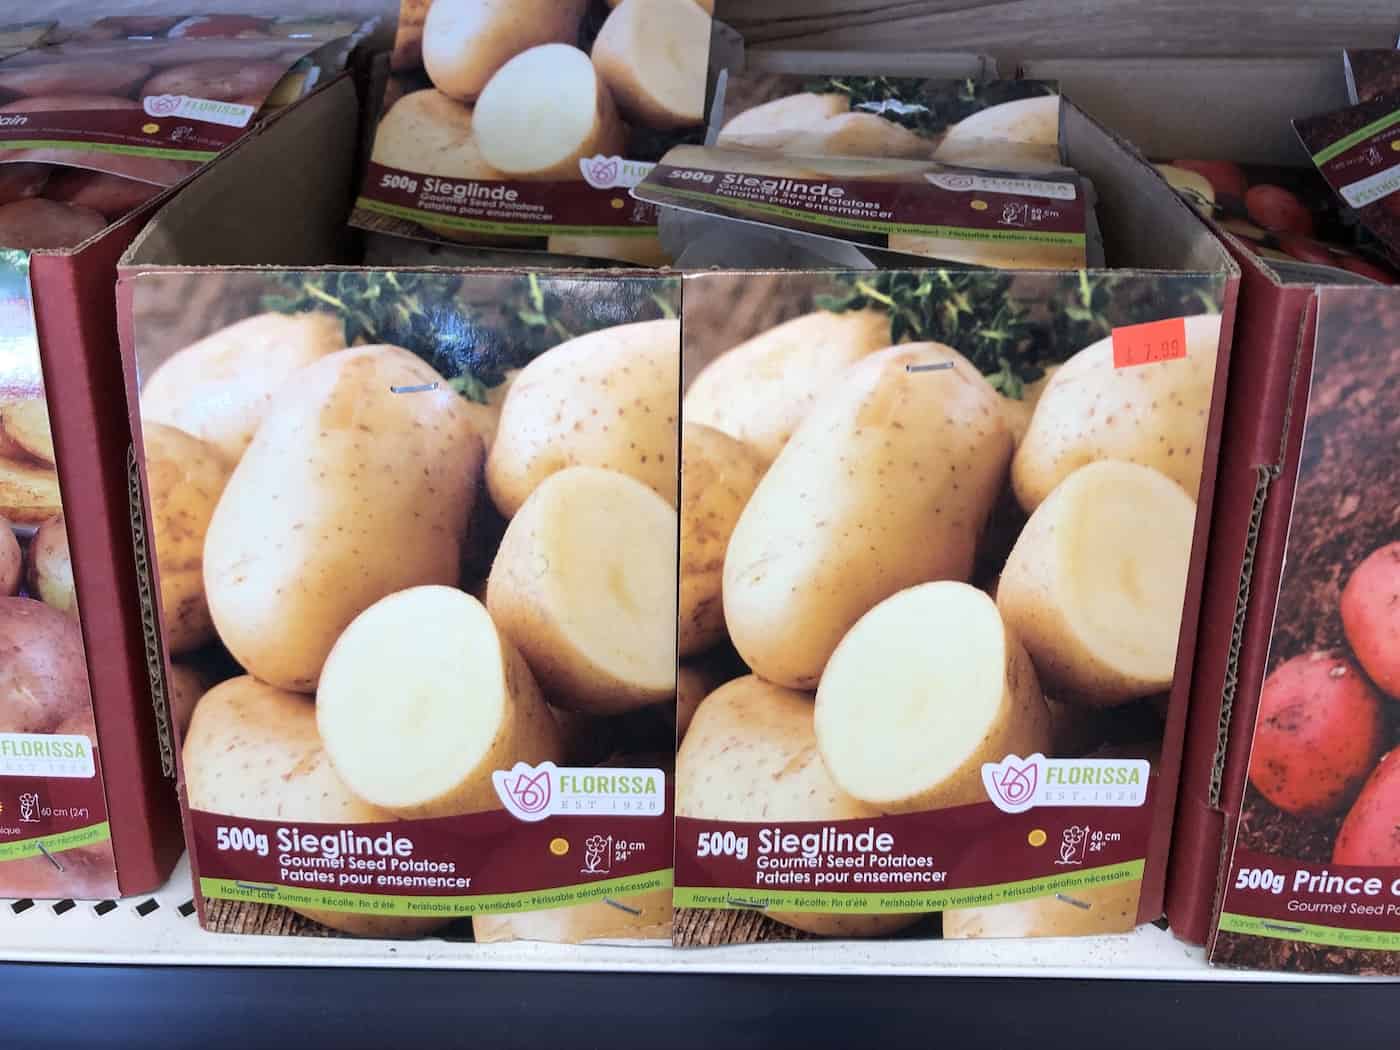
Potatoes are a great addition to any garden, and planting them is relatively easy. The best time to plant potatoes is in the spring when the soil has warmed up. You can either buy seed potatoes from your local nursery or use grocery store potatoes that have started to sprout eyes. If you’re using grocery store potatoes, make sure they haven’t been treated with any chemicals that would be harmful for growing plants.
Planting time really depends on your local climate. Gardeners in the south can plant potatoes in January-February, while those in chilly prairie areas often have to wait until April-May. In general, seed potatoes can be planted 2-4 weeks before your last frost date in the spring.
When planting, dig holes about 6-8 inches deep and space them 12-18 inches apart, depending on how large of a harvest you want. If you’re growing a whole field of potatoes, you can plant the seed potatoes closer – more like 6-12 inches apart between plants in a row. Keep about 3 feet between rows for ease of maintenance and harvest.
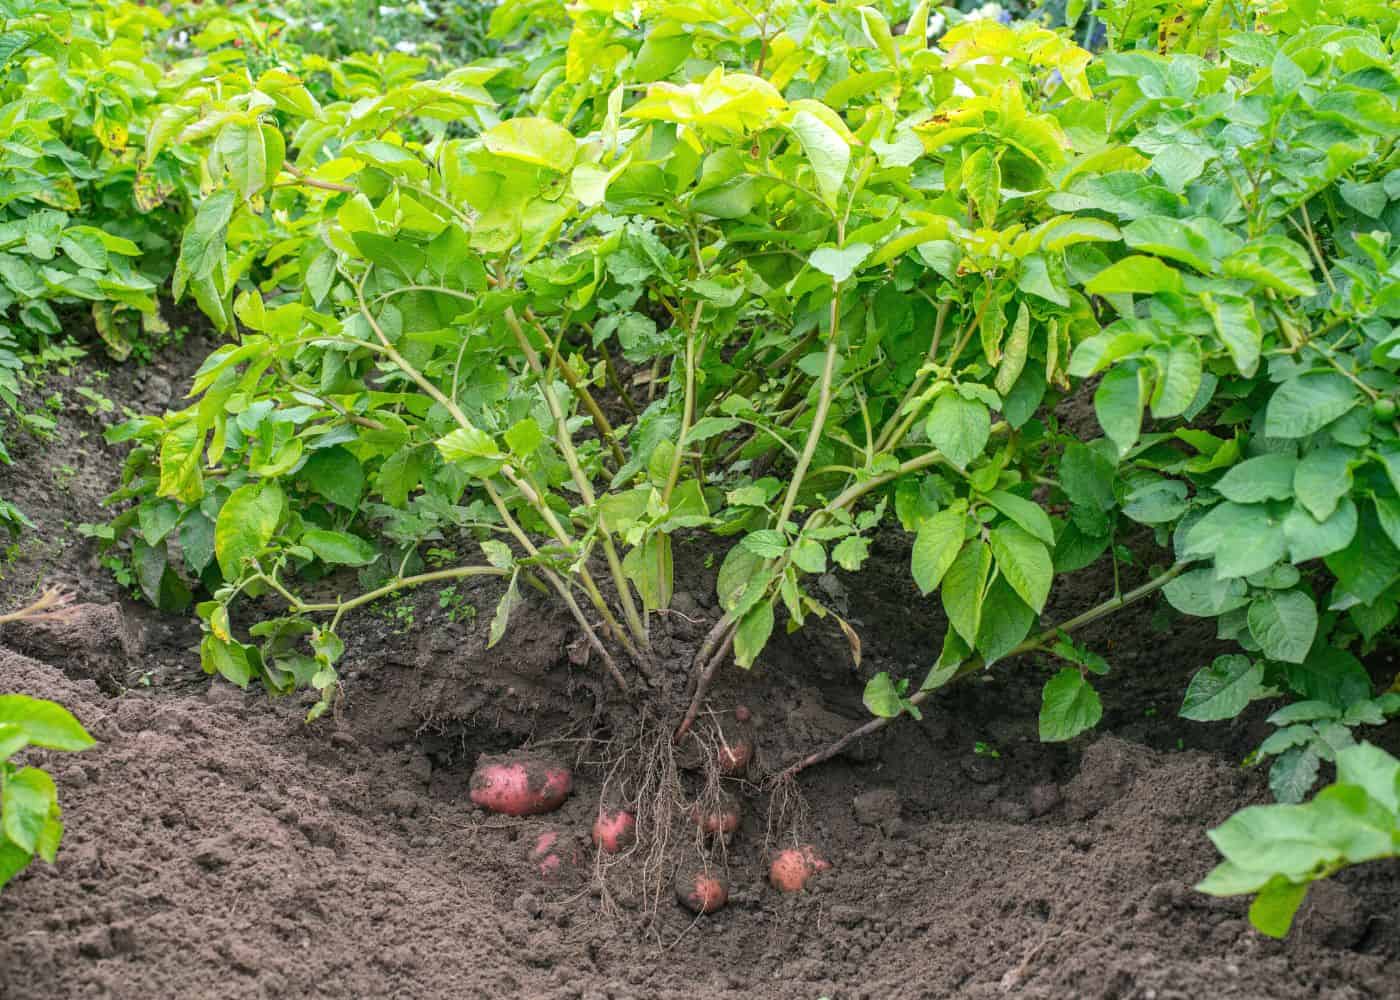
Place one potato per hole and cover it with 2-3 inches of soil. As the plants grow, add more soil around them until they are completely covered; this process is called “hilling” and helps protect against pests and diseases as well as increase yields by keeping tubers cool in hot weather.
If you don’t have space in an in-ground garden or a raised bed, consider using potato grow bags. They are a handy way to keep these plants contained while you grow them on a patio or deck.
Once you have planted your potatoes, it is important to ensure they receive adequate water and fertilizer in order to help them grow healthy and strong. Let’s look at how best to provide these essentials for a successful harvest.
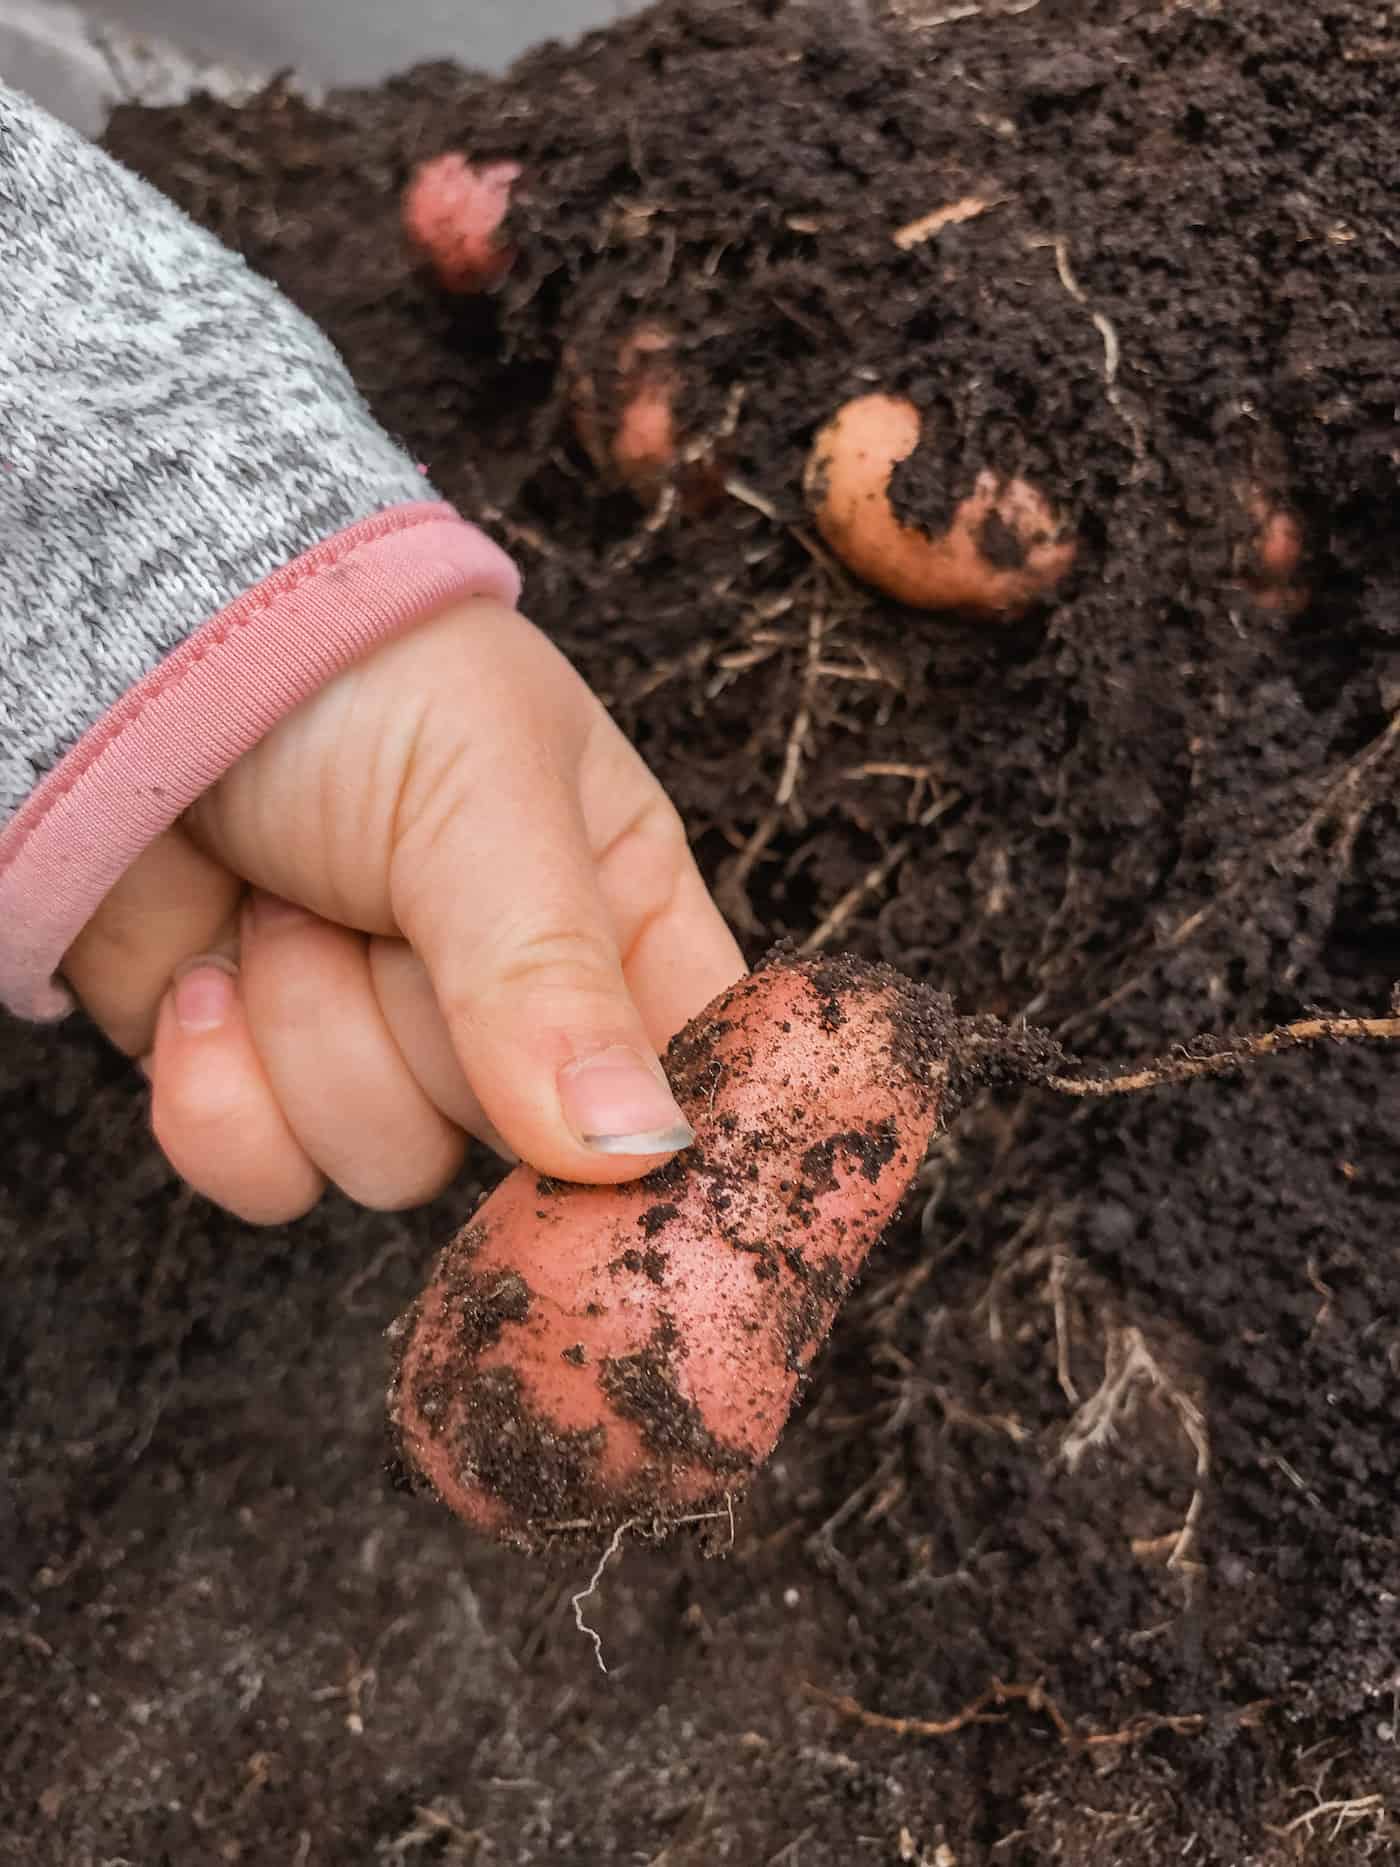
Watering & fertilizing potato plants
Watering and fertilizing potatoes is essential for a successful harvest. Without proper care, your potato plants will not reach their full potential.
Potatoes need to be watered regularly throughout the growing season in order to ensure that they receive enough moisture. The soil should be kept moist but not soggy; too much water can cause the potatoes to rot or become diseased. Watering should be done at least once a week during dry periods, more often if necessary. It’s also important to water deeply so that the roots of the plant are reached and nourished with moisture.
Fertilizer is also important for healthy potato plants and a good yield of potatoes. A balanced fertilizer for potatoes should be applied when planting potatoes, then again after four weeks of growth and every two weeks thereafter until flowering begins (usually around six weeks). Make sure you follow package instructions carefully as overfertilizing can burn your plants. If possible, use organic fertilizer which will help promote healthier soil in addition to providing nutrients for your plants.
Weed control is also an important part of caring for potato plants; weeds compete with them for resources like sunlight, water, and nutrients from the soil so it’s best to keep them under control. Pull any visible weeds or use mulch around your plants which will prevent weed seeds from germinating in the first place.
Finally, pest control is something you may have to consider depending on where you live – common pests include aphids, Colorado Potato Beetles, flea beetles etc., so make sure you check regularly for signs of infestation and take action accordingly (such as spraying insecticides).
In conclusion, watering and fertilizing potatoes properly throughout their growth cycle is essential for a successful harvest. Be sure to apply fertilizer according to package instructions when planting your potatoes then again after four weeks of growth before continuing every two weeks until flowering begins; this will provide them with all the nutrients they need while helping maintain healthy soil conditions too. Additionally, don’t forget about weed and pest control; these things can quickly get out of hand if left unchecked so make sure you stay vigilant.
Proper watering and fertilizing of potatoes is essential for a healthy crop. Now, let’s look at how to keep weeds away from your potato plants.
Weed control around potato plants
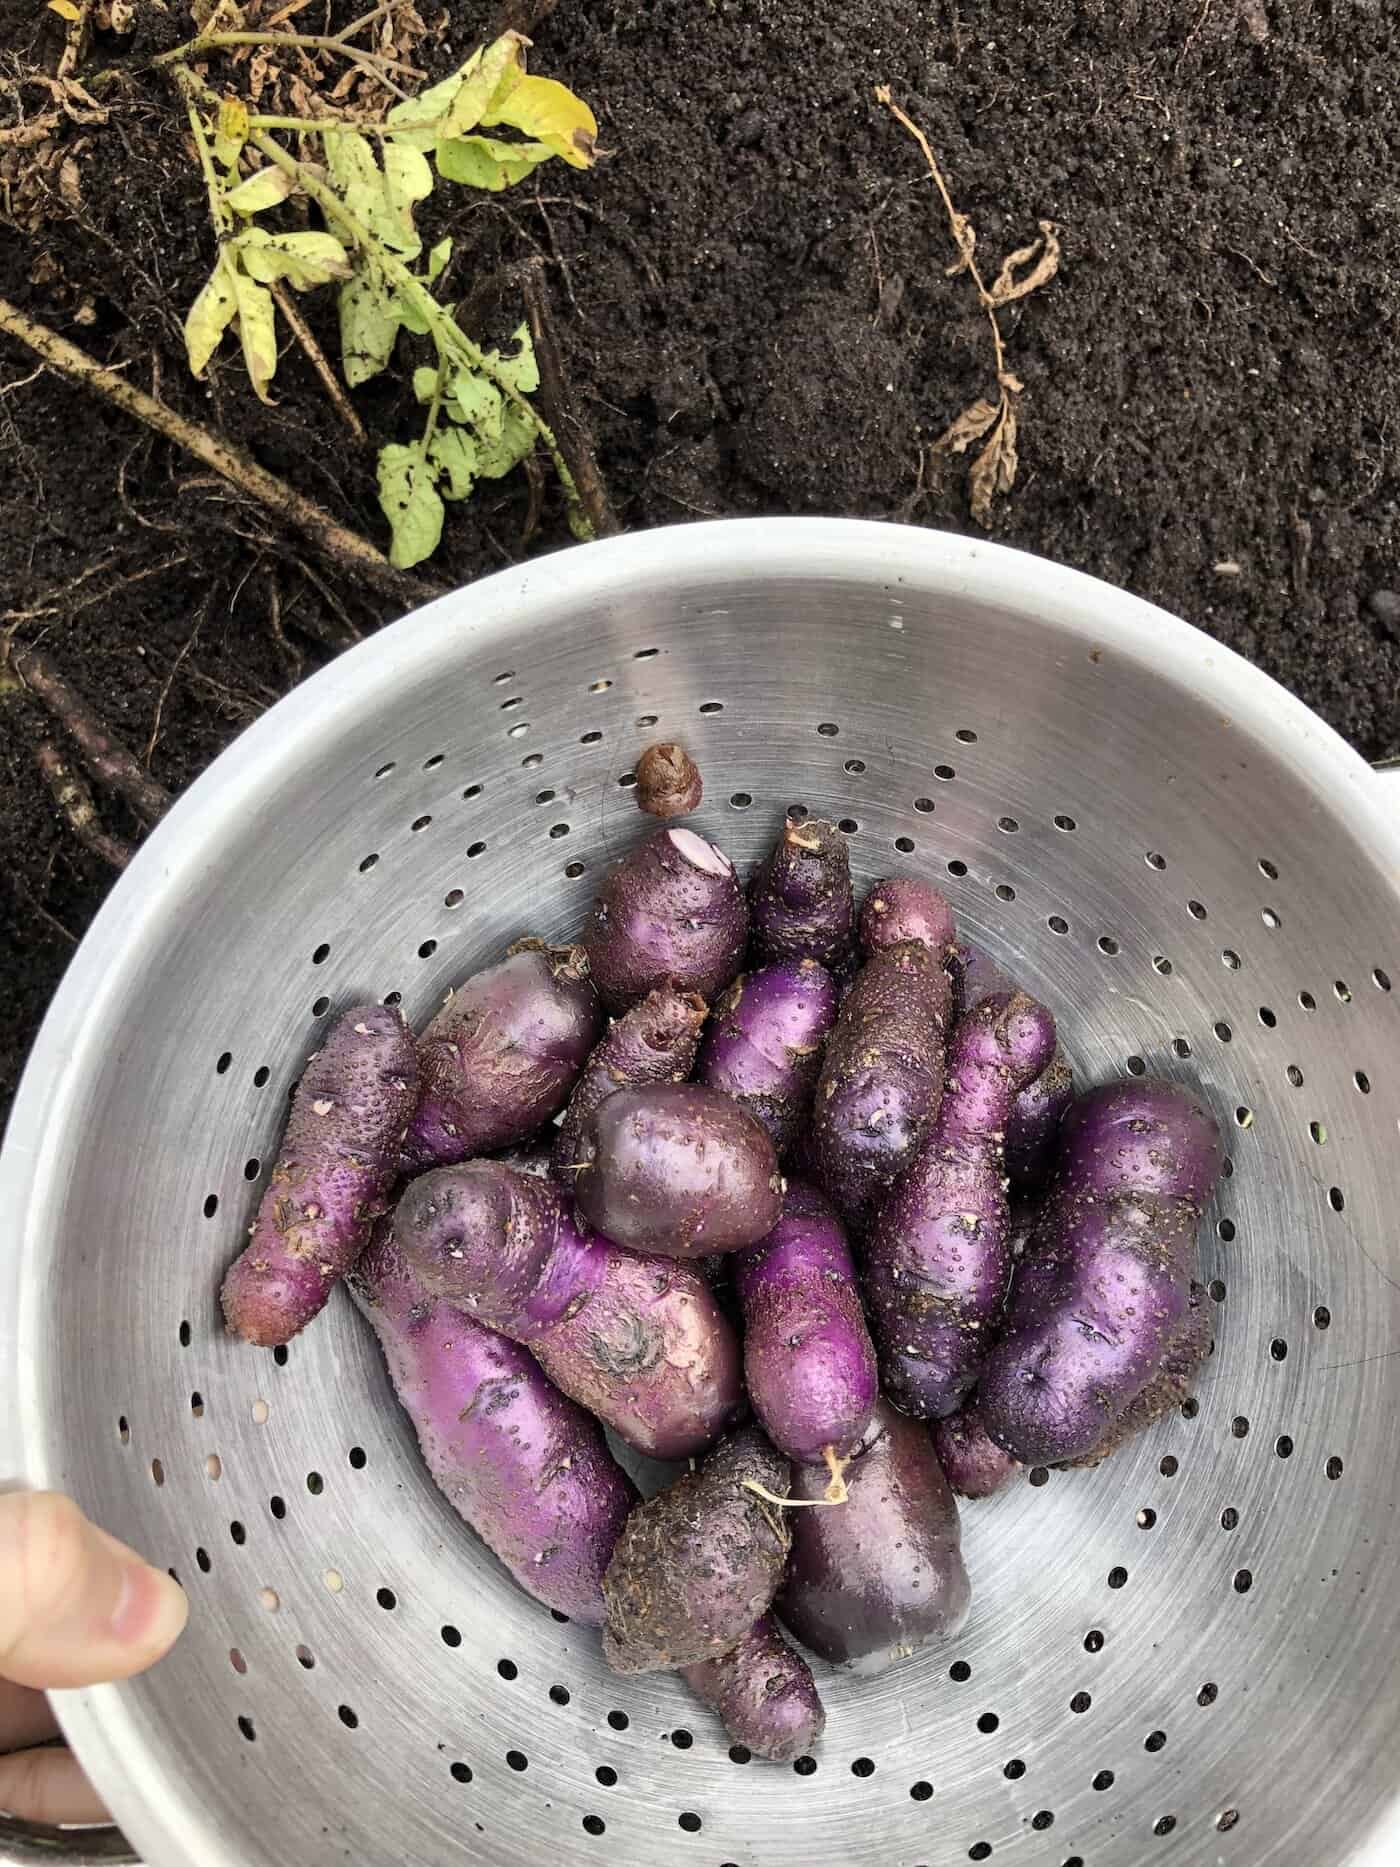
Weed control is an important part of growing potatoes. Weeds compete with the potato plants for nutrients, water, and sunlight, which can reduce yields and even kill your crop. The best way to keep weeds from taking over your garden is to remove them as soon as they appear.
Manual weeding is one of the most effective ways to get rid of weeds in a potato garden. It’s also the least expensive option since you don’t need any special tools or chemicals. Hand-pulling small weeds before they have a chance to spread their seeds will help prevent future infestations. You may also want to use a hoe or trowel to loosen soil around larger weed roots so that you can pull them out more easily.
Mulching can be another great way to control weeds in your potato patch without using herbicides or other chemical products. Organic mulches like straw, hay, grass clippings or shredded leaves are all good options for suppressing weed growth while adding beneficial organic matter back into the soil at the same time. Just make sure not to pile too much mulch on top of your plants; it should be about two inches thick and applied only around the base of each plant stem rather than directly onto its foliage.
Another natural approach for controlling weeds in a potato garden is through crop rotation: planting different types of crops in different parts of your garden every year helps break up weed cycles by reducing their access to food sources (like nitrogen) that would otherwise allow them thrive unchecked. This technique also has benefits beyond just weed control – rotating crops helps maintain soil fertility levels and prevents diseases from spreading throughout entire plots due solely monoculture farming practices (i.e., planting only one type).
Weed control is essential for a successful potato crop, and the next step in ensuring success is pest control.
Pest control for potato plants
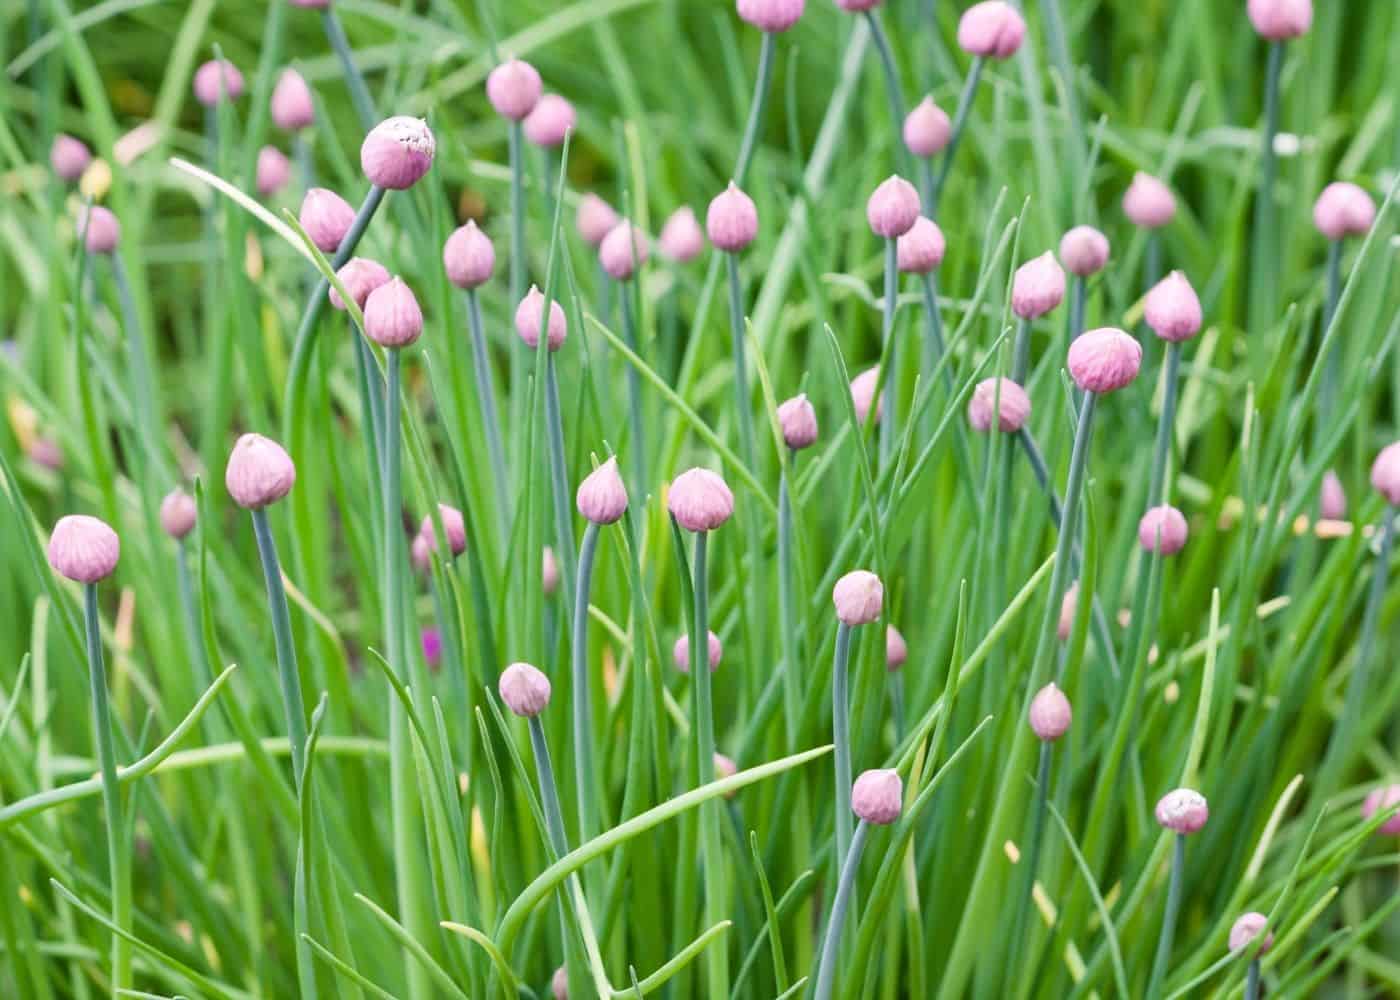
Pests can be a major problem for potato plants, but there are natural methods of controlling them. One way to control pests is through companion planting. Marigolds, chives, garlic, and basil are all good choices for companion planting with potatoes. There are also a number of other great companion plants for potatoes, and many of them either repel pest insects or attract predators that eat pest insects. Consider including a few in and around your potato plants for natural control.
Another method of pest control is hand-picking bugs off the plants as soon as you see them. This will prevent an infestation from occurring in the first place or stop one that has already started before it gets out of hand. Be sure to wear gloves when doing this so you don’t get bitten by any insects.
You may also want to use row covers over your potato plants if they have been affected by pests in the past or if you live in an area where they are common. Row covers create a barrier between your plants and any potential invaders while still allowing sunlight and air circulation into the garden bed.
Pest control is essential to ensure your potatoes stay healthy and protected. By understanding the common pests, you can take steps to keep them away from your plants and harvest a successful crop of potatoes. Now let’s move on to harvesting those delicious potatoes.
Harvesting potatoes from the garden
Harvesting potatoes is an exciting time for any gardener. Knowing when to harvest them and how to do it properly will ensure you get the most out of your crop.
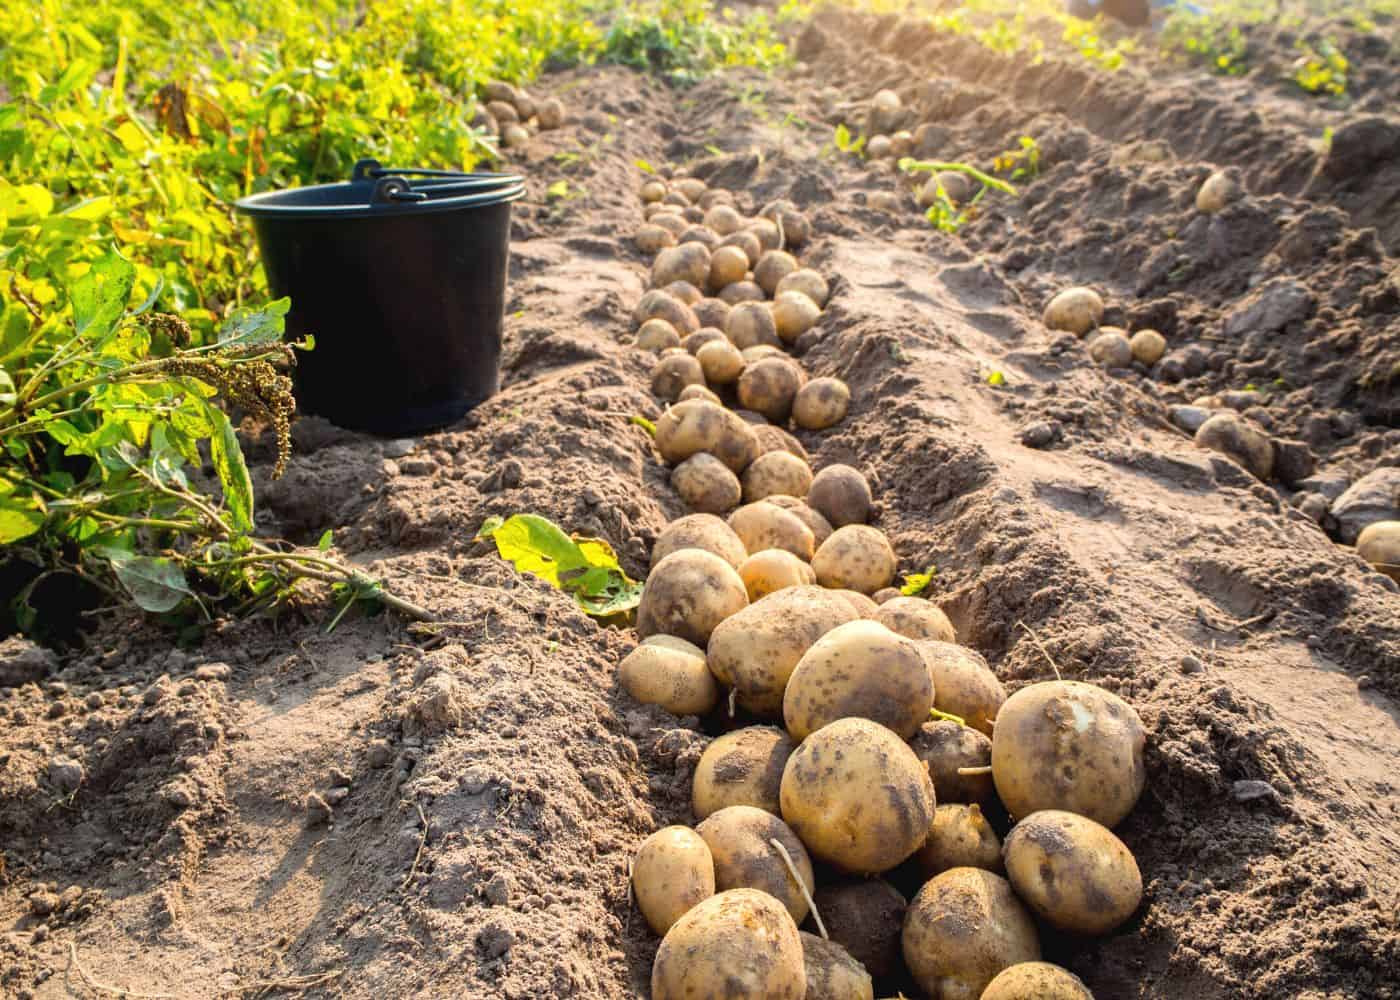
Generally, potatoes are ready for harvesting about three-four months after planting. The foliage will begin to yellow and die back, indicating that the tubers are mature and ready for harvest. You can also gently dig around a few plants with a spade or trowel to check if they’re ready; look for tubers that have reached full size but still feel firm when squeezed lightly in your hand.
When harvesting potatoes, use a garden fork or spading fork rather than a shovel or hoe as these tools can easily damage the tubers. Gently loosen the soil around each plant before carefully lifting it from the ground with both hands so as not to break off any roots or stems attached to the tuber itself. If there are small new potatoes left behind in the soil, leave them until next season – they won’t store well anyway.
Once harvested, brush off excess dirt from each potato using your hands (don’t wash them yet) and place into baskets or crates lined with newspaper or straw – this helps prevent bruising during transport and storage later on. Make sure all damaged/rotten potatoes are discarded immediately; don’t keep these as they could spread disease throughout your entire crop.
Finally, store harvested potatoes in a cool dark place such as an unheated basement or garage where temperatures remain between 40-50°F (4-10°C). Keep away from direct sunlight at all times since this can cause greening of their skin which makes them unsuitable for eating raw; although cooked dishes made with greened skins may still be safe.
Once your potatoes are ready to harvest, it’s time to properly store them so they stay fresh and delicious. In the next section, we’ll discuss how best to store potatoes for maximum longevity.
Storing homegrown potatoes
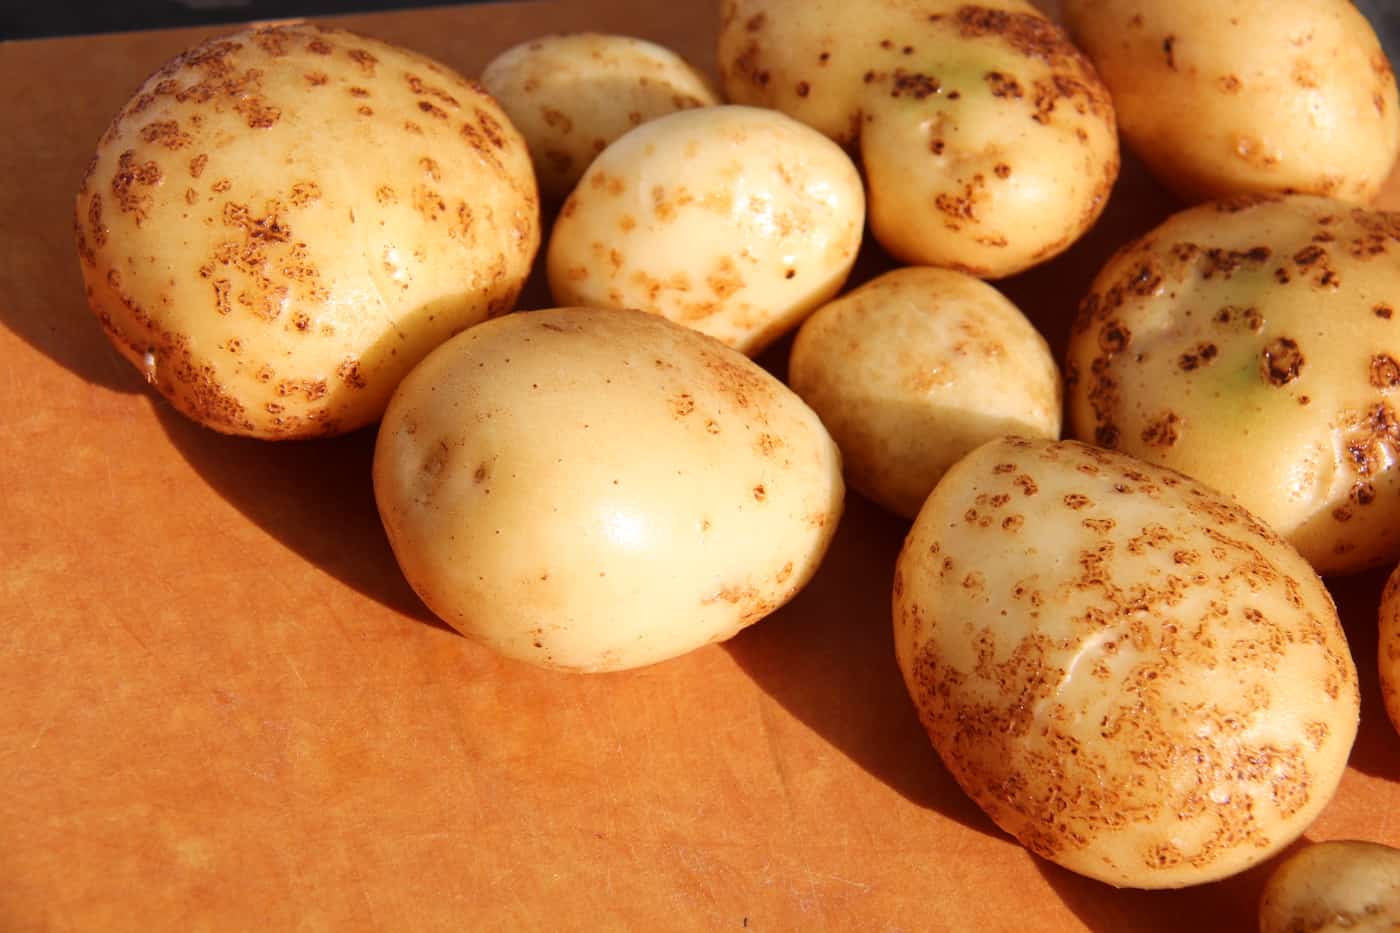
Storing potatoes properly is essential for maintaining their quality and taste. After harvesting, it’s important to cure the potatoes in a warm, humid environment for two weeks before storing them. This process helps toughen up the potato skin and prevents spoilage during storage.
The ideal temperature for curing and storing potatoes is 45-50°F (7-10°C). Any higher than that can cause the potatoes to sprout prematurely or rot quickly. The humidity should be kept at 90% relative humidity or higher while curing, then lowered to 85% when stored long term.
When you are ready to store your cured potatoes, make sure they are dry on the outside with no visible signs of damage such as bruises or cuts on the skin. Place them in a cool dark place like a root cellar or basement pantry where temperatures stay consistent throughout the year – never put them in direct sunlight. Keep air circulating around your stored potatoes by using an open container such as cardboard boxes with holes punched into them instead of plastic bags which will trap moisture and cause mold growth over time.
Check your stored potatoes regularly for any signs of spoilage including soft spots, discoloration, mold growth, or foul odors which indicate that they have gone bad and need to be thrown out immediately. You can also test if a potato has gone bad by cutting it open – if there’s any green color inside then it means that toxins have built up from too much light exposure during storage so discard it right away.
By following these simple steps, you can ensure that your harvested potatoes remain fresh and delicious until you are ready to use them in cooking.
FAQs about how to grow potatoes
Can I grow potatoes from a potato?
Yes, you can grow potatoes from a potato. This can be a plain old grocery store potato if you like, but most gardeners search out certified disease-free “seed” potatoes.
Potatoes are grown from pieces of the tuber that contain at least one “eye,” which is an indentation or bump on the surface of the potato. When planted in soil and given adequate water and sunlight, these eyes will sprout into stems with leaves above ground and roots below.
What month do you plant potatoes?
Potatoes are typically planted in the spring, usually between March and May depending on your climate. Planting too early can lead to frost damage, while planting too late may result in smaller yields. Potatoes should be planted when the soil temperature is at least 45°F (7°C).
How long does it take to grow a potato?
Potatoes are a relatively easy crop to grow and can be harvested in as little as 60-90 days. The exact time it takes for potatoes to mature depends on the variety, soil conditions, and climate. In general, potatoes require full sun and well-drained soil with plenty of organic matter. They should be planted when the soil temperature is at least 45°F (7°C).
Can I grow potatoes from store-bought potatoes?
Yes, you can grow potatoes from store-bought potatoes. All you need is a potato with eyes (small buds) and some soil or compost to plant it in.
Plant the potato about 4 inches deep and cover with soil. Keep the soil moist but not soggy, and in 6-8 weeks your potatoes should be ready to harvest. Make sure to keep an eye on the soil and water regularly. With some patience, you can enjoy a delicious harvest of potatoes from your own garden.
Before you go…
Growing potatoes is an easy and rewarding activity for gardeners of all levels. With the right soil, sunlight, and a little patience you can enjoy fresh produce in your own backyard! Start by planting certified seed potatoes in well-drained soil that has been amended with compost or aged manure. Water regularly to ensure even growth and protect against disease. Monitor the plants carefully as they mature; harvest when tubers reach their desired size while avoiding over harvesting which can reduce yields next season. Enjoy your homegrown potatoes today!


