Are you interested in growing kale plants but unsure where to start? Look no further! In this blog post, we’ll provide you with all the information you need to grow and care for kale successfully.
Kale is a fast-growing vegetable that can be planted both in spring and fall. You can either plant seeds directly in rich, well-drained soil or transplant baby seedling plants into your garden. The plants grow best with some direct sunlight but are tolerant of shade. You’ll also want to keep an eye out for pests, pull out nearby weeds, and consider fertilizing your plants if your soil is poor.
With our tips and tricks, your homegrown kale will be thriving in no time!
How to grow kale
Kale is an incredibly versatile vegetable that’s easy to grow in most climates. With a few simple steps, you can have your own kale patch ready for harvesting in no time.
Kale is a cool-season vegetable and grows best during the shoulder seasons of spring and fall. The plants are frost hardy and there are some varieties that are more tolerant of hot summers than others.
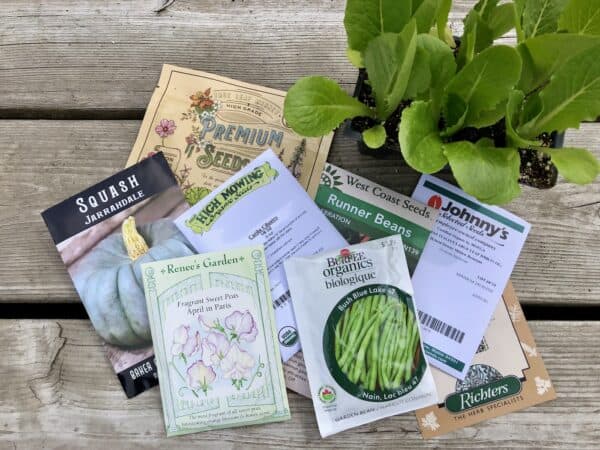
Start by choosing which variety of kale you’d like to grow. Then plant the seeds, either out in the garden or indoors in seed starting trays. Take care of the baby plants as they grow, watching for pests and disease. Keep the plants well-watered and feed if necessary. Here are the basics for growing your own kale.
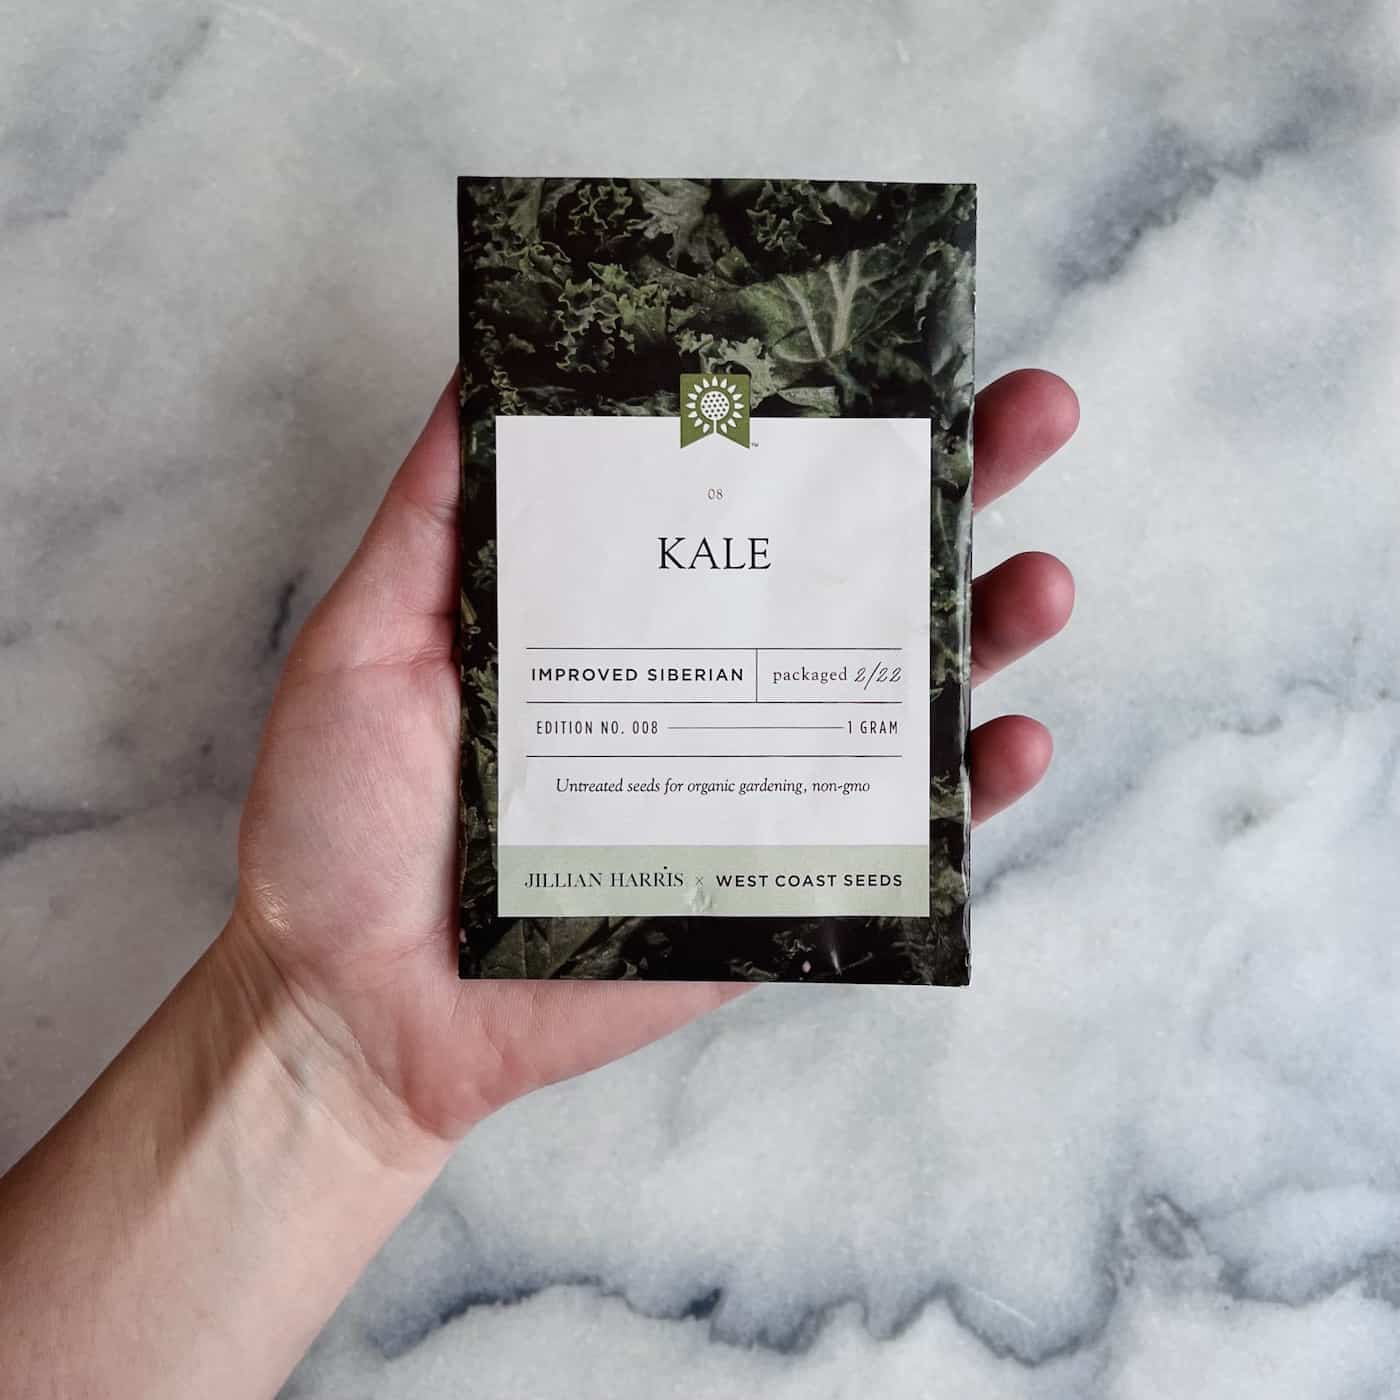
1. Select a variety
When selecting a variety, take into account the local climate and conditions, as well as characteristics such as cold tolerance, heat tolerance, days-to-harvest, disease resistance, flavor profile, and color. When selecting a variety of kale, opt for one suitable to your climate and can thrive in your available conditions.
2. Prepare the soil
Kale prefers soil with good drainage and plenty of organic matter like compost or aged manure worked into it before planting season begins. Test your soil pH level beforehand so you know what adjustments need to be made if necessary. Ideal pH levels should be between 6-7 (slightly acidic) for optimal growth of kale plants.

3. Plant your kale seeds
Plant seeds about 1/4 inch deep directly into prepared soil. Kale is frost hardy and can be planted before the last spring frost occurs, but the seeds do need some warmth in the soil to germinate.
You can also plant your kale seeds indoors and get them started before taking them out to the garden. Here are detailed instructions for how to grow kale seeds.
Space seedlings 8-10 inches apart within rows 18-24 inches apart allow enough room for each plant’s roots to develop properly without competing with one another too much over resources like water or nutrients from the soil itself.
4. Care for the growing plants
Water your new plants regularly to keep them moist until they become established. After a few weeks, reduce frequency but don’t let them wither away, as this can stunt their growth or make the leaves a magnet for pests and diseases. Try mulching around each plant’s base to retain moisture longer during hot summer months, especially in drought-prone areas such as California.
Our little leafy greens require adequate nourishment, so apply an organic liquid fertilizer every two weeks during peak growing season (April through September). Alternatively, a slow-release fertilizer applied to the seedlings may last for 2-3 months.
Keep an eye out for any indications of bugs, such as aphids or caterpillars nibbling away at foliage; if you spot them, spritz the insects with organic insecticidal soap solutions mixed in accordance with the instructions on product labels. To avoid spray use altogether, introduce beneficial insects like ladybugs who will happily snack away at pesky critters – make sure not to spray these guys off too accidentally.
Regarding diseases, watch out mainly for downy mildew, which tends to show up more often during wetter seasons and causes yellow spots and discoloration across leaf surfaces. To help prevent its spread even further, try avoiding overhead irrigation whenever possible and rotating crops annually where feasible.
5. Harvesting kale from the garden
Once plants reach the desired size, harvest the outermost leaves first, working inward toward the center stalk itself until only the inner core remains. Cut stems close to the ground level being careful not to damage neighboring plants nearby either way. Store harvested kale in a refrigerator inside airtight containers wrapped tightly with plastic wrap and enjoy within three days for best results overall.
Choosing a variety of kale to plant
When choosing the right variety of kale for your garden, there are a few factors to consider. The first is climate. Kale is a veggie that can be cultivated in various climatic conditions, yet some kinds may do better than others, depending on the location. For example, if you live in an area with hot summers and mild winters, look for heat-tolerant varieties like Red Russian or Dwarf Siberian Kale. If you’re in an area with cold winters and cool summers, choose cold-hardy varieties such as Lacinato or Winterbor Kale.
The next factor to consider is soil type. Different types of kale prefer different types of soil; sandy soils tend to work best for most varieties, while clay soils may require more amendments before planting time. To ensure optimal growth and healthiest plants, test your soil pH levels before planting by using a simple home testing kit available at most gardening stores. This will help determine which type of fertilizer works best for your specific needs and allow you to adjust the pH accordingly so your kale has the ideal environment to grow strong and healthy root systems.
Choose a kale variety that appeals to you, as an array of options is available, from Lacinato’s curly green leaves to Red Russian’s purple-fringed foliage. Pick something unique that catches your eye; after all, part of gardening should be enjoyable.
Prepare the soil before planting
Before planting kale, it is essential to ensure the soil is properly prepared for optimal growth. Here are some tips for getting your garden bed ready for success.
Start by testing the pH level of your soil. Kale prefers slightly acidic soils with a pH between 6 and 7. If the pH of your soil is off, you can modify it with either lime or sulfur.
Ensure your dirt is permeable and has some organic matter in it like decayed compost or aged manure. You want to create an environment where roots can easily penetrate and access nutrients without becoming waterlogged or overly dry. Adding mulch around plants will help retain moisture while preventing weeds from taking over your garden bed.
Finally, break up any clumps of dirt with a shovel or rake before planting so that roots have plenty of space to spread out once they start growing. This will also allow air to circulate more freely throughout the soil, which helps promote healthy root growth and prevents diseases from taking hold in damp conditions like those found in clay-heavy soils.

Planting kale seeds
Planting kale seeds is a simple process, but it’s important to do it right in order to get the best results. Kale can be sown directly into the garden or started indoors in trays or pots before transplanting outdoors.
Sowing kale seeds must be done when the soil has thawed and can be worked, and air temperatures are in the range of about 45-75°F (7-24°C). Kale likes full sun, so choose an area with at least 6 hours of direct sunlight daily. It also needs well-drained soil with plenty of organic matter for nutrients.
If you’re starting your seeds indoors, use seedling trays filled with potting mix specifically designed for seedlings and sow 2-3 seeds per cell about ¼ inch deep. Place them near a window where they will get plenty of light and keep moist until germination occurs, which usually takes 5–10 days, depending on temperature and humidity levels. Once your plants have two true leaves each, thin out weaker plants leaving only one strong plant per cell or container when transplanting outside later on.

Planting kale seedlings
When planting kale seedlings, it’s important to make sure they are healthy before transplanting them into the ground. Check for signs of disease or insect damage on the leaves and stems. If any of these are present, discard those plants as soon as possible so they don’t spread their problems to other plants in your garden.
Once you have selected healthy seedlings, dig holes approximately the size of the root balls in the transplant tray. Carefully place the seedling in its hole at the same depth as it was growing in its container, then fill it back up with soil until even with ground level.
Thoroughly water the roots to ensure they are fully saturated but not waterlogged from over-hydration – this will help mitigate shock when transplanted into a new environment outside of its potting mix indoors prior to being planted outdoors for real gardening scenarios like yours today.
To keep weeds away from your newly planted kale seedlings, use mulch around them – but not directly touching them – to keep moisture levels consistent while also keeping weeds down during the growing season throughout the summer months ahead. This helps reduce competition between both weed and vegetable plants alike.
Water your growing kale plants regularly
Watering your kale plants is essential to ensure they grow healthy and strong. Check the soil regularly to ensure it’s moist but not soggy, so you can give each plant an inch of water per week. You’ll want to water when the top inch of soil feels dry, ensuring you give each plant enough moisture without over-saturating them. In hotter or drier regions, it may be necessary to up the water supply for your kale plants to ensure they grow healthily.
You can use a watering can or garden hose with a nozzle attachment for easy application; just be careful not to damage any young seedlings as you go. For bigger gardens or spots where manual watering isn’t feasible, consider investing in a drip irrigation system to maintain steady dampness levels and decrease vaporization from blustery conditions. Additionally, mulching around your plants helps retain moisture and keeps weeds at bay – both great benefits for healthier kale crops.
When it comes time to harvest your crop, make sure there is still plenty of water available so that new leaves can continue developing after picking off some older ones (kale regrows quickly). Too much rain can also cause problems like root rot or fungal diseases if drainage isn’t adequate – watch out for standing puddles near your beds and adjust accordingly if needed.
Fertilize the plants as needed
To ensure optimal growth, fertilizing your kale plants regularly is essential. When done correctly, it can help ensure your plants get all the nutrients they need to grow and thrive. The best way to fertilize kale is with a balanced fertilizer every few weeks. Fertilizing kale with a balanced blend of essential elements, such as nitrogen, phosphorus, and potassium, can aid in its growth and development.
When selecting a fertilizer for your kale, opt for one with a balanced N-P-K ratio. This will provide enough nitrogen (N) for healthy leaf production, phosphorus (P) for root development, and potassium (K) for overall plant health. If you’re not sure which type of fertilizer to use, consult with a local garden center or nursery before purchasing any products.
Control common pests and diseases
Pests and diseases can be a major issue when growing kale. It is essential to be vigilant for any indicators of pest infestations or illness so the correct measures can be taken. Common pests of kale can include aphids, caterpillars that eat chunks from leaves, flea beetles that create small holes in them, and slugs. Aphids are small insects that feed on plant sap, and cause leaves to curl up and turn yellow. Caterpillars eat large chunks from the leaves, while flea beetles chew small holes in them. Slugs leave behind slimy trails as they munch away at your plants overnight.
To get rid of these pests, remove any affected leaves from your garden bed and dispose of them properly – don’t just throw them into your compost pile. You may also want to use organic insecticidal soap or horticultural oil spray to kill off the bugs if there are too many for manual removal alone. Be sure to follow all directions on the product label before applying it directly to your plants.
To prevent infestations and illnesses, tidying up the garden to get rid of any leftover material is essential. Periodic checks should be made to detect any issues before they become serious.
Harvest your kale
Harvesting kale leaves is an important part of gardening. When done correctly, one can reap a generous yield of succulent greens throughout the season. The best time to harvest kale leaves is when they are young and tender, usually about 45 days after planting for most varieties of kale. This will give you the sweetest flavor and highest nutrient content from your crop.
When harvesting, start by cutting off the outermost leaves first, as these tend to be tougher than the inner ones. Use a sharp pair of scissors or garden shears so that you don’t damage the plant in any way while harvesting. Make sure to leave at least four inches between each cut so that the plant has enough room to grow more leaves for future harvests. Once you’ve harvested all of the outermost leaves, move on to those closer to the center of the plant until only small seedlings are left behind.
It’s also important not to over-harvest your plants – take no more than one-third of their total foliage at once, or else they won’t have enough energy reserves left over for growth and reproduction later on down the line. Harvesting should be done regularly throughout the growing season so that new shoots can continue forming as old ones are being taken away – this will keep your plants healthy and productive year-round.
You can store freshly harvested kale in an airtight container in either a refrigerator or freezer depending on how soon you plan on using it; if kept properly, it should last up to two weeks without losing its quality too much. If freezing isn’t necessary, rinse off any dirt before storing – this will also help preserve its texture and flavor over time.
Harvesting kale is simple but requires patience. With regular attention given during each stage, from seeding through maturity, you will enjoy fresh greens all summer.
FAQs about growing kale
How do you grow kale step by step?
To grow kale, start by selecting an area with full sun exposure and well-draining soil. Prepare the soil by adding compost or fertilizer to improve fertility. Sow seeds directly into the ground about 1/4 inch deep, spaced 6 inches apart, and water regularly until seedlings emerge. Thin out weaker plants as they grow, so only one plant remains every 12 inches for larger varieties of kale. Fertilize monthly during the growing season to ensure optimal growth and harvest leaves when they are at least 4 inches long before flowering begins for the best flavor.
How does kale grow best?
Kale thrives in full sun and temperatures between 45-75°F (7-24°C), so make sure to provide it with well-drained soil amended with organic matter, regular watering, and fertilizing every 4 to 6 weeks. Kale prefers moist, well-drained soil that has been amended with organic matter such as compost or manure.
To ensure healthy growth, provide regular watering and fertilize the plants every 4 to 6 weeks. Mulching around the base of the plant will help retain moisture and control weeds. Harvest kale when it reaches its desired size by cutting off individual leaves from each stem at its base; avoid harvesting more than one-third of any given plant at once for optimal regrowth potential.
What climate is best for growing kale?
It prefers cooler temperatures, so it does best when planted in the early spring or late fall. Kale thrives in full sun but will tolerate some shade and requires regular watering to prevent wilting. Kale requires a spot with ample sunlight, where temperatures stay between 40-75°F (4-24°C), for optimal growth and a successful harvest. With these conditions met you’ll have a healthy harvest of delicious kale.
What month do you plant kale?
Kale can be planted in early spring or late summer. For areas with mild winters, kale can even be planted as early as February. In colder climates, wait until the soil has warmed up and all danger of frost is past before planting. Sow seeds at a depth of 1/4 inch and spaced 2-3 inches apart in rows 18-24 inches away from each other for optimal growth. Keep the soil moist but not soggy while plants are young to ensure healthy growth. Kale is a hardy plant and can withstand light frost, so it’s an ideal choice for late-season harvests.
Before you go…
Learning how to grow kale is easy and rewarding. With proper soil selection, planting techniques, and regular maintenance such as fertilizing and pest control, you will have no problem growing this vegetable. Remember to water your plants regularly for optimal growth of your kale crop. Enjoy the rewards of gardening by watching your homegrown kale grow – it’s sure to bring smiles all around when you reap its benefits in the kitchen.