Clematis is a gorgeous flowering vine for cottage gardens and welcoming landscapes. There is a huge range of varieties available, from single-flowered cultivars to double-petalled specialty types. These dainty plants are tolerant of shady conditions and can be low-maintenance once established.
How to grow clematis
Clematis, often referred to as the “Queen of Vines”, is renowned for its vibrant and elegant blooms that can grace trellises, walls, pergolas, and even shrubs. Whether you’re drawn to the large, showy blossoms of the Jackmanii variety or the delicate, bell-shaped flowers of the alpina types, cultivating clematis can be a rewarding endeavor. Here’s how to nurture these captivating climbers.
Clematis prefers a sunny spot with at least six hours of sunlight daily, although its roots crave coolness. The old adage “feet in the shade and face in the sun” holds especially true for clematis. Thus, it’s a good idea to plant it where its base might be shaded by other plants or mulched adequately to keep the roots cool.
This vine thrives in well-draining soil with a neutral to slightly alkaline pH. Before planting, enrich the soil with compost or well-rotted manure. Dig a hole about twice the width of the pot and ensure it’s deep enough to plant the clematis so that its first set of leaves is just below the soil level.

While clematis plants need consistent moisture, it’s crucial to avoid waterlogged soil. Water regularly, especially during dry periods. A balanced, general-purpose fertilizer in the early spring can help bolster growth and bloom production.
Clematis pruning can seem complex, as different varieties require different approaches. Some clematis bloom on the previous year’s growth and should be lightly pruned after flowering. Others, particularly those that bloom later in the season, flower on new growth and can be pruned more aggressively in early spring. Be sure to note the cultivar name of your variety before you schedule your annual pruning.
Regardless of the variety, all clematis benefit from training onto a support as they grow. You can grow them up a trellis attached to a wall or on a free-standing arbor or pergola structure.
While clematis is relatively hardy, it can sometimes suffer from wilt, a fungal disease. Regularly check for wilted or blackened stems and leaves, and if spotted, cut out the affected areas. Aphids and spider mites might also occasionally be a concern.

Popular varieties of clematis to grow
The genus Clematis is quite varied, containing 386 accepted species and thousands of named cultivars. There is a wide array of varieties, each boasting unique colors, bloom sizes, and flowering times.
Here are some of the most popular varieties of clematis:
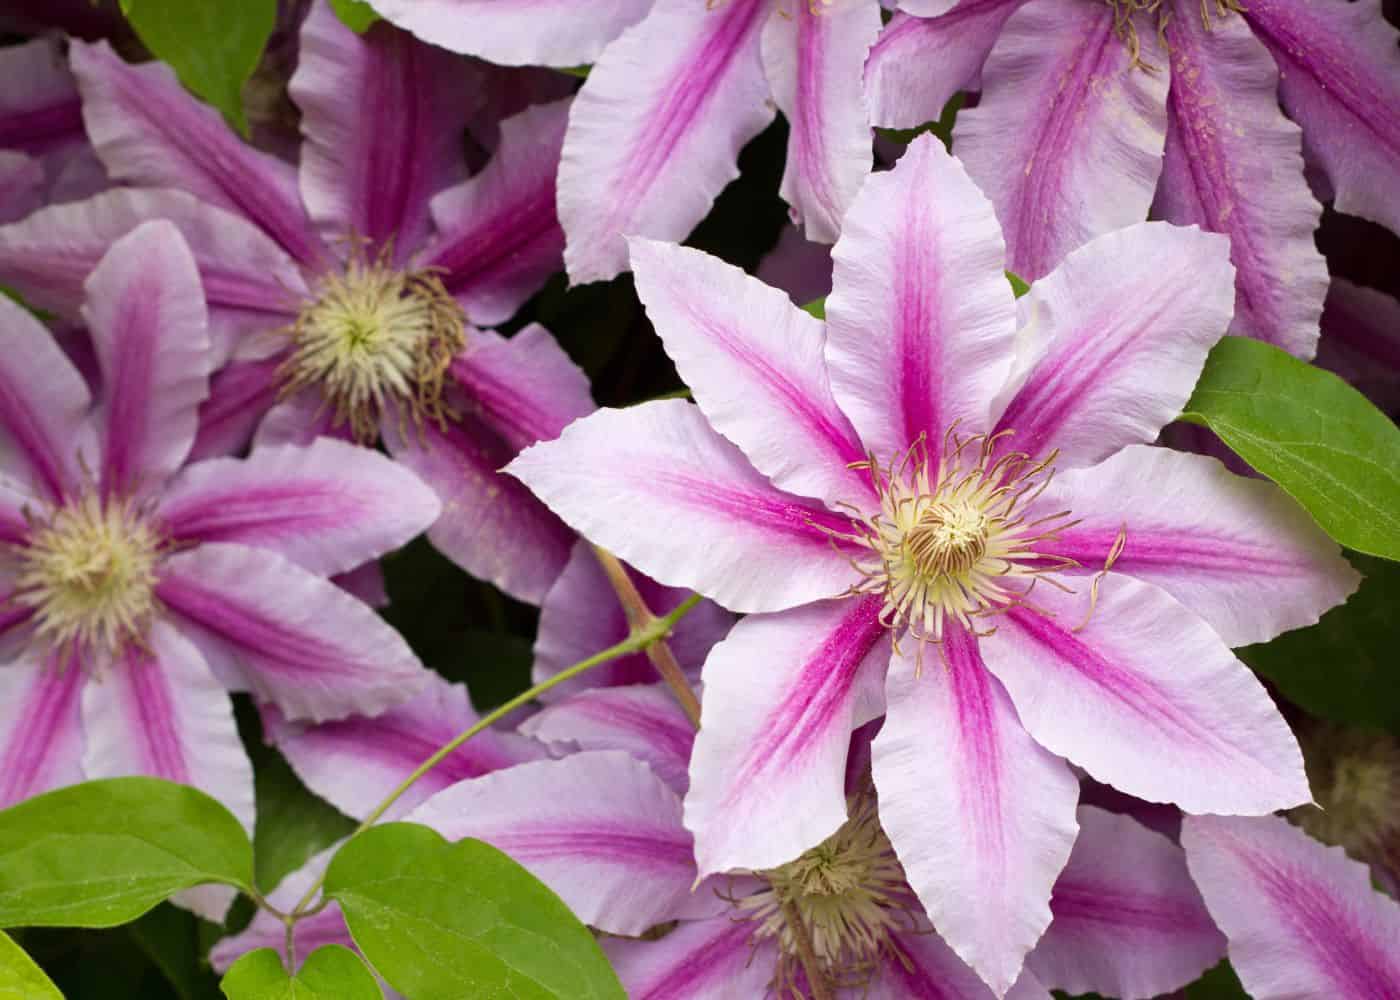
Clematis ‘Nelly Moser’: Renowned for its large, pale pink blooms with a central stripe of deep pink and bright yellow stamens. It’s an early to mid-season bloomer, typically flowering in late spring and early summer, then again in early autumn.
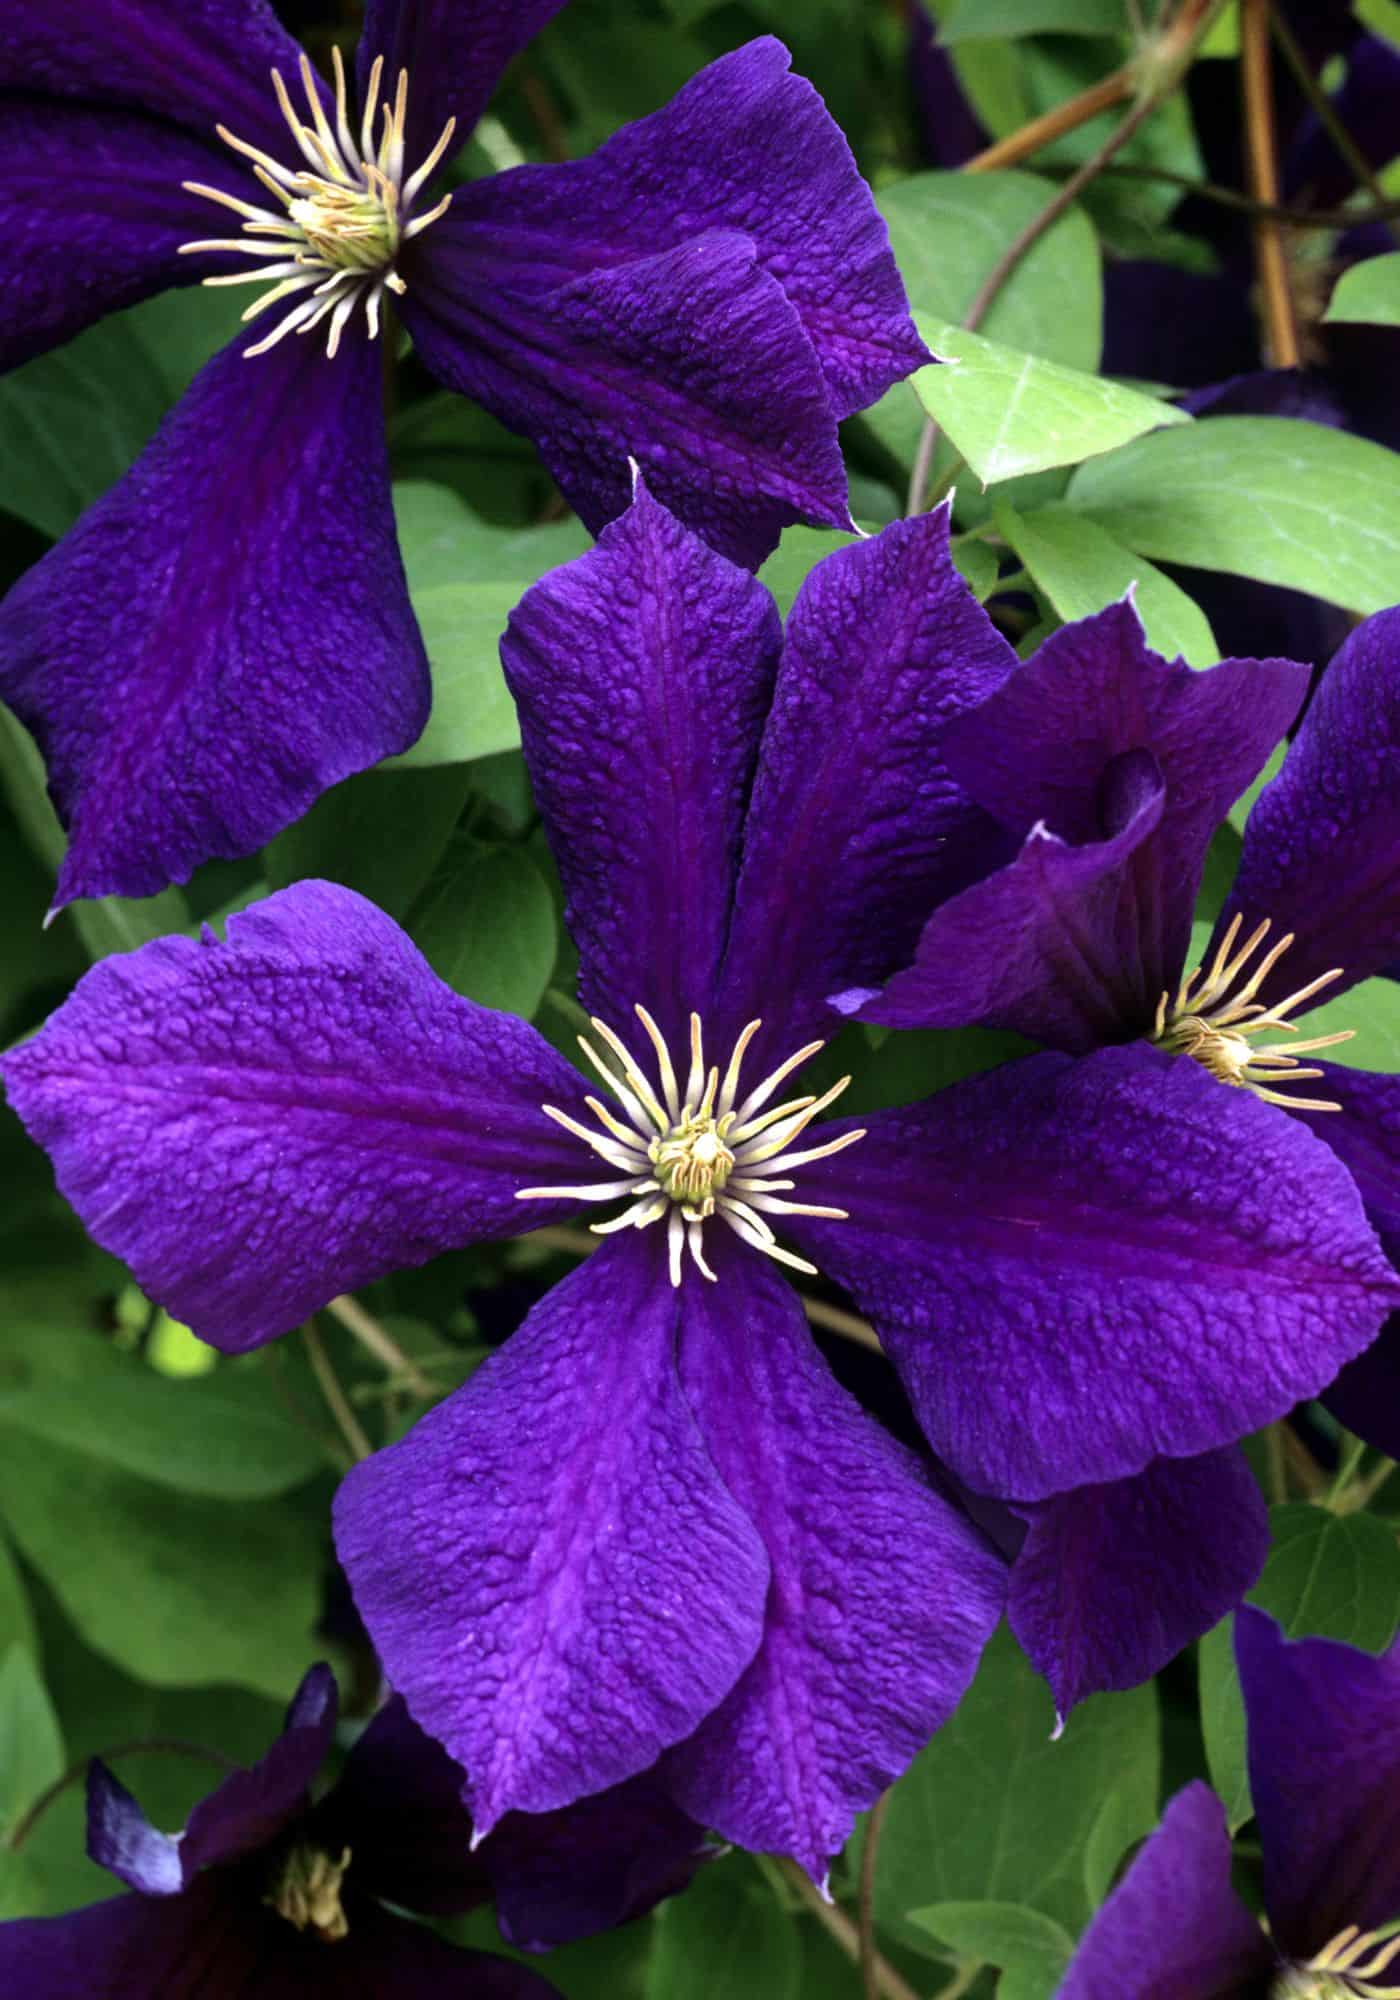
Clematis ‘Jackmanii’: One of the most famous clematis varieties, this plant showcases rich, deep purple flowers and is known to bloom profusely from mid to late summer.
Clematis ‘Henryi’: Bearing large, white blooms with yellow centers, this variety flowers in early to mid-summer.
Clematis ‘The President’: A classic variety, it boasts deep purple-blue flowers and typically blooms in early summer and then again in early autumn.
Clematis ‘Madame Julia Correvon’: This variety offers striking, red-wine-colored flowers that bloom profusely during the summer months.
Clematis ‘Arabella’: Part of the Integrifolia group, it has blue-mauve blossoms and is a continuous bloomer throughout the summer.
Clematis ‘Warszawska Nike’: This variety stands out with its velvety, dark maroon flowers that bloom from mid to late summer.
Clematis ‘Multi Blue’: As the name suggests, it produces double, blue flowers, giving it a lush appearance. Blooming occurs in late spring to early summer and then again in late summer.
Clematis ‘Hagley Hybrid’: With its mauve-pink flowers, this variety is not only attractive but also particularly resistant to clematis wilt, making it a favorite among many gardeners.
Clematis ‘Ernest Markham’: Boasting magenta-red flowers, this clematis is a late bloomer, offering color from mid-summer to early fall.
When selecting a clematis variety, it’s essential to consider its bloom time and pruning group to ensure proper care and maximize flowering. With such diversity in color, size, and form, there’s a clematis to suit almost every garden’s aesthetic and needs.

Planting a clematis in your landscape
Planting a clematis correctly is crucial for its future growth and blooming. When you bring a clematis plant home from the nursery, follow these steps to ensure it gets the best start.
Choosing a planting location
Clematis prefers a location that receives at least six hours of sunlight daily, but they also appreciate having their roots kept cool. The adage “head in the sun, feet in the shade” strongly applies here. And in general, morning sun is preferable to harsh afternoon sun.
Ensure that the location offers well-draining soil. Clematis doesn’t like waterlogged roots. You’ll likely want to mulch the soil after planting, so keep that in mind.

Preparing the area prior to planting
Mix some compost or well-rotted manure into the soil in the general area to enhance its fertility and drainage. Consider adding a balanced slow-release fertilizer if your soil is quite poor.
Install a support structure for the clematis to climb. This could be a trellis, wire mesh attached to a wall, or even neighboring larger plants like trees (or wooden poles).
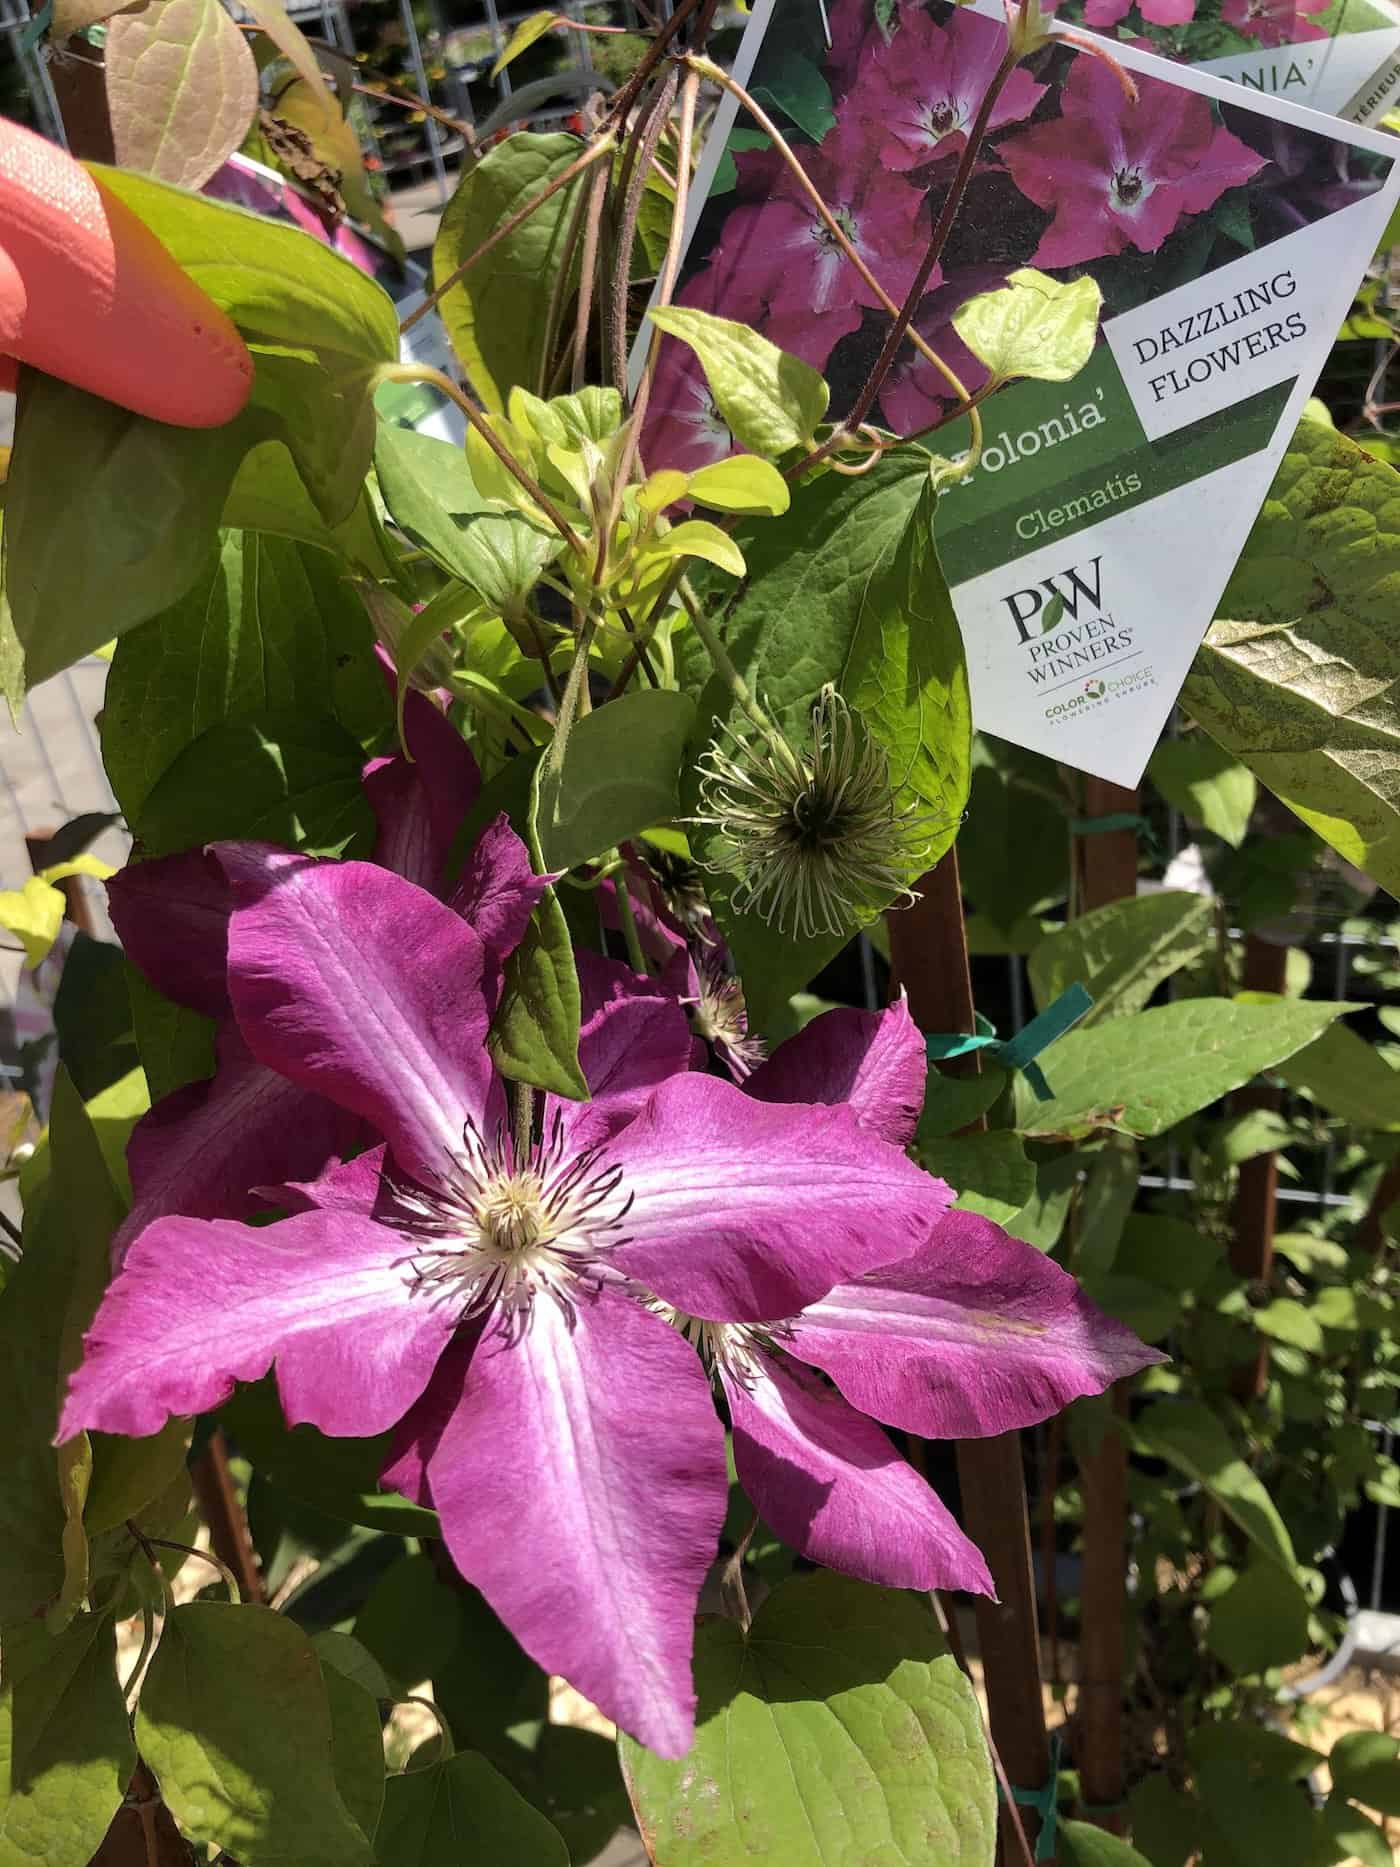
Planting a clematis vine
Dig a hole that’s about twice as wide as the nursery pot and just a bit deeper than the soil in the pot. Pour some water in the hole to check that it drains into the soil easily. Gently take out the clematis plant from the nursery pot. If the roots are circling the pot, lightly tease them out so they can spread out nicely.
To plant clematis, place the root system into the bottom of the planting hole. It is ok if this plant is planted a little deeper than it was in the pot. Backfill with a bit of soil, firming it gently around the plant’s base to eliminate any air pockets. Hold the base of the plant towards the support structure. Finish backfilling with soil.
Water thoroughly after you plant clematis. This helps settle the soil around the roots and ensures they have adequate moisture to start growing. Apply a 2-3 inch thick layer of mulch, such as compost, straw, or bark, around the base of the clematis to keep the roots cool and retain moisture.
If the vine you’re planting looks quite vibrant and healthy, use twine to gently tie the plant to the base of the trellis, leaving some room for the plant to grow and move. For a young and spindly vine, consider pruning the plant back to about 12 inches above the soil line at the time of planting. This can encourage strong, bushy growth.
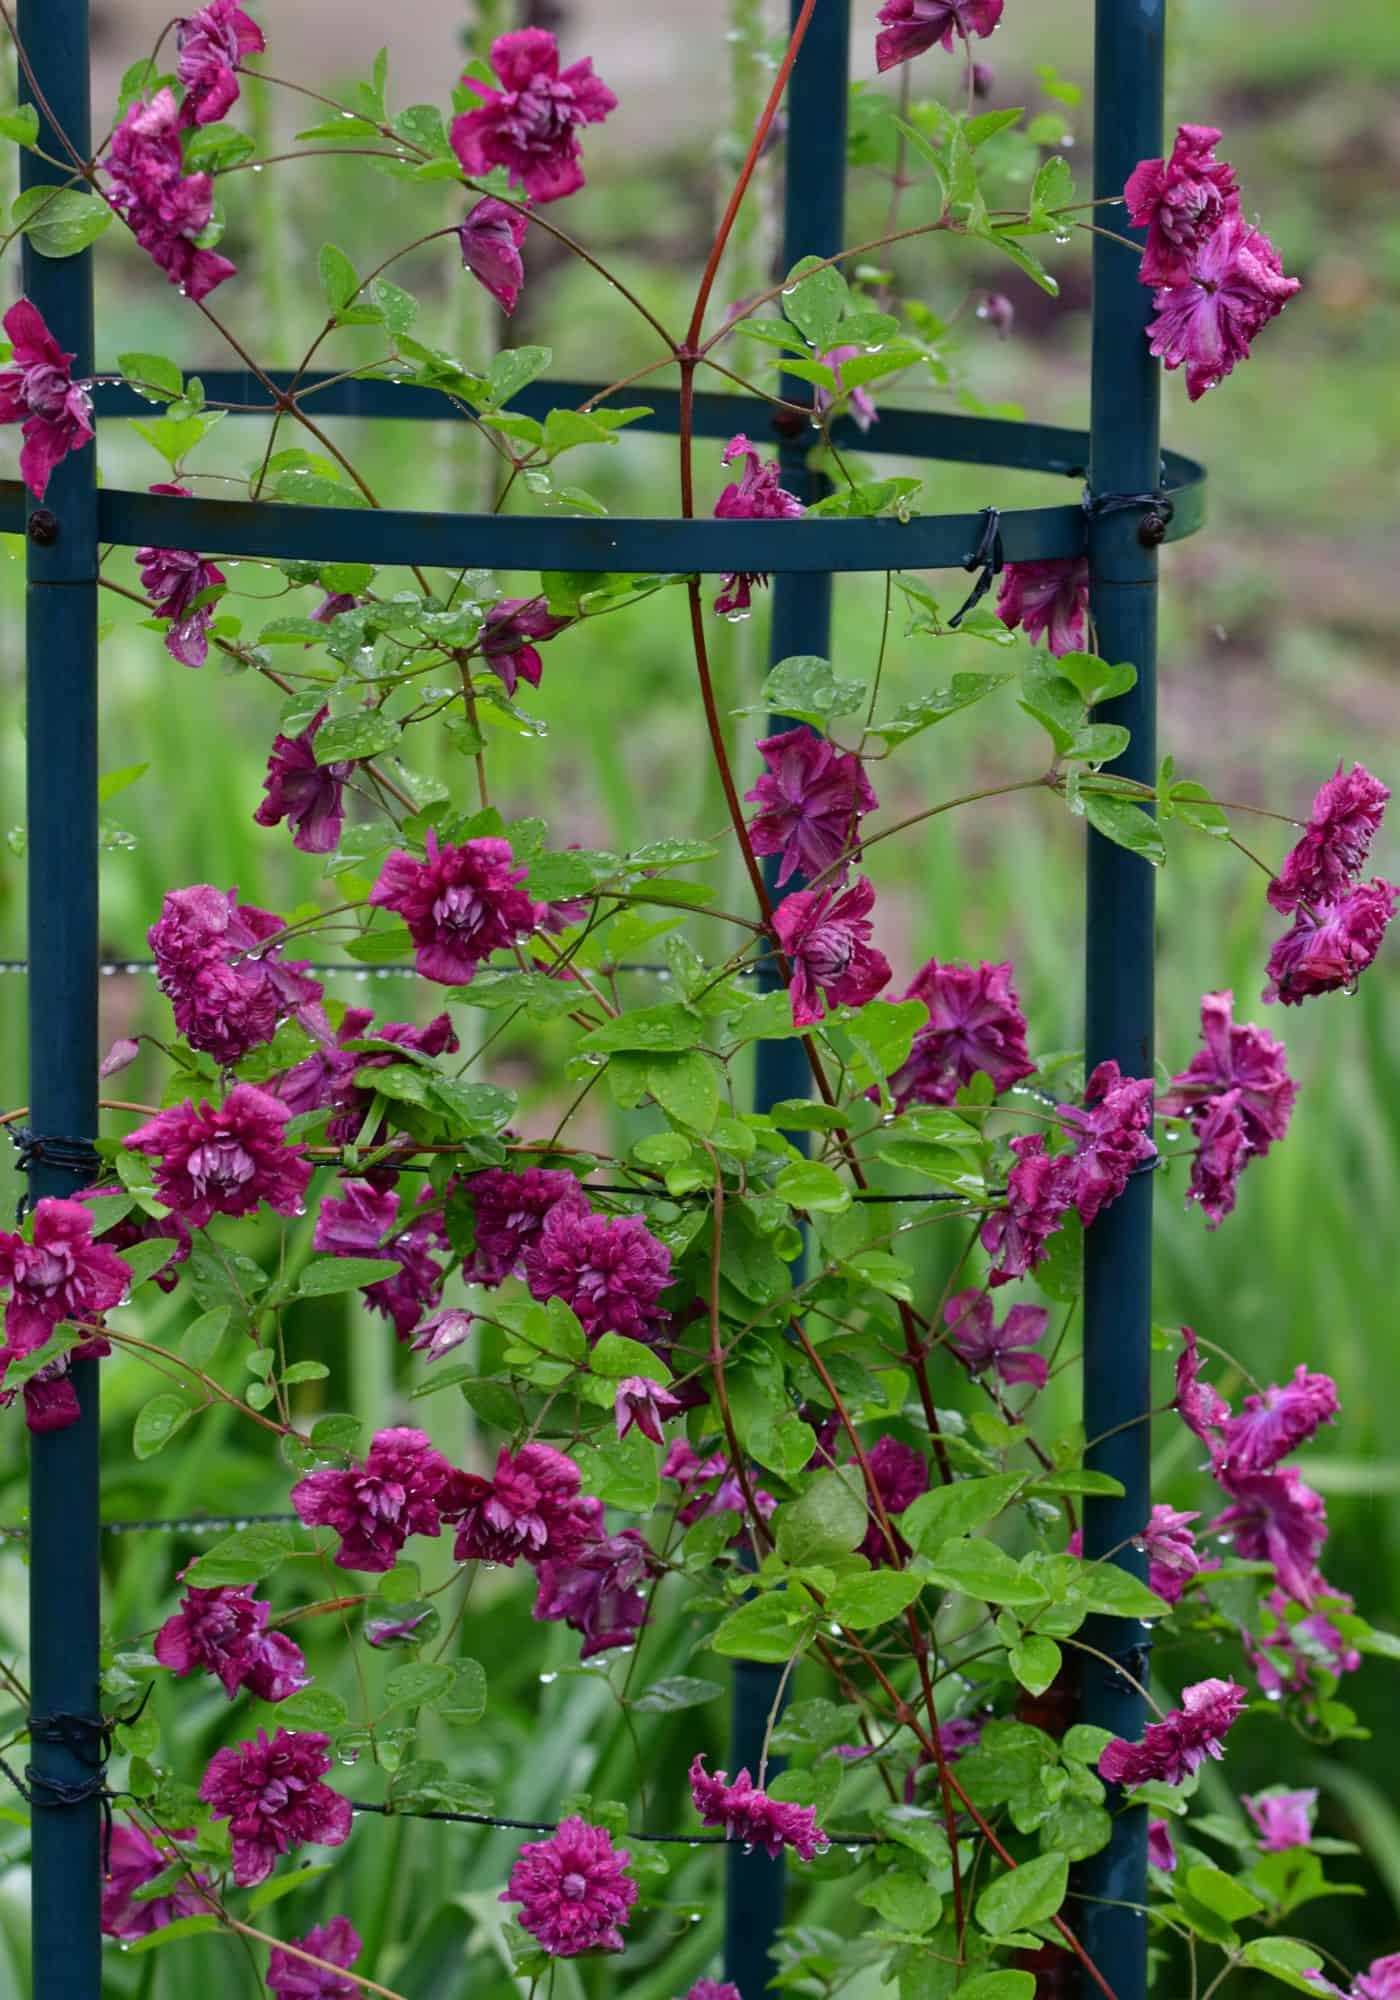
Care for a clematis vine after planting
Continue to water the plant regularly, especially during dry spells, until it’s well-established. Keep an eye out for pests like aphids or signs of diseases like clematis wilt during the first few weeks. With the right care and attention, your clematis should thrive in its new location, rewarding you with beautiful blooms in due time.
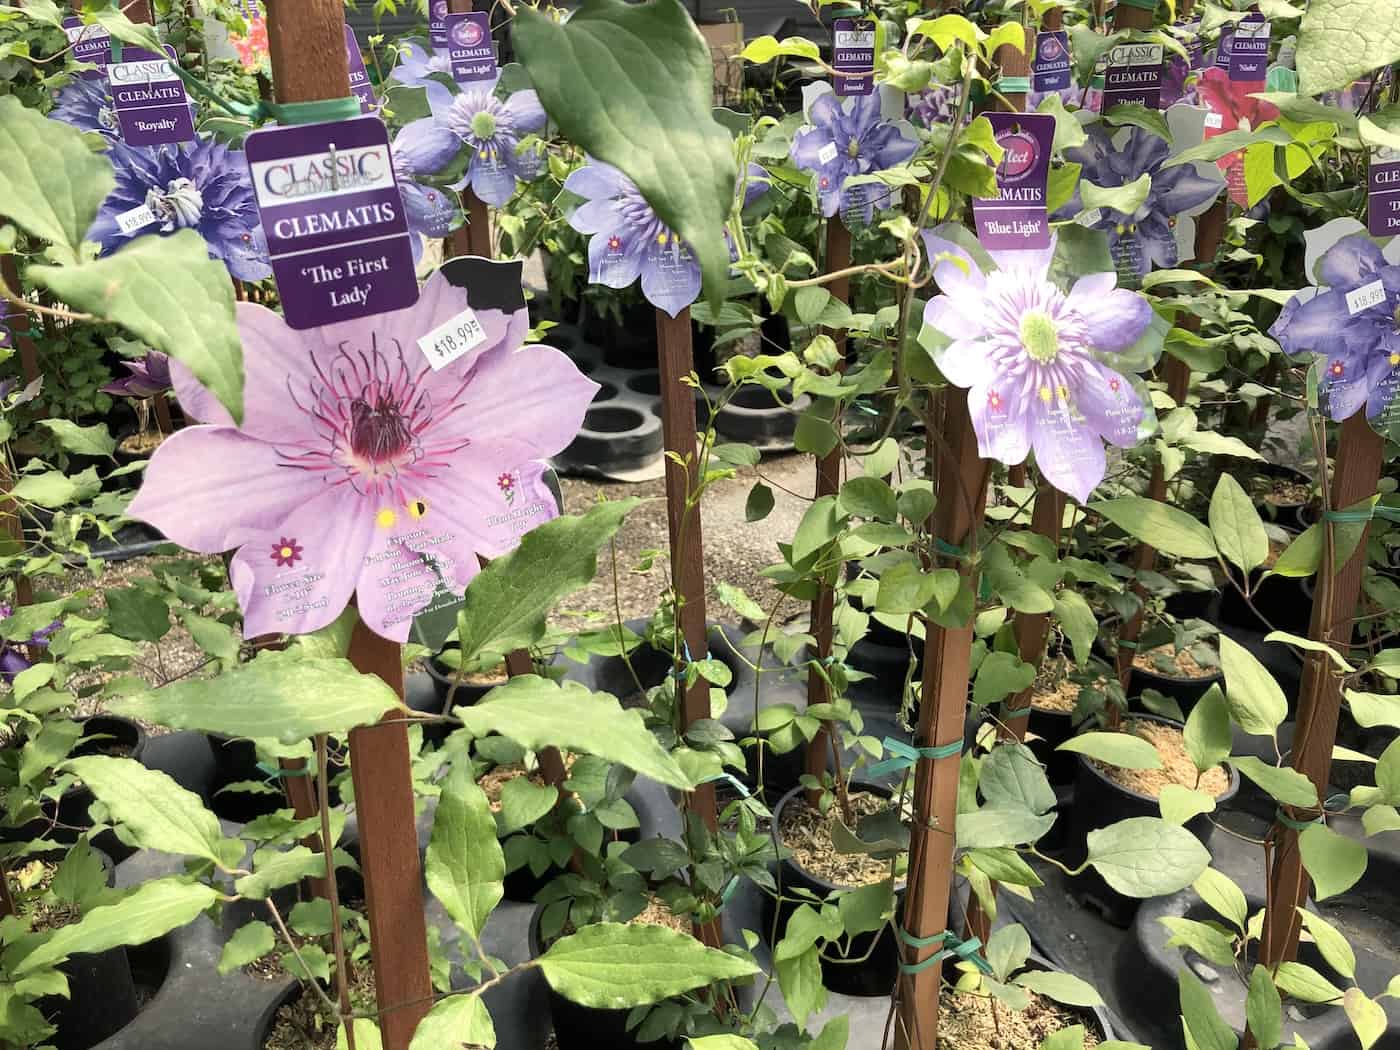
Pruning clematis vines
Clematis pruning groups are essential to understand, as each group has its own specific pruning needs based on their blooming cycles. Knowing which group your clematis belongs to ensures that you’re pruning it at the right time to maximize its flowering potential.
Here are the three primary clematis pruning groups:
Group 1 (Early Flowering Group or Pruning Group A)
Clematis Pruning Group 1 (or referred to as Group A) consists of the early flowering clematis varieties. These varieties bloom in early spring on the previous year’s growth. The flower buds grow in the fall, stay dormant on the plant during the winter, and are ready to bloom as soon as spring warms the soil.
Group 1 clematis varieties:
- Clematis montana
- Clematis alpina
- Clematis macropetala
Group 1 clematis varieties require minimal pruning. Typically, you’d only prune to remove dead or weak stems, and this is done after flowering. If left unpruned, they may become woody and bear fewer flowers over time. If rejuvenation is required due to neglect, they can be cut back harder, but you may sacrifice some blooms the following year.
Group 2 (Mid-Season Flowering Group or Pruning Group B)
Clematis Pruning Group 2 (or referred to as Group B) consists of the mid-season flowering clematis cultivars. These bloom in late spring to early summer on short stems growing from old wood and then often have a second, lighter bloom in late summer on the current year’s growth.
Group 2 clematis varieties:
- Nelly Moser
- Henryi
- The President
Group 2 clematis plants require light pruning. In early spring, prune back to a strong set of buds, about a foot or two above the ground. You can remove any dead or weak stems completely down to the ground. After the first flush of blooms, you can prune again lightly to shape the plant and possibly encourage a second bloom.
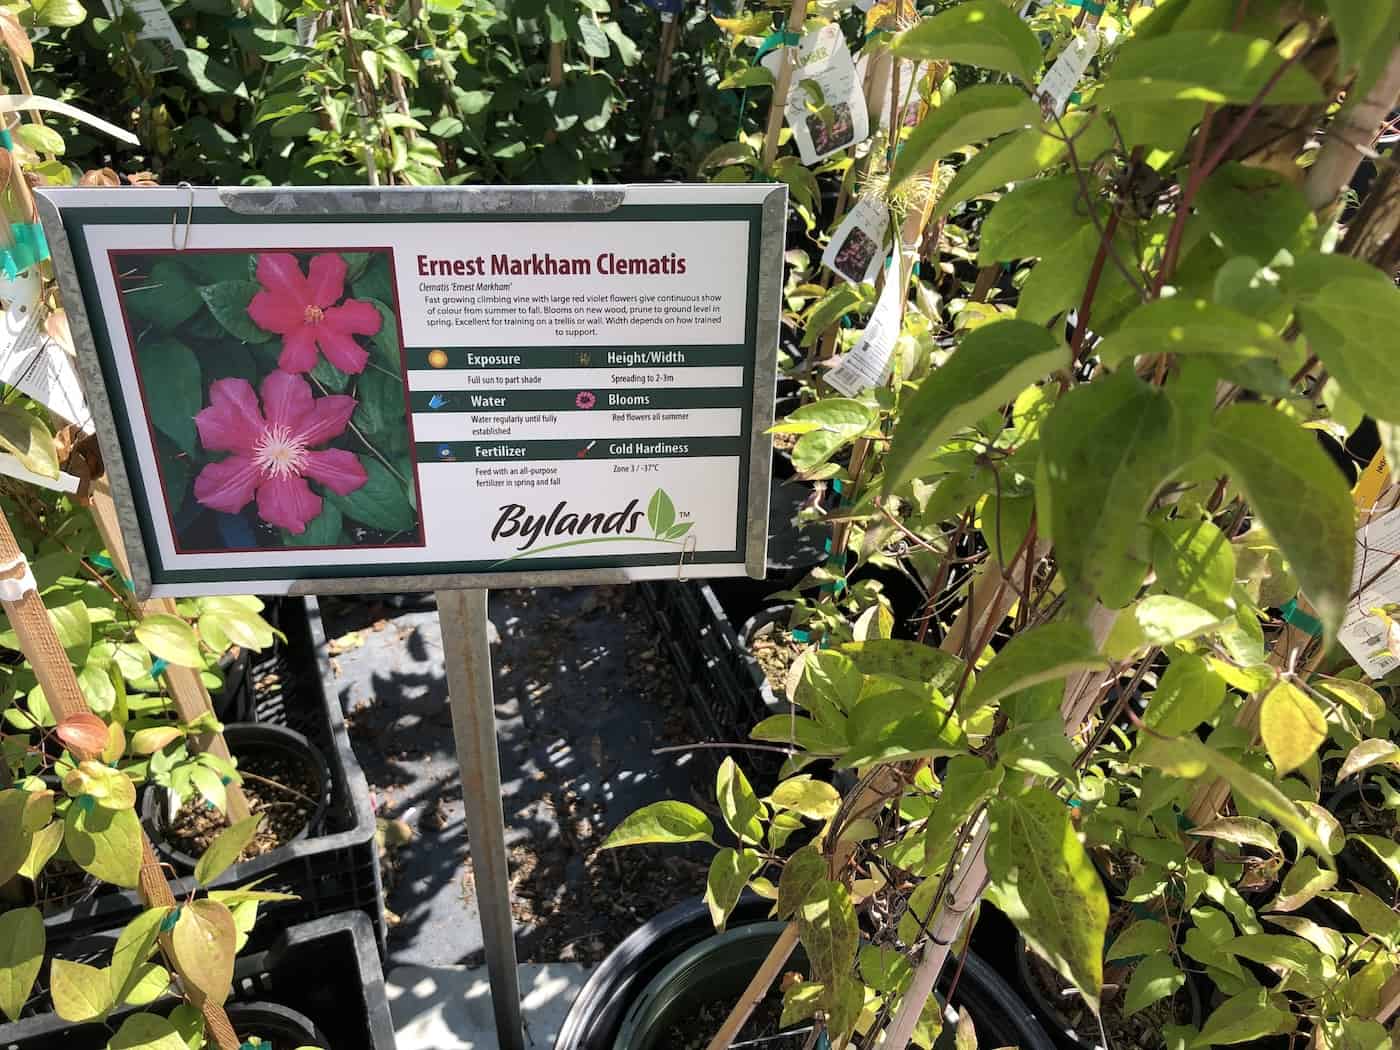
Group 3 (Late Flowering Group or Pruning Group C)
Clematis Pruning Group 3 (or referred to as Group C) consists of late-flowering clematis varieties. These varieties bloom in late summer to early autumn on the current season’s growth.
Group 3 clematis varieties:
- Ernest Markham
- Jackmanii
- Ville de Lyon
Group 3 clematis cultivars require the most extensive pruning of the three groups. In late winter or early spring, cut back all the old stems hard, typically about 6-12 inches above the ground. This might seem drastic, but it encourages robust new growth and a better display of flowers at a height where they can be best appreciated. These varieties don’t have overwintered flower buds, so you’re not removing dormant flowers by cutting it back.
More about clematis pruning
Remember, the specific variety of your clematis will help determine its pruning group. If you’re unsure, observing its flowering time can give you a clue. Also, it’s essential to note that even if you prune your clematis at the “wrong” time, it won’t harm the plant – you might just miss out on some blooms for that season. Growing clematis can be quite forgiving if you’re ok with forgoing a few flowers in the immediate future to boost future blooms.
Propagating clematis
Propagating clematis allows gardeners to multiply their plants and share varieties with others. There are several methods to propagate clematis, with the most common being through cuttings, layering, and seeds.
1. Cuttings
Take cuttings in late spring or early summer when stems are in the “semi-ripe” stage – not too tender but not fully matured. Choose a healthy parent plant without any diseases or pests.
Cut a stem section that’s about 4-6 inches long. Make sure it has at least one pair of leaves. Remove the lower leaves, leaving the topmost pair. Dip the cut end in rooting hormone (this is optional). Plant the cutting in a pot filled with a mixture of perlite and potting soil or sand. Cover the pot with a plastic bag to maintain humidity.
Keep the cutting in a bright location but out of direct sunlight. Water regularly to keep the soil moist, but not wet. In about 6 weeks, the cutting should develop roots. Once roots have formed, the cutting can be transplanted to a larger pot or directly in the garden.
2. Layering
Spring is a good time to start layering an existing plant in your garden. Choose a healthy, flexible stem close to the ground. Make a small, shallow cut about 1-2 inches long on the stem’s underside. This will encourage rooting at this spot.
Dig a shallow trench in the soil below this cut, and bury this section of the stem, keeping the tip of the stem exposed above the woil. Use a wire landscaping staple or a big stone to hold down the cut part and keep it in contact with the soil.
Water well. Roots should form at the cut site over the growing season. By the following spring, you can sever the new plant from the parent and transplant it elsewhere in the flower garden.
3. Seeds
Collect seeds in early autumn when seedheads are mature. As you remove the seeds from ripe seedheads, clean them by removing the chaff. Plant seeds in pots filled with a seed-starting mix. Cover seeds lightly with soil and water well.
Keep the pot in a cool, dark place for about six weeks. Keep the soil moist but not muddy. Move it to a bright location after about six weeks.
Germination can be erratic, and not all varieties of clematis grow true from seed. It’s a longer and less reliable method compared to cuttings or layering, but it can be a fun experiment.


