Time to learn how to grow asters? You’re in the right place!
Asters come in various species and cultivars, ranging from New England Asters to Alpine Asters. Most prefer full sun but can tolerate light shade. These plants thrive in soil that drains easily and does not stay waterlogged. Asters come in a wide variety of sizes, with dwarf plants growing to only 8 inches and larger cultivars reaching 6-8 feet in good conditions. They typically flower late in the summer through the fall, providing late-season color.
Keep reading to learn all about planting and growing your own aster flowers.
How to grow asters
Growing asters can be an easy and rewarding experience – that’s why so many gardeners choose these beautiful flowers! Versatile, hardy, and with a variety of color options, the perennial nature of this plant is particularly appealing as it blooms from late summer right through until frost. If you’re looking to add some long-lasting colour to your outdoor space then consider adding some aster plants; but how do you get started?
Here are our top tips for growing them successfully:
- Varieties: Asters come in various species and cultivars, ranging from New England Asters to Alpine Asters. Choose one that suits your garden’s conditions.
- Sunlight: Prefer full sun, but can tolerate light shade.
- Soil: Thrive in well-draining soil. Prefer slightly acidic to neutral pH.
- Watering: Keep the soil consistently moist but not waterlogged. Established plants have moderate drought tolerance.
- Spacing: Space asters about 1 to 3 feet apart, depending on the variety, to ensure adequate airflow and prevent overcrowding.
- Height: Depending on the variety, asters can range from 8 inches to 8 feet in height.
- Bloom Time: Typically flower late in the summer through the fall, providing late-season color.
- Maintenance: Deadhead spent flowers to encourage further blooming. Consider staking taller varieties to support their stems.
- Dividing: Divide every 2-3 years in spring to maintain plant vigor and control growth.
- Pests/Diseases: Watch for aphids, powdery mildew, and rust. Ensure good airflow and avoid overhead watering to reduce disease risk.
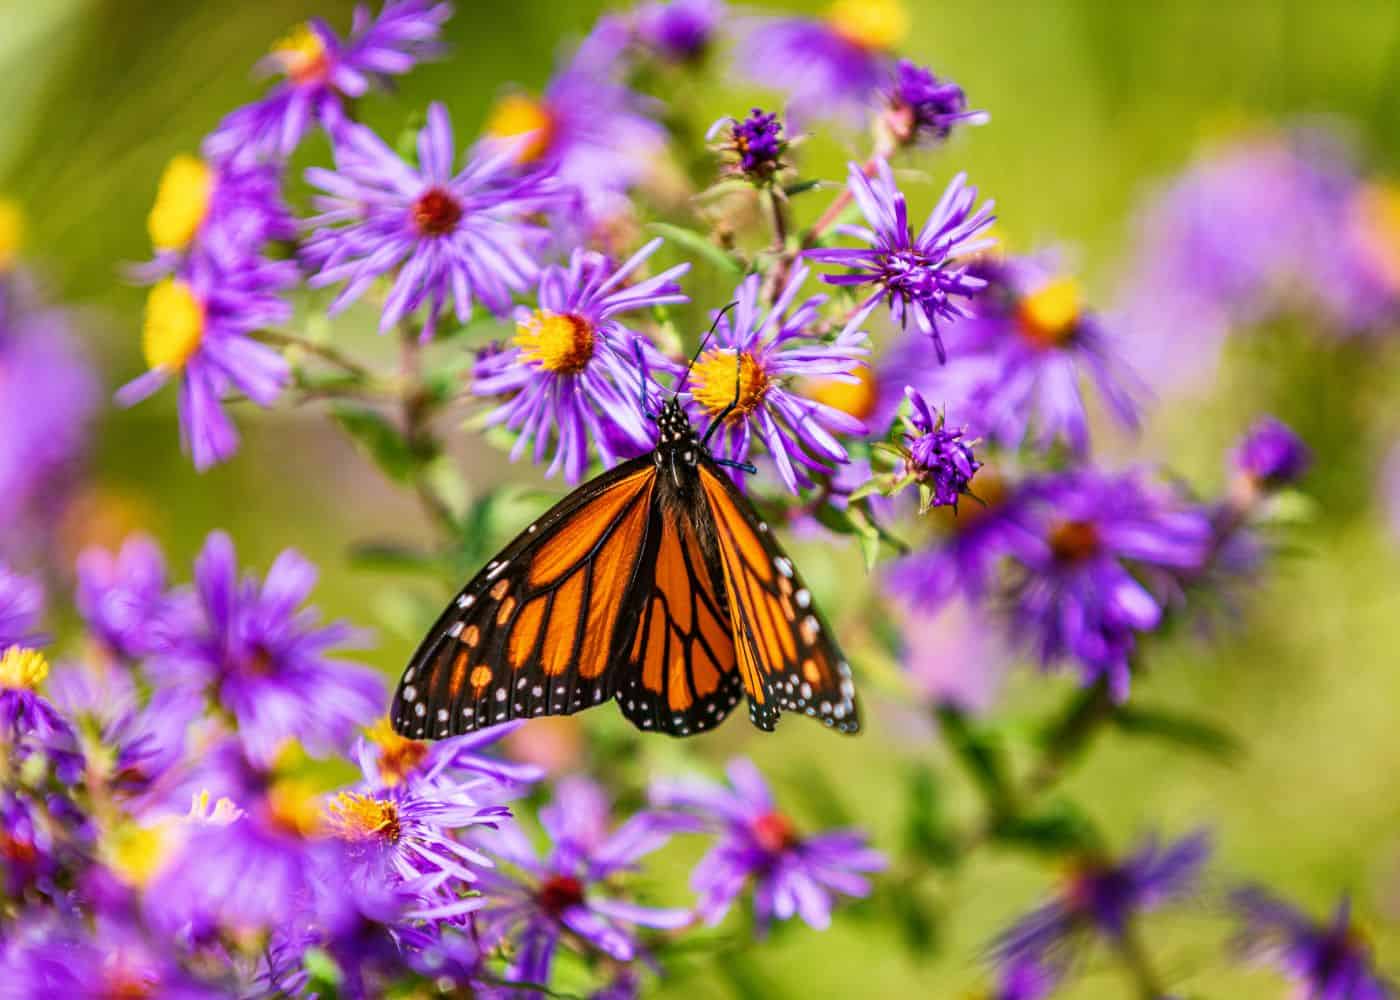
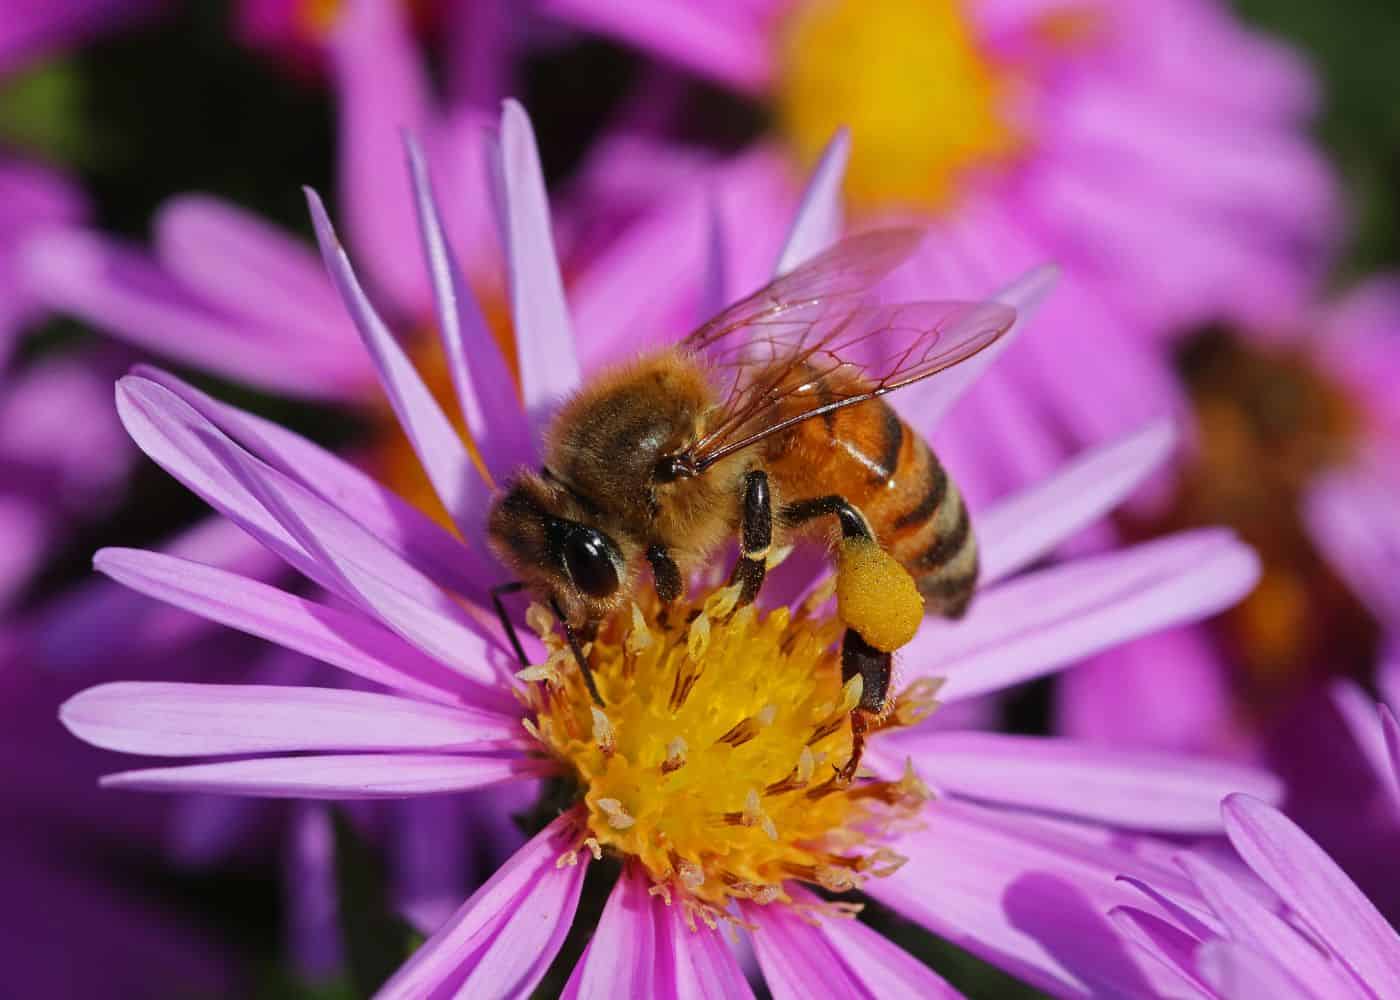
- Attractiveness: Asters are beneficial for pollinators, especially bees and butterflies, in late seasons when few other plants are flowering.
- Winter Care: In colder regions, a layer of mulch can help protect the plant roots during winter. Some varieties may die back, but will regrow in spring.
The first step when it comes to growing such striking flowers is selecting the type which best appeals to you. You have lots of different types to choose from – single flowered, double flowered, semi-double flowered and spray varieties. Each type boasts its own unique characteristics, so make sure that the one you pick works best for your needs and space in the garden!
Once you’ve chosen your aster variety then it’s time to get ready for planting – they prefer full sun with at least six hours of direct sunlight every day but can also cope just as well in light shade too. Loam or sandy soils are both great options, provided there’s adequate drainage capability. These plants don’t love waterlogged soil.
It’s time to get planting your asters! Before you do, though, adding organic matter like compost or aged manure can help improve soil quality and give them the nutrients they need to grow strong and flower throughout the season. When deciding where to place your plants, take into account not only sunlight requirements but also wind protection for taller varieties.
Dig a wide shallow planting hole. Line up the base of the plant with the soil around the hole. Fill the space in the planting hole with soil before watering thoroughly after completion – this will keep newly planted specimens hydrated while they adjust their new environment.
Popular aster varieties to grow in your garden
Asters have many popular cultivars that gardeners love for their varied colors, shapes, and growth habits. Here are ten of the most popular aster cultivars:
- ‘Alma Potschke’ (New England Aster): This cultivar produces vibrant, deep pink flowers and reaches a height of about 3-4 feet.
- ‘Purple Dome’ (New England Aster): A compact cultivar with deep purple flowers, it grows to around 18 inches tall and is known for its dense, mounding habit.
- ‘Wood’s Pink’ (Aster dumosus): A dwarf cultivar, it features delicate pink flowers and is highly resistant to powdery mildew.
- ‘Bluebird’ (Smooth Aster): Standing about 3-4 feet tall, this cultivar boasts sky-blue flowers and thrives in various conditions.
- ‘Lady in Black’ (Calico Aster): Unique for its dark purple-black foliage and tiny white flowers with pink to purple centers, this cultivar grows to about 2-3 feet tall.
- ‘October Skies’ (Aromatic Aster): This is a compact, bushy cultivar with sky-blue flowers, reaching a height of 18-24 inches.
- ‘Jindai’ (Tatarian Aster): A long-blooming cultivar with light blue flowers, it grows up to 3 feet tall and is especially valued for its late-season blooms.
- ‘Harrington’s Pink’ (New England Aster): With pale pink flowers, this cultivar can reach heights of 4-5 feet and has a strong upright growth habit.
- ‘Winston S. Churchill’ (New York Aster): Bright magenta-red blooms define this cultivar, making it a standout in the fall garden. It grows up to 3 feet tall.
- ‘Snow Flurry’ (Heath Aster): A ground cover aster, this cultivar features tiny white flowers on a mat-forming plant, making it perfect for borders or rock gardens.
While these are some of the most popular cultivars, there are many more available that cater to different garden styles, sizes, and conditions. You’ll likely come across quite a few when learning how to grow asters.
When choosing asters, it’s essential to consider not just the flower color and form, but also the plant’s overall height and growth habit. Tall asters are great for the back of the garden, while dwarf varieties usually need to be out front to be properly seen.

How to plant asters
Once you’ve chosen an aster variety (see the previous section) that’s suitable for your garden’s size and conditions, its time to plant it!
Where to plant asters
Asters prefer locations that receive full sun, though they can tolerate light shade. Ensure the site has good airflow to reduce the risk of fungal diseases.
In terms of soil, they like a nice sandy loam, like most herbaceous perennials. They can dry out quickly in overly sandy soil though and the roots can become waterlogged in heavy clay soil. If your soil is heavy clay or overly sandy, consider adding a mix of compost and coarse sand to improve its structure. Asters prefer slightly acidic to neutral pH (6.0 to 7.5). Adjust the pH if necessary using lime or sulfur, following package recommendations.
Soil preparation
Dig up the planting area to a depth of about 12-15 inches. Amend the soil by digging in some well-decomposed compost or organic matter to improve fertility and drainage. Water the area and watch to see that the water drains nicely instead of pooling into a long-standing puddle on the surface.
Planting the aster plant
Dig a hole twice as wide as the aster’s root ball and roughly the same depth.
Remove the aster from its container, gently teasing out the roots if they’re circling the root ball. It is okay to disturb the roots of this potted plant.
Place the plant in the hole, ensuring that the top of the root ball is level with the surrounding soil. Fill in the hole with soil, pressing down gently to eliminate air pockets.
Ensure that plants are spaced 1 to 3 feet apart (depending on the variety) to avoid overcrowding and ensure good airflow.
Planting aftercare
After planting, water the asters thoroughly to settle the soil and provide initial hydration. For the first few weeks, keep the soil consistently a bit moist but not waterlogged. These plants don’t like “wet feet,” but they do need consistent water when first planted.
Apply a 2-3 inch layer of organic mulch around the base of the plants, keeping it a few inches away from the stems. Mulch will help retain soil moisture, suppress weeds, and regulate soil temperature.
For taller aster varieties that are prone to flopping, insert stakes into the ground near the plants. As they grow, tie the stems to the stakes gently using soft ties.

Caring for aster plants in the garden
Water asters during dry periods. Once established, they can handle short droughts, but they’ll perform best with consistent moisture.
Deadhead spent blooms to encourage further flowering and maintain a neat appearance. With a bit of care, asters will flower until frost, bringing a nice touch of color to the fall garden when most other perennials have packed up for the year.
Fertilize in the spring with a balanced, all-purpose garden fertilizer to provide necessary nutrients for the growing season.
Regularly check for signs of pests like aphids or diseases like powdery mildew.
Remember, asters are a beautiful and valuable addition to the garden, especially for the late-season color they provide. They also play an essential role in supporting pollinators during times when few other plants are flowering. With proper care, they can thrive and beautify a garden for years.
