Am I the only one dreaming of patio furniture that’s WAY outside the budget!?
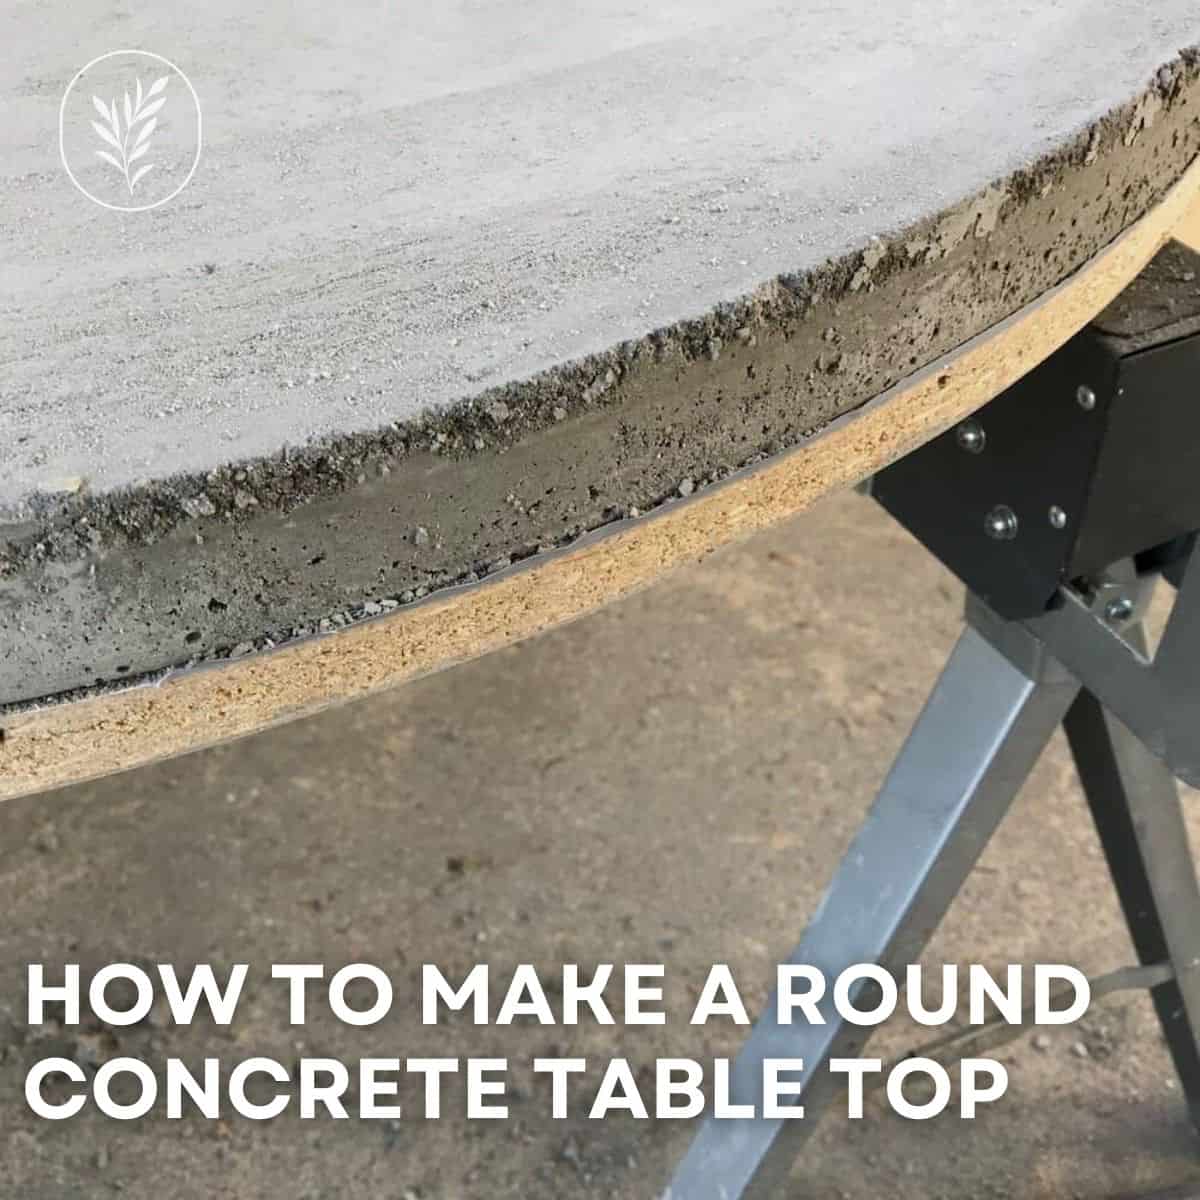
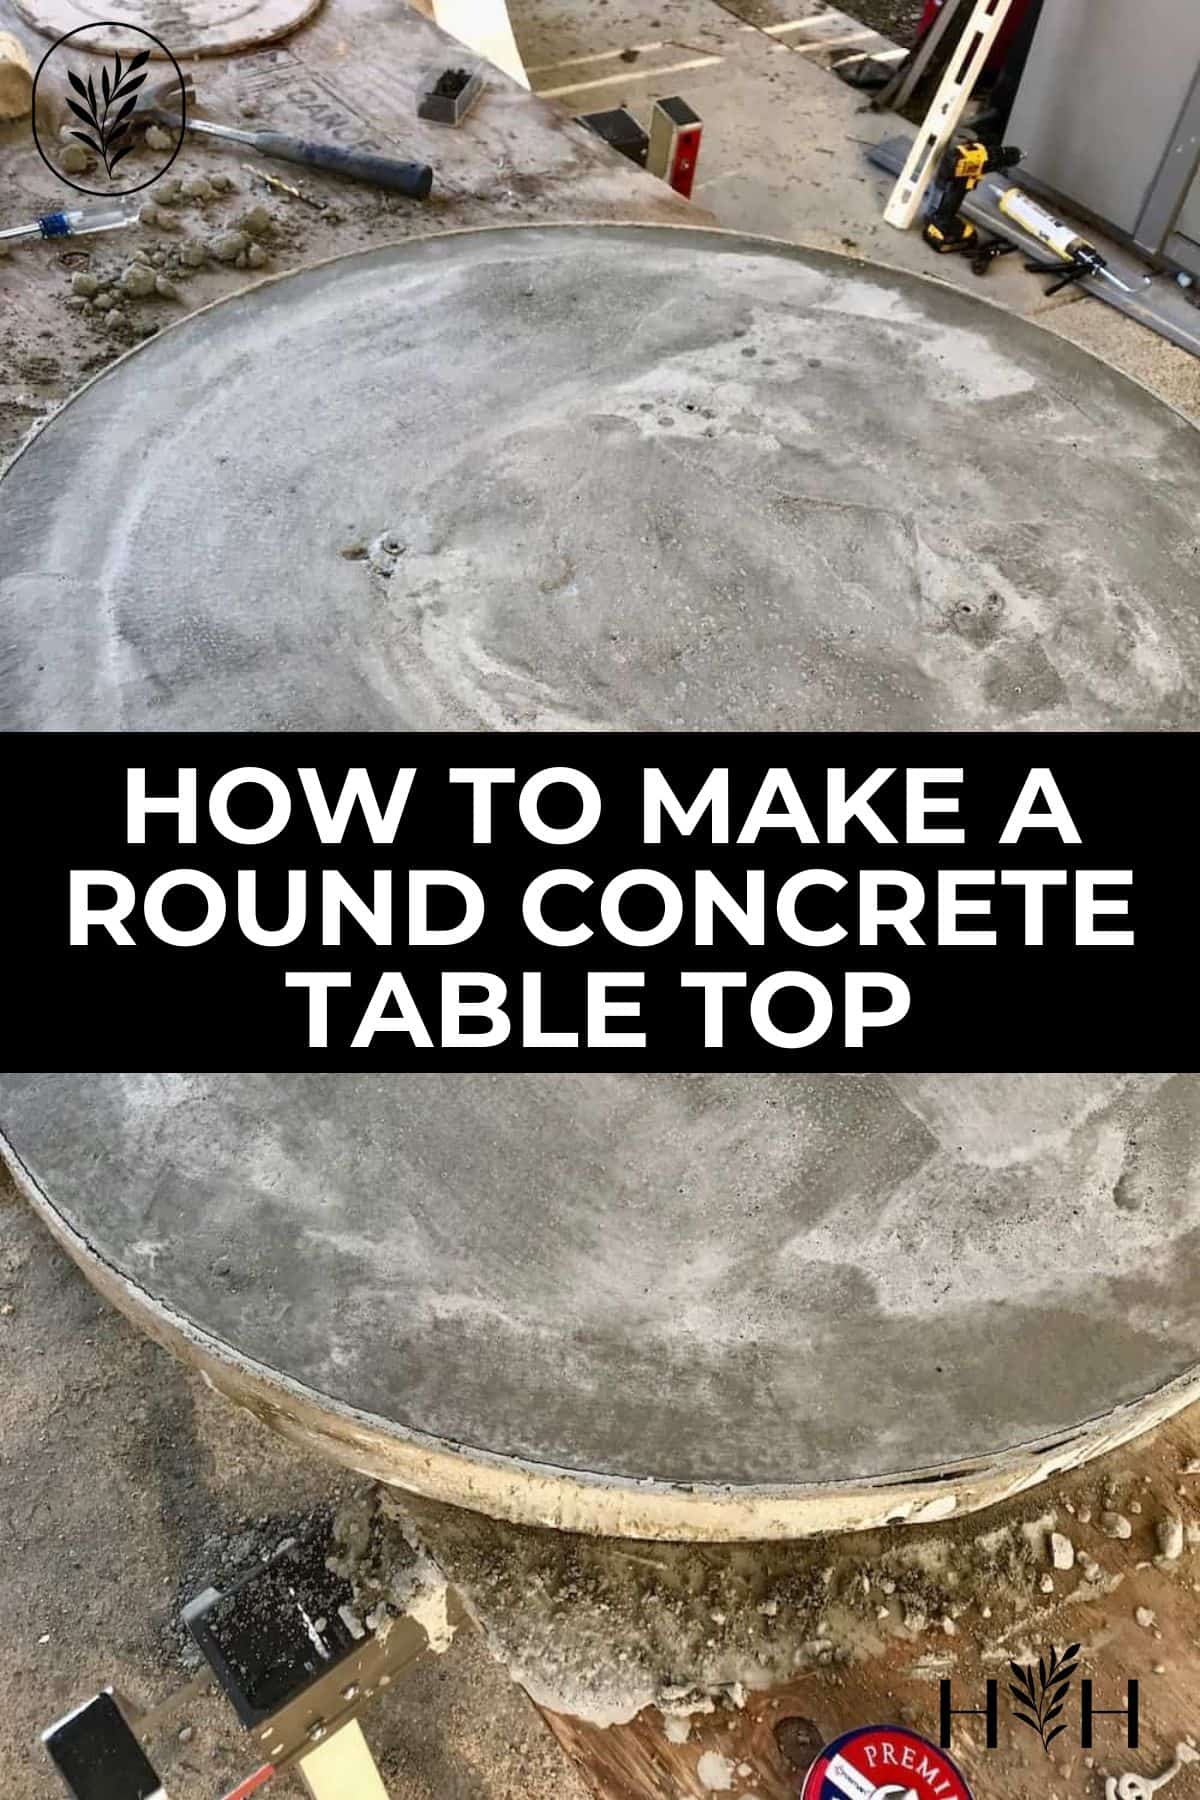
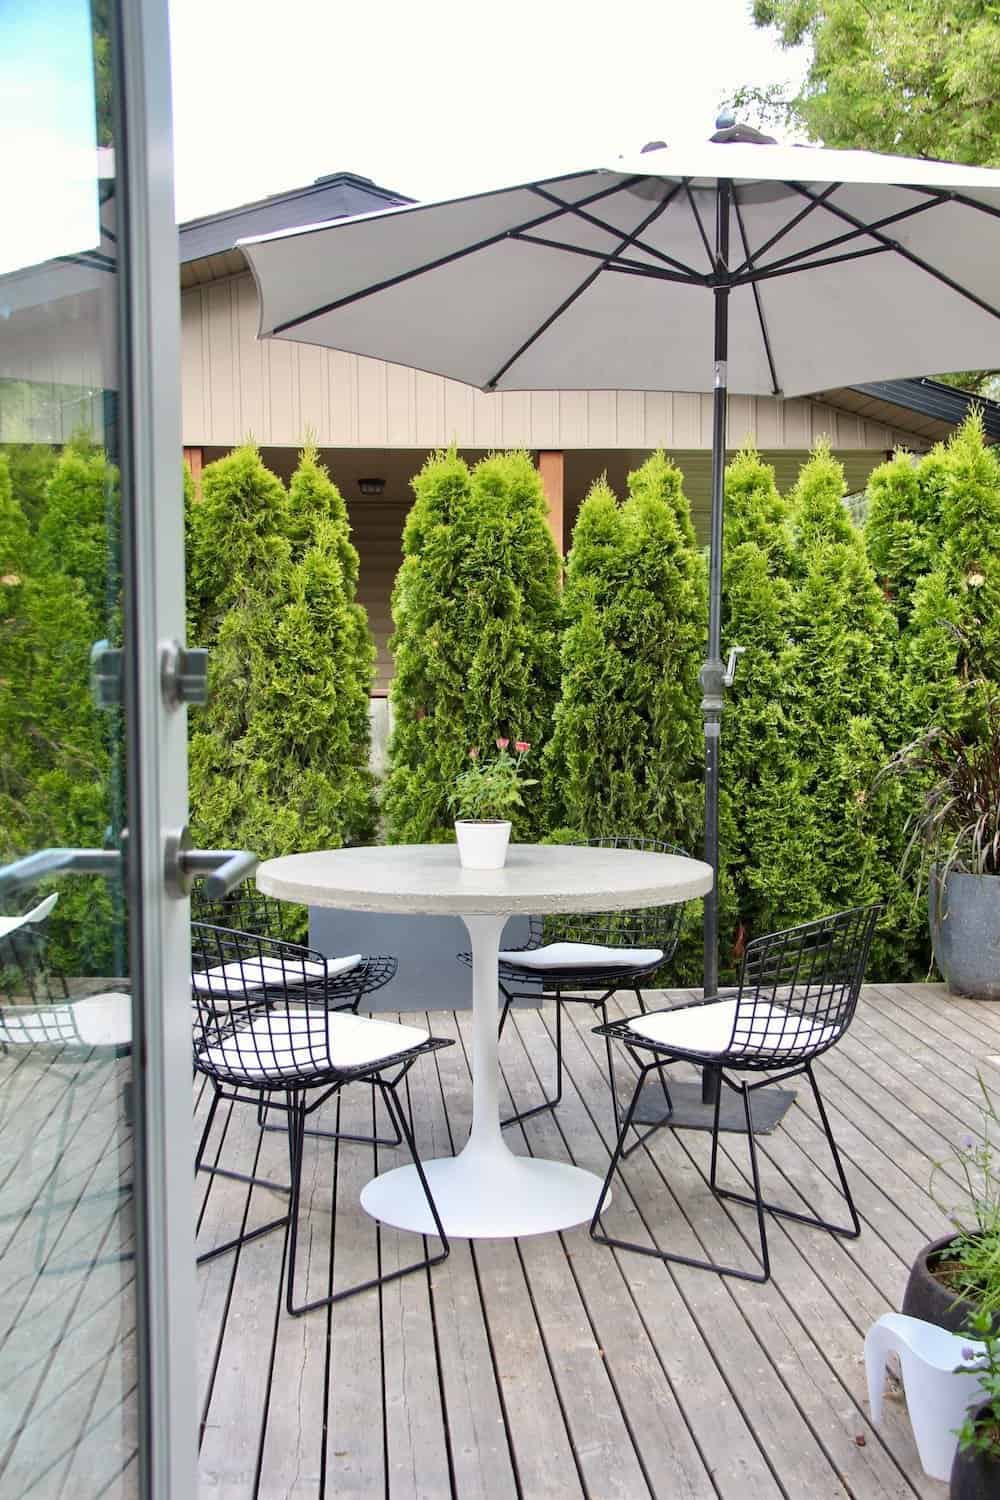
We are remodeling the new sundeck at my folks’ newly-renovated mid-century modern rancher. After realizing that the round dining table my mom wanted was crazy expensive, my dad and I came up with a plan to make a DIY patio table with a round concrete table top for her.
Here are the general steps we took to make a DIY round concrete patio table:
- Find a metal base designed to hold up a heavy tabletop
- Make a round concrete disc to fit the base
- Attach the concrete top to the table base
We came up with a round concrete
Inspiration for our concrete top dining table
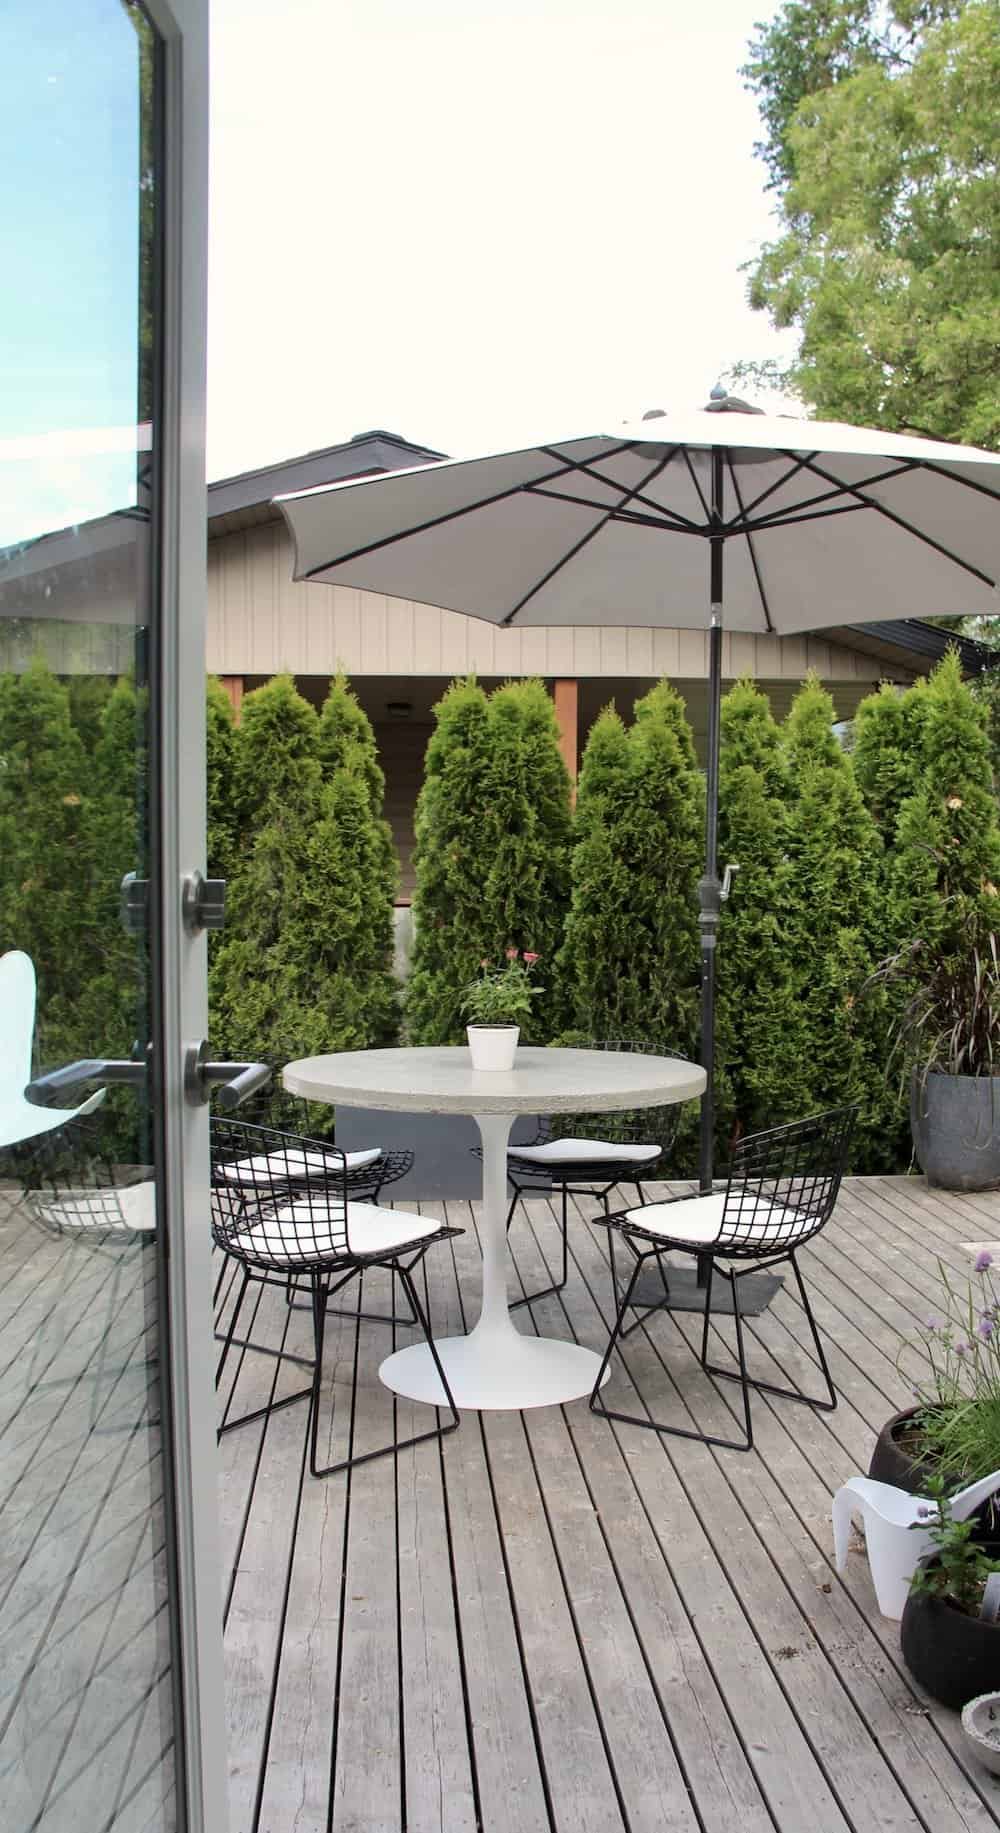
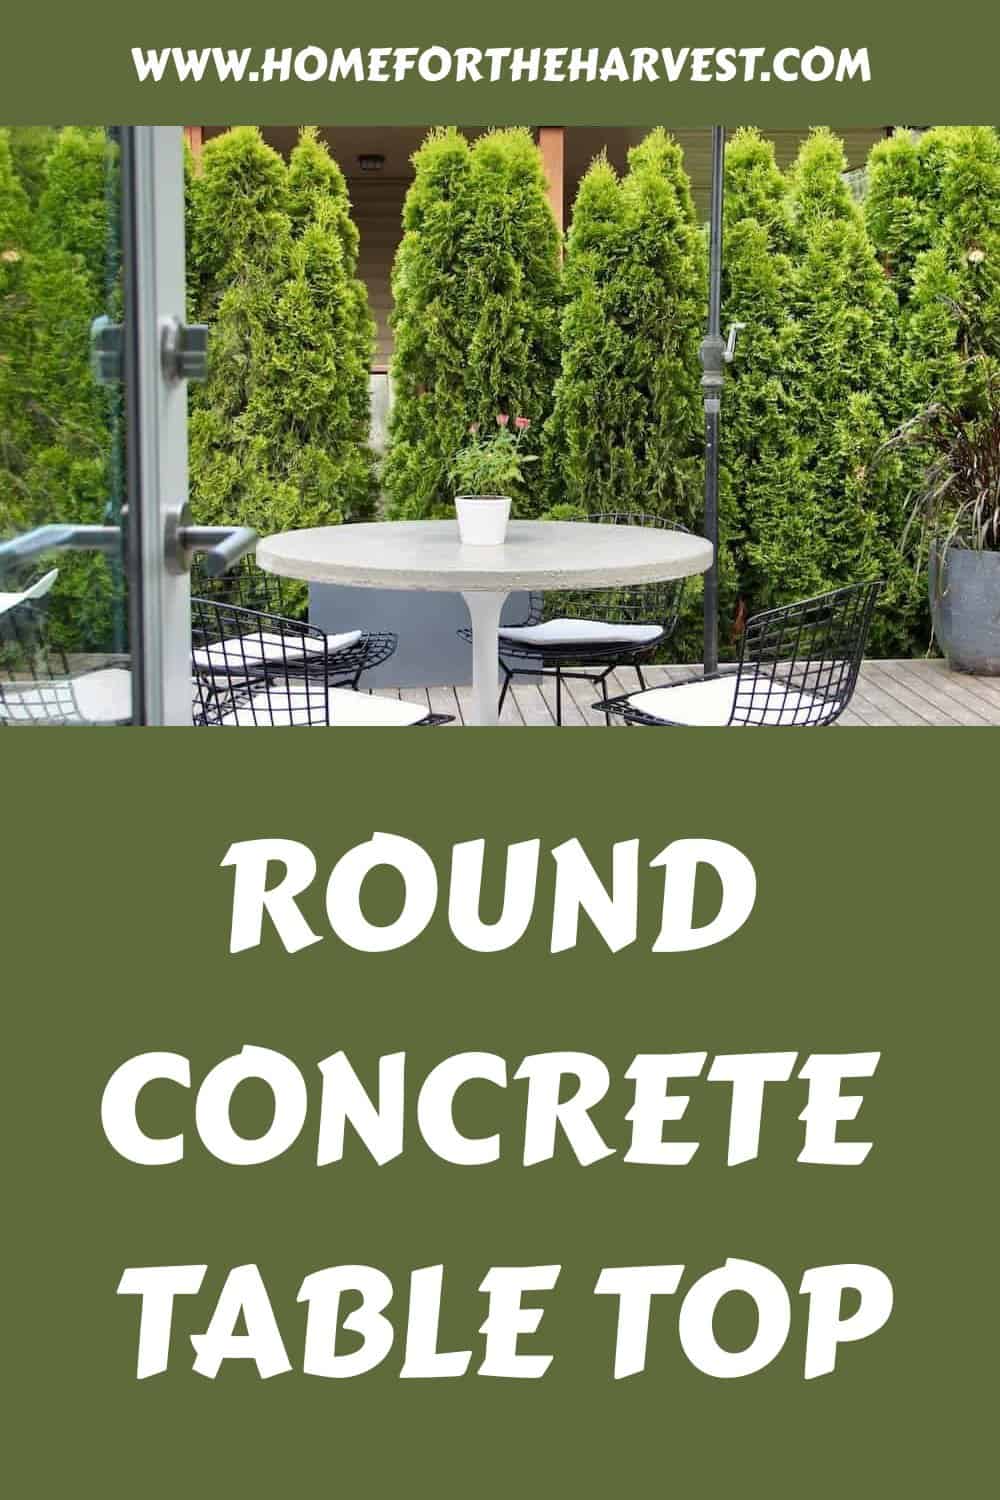
The concrete table we made is inspired by the classic Saarinen dining table (the “tulip table”). The Saarinen table is known for its clean lines and otherwise impeccable styling.
Authentic Saarinen tables hold their value really well…even used tables can cost thousands of dollars. I love the look of the marble top on the real Saarinen tale, but I really love the price tag of concrete! The concrete tabletop
A DIY concrete Saarinen-style table
My wonderful aunts in the city are the source of the vintage Saarinen table base. I have no idea if it’s a real or a replica? It’s probably a reproduction because even used real tulip table bases are pricey. Whatever it is, it sure is pretty!
My aunt picked up the tulip table base for $50 on an online buy and sell. It had an awful melamine top on it, but the base was lovely. The classic lines go perfectly with the mod patio chairs. There was a bit of rust on it (looks like it is possibly cast iron?…definitely not aluminum lol). A bit of white paint cleaned it up considerably.
Why we chose concrete for a DIY patio tabletop
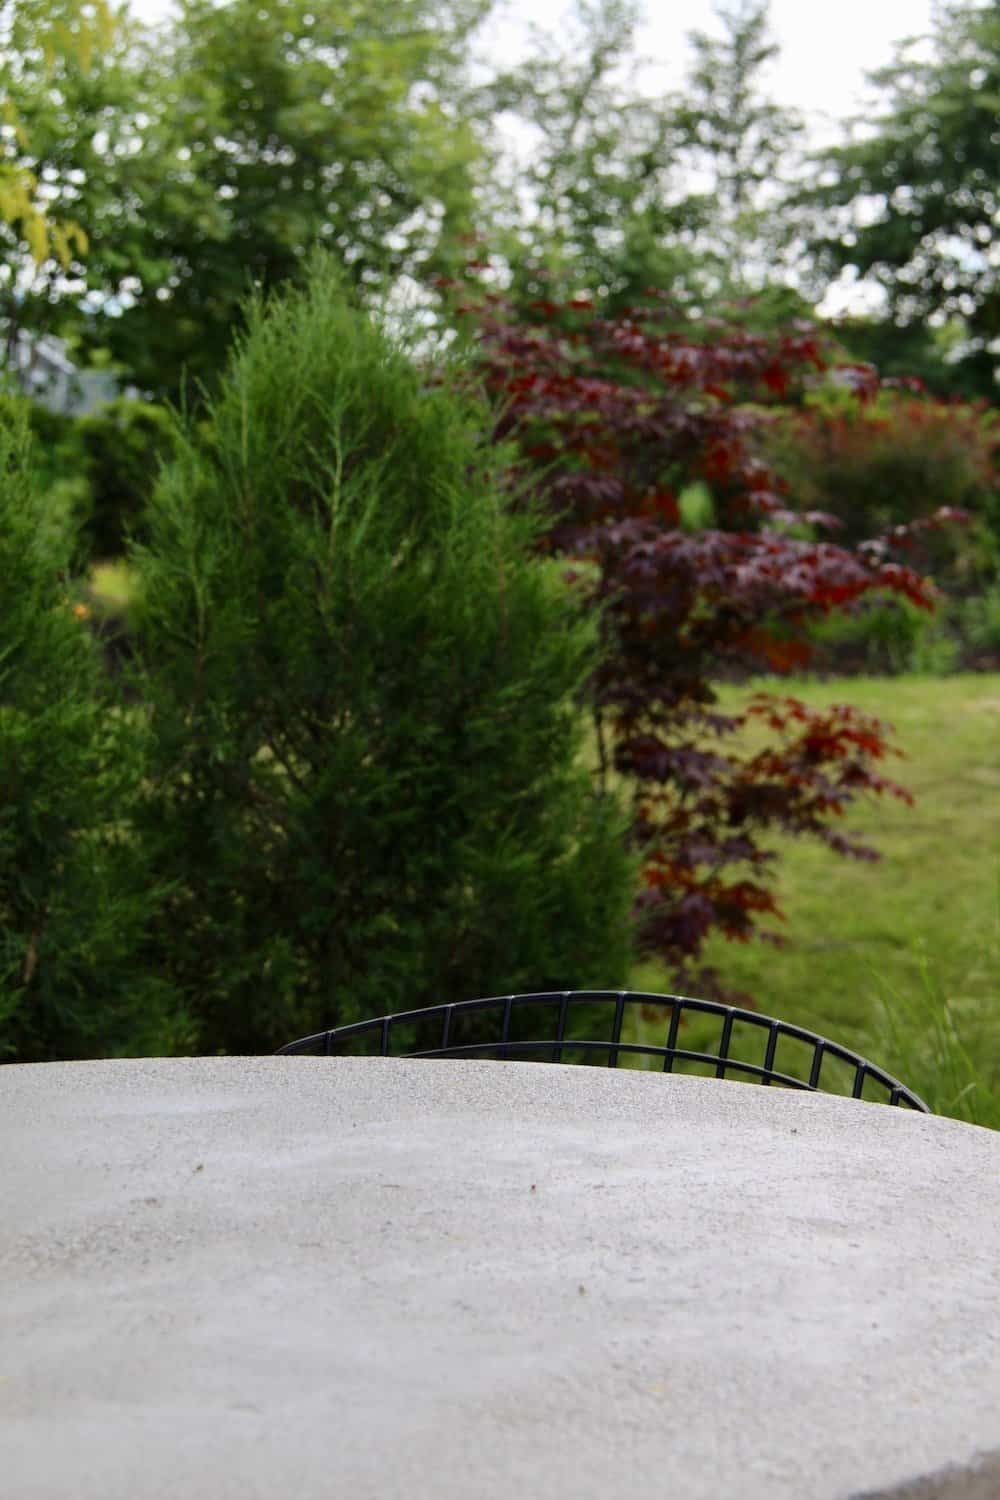
Any DIY patio table has to be durable enough to stand up to the outdoors. The Saarinen table my mom loves can be ordered with a laminate, veneer, or marble top. Marble is a nice choice for the outdoors because it weathers in a classic manner (that always seems to remind me of European cafes??). Concrete is a totally different look than marble. It does, however, stand up to weather and can develop a pretty patina with age.
If you’re not into concrete, it’s completely possible to order a round dining table top from a home improvement store that offers kitchen countertop installation. They might even have an offcut from a previous project in the sale bin that could be cut down to the perfect size. The sale offcuts of marble, granite, and quartz are often quite well priced…because they’re essentially selling the material twice.
Concrete can be a bit messy, and does require a proper workspace. If working with a countertop installer to get a tabletop cut is more your speed, do that instead! Work with them to choose the right material and fasteners for your unique situation.
Supplies for making a round concrete top patio table
Here’s what we used to make a DIY concrete patio table:
- Concrete Mix
- Garden Hose
- Old Laminate Countertop (Shiny laminate will make a smoother tabletop)
- Screws
- Metal Reinforcing Mesh
- Spray Oil
- Silicone Caulking
- Concrete Sealant
- Table Base (Strong enough to support concrete top)
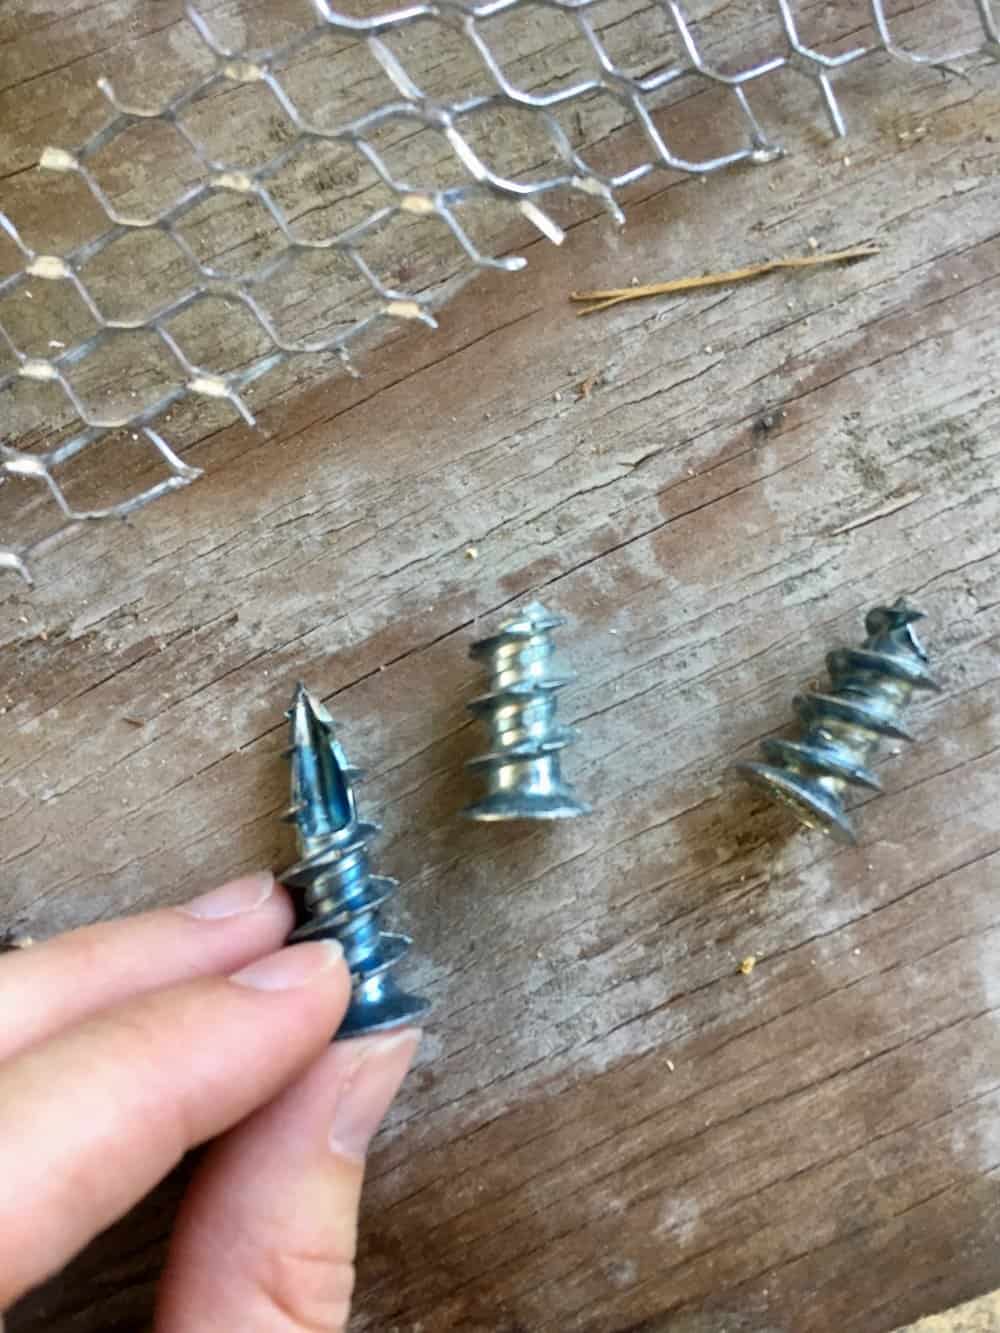
- Metal Thread Lock Screw Anchors
Tools to make the round concrete top table
You’ll also need tools for making this concrete-topped patio table, including:
- Sturdy Workbench
- Drill/Driver
- Sheet Metal Snips
- Level
- Wheelbarrow
- Router
- Shovel
- Concrete Finishing Trowel
- Scrap Lumber & Plywood
- Paint Brush
Gather up your supplies and tools before you start this project!
How to make a round concrete dining tabletop
When working with concrete, always follow all safety precautions listed for your materials and tools. Wear protective gear. Remember that concrete and concrete project supplies are heavy and are to be treated with care. If you’re new to concrete or router work, ask a local expert to teach you how to use the tools and materials safely before starting this project.
Here’s how to make a DIY concrete dining table:
Prep work for the round concrete tabletop
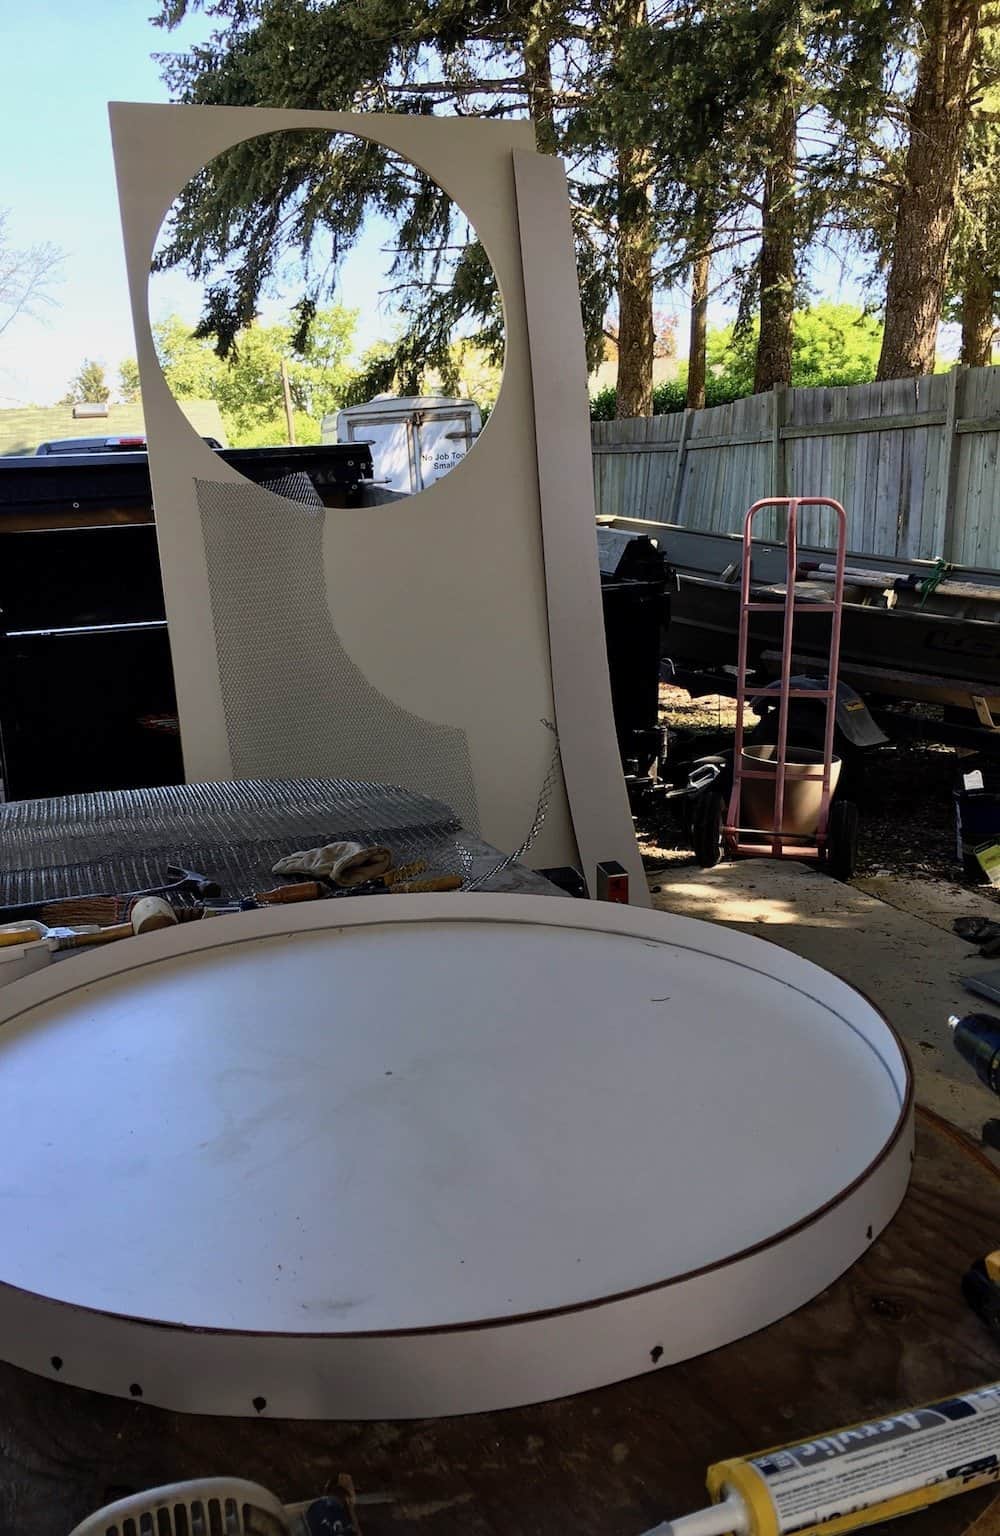
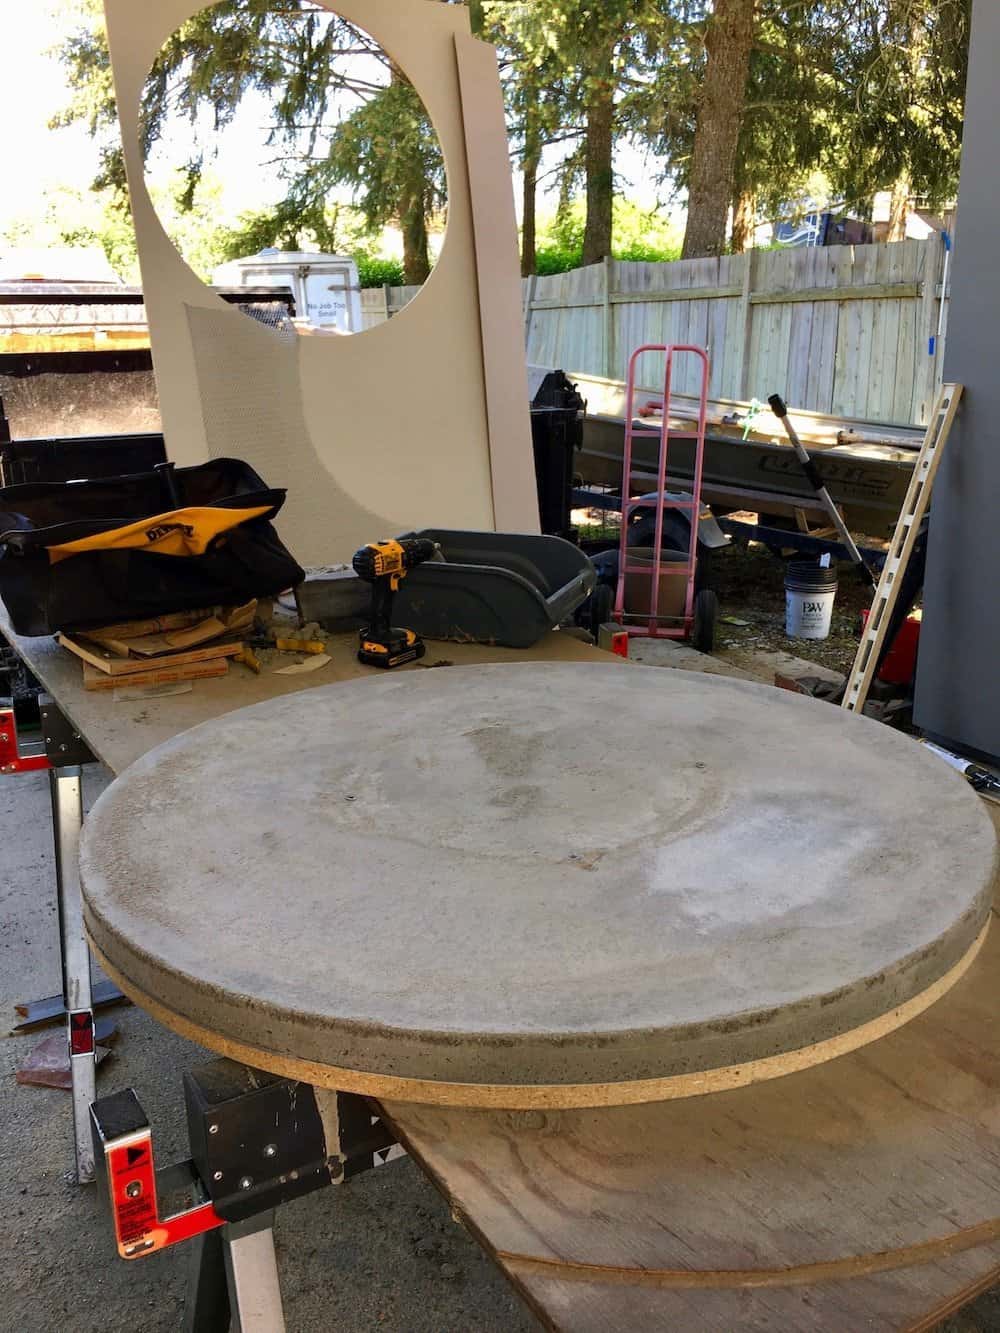
- Make the concrete form (mold) using the countertop.
- Make a hole in the center of the countertop material to act as a compass guide.
- Attach a scrap piece of plywood to the center hole.
- Attach the router to the other end of the plywood.
- Move the router in a circle to cut a round piece of countertop out.
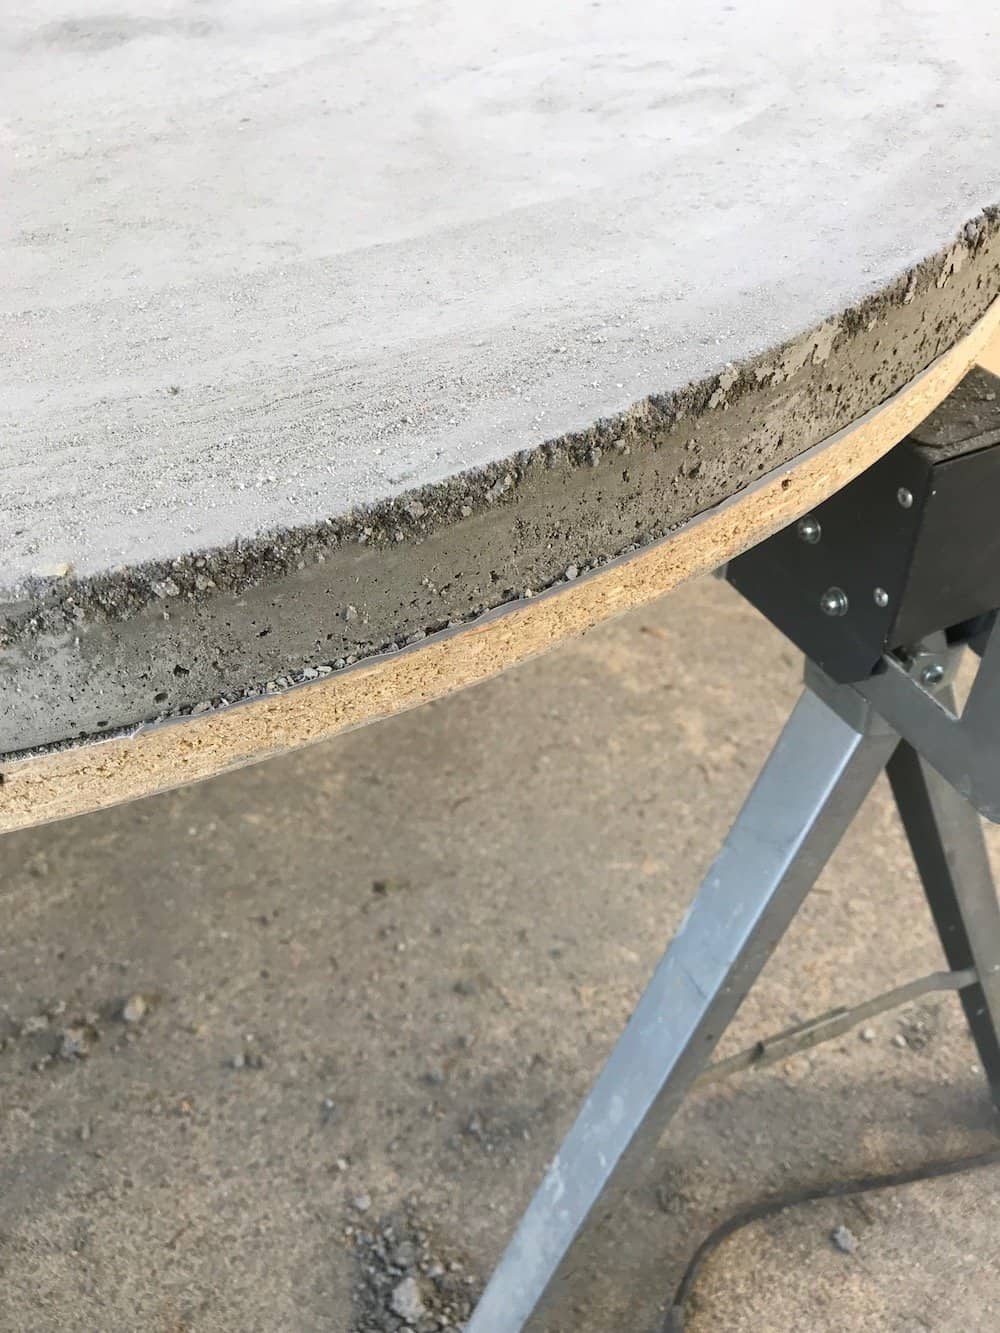
- Screw strips of hardboard or laminate around the edge to complete the form.
- Prep the form for the concrete pour.
- Fill the hole in the center of the form with caulking. Smooth it over.
- Fill the edge of the form (where the round piece meets the sides) with silicone.
- Let the caulking set.
- Oil the form. We just used cooking spray (diesel is more common, but it smells worse…).
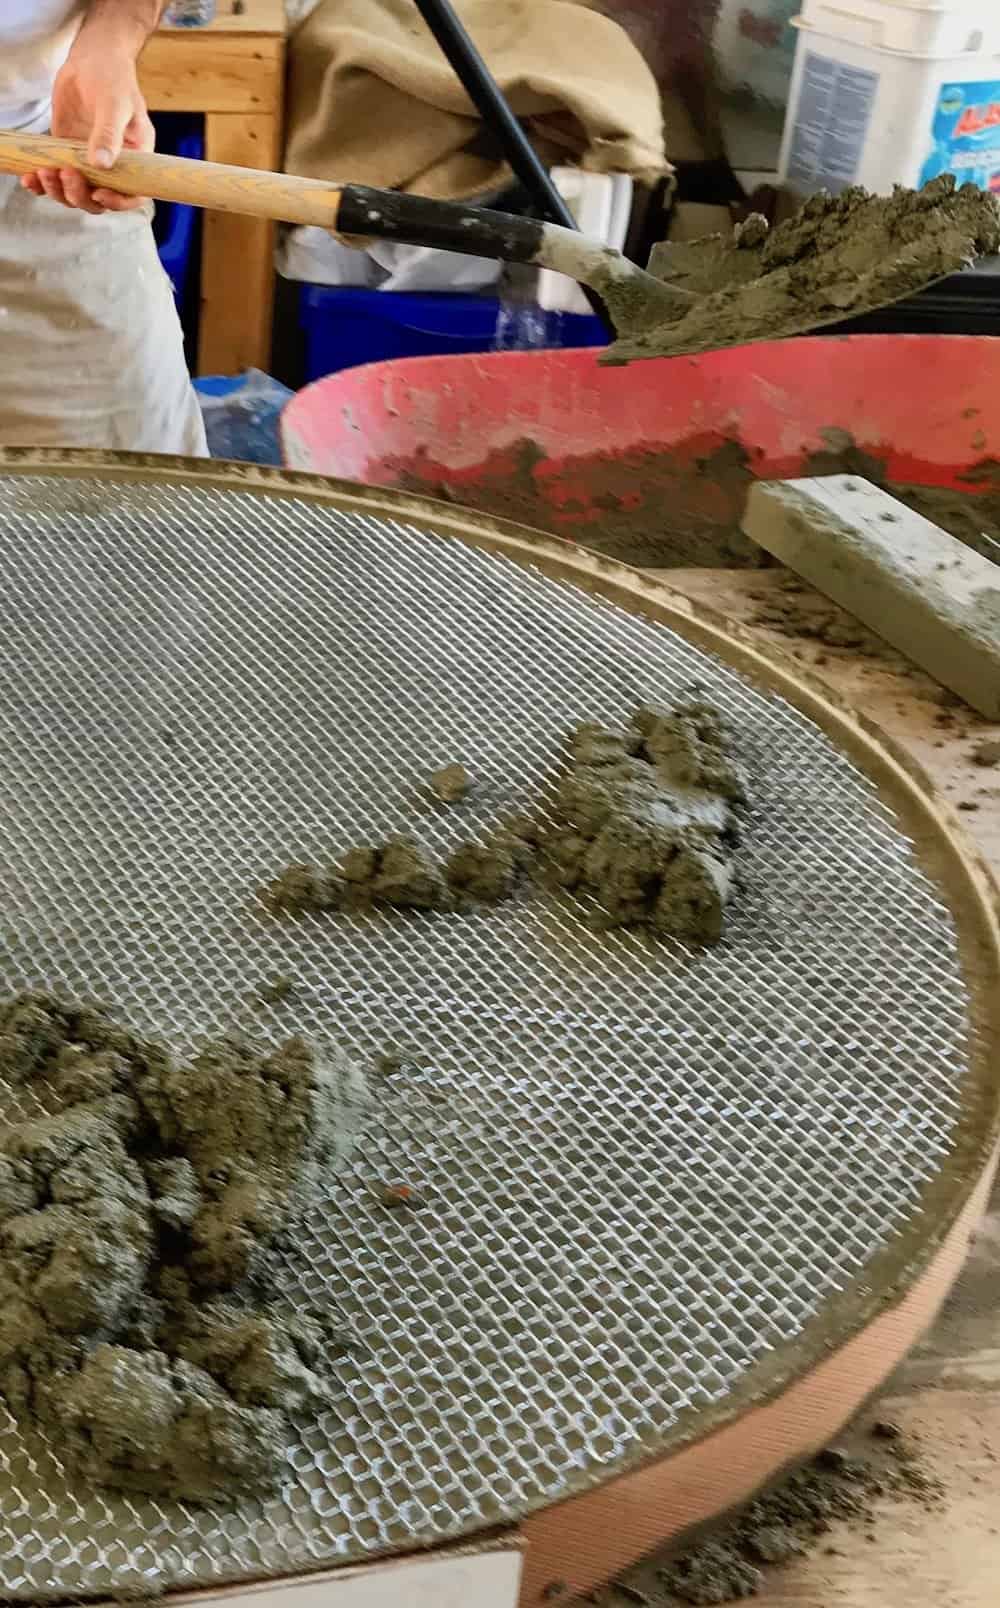
- Cut out the metal reinforcing mesh to fit the round concrete form.
- We put the edge of the metal about an inch from the edge of the mold.
- Remove the metal reinforcing mesh from the tabletop form and set it aside.
How to pour the concrete tabletop
- Place the form on a strong, level work surface.
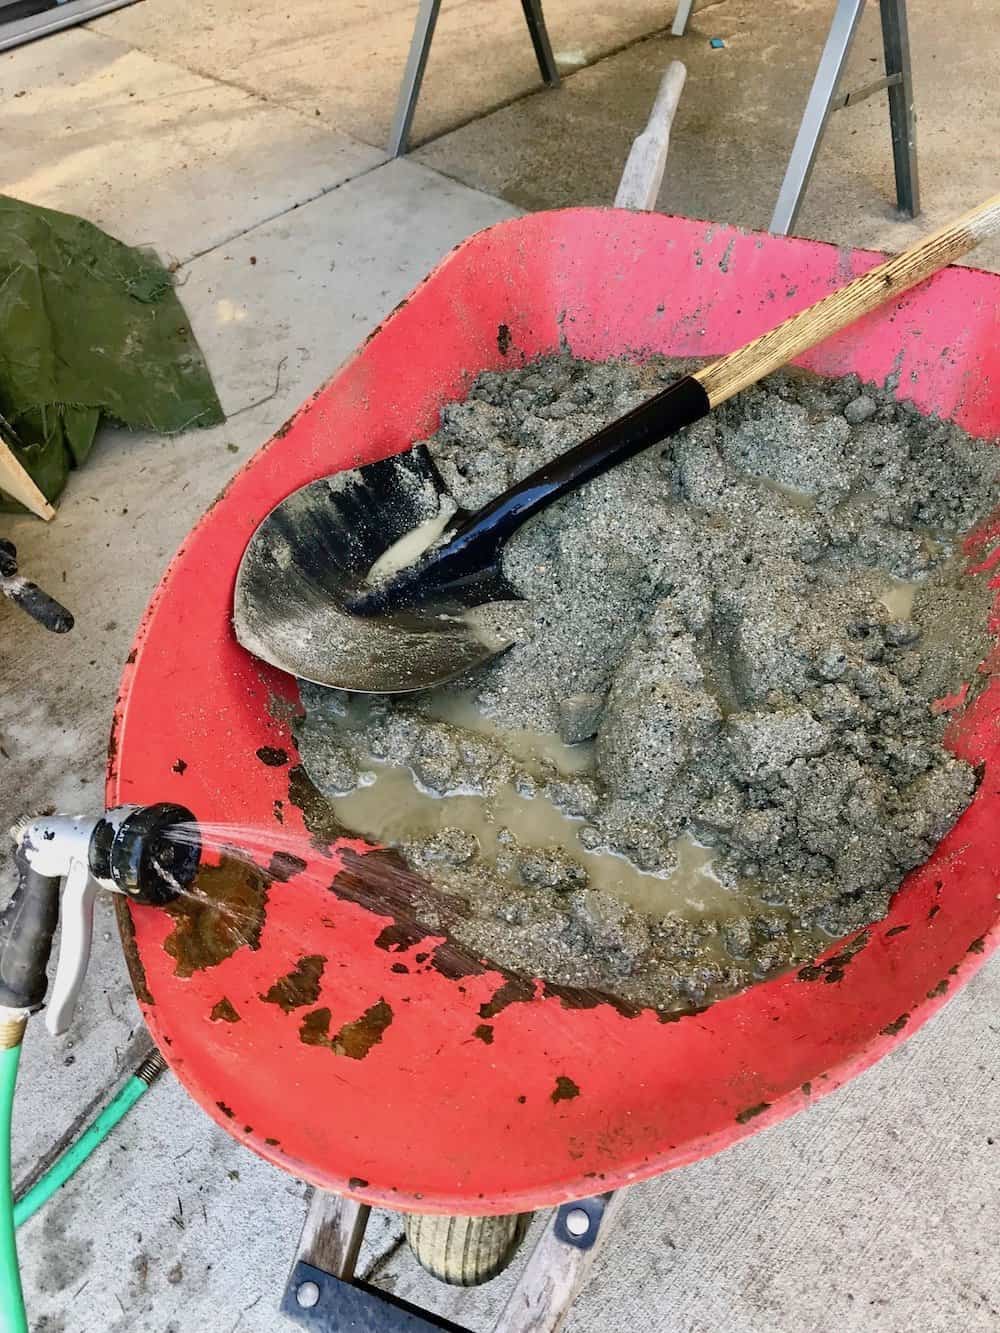
- Mix the concrete thoroughly in the wheelbarrow using the shovel.
- Follow the instructions for your concrete mix.
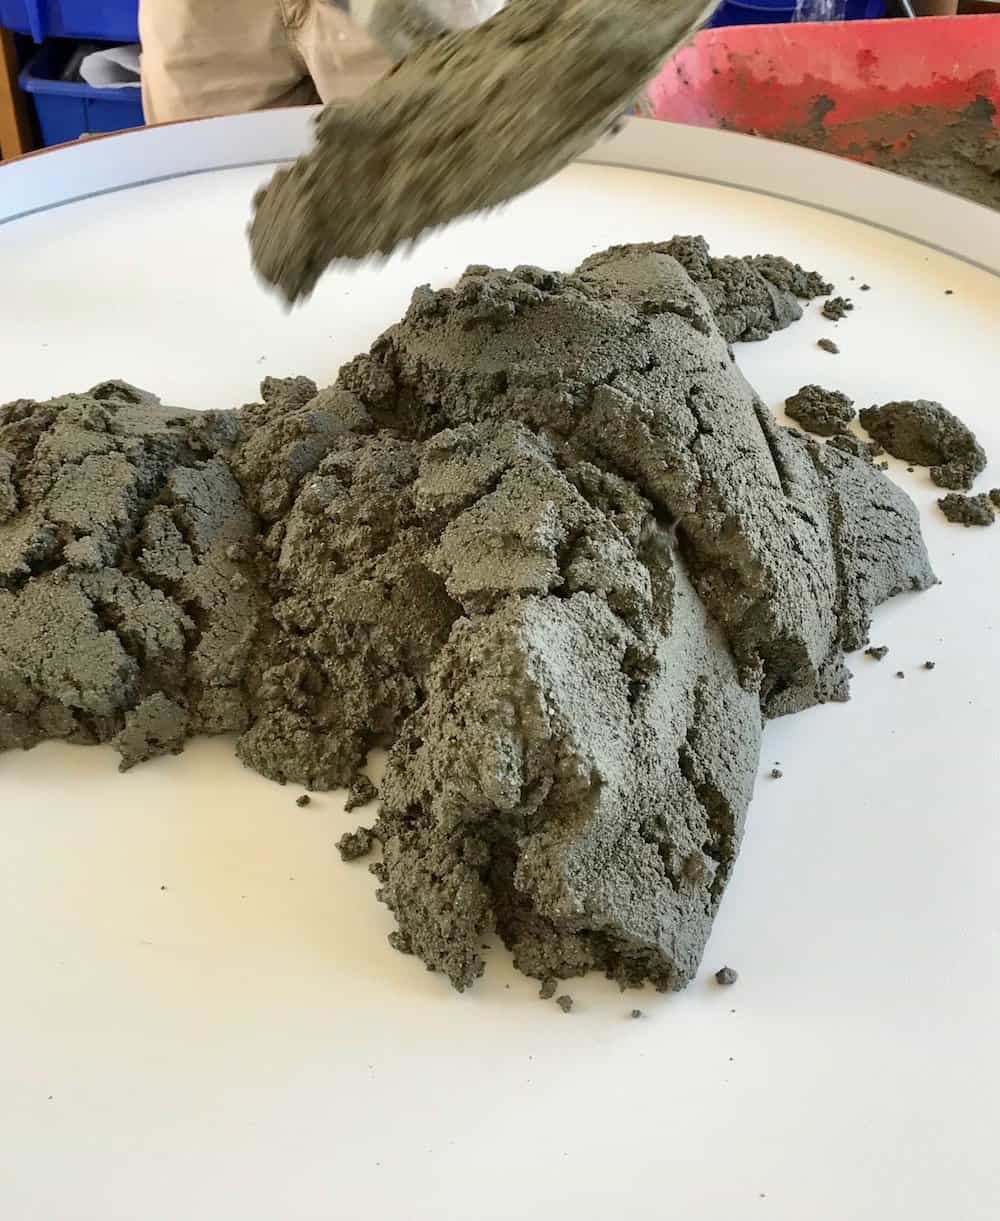
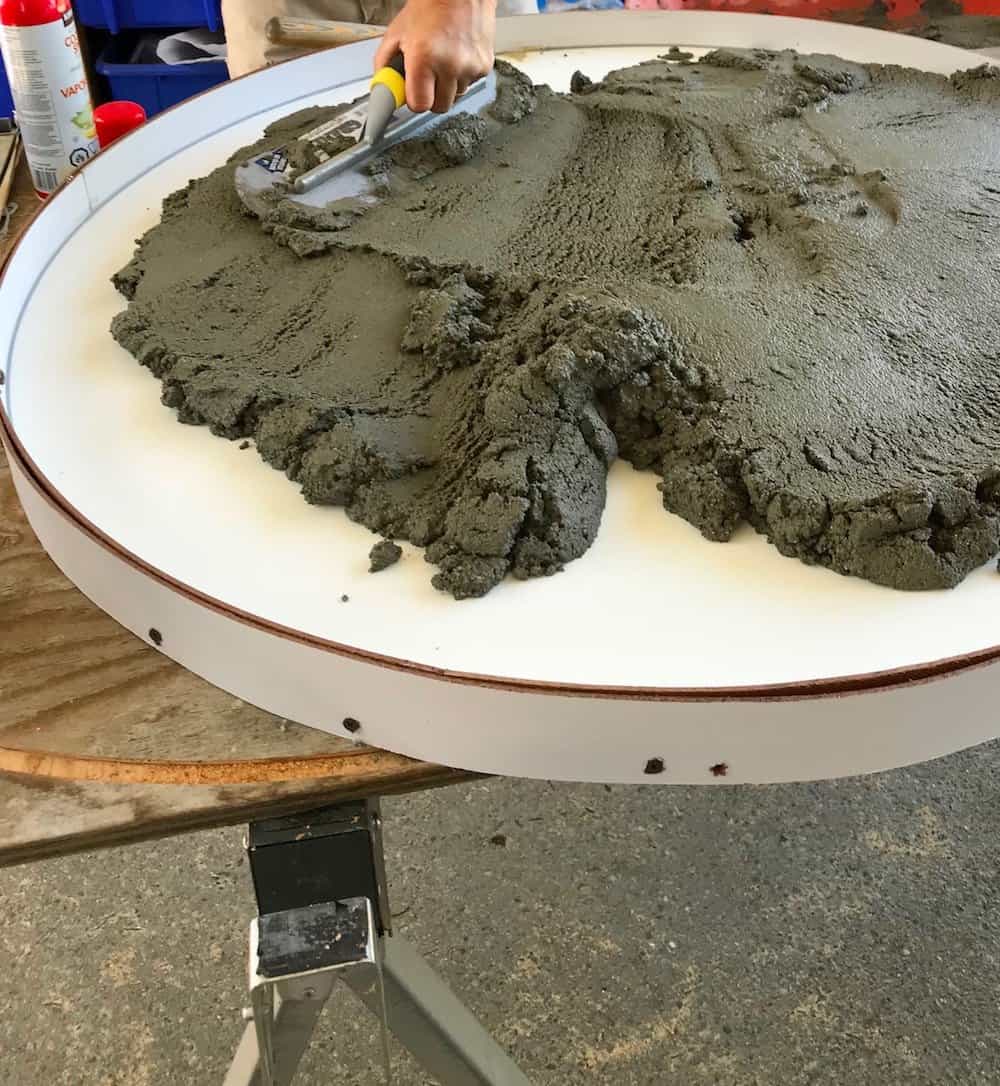
- Place a bottom layer of concrete into the form.
- The concrete should fill no more than half of the depth of the form.
- Use the trowel to spread it into all the edges.
- Place the metal reinforcing mesh on top of that layer of concrete.
- Jiggle the mesh into place so it sits just on the top of the concrete layer.
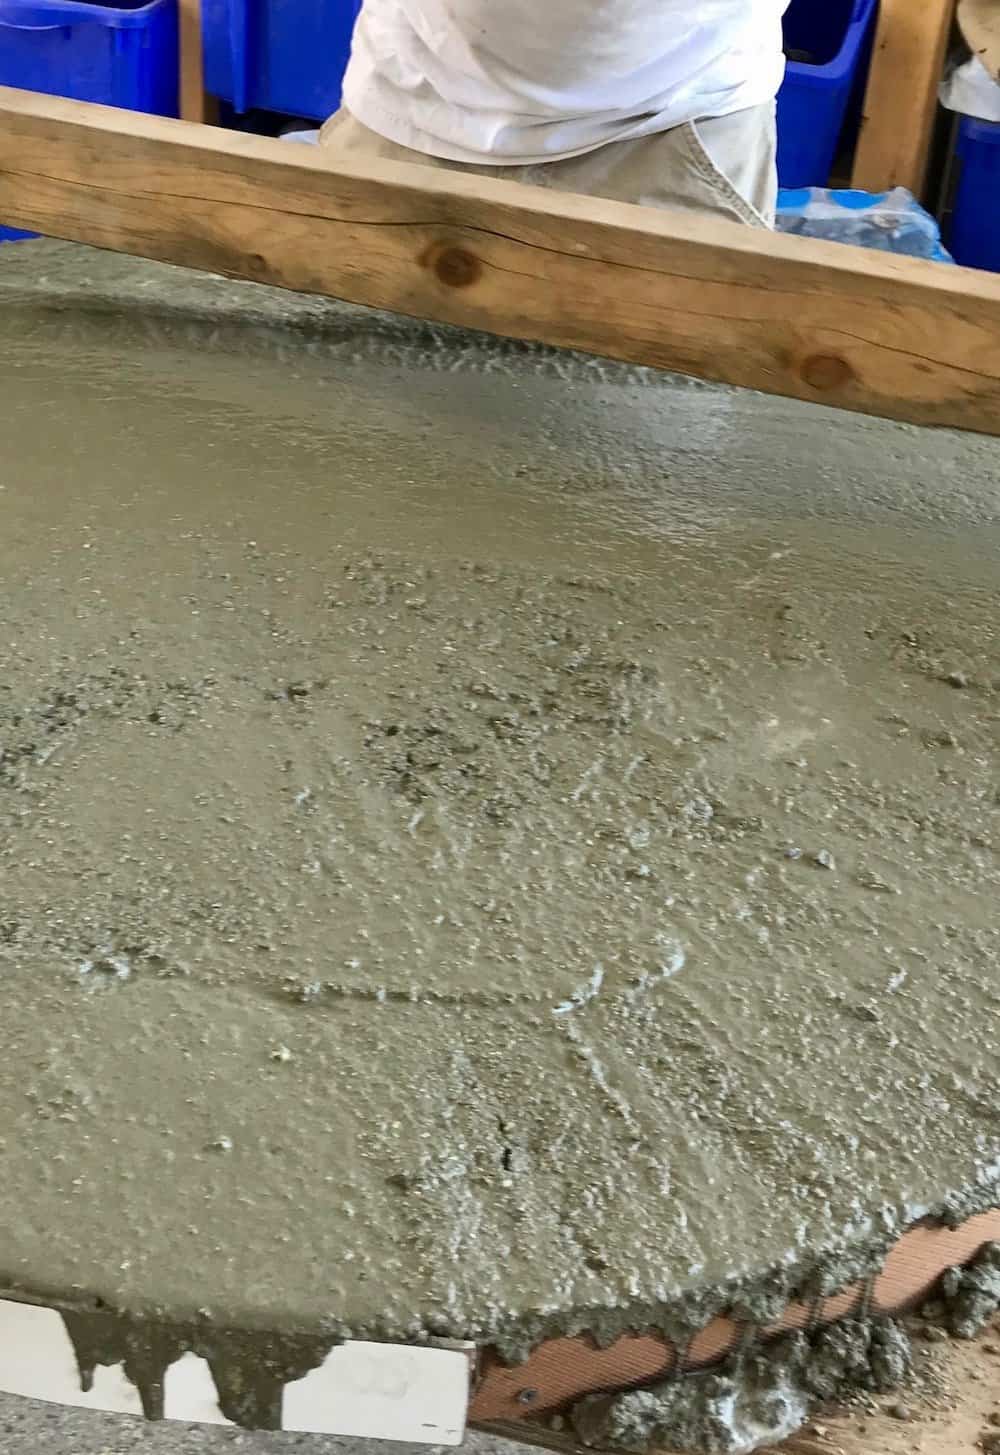
- Fill up the rest of the form with concrete.
- Carefully place it in small amounts with a shovel.
- Try not to displace the metal reinforcing mesh.
- Use the trowel to spread the concrete into the form.
- Finish the concrete to a flat-ish surface using the trowel.
- Hammer gently on the sides and bottom of the form to raise any large bubbles.
- Set the screw anchors into the concrete.
- Concrete should be just starting to set, but still workable.
- Ideally, the concrete aggregate should get between the threads of the anchors.
- Ensure the placement of the fasteners matches the fastener hole placement on your base.
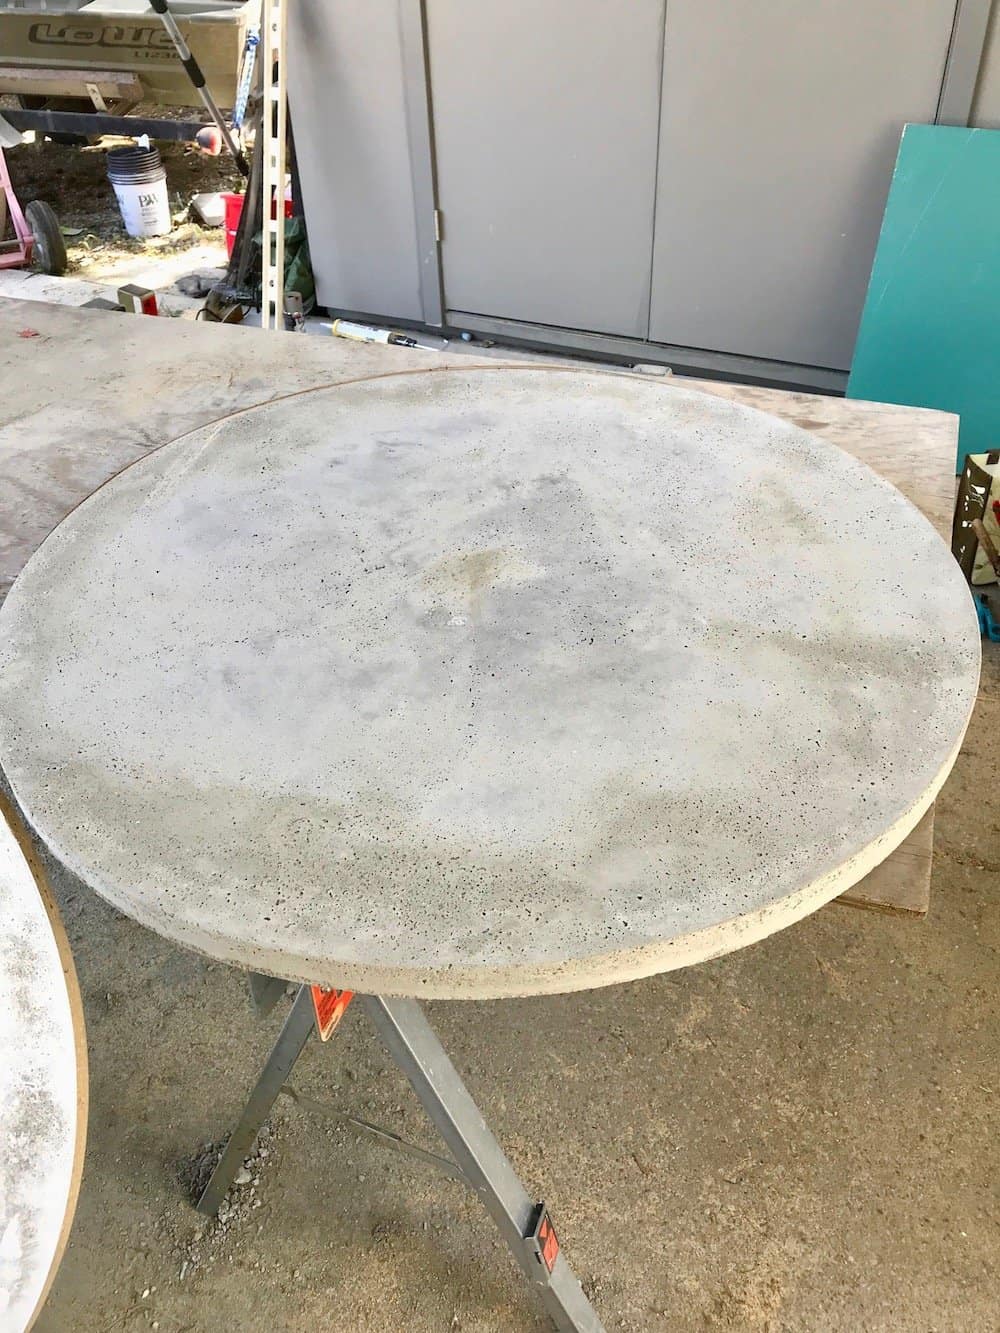
- Allow the concrete to finish setting and cure in the round tabletop form.
- Concrete curing time depends on factors such as water content and ambient temperature.
- Keep in a cool, moist area.
- Once the concrete has started to set, it can be sprayed with clean water to aid curing.
- Follow the instructions for the concrete mix.
How to assemble the round concrete patio table
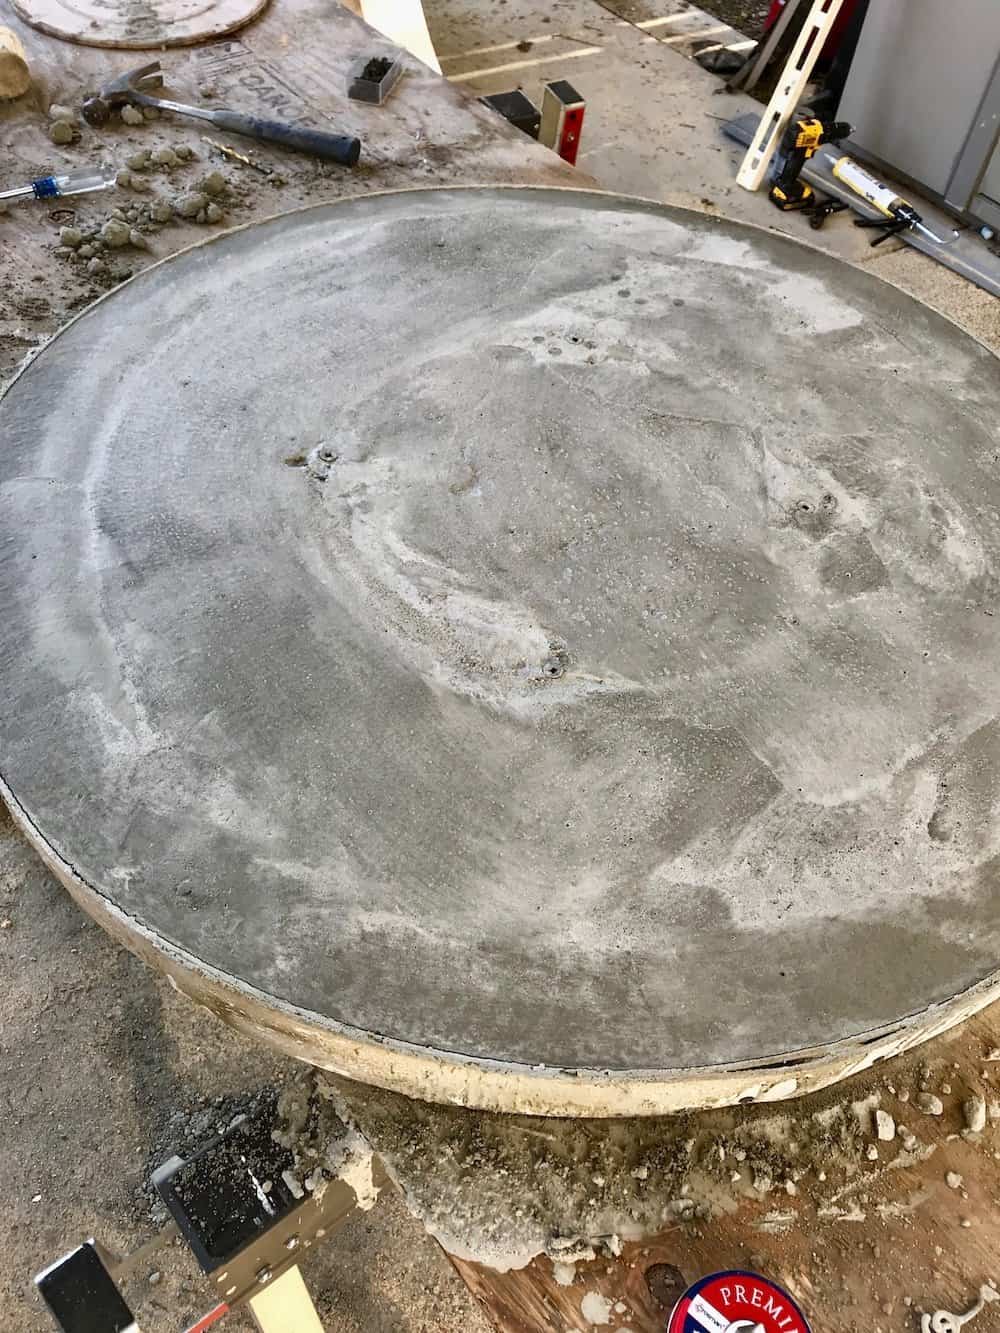
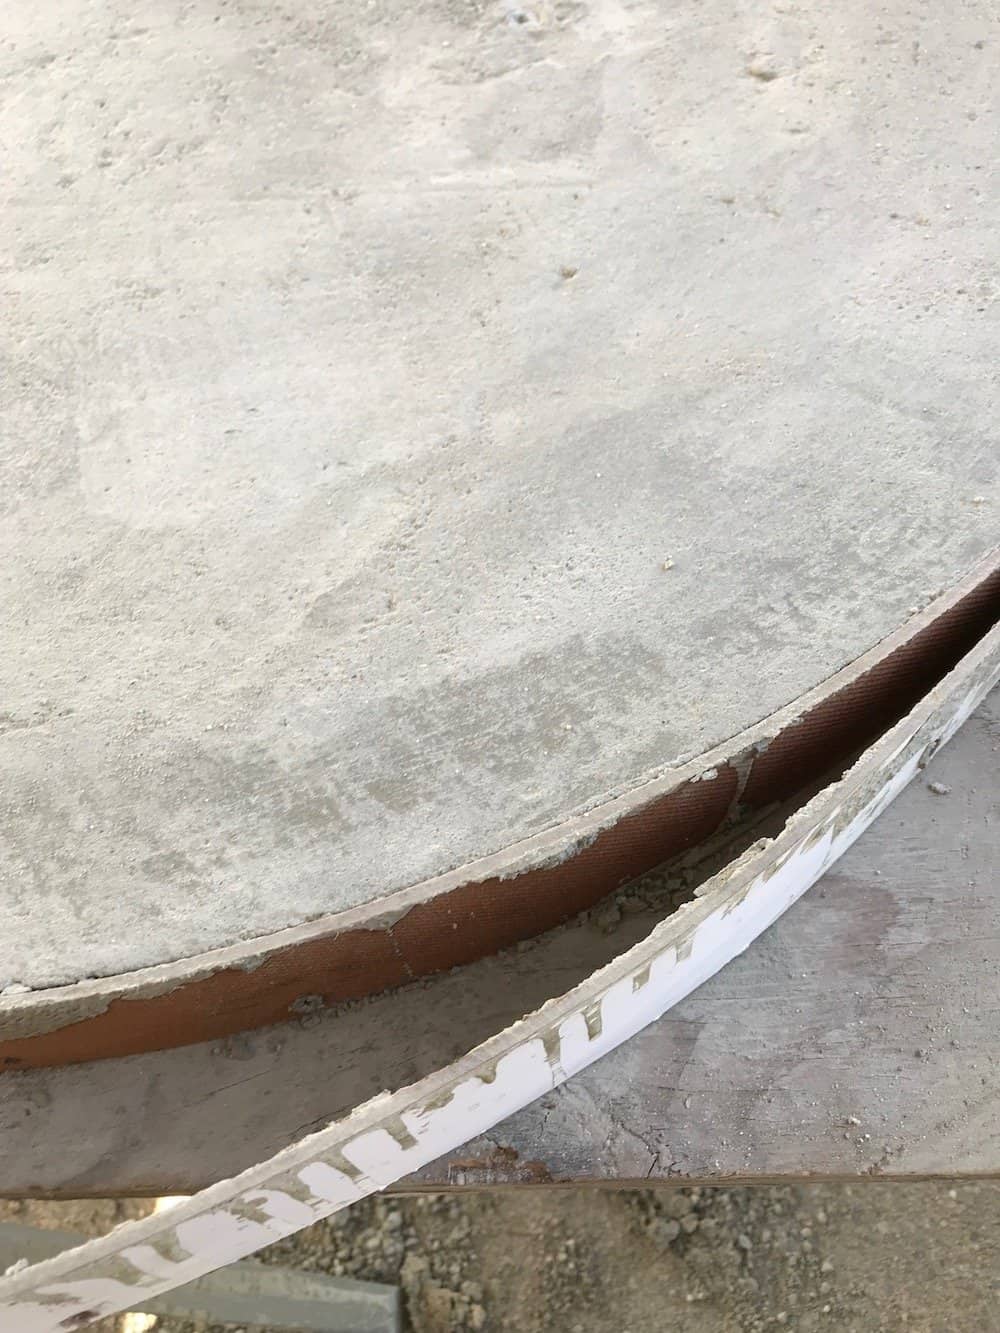
- Peel the forms once the concrete has started to cure.
- We waited a week before pulling the forms.
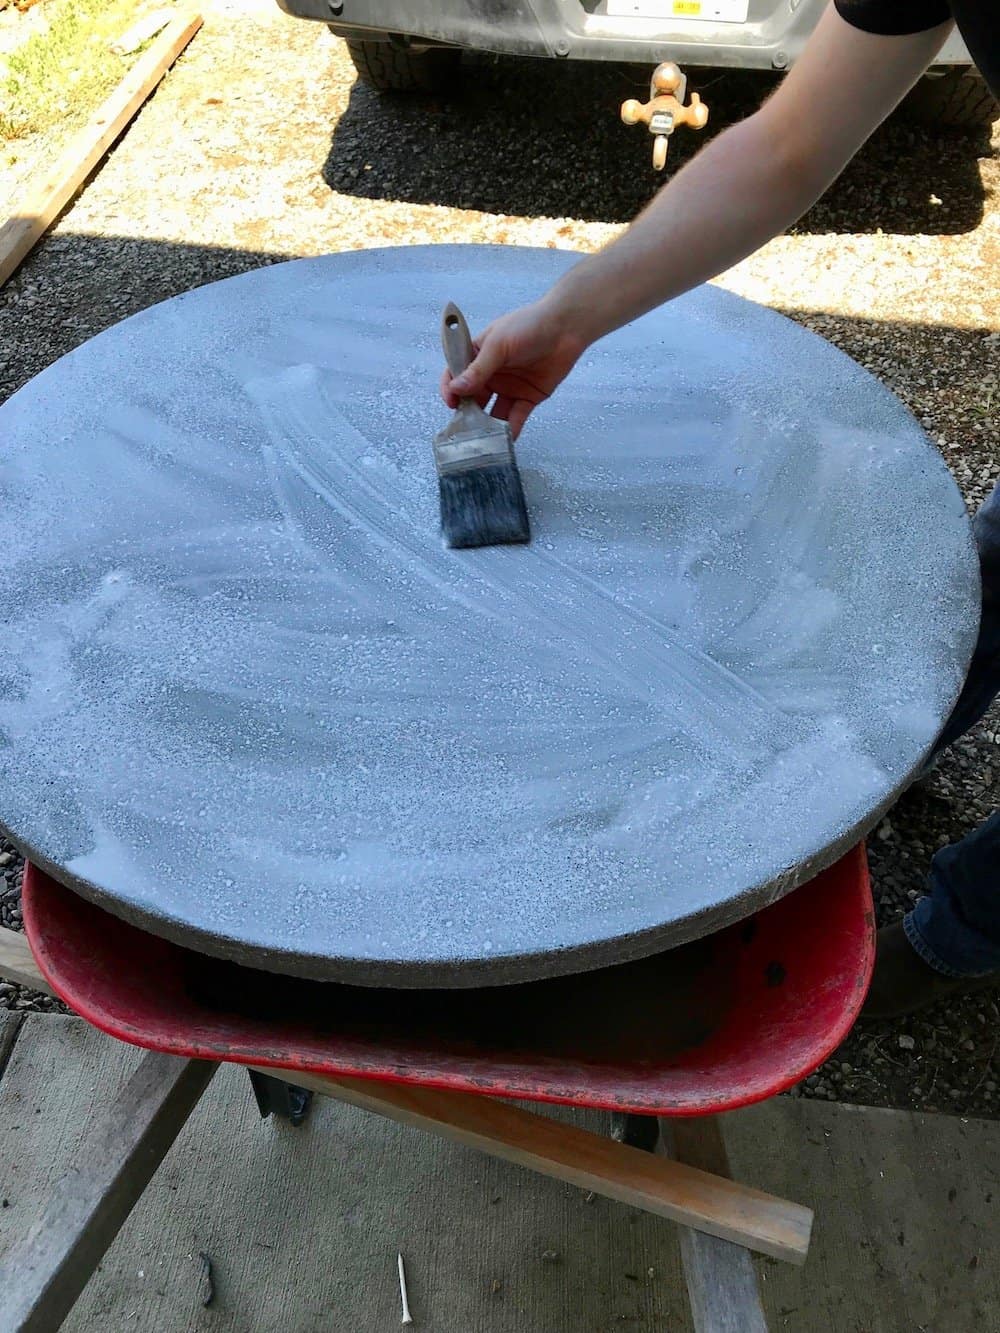
- Seal the concrete with a concrete sealant.
- We painted it on with a brush.
- Follow the instructions for the sealant you purchase.
- Place the concrete dining table top onto the base.
- Get help and lift carefully – the table top will be very heavy!
- If you try to tip it the edge might break – curing takes weeks.
- Fasten the tabletop to the base.
- Align the fasteners in the concrete to the fastener holes in the base.
And that’s it! Now you’ve got a round concrete table top.
DIY project photos – Making a round concrete top patio table
