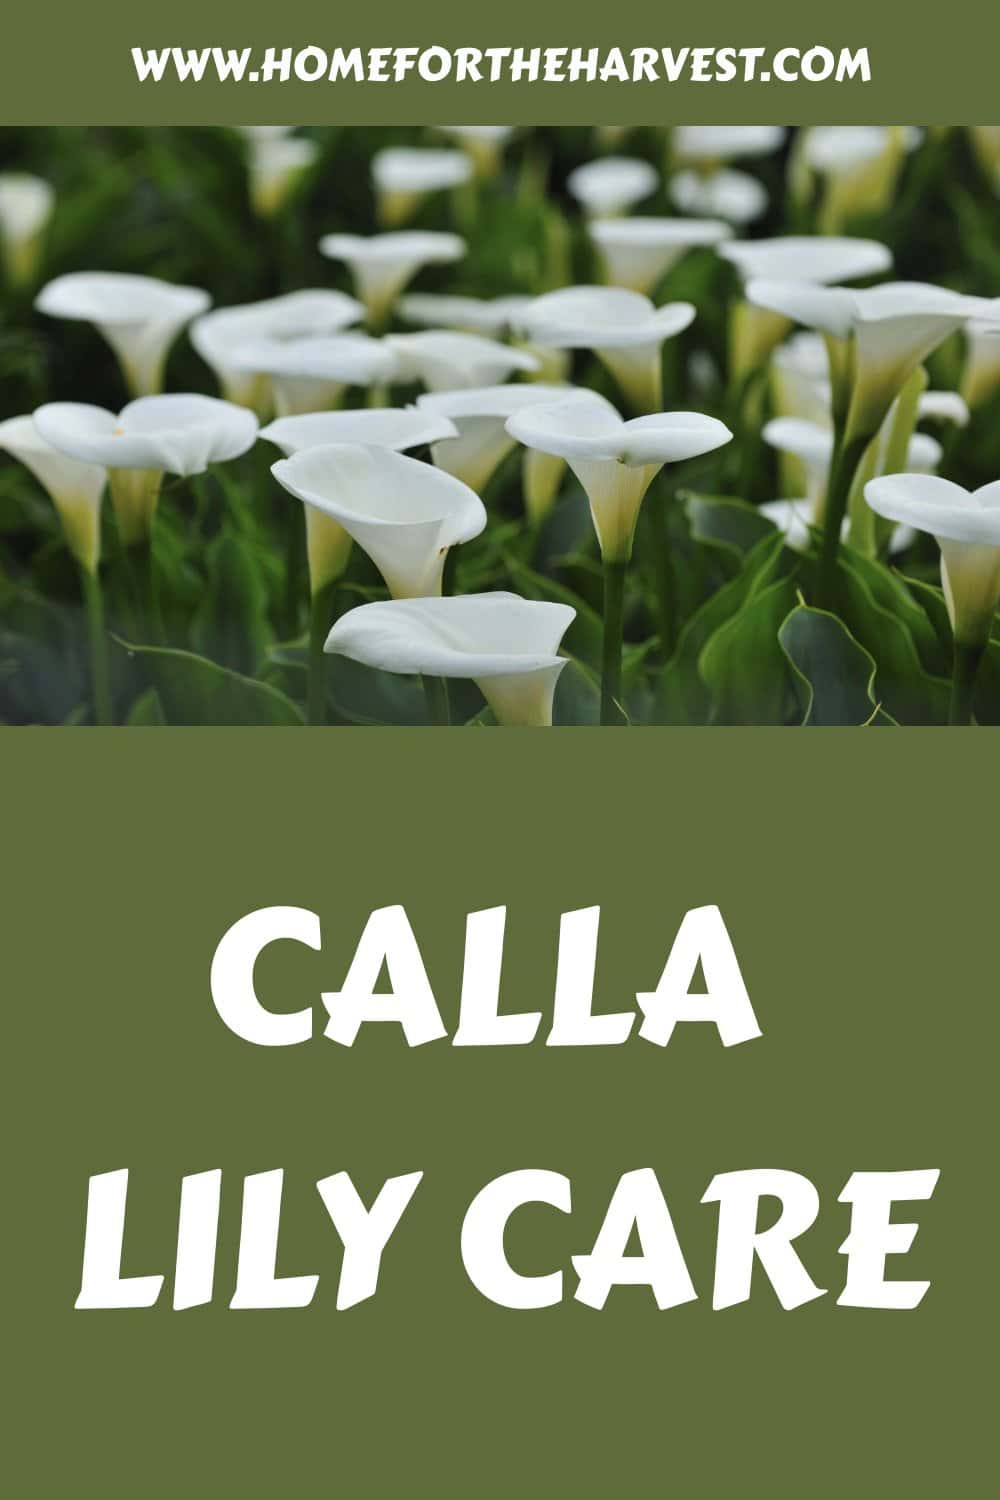

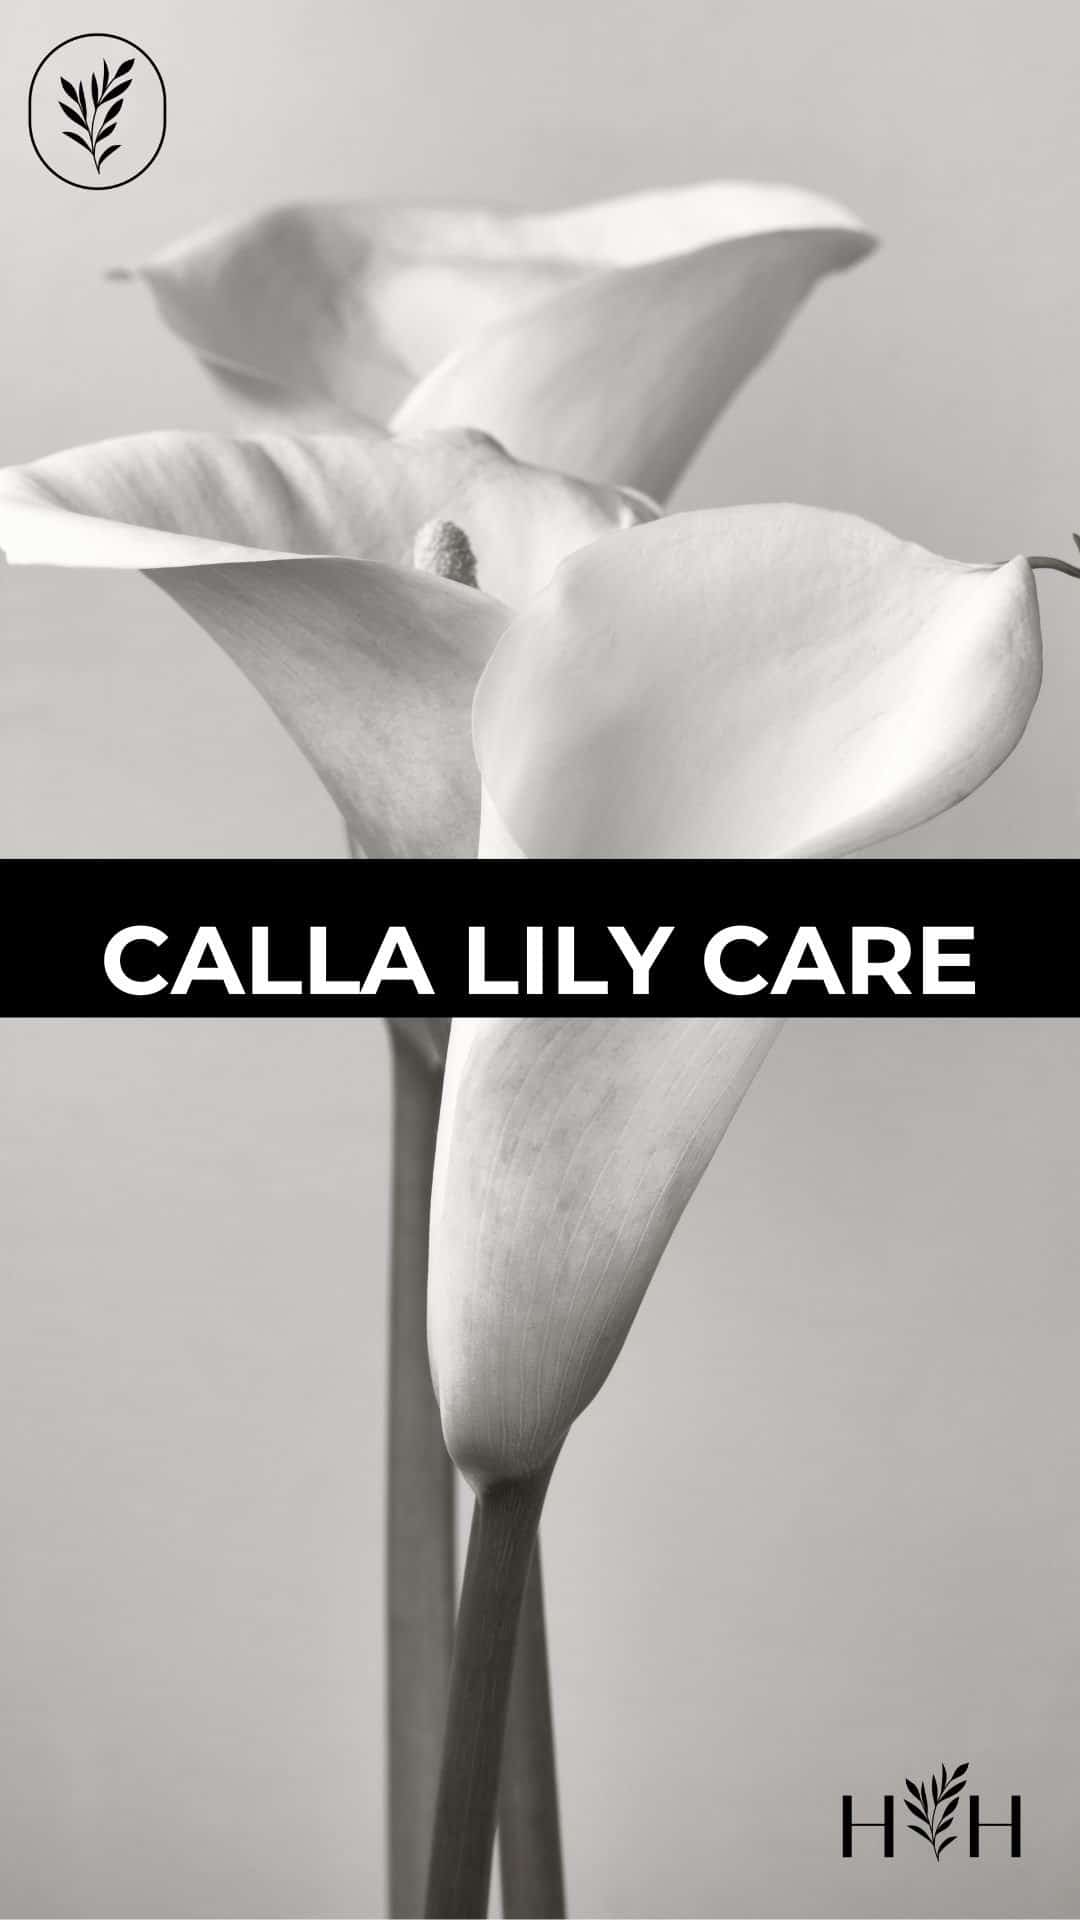

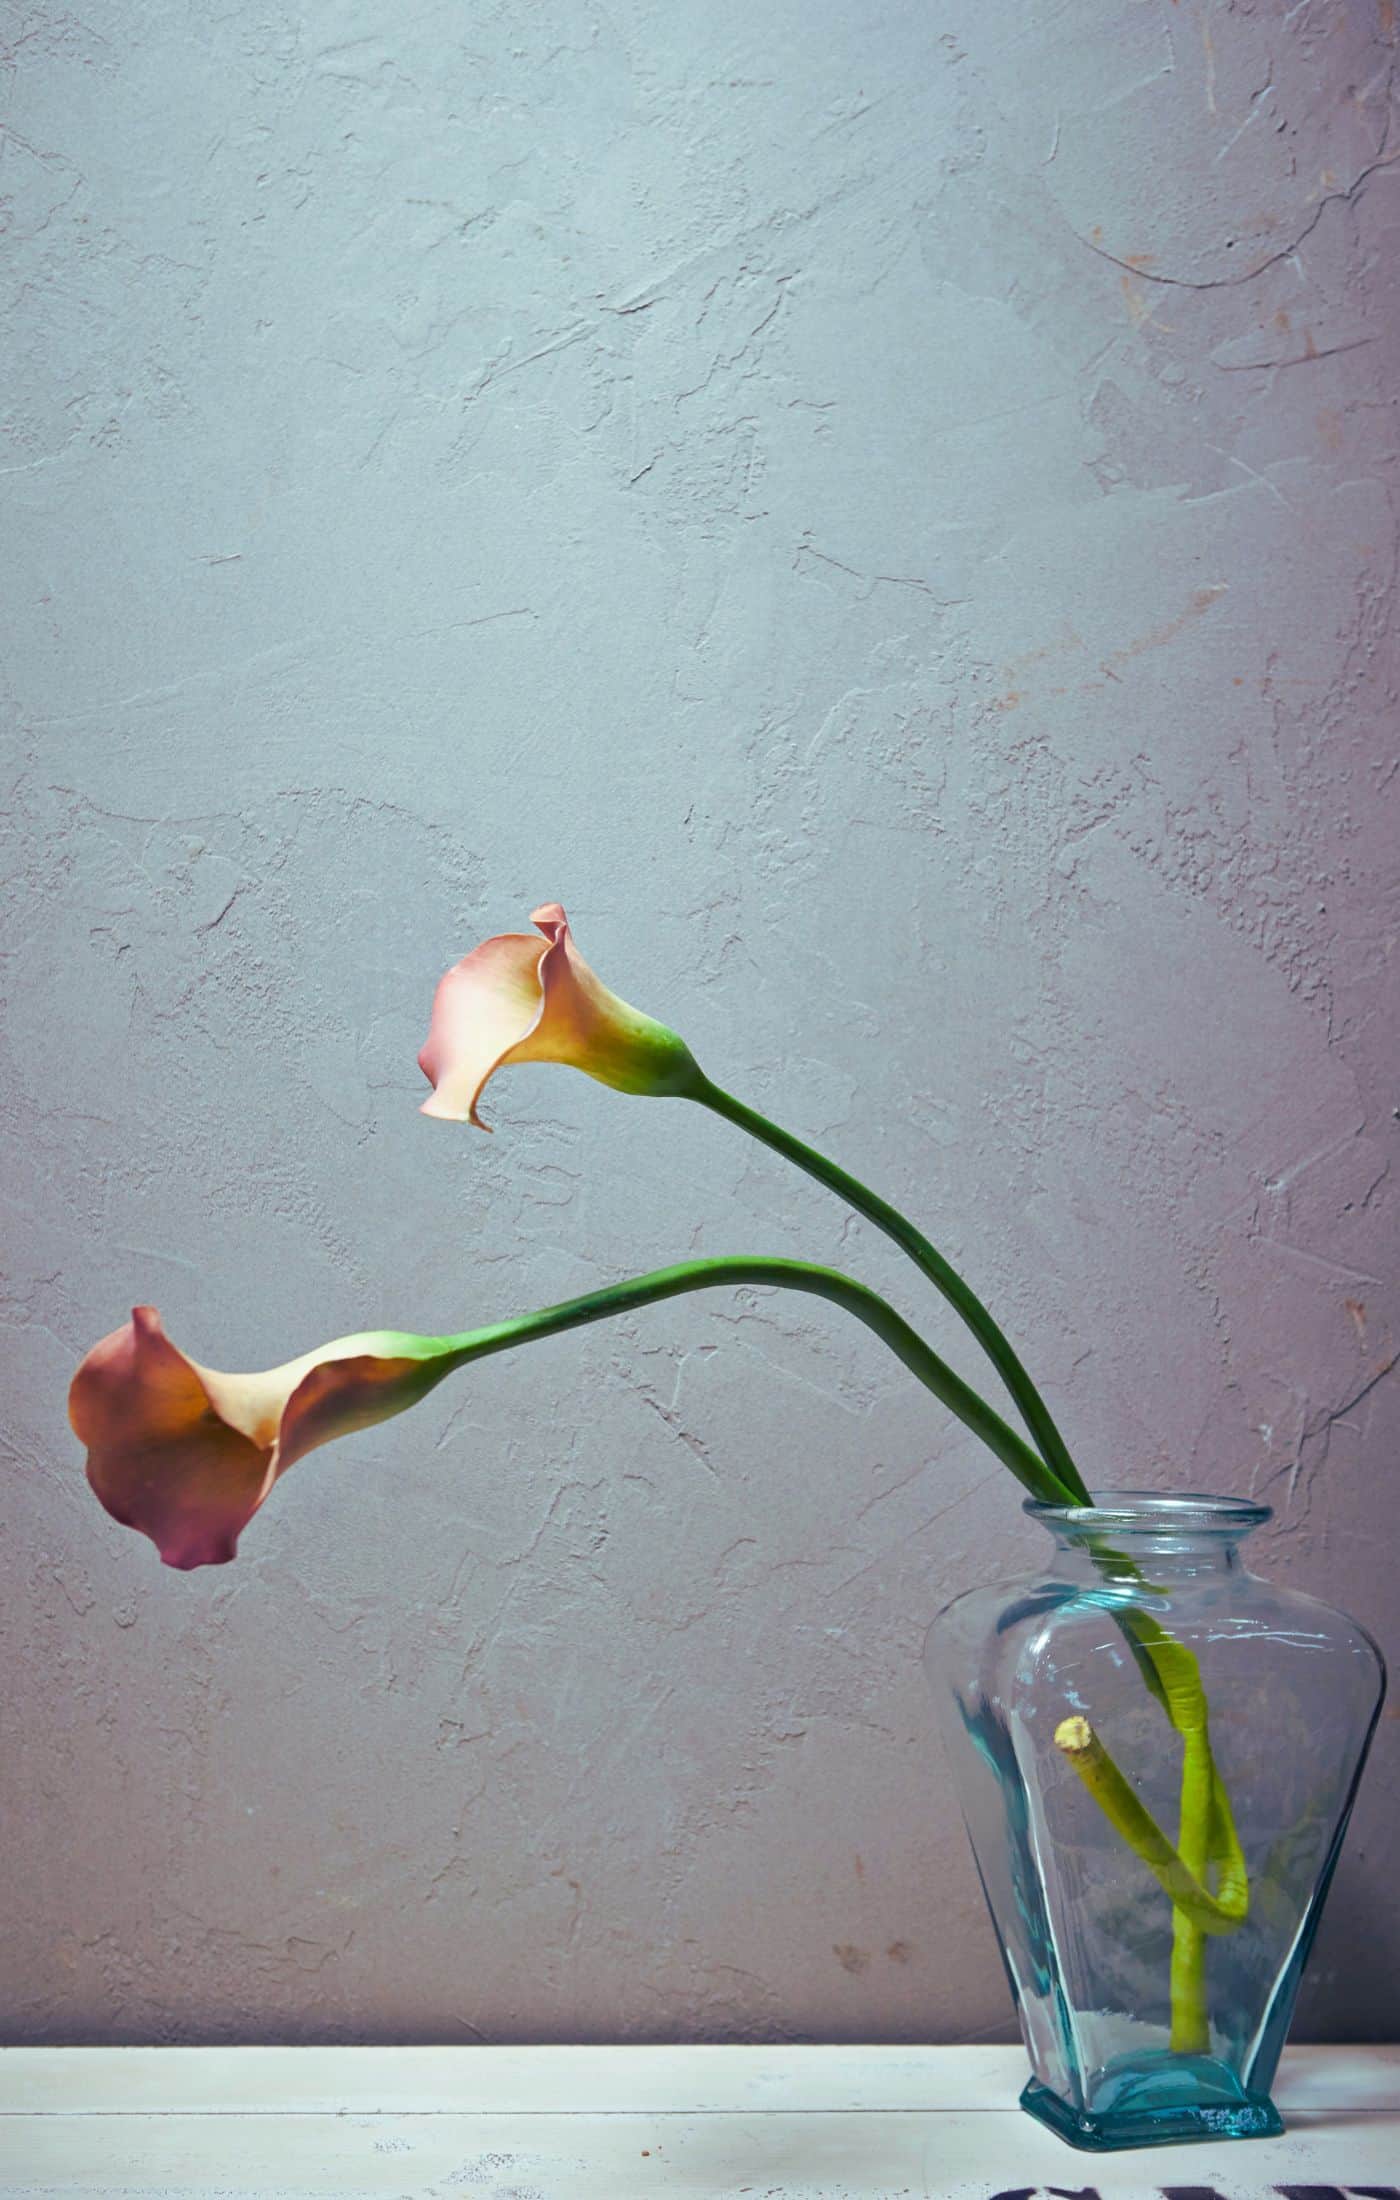
Calla lilies are a great way to add elegance to your garden. With proper care, you can have gorgeous blooms all season long. Calla lilies are surprisingly easy plants to maintain with just the right amount of love and attention. Let’s look at planting, watering, fertilizing, pruning, and enjoying your beautiful callas so you have everything you need for successful calla lily care.
Introduction to calla lily care
Calla lilies do require some special care in most garden settings. With the right knowledge and attention, you can keep your calla lilies healthy and blooming for years to come.
When planting calla lilies, it’s important to choose a spot that gets plenty of sunlight but isn’t overly dry. They need at least 4-6 hours of direct sun each day in order to thrive. Morning sun is preferable to afternoon sun. If you live in an area with hot summers, try planting them in partial shade so they don’t get too much heat.
Check that the soil is well-draining before planting. Dig holes about twice as wide as the root ball of your plant, and then fill the hole with water. Wait until it drains out completely, which should take under 2 hours if the soil is well-drained. If drainage is an issue or the soil is overly sandy or rocky, you may also want to add organic matter like yard waste compost or composted manure by mixing it into the soil in the area prior to planting.
As with growing true lilies, calla lilies need regular watering during their growing season (spring through summer). The soil should be kept moist but not soggy; if it feels dry when you stick your finger into it, then it’s time to water again. During their dormant period (fall through winter), reduce watering significantly—just enough so that the soil doesn’t become bone dry. Every spring, fertilize your callas with a balanced flowering plant fertilizer.

Planting calla lilies
Planting calla lilies are a great way to add beauty and color to your garden. The best time to plant them is in the spring when temperatures are milder and there’s plenty of rain. Calla lilies prefer well-drained soil that’s slightly acidic with a pH between 6.0 and 7.5. To prepare the soil for planting, work in some compost or other organic matter before you begin planting.
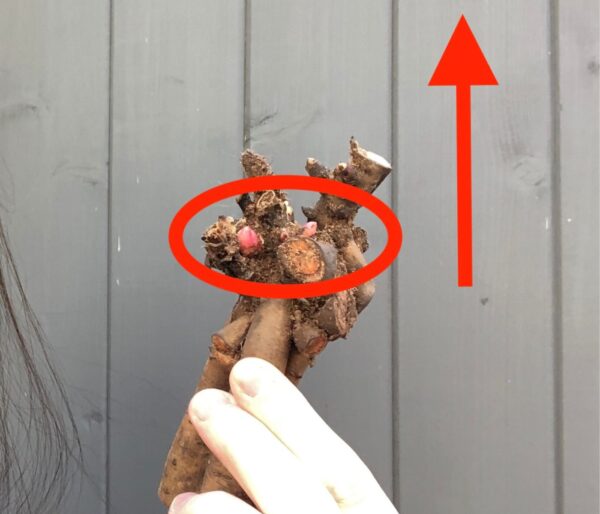
When it comes to depth, calla lily bulbs should be planted about 4 inches deep in the ground with their pointed end facing up. Please make sure not to crowd them too close together; they need space so they can spread out and get enough sunlight as they grow taller over time. If you’re planting multiple bulbs at once, make sure each one has at least 8 inches of space around it so that it can reach its full potential without competing for resources with its neighbors.
Once your calla lilies are planted, water them thoroughly but do not overwater, as this could cause root rot or other problems down the line. After watering, mulch around the plants lightly with an organic material such as bark chips or straw; this will help keep moisture levels consistent while also preventing weeds from taking over your flower beds.
Watering calla lilies
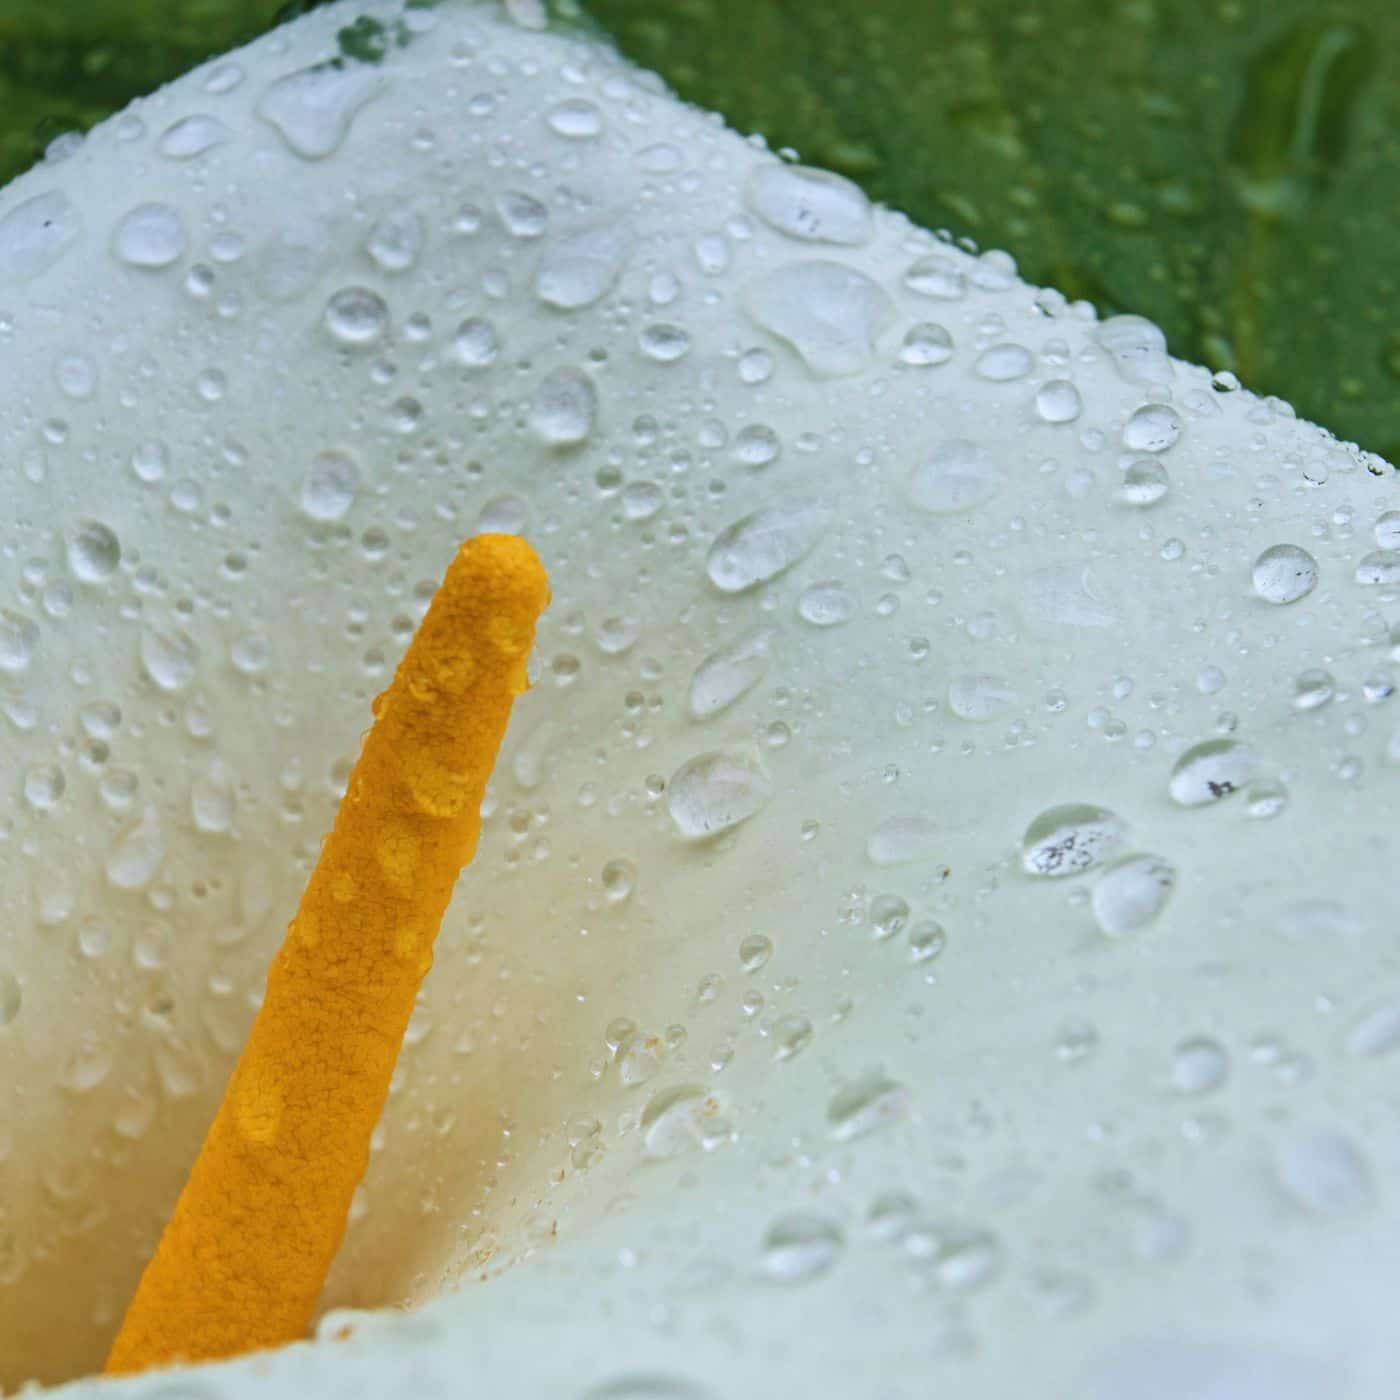
Watering your calla lilies is an important part of their care. It’s essential to keep the soil moist but not overly wet/soggy/muddy. The best way to determine when and how much water your calla lilies need is by feeling the soil with your finger. If it feels dry about 1 inch below the surface, then it’s time to water them. Calla lilies do like their soil a bit wetter than true lily types.
When watering, make sure you give them a good soaking so that all of the roots are getting enough moisture. A general rule of thumb is to provide one inch of water per week during active growth periods in spring and summer months; however, if temperatures are very hot or windy, this may need to be increased slightly. During cooler winter months, they will require less frequent watering as they go dormant and won’t need as much moisture.
It’s also important not to over-water your calla lilies, as too much stagnant water can cause root rot, which can lead to plant death. Make sure there is adequate drainage in the area where you have planted them, and check for standing water after each rainstorm or heavy watering session. If any puddles remain for days, then consider relocating them or improving drainage in that area if the plants are suffering.
Finally, try not to get any foliage wet when you’re watering, as this can encourage diseases such as powdery mildew on leaves which could damage plants further down the line if left untreated.
Fertilizing calla lilies
Fertilizing calla lilies is an important part of keeping them healthy and vibrant. Fertilizer helps provide the nutrients needed for growth, flowering, and overall health. The best type of fertilizer to use on calla lilies is a slow-release or liquid fertilizer with a somewhat balanced ratio of nitrogen, phosphorus, and potassium (N-P-K).
When fertilizing your calla lilies, apply the fertilizer at least once every two weeks during their growing season. This will help ensure that they have enough nutrients to stay healthy and bloom well throughout the summer months. Make sure to follow the directions on the package carefully so you don’t overfertilize your plants which can lead to burn spots or other damage.
If you are using a liquid fertilizer, mix it according to instructions before applying it around your plants in early spring when new growth begins emerging from dormancy. If using a slow-release granular fertilizer, then sprinkle it evenly around your plants in late winter/early spring when new growth starts appearing again after winter dormancy has ended. Water thoroughly afterward so that all of the nutrients can be absorbed into the soil quickly and easily by plant roots for maximum benefit.
Fertilizing your calla lilies is an important part of keeping them healthy and vibrant. Now, let’s look at how to prune your calla lilies for optimal growth.
Pruning calla lilies
Pruning calla lilies is an important part of keeping them healthy and looking their best. Pruning should be done when the plant is actively growing, usually in early spring or late summer. Start by removing any dead or damaged leaves and stems from the base of the plant. This will help to keep your calla lily free from disease and pests.
Next, cut back any long stems that have become leggy over time. These can be pruned back to about 6 inches above soil level for a neat appearance. Be sure to use sharp garden shears so you don’t damage the stem while cutting it off at an angle just above a leaf node (the point where new growth emerges). This will encourage more branching out at this spot, resulting in fuller plants with more blooms.
If your calla lily has been flowering heavily throughout the season, you may want to remove some of its spent flowers as well as any seed pods if they are present on the plant. Don’t make the plant put energy into growing seeds if you don’t need it to. Like with dragon lilies, let the plants focus on growing foliage to photosynthesize and grow more flowers.
Finally, give your calla lilies a good trimming every few years by cutting them down to ground level during the winter dormancy period when they aren’t actively growing anymore. This helps stimulate fresh new growth for next year’s showy display. With proper pruning techniques and regular maintenance, you’ll enjoy beautiful blooms from your calla lilies each year without too much effort required on your part – now that is something worth celebrating.
Enjoying your calla lilies
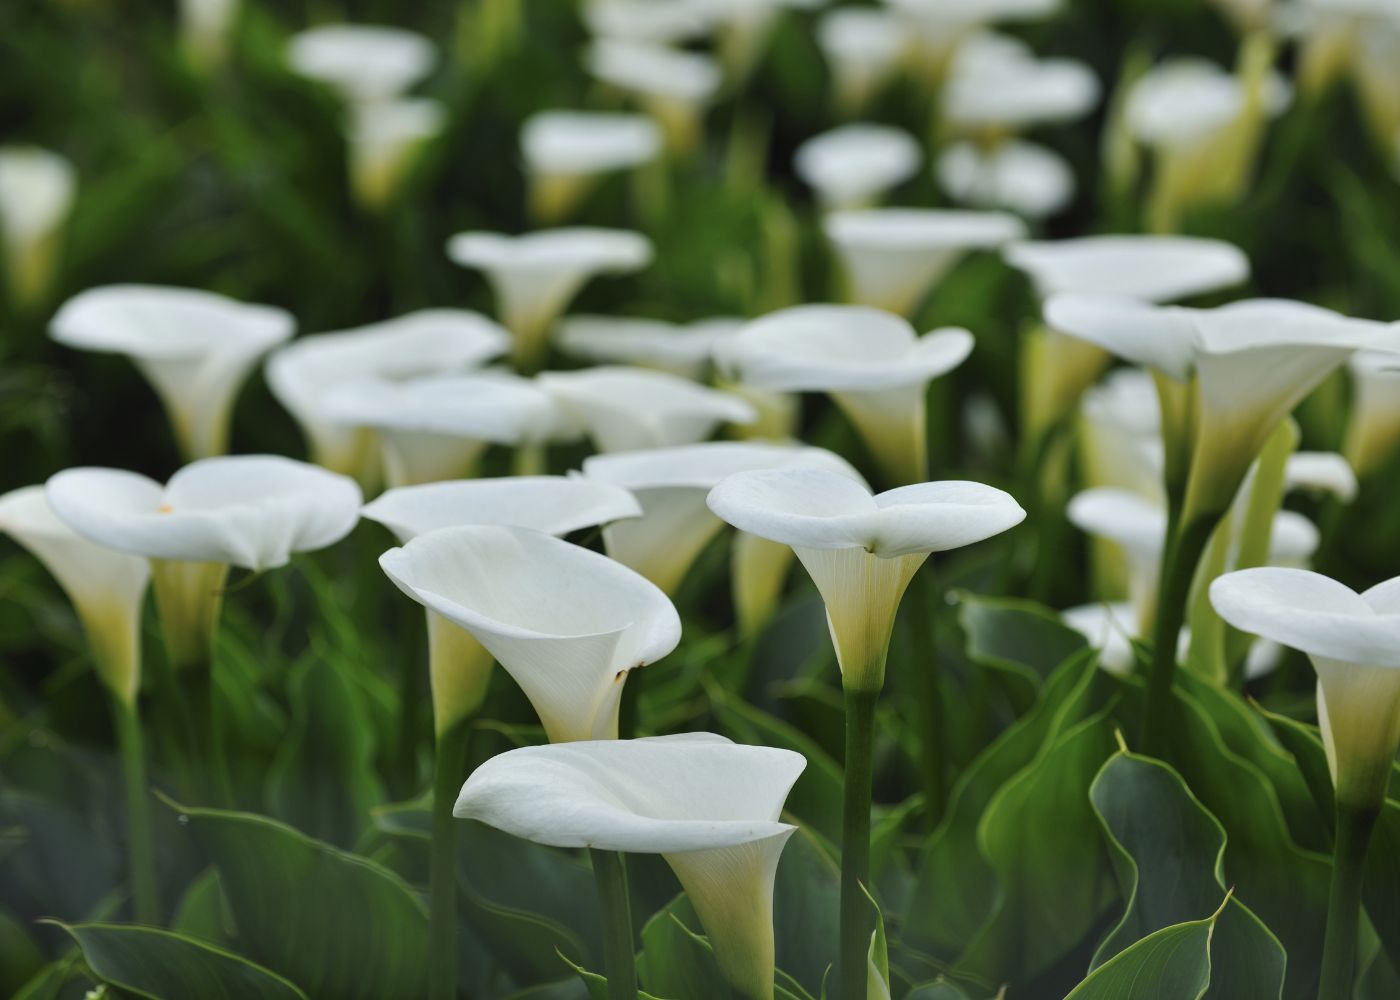
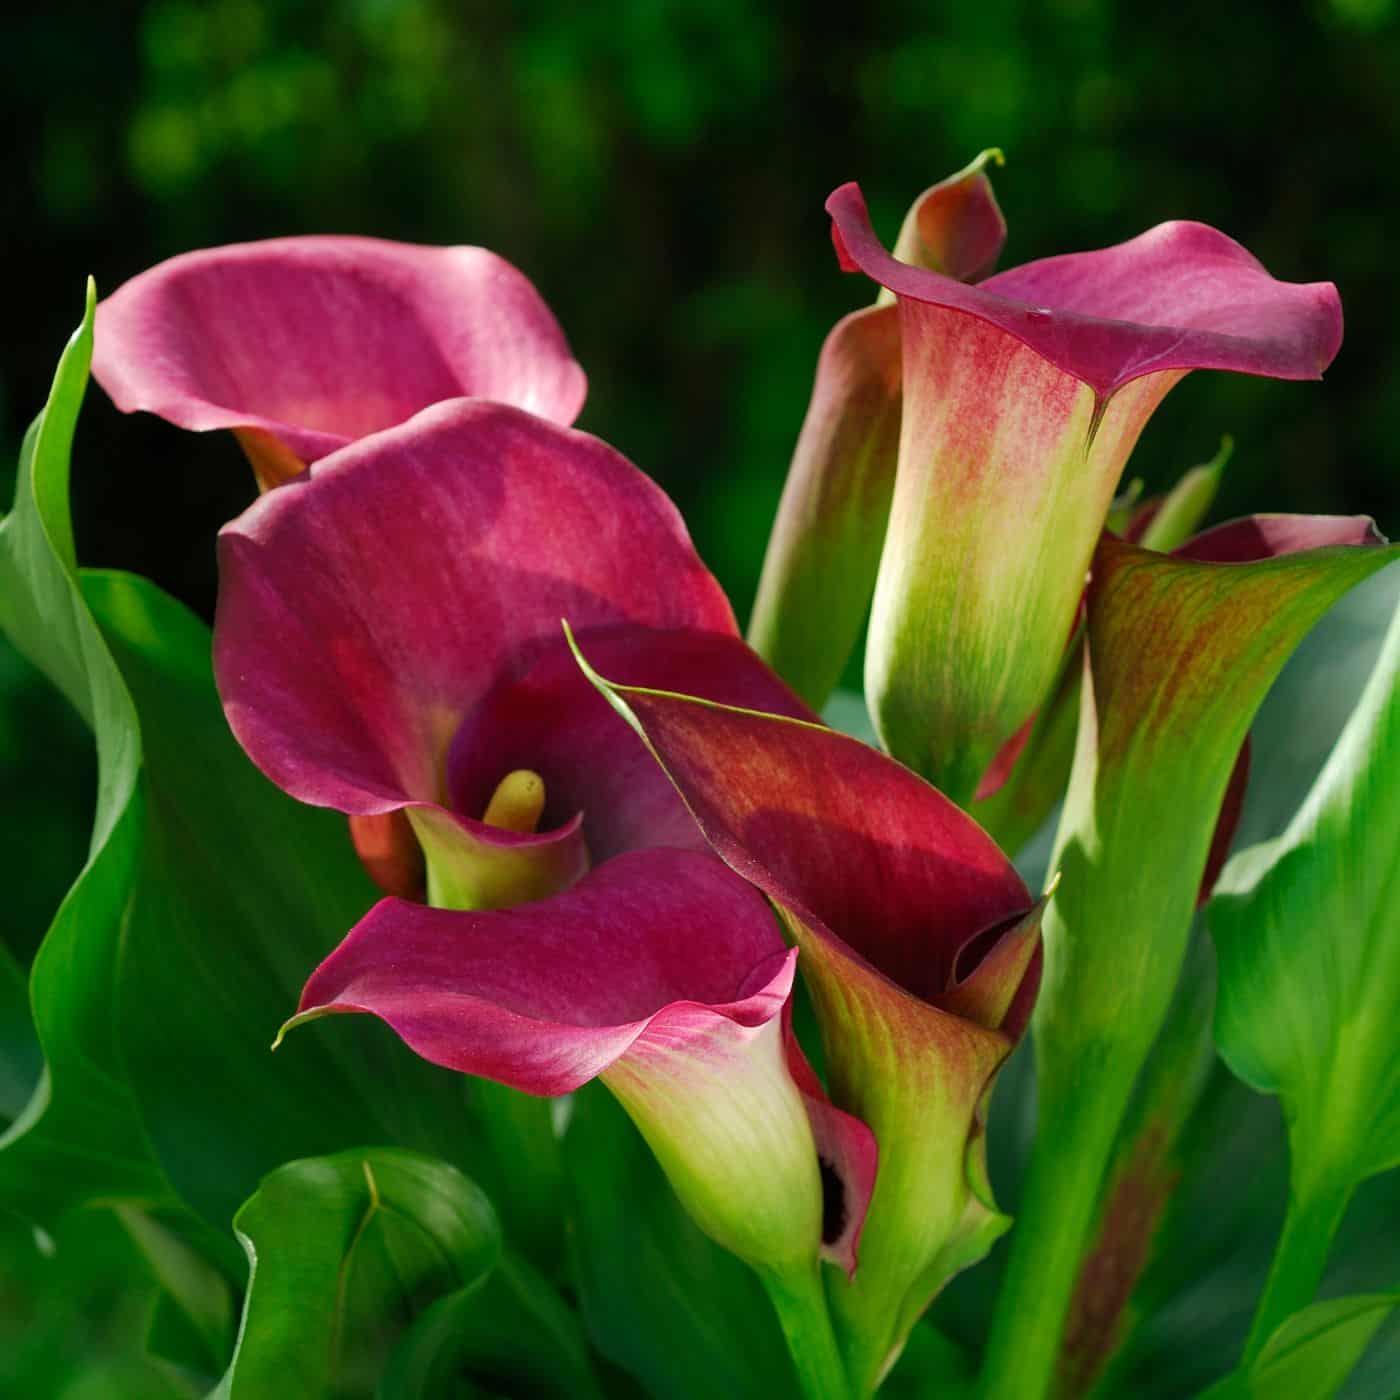
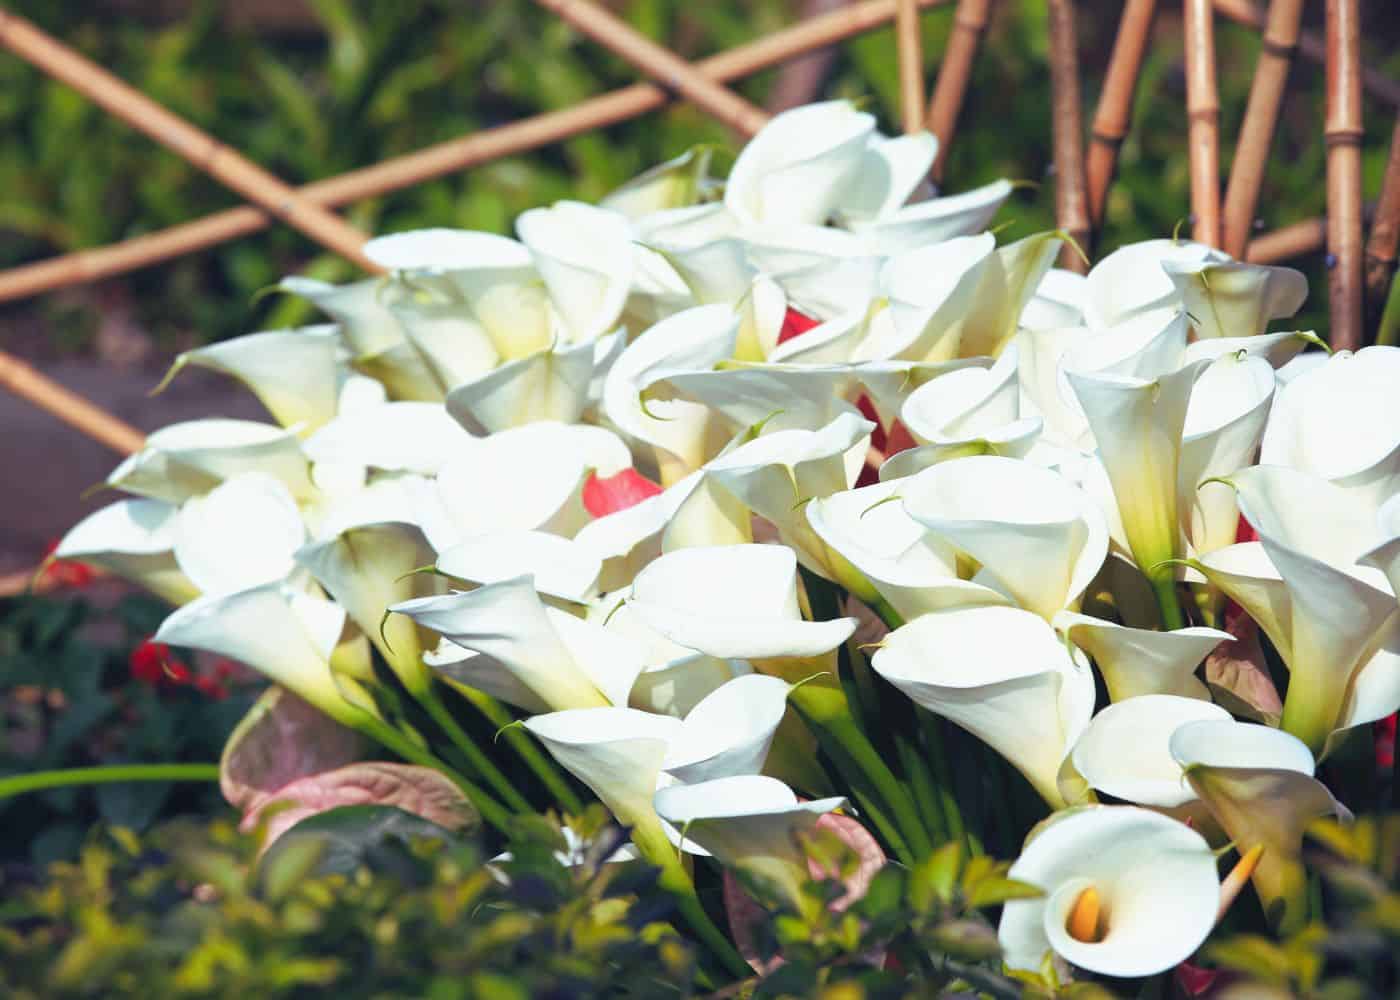
Calla lilies are beautiful and elegant flowers that can add a touch of class to any garden. They come in a variety of colors, sizes, and shapes, making them perfect for adding interest to your outdoor space. With proper care and maintenance, you can enjoy these lovely blooms for years to come. Here are some tips on how to make the most out of your calla lily garden.
Choose appropriate containers
If you’re growing callas in containers rather than planting directly into the ground, choose appropriately sized pots so they have enough room to grow properly. Make sure there is adequate drainage, too; otherwise, you risk overwatering, which can lead to root rot or fungal diseases like powdery mildew.
Add other plants or decorations
Calla lilies look great when paired with other plants or decorations, such as statues or birdbaths. Choose complementary colors and textures that will enhance the beauty of your callas without overpowering them. You could also plant other flowering plants around the edges of your callas to create an eye-catching border effect.
Deadhead regularly
Deadheading (removing spent flowers) encourages new growth by preventing seed formation and redirects energy back into flower production instead of seed production. This will help keep your callas looking their best throughout the season.
Protect from pests & diseases
Keep an eye out for common pests such as aphids or spider mites which may attack young buds before they open up fully; use insecticidal soap if necessary but try not to be overzealous with chemical treatments as this may damage delicate petals and leave too much residue behind on foliage, which can attract more pests in future seasons. Additionally, watch out for signs of disease such as leaf spots caused by fungi – again use fungicides if needed but take extra care when applying chemicals near blooms so they don’t get damaged accidentally.
FAQs about calla lily care
Do calla lilies need full sun or shade?
Calla lilies prefer partial shade or filtered sunlight. They can tolerate full sun, but too much direct sunlight all the sudden can cause the leaves to scorch and the flowers to fade quickly. For best results, plant calla lilies in a location that receives morning sun and afternoon shade. This will help ensure that your calla lilies receive enough light without becoming overheated by the intense midday sun.
How long do potted calla lilies last?
Potted calla lilies typically last for up to two months when properly cared for. To ensure a long life, the plant should be placed in an area with bright indirect sunlight and kept moist but not overly wet. The soil should also be well-draining and fertilized regularly with a balanced fertilizer. Additionally, dead or wilted flowers should be removed as soon as possible to prevent disease from spreading throughout the plant. With proper care, potted calla lilies can bring beauty and color into your home for many weeks.
How do you care for a potted calla lily?
Caring for a potted calla lily is easy. Start by choosing a pot with good drainage and filling it with well-draining soil. Place the plant in an area that receives bright, indirect sunlight. Water your calla lily when the top inch of soil feels dry to the touch. Keep the soil evenly moist but not soggy, as too much water can cause root rot.
Fertilize monthly during its growing season (spring through summer) using a balanced fertilizer diluted to half strength. In winter, reduce watering and fertilizing significantly or stop altogether until spring arrives again. Lastly, remove any dead leaves or flowers promptly to encourage new growth and blooms.
Does calla lily come back year after year?
Yes, calla lilies are perennial plants that come back year after year as long as they are kept in good condition. They can be planted in the spring and will typically bloom during summer months. Calla lilies require well-drained soil and plenty of sun to thrive. In colder climates, they may need to be dug up and stored indoors over winter for protection from frost. With proper care, these beautiful flowers can provide a long-lasting display of color in your garden or outdoor space for many years to come.
Before you go…
With the right planting, watering, fertilizing, and pruning techniques, you can ensure that your calla lilies will thrive for years to come. Enjoying your beautiful calla lilies in full bloom is one of the best rewards for taking good care of them.