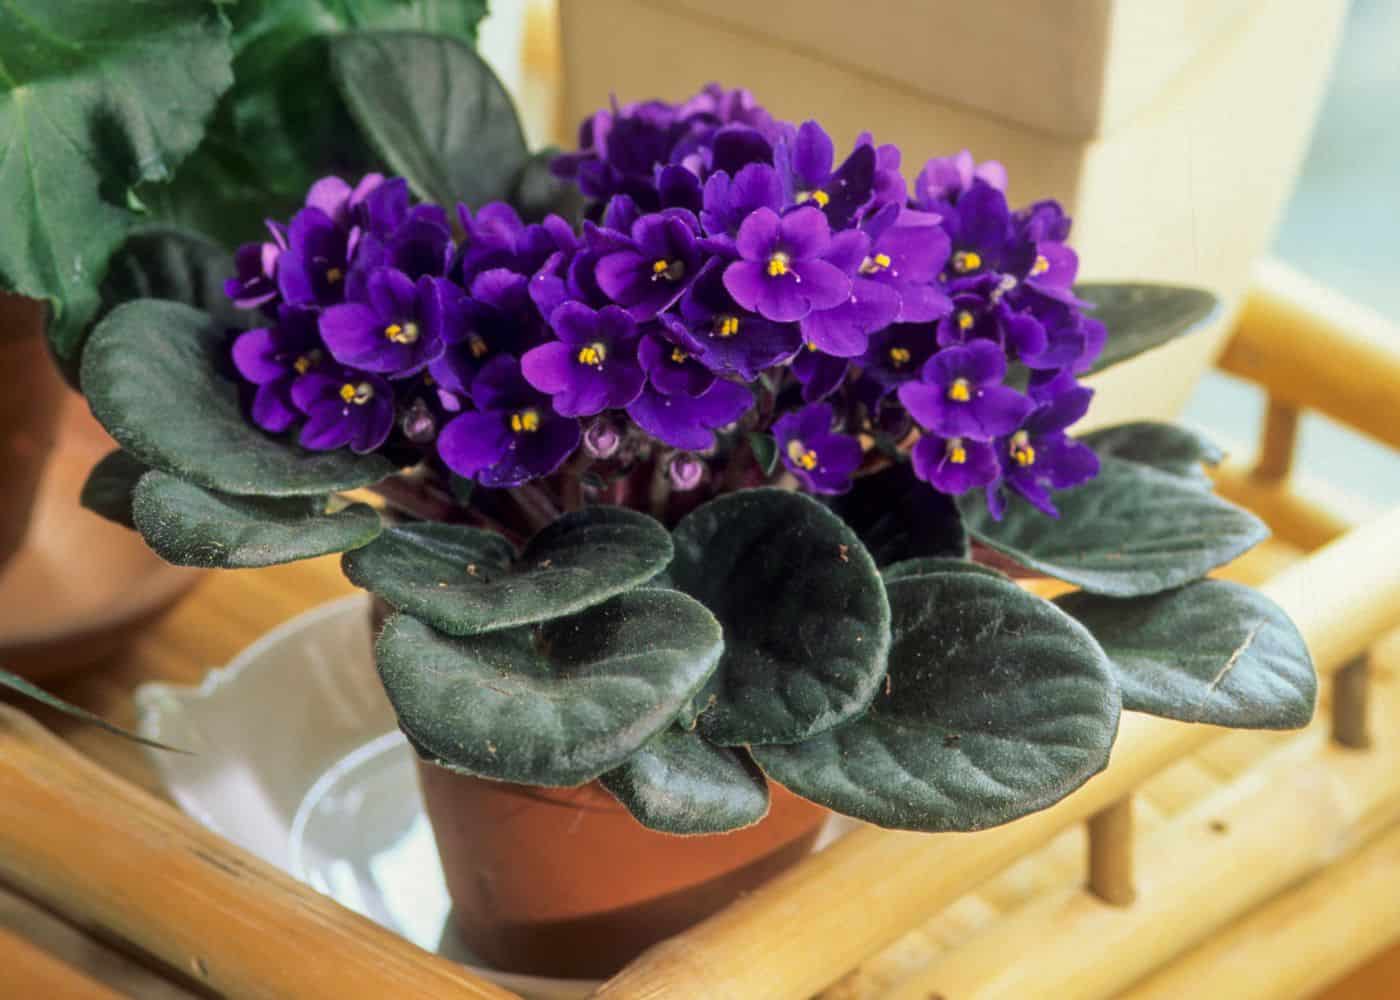
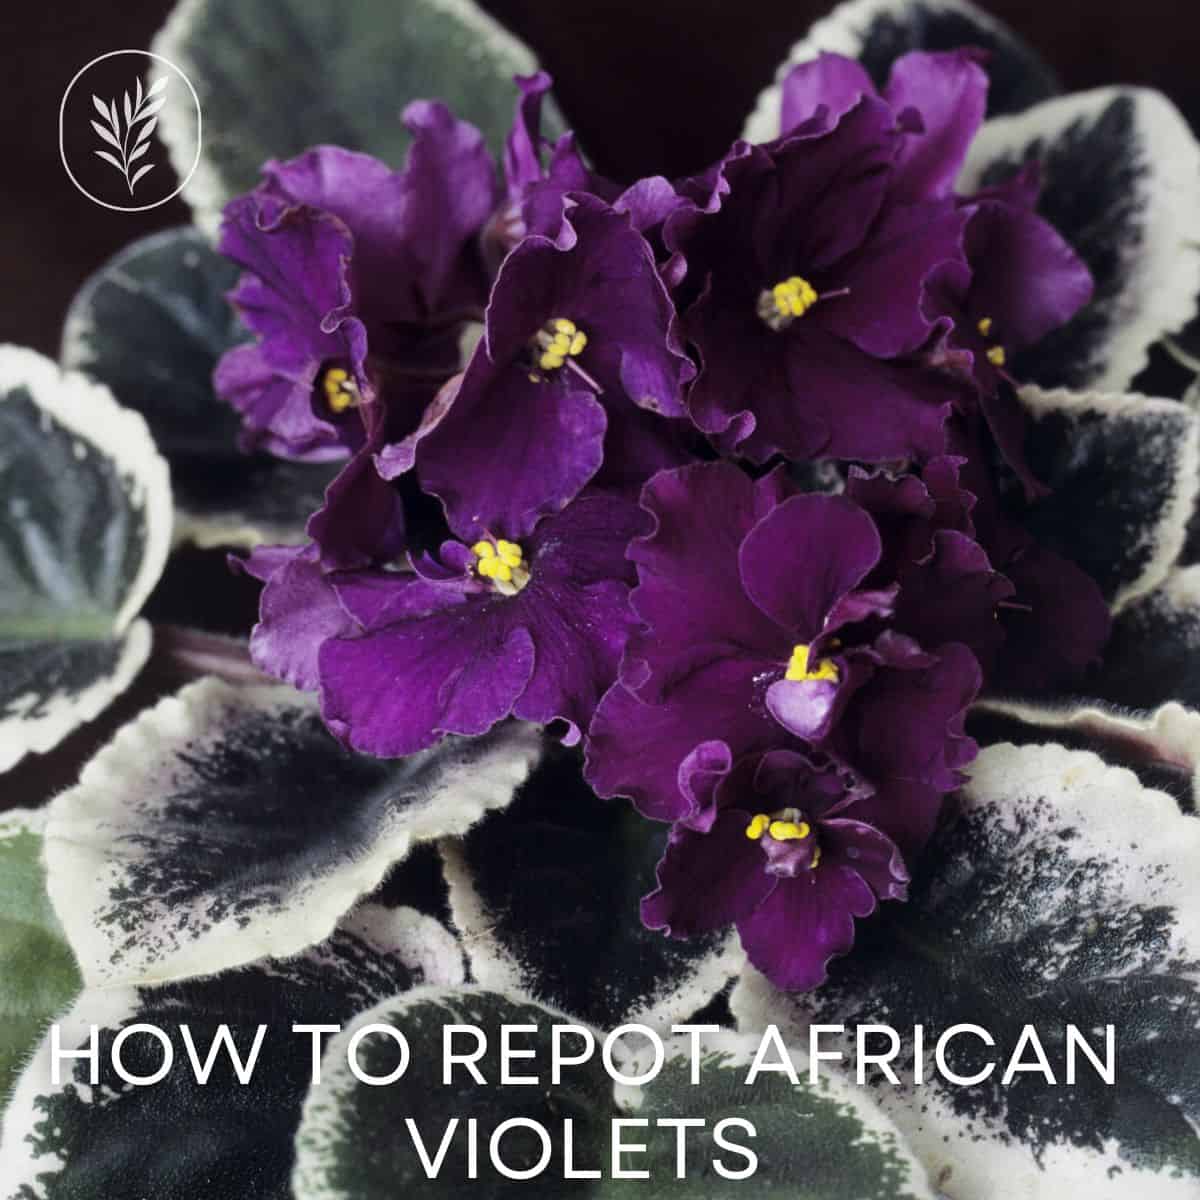
The African Violet is one of the most famous and beloved houseplants across generations. It is appreciated not only for its fuzzy foliage, but for the gorgeous flowers it produces almost all year round in the right conditions.
To get started, all you need is the right soil mix, a new pot, and a pair of pruning shears. Trim any damaged or fading leaves to make space for new ones and trim the roots if needed to balance out the growth. Plant in the new pot at the same soil level, watering immediately afterward to encourage new root growth.
Put your green thumb to the test and learn how to repot African violets!

How often do African violets need repotting?
Like many houseplants, African Violets do best when their roots are slightly cramped. They don’t mind being a little rootbound as long as there is still space for the roots to expand and enough soil to retain moisture and nutrients. In fact, they will flower far better when crowded than when planted in an expansive pot with too much soil space.
This means you can wait to repot until your African violet plant really needs it. If the leaves begin to wilt, the plant stops growing or you spot roots under the drainage holes or above the soil line, it’s time to repot. Also, consider the soil conditions. As soil degrades over time, your African Violet will need a soil refresh if it’s been in the same pot for a while without a top-up.
Some gardeners suggest repotting African violets up to twice a year to prevent ‘necks’ and ensure your plant lives up to its extensive lifespan. However, repotting can be a traumatic process for your plants and exposes you to the risk of transplant shock. This can stunt growth and limit flowering if not avoided.
If you think your African Violet needs some extra space to grow better, or if it appears to be stretching, go ahead and repot. Otherwise, wait a couple of months to avoid any unnecessary damage.

What soil mix do African violets need? Buy the right one!
African Violets require a specialized potting mix suited to their needs. The potted plant cannot use garden soil or standard potting soil as it is not suitable. These materials retain too much moisture, exposing your plant to potential root rot.
You should be able to find an African violet-specific potting mix at your local nursery. You can also shop online for a potting mix. Make sure to find one best suited to your needs.
If you can’t find any in your area, you can also make your own by amending regular potting soil with perlite, sand, sphagnum peat moss, and vermiculite. This mix will hold onto enough water to keep the lush foliage happy and the plant flowering while draining well enough to limit your chances of rotting.
What you’ll need: A list to start with!
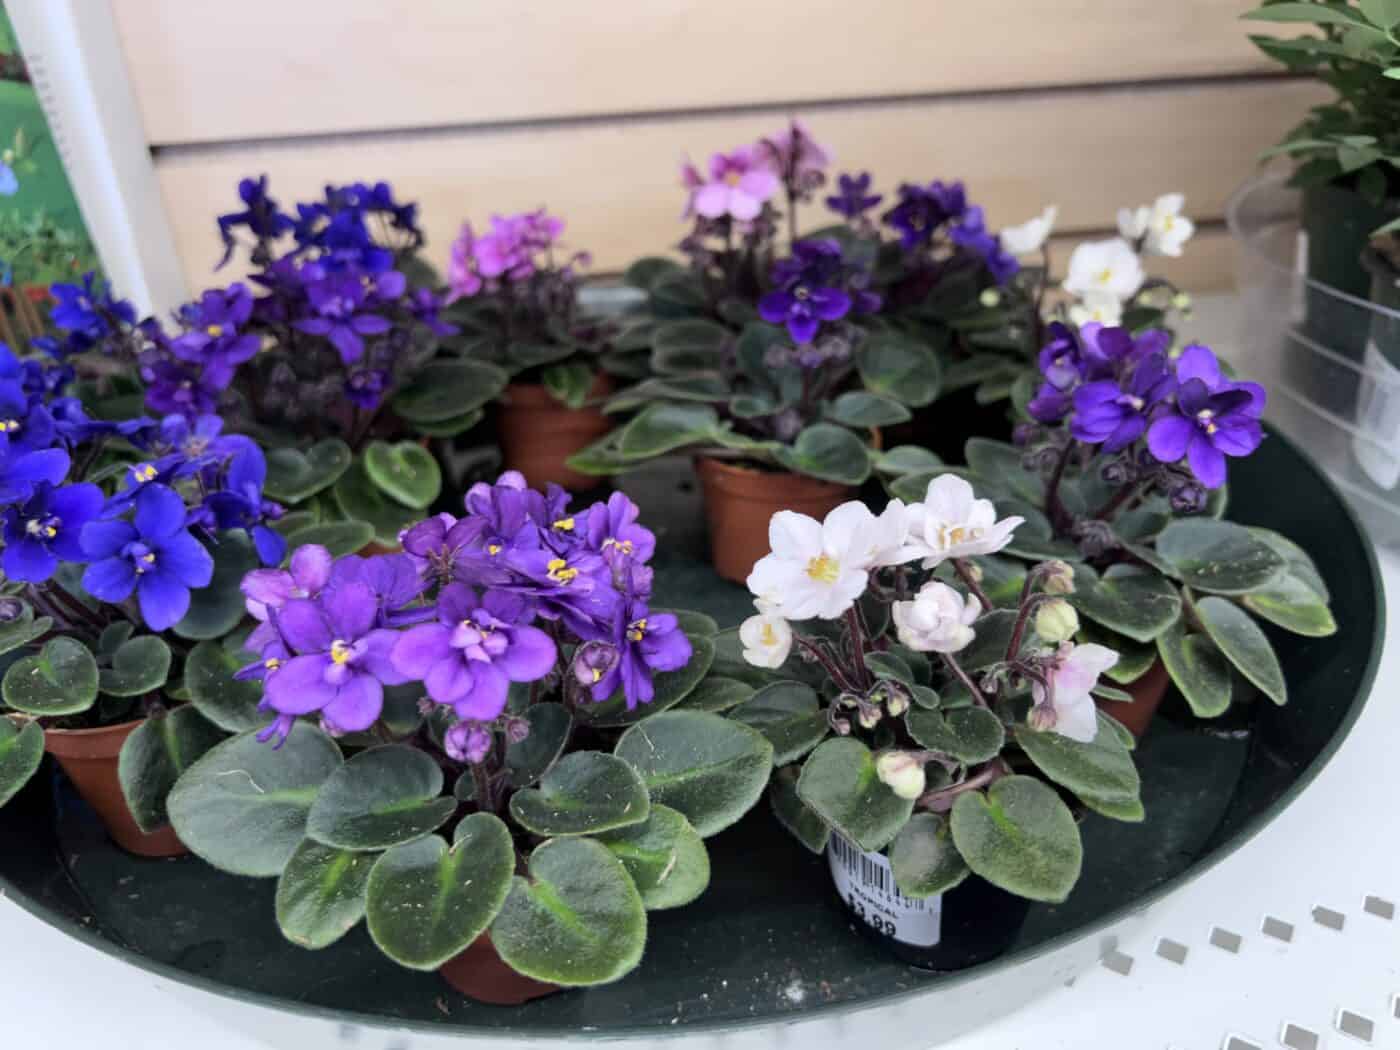
You don’t need much to repot your African Violets. Once you have the right soil mix, the only other essential item is a new pot.
The size of the pot is incredibly important. It should be slightly bigger than the previous pot to make space for new growth, but also small enough for the leaves to rest on the edges, keeping them off the soil line. Any material is suitable for these plants, but terra cotta does help wick away any excess moisture and really makes the flowers pop.
It will also help to have a sharp pair of pruning shears on hand to trim any damaged leaves and roots. Clean your shears before use to stop any transfer of harmful bacteria to your African Violet.
Repotting African violets: A beginner-friendly guide
Once you’ve got everything you need, it’s time to repot. When repotting indoors, lay some newspaper down before you start to make cleaning easier.
Squeeze the sides of the existing container to loosen the soil and release it from the sides of the pot. If you’ve planted it in a rigid container, run a sharp knife along the edges and turn the pot on its side to gently lift it out.
Trim off any flowers and damaged and fading leaves to direct the plant’s energy toward recovery and new root growth. Don’t remove more than one-third to one-half of the leaves (depending on the size of the plant) to prevent shock.
If the roots are very long and tangled, you can trim off the bottom third at the same time. This will make space for new growth and will create balance after removing several leaves from the top half of the plant.
Fill your new pot slightly with your prepared soil mix. Lower the plant into the pot, holding it so the soil line is just below the rim of the pot. Then, fill in any gaps around the roots with more soil mix until the new soil meets where the old soil was previously. Don’t bury the plant too deeply as this can lead to rotting in the main stem.
Press down around the base gently to anchor the plant in place without compacting the soil too much. Water well and move your plant back to its previous home to recover. If the plant starts to wilt and appear stressed, use a glass or plastic bag to raise the humidity around the pot and encourage new root growth.