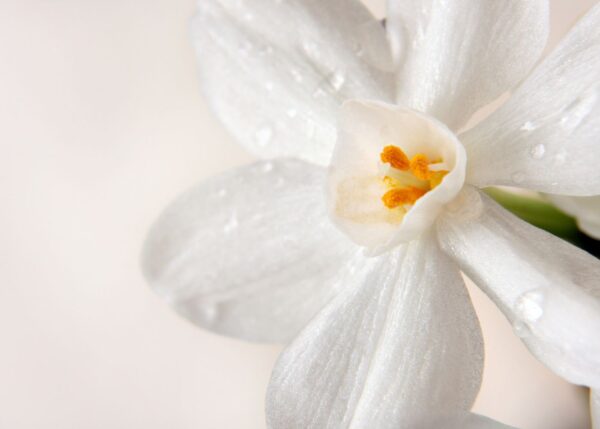
Forcing Paperwhites is one of the most popular indoor gardening projects for the winter. This pretty windowsill plant is also one of the easiest flowering bulbs to grow indoors.
Forcing paperwhites is the process of coaxing these tender bulbs (Narcissus papyraceus) to bloom indoors months before they would naturally bloom in outdoor gardens. Forcing paperwhites is generally done in potting soil or in water alone. Paperwhites are among the most popular flowering bulbs to force as they live naturally in warm climates and don’t require a long chilling period before blooming.
Read on to learn all about forcing paperwhites!
The basics to forcing paperwhites
Forcing paperwhites is as easy as planting the bulbs in some moist potting mix or a bit of water and waiting for them to sprout. These plants are incredibly low-maintenance and reliable, making the process of indoor bulb forcing a great wintertime activity for experienced gardeners and beginners alike. Paperwhite flowers are considered the easiest type of flower bulb to force.
Forcing Paperwhites is a method of planting the bulbs indoors so that they bloom in the winter rather than their natural blooming period in the springtime. While Paperwhites can only be grown outdoors in very warm climates (typically Zones 8-11), paperwhite plants can be forced indoors in any part of the world. And because these bulbs are naturally accustomed to warm temperatures, they don’t need to be chilled for weeks on end like most other flowering bulbs being forced to bloom early.
Paperwhites are usually forced in the fall or winter. Paperwhites planted in October may take 6-8 weeks to bloom, while bulbs that have been in storage for many months generally bloom much quicker. For instance, Paperwhites planted in January-February can bloom in as little as 2-4 weeks after planting! Paperwhites forced for Christmas decor are generally planted in mid-late November around Thanksgiving.
Paperwhites can be forced in water or in potting soil. Forcing them in water is very easy and avoids the mess of dealing with potting mix indoors. You also get to watch the roots grow down into the water reservoir below the bulb as the plant grows. Forcing Paperwhites in potting soil is also very easy as the only maintenance is to water the potted plant when the soil becomes dry. Both methods work well and are reliable indoor gardening projects for beginners.
Forcing paperwhites in water
Forcing paperwhites in water is one of the most popular winter gardening projects for home gardeners and plant lovers. The process involves filling the bottom of a vase with water, suspending the bulb over top of the water surface, and letting the roots grow down into the water. No soil is required, and the bulbs bloom happily as long as the roots have access to water.
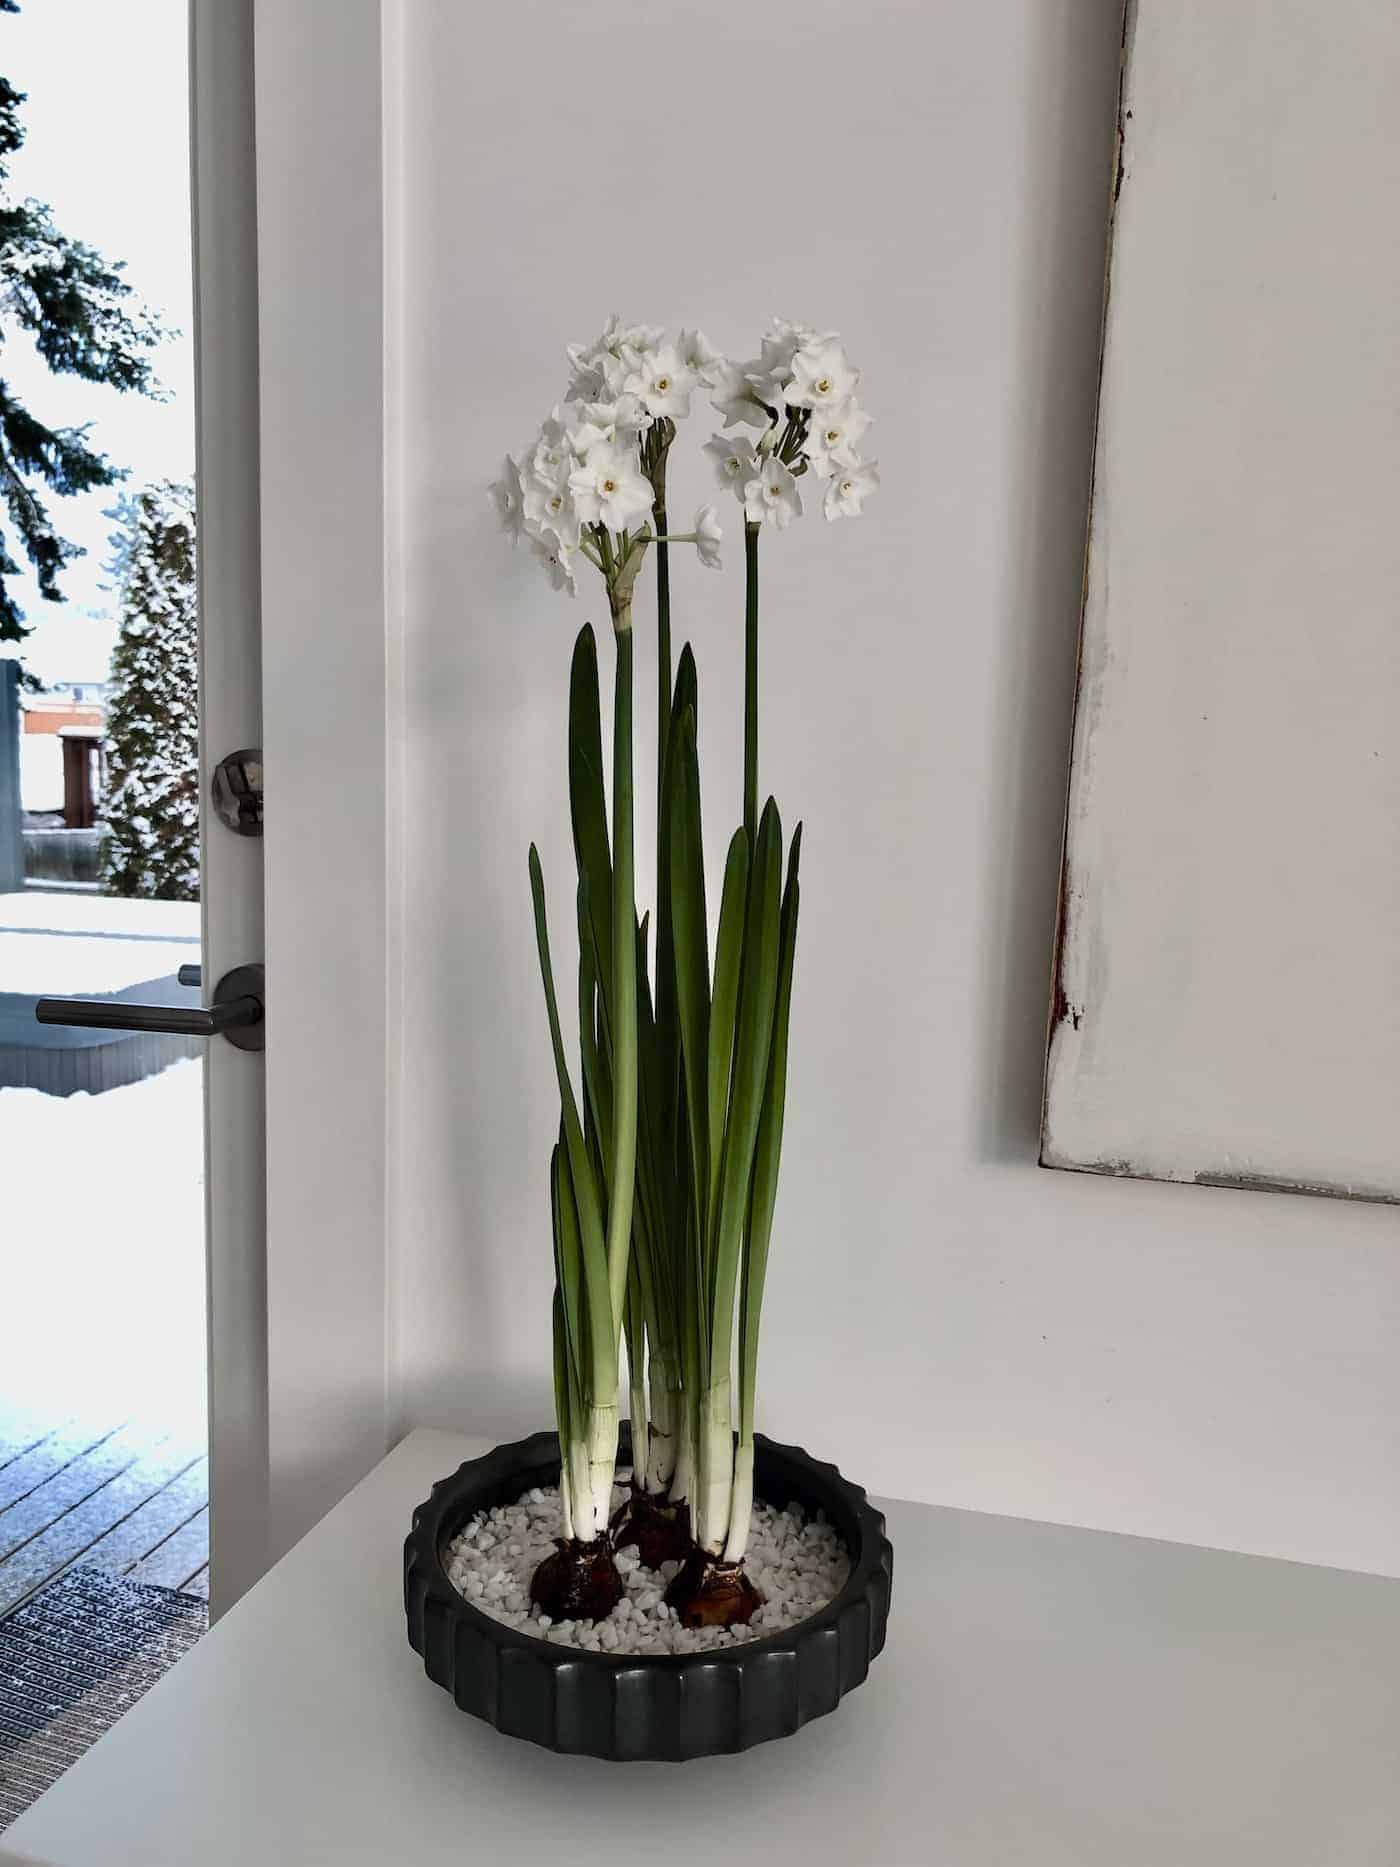
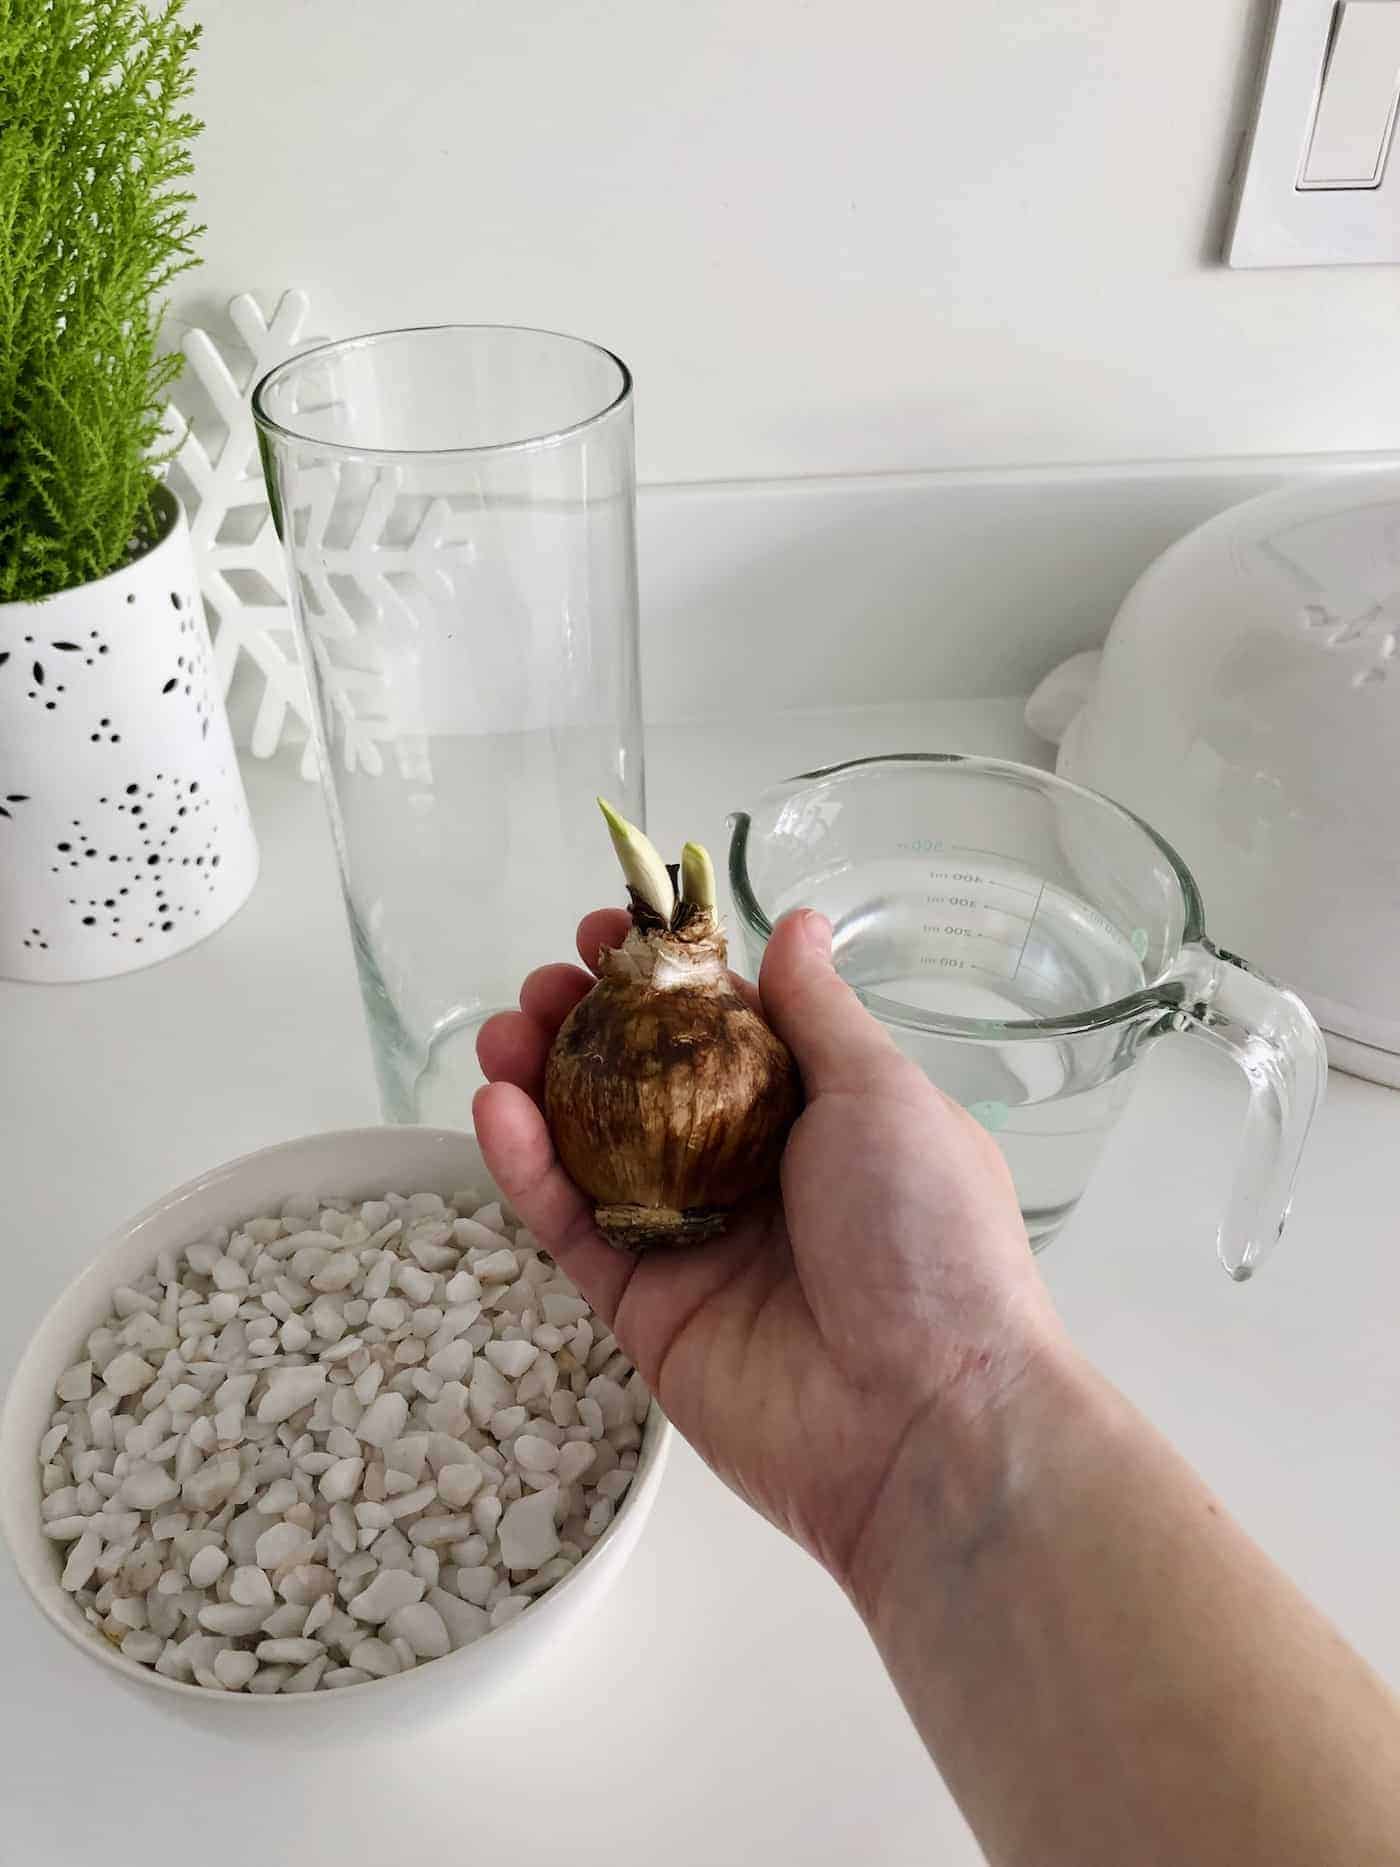
To force paperwhite bulbs in water, choose either an hourglass-shaped bulb vase or use a regular vase with some pretty sea pebbles or a decorative glass vase filler at the bottom. Most bulb vases have a reservoir that’s 2″-4″ deep, while regular vases are typically filled with 2″-4″ of pebbles/rocks.
Fill the vase up with water, either to the narrow point in the bulb vase or just to the top of the pebbles in a regular vase or dish. Place the bulb into the vase. Only the very bottom of the bulb should be touching the surface of the water. If a significant portion of the bulb is submerged, it may rot. If using pebbles, add a few more around the sides of the bulb to hold it upright. Once the roots are growing down into the water, lower the water level so that the bulb is not touching it (only the roots are going down into the water).
Forcing paperwhites in soil
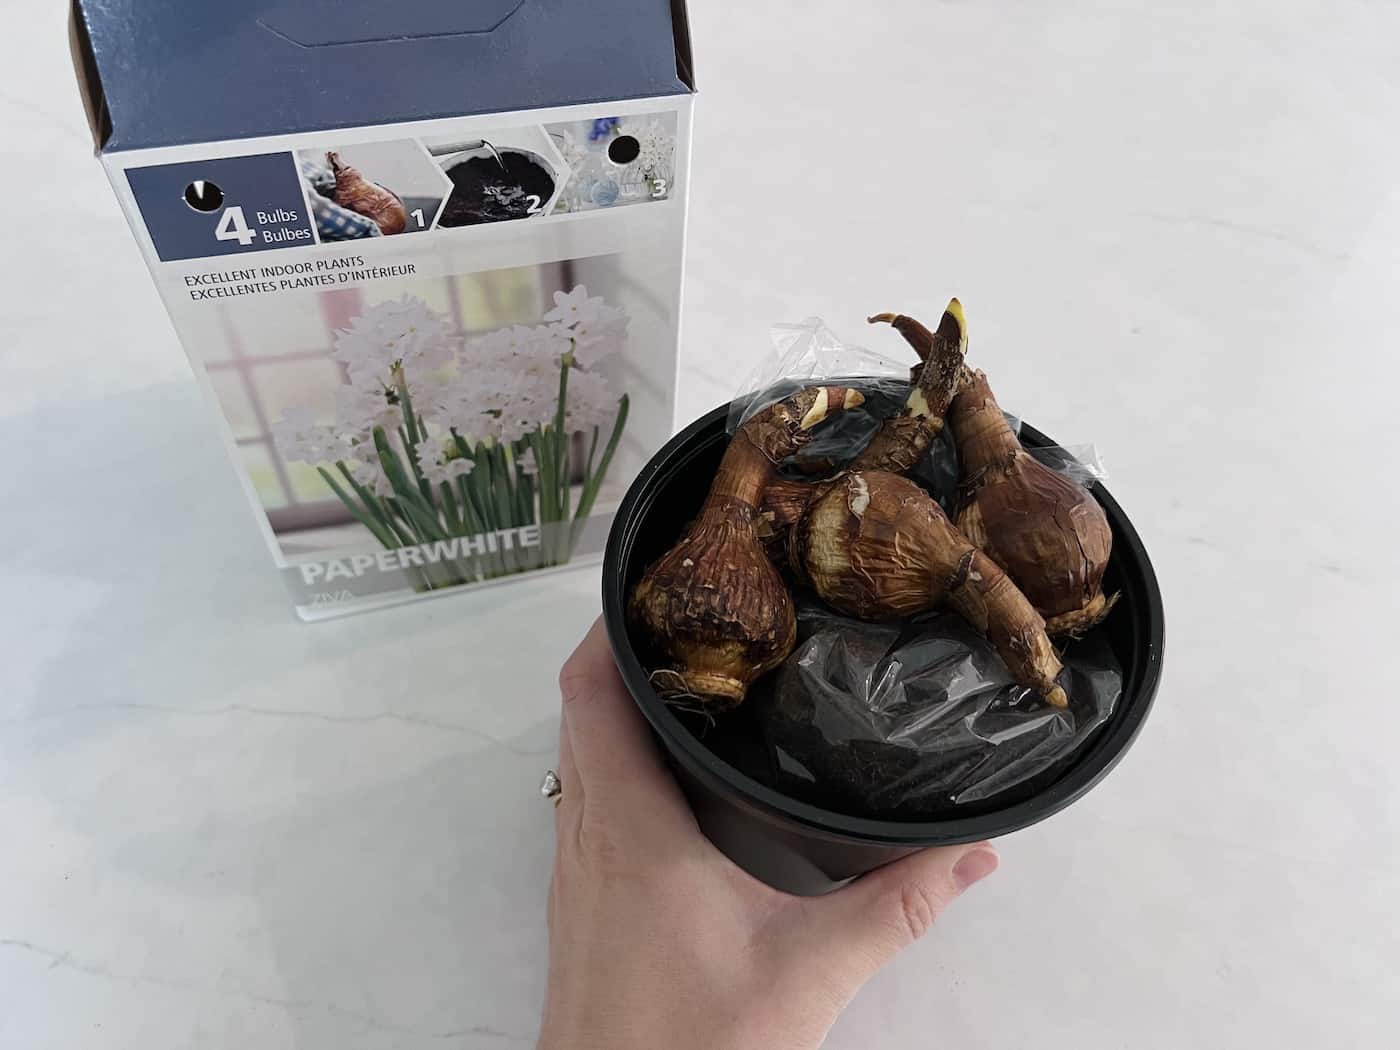
Forcing Paperwhites in the soil is a wonderful indoor gardening project. Many Paperwhite kits include potting mix, but you can also use potting soil that you already have around the house.
Start by moistening the potting mix so it’s not overly fluffy and dusty. Choose a planting container with drainage holes at the bottom. You can use any planter, but it does not need to be very tall. Fill the bottom of the planter with the potting mix. Leave about 2″ of space at the top.
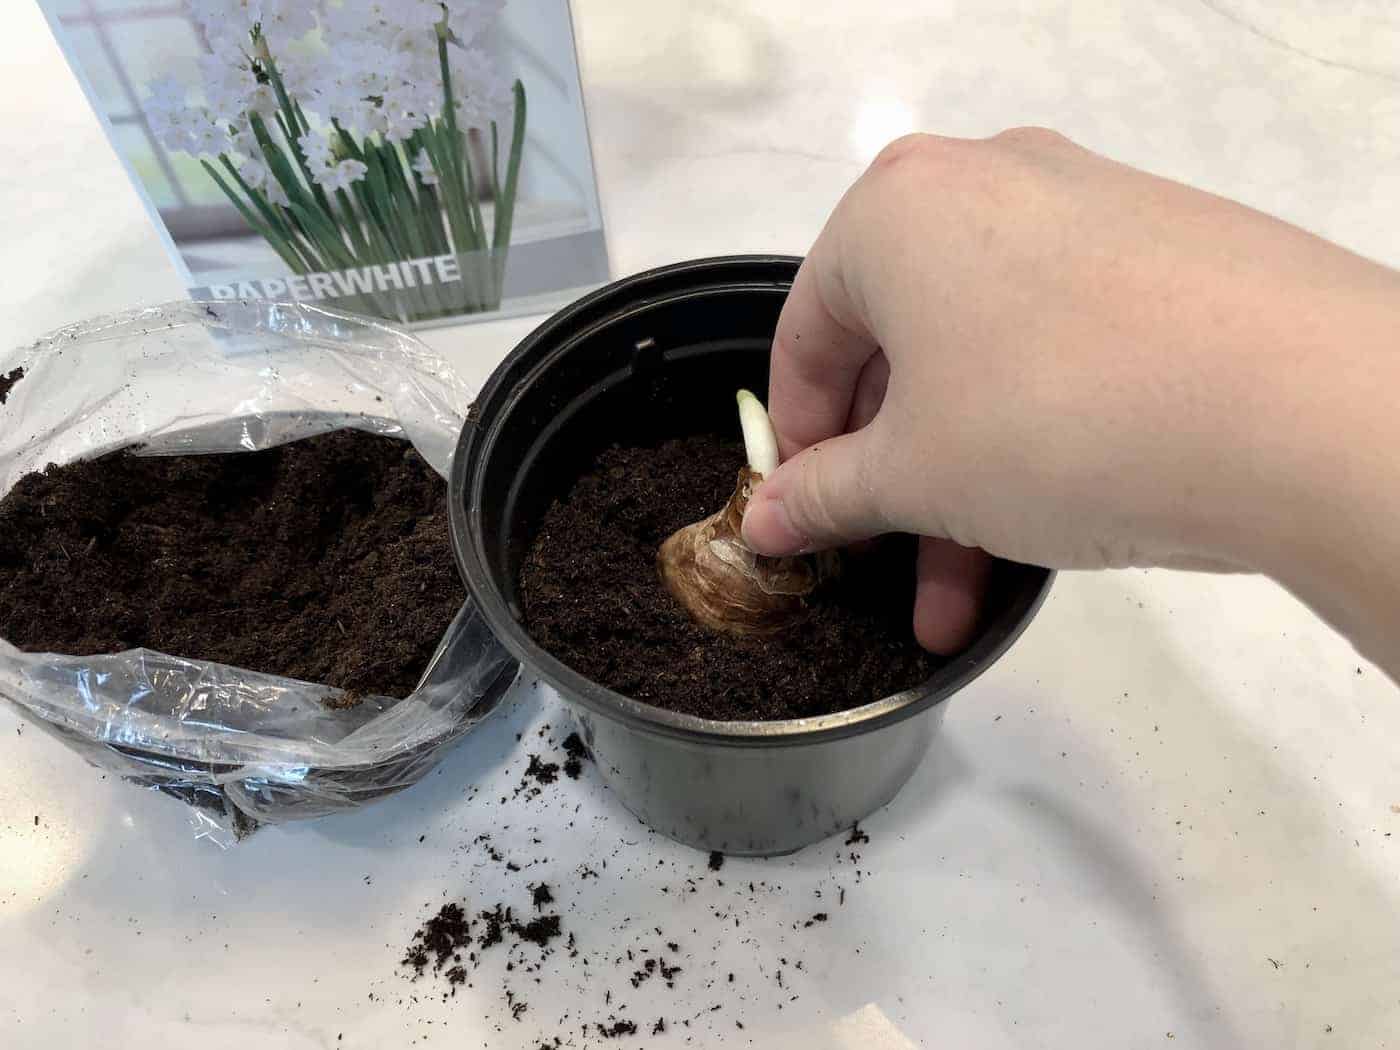
Place the Paperwhite bulb on top of the potting soil with the pointy end up. Add potting mix around the sides to hold the bulb in place. Add enough potting mix so that the bulb is mostly covered but the tip is sticking up through the potting soil. There may be a green stem already visible coming out of the bulb at planting time. Don’t worry if it is curved from having sprouted before planting, the stem will straighten out as it grows.
Water the planted bulb thoroughly. Check to make sure excess water is draining out of the holes at the bottom of the planter. Once the excess water has drained off, place the planter in a cool indoor spot for a week or two to sprout. Once shoots and roots are visible, move the planter to the brightest windowsill available or put it under a plant light.
Caring for forced Paperwhites indoors
Caring for forced Paperwhites indoors is quite easy. While these bulbs certainly have temperature and light preferences like any plant, they are very forgiving and tend to sprout and bloom all on their own without much help from the gardener. That said, here are a few care tips for forced paperwhites growing indoors.
When the bulbs are first planted, they sprout best in cooler indoor temperatures in a spot that’s out of direct sunlight. The ideal temperature range is 50°-60°F (10°-16°C), but anything under 70°F (21°C) will do. Paperwhites can be moved to a warmer spot near a sunny window as soon as the roots and stems start to grow. Its easiest to see the root development in paperwhites grown in water, but you can just give the plants a little tug if they’re grown in soil to see if the roots are starting to grow and put up a bit of resistance.
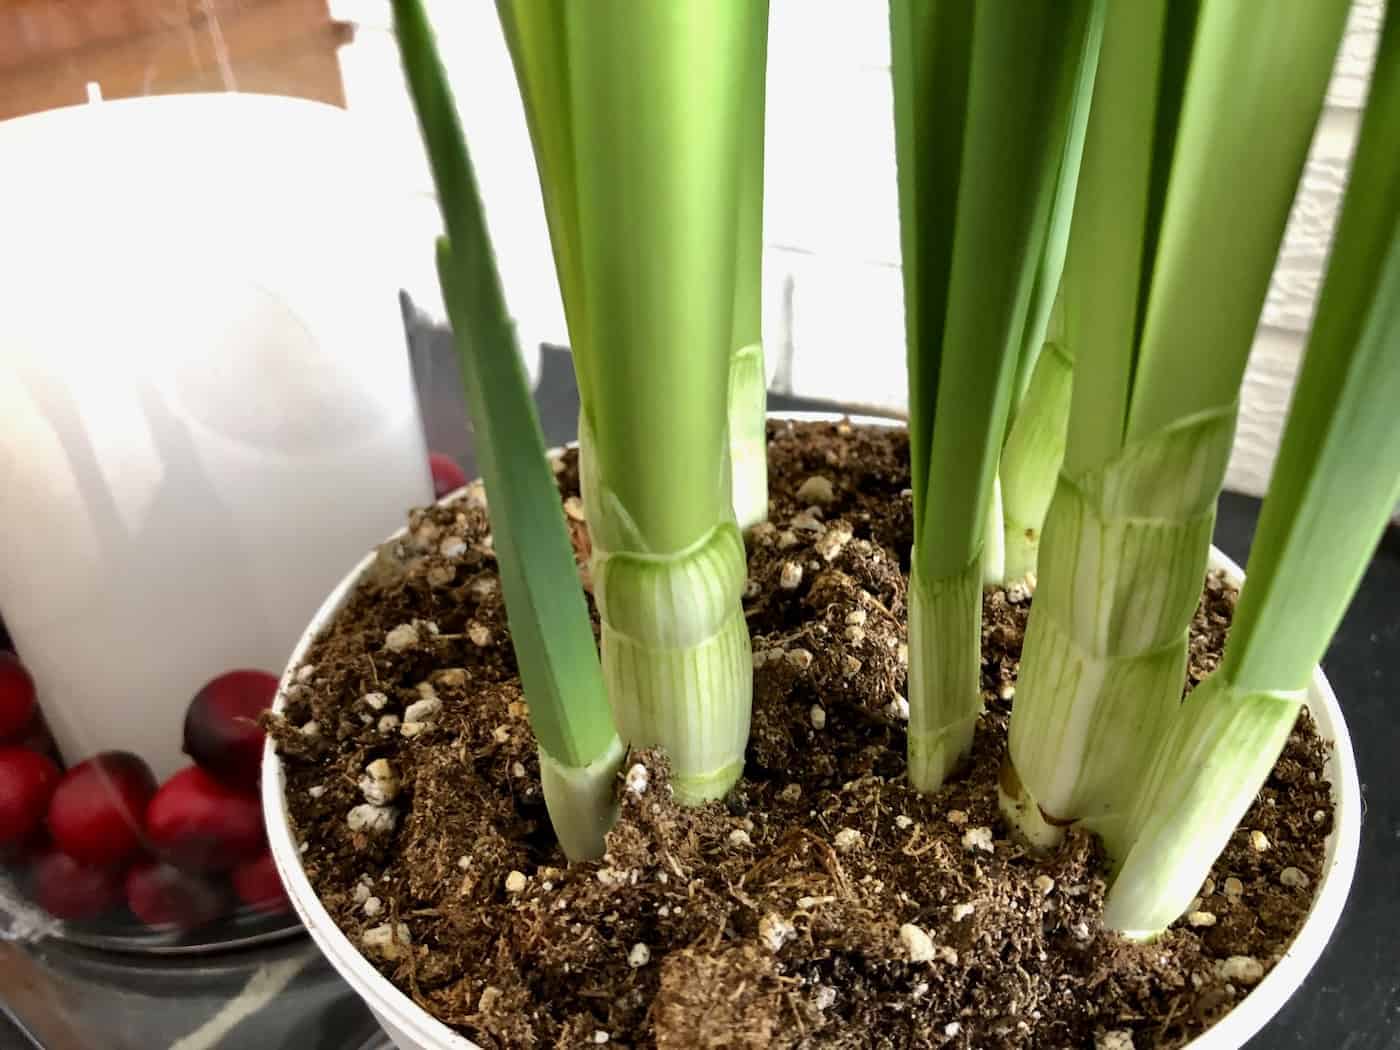
While growing Paperwhites are tolerant of warmth, try to keep them somewhere where they’ll remain below 70°F (21°C), as the plants can become quite leggy in warm temperatures. Paperwhites forced in cooler temperatures (60°-65°F,16°-18°C) tend to grow stronger, stockier stems. This is important, as one of the most common complaints about forcing Paperwhites is that they tend to fall over.
Other important care measures to stop Paperwhites from getting leggy include ensuring they have bright light as the stems and foliage growth. If growing beside a window, rotate the planter regularly so the foliage doesn’t start to bend toward the light. You can also “pickle” your forced Paperwhites with a dilute alcohol solution to shorten the mature plants (see instructions below). If the plants are already tall and leggy, use small sticks to support them or tie a ribbon collar around the plants.
Ensure the base of the bulbs is moist as the roots start to form. Paperwhite bulbs planted in water alone should barely touch the surface of the water. Once the roots are growing downwards, the water level should be lowered to below the bulb itself, with only the roots dangling into the water. Paperwhites growing in the potting mix should be watered whenever the top inch of soil becomes dry.
“Pickling” Paperwhites to make them shorter
Plant the bulbs with plain clean water. Once the green stem is 1″-2″ tall (usually after 1-2 weeks), empty out the plain water and replace it with a dilute alcohol solution. This is easiest if the Paperwhites are planted in water alone or in pebbles.
Make the dilute alcohol solution with rubbing alcohol or clear liquor spirits (such as vodka or gin). The solution should be approximately 5% alcohol. If using a 40%-alcohol distilled spirit, use 1 part of the spirit with 7 parts water. To make 2 cups of solution, mix 1 ¾ cups of water with ¼ cup of 40% liquor. Do not use sugar-containing alcohols like beer or wine, and do not exceed 10% alcohol in the solution (source: Cornell University).
What to do with forced Paperwhites after they bloom?
Forced Paperwhites are generally discarded after they bloom. The whole plant is compostable (cut the stems and leaves up a bit before adding them to the compost). Forced Paperwhites will not bloom again next year indoors, and can only be re-used if planted outdoors in warm climates (typically Zones 8-11). Even forced bulbs planted outdoors in warm climates after they bloom will take several years of growing to produce flowers again.
FAQs about forcing paperwhites
When should you force paperwhites?
Paperwhites are usually forced in the fall or winter. Paperwhites planted in October may take 6-8 weeks to bloom, while those planted in January-February can bloom in as little as 2-4 weeks after planting.
How long do paperwhites take to force?
It takes either 2-4 weeks or 6-8 weeks to force paperwhites to bloom, depending on when you plant them. The longer the bulbs have been in storage, the quicker they bloom.
How do I force my paperwhites for Christmas?
Paperwhites forced for Christmas decor are generally planted in mid-late November around Thanksgiving.
What do you do with paperwhite bulbs after being forced?
Forced Paperwhites are generally composted after they bloom.
References
- Pickling Your Paperwhites by William B. Miller at Cornell University