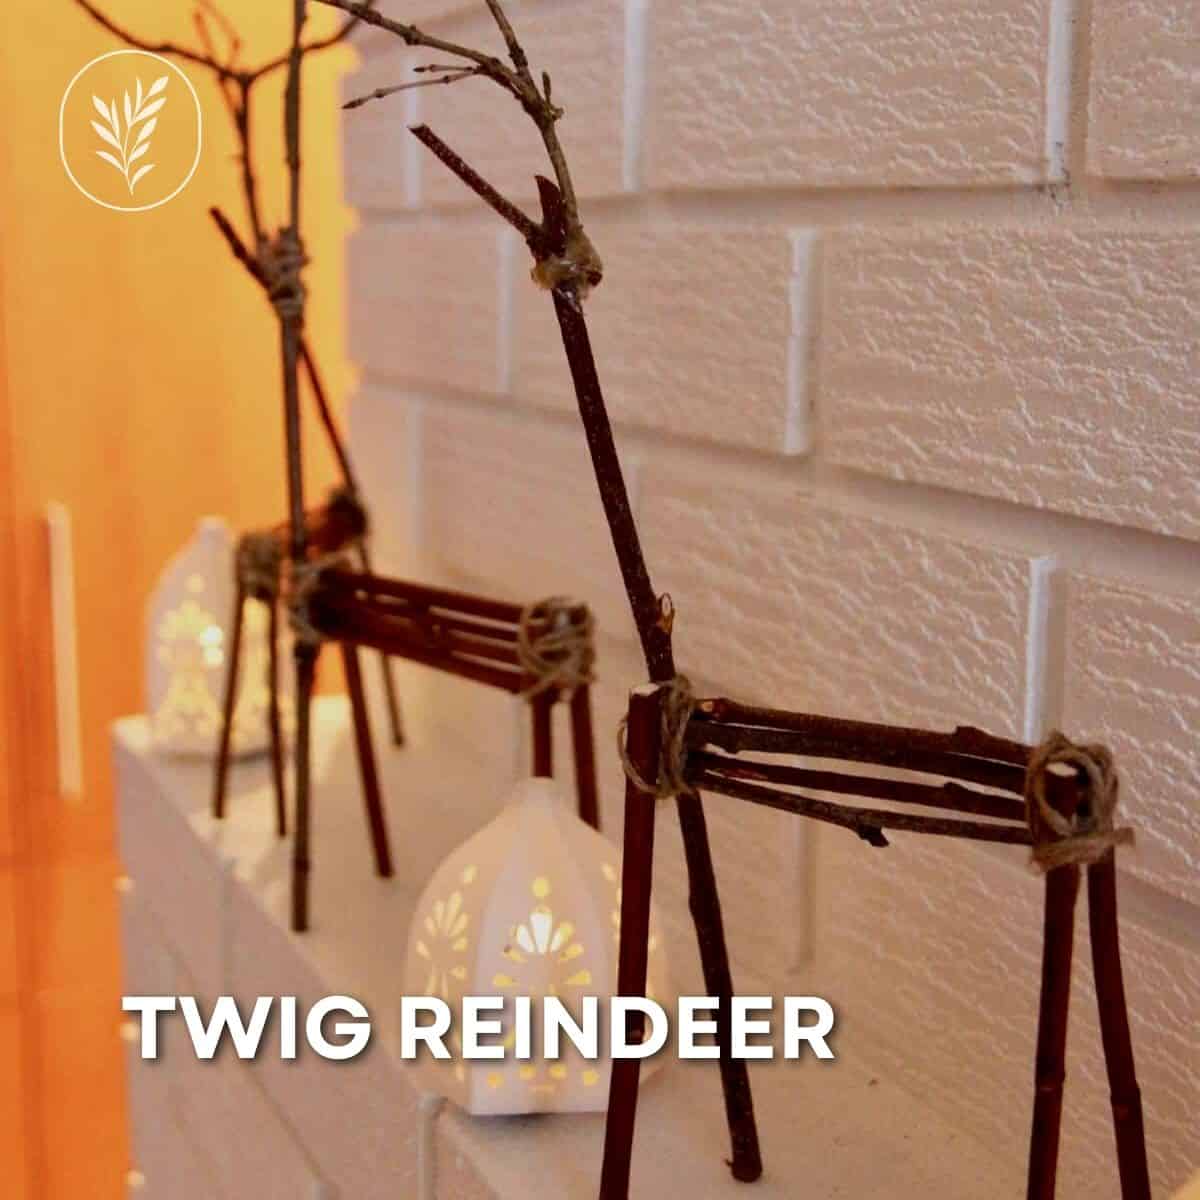

Twig reindeer are so cute! They’re definitely up there in my all-time favorite Christmas crafts. Making Christmas twig reindeer is actually pretty easy if you’ve got the right supplies. It’s a great project for a craft night or to do with your friends over coffee.

DIY twig reindeer basics
I first made these DIY reindeer when I was in high school. My friend’s mom had us over for a holiday craft afternoon, and we learned to make them. The lovely metallic twig reindeer at Pottery Barn probably inspired the twig reindeer mania. They really are quite sweet.
I’ve always made stick reindeer with hot glue because it’s easiest to work with. The twine does a good job of hiding the hot glue so it’s not too unsightly. The one not-so-great thing about twig reindeer made with hot glue is that they don’t store very well. The wooden twigs shrink as they dry and the glue has a tendency to crack off while they’re in storage.


Hot glue vs. floral wire for DIY twig reindeer
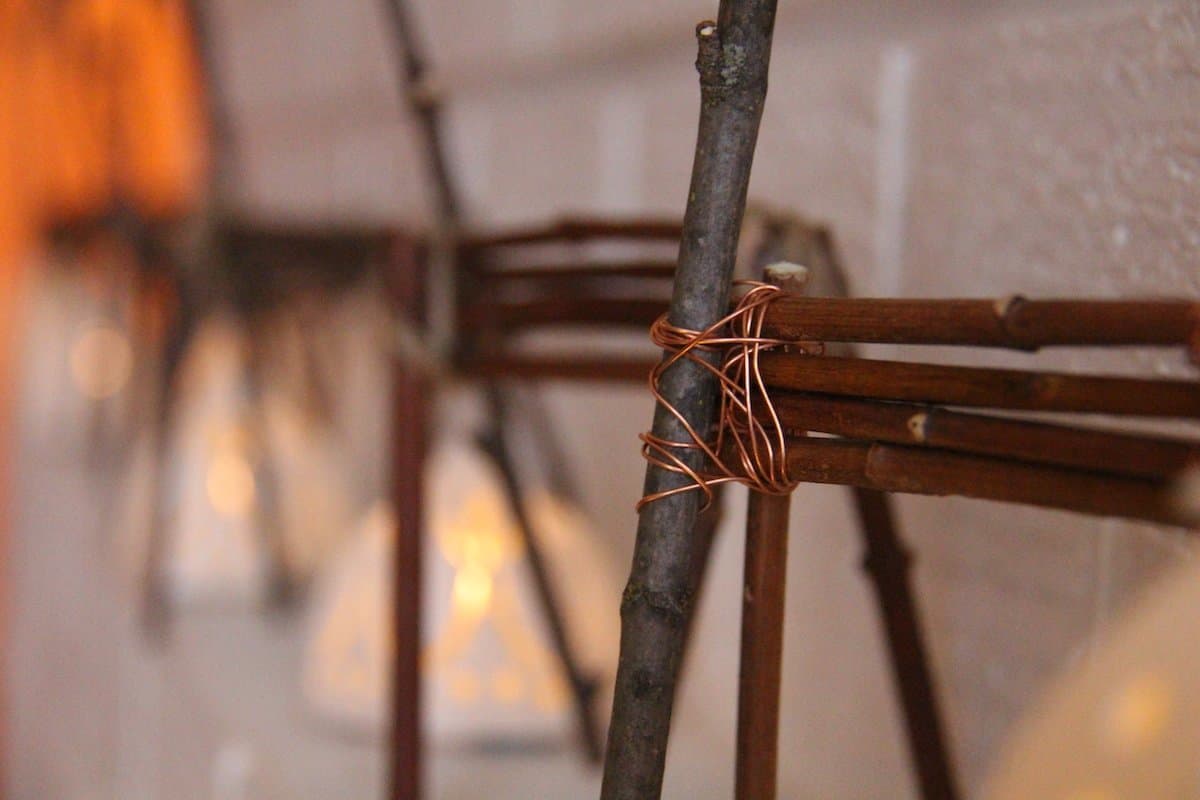
Since we use our twig reindeer as Christmas decor each year, they really do need to be able to store easily. To create easy-to-store twig reindeer, I made some with floral wire. This keeps the reindeer flexible for storage, plus the floral wire gives them a bit of metallic shine.
Both the hot glue and the floral wire Christmas twig reindeer are pretty. Choose whichever method appeals to you (or whichever supplies you can get easily!). Hot glued reindeer should be stored standing up in a spacious box/bin and repaired with more hot glue next year if they need it.

Supplies for Christmas twig reindeer
To make Christmas twig reindeer, you’ll need:
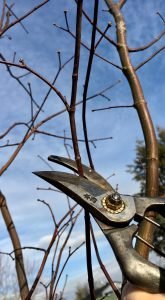
- Handheld Pruners
- Twigs
- Use twigs of a similar color and thickness to create a cohesive look.
- Get lots of straight twigs to form the body. Each reindeer requires about 1 meter (1 yard) of straight-ish twigs
- Also, get some crazy branched twigs for the antlers of each reindeer.
- Hot Glue OR Floral Wire (I used 22 gauge copper-colored wire)
- Thin Jute Twine
- Multitool
- Ruler (optional)
- Red Felted Ball (optional – for Rudolf’s nose)
- Make your own red felt ball using the same technique as these felted acorns.
- Protective Table Covering (optional, but definitely good to have with the glue…)
Get everything on hand and ready before you start this project. It will go way better for you if you’re not running around clipping more branches from the yard while you’re in the middle of gluing twigs together.
Steps for making twig reindeer
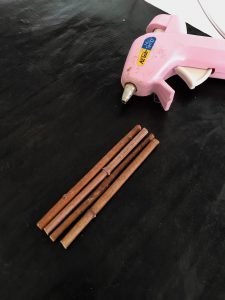
1. Collect your supplies. You’ll need a bunch of straight twigs to create the reindeer body, plus some crazier branched twigs to create the antlers. Choose twigs of a similar color and thickness if you’d like your reindeer to look cohesive.
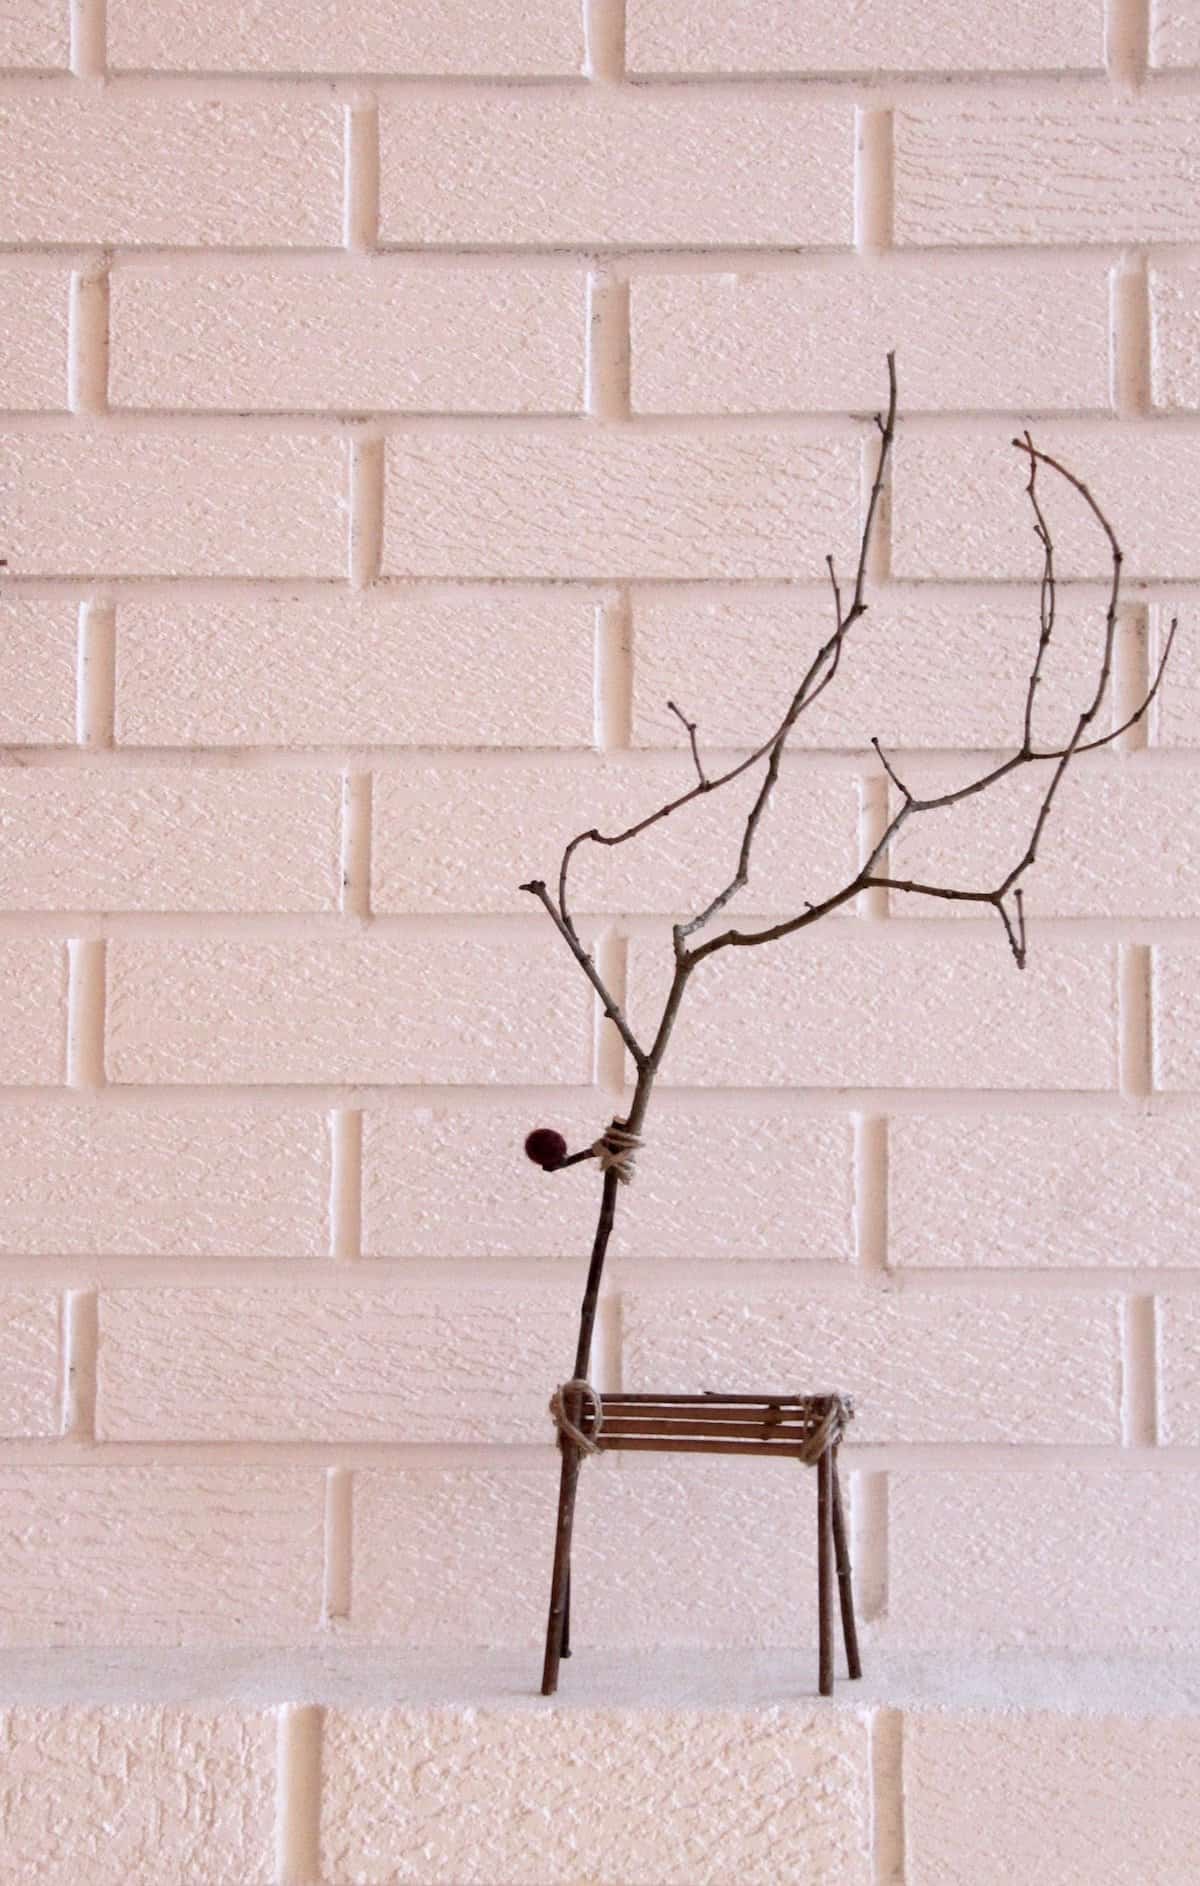
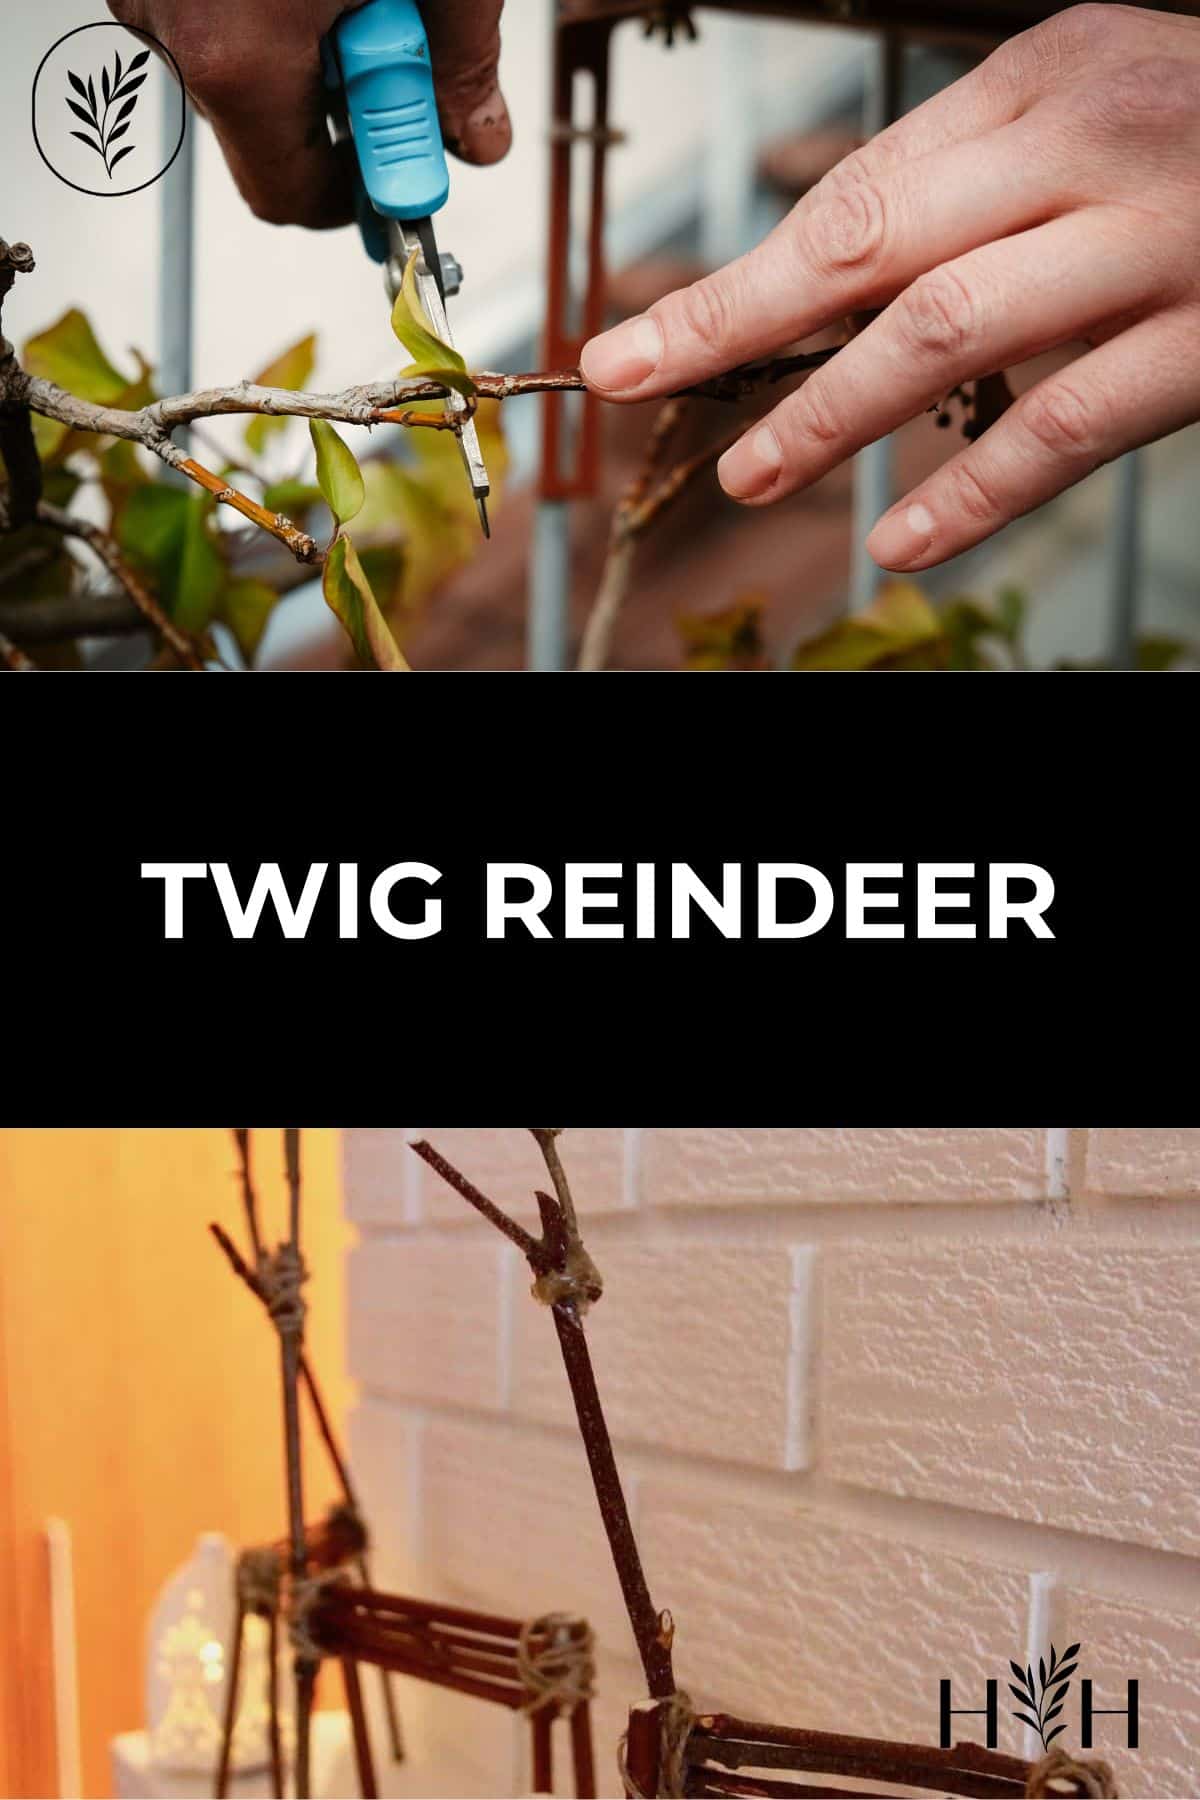
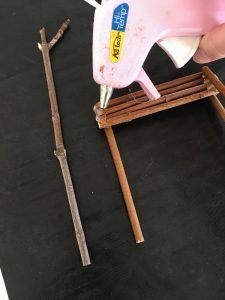
2. Create a head twig using the pruners for each reindeer you’ll be making. This twig should be straight and about 20 cm/8 inches long, although a bit of height variation amongst the group of reindeer is okay (and might look nice). At one end, leave a short branch coming off the main twig (this is the “head”). See the photo below for a before and after example.
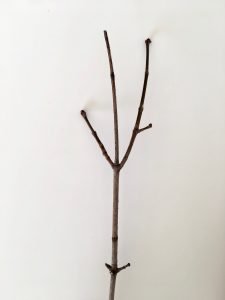

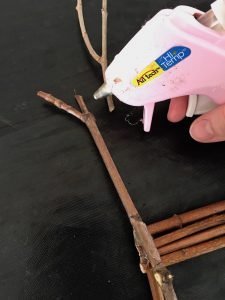
Branches pointing down will create downward-looking reindeer. Branches pointing up (as pictured above) will create upward-looking reindeer. A mix of the two is nice.
3. Trim the straight twigs into pieces. Each piece should be about 10 cm/4-inch long. These will be used to make the body and three of the reindeer legs. Each reindeer will require 7 small straight twigs.
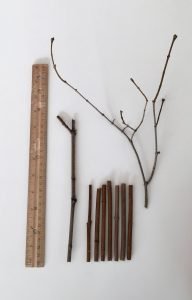
4. Select some branched pieces to act as the antlers for each reindeer you’ll be making.
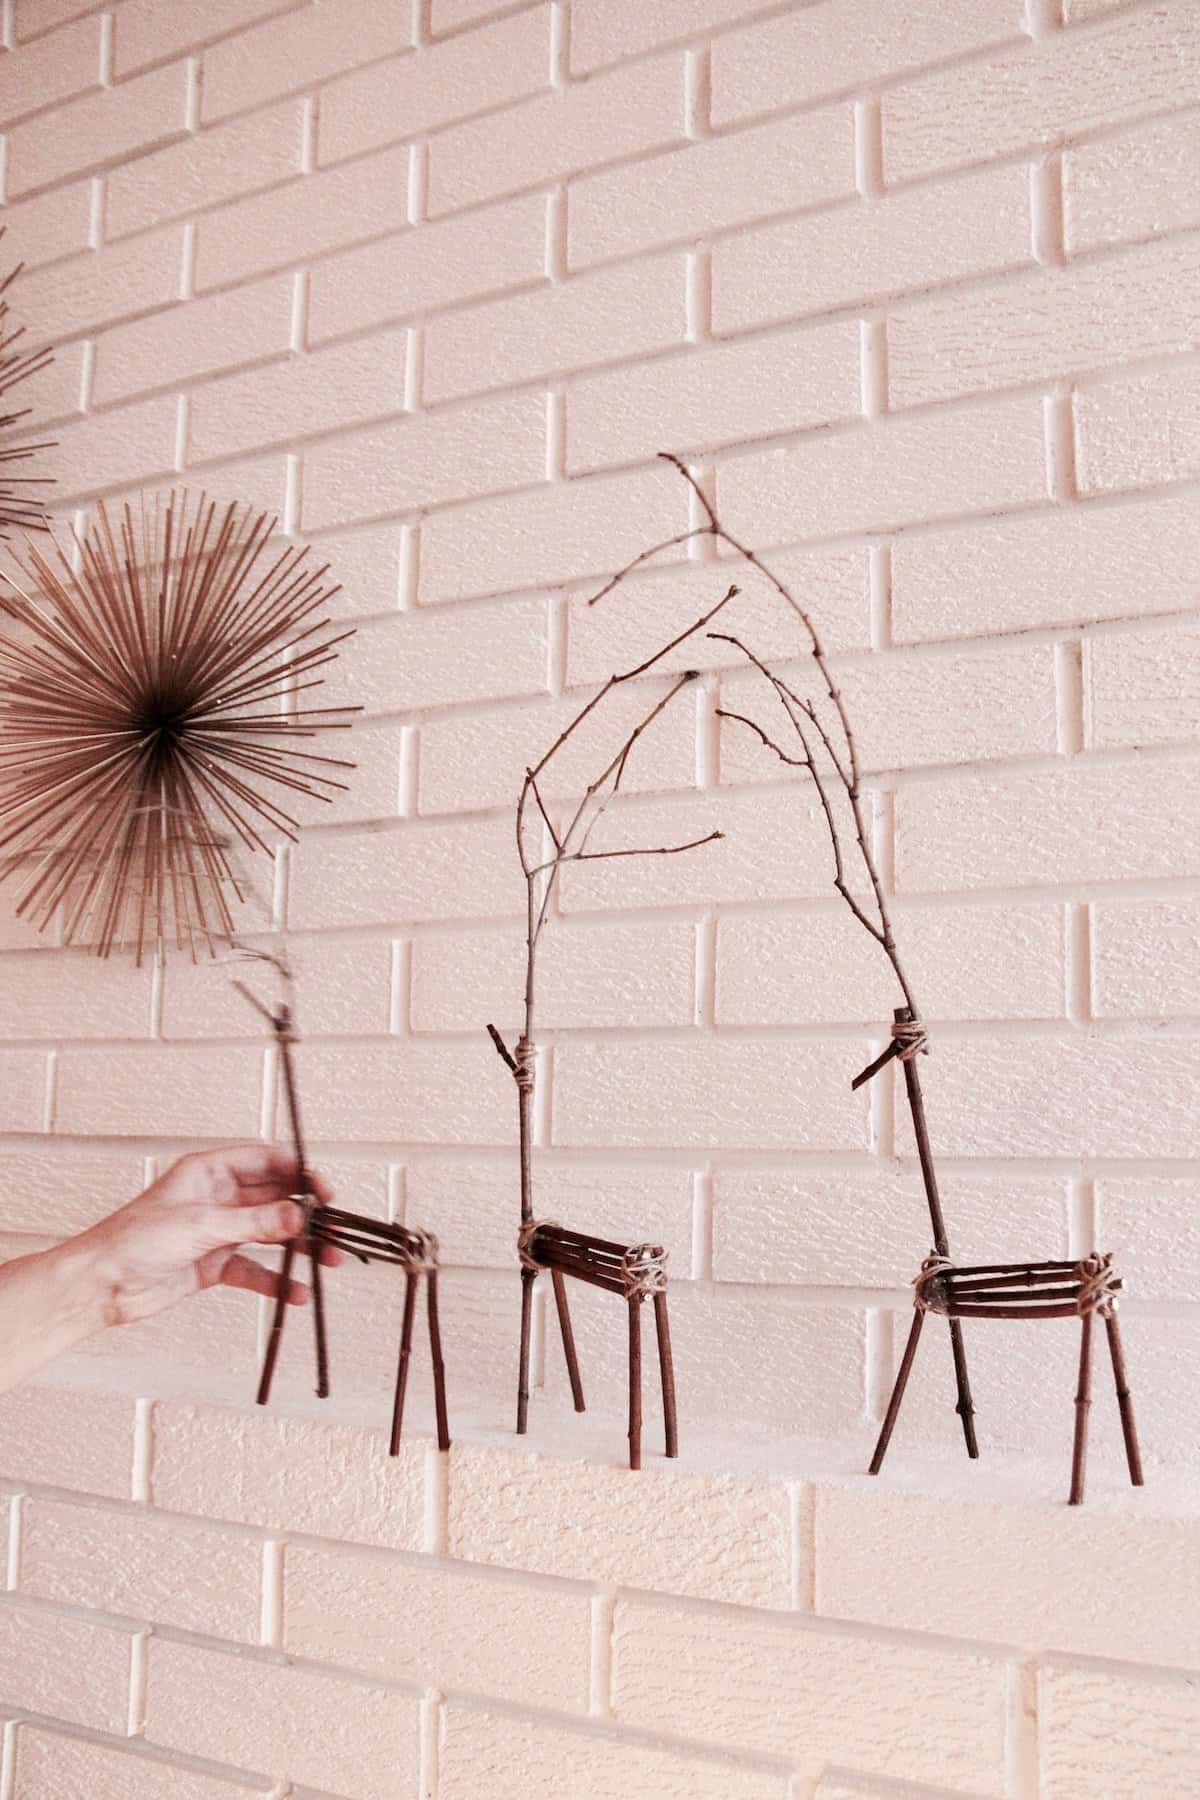
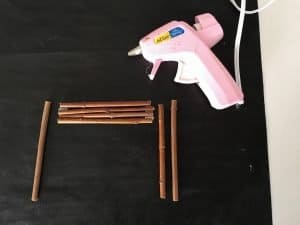
5. Lay out each reindeer by grouping the twigs for each reindeer together. See the photo below.

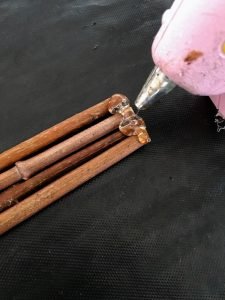
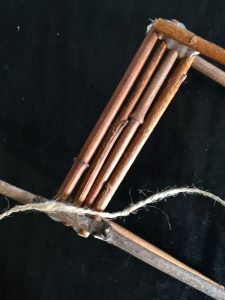
6. For the first reindeer, start by using hot glue or wire to attach four of the 10 cm/4-inch long pieces together to create the main body. If using glue, wait for it to dry before moving to the next step. For the wire, I found that 30 cm lengths (one foot) of wire worked well.


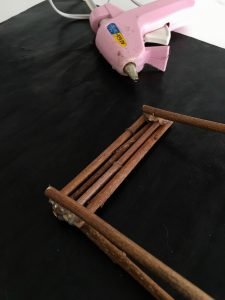
7. Glue or use wire to attach three legs (more than 10 cm/4-inch long pieces) to the body. Try to make the legs roughly the same length so they will stand easily.
8. Attach the head twig to the body. The bottom part of the head twig acts as the fourth leg. It’s helpful to prop the reindeer so it’s standing up while you attach the fourth leg to ensure the reindeer can stand properly.
9. Attach the branched antlers to the top of the head twig using hot glue or wire.

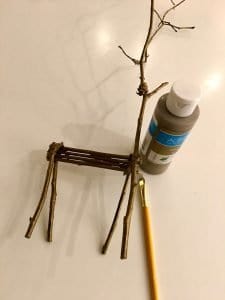
10. Cover glue that is showing with twine (optional). You may need more hot glue to hold onto the twine. Alternatively, you could paint or spray paint the reindeer (try metallic gold or silver or try painting them black or white). Sparkle can be added with glitter too!
11. Glue on the optional red felt nose.
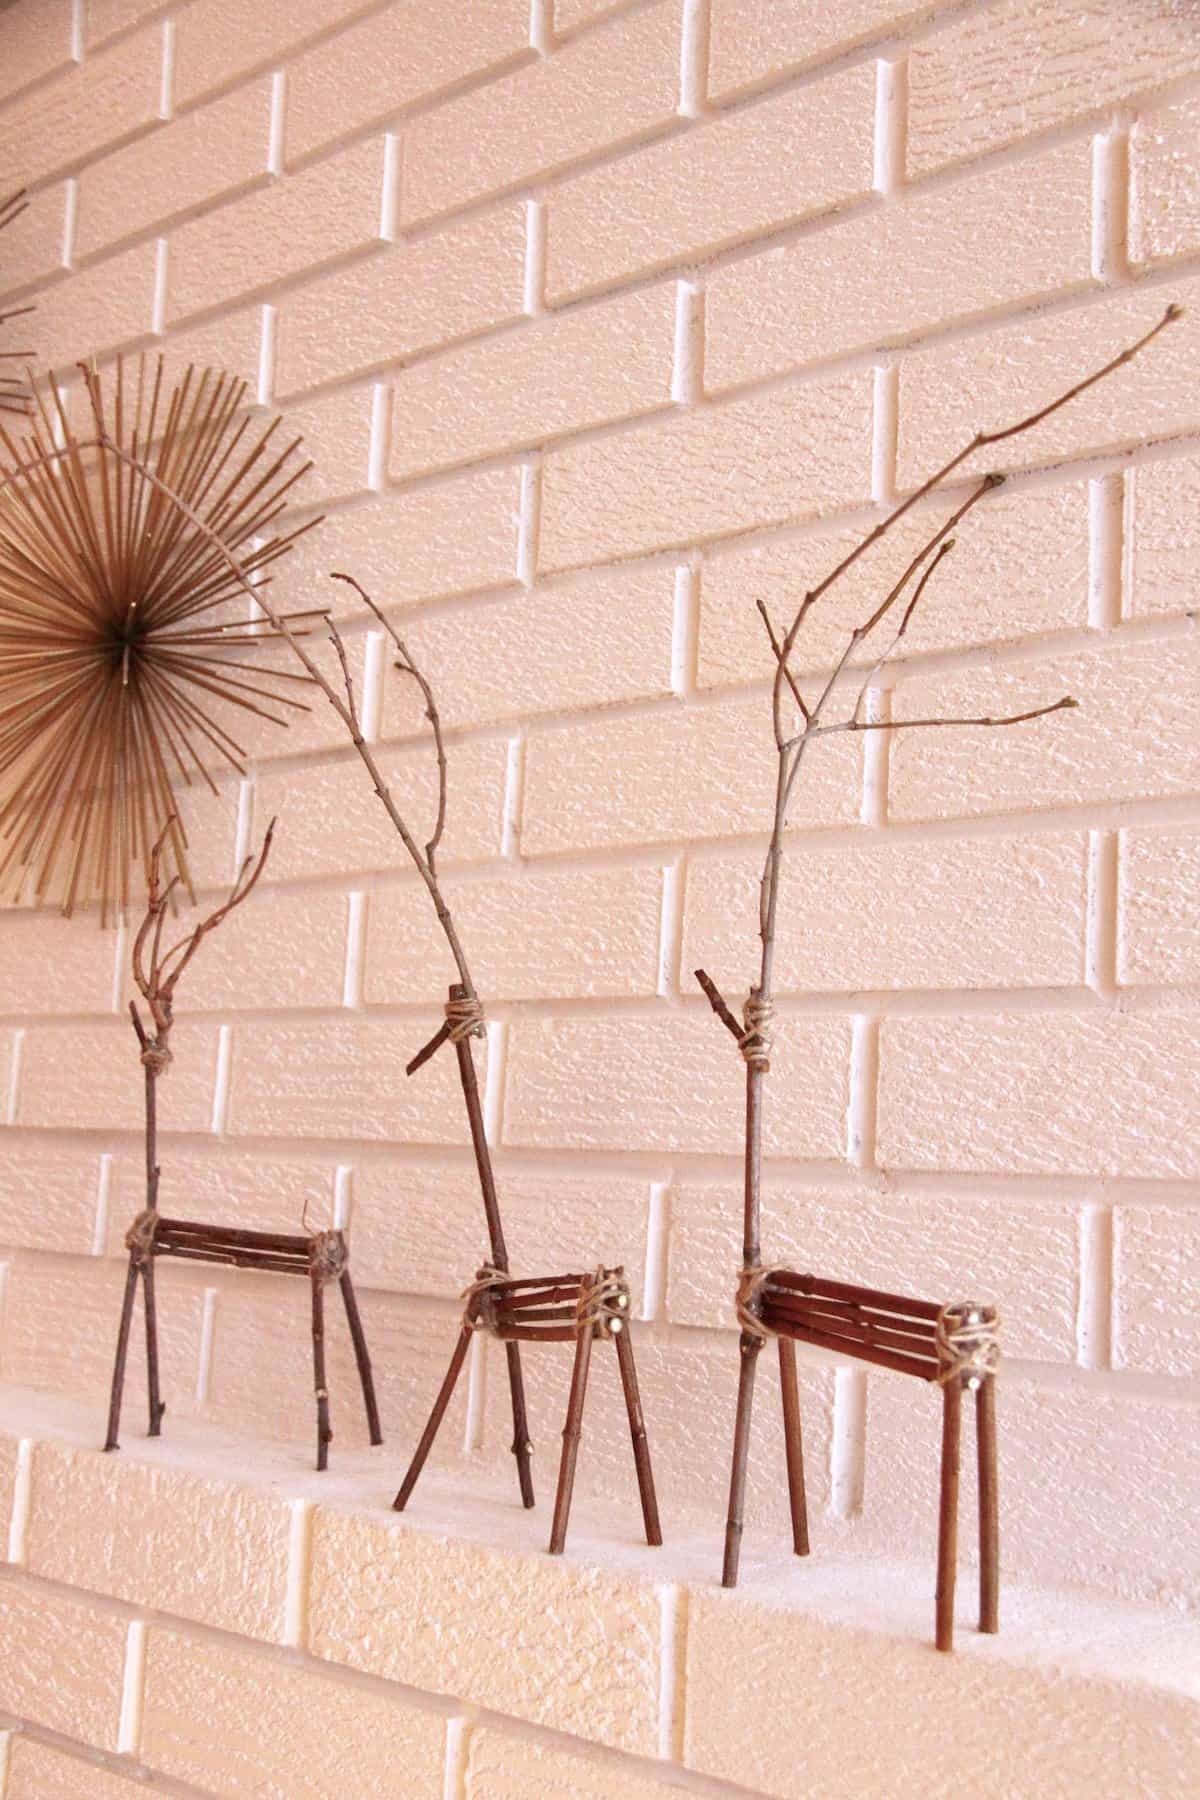
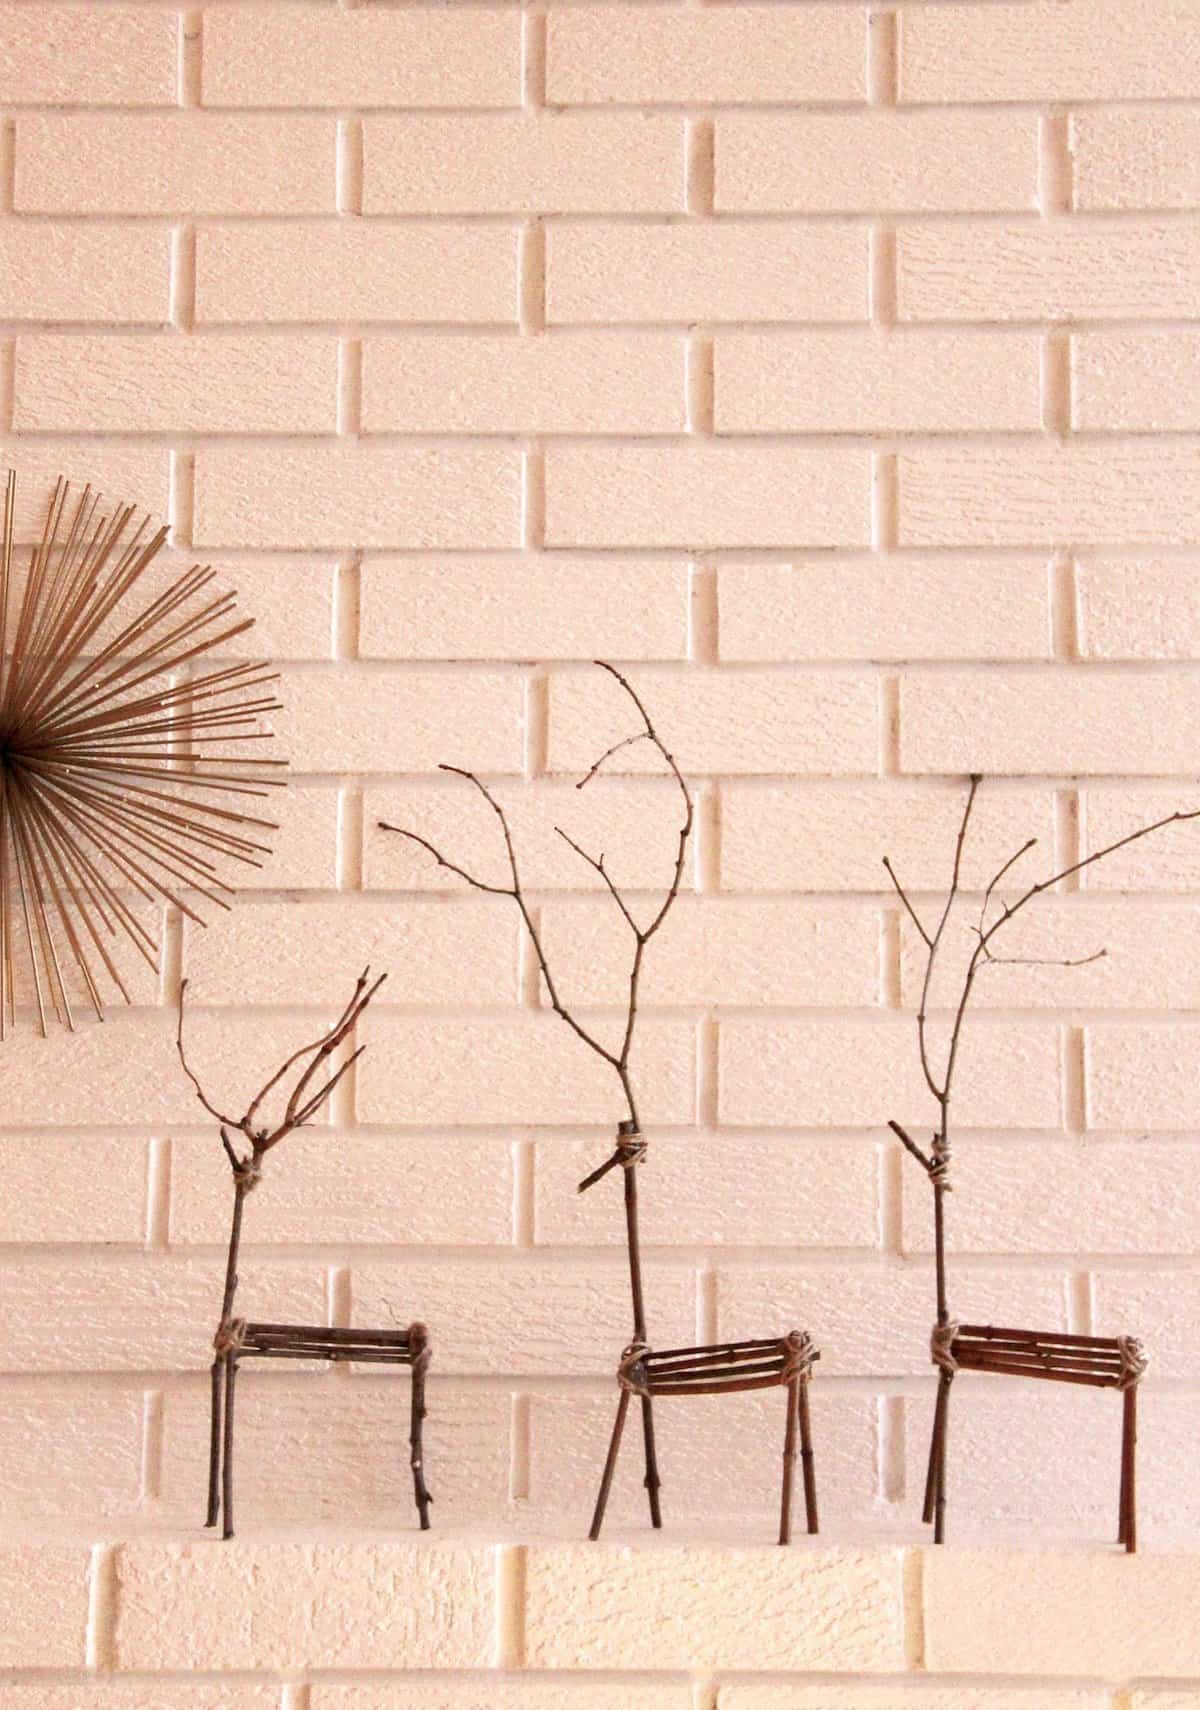
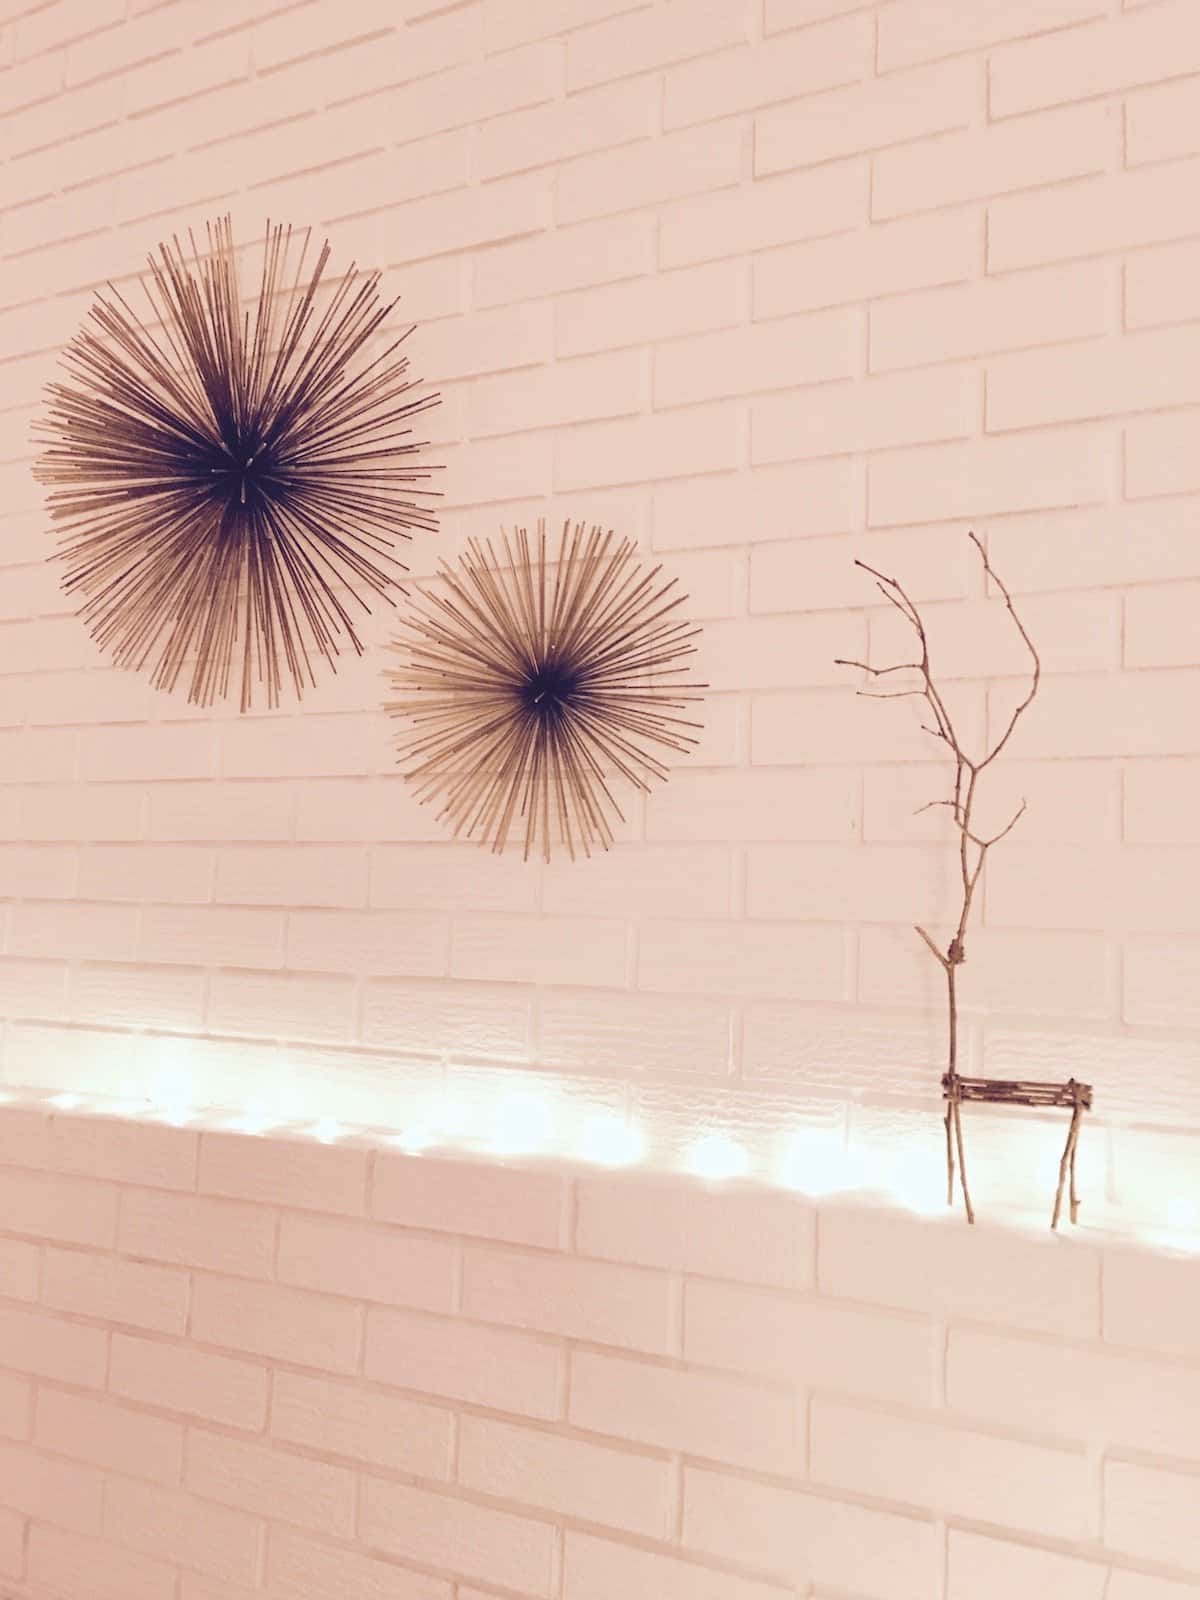
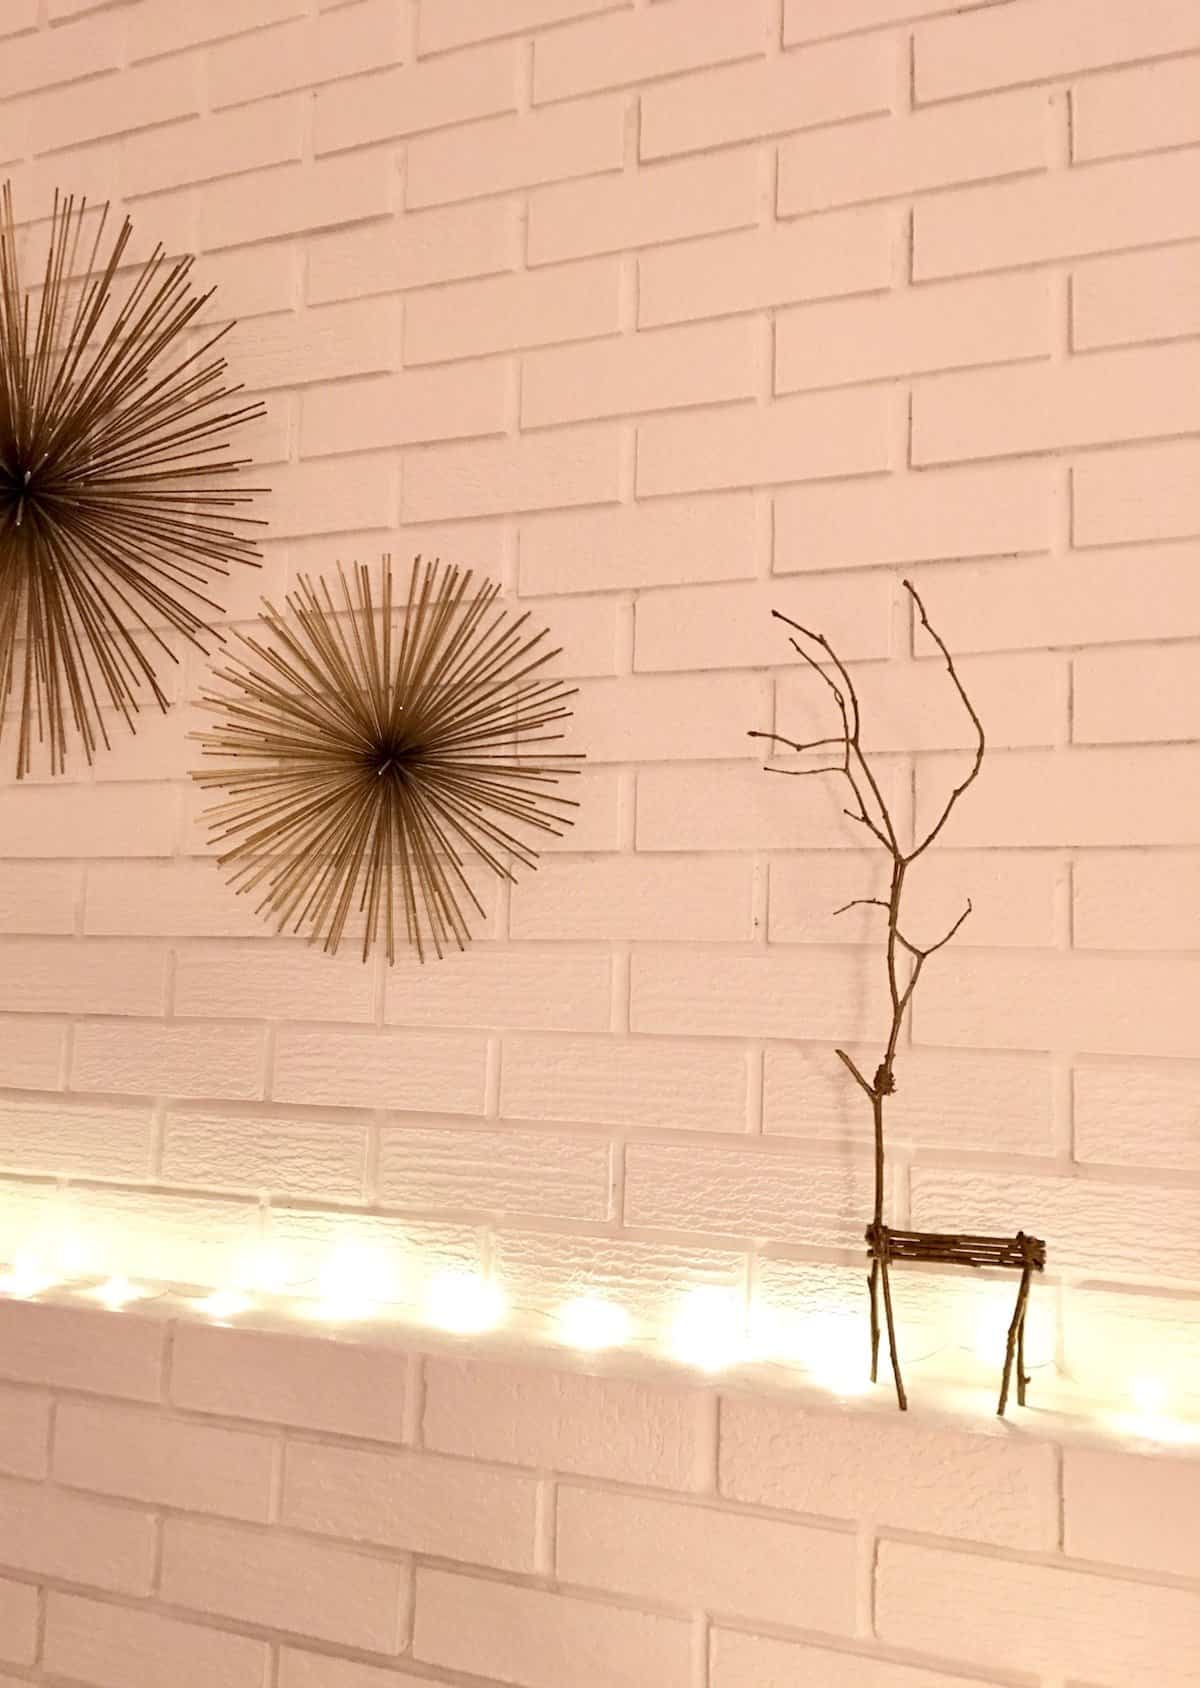
12. Display on your mantle or another piece of furniture. Twig reindeer look great with twinkle fairy lights!

Making your own Christmas twig reindeer
These minimalist twig reindeer are perfect for a rustic modern Christmas. They’re easy to make and stand up well (as long as you use enough glue/wire).