To grow garlic, start by choosing a sunny spot with well-draining soil. Plant garlic cloves in the fall, about 4-6 weeks before the ground freezes. Space them 6 inches apart and 2 inches deep, with the pointed end up. Water after planting. Then mulch with an organic material to help protect the cloves over winter.
Water them regularly once the soil thaws in the spring. You can also fertilize in spring if your soil is poor. Keep well watered through early summer, but stop watering once the bottom leaves start to dry out. Harvest when the lower leaves turn brown but before the top leaves turn brown. Cure the harvested garlic in a dry, shaded area for a few weeks before storage.
The basics of growing your own garlic
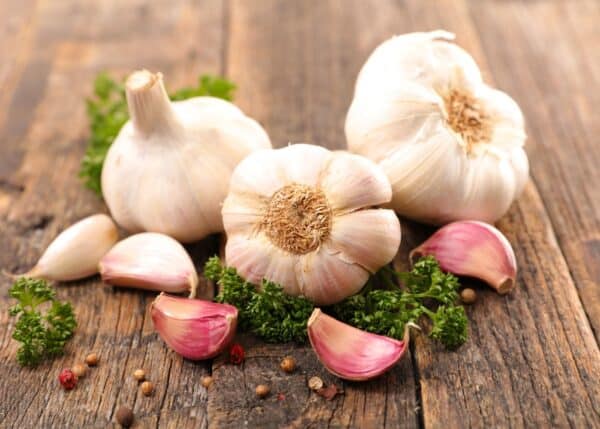
Each bulb of garlic grows from a single clove. Cloves are planted in rich, well-draining soil in September and then harvested in July. Because you plant it in the fall and then forget about it for the winter, it’s one of the most rewarding, low-maintenance crops.
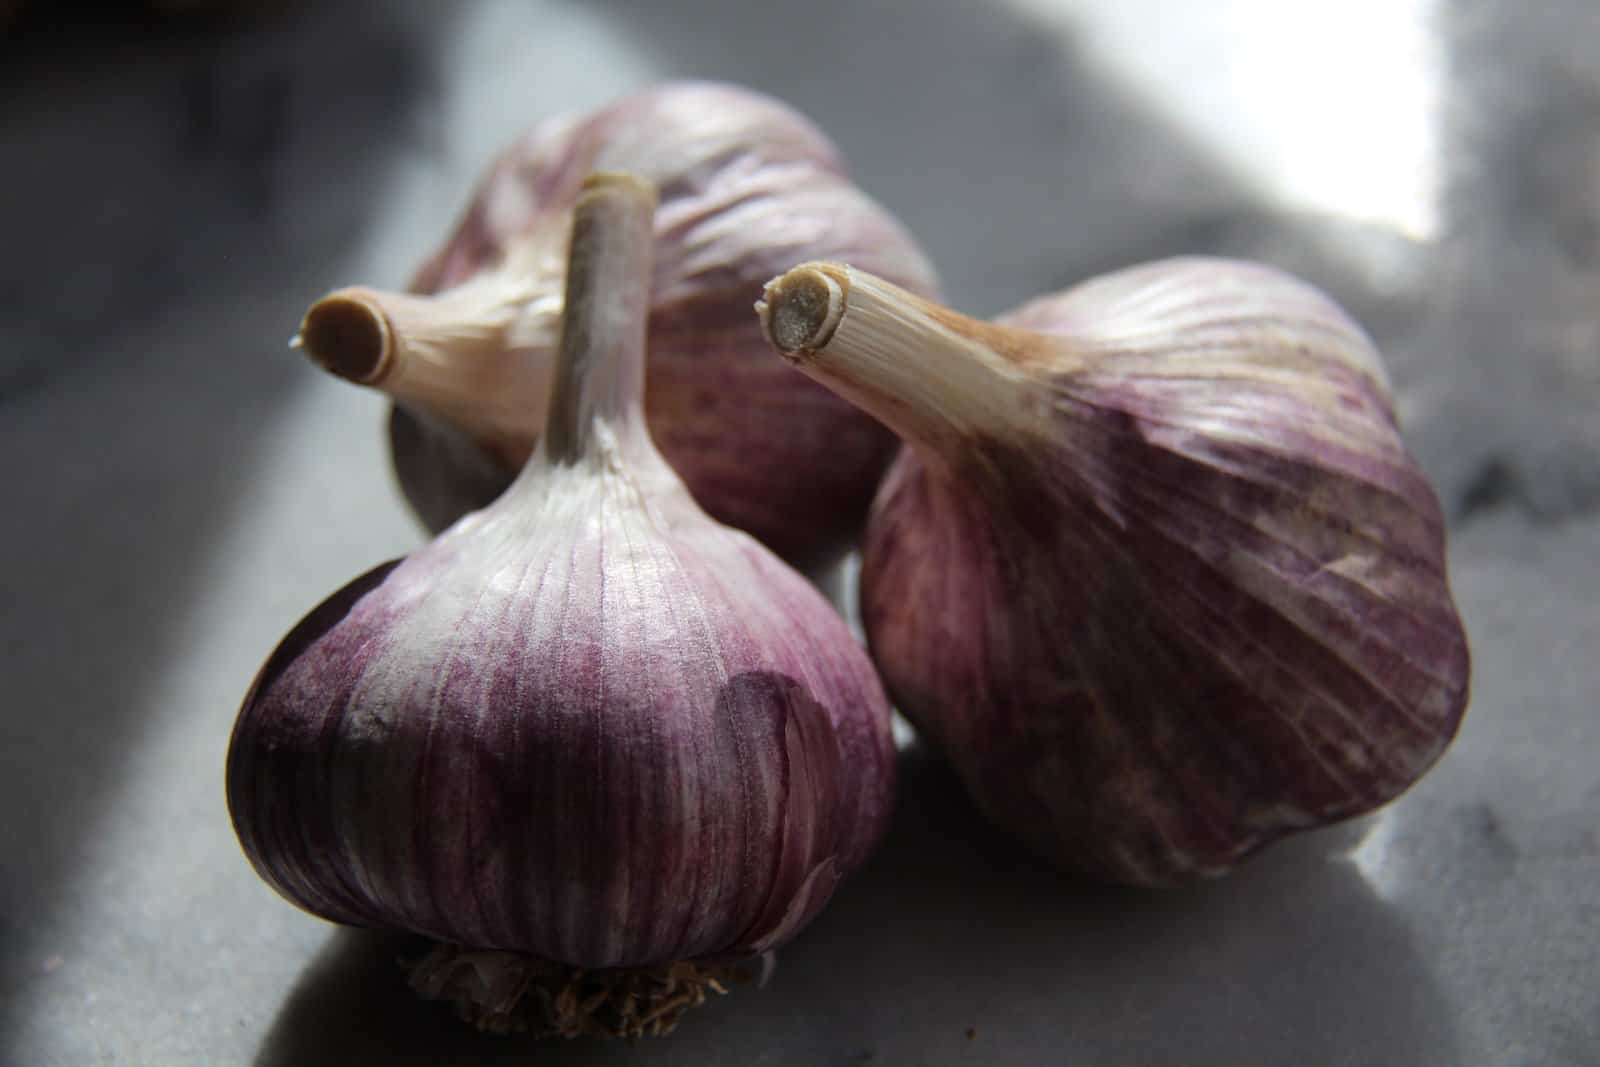
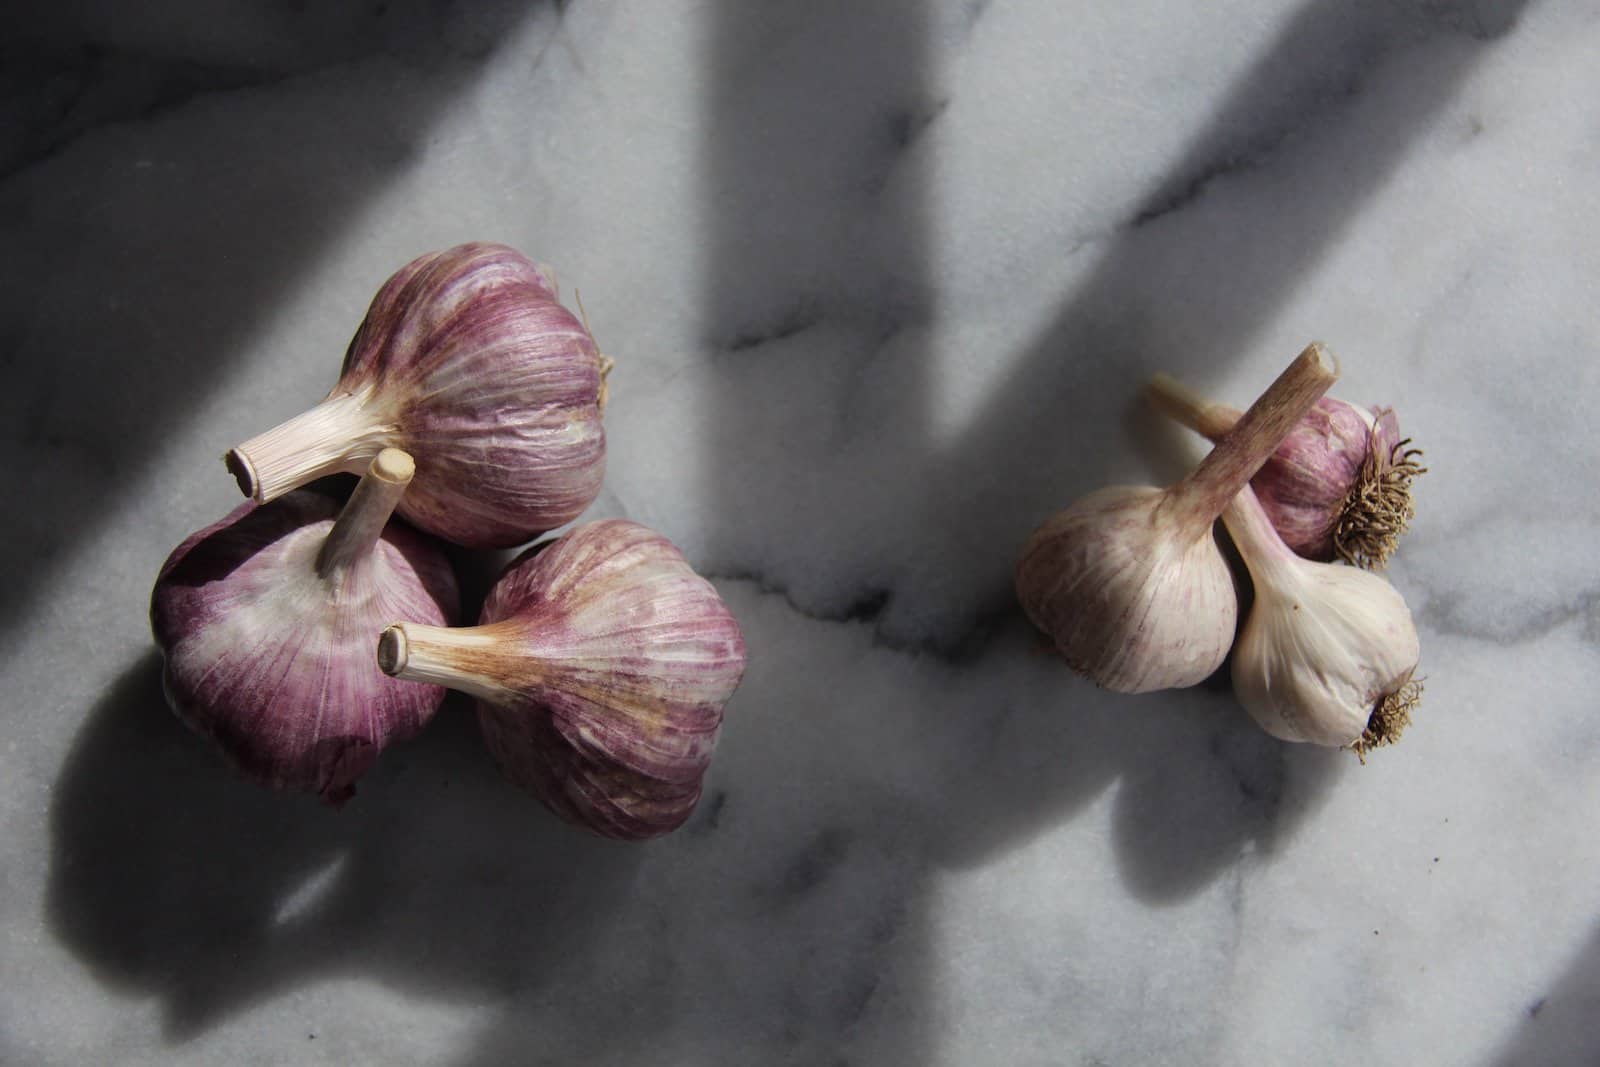
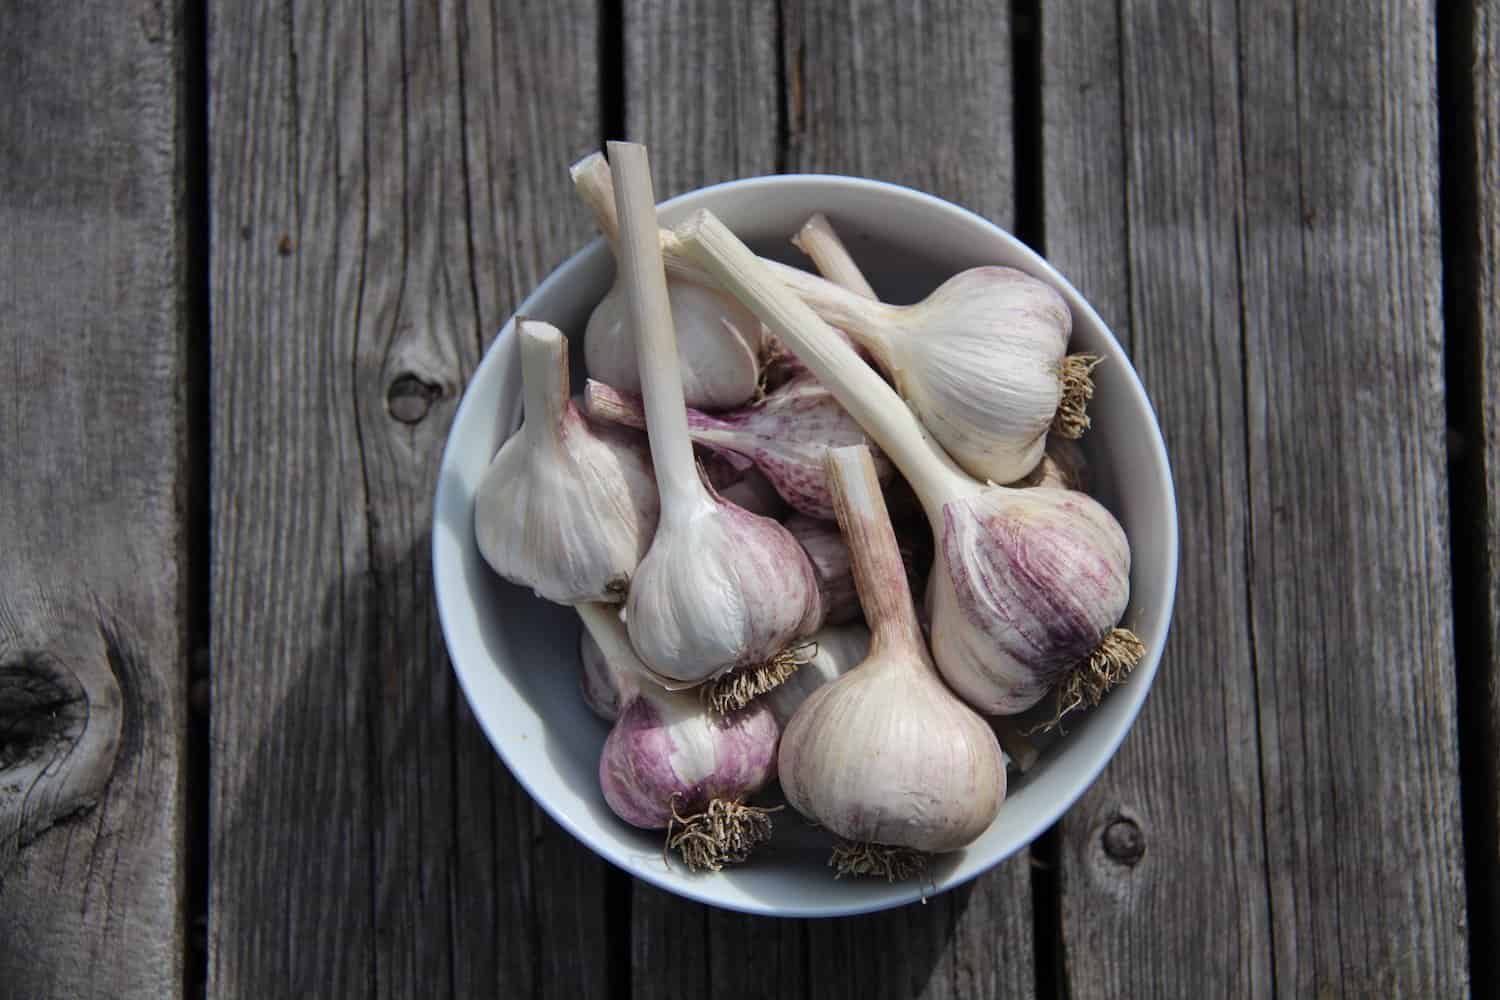
Here in Canada, we grow mainly “hardneck” garlic varieties. Hardneck garlic is generally grown in northern areas, while softneck types are grown in the southern USA. Softneck garlic is great for braiding, storage, and has lower chilling requirements.
Hardneck garlic isn’t great for braiding (although it certainly can be braided), but it is very cold-hardy. It also includes the added bonus of developing hardneck garlic scapes, an edible flower-like delicacy available for only a few weeks each year.
There is also elephant garlic, which is a milder allium with giant cloves. It’s not the most flavorful garlic (not even close), but it is a good option for those with kids who don’t love strong flavors (but might love the giant-looking cloves).
Buy your seed garlic cloves from a local garlic farmer if possible. These bulbs will be adapted to your local climate and will likely be healthier than imported garlic bulbs. If seed garlic isn’t available in your area, it can also be found online (both hardneck and softneck types).
Garlic needs cool weather over the winter to produce large, healthy bulbs. In Canada, garlic is planted in early fall and harvested in early summer. An easy rule of thumb to remember when learning how to grow garlic is to plant cloves around the first day of school and harvest bulbs after the last day of school.
Gardeners in southern areas where hard frost is rare can plant garlic in February-March (just pop the bulbs in the refrigerator for a month before planting to fool the cloves into thinking it’s winter).
Supplies: How to grow garlic
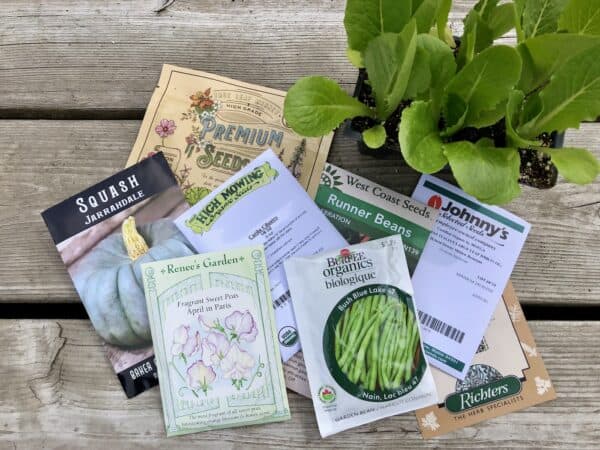
First, gather all the supplies you’ll need for growing your own garlic. Here’s a good start:
- Seed garlic bulbs (organic, locally-grown bulbs are often the best)
- A sunny well-drained planting area
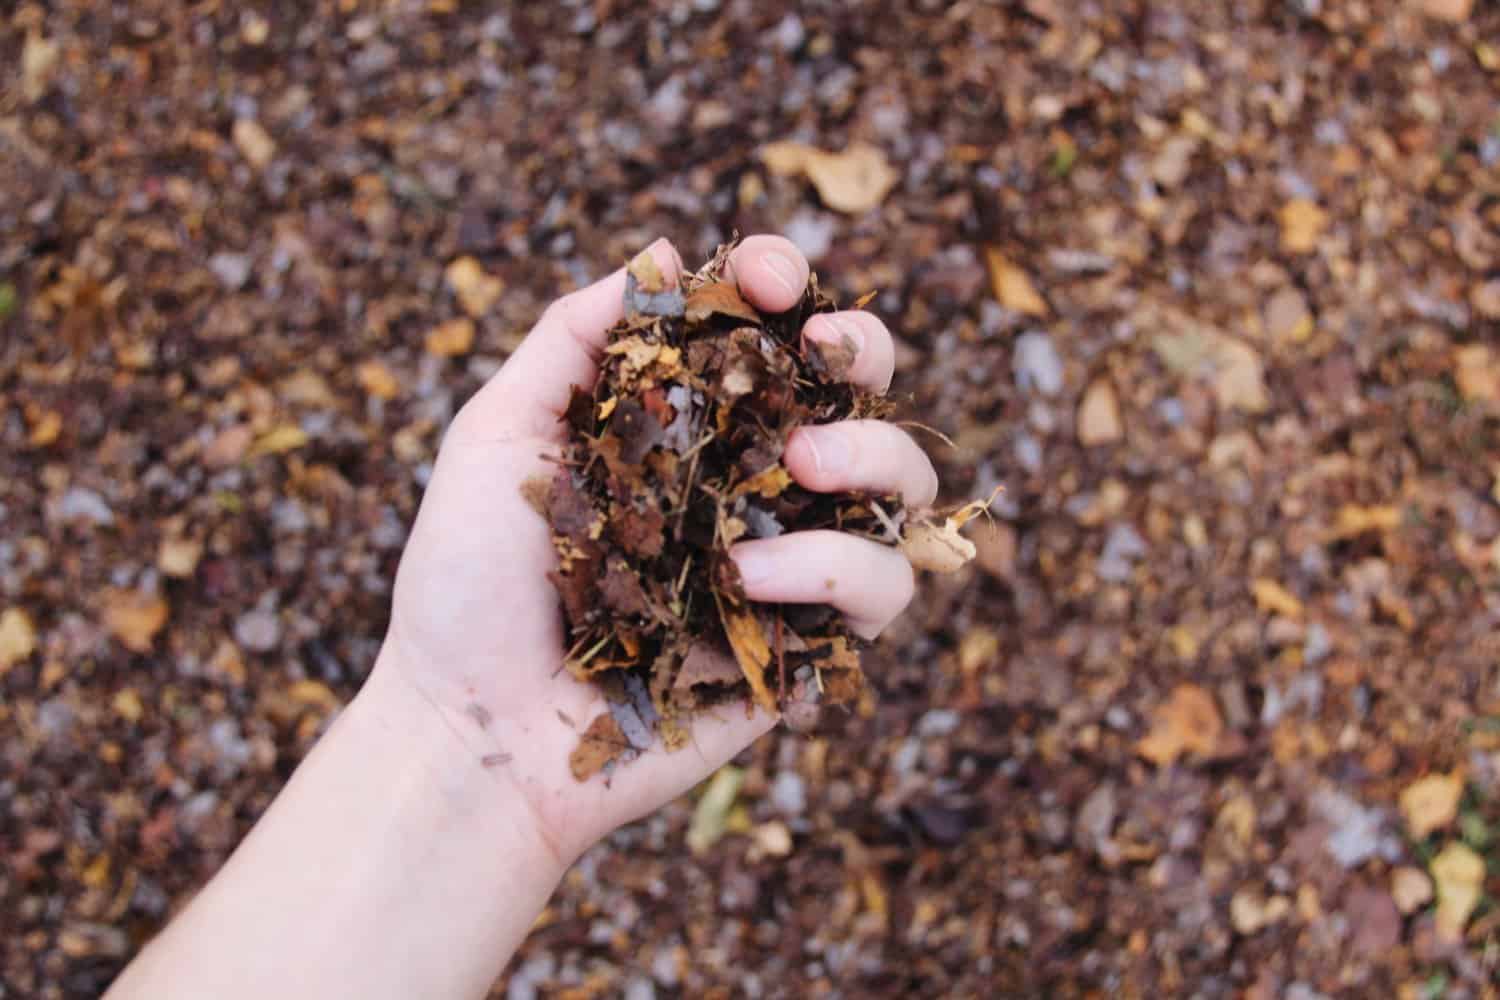
- Compost (rotted vegetable scraps, leaves, grass clippings, coffee grounds, et cetera)
- Well-shredded fall leaves
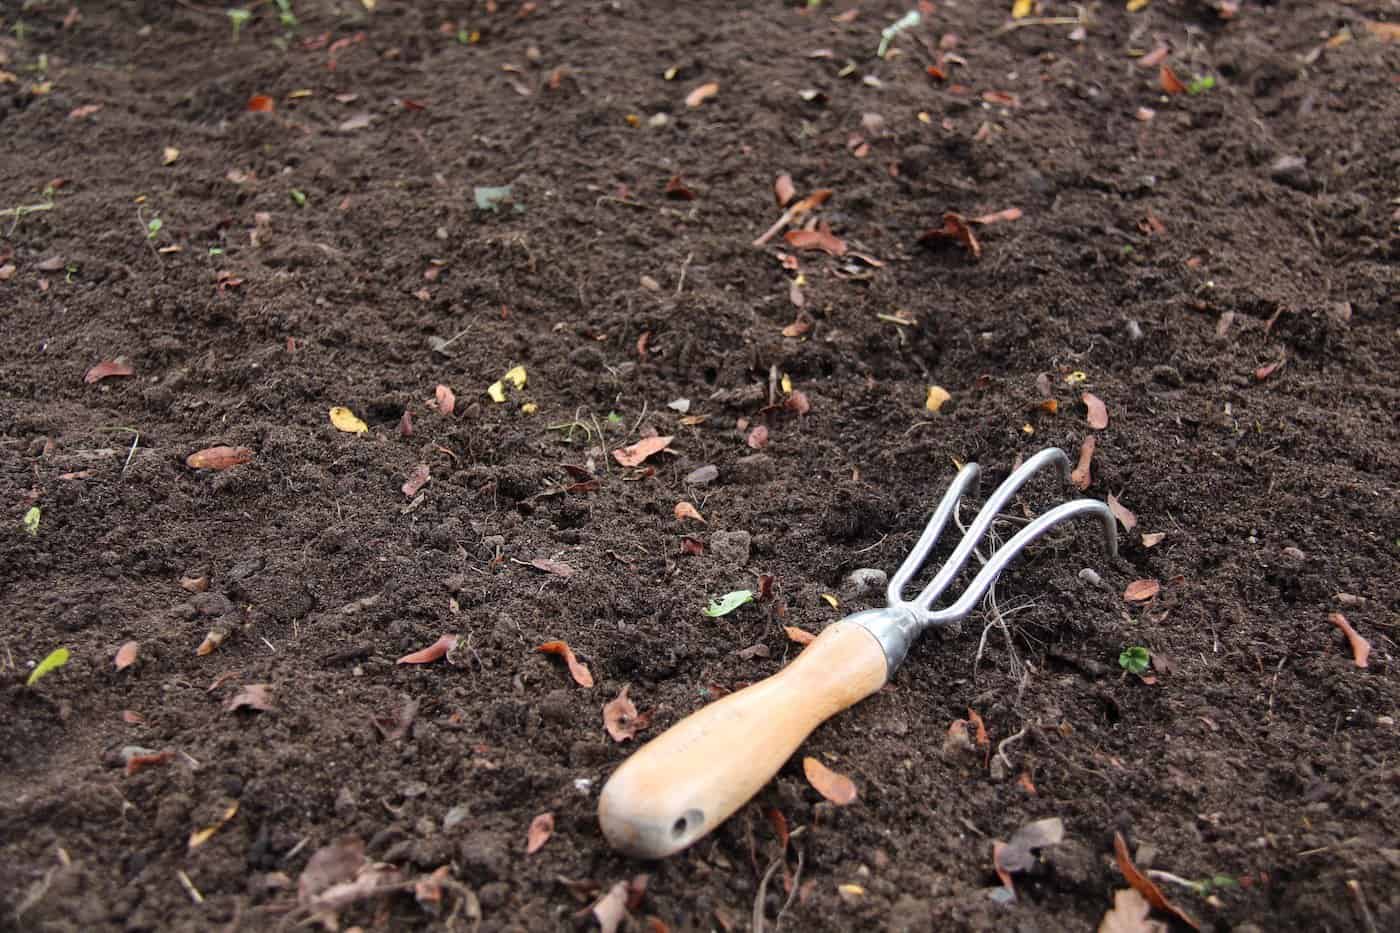
- Garden hand tools (cultivator & trowel)
How to grow garlic
Let’s go through each one of the steps for how to grow garlic in detail:
- Find seed garlic to plant in the early fall
- Select or create a garden area
- Prep the cloves & the garden bed
- Plant each garlic clove in early autumn
- Water, wait out winter, and watch them sprout in spring
- Dig up in summer and enjoy
Alright….starting with finding the best seed garlic for your backyard garlic plantation…
Find seed garlic
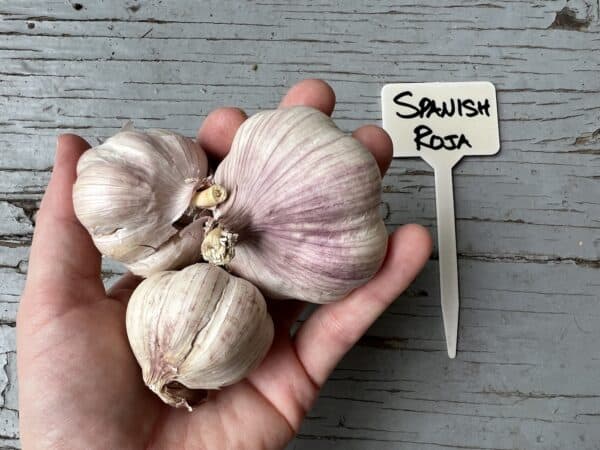
- Look for locally-grown, organic bulbs of garlic. They’ll be best suited to your region as they’ve adapted to your local climate. The Farmer’s Market is a great source of local seed garlic, as are independent nurseries. If organic seed garlic isn’t available locally, try online.
- Select the biggest, firmest, bulbs with the biggest cloves. Big, healthy cloves will produce big heads of garlic.
- Make sure you consider how much garlic you’d like to grow to ensure you buy enough bulbs. This year I’m growing 24 bulbs of garlic, so I made sure to buy 24 garlic cloves. I bought 4 bulbs of seed garlic to get 24 cloves, costing $8 at our local nursery. 24 bulbs should last us throughout the winter next year. Once I have my own raised garden beds, I’ll likely grow 48 bulbs per year.
Select a garden bed
- Choose a location with full sun, meaning that the area receives at least 6 hours of direct sunlight per day. In general, the morning sun is preferable to the afternoon sun, but any area with a decent amount of sunshine can produce healthy garlic.
- Choose an area with sandy, well-draining soil. Garlic isn’t happy in clay soil. If you have clay soil, garlic can be grown in a raised garden bed or anywhere that well-draining topsoil has been laid over top of the clay.
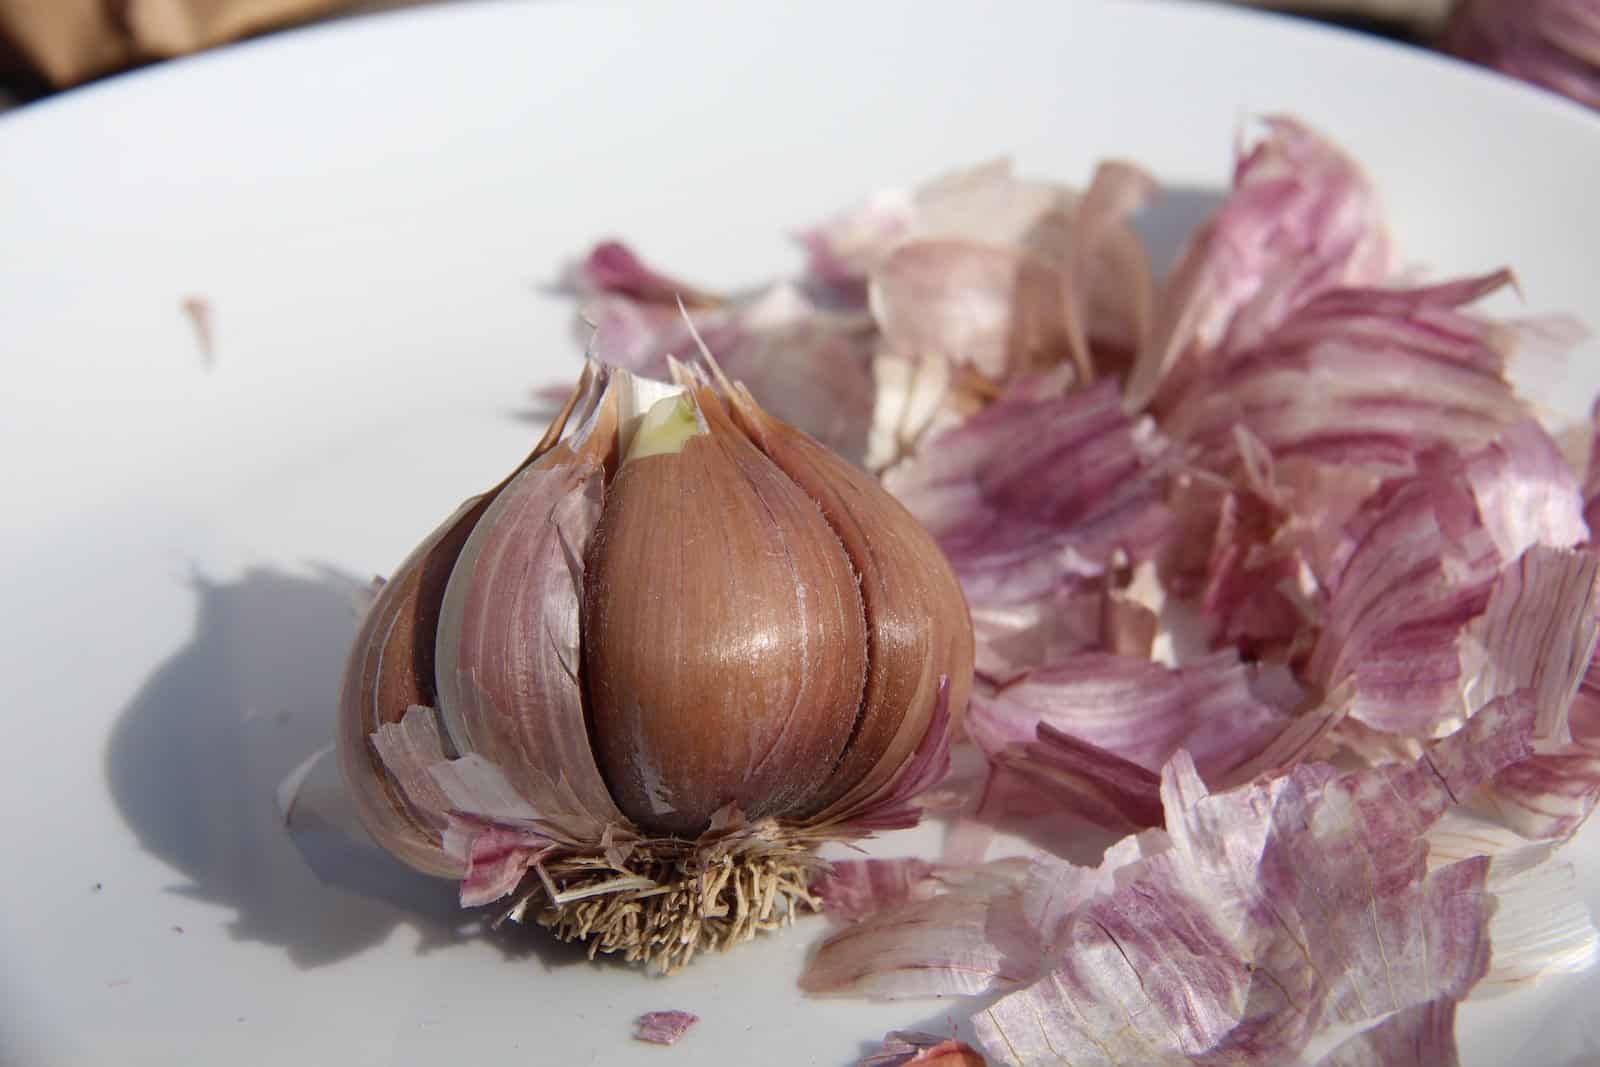
Prepare the cloves
- Carefully peel the outer papery wrapper off the outside of each bulb of garlic. Only the outer wrapping needs to be removed. The paper wrapping around each separate clove should not be removed. Take special care not to damage the ends of the cloves.
- Note how the pointy end of each clove is at the top of the bulb, while the flatter ends are attached to the root plate on the bottom of the garlic. The flat end of the garlic produces the roots (remember this when you place the garlic in the ground).
Prepare the garlic bed
- Measure out enough space to plant your bulbs 6″ apart.
- Carefully pull out any existing weeds.
- Lay down a 1″ thick layer of compost over the entire planting area.
- Water the area to moisten the soil before planting.
Plant the garlic cloves
- Here in the interior of BC, I plant my garlic in early September. In general, cloves should be planted about six weeks before the first hard frost in your area.
- Lay out your garlic cloves at least 6″ apart.
- Dig a small hole for each clove. In areas where snow covers the ground for much of the winter, cloves can be planted 6″ deep. If winters are frosty, but the snow rarely sticks around, garlic can be planted 3″ deep.
- Drop one clove in each hole with the pointy end up. The bottom of the clove, which produces the roots, should be placed at the bottom of the hole.
- Cover the holes with soil. Pack the soil lightly to remove air voids, but try to avoid stepping on the area (this will over-compact the soil).
- Water the area well following planting.

Fall garlic care
- Water the garlic once a week until the ground freezes. If the Fall is particularly rainy, you may not have to water the garlic much at all.
- Once the ground freezes hard, cover the garlic patch with 2″ of well-shredded leaves. We run the lawnmower over some maple leaves a few times and then place those leaves over the garlic patch. The leaves act as a mulch to protect the bulbs over the winter.
- The garlic may sprout a little bit in the Fall. If it does, it isn’t the end of the world. Mulch the bed well, follow the remaining instructions, and you should have a decent harvest next Summer.
Spring garlic care
- Remove the shredded-leaf mulch when the ground thaws. You can add a thin layer of compost on top of the soil if you have particularly sandy soil that is low in nutrients (like my soil).
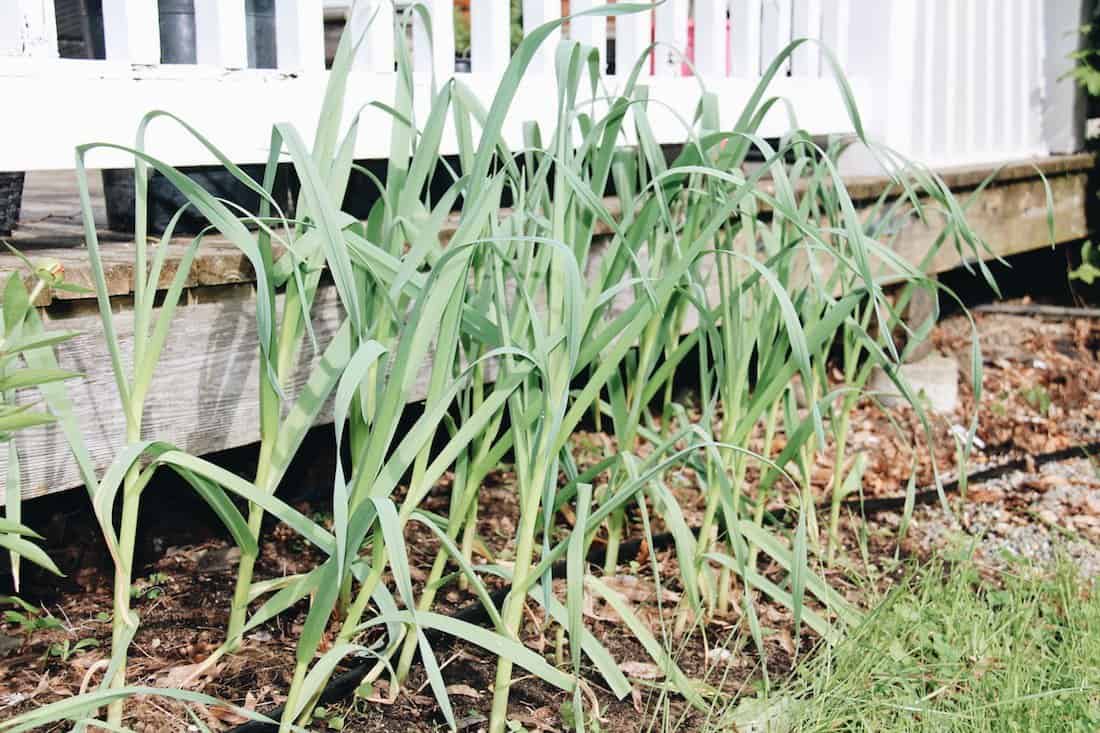
- Watch the ground for small green garlic sprouts. These little sprouts are among the first plants to appear in the spring.
- Keep the area well-weeded as the bulbs grow.
- Water the garlic once or twice a week as the garlic plants grow. Leaves will develop first, followed by the flower head, called a “scape”.
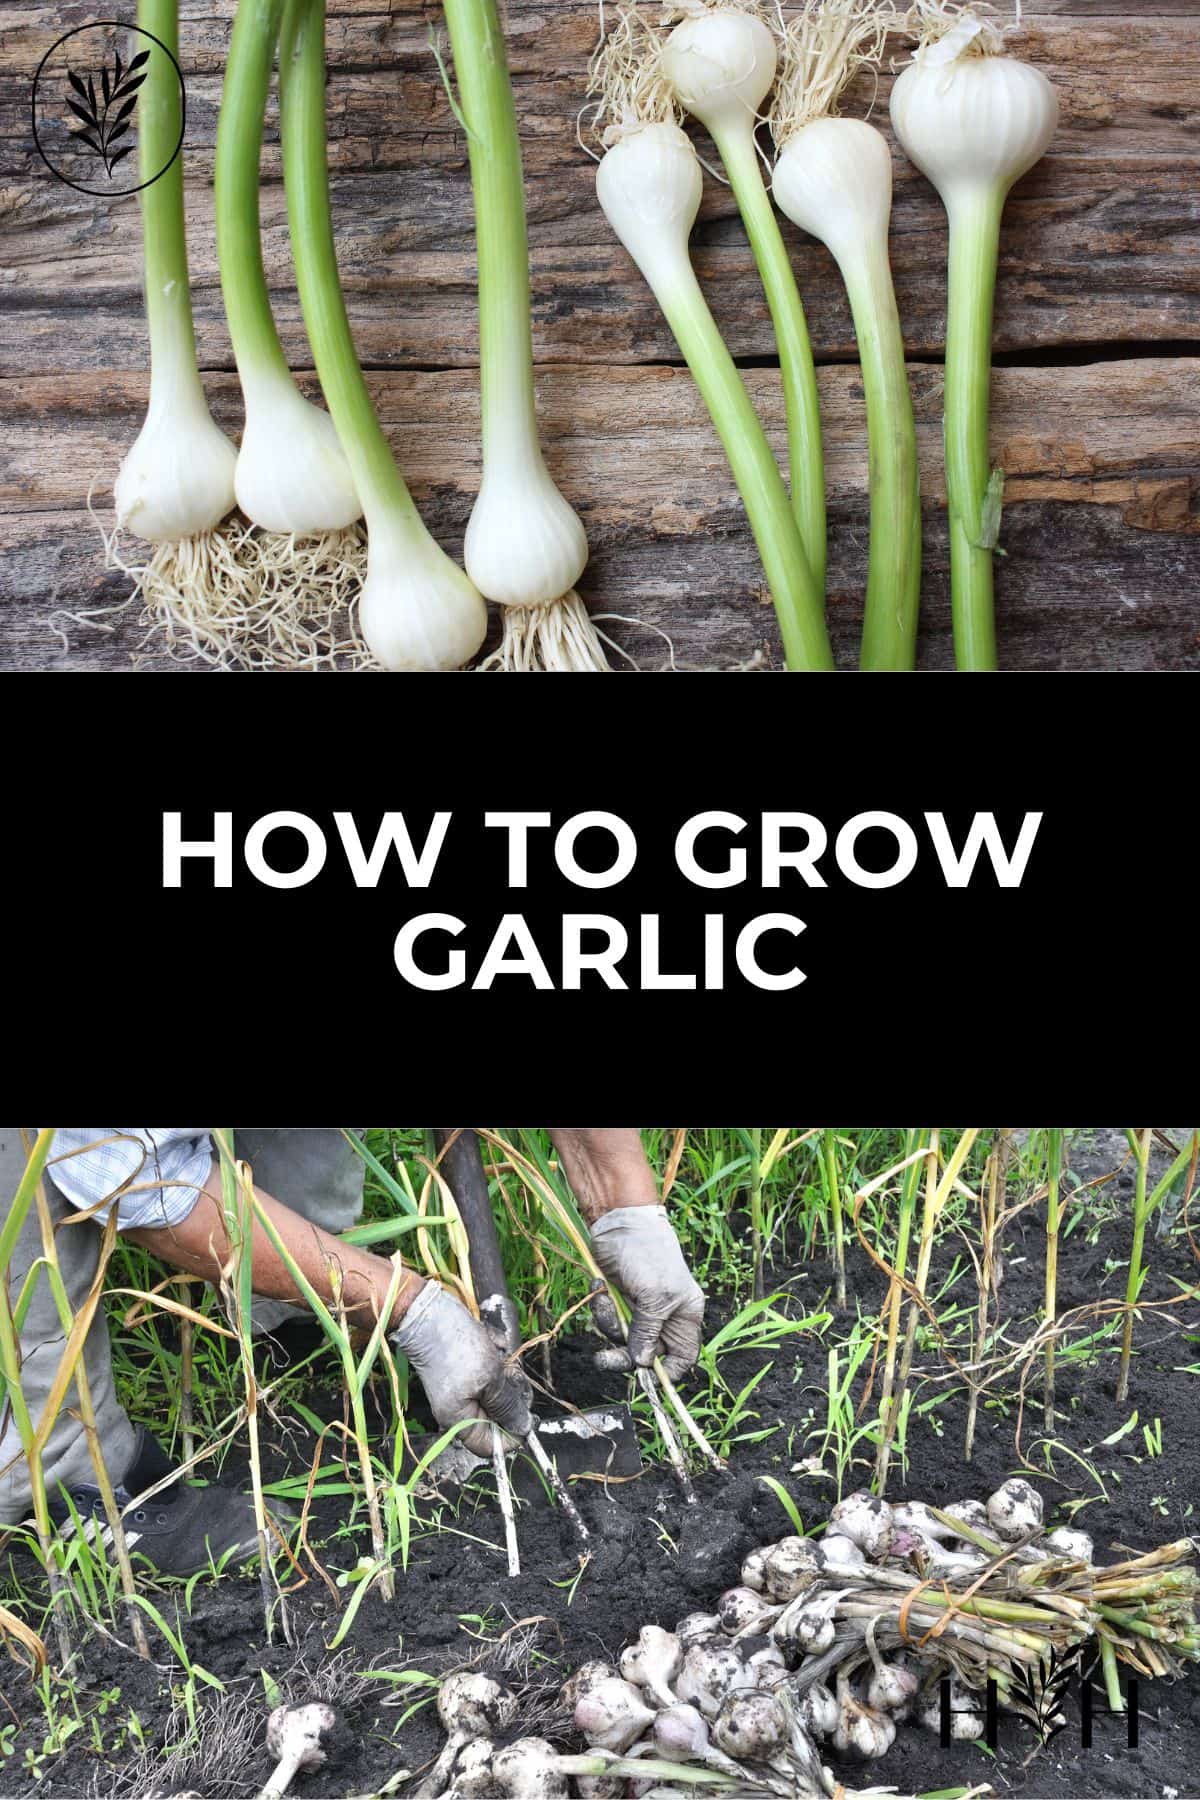
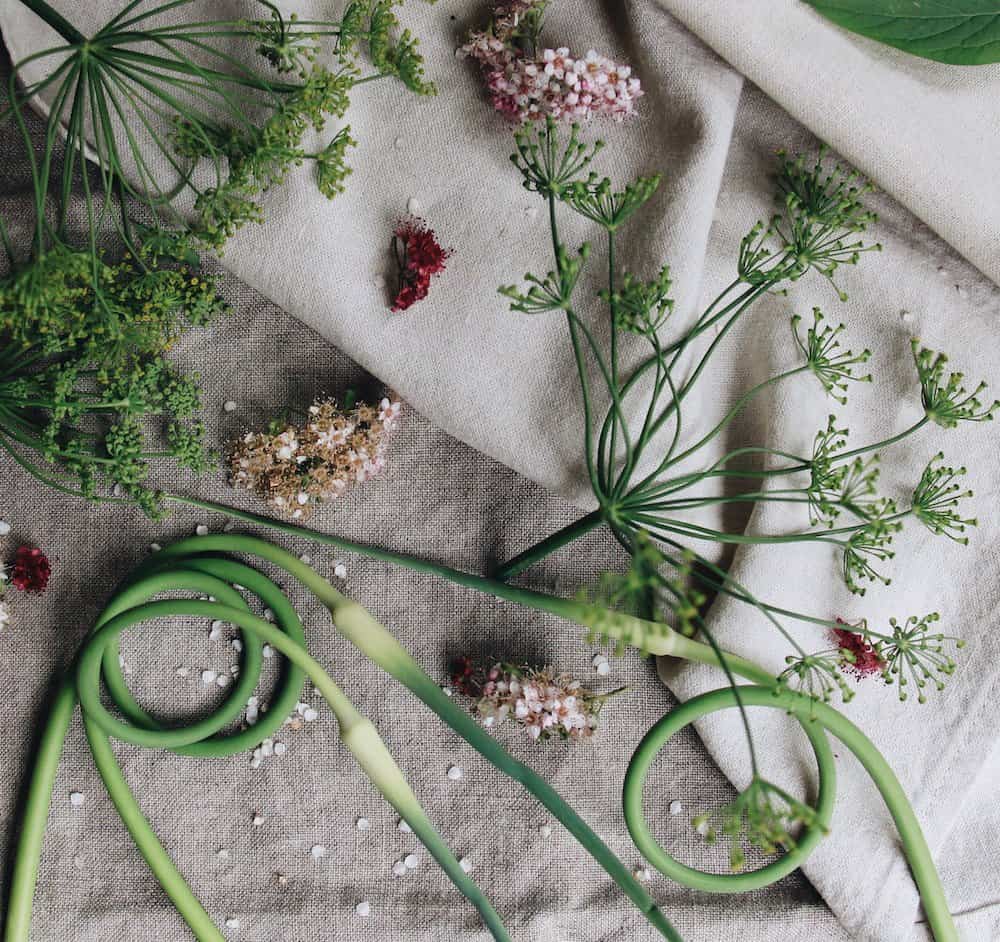
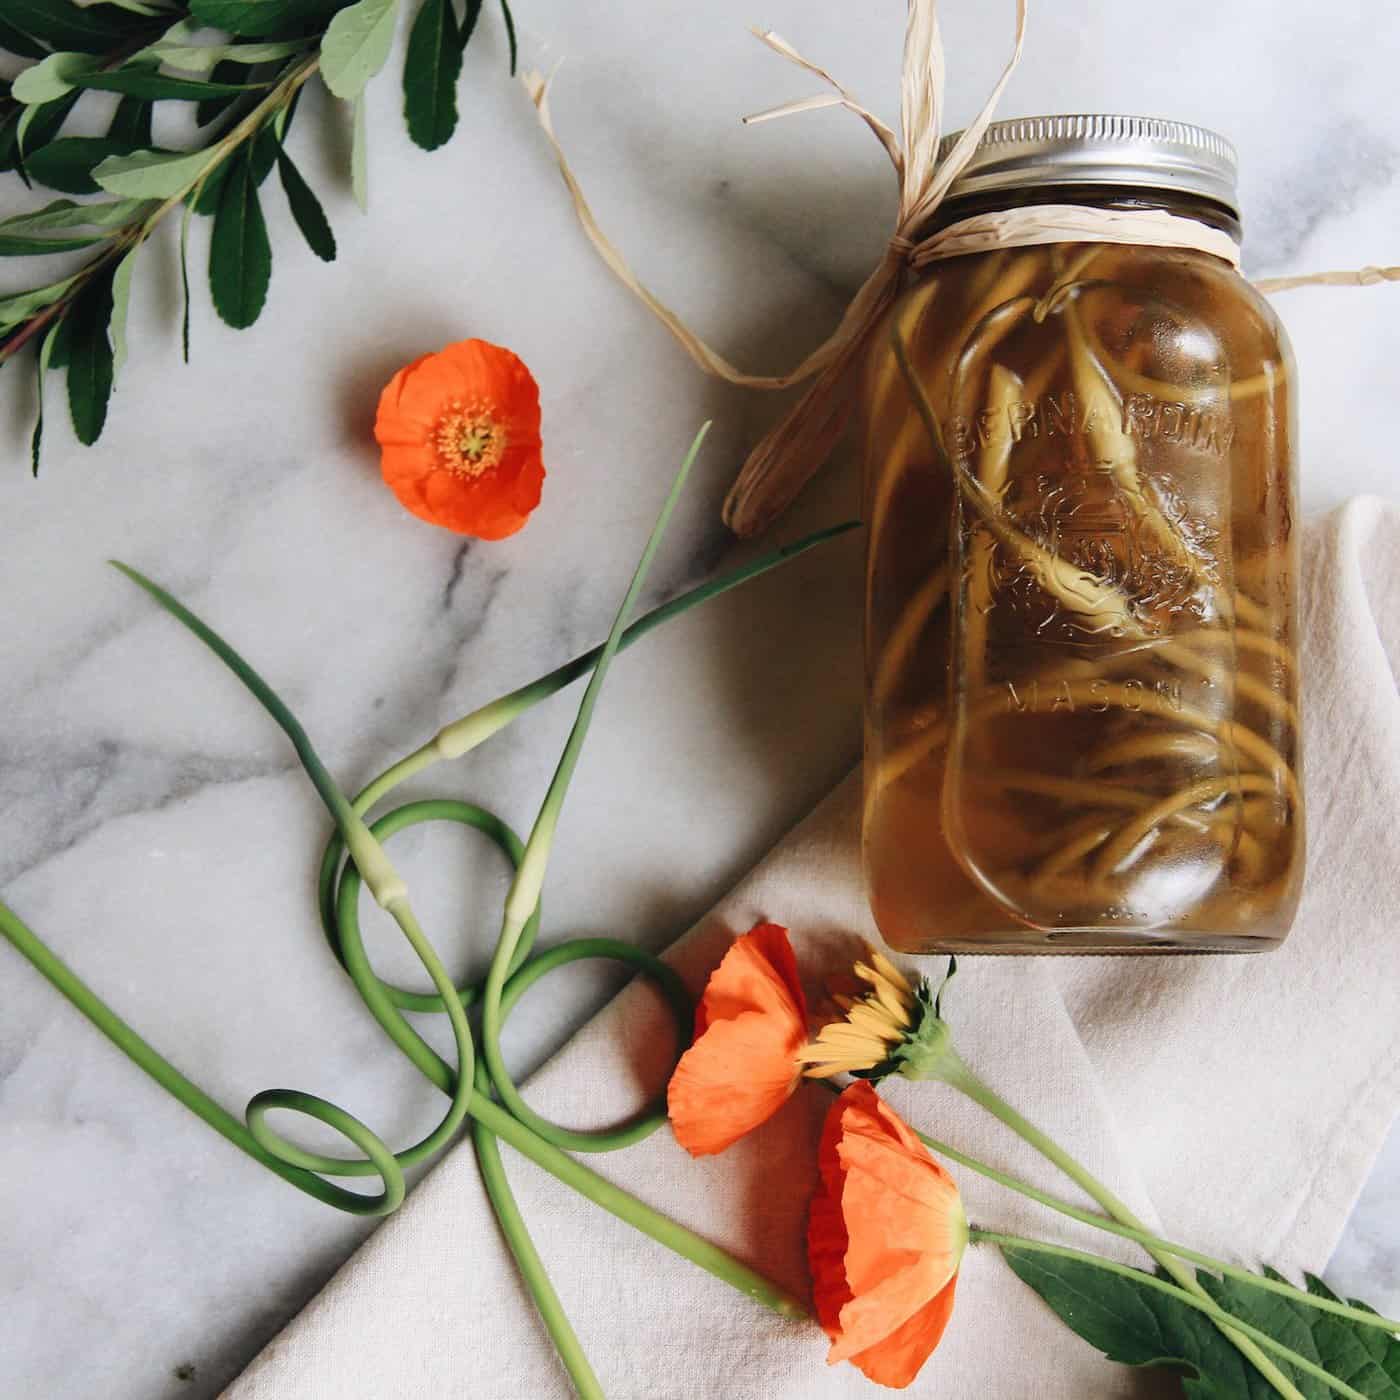
Harvesting garlic scapes
- Garlic scapes are the beautiful, curled tops of young hard-neck garlic plants. Clip them off when they make a completely curled circle. Removing the scapes will help the plant dedicate more effort to growing the bulb below ground.
- Garlic scapes are delicious fresh, bbq’ed, or pickled.
- If you don’t clip off the young scapes, they will grow tiny “bulbils”, which are tiny garlic seeds. These seeds will grow garlic in a few years if planted.
Harvesting garlic bulbs
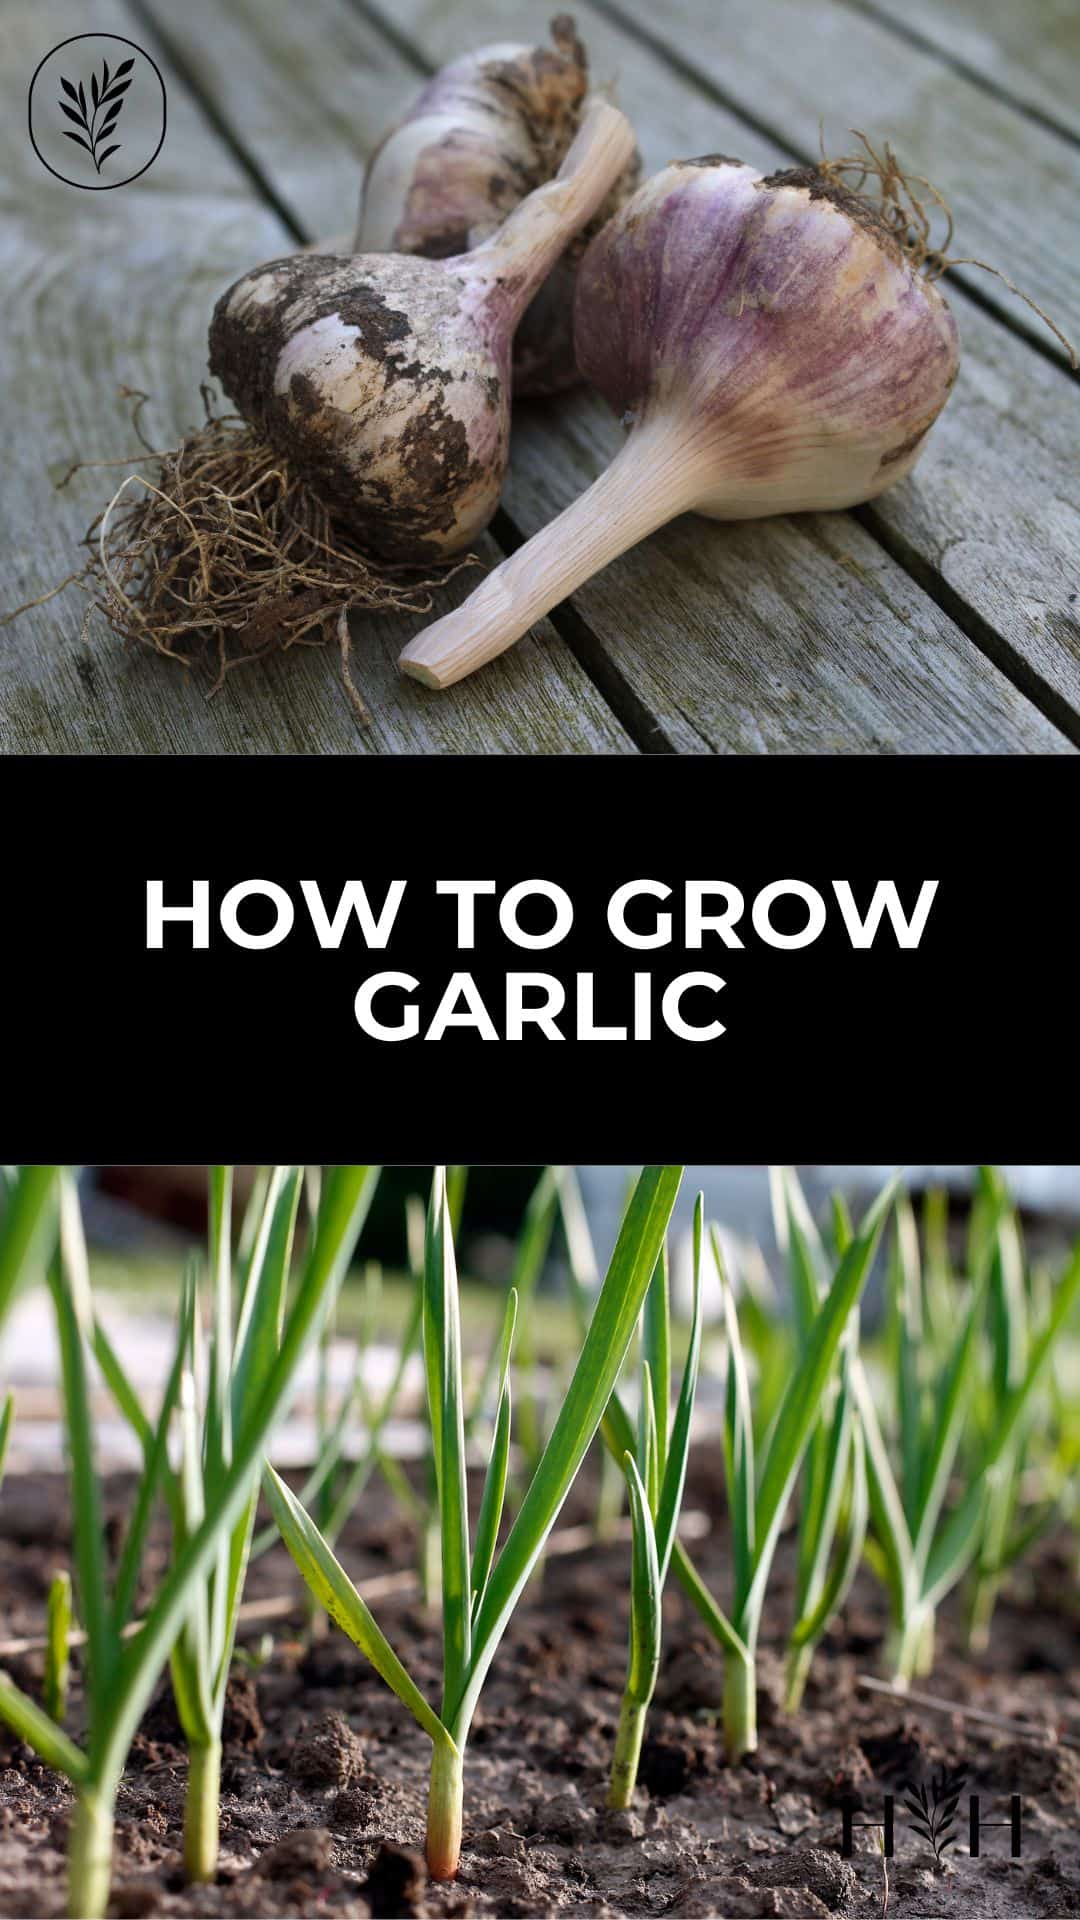
- Watch the garlic for signs that the leaves are starting to turn yellow.
- Once the leaves begin to turn yellow (this happens in June in our area), stop watering the garlic. This will allow the cloves to start to cure while still in the ground.
- Leave the garlic in the ground for a few weeks without watering. Garlic bulbs are ready for harvest when 2/3 of the leaves have turned yellow. Where I live, this usually happens during the first few weeks of July.
- When the bulbs are ready for harvest, carefully loosen the soil around each bulb using a small pitchfork or shovel. Be careful not to pierce any of the bulbs as you loosen the soil. Gently pull out the bulbs.
- Brush the bulbs to remove most of the surface soil. Try not to damage the paper wrapper.
Curing garlic for storage
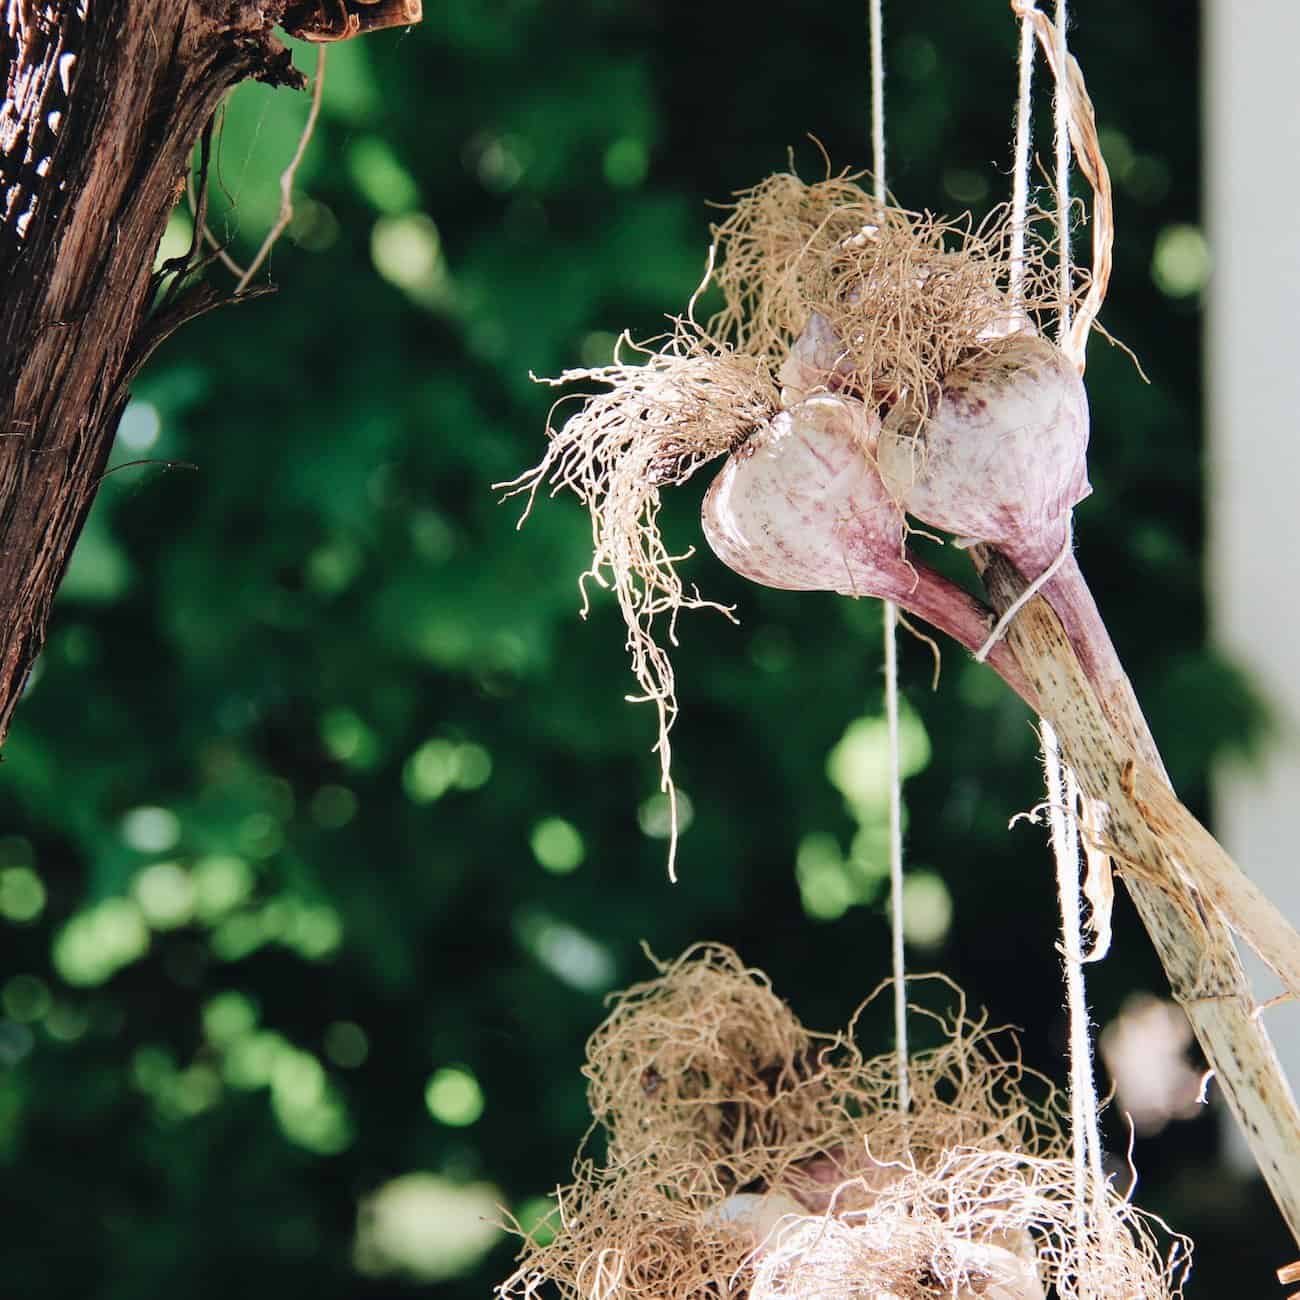
- Hang the garlic in groups of 3-6 bulbs for 6 weeks.
- Garlic should be hung in a dry location with a warm breeze. Air circulation is key to the curing process. I hang mine under our grape arbor. Use a fan if the air is still.
- Once the garlic has hung for at least 6 weeks, cut the stalks a few inches about the neck of the bulb. The roots can also be trimmed.
- Store garlic in a cool, dark place with ventilation. The fridge is not the place for storing garlic…it requires a dry, breezy environment.
Saving seed garlic for next year
- Save the biggest, most uniform bulbs for next year’s crop.
- Saving your own seed garlic will help the cloves adapt to your local growing environment better than any seed garlic you could purchase. The garlic will be stronger and healthier after a few good growing years.
- Plant the garlic in a different area of the garden each year to discourage soil-borne diseases such as white rot.
Have you tried growing your own garlic yet!? This is the year!!!
FAQs about growing your own garlic
How do you grow garlic in Canada?
To grow garlic in Canada, it is best to plant cloves in the fall, about 6-8 weeks before the first hard frost. Choose a location with well-drained soil and full sun exposure. Plant the cloves about 1 inch deep and 4-6 inches apart, with the pointy end facing up.
Water the area well and keep the soil consistently moist throughout the growing season. Garlic will typically be ready to harvest in mid-summer, when the leaves start to yellow and dry out. At this point, the garlic can be pulled up and dried for storage. It is important to note that Canada has different climate zones, so it’s important to research the specific garlic varieties that are best suited for your region.
What happens if you leave garlic in the ground for too long?
If garlic is left in the ground for too long, the bulbs will continue to mature and the cloves will begin to separate. This will make them more difficult to separate when you are ready to use them. The bulbs will also become more susceptible to disease and pests, which can lead to rot and spoilage.
Additionally, garlic that is left in the ground for too long will not store as well and will have a shorter shelf life. The bulb will also become larger and less flavorful, as the plant will use more energy to mature the bulb. To ensure the best quality and flavor, it is important to harvest garlic when the leaves start to yellow and dry out, usually in mid-summer
What happens if you plant garlic upside down?
If you plant garlic upside down, with the pointy end facing down and the flat end facing up, it will still sprout and grow. However, it may not grow as well as it would if planted the correct way.
The pointy end of the garlic clove contains the shoot and the flat end contains the roots, so planting it upside down may inhibit the growth of the shoot and the development of roots. This can lead to smaller bulbs or even failure of the garlic to grow.
Additionally, it may increase the risk of the garlic bulb rotting because of excess moisture. To ensure the best growth and development, it is best to plant garlic with the pointy end facing up and the flat end facing down.
References
- University of Saskatchewan: Garlic
- The University of Maine: Garlic
- University of Minnesota: Growing garlic in home gardens
- Penn State University: Garlic production