
Looking for a festive and traditional way to decorate your home for the holidays? Look no further than this easy DIY pine cone garland! All you need are some pine cones, string, and a few other materials to create a beautiful nature-inspired decoration.
You can hang it on your Christmas tree or on a plain wall for an extra festive touch. It’s a nice alternative to store-bought decorations and will add a unique charm to your holiday decorating.
Pinecone garland craft
For this DIY pine cone garland, you can use whatever kind of cones you have access to. I chose hemlock cones because we had lots and they are mini and adorable (plus not too messy to work with). Check the woods if you don’t have conifer trees in your backyard. You don’t need too many pine cones. Part of the charm of this garland is its simplicity.
If you don’t have access to your own conifer cones, it’s possible to buy them online or at the local craft store.

The difference between this garland and some other garland tutorials is that this diy pinecone garland does not use hot glue. Hot glue can be a bit messy to work with. Decorations made with hot glue also don’t last as long as decorations made with wire. The supplies/glue can tend to get brittle and break, whereas wire stays flexible year after year.
Supplies: Making a pinecone garland
- Pine cones or other conifer cones (I used hemlock cones, which are pretty darn cute)
- Thin floral wire (I used 16 gauge silver wire)
- Multitool, or Wire Cutters and Needlenose Pliers
- Thin jute twine
- Scissors
- Ruler
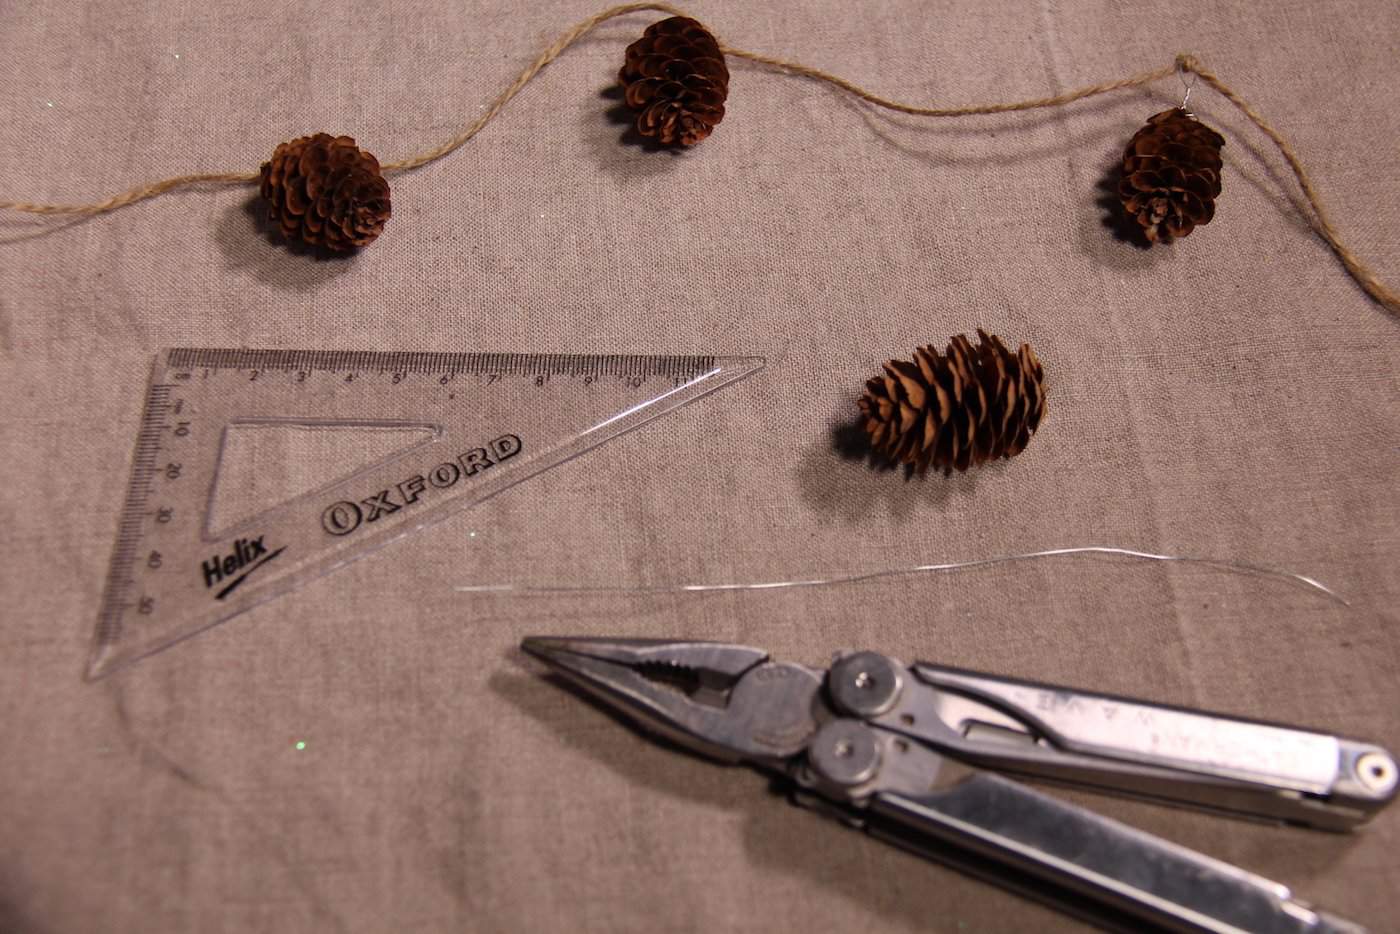
Prep steps to make a pinecone garland
- Measure out a length of twine to fit your desired space. Be sure to leave 6″ extra on either end of the measured length to tie a loop later.
- Place a few pinecones along the length of the twine to decide how close your pinecones should be. I placed my little hemlock cones about 10 cm apart.
- Once you know how far apart your cones should be, calculate how many cones you’ll need (length of twine divided by the distance apart).
- Cut a length of floral wire for each pinecone to be added to the garland. I cut a piece of wire about 20 cm long for each cone.
Turning each pinecone into a hanging ornament for your tree, porch, or front door!
Attach each wire to each pinecone as follows:
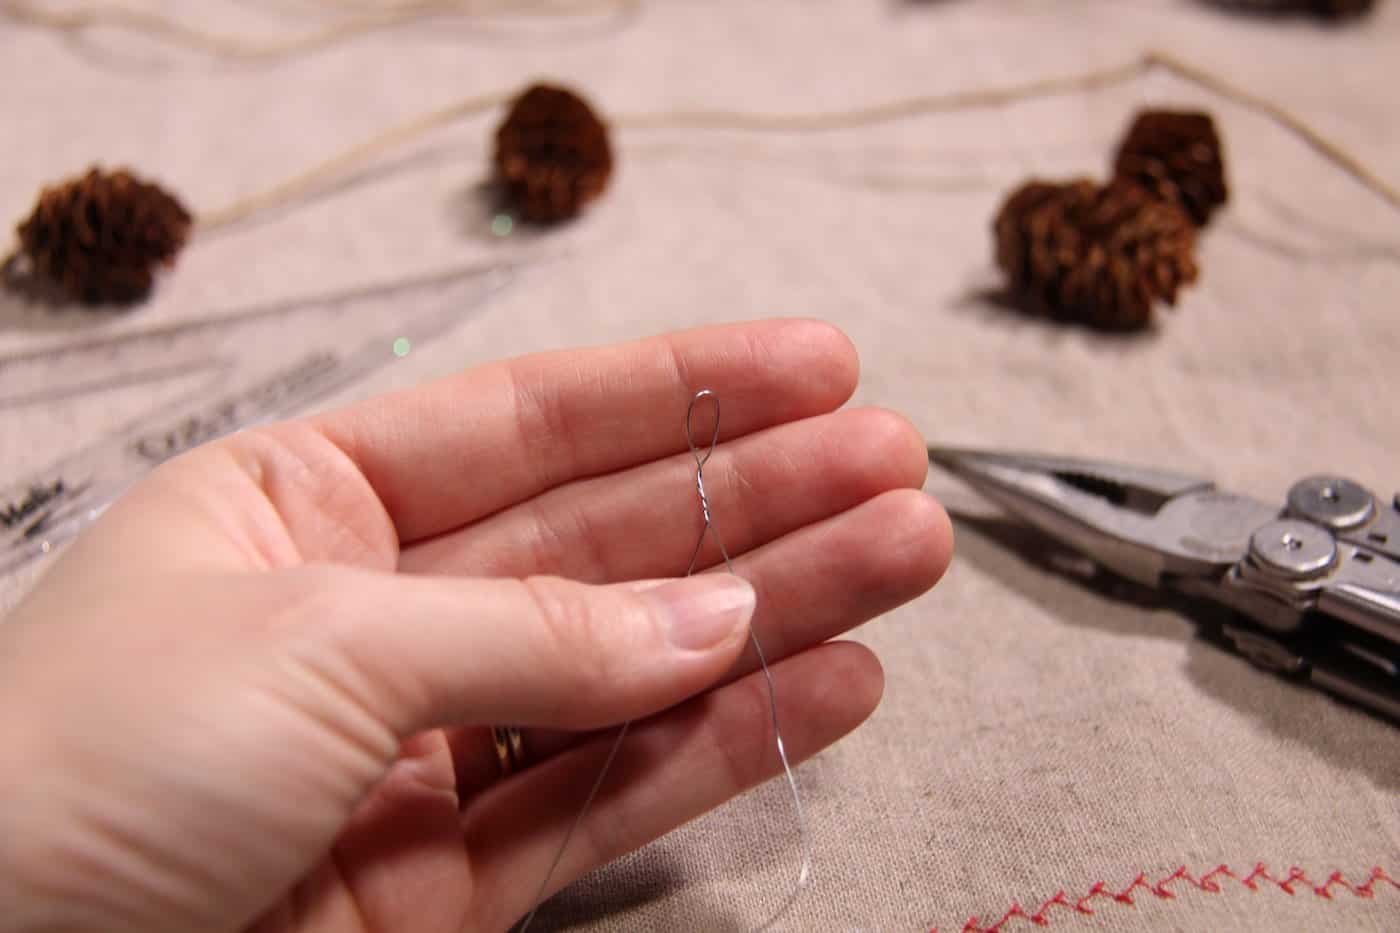
- Twist the wire in the middle to create a loop in the centre of the wire. Make a few additional twists to secure the loop.
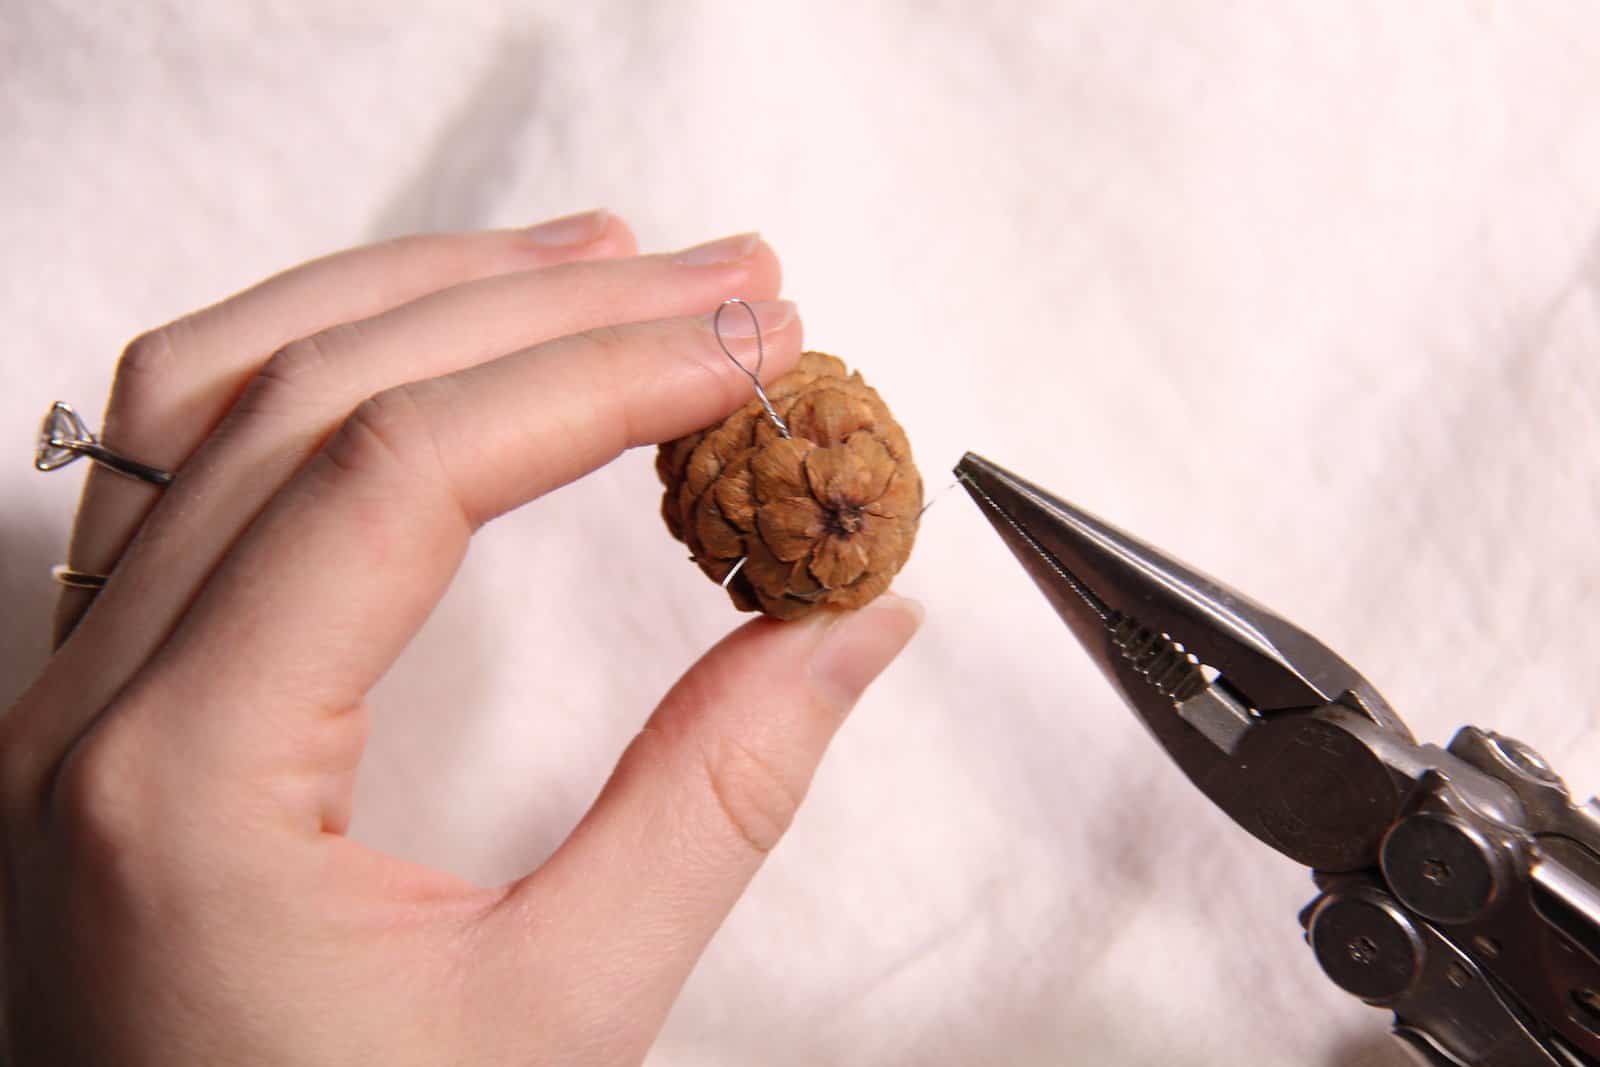
- Place each end of the wire between two layers at the top end of the pinecone.
- Twist the wire around the cone, hiding the wire in between the pinecone’s layers.
- Use the pliers to push the ends of the floral wire into the cone so the sharp ends don’t stick out.
- Once the wire is properly attached to the cone, gently bend the loop upwards so that the pine cone will hang vertically/straight.


Repeat the steps above for all the cones you’ll need for your garland.
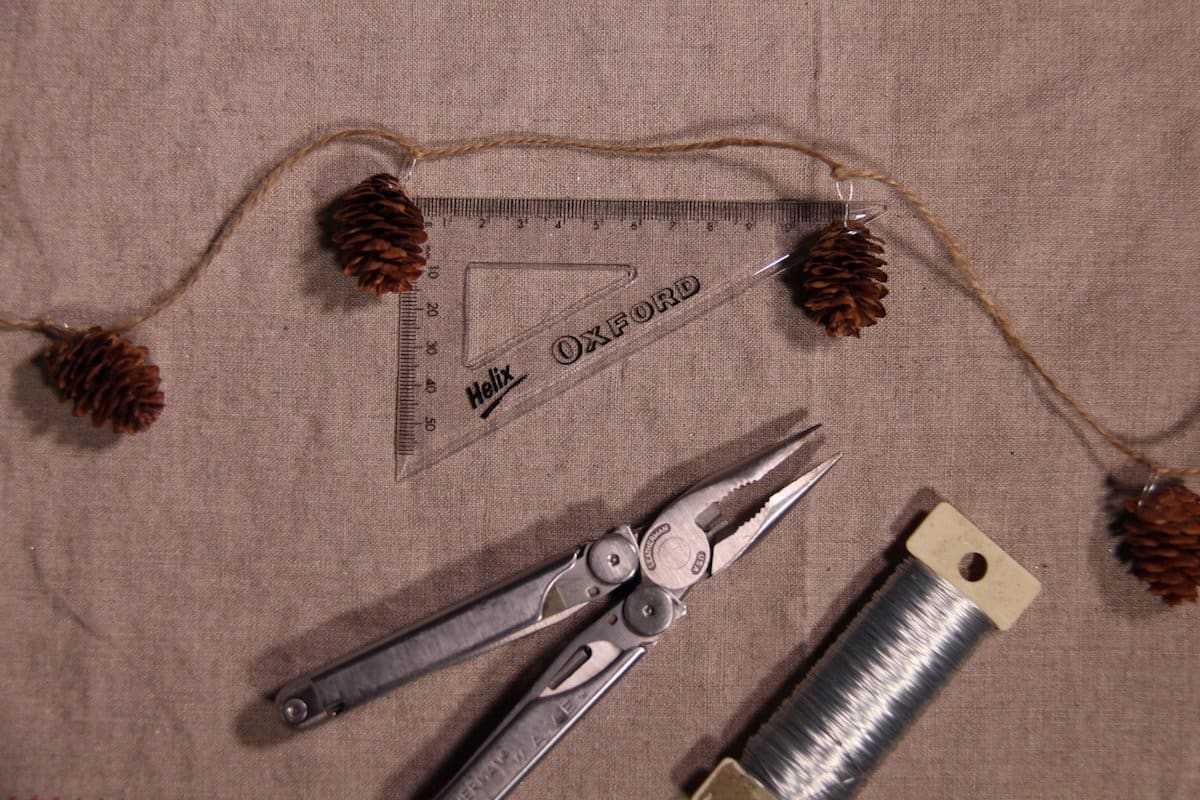
Assembling the pinecone garland the easy way!
- Have your necessary materials from your local craft store on hand.
- Tie a loop in the far end of the twine.
- String the first pinecone onto the twine by placing the twine through the wire loop. Place the pinecone near the end of the twine, by the loop you’ve tied at the far end of the string.
- Tie the first pinecone onto the twine by looping the twine over itself and tying a knot in the twine.
- Place the remaining cones on the string one by one, using the ruler to measure the distance between the cones, and tie each cone on as you go.
- Once all cones are tied on, tie a loop in the other end of the garland to finish it off.
- Hang your garland on the tree, on the mantle, on a wall, or wherever you like!


Love these garlands? These felt pom pom garlands are another cute DIY project that you may enjoy!