A wire trellis is a support framework made with tensioned wires for a climbing plant. Most commonly, wire trellises are constructed against walls, but they can also be hung between poles or framed to create a freestanding trellis. Wire trellis structures are often made with stainless steel wire, galvanized steel wire, or aluminum wire to minimize rust issues.
Wire trellises for climbing plants
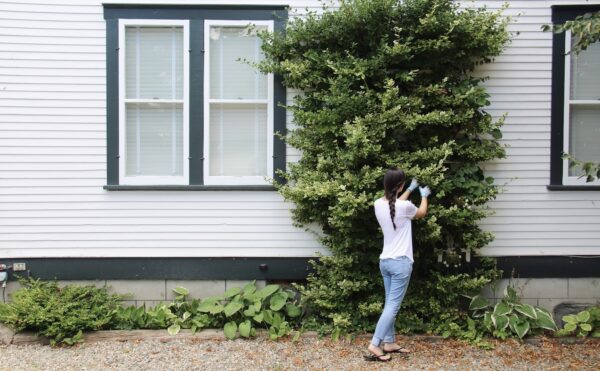
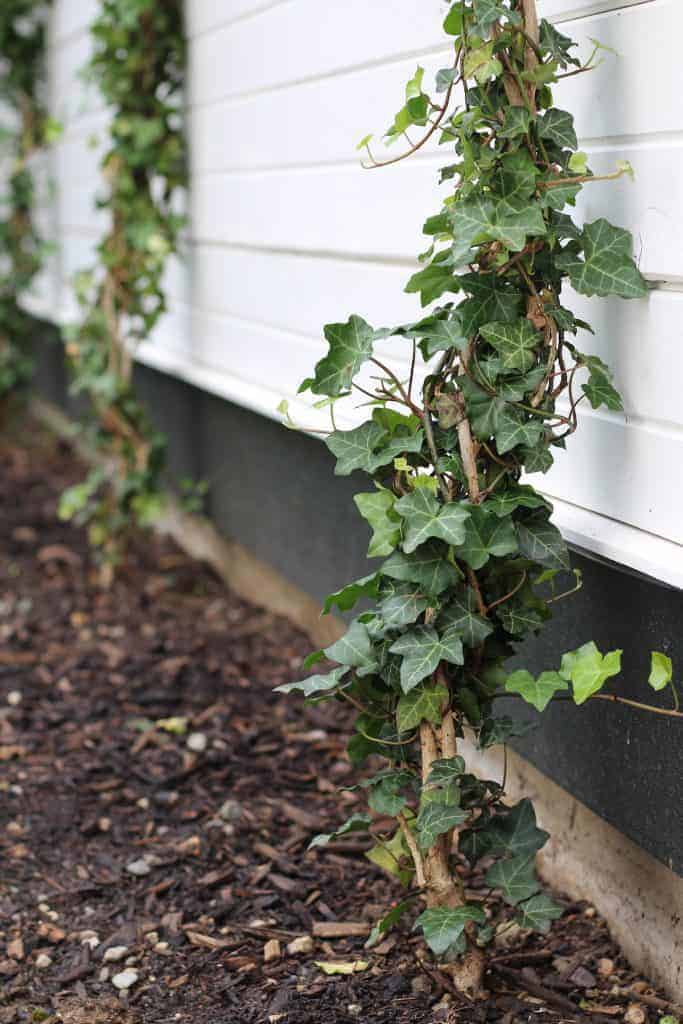
The wire trellis is one garden trend that’s here to stay. Wire trellises for climbing plants are an easy DIY way to extend the garden vertically up a wall or privacy fence. A long-lasting metal wire is a perfect match for a timeless plant such as ivy (or wisteria, clematis, or climbing rose). Read on to learn how I installed a simple wire trellis for my ivy wall.
Wire trellises for climbing plants are a traditional method of training climbing plants in formal courtyards and in cottage gardens.
Supplies for a DIY wire trellis
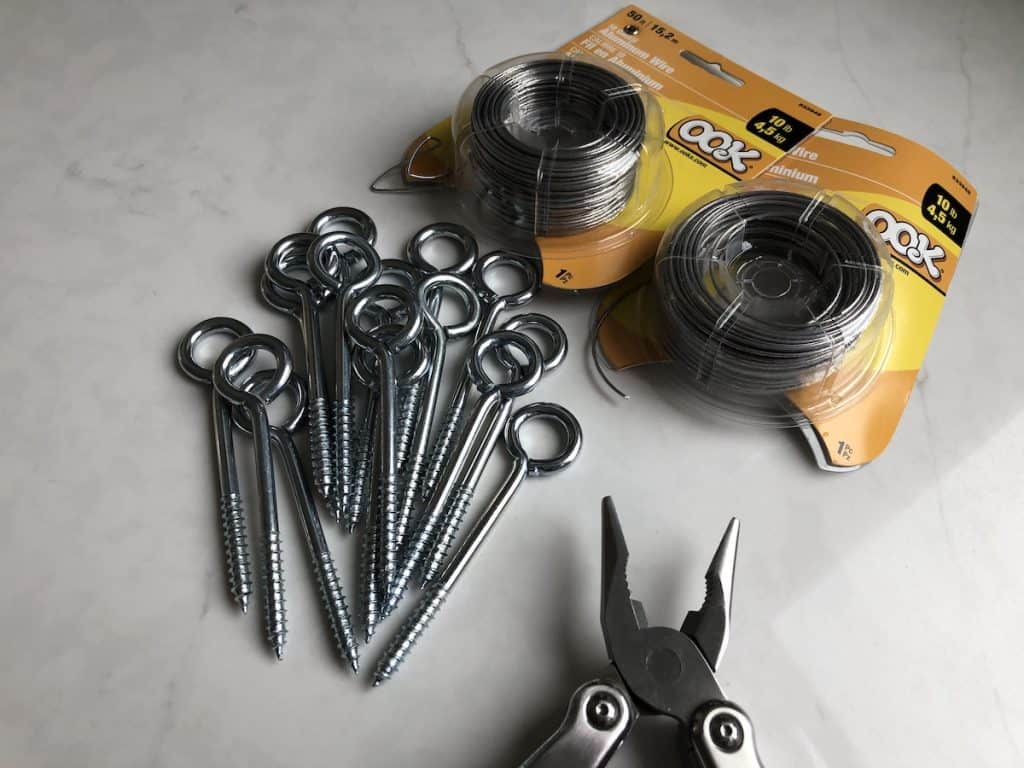
Here are the supplies & gardening equipment I used for my wire trellis:
- Screw Eyes
- Metal Wire (like Stainless Steel, Galvanized Steel, or Aluminum)
- Painter’s Tape
- Pencil
- Drill
- Multi-Tool
- Level
Steps for making a wire trellis
Here are the steps to make a wire trellis:
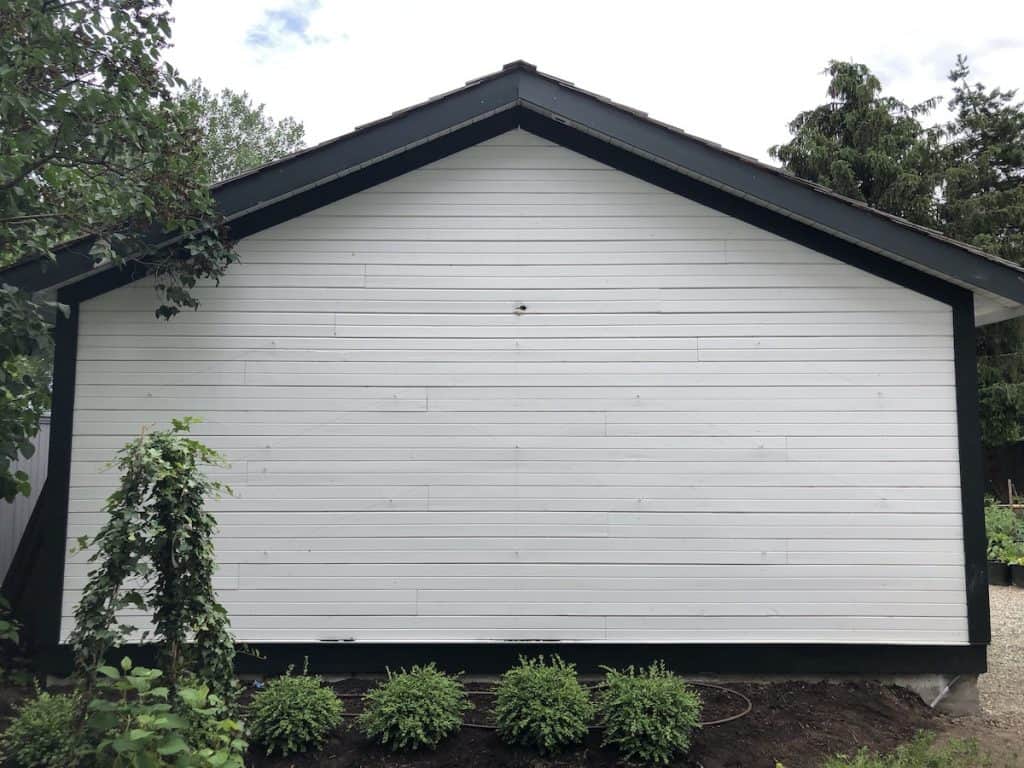
- Take a photo of the wall, and draw in the wire trellis lines as a mock-up. I chose to do the ever-popular diamond pattern.
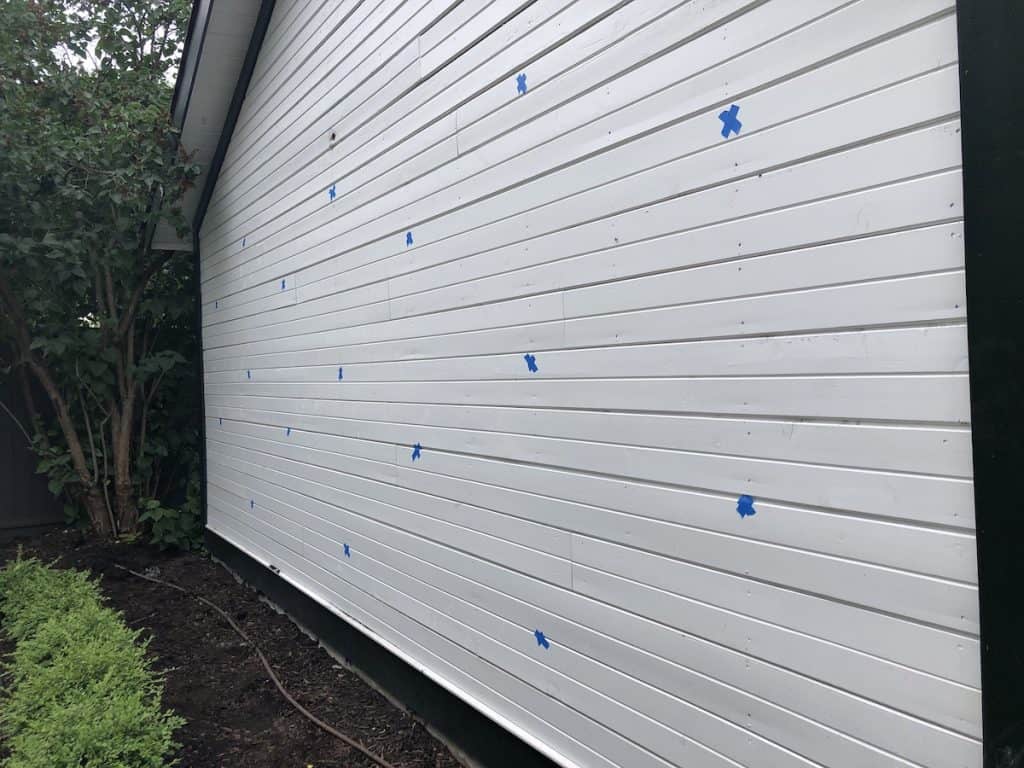
- Put tape “X” marks on the wall and move them around until the design is finalized.
- Make a plan for where each plant will be planted and how it will approach the trellis.
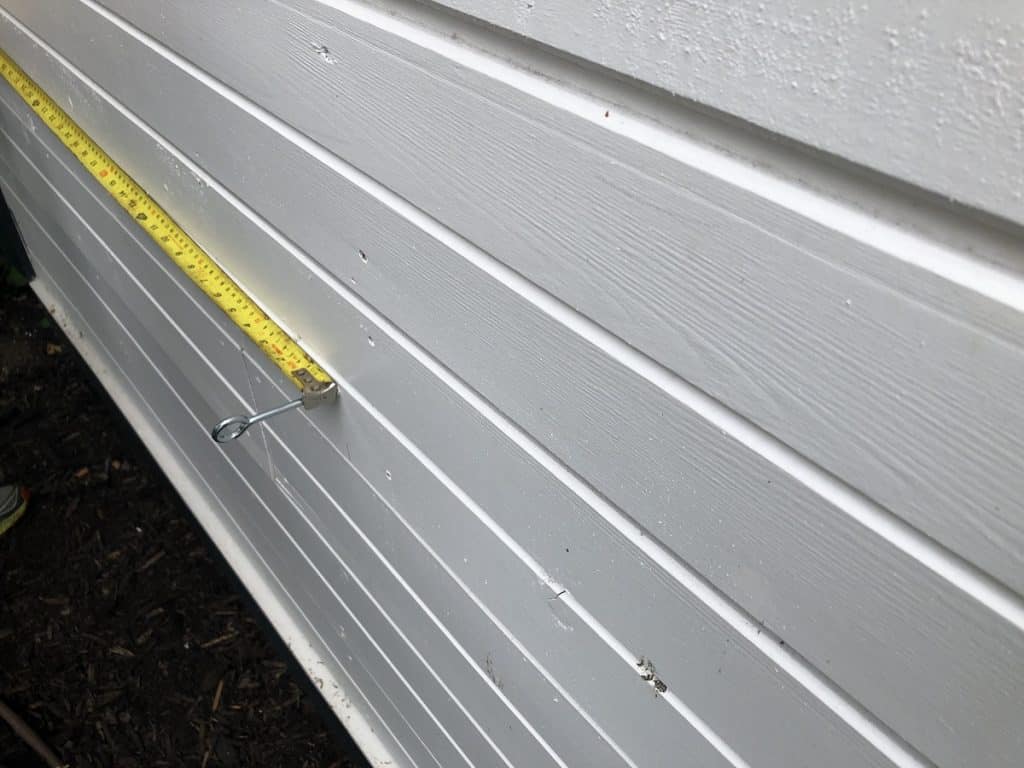
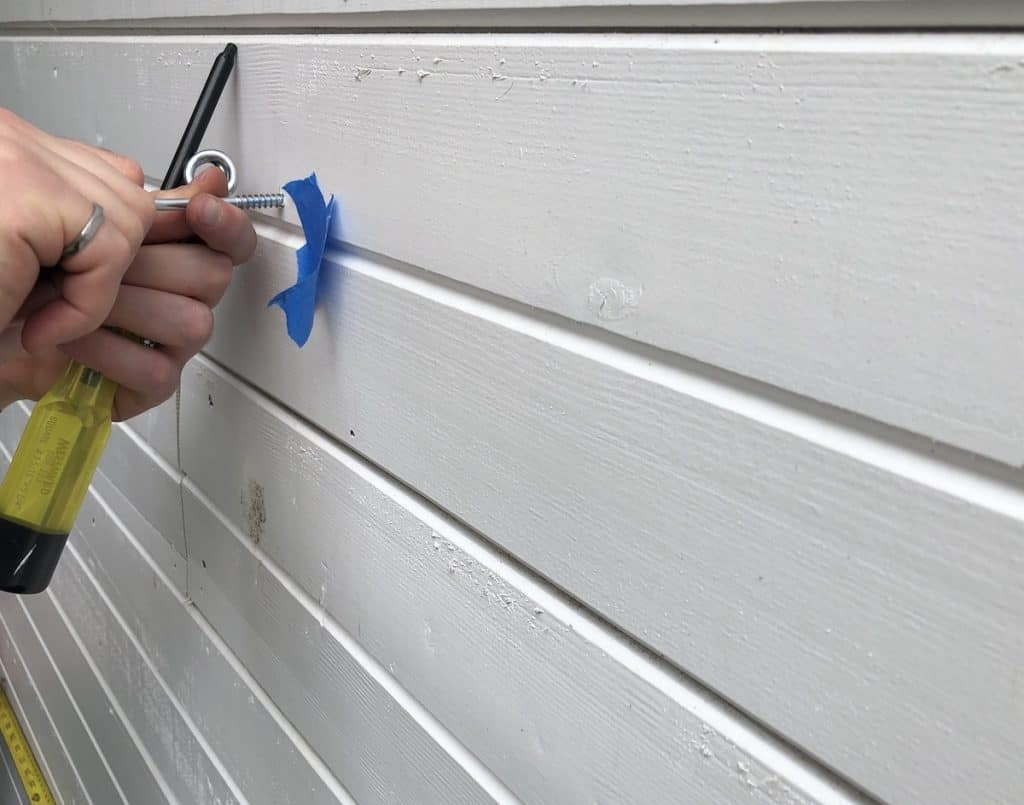
- Measure out each bolt spot and mark it with a pencil.
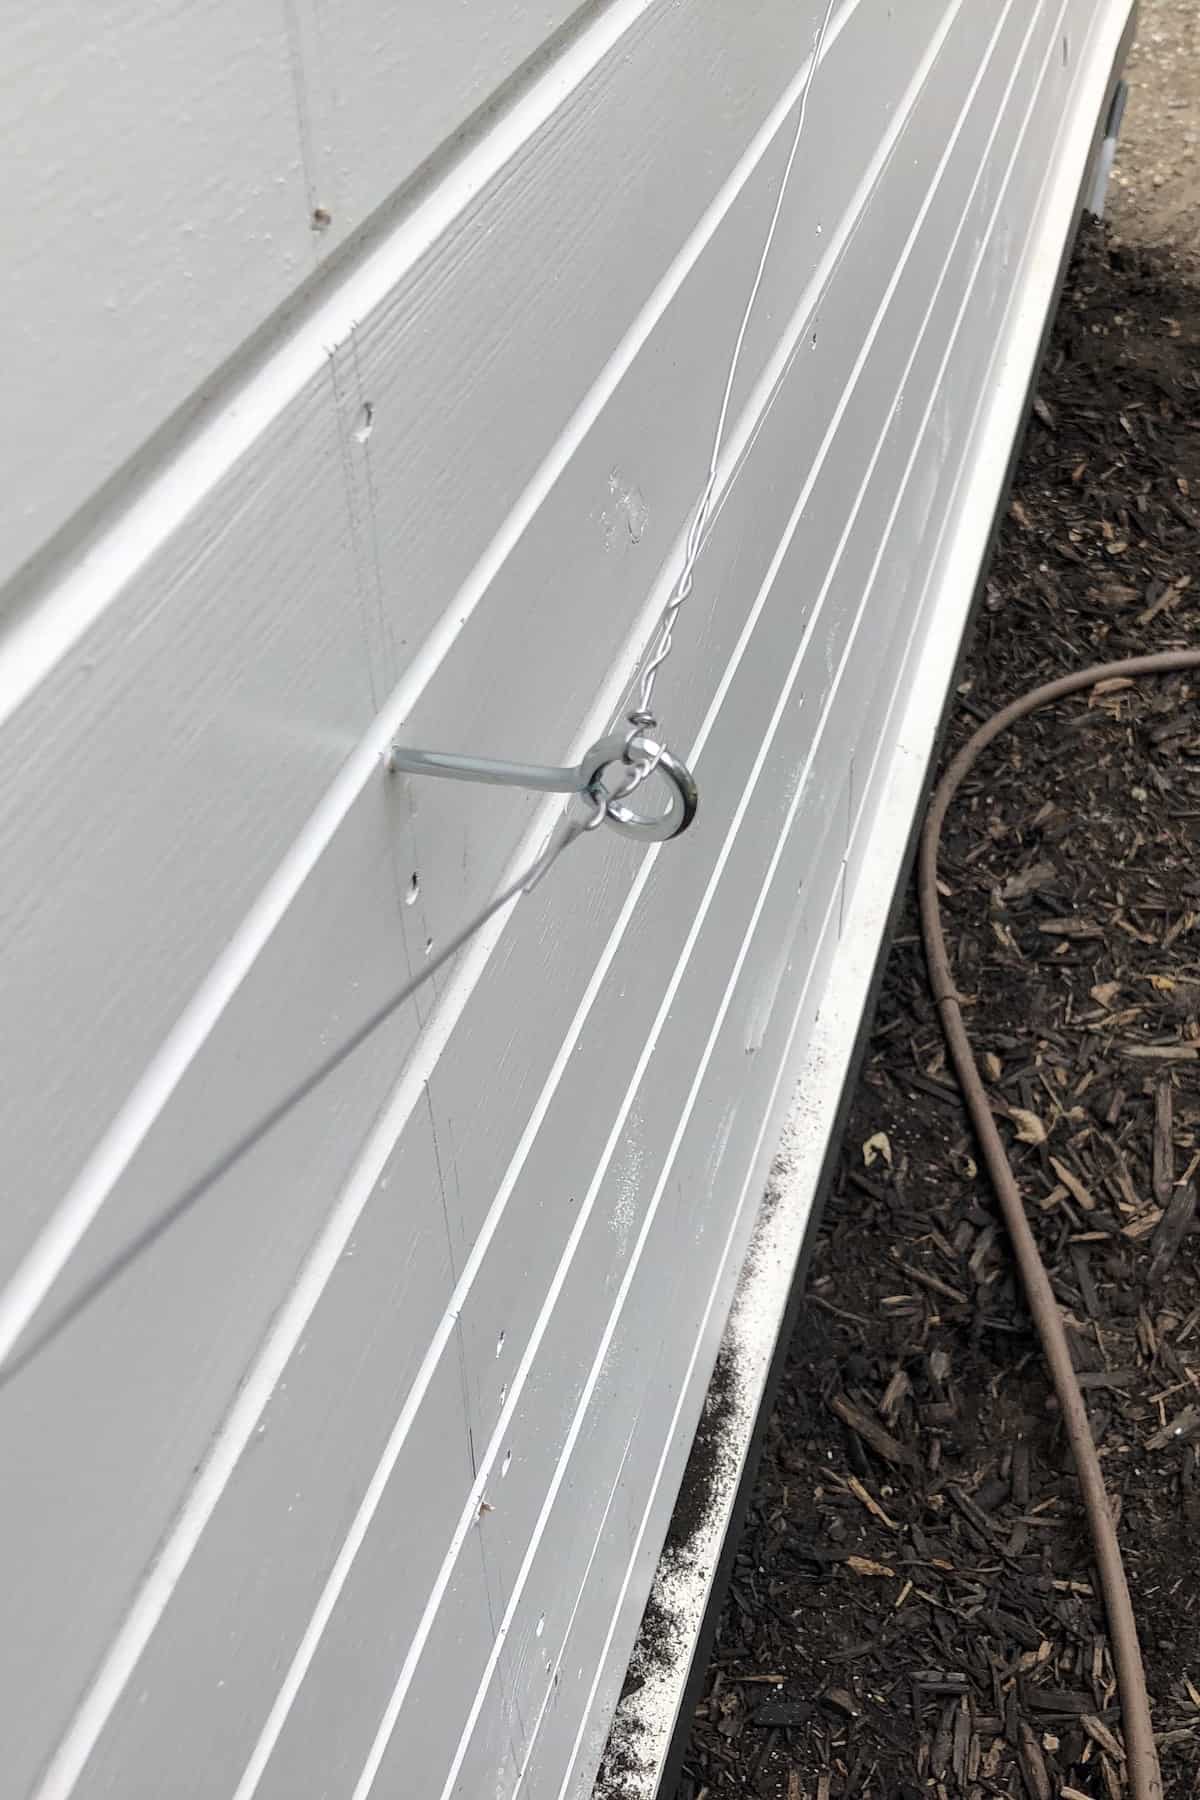
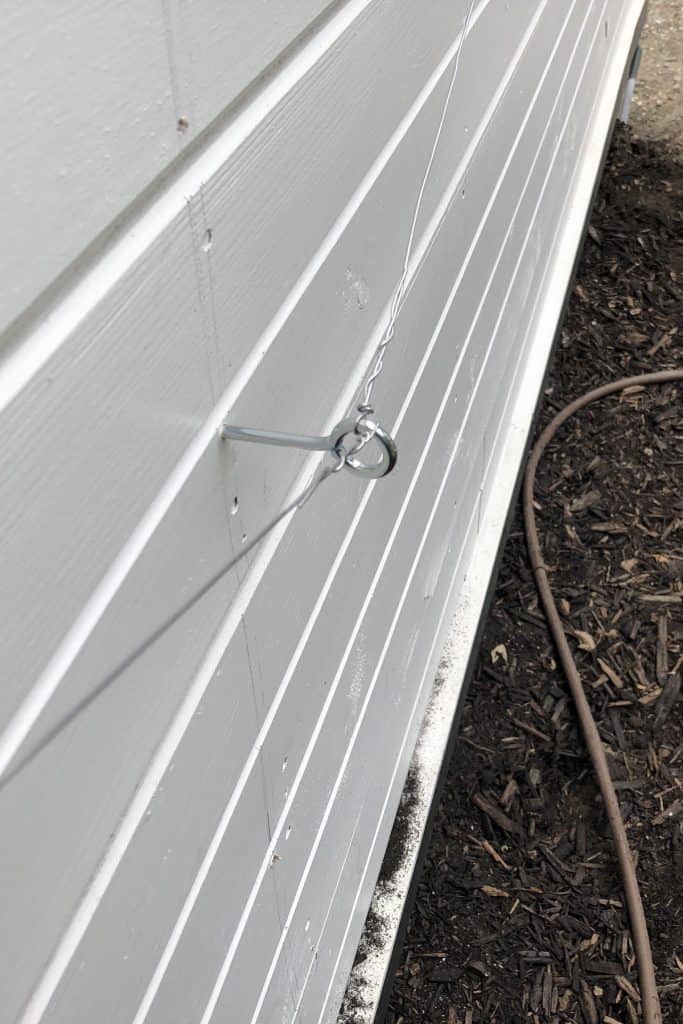
- Drill in the screw eye fasteners. Make sure to leave at least an inch of space between the wall and the spot where the wire will thread through the eye.
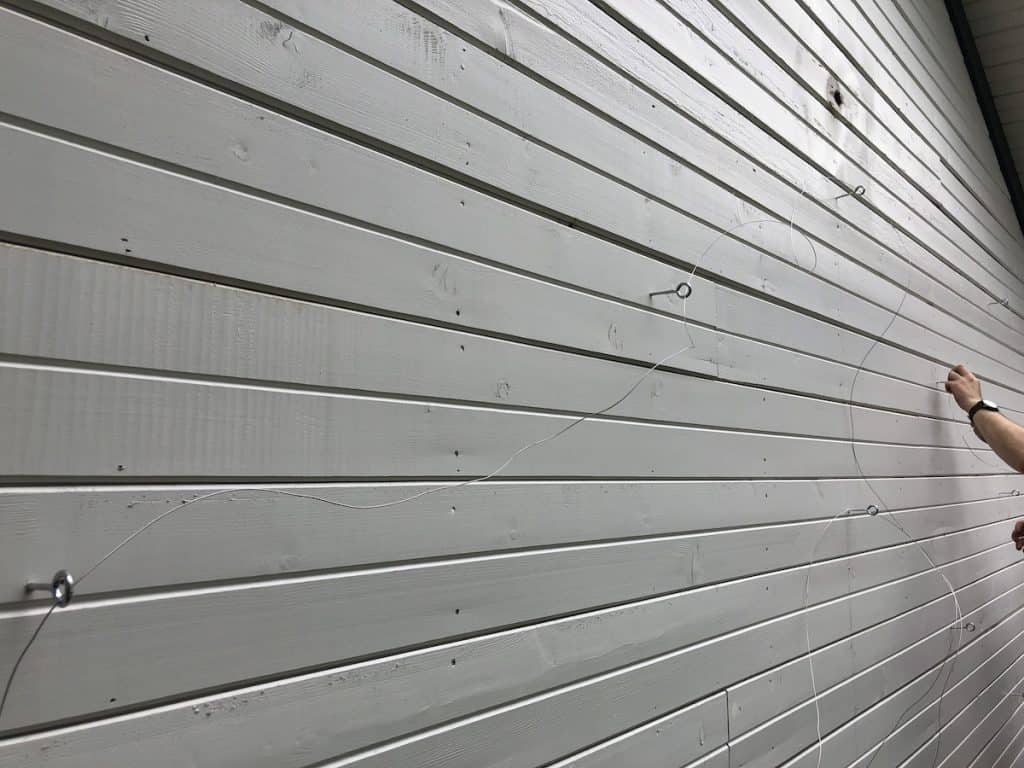
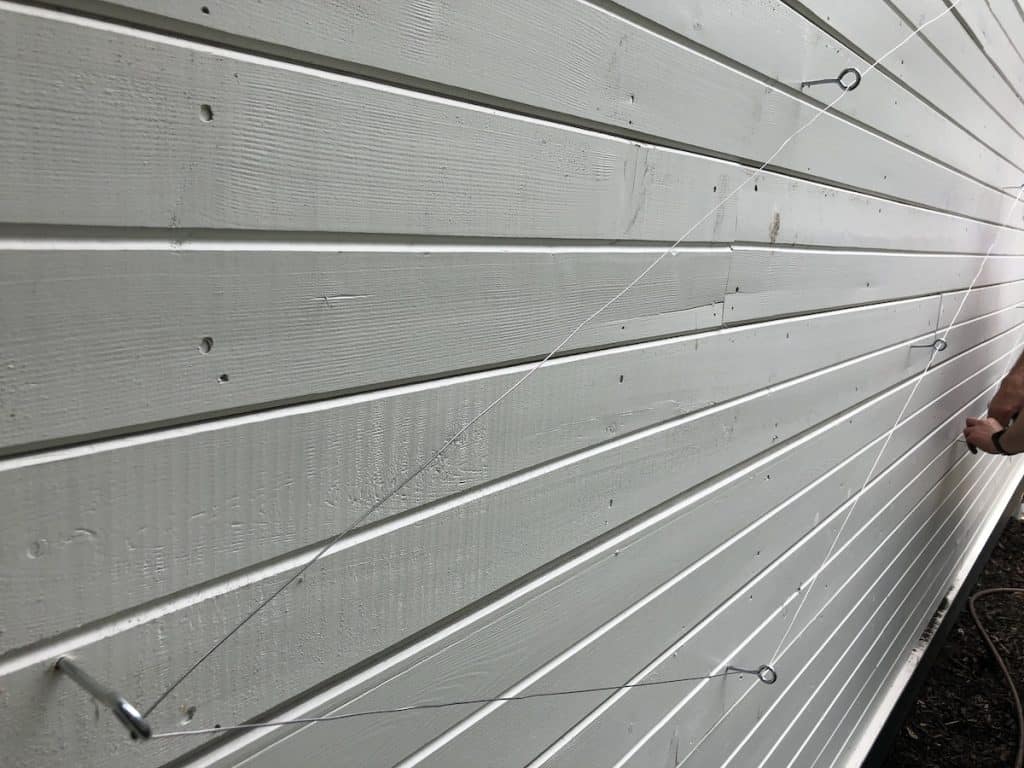
- Thread wire through eye bolts.
- Trim and secure the wire at the ends.
- Dig holes and plant the climbing plants.
- If the plant already has multiple stems, divide the above-ground stems into the required number of “pathways” at the first node.
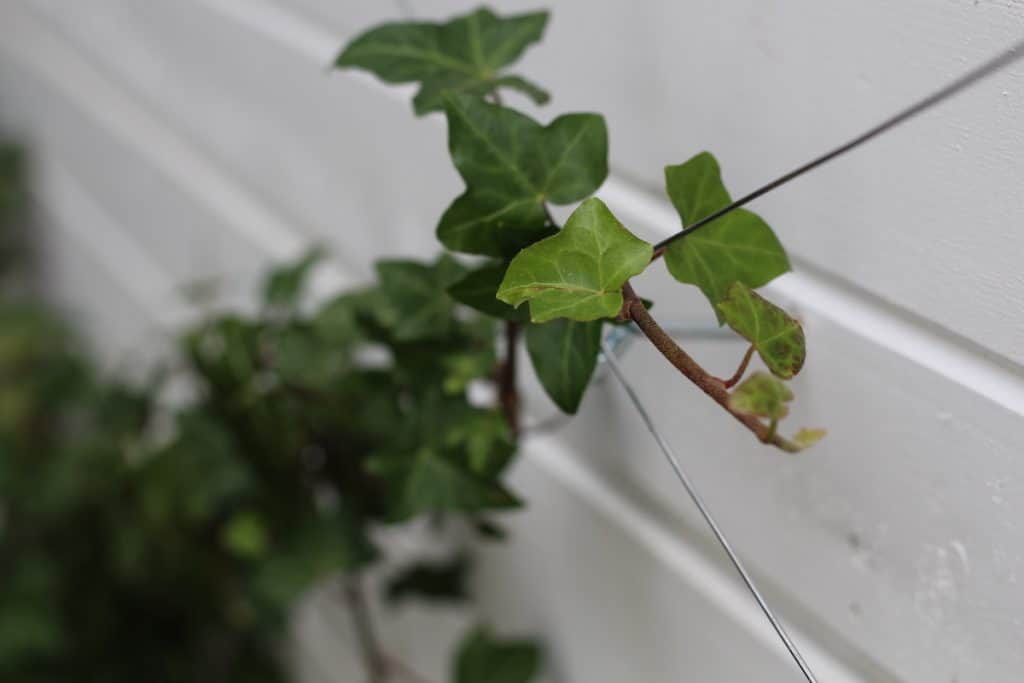
- Use tomato wire or twine to gently tie plant vines onto the wire trellis.
These are the steps I used for my DIY wall trellis. It has a bit of a modern look with the diamond shapes but also a bit of the classic appeal of a European garden.
Here is a video I made of the process from start to finish:
“Always install a trellis so that there is space of about 1 inch (2.5 cm) between the wall it’s against and the trellis itself. This will allow air to circulate behind the plant.”
Thrifty Gardening: From the Ground Up, by Marjorie Harris
Types of wire for a plant trellis
The wire used for a plant trellis is typically selected for its ability to act as a support framework while also resisting weathering from the elements. Here are some common types of wire used for trellising plants:
- Stainless Steel Wire
- Galvanized Wire
- Aluminum Wire
- Copper Wire
- Pre-Fab Wire Panels (Cattle Fencing)
The wire wall trellis I built used up most of two 50′ packages of 18-gauge aluminum wire from Home Depot. I had a little bit of wire left to make a simple wire guide for the neighboring Blue Moon wisteria that will grow along the other side of the garage. It’s just one piece of wire that goes from near the base of the plant up toward where I’d like the mature vine to grow.
The material, gauge, length, and fasteners chosen will depend on the specific wire trellis application. Plant trellis requirements vary by application and may use other materials like metal cables and/or additional fasteners like turnbuckles. Each application will vary.
“Climbers that produce substantial stems can be trained on taut, horizontal support wires. Use vine eyes to hold the wires 5cm (2in) away from the vertical surface, to provide room for the stems to grow and allow air to circulate behind the plant, to minimize diseases. Space the wires 25-45cm (10-18in) apart, depending on the climber, how strong its stems are and how vigorous it is.”
Pruning & Training (Royal Horticultural Society), by Geoff Hodge
Cost of trellis
So how much does a trellis cost? My wire trellis required 17 eye bolts at $0.65 each, along with two 50′ packages of aluminum wire at $5.80 each. After tax, the materials to make this wire trellis cost about $25 in total.
DIY trellis structures are generally cheaper than kits or landscaper-built trellises. This particular trellis covered quite a large area. A smaller trellis made with wire and eye bolts would likely cost much less than $25 for the project supplies.
“There is a timelessness to classic gardens that is often interpreted by other styles, fashions, and people. Influences from France, English country estates and grand designs on a large-scale landscape are primary drivers.”
Best Garden Design: Practical inspiration from the RHS Chelsea Flower Show, by Chris Young


