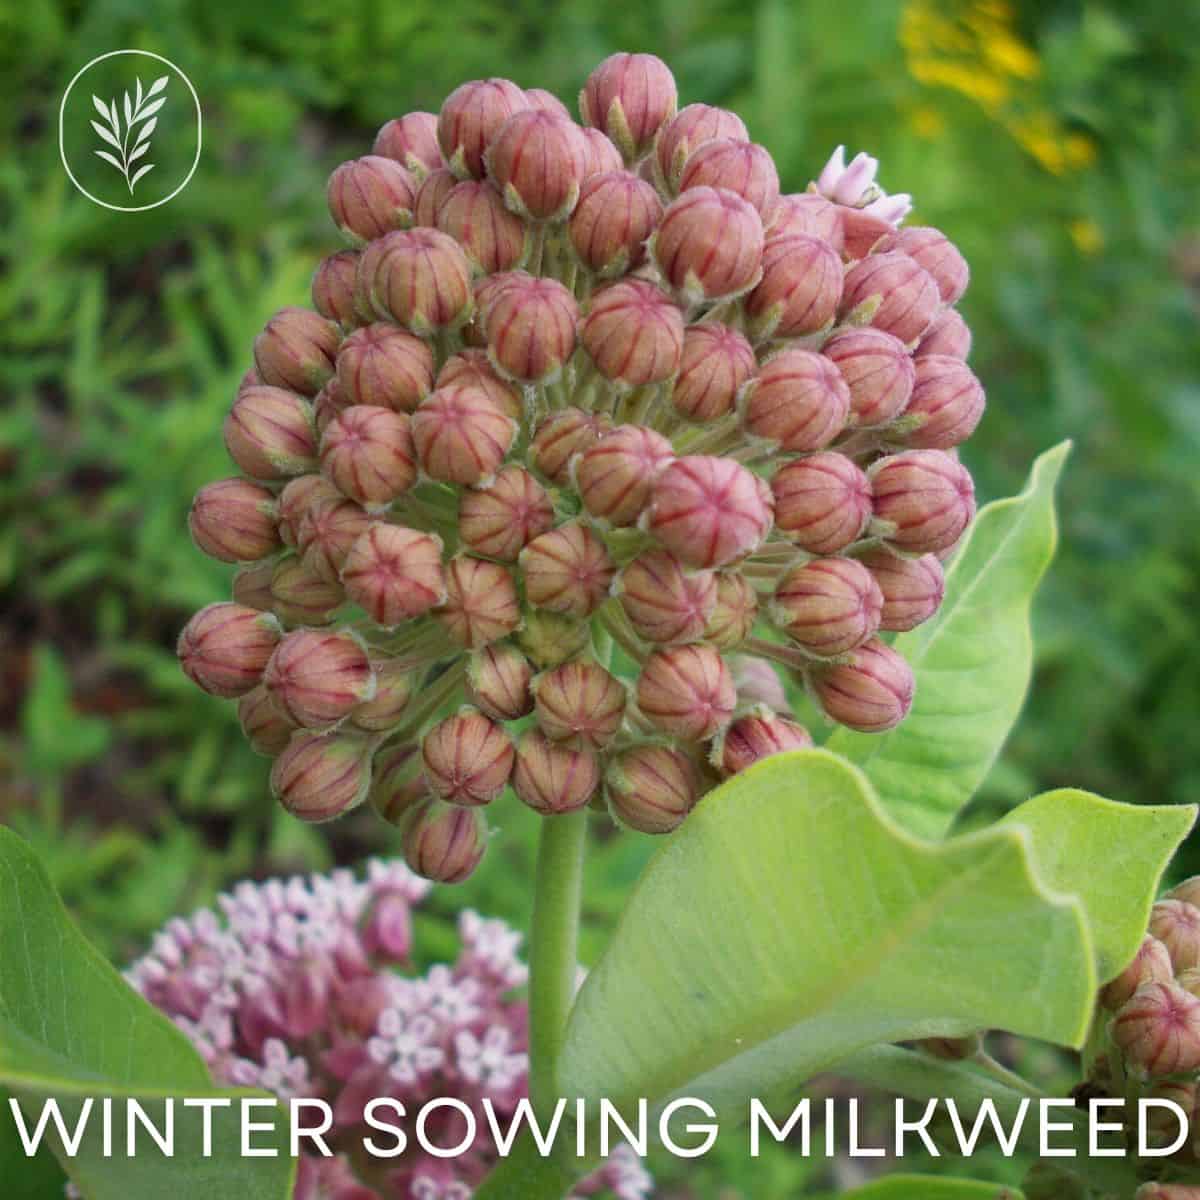
Welcome to winter sowing milkweed! Winter sowing is a simple and effective way of planting that requires minimal effort on your part – perfect for busy homeowners who want the satisfaction of gardening without taking up too much time or energy. By winter sowing milkweed you will not only help our environment by creating more habitat for butterflies and bees, but also benefit from beautiful blooms in your garden come springtime.
In this blog post we’ll cover the benefits of winter sowings as well as how to properly care for them so they thrive outdoors until transplanting into their permanent homes in late spring/early summer!
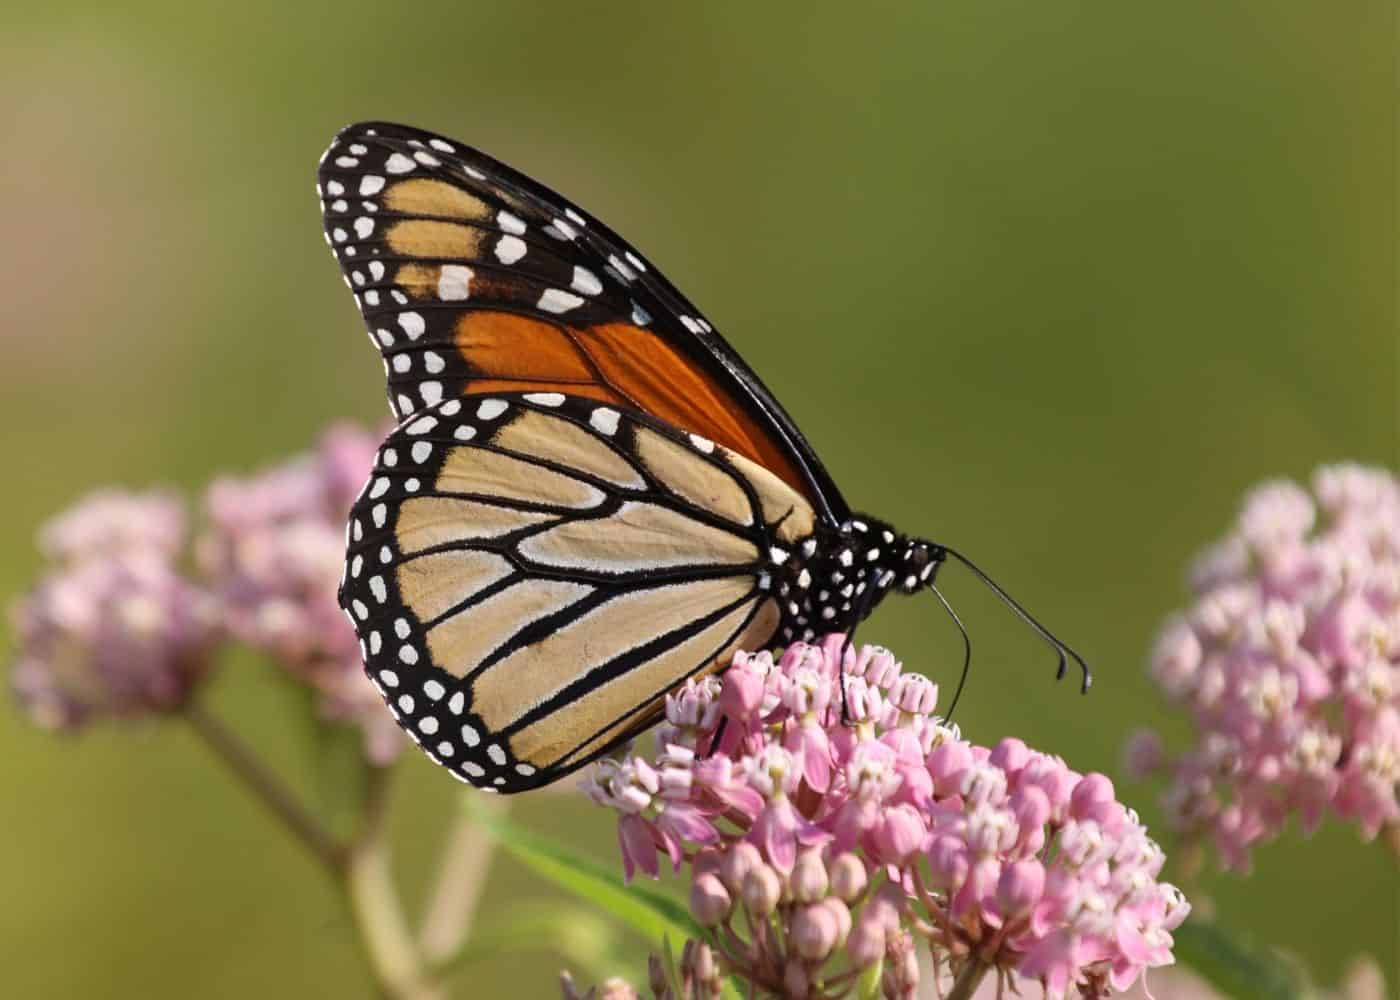
Winter sowing milkweed
Winter sowing milkweed is a great way to get started on your gardening journey. It’s an easy and cost-effective method of planting milkweed seeds outdoors in the winter months, allowing them to germinate and grow in the spring. This technique can help you establish a beautiful patch of milkweed in your garden without having to be an expert gardener.
Winter sowing has many benefits for both beginner and experienced gardeners alike. For starters, it eliminates the need for expensive equipment or complicated techniques such as stratification or cold storage that are often necessary when trying to start plants from seed indoors. Winter sowing also provides protection from animals who may otherwise eat or disturb newly planted seeds before they have had time to take root and begin growing.
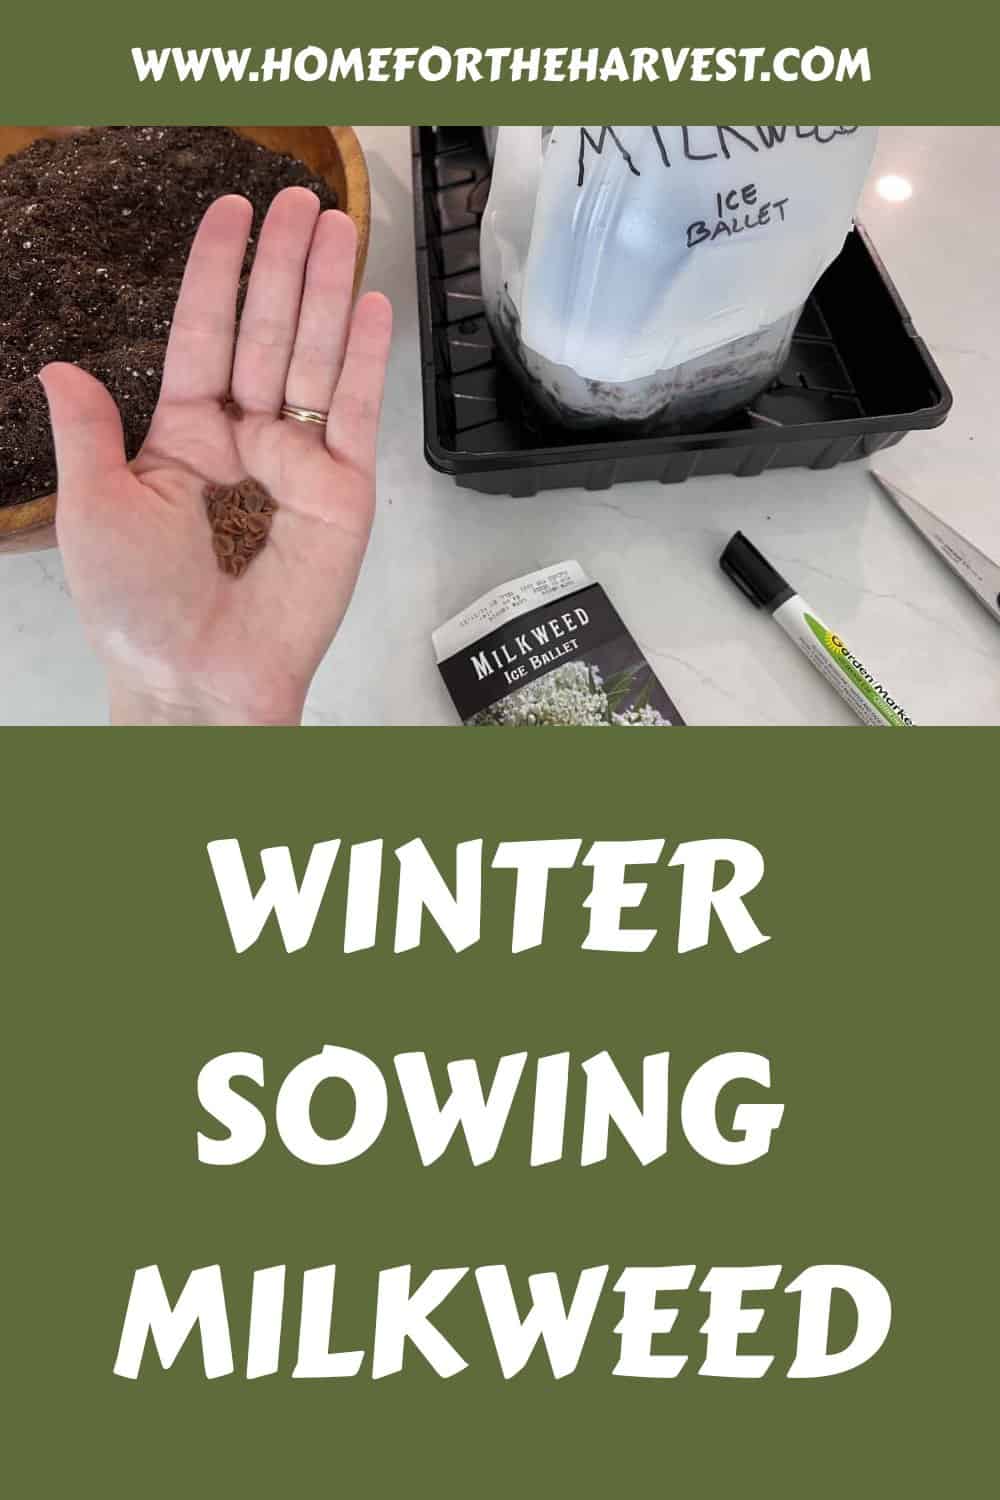
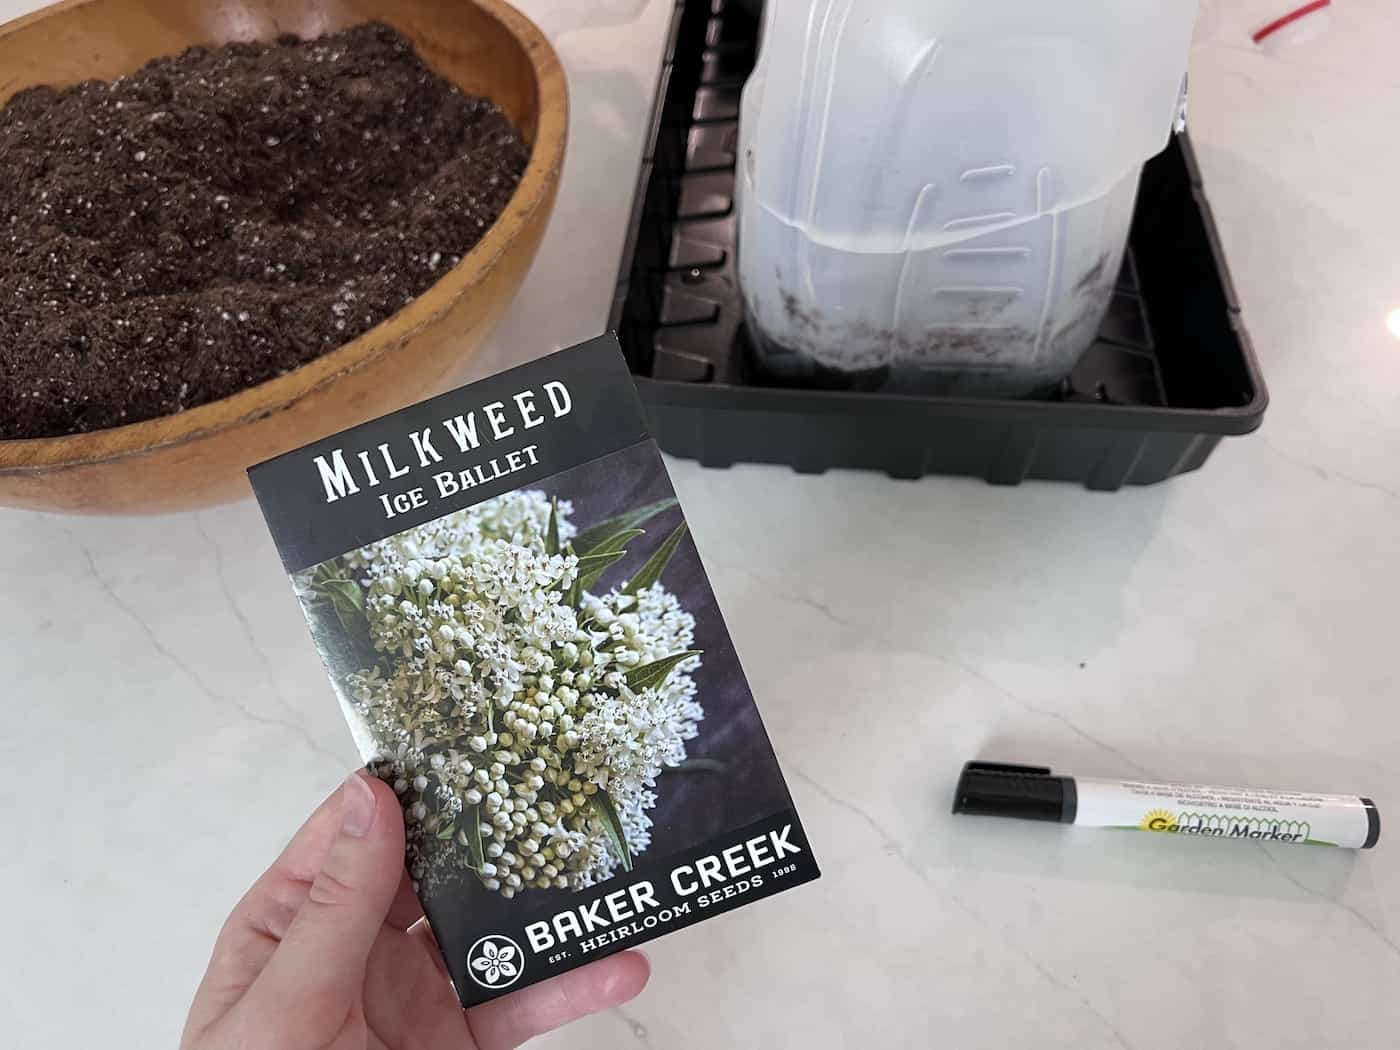
The process of winter sowing is fairly simple but requires some preparation beforehand so that your seeds will have the best chance at success come springtime. First off, gather all necessary supplies, including plastic containers with lids (such as milk jugs), potting mix, a garden marker, labels (for keeping track of what type/variety was planted), and finally – milkweed seeds.
Next, fill each container halfway with moist potting mix. It should be about 2-4 inches deep. Once everything is set up, label each container accordingly, then place a few milkweed seeds inside before sealing it shut with its lid. Wait until springtime, when you should see new growth emerging from within.
Once closed, these containers must remain outdoors, where they are exposed to cold temperatures and precipitation. Make sure not to move these containers around too much once placed since doing so could disrupt delicate root systems already established beneath surface-level soil layers and thus stunt their overall growth potential down the line further along the development timeline.
Once ready, transplanting these young seedlings should occur sooner rather than later. Carefully remove the entire container contents, taking special care not to break apart any fragile roots attached underneath surface-level soil layers. Then separate seedlings and replant directly into prepared outdoor beds, making sure to leave enough room between individual plants to allow ample breathing space between them all. Additionally, adding a mulch-topsoil mixture helps retain moisture levels in the surrounding area and ensures consistent hydration needs are met throughout the summer season ahead.
Winter sowing milkweed is a great way to ensure that the species can thrive in your garden, and with its many benefits, it’s definitely worth considering for your winter gardening. Now let’s explore the advantages of this method further.
How to winter sow milkweed seeds
To winter sow milkweed, you will need plastic containers with clear lids, potting soil, water, and milkweed seeds. Start by filling each container with potting soil and adding water until it is damp but not wet. Check to make sure excess water is draining out of the bottom (you usually have to punch some drainage holes).
Then add the milkweed seeds and cover them with a thin layer of soil. You can mist the seed bed with a water sprayer if you like. Then close up the containers. They shouldn’t be tightly sealed, but should be generally protected. Leave some air holes for proper air circulation and for a bit of gentle precipitation to enter. For milk jugs, this usually means taping the sides shut but leaving the caps off.
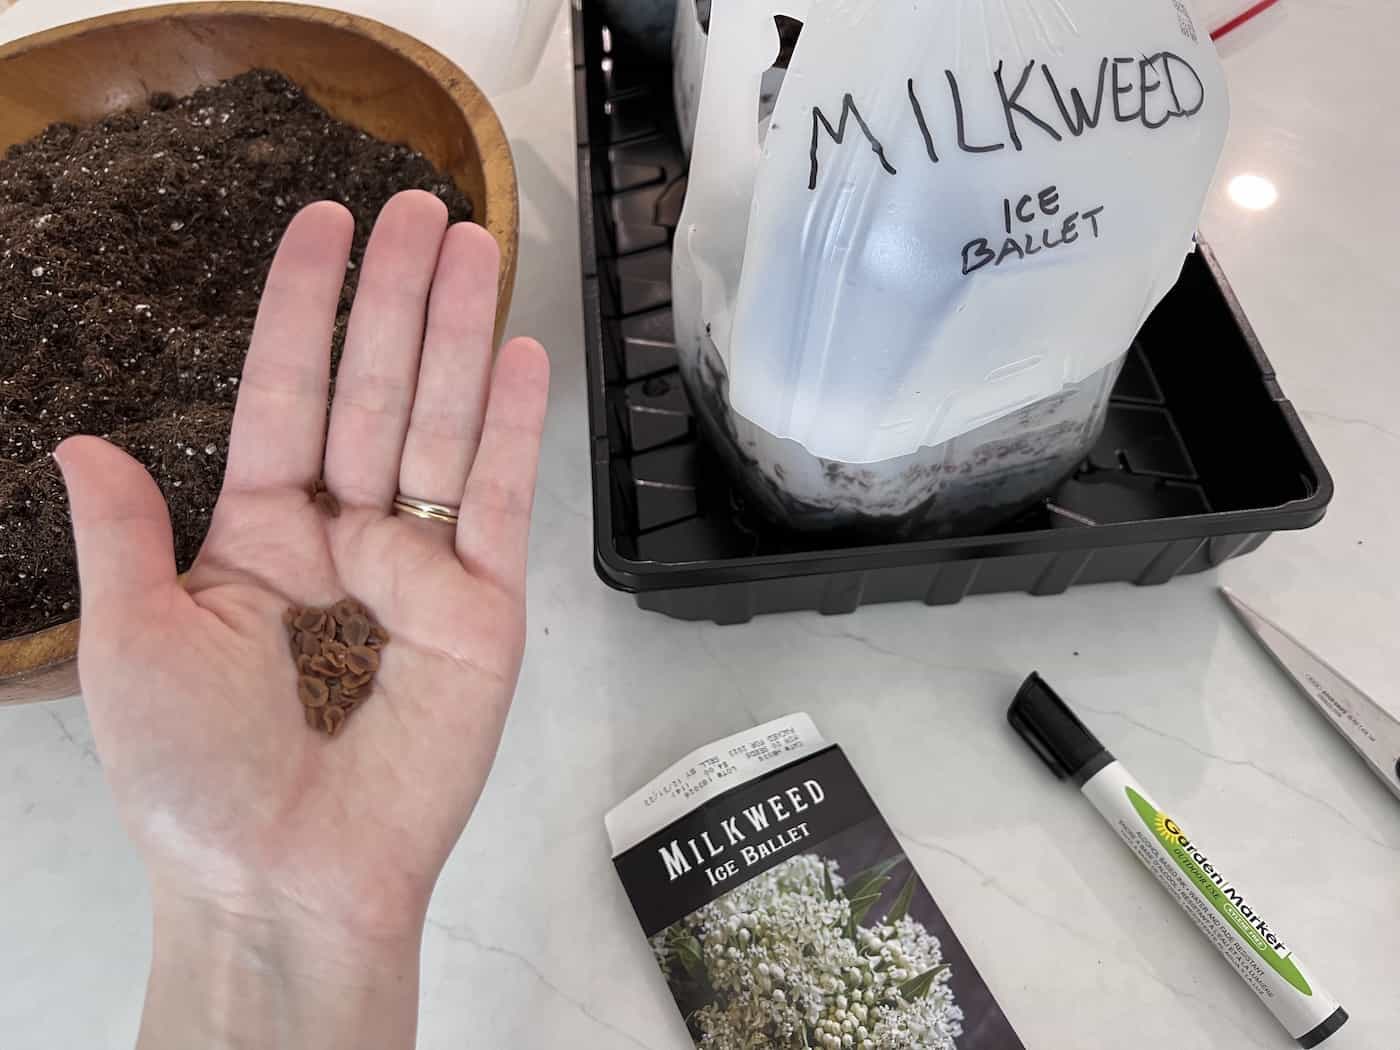
Place the containers outside in an area that receives at least 6 hours of sunlight per day and leave them there until springtime, when you can transplant them into your garden beds. They shouldn’t be hidden under an eave. Leave them out where they can get some natural rain or snow.
You don’t have to worry about these containers taking up too much space as they are small enough that they won’t be noticed during the cold months of winter while still providing protection from frost or snowfall for the developing seedlings inside. As soon as temperatures begin warming up in late winter/early spring, keep an eye out for signs of growth, such as sprouts emerging from the topsoil or leaves beginning to unfurl from their protective covering below ground level – this means it’s time to move those containers outdoors.
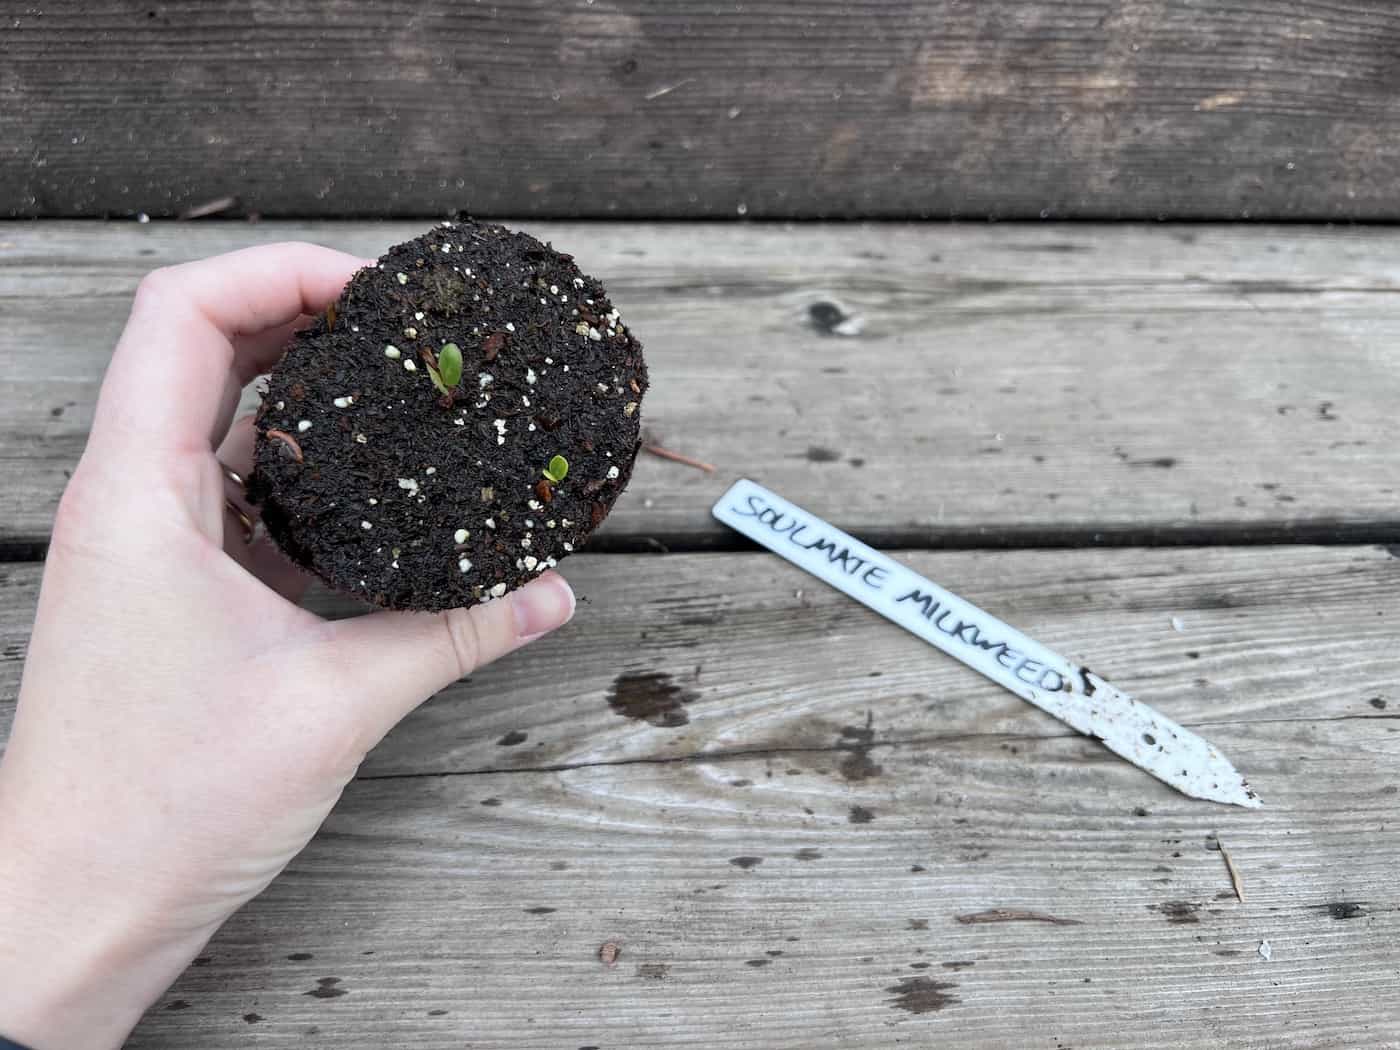
Caring for winter sown containers outdoors
Winter sowing is a great way to get your garden ready for the upcoming season. With winter sowing, you can start seeds in containers outdoors and then transplant them into your garden when they’re ready. Caring for winter sown containers outdoors requires some extra attention, but it’s worth it. Here are some tips on how to care for these special containers:
Watering
Watering is an important part of caring for winter-sown containers. The soil should be kept moist but not overly wet. If the soil becomes too dry, water gently until the moisture level returns to normal.
You may need to water more often during hot weather or if there hasn’t been much rain recently. It’s also important to make sure that any excess water drains away from the container so that roots don’t become waterlogged and rot.
Fertilizing
Fertilizing your winter-sown containers will help ensure healthy growth and development of plants as they grow larger and stronger over time. Use a balanced fertilizer during active growth periods. Be sure not to overfertilize; too much fertilizer (or too-concentrated fertilizers) can burn delicate seedlings.
Controlling pests
Weeds from surrounding areas can quickly take over a container if left unchecked, so keep an eye out for weeds sprouting up around your seedlings and remove them promptly before they have a chance to spread their roots further into the soil mix. Additionally, watch out for pests like aphids or caterpillars which may try to feed on young plants; handpick them off whenever possible or use an insecticidal soap spray as needed.
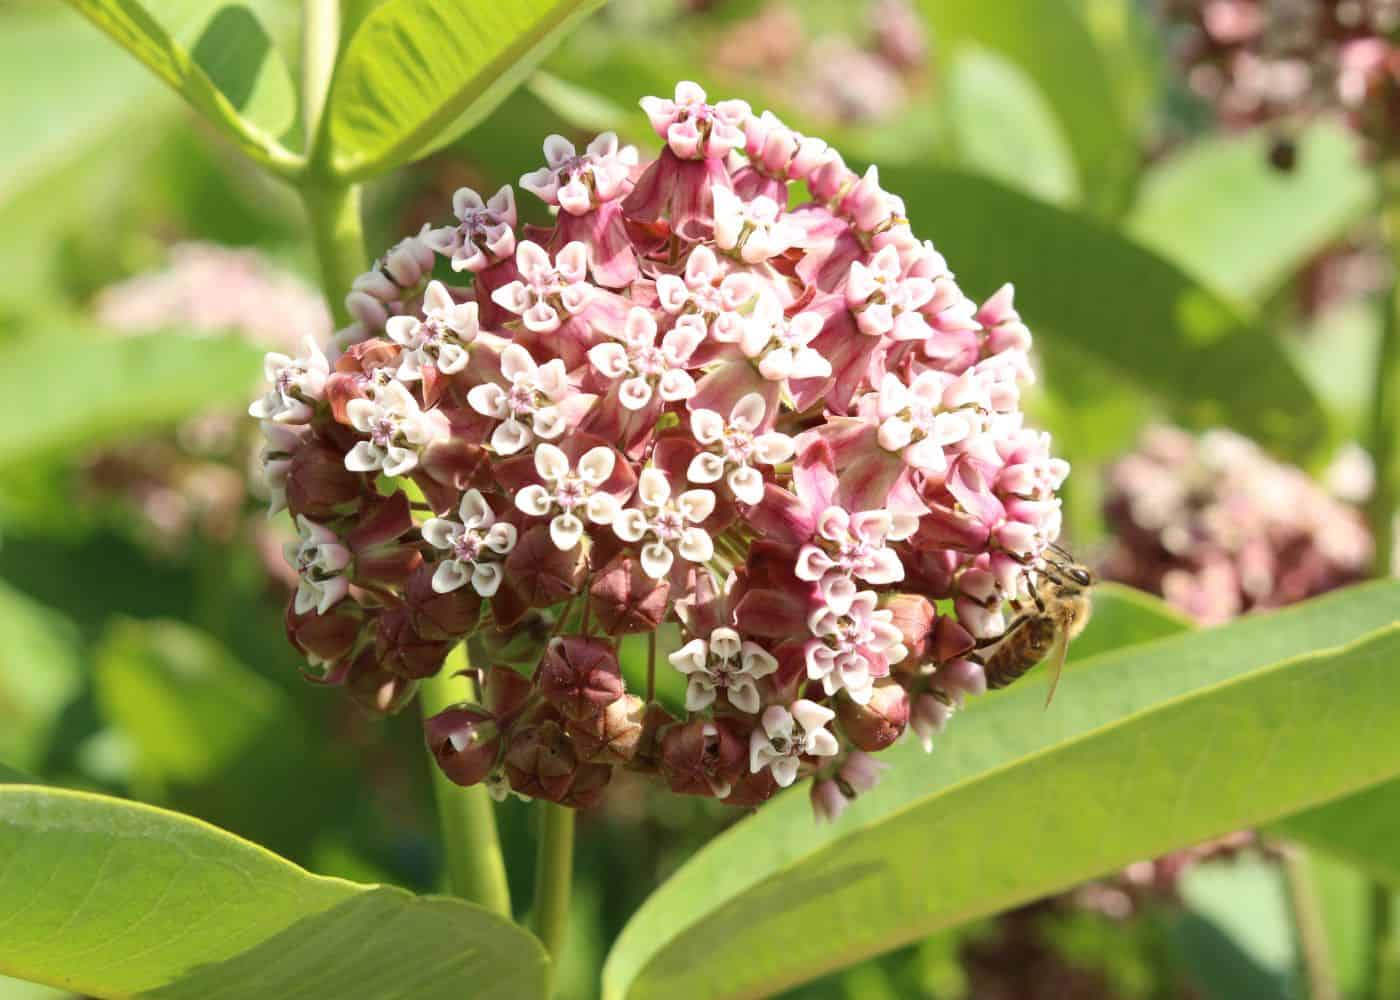
Transplanting milkweed seedlings
Milkweed seedlings can be transplanted when they are a few inches tall and are starting to grow true leaves. First, you need to prepare your garden bed by loosening the soil with a shovel or tiller before planting your seedlings about 6-12 inches apart from one another, depending on how large they will grow when they mature.
After planting, water them well but avoid over-watering as this can cause root rot in young plants. Lastly, mulch around them to help retain moisture and keep weeds away while they establish themselves in their new home.
FAQs about winter sowing milkweed
What is the best time to plant milkweed seeds?
The best time to plant milkweed seeds is in the late fall or early spring. Planting them at this time allows for optimal germination and growth, as the soil temperature is ideal for seed development. This also ensures that the plants will have enough time to establish themselves before winter sets in. It’s important to note that planting too early can lead to poor germination rates due to cold temperatures and frost damage, so it’s best not to rush into planting your milkweed seeds.
How long do you cold-stratify milkweed seeds?
Milkweed seeds typically require cold stratification in order to germinate. This process usually takes between 30 and 90 days, depending on the species of milkweed. Cold stratification involves exposing the seeds to temperatures below 40°F for a period of time before planting them. During this time, the seed coats soften and allow moisture to penetrate into the seed, which triggers germination when planted in warm soil. To ensure successful germination, it is important to keep the temperature consistent during cold stratification and plant immediately after completion.
Can you sow milkweed in the fall?
Yes, you can sow milkweed in the fall. Milkweed is a perennial plant that grows best when planted in the late summer or early fall. Planting milkweed during this time allows it to establish itself before winter arrives and gives it plenty of time to grow strong roots for spring growth. It’s important to choose a location with well-draining soil and full sun exposure for optimal growth. Additionally, make sure to water your newly planted milkweed regularly until established. With proper care, your new milkweed will be ready for blooming come springtime.
Before you go…
It’s an easy and rewarding process that can be done with minimal effort yet still provide you with beautiful blooms of milkweed in the spring. With just a few simple steps, you can have your own winter-sown containers full of healthy milkweed seedlings ready to transplant into your garden or landscape. So why not give it a try this year? You won’t regret it!
Winter sowing milkweed is a great way to help the environment! Planting this hardy perennial can provide much-needed food and shelter for pollinators like bees and butterflies. Not only does it benefit our local wildlife, but it also provides us with beautiful blooms in late summer. Let’s work together to make sure that winter-sown milkweed has a home in every garden this season – join us as we create healthier habitats for all of nature’s creatures!


