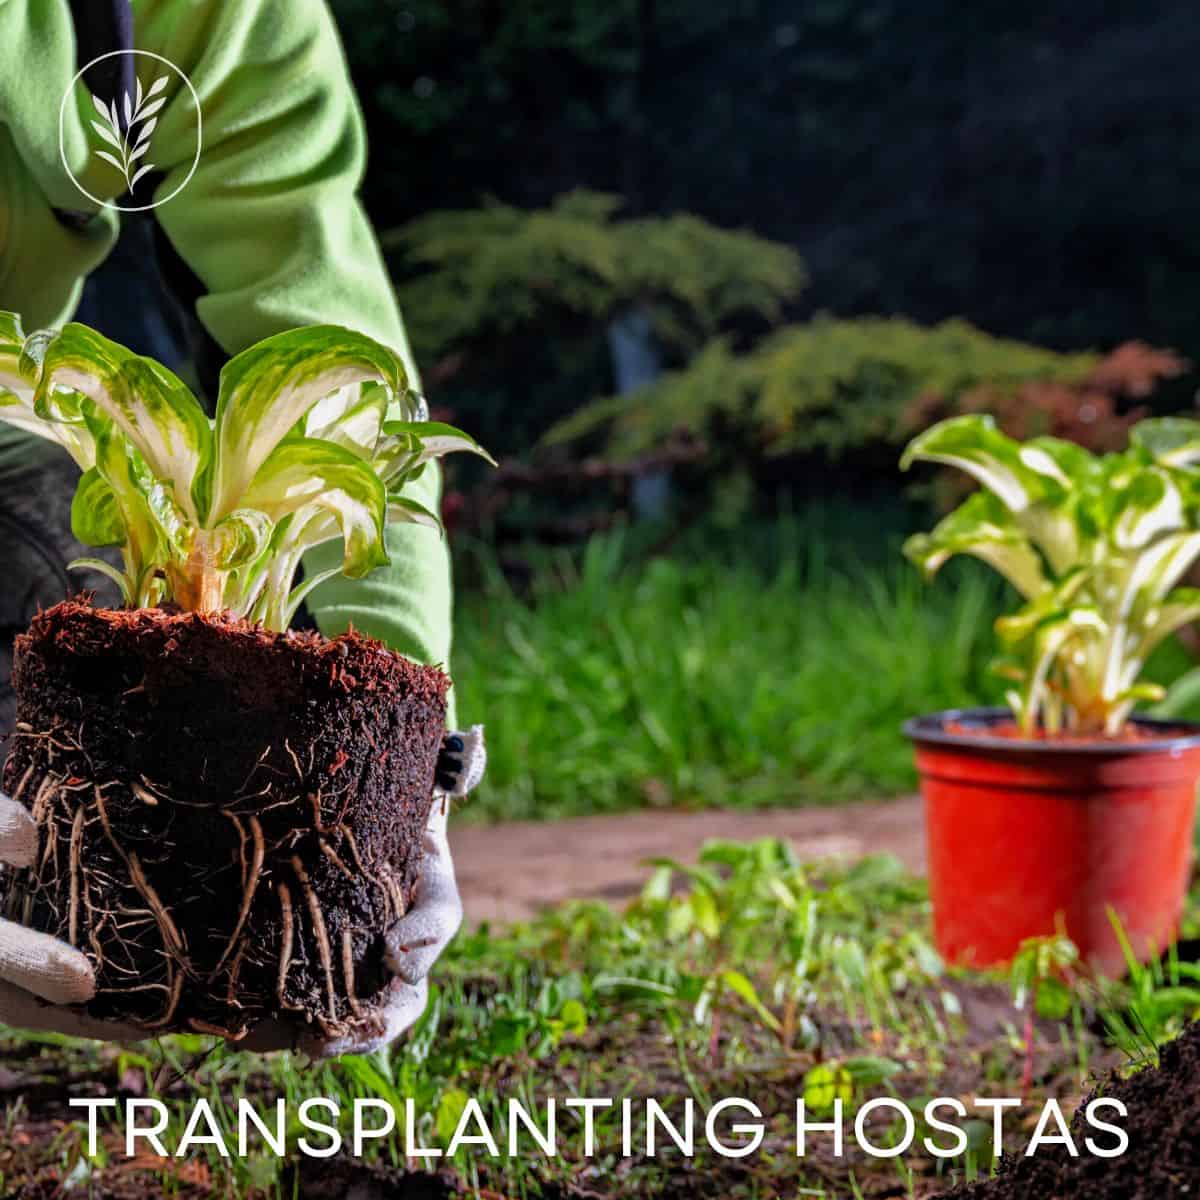
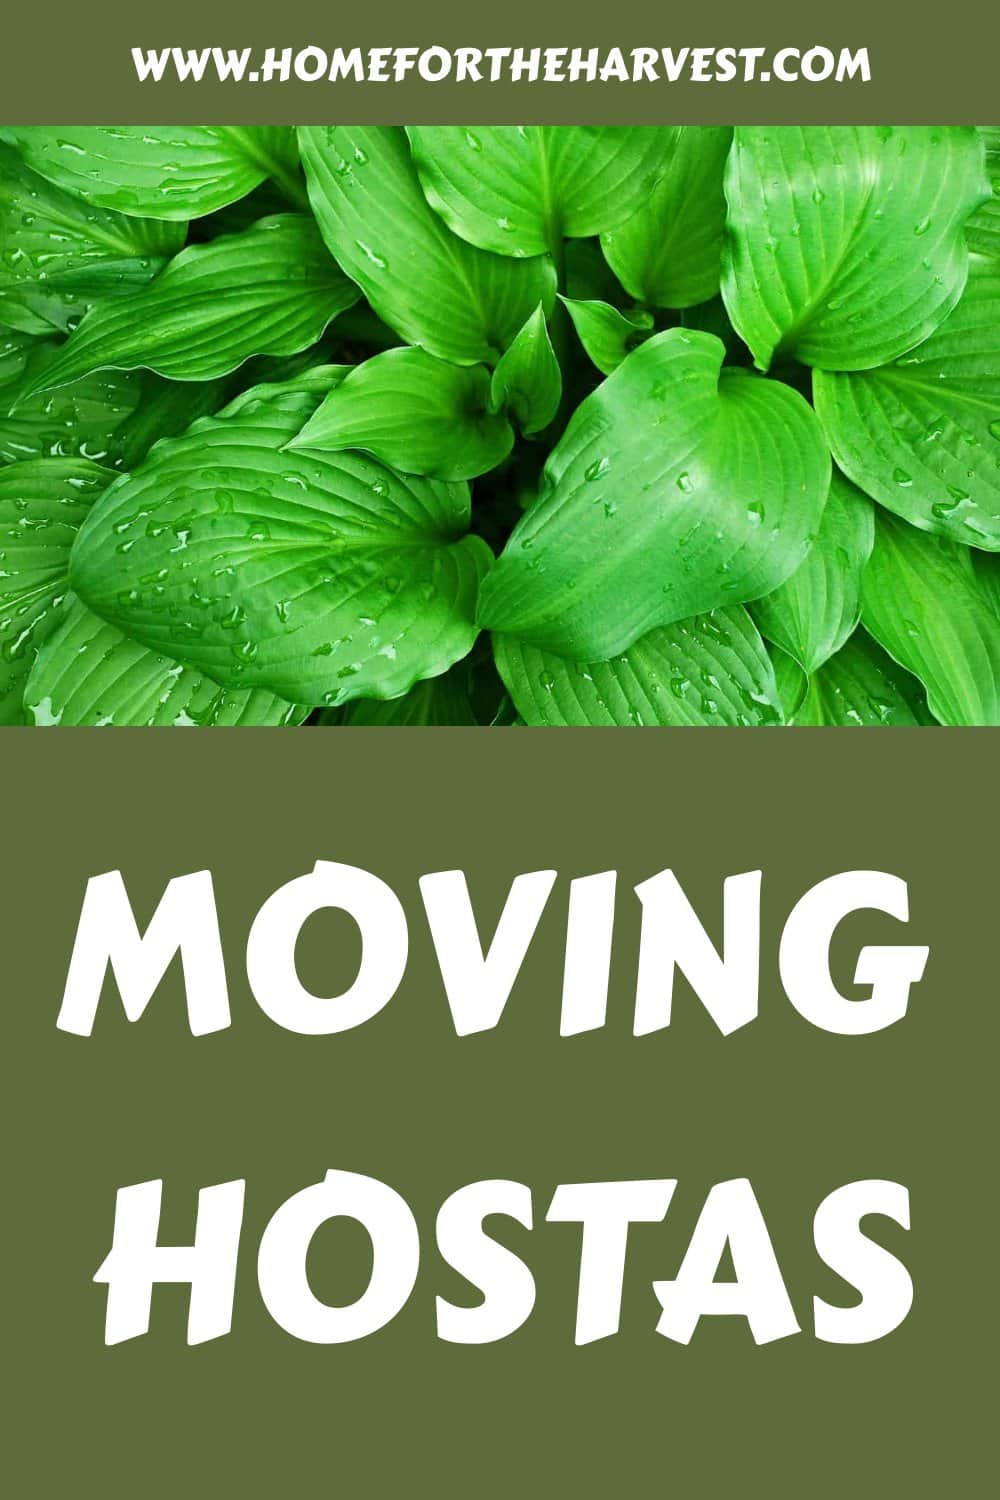
Transplanting hostas is best done in the spring or early fall. Start by digging a planting hole at the new location. Then dig a wide circle around the base of the plant, keeping the clump together if possible. The hosta can be divided into smaller pieces at this point or transplanted whole to the new location.
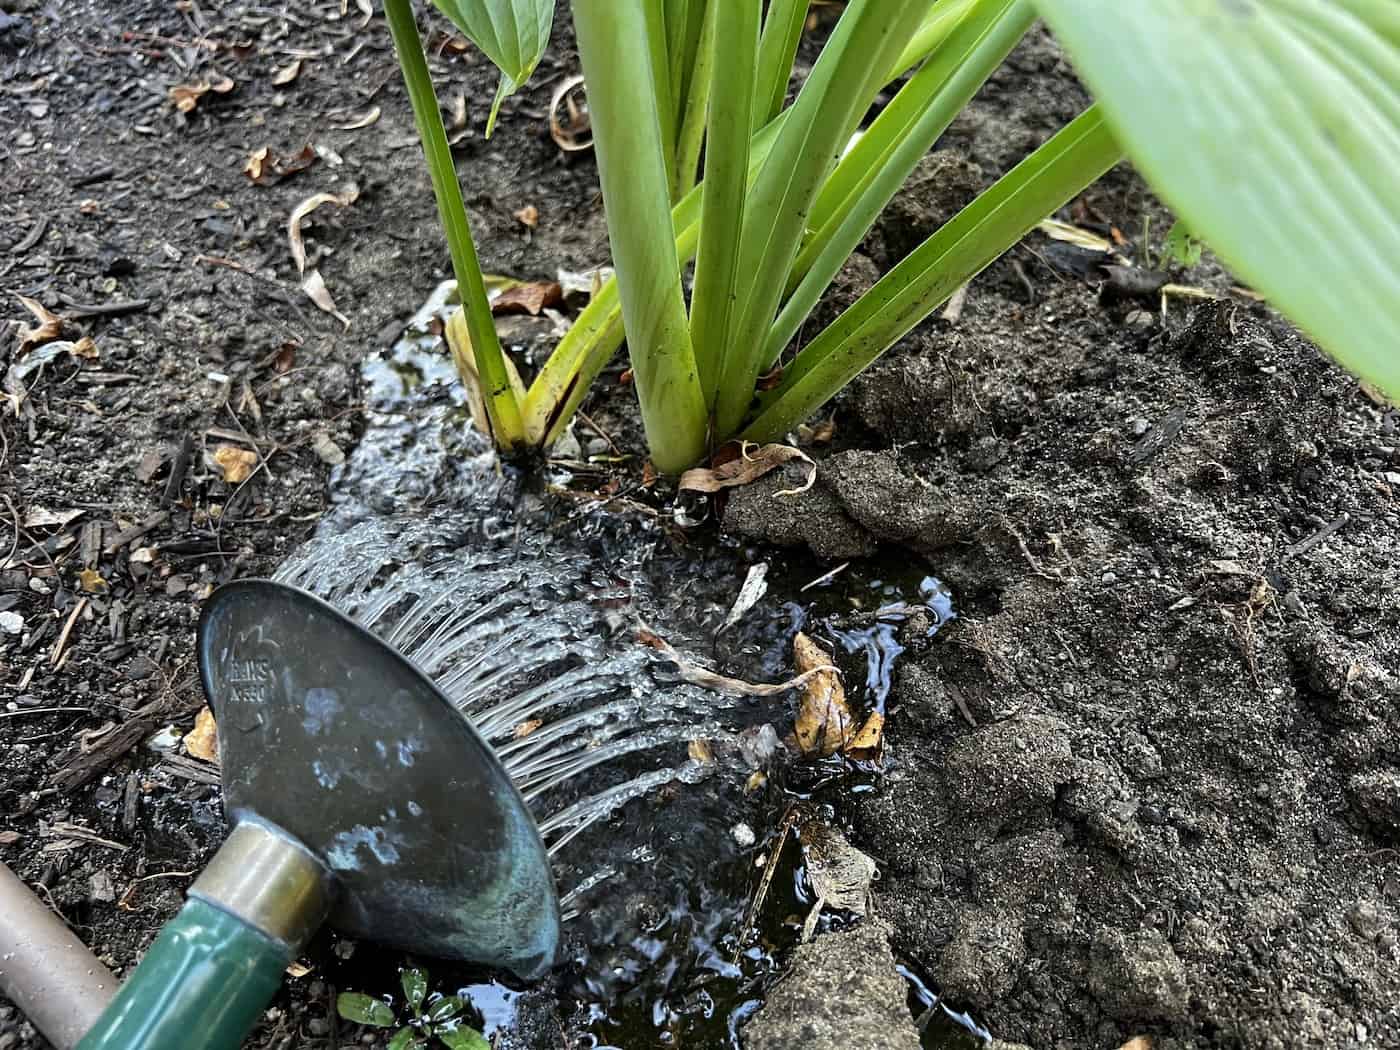
Carefully set the clump down into the planting hole. Backfill gently with the soil that came out of the planting hole. Water thoroughly after transplanting.
The basics of transplanting hostas
Hostas can be readily transplanted to a new location. While these plants aren’t particularly quick to establish, they are also tolerant of the root disturbance that transplanting entails. For this reason, transplanting hostas is a great way to fill in gaps in your garden or move them to a more suitable location.
Seasonal considerations for hosta transplanting
The best time to transplant hostas is in the spring after new growth has appeared. A good time to transplant them is right after their first flush of young spring leaves but before the true heat of summer arrives. You can also transplant them in the fall, but be sure to do so before the first frost. Try to do your hosta transplanting six weeks before the first hard frost, if possible, to give the soil time to settle and the roots to start to venture out of the transplanted clump and planting hole.
Transplanting hostas from one location to another is best done as quickly as possible. Dig the new planting hole before disturbing the hosta from its original location. Also, make sure the hosta has been watered consistently. Lastly, try to do your transplanting on a cool, overcast time of day rather than during a hot sunny spell.
Hosta transplanting steps
Here are the basic steps for transplanting hostas:
- Dig a new planting hole for the hosta in its future location. The best spots for most hosta varieties tend to have dappled sunlight in the morning, followed by full shade in the afternoon. They also grow best in rich organic soil that drains water easily.
- Dig a wide circular hole around the base of the hosta plant. Hosta roots tend to extend as far out as the foliage (or even further). If the size of the hosta allows, try to dig out the entire plant at once. Very large hostas may have a basal clump that is simply too large to dig up in one piece and transplant by hand.
- Carefully lift the root ball of the hosta out of the original hole. Try not to disturb the roots (although hostas are somewhat tolerant of root disturbance.
- Place the soil clump into a wheelbarrow, garden cart, or another mode of transportation and move it over to its new planting location.
- Place the soil clump down into the prepared planting hole. The soil at the base of the hosta should be at the same elevation as the soil surrounding the planting hole. Adjust the depth of the planting hole if required so that the hosta isn’t planted too deep or too high in comparison to the garden bed around it.
- Backfill the sides of the hole carefully, trying to fill any voids with soil and not leaving big gaps in the ground.
- Water the hosta thoroughly after transplanting and consistently for the weeks and months following the move.
Dividing hostas while transplanting
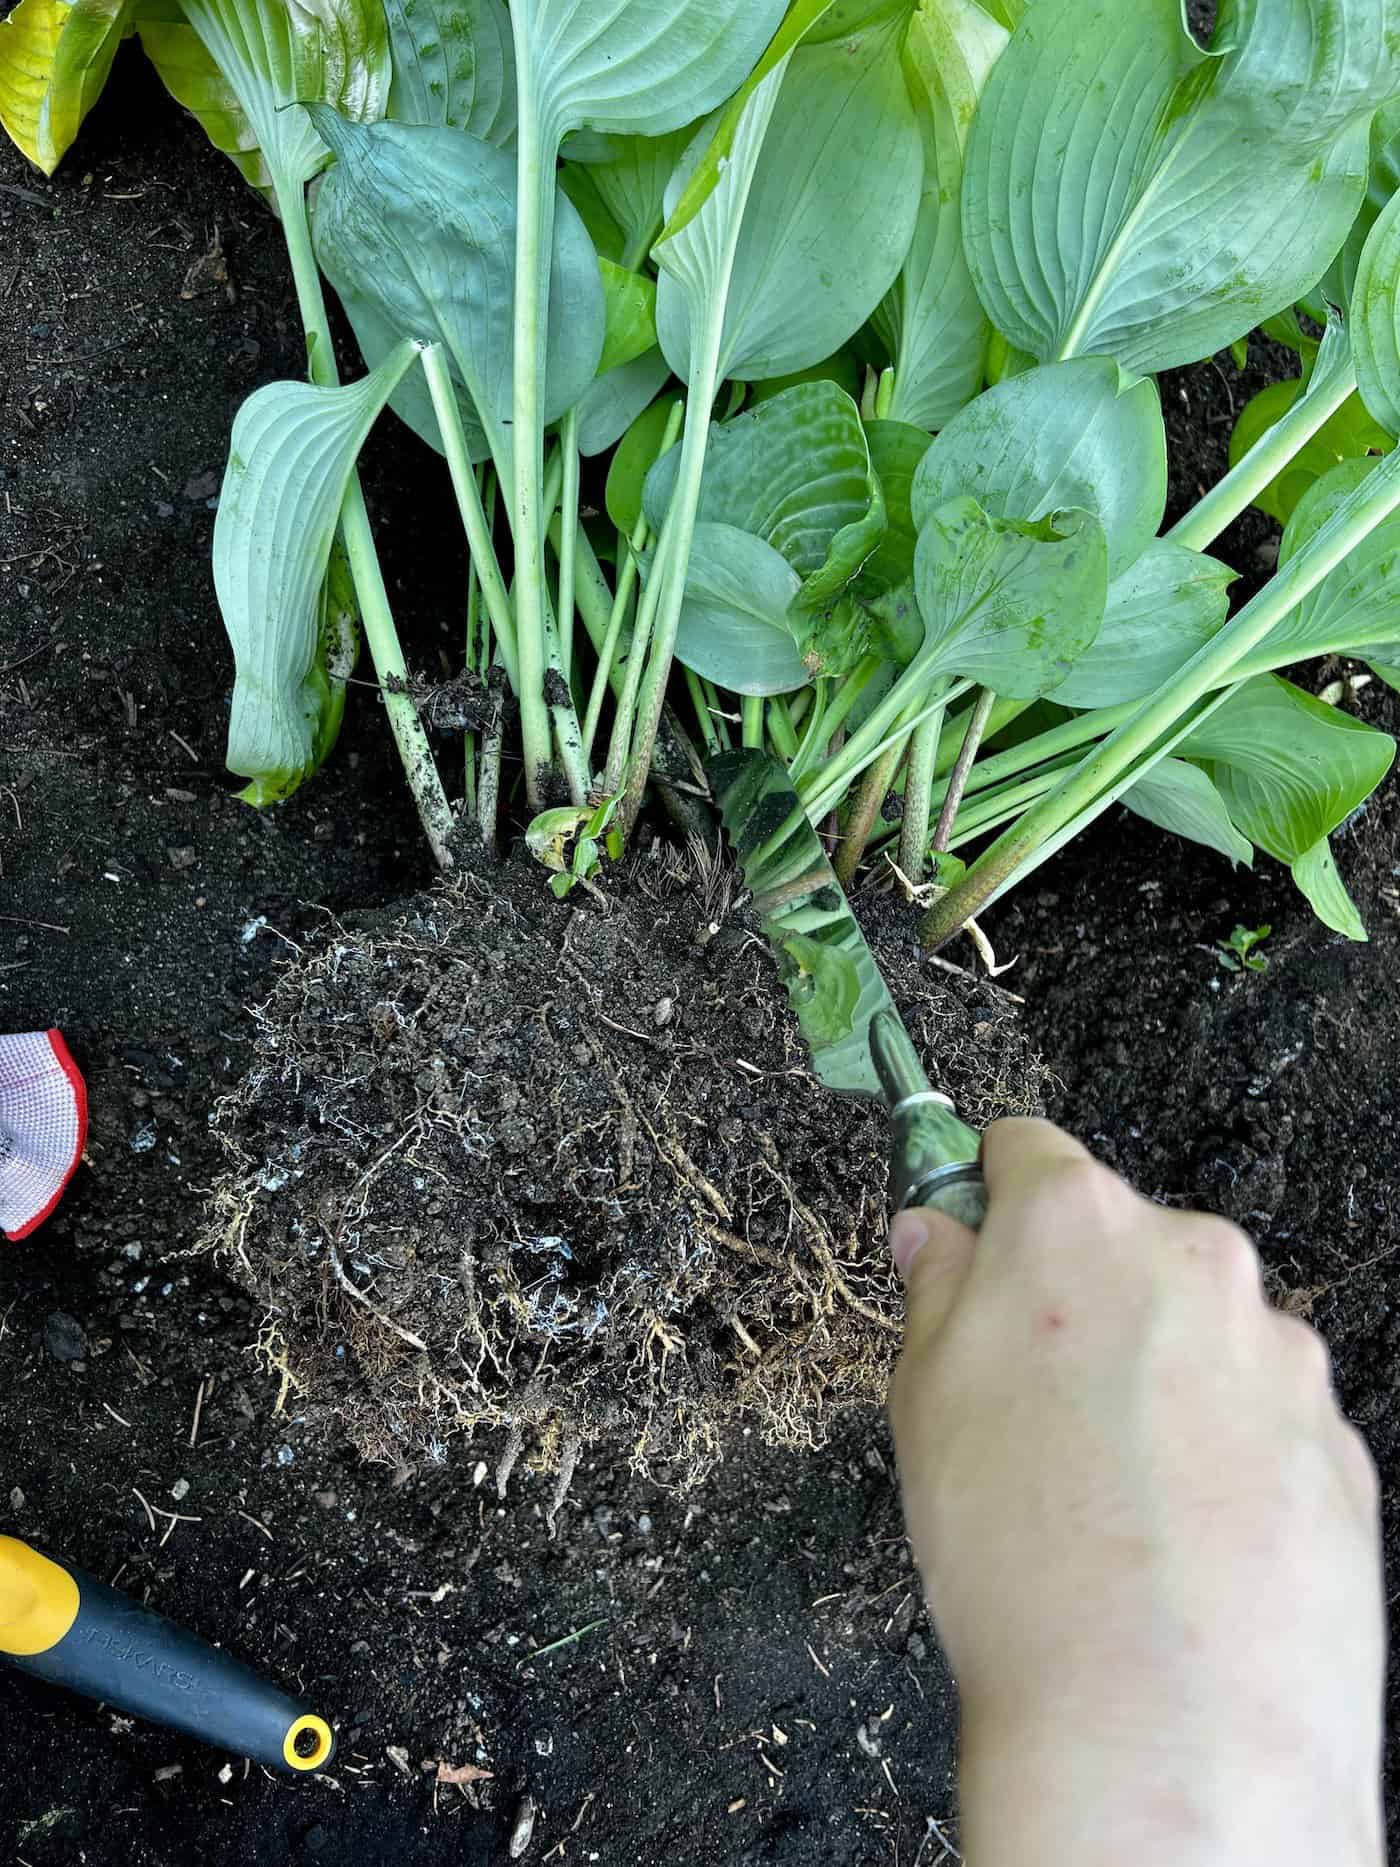
Hostas are commonly divided during transplanting. This is a good way to increase your collection of these plants or to share them with friends.
Hostas can be divided at just about any time of year as long as the soil isn’t frozen, but the best time to transplant and divide them is in early spring as the young shoots are emerging from the soil and before they really start putting on new growth. You can also cut back the plant in midsummer and then divide it. Hostas can be divided in the fall but won’t grow very fast if the soil has cooled down.
To divide hostas, simply dig up the entire plant (or as much of it as you can) and then cut through the root ball with a spade or sharp knife. Each section that you divide off can be replanted elsewhere in your garden. With large hostas, you can simply dig out one piece of the base and replant the piece somewhere else.
Care after transplanting hostas
Be sure to water the transplanted hostas well, especially if they were divided during transplanting. Also, keep an eye on them for the first few weeks and water them more frequently if the weather is hot and dry. It is common for some hosta leaves to turn yellow after transplanting. Either leave them on the plant or trim them off back to the base of the plant if you don’t like their appearance.
Mulch the soil around the base of the hostas after transplanting. Good options for organic mulch include compost, pine needles, rotted manure, or shredded leaves. Mulch the soil around the base of the hosta, but try to keep the mulch from actually touching the base of the plant, as this can hold moisture against the stems and invite fungal disease.


