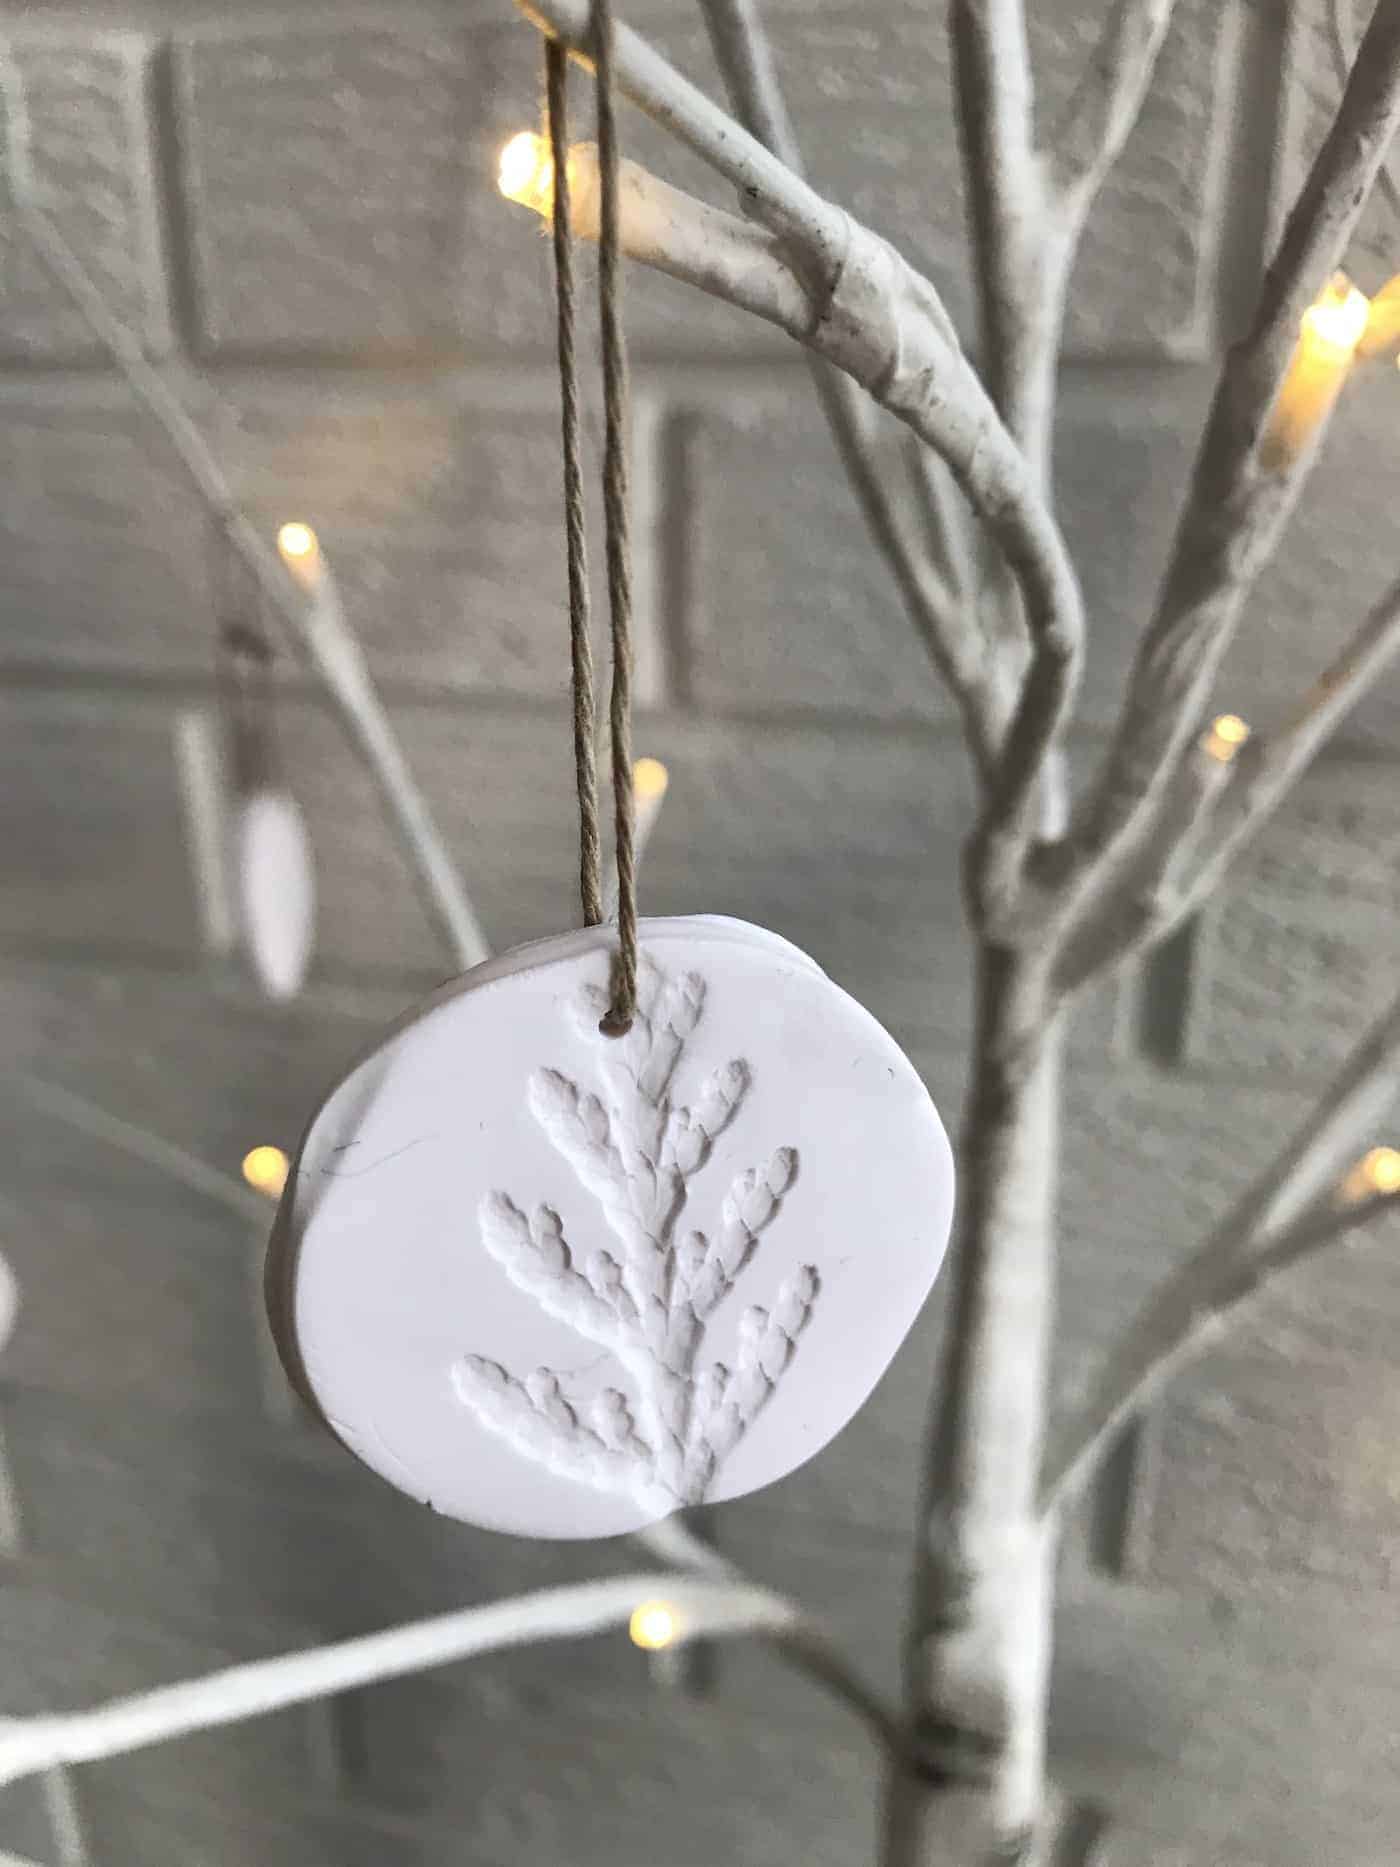
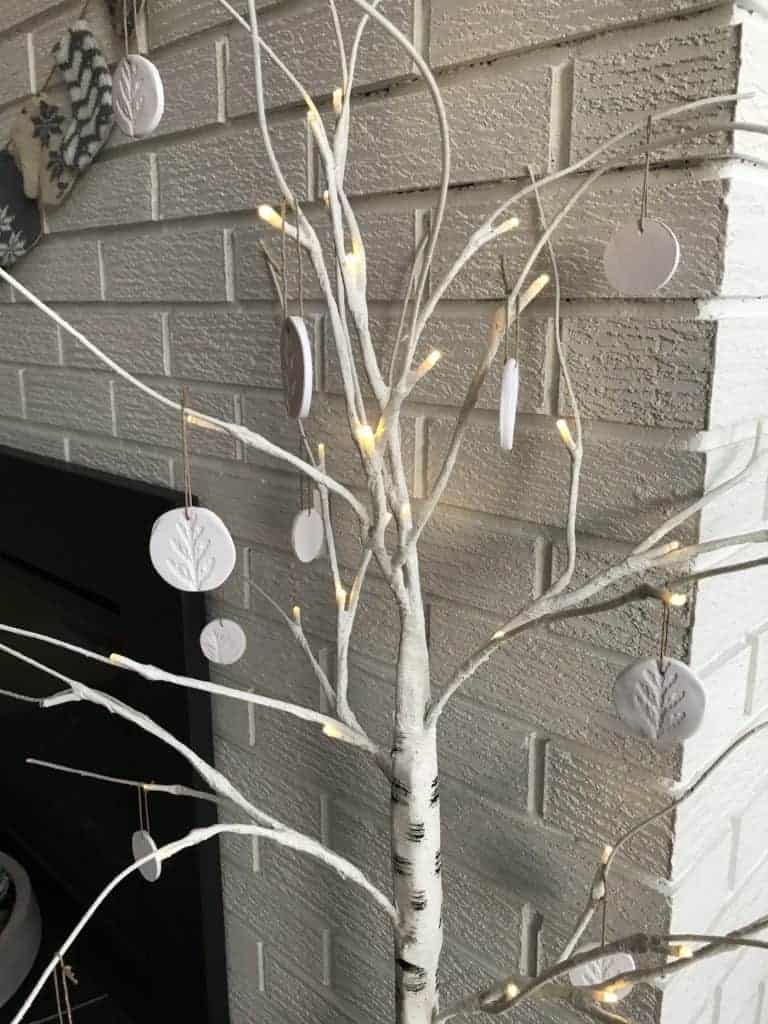
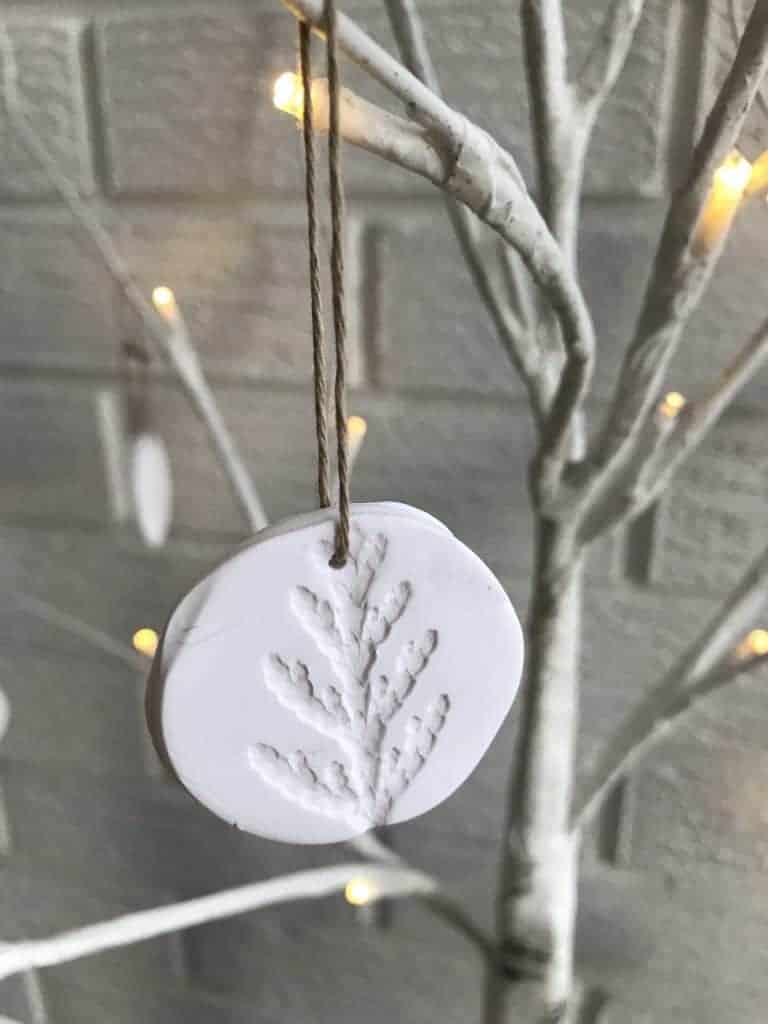
Polymer clay Christmas ornaments are an easy, enjoyable Christmas craft project. The little discs of oven-dried clay hang beautifully off the Christmas tree and can be made in different styles, shapes, and colors to suit your decor preferences. Here are the instructions for making your own DIY polymer clay Christmas ornaments!
Supplies for polymer clay Christmas ornaments
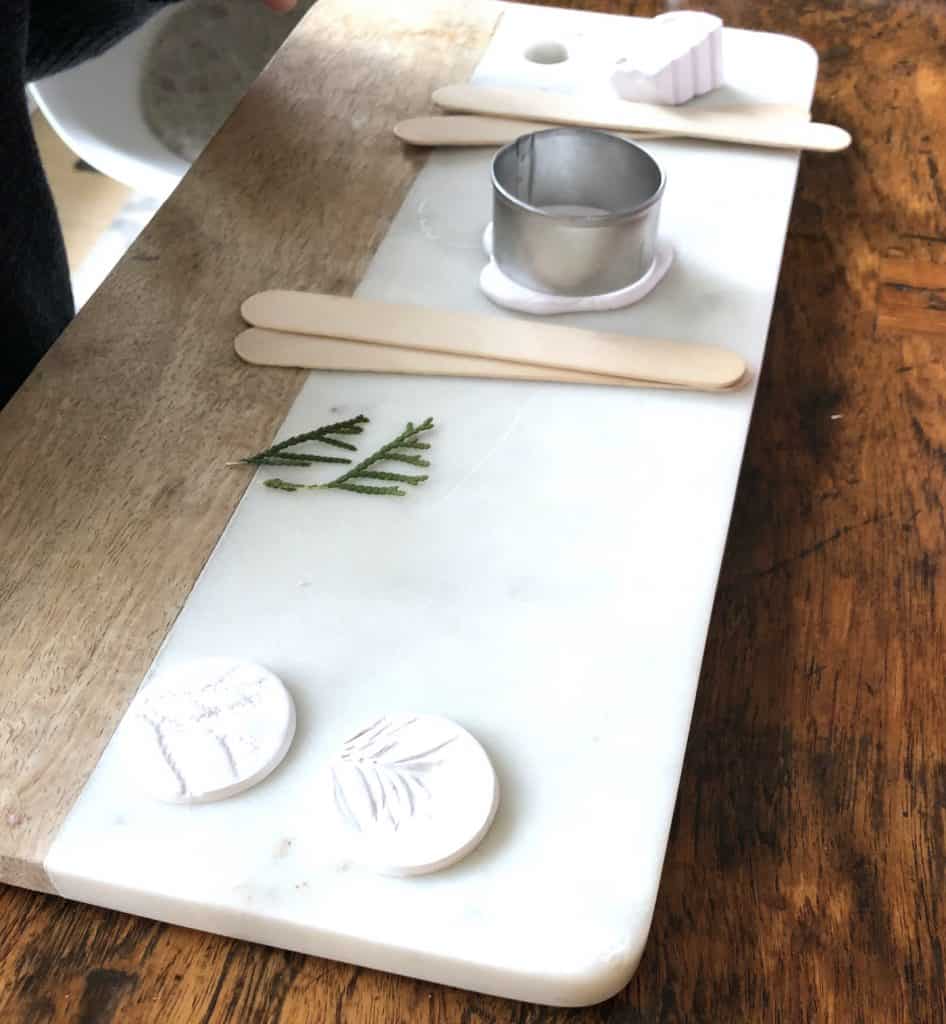
Here are the recommended supplies to make these simple polymer clay Christmas ornaments:
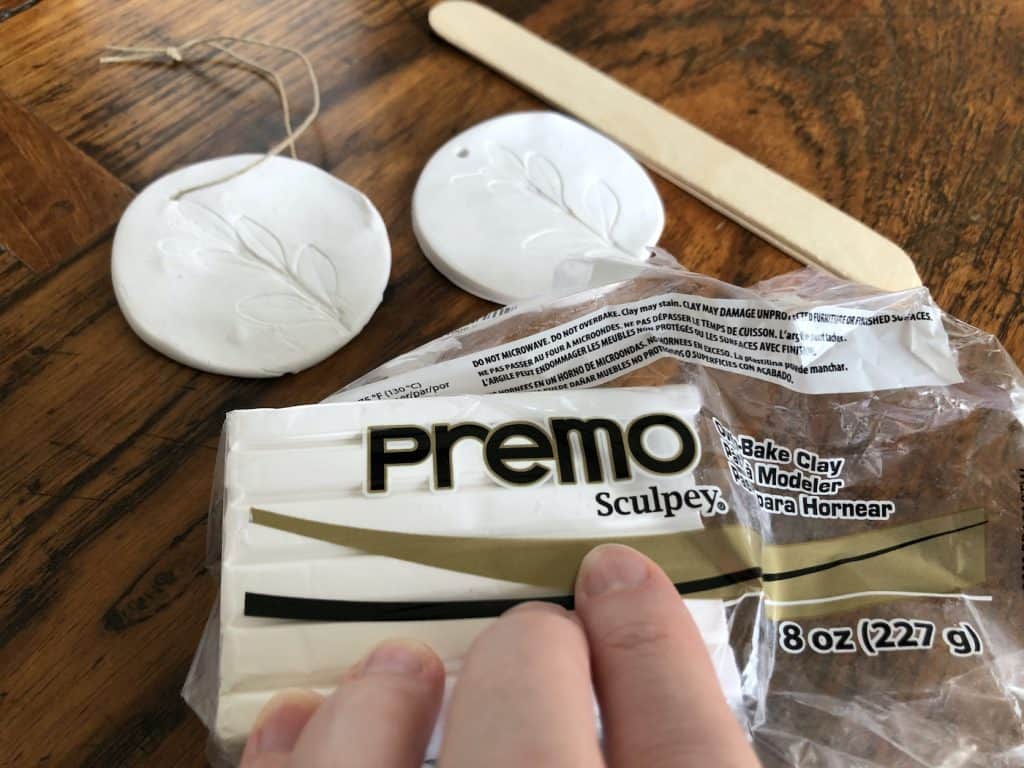
- Polymer Clay (Premo, Sculpey, et cetera)
- Rolling Pin Or Another Cylinder-Shaped Object
- Smooth Rolling Surface
- Popsicle Sticks (optional)
- Round Cookie Cutter Or Another Round Cup/Dish/Lid
- Toothpick Or Drill Press
- String
- Scissors
- Cookie Sheet Or Pizza Pan
Steps for making DIY polymer clay Christmas ornaments
Here are the basic steps for making polymer clay Christmas ornaments:
- Unwrap the clay and break off a small piece. The clay will crack easily and must be worked, or “conditioned” for a few minutes until it is warm and soft, and pliable. Gently work the clay with your hands (or use a clay conditioning machine). Once the bit of clay is malleable, it’s ready to be rolled.
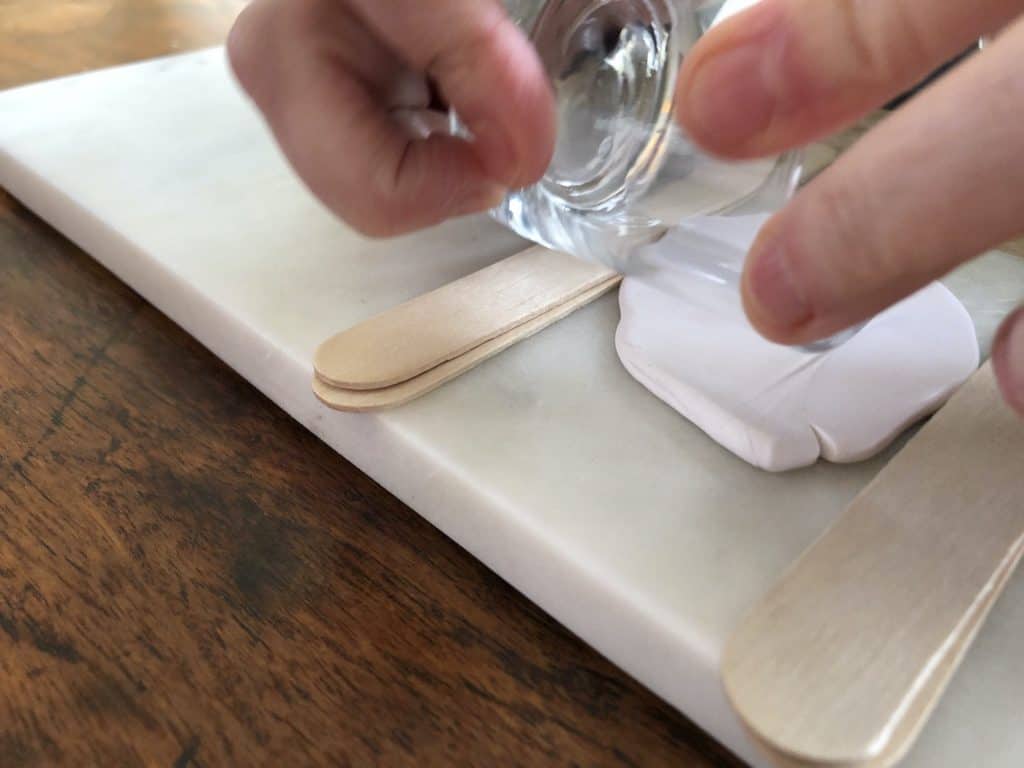
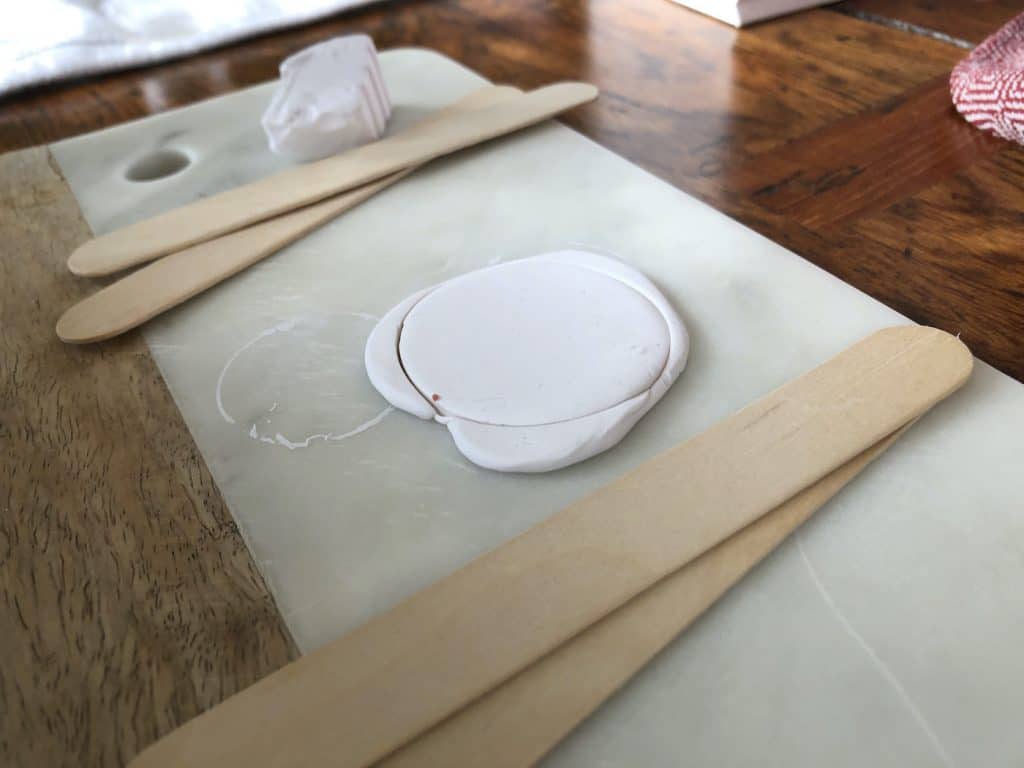
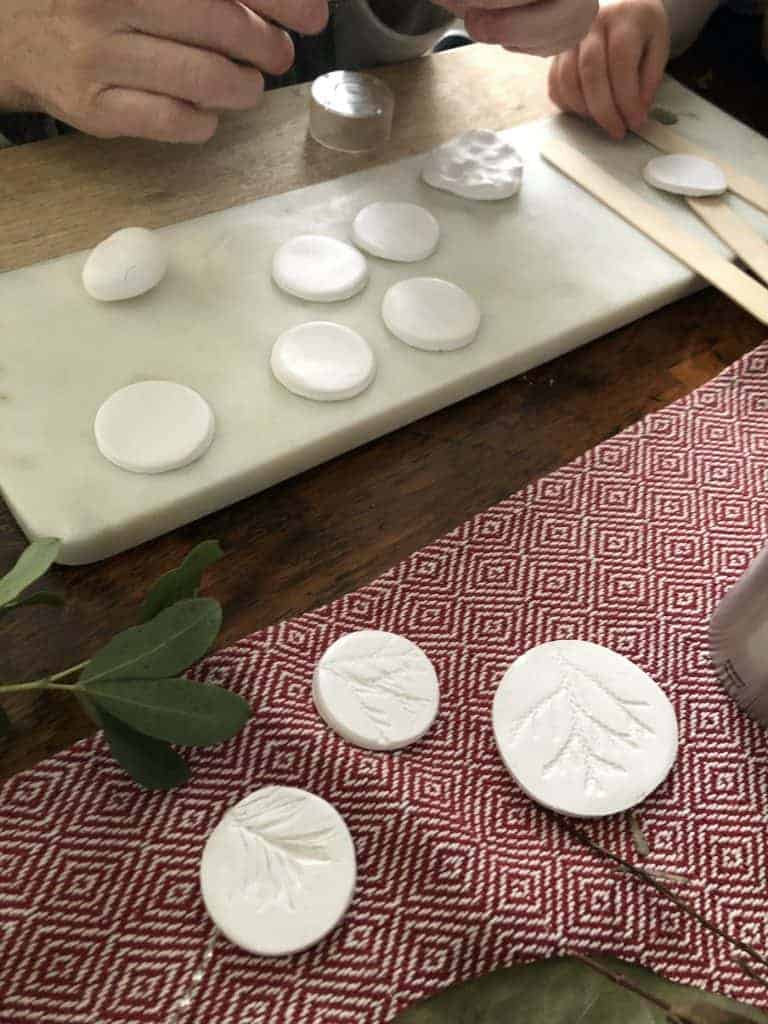
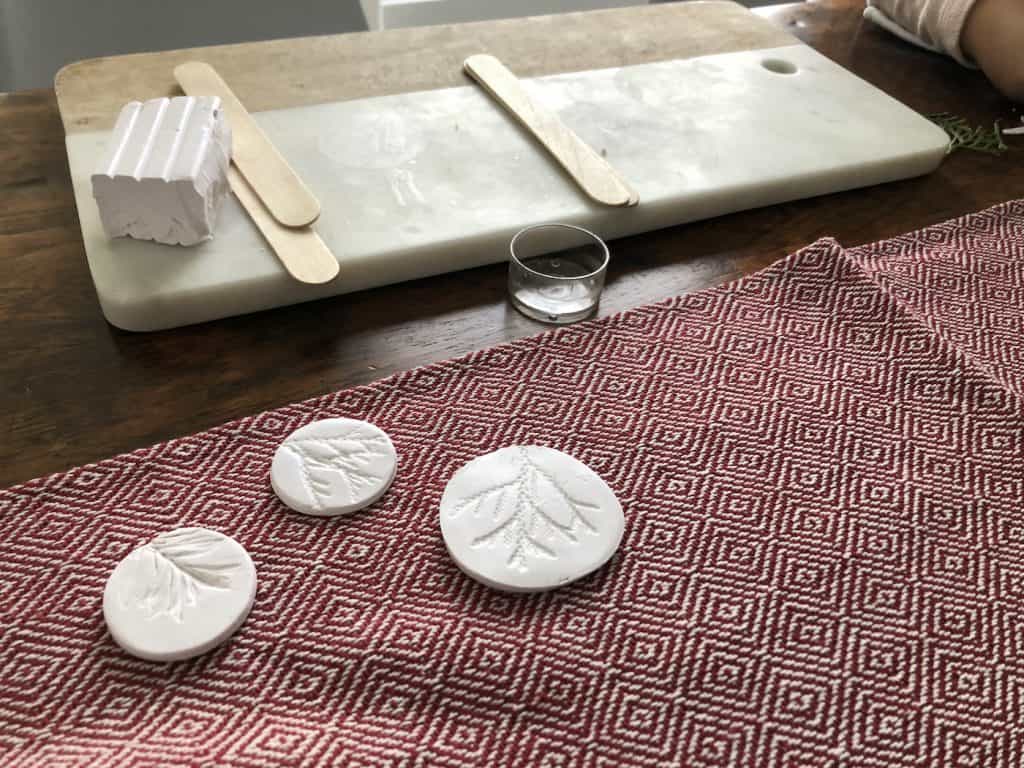
- Roll the ball of warm clay out on a smooth surface. You can use a rolling pin, cup, or another cylindrical object. Some crafters use popsicle sticks or craft sticks on either side of the clay to get an even thickness. I tend to just eyeball it. Either way, it works! One tip is to try and match the thickness of the rolled clay to the thickness referenced in the baking instructions. If your clay is to bake at 425 degrees for 25 minutes for each 1/4″…. it’s easiest just to make the rolled clay about 1/4″ thick!
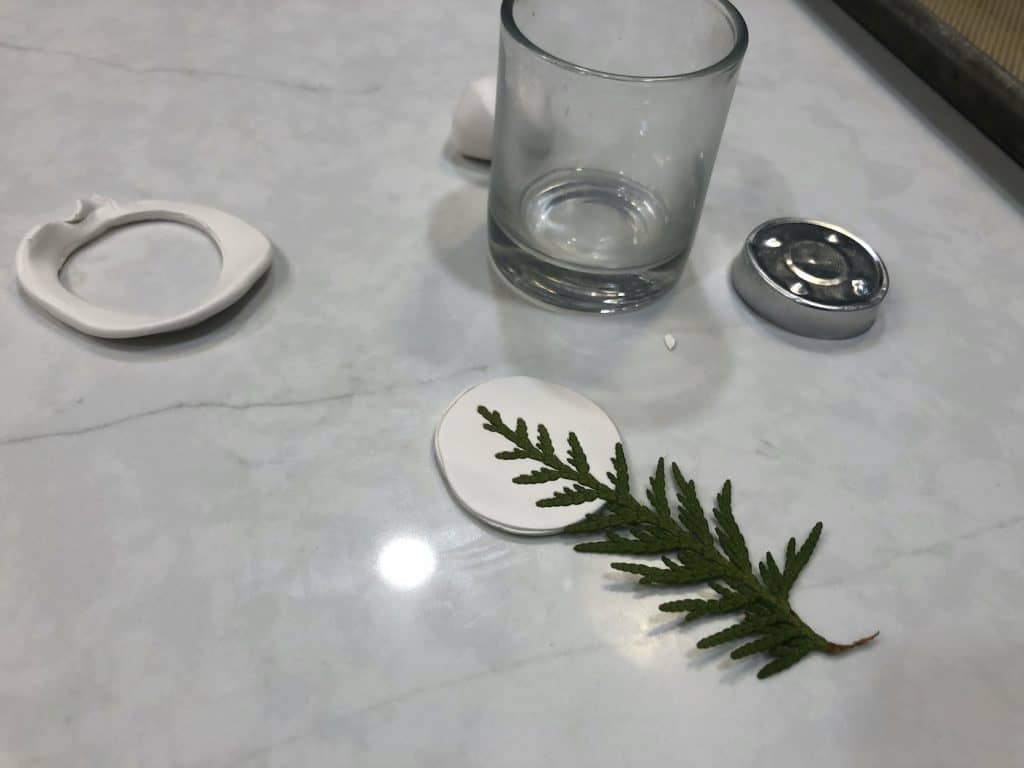
- Once the clay is rolled out to your desired thickness, it’s time to cut out shapes with the cookie cutter. We just used a circular cutter and some empty tea light tins this year, but in previous years we’ve made stars and other festive shapes as well. Press the cookie cutter down firmly in the clay and remove the scraps from the outside. Gently lift the cookie cutter away from the clay.
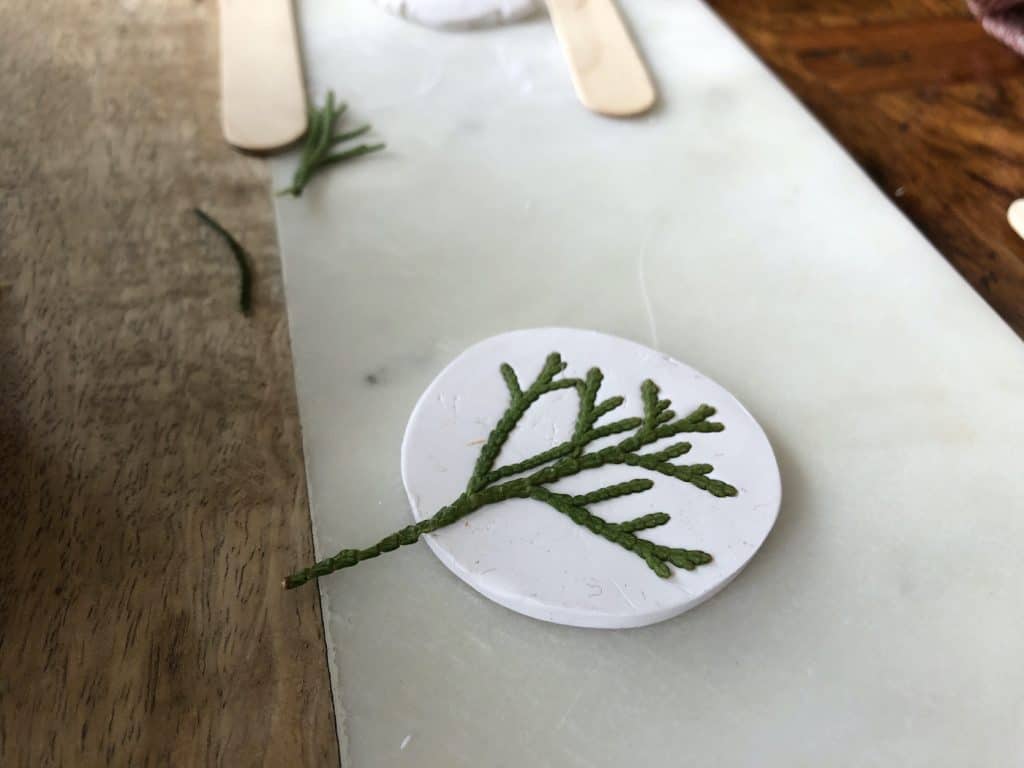
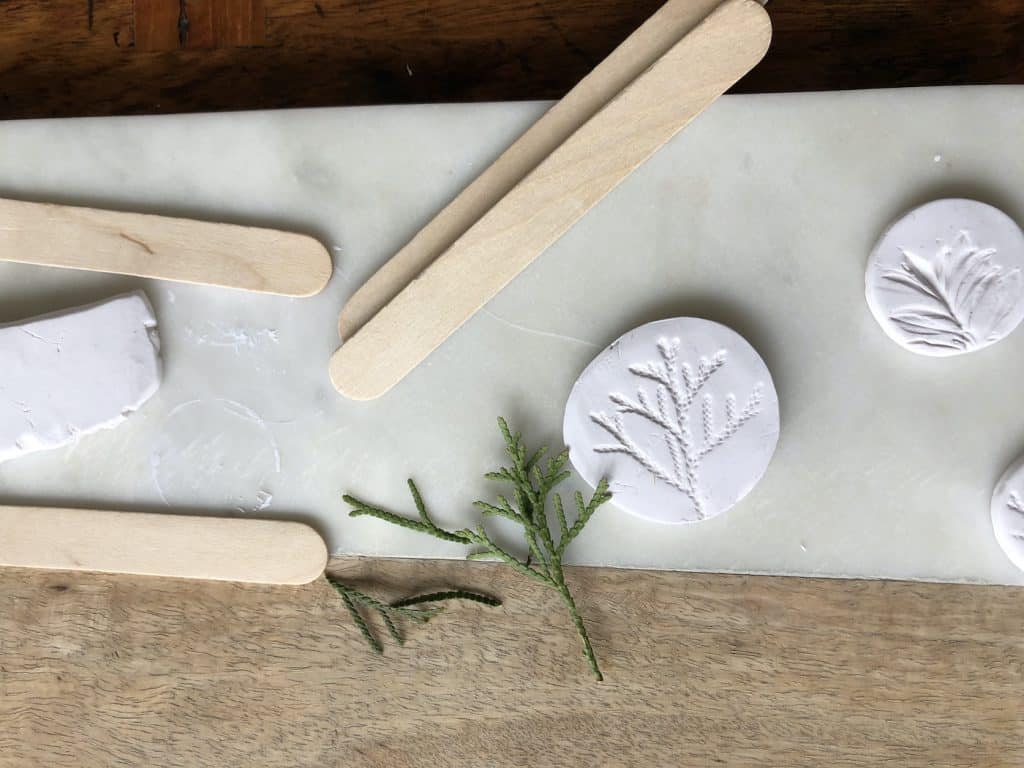
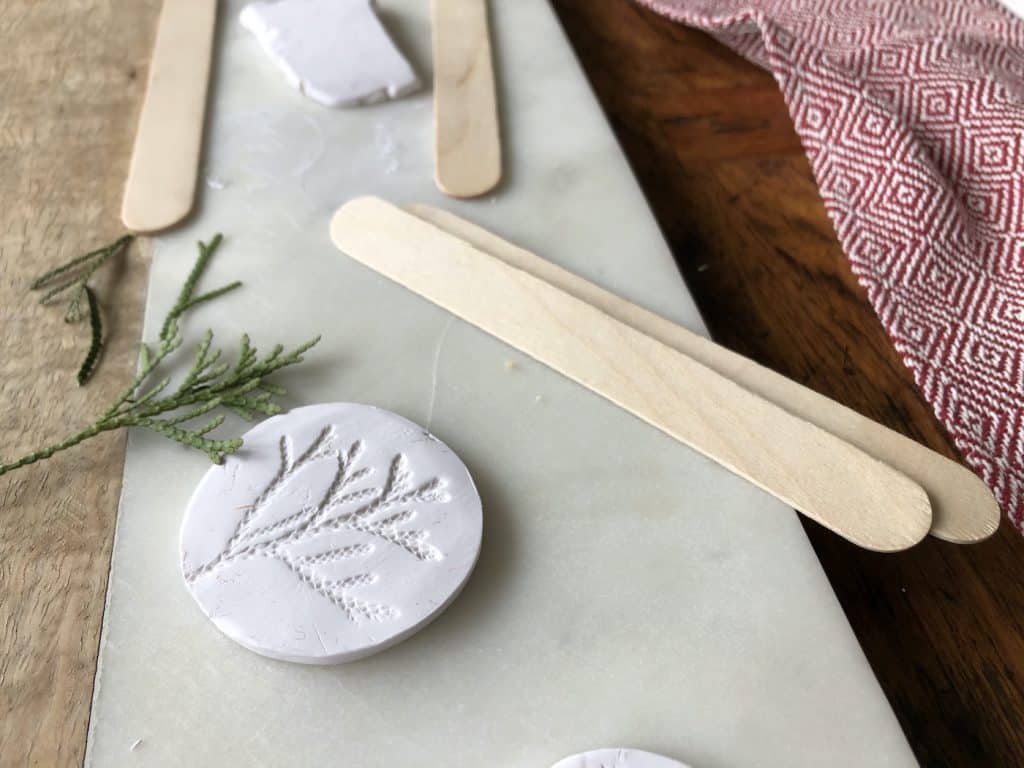
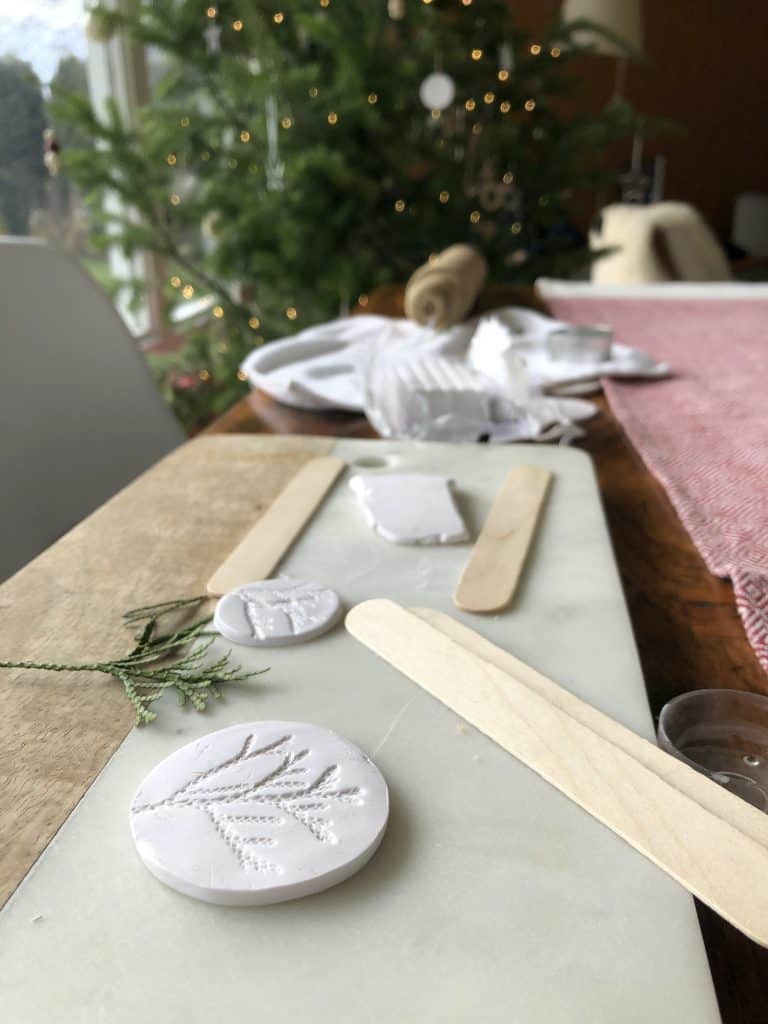
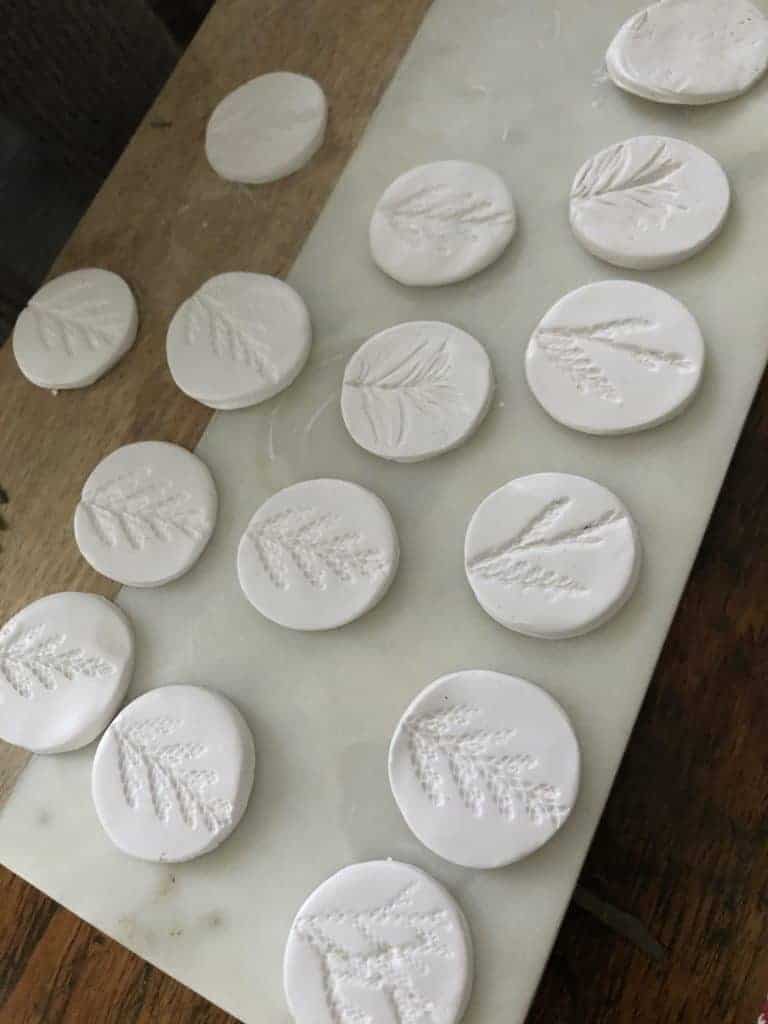
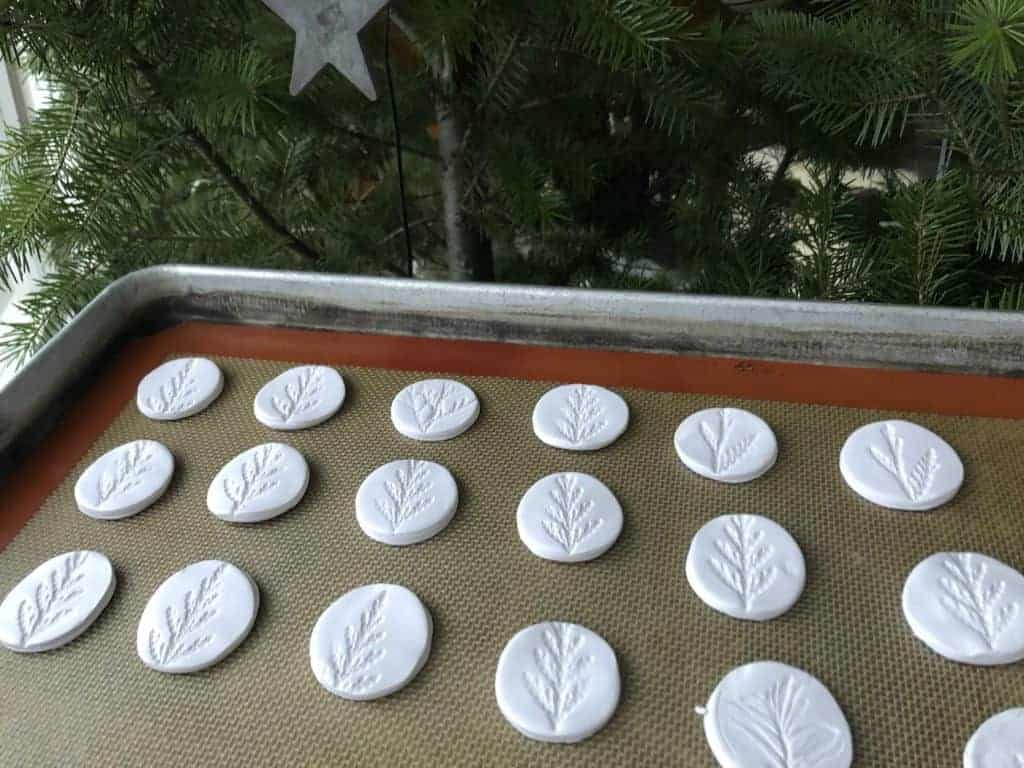
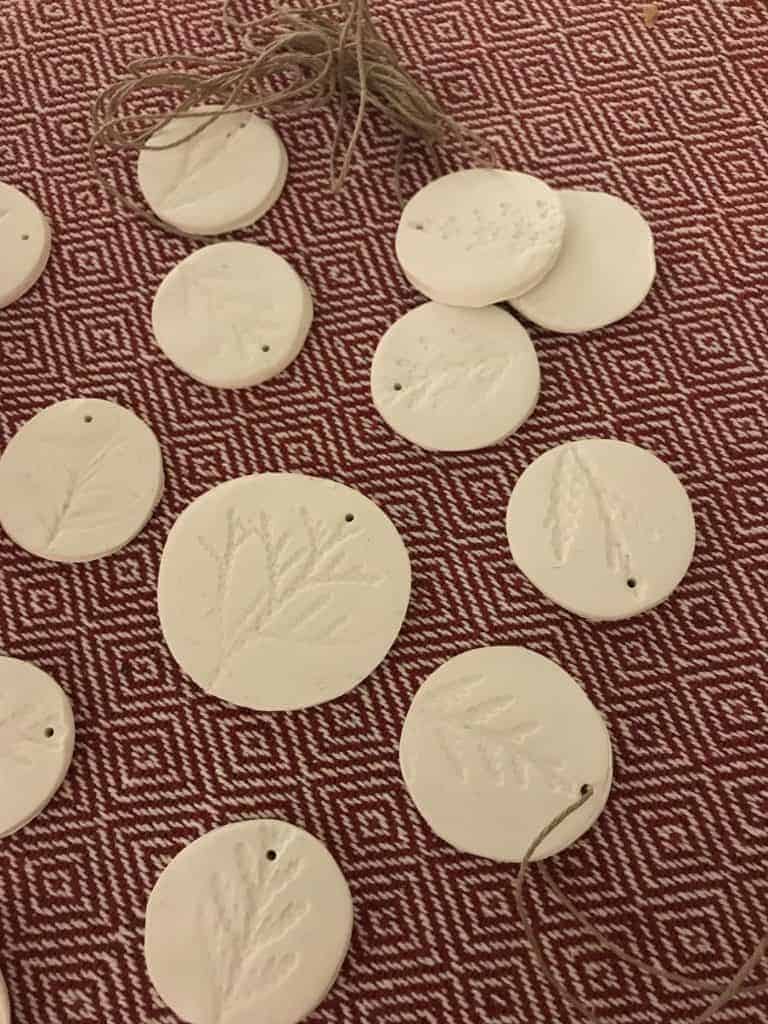
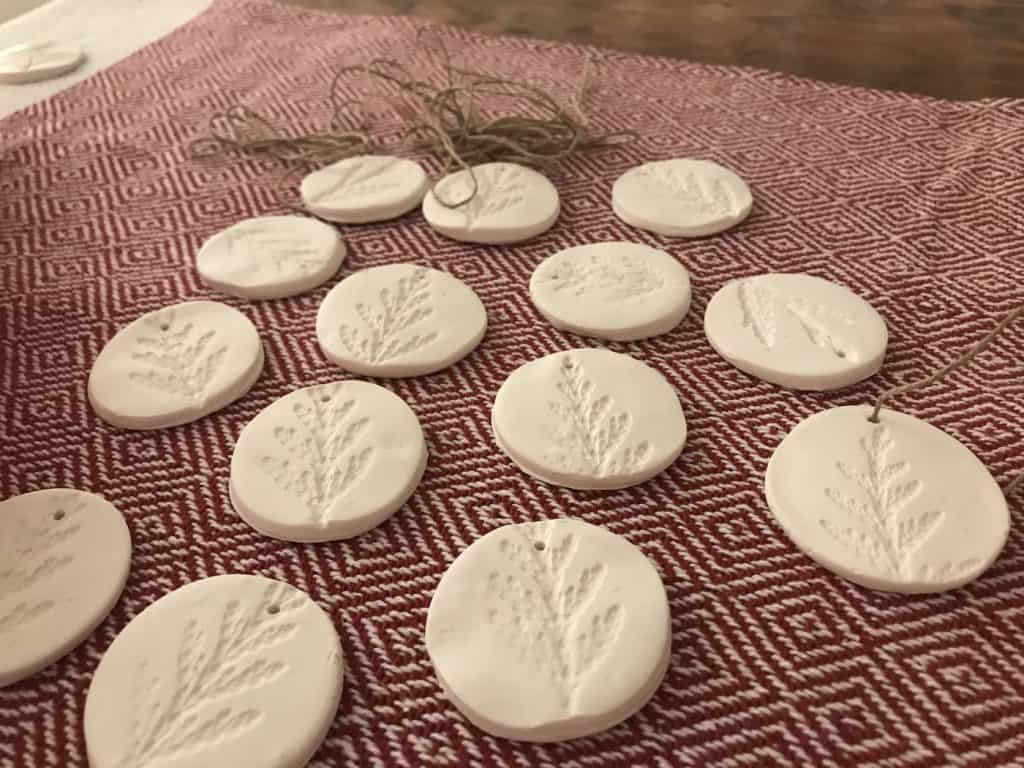
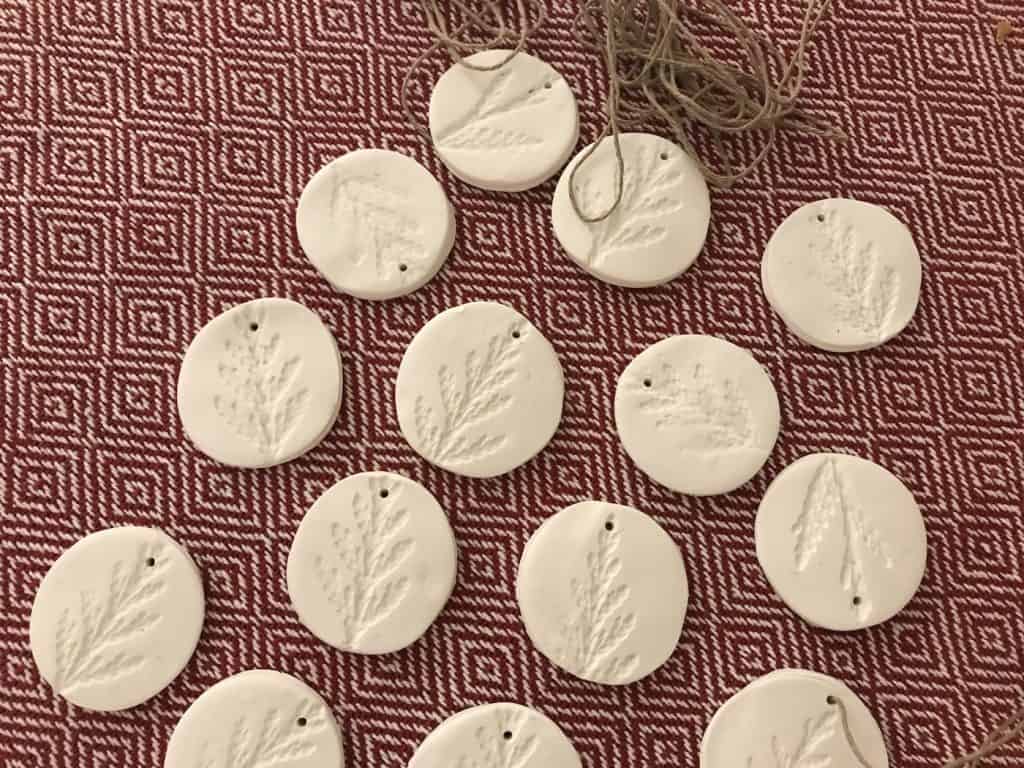
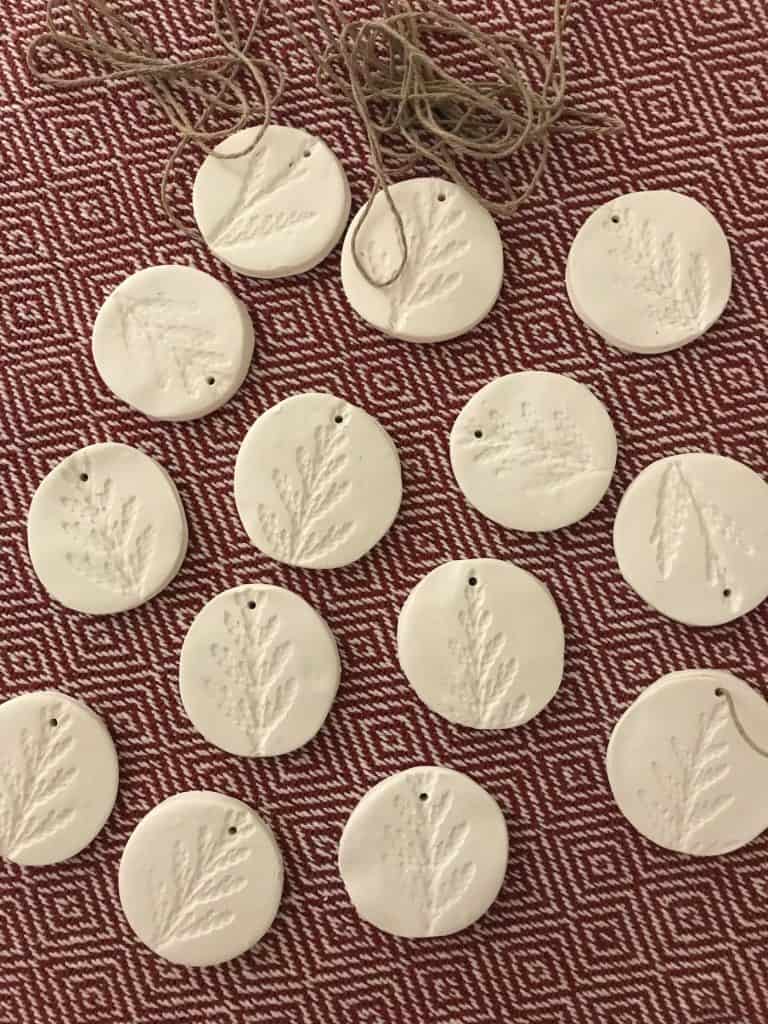
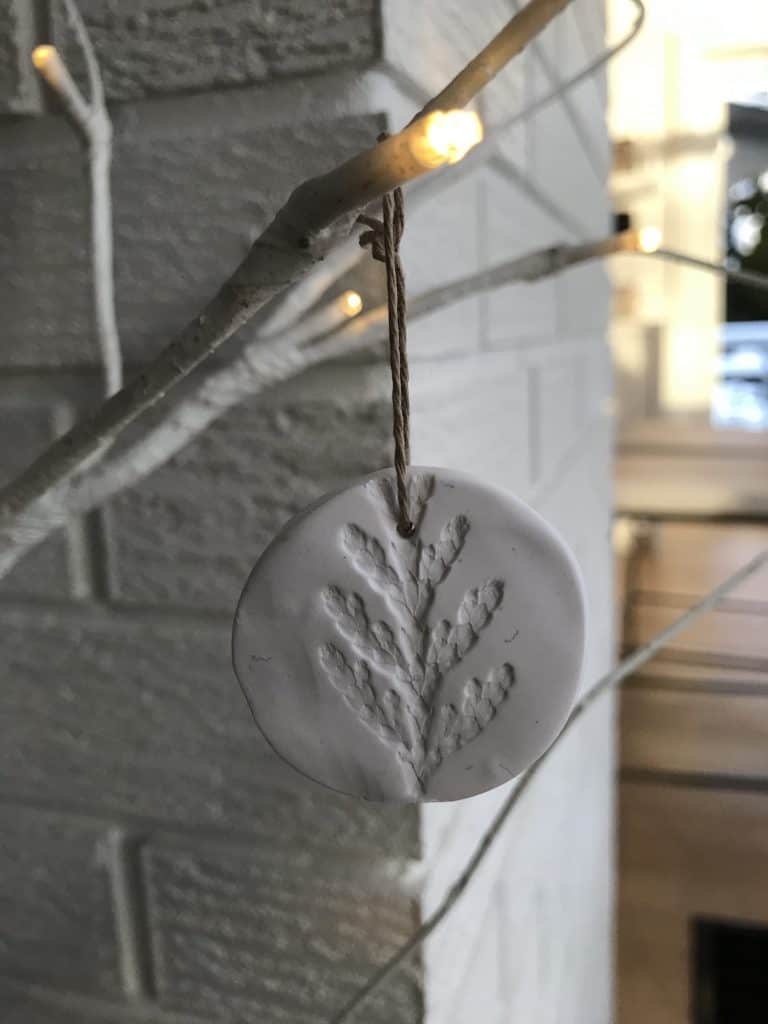
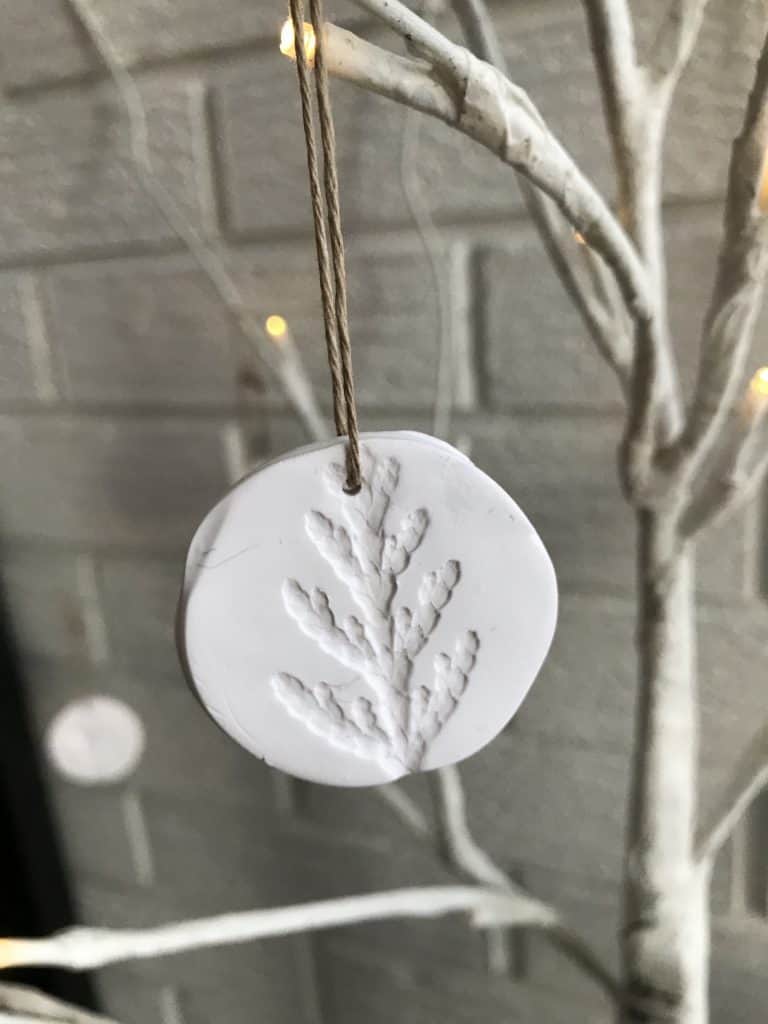
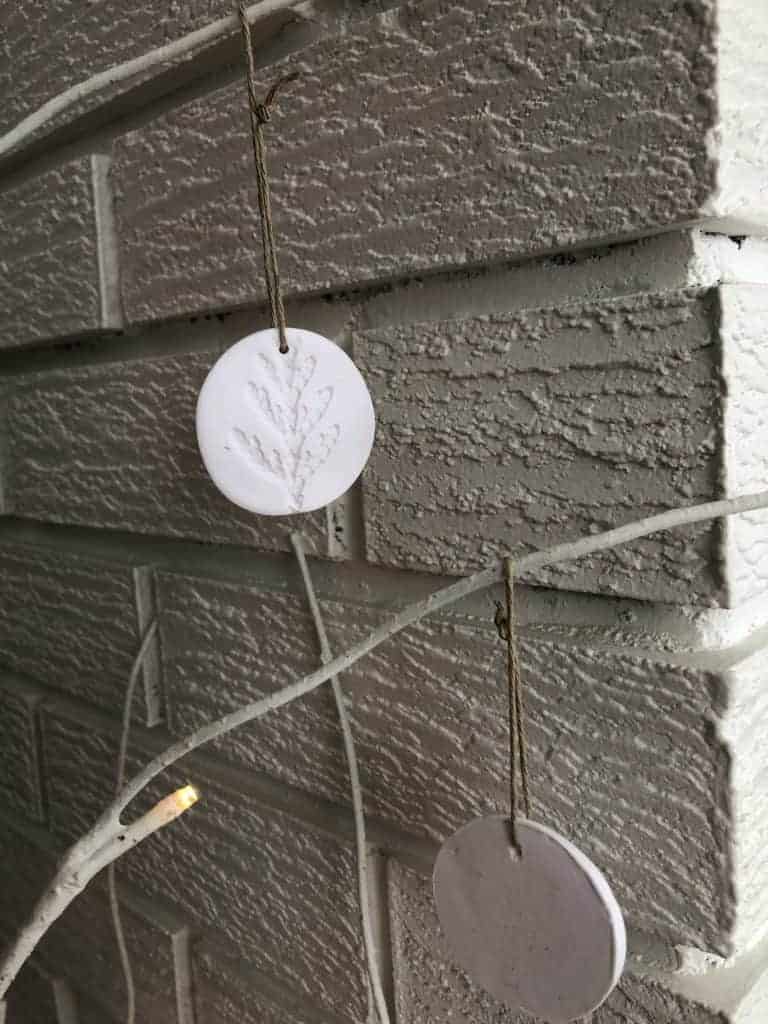
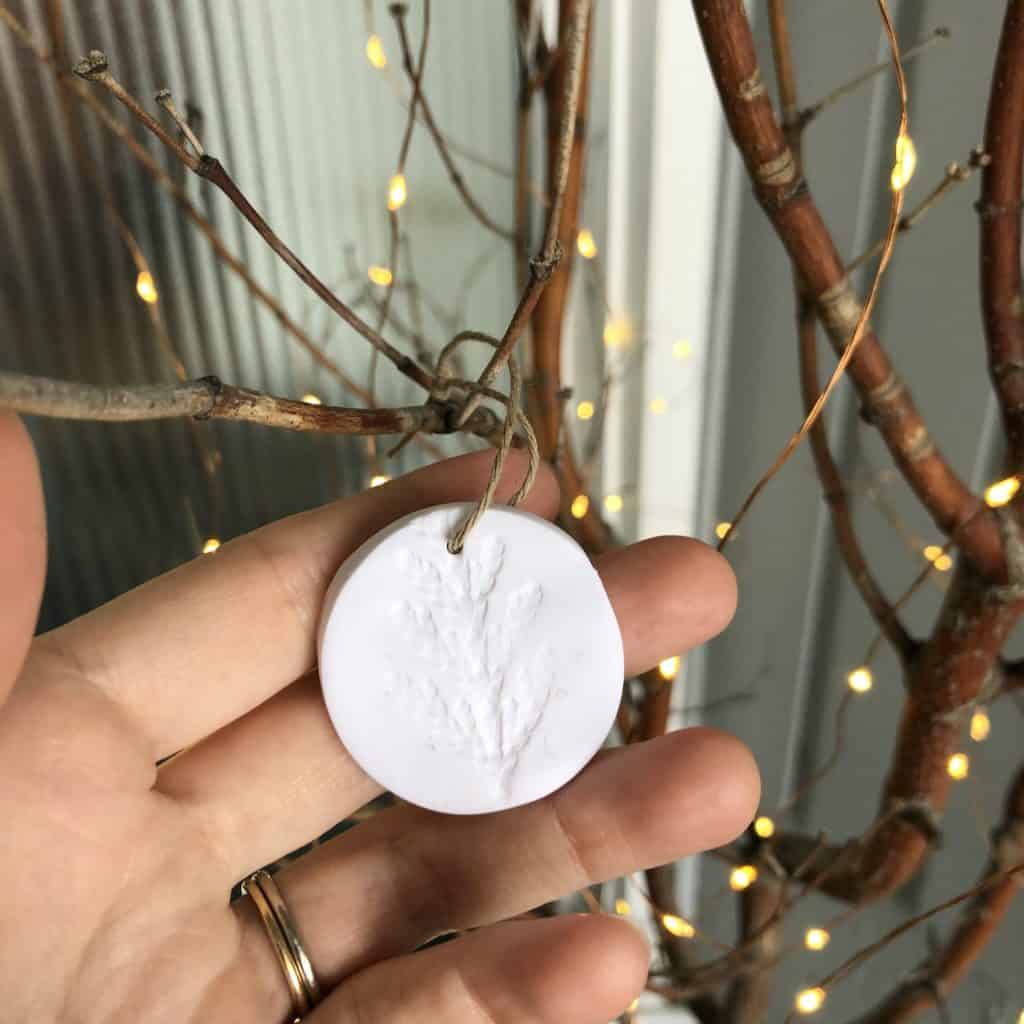
- If you’d like to add a botanical indent to your ornament – now is the time! Lay the leaves down and gently roll the texture into the disc of clay. We tried many different evergreens but found that cedar worked the best. Boxwood leaves were also good, as was winter savory. You could also imprint the clay with lace or other textured material. Eventually, you may wish to imprint the clay after rolling but before cutting out the shape. Experiment with what works best for you!
- If using a toothpick to make the hole, it must be made now (before the clay cooks). Use the toothpick to create a hole large enough for the string to fit through.
- Place the polymer clay Christmas ornaments on a cookie sheet and bake according to the instructions on the clay packaging. Watch them closely!
- Let the ornaments dry carefully.
- If using a drill press to make the hole, now is the time to gently drill a small hole in the top of each disc ornament.
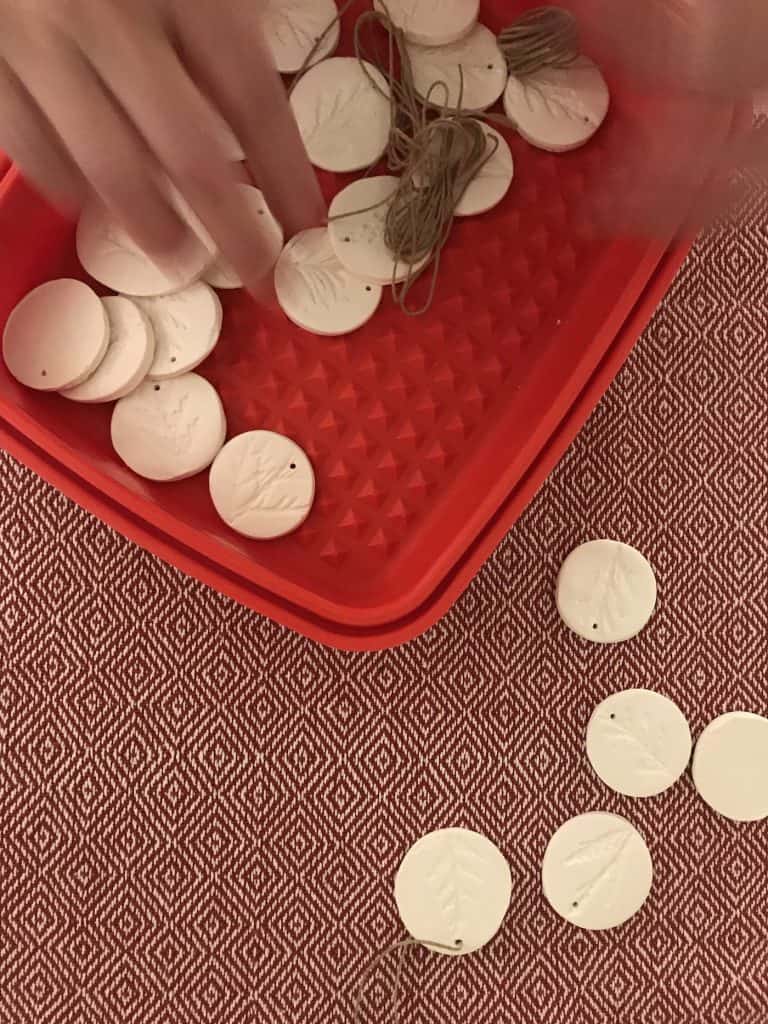
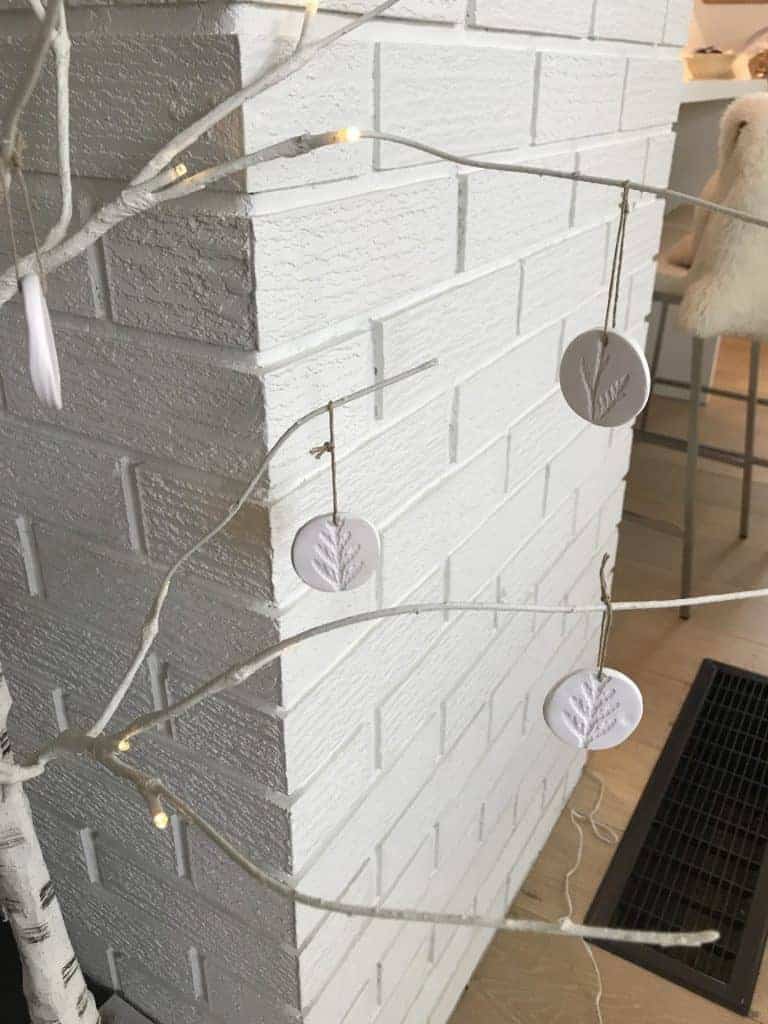
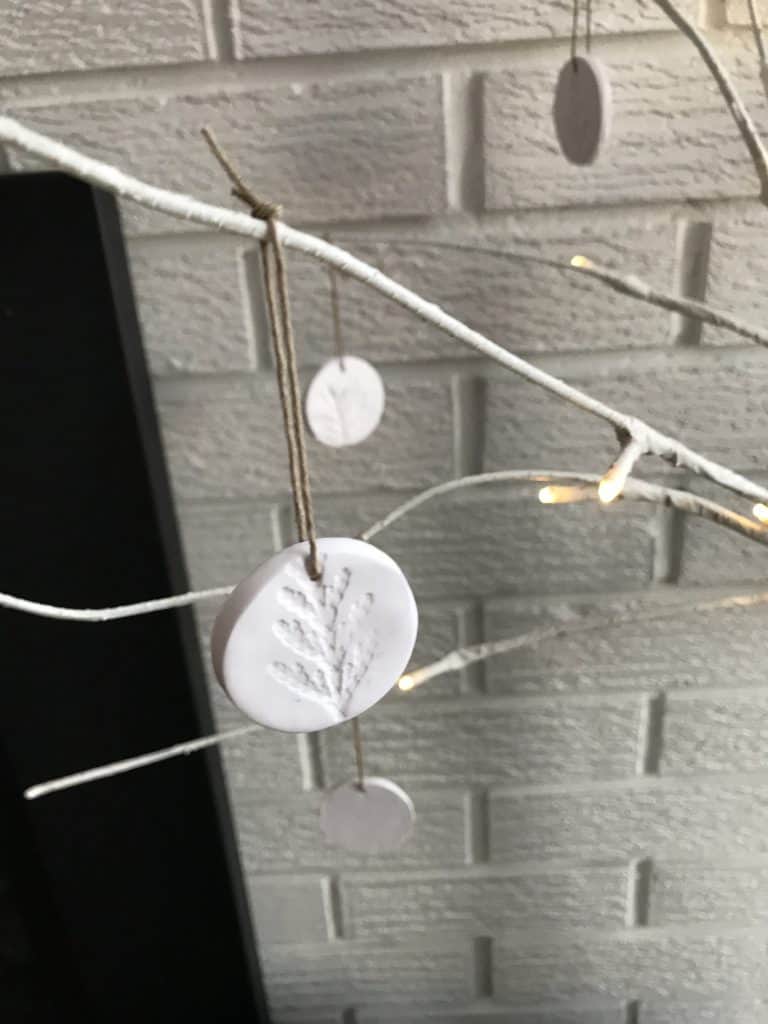
- Cut small pieces of string and loop one through each ornament’s hole. Tie it up and hang it on the Christmas tree! Voila!! Gorgeous polymer clay Christmas ornaments!
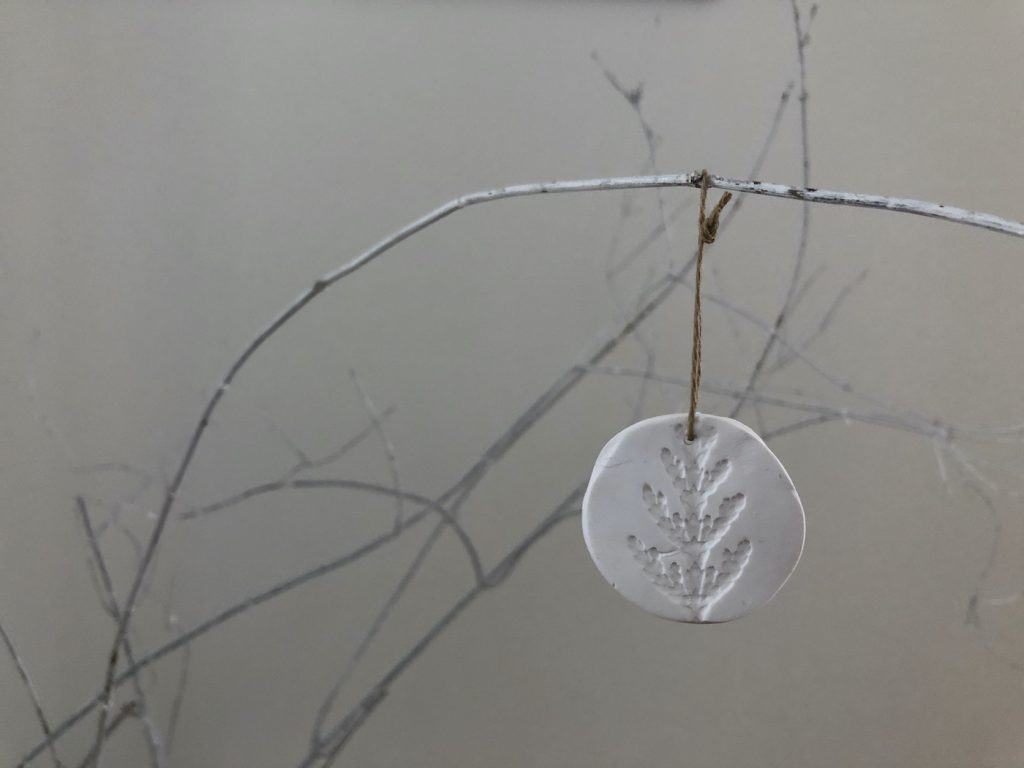
Those are the basic steps for making easy polymer clay Christmas ornaments. As you get more comfortable with polymer clay you may find yourself wanting to make more complex shapes, but there is still a beautiful, simple elegance to these ornaments!
FAQs
How do you make Polymer clay Christmas ornaments?
Soften the clay by kneading it and rolling it until it is easy to work with. Evenly flatten the clay on a smooth surface and cut out your desired ornament shape. Use natural materials or stamps to embed your design. Let the ornaments dry completely before drilling a hole for hanging.
What is the best kind of clay for Christmas ornaments?
We love the white Sculpey oven-bake clay since it’s so easy to work with.
How thick should the clay ornaments be?
Check the package of your clay first, but we suggest about 1/4″ thick. Keep in mind that if they are too thick they will be heavy (and weigh the branch down), but if they’re too thin they will be too fragile.
Resources
Still feeling crafty? Here are some other articles you may enjoy:
- Pinecone Garland: A Simple Christmas Decoration
- How to make a felt pom pom garland
- Twig Ornaments: 20+ Rustic DIY Holiday Decor Ideas To Make With Twigs
- 12 DIY Christmas Ornaments for the Holiday Tree
- 10 wooden Christmas ornaments for a classic holiday tree
- Easy DIY Natural Christmas Decorations: A Round-Up of Favourites
And, here are some other resources for you:
- Get my free garden planner here!
- Want garden tips, updates, and freebies? Sign up for my newsletter
- Visit my shop
- Watch my DIY Christmas decor playlist here!
Let’s celebrate Christmas together!
Christmas crafts, activities, plants, herbs, decor, tree ornaments, and more tips to celebrate the festive holiday season!


