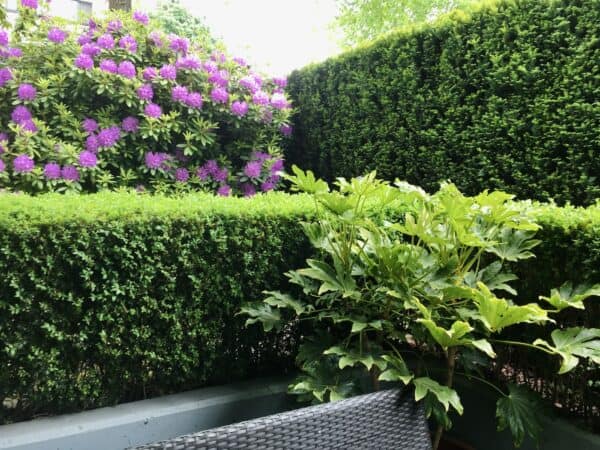
Pleached hornbeam refers to deciduous hornbeam trees (Carpinus betulus) trained into a flat, 2-dimensional wall of greenery. Rows of pleached hornbeam are most often used as a structural element in garden design to enclose or shade an area with living “walls”. Hornbeam is well-suited to pleaching due to its hard, yet flexible wood, and its characteristic of holding onto its dried leaves throughout the winter for a year-round privacy screen.
“There are few more sophisticated things possible in a garden than a pleached hedge. They bring a sense of architecture and formality to the garden, of structure and style.”
The Art of Creative Pruning: Inventive Ideas for Training and Shaping Trees and Shrubs, by Jake Hobson
About pleached hornbeam trees
Pleached hornbeam trees are traditionally used as a privacy screen in small areas. These trees can create a “hedge on stilts” that takes up very little square footage of patio space, while still providing a living wall. This is a great way to have both a green living hedge and a traditional wooden privacy fence.
Pleached hornbeams are like a cross between a privacy hedge and a row of espaliered apple trees. Imagine a row of espaliered apple trees, but free-standing (and larger, but no apples). As the horizontal branches of adjacent trees meet each other, they are gently twisted together and sometimes even grow into each other over time.
“The word “pleach” derives from the old north French word plechier, meaning “to braid,” and this is exactly what you do when you pleach trees. You informally weave together their branches.”
The Pruning Book, by Lee Reich
The practical difference between pleached and espalier is that espaliered trees are trained into formal elaborate flat patterns like the common “horizontal cordon” tiered shape. Pleached trees are also trained to be planar/flat, but the branches can be trained at varying angles and are encouraged to overlap and grow into each other. This produces more of a woven, natural look to pleaching than the exact, tiered appearance of espaliered fruit trees. The spaced-out tiers are not required to let light reach ripening fruit (and the increased density of foliage is a desired result).
“Pleaching is weaving together the branches of adjacent trees to form a hedge or connected canopy.”
The New Gardener’s Handbook: Grow a Beautiful & Bountiful Garden, by Daryl Beyers
Hornbeam trees for pleaching
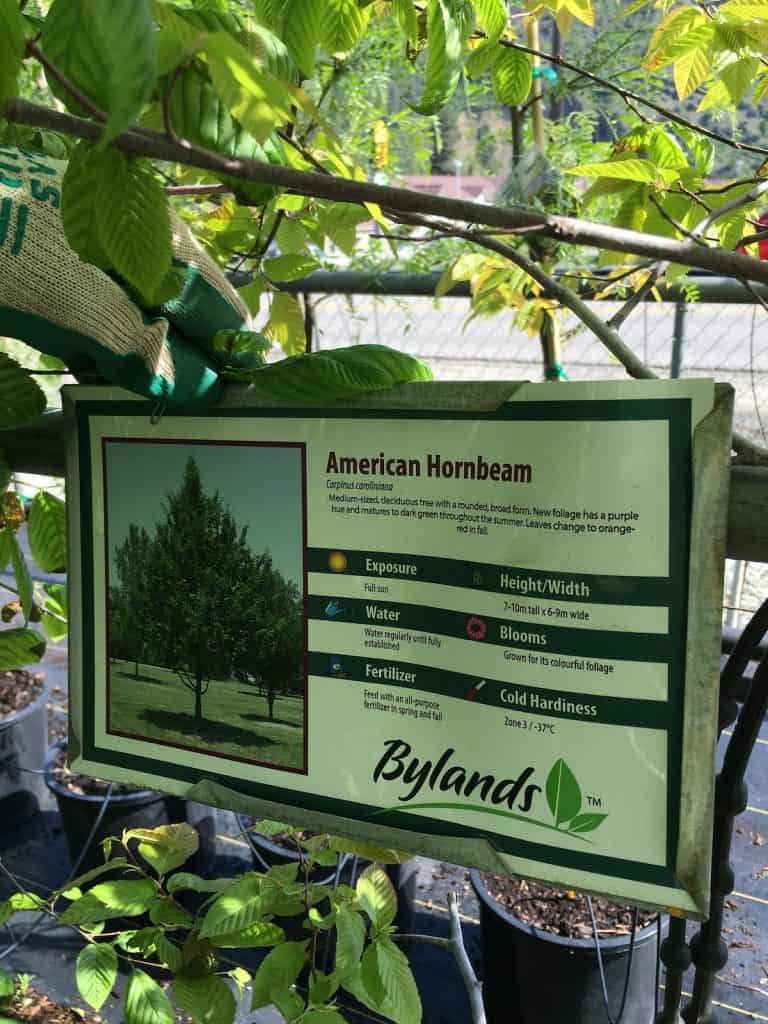
Hornbeam, a member of the birch family (Betulaceae), is perhaps the most popular tree for pleaching due to its hard, yet flexible wood. Other trees suitable for pleaching include beech and lime trees, as well as fruit trees suited to espaliers such as apples and pears. It’s also possible to pleach ornamental crabapple, linden, maple, ash, and other hardwood trees.
As a privacy screen, hornbeam trees have the added bonus of retaining their brown autumn leaves through most winters, similar to oak trees (beech can also retain their leaves into winter). Trees may be pleached in place, or they can be purchased as ready-trained pleached hornbeam trees.
“Hornbeam timber is a pale, creamy white with a flecked grain. It is extremely hard; in fact it has the hardest wood of any tree in Europe.”
Hornbeam (Carpinus betulus), UK Woodland Trust
Pleaching trees: The basics
Learning how to pleach trees is mainly about understanding the desired structural framework of the tree and creating adequate supports to train the tree into the desired framework shape. The goal is to eventually end up with a self-supporting row of trees, but you do need to provide some support in the interim to train growth appropriately. The most common way to support pleached trees is to use vertical posts anchored in the ground, and then connect them with thin horizontal cross-pieces (often bamboo cane stakes), wires, or metal wire cattle fencing.
Before planting, decide how large the “finished” trees will be. It’s not uncommon for pleached hornbeams to have 6 ft (2m) stems topped with 6 ft (2m) foliage “heads”. The trees need to be planted for their finished size, even if they look a bit small and silly when first installed.
A short row of pleached trees can be planted quite close, several feet apart. Trees that will be closer to full-size in the finished design can be planted more like 10 feet (3 meters) apart. The RHS provides some excellent detail on tree spacing for pleached rows.
“Decide on spacing – 8 ft. (2.4 m) is about right for a 10-12 ft. (3-3.6m) hedge, but the taller the hedge, the wider the spacing can be. Laying good foundations from the outset is essential, as all decisions here are final.”
The Art of Creative Pruning: Inventive Ideas for Training and Shaping Trees and Shrubs, by Jake Hobson
The orientation of the trees with respect to the sun should also be considered prior to planting. A row that is planted along the north/south direction will get morning sun on one side and afternoon sun on the other side. A row of pleached trees that go east/west, however, may all get sun on their southern sides all day (and get nothing but shade on the north side). Rows of pleached trees planted in an east/west line tend to look best on their south side.
“Pleaching is a method of training trees to produce a narrow screen or hedge by tying in and interlacing flexible young shoots along a supporting framework. Use this technique to make walks, arbours, tunnels and arches.”
Pleached walks, tunnels and arbours, Royal Horticultural Society
How to pleach trees
Here are the general steps for pleaching trees:
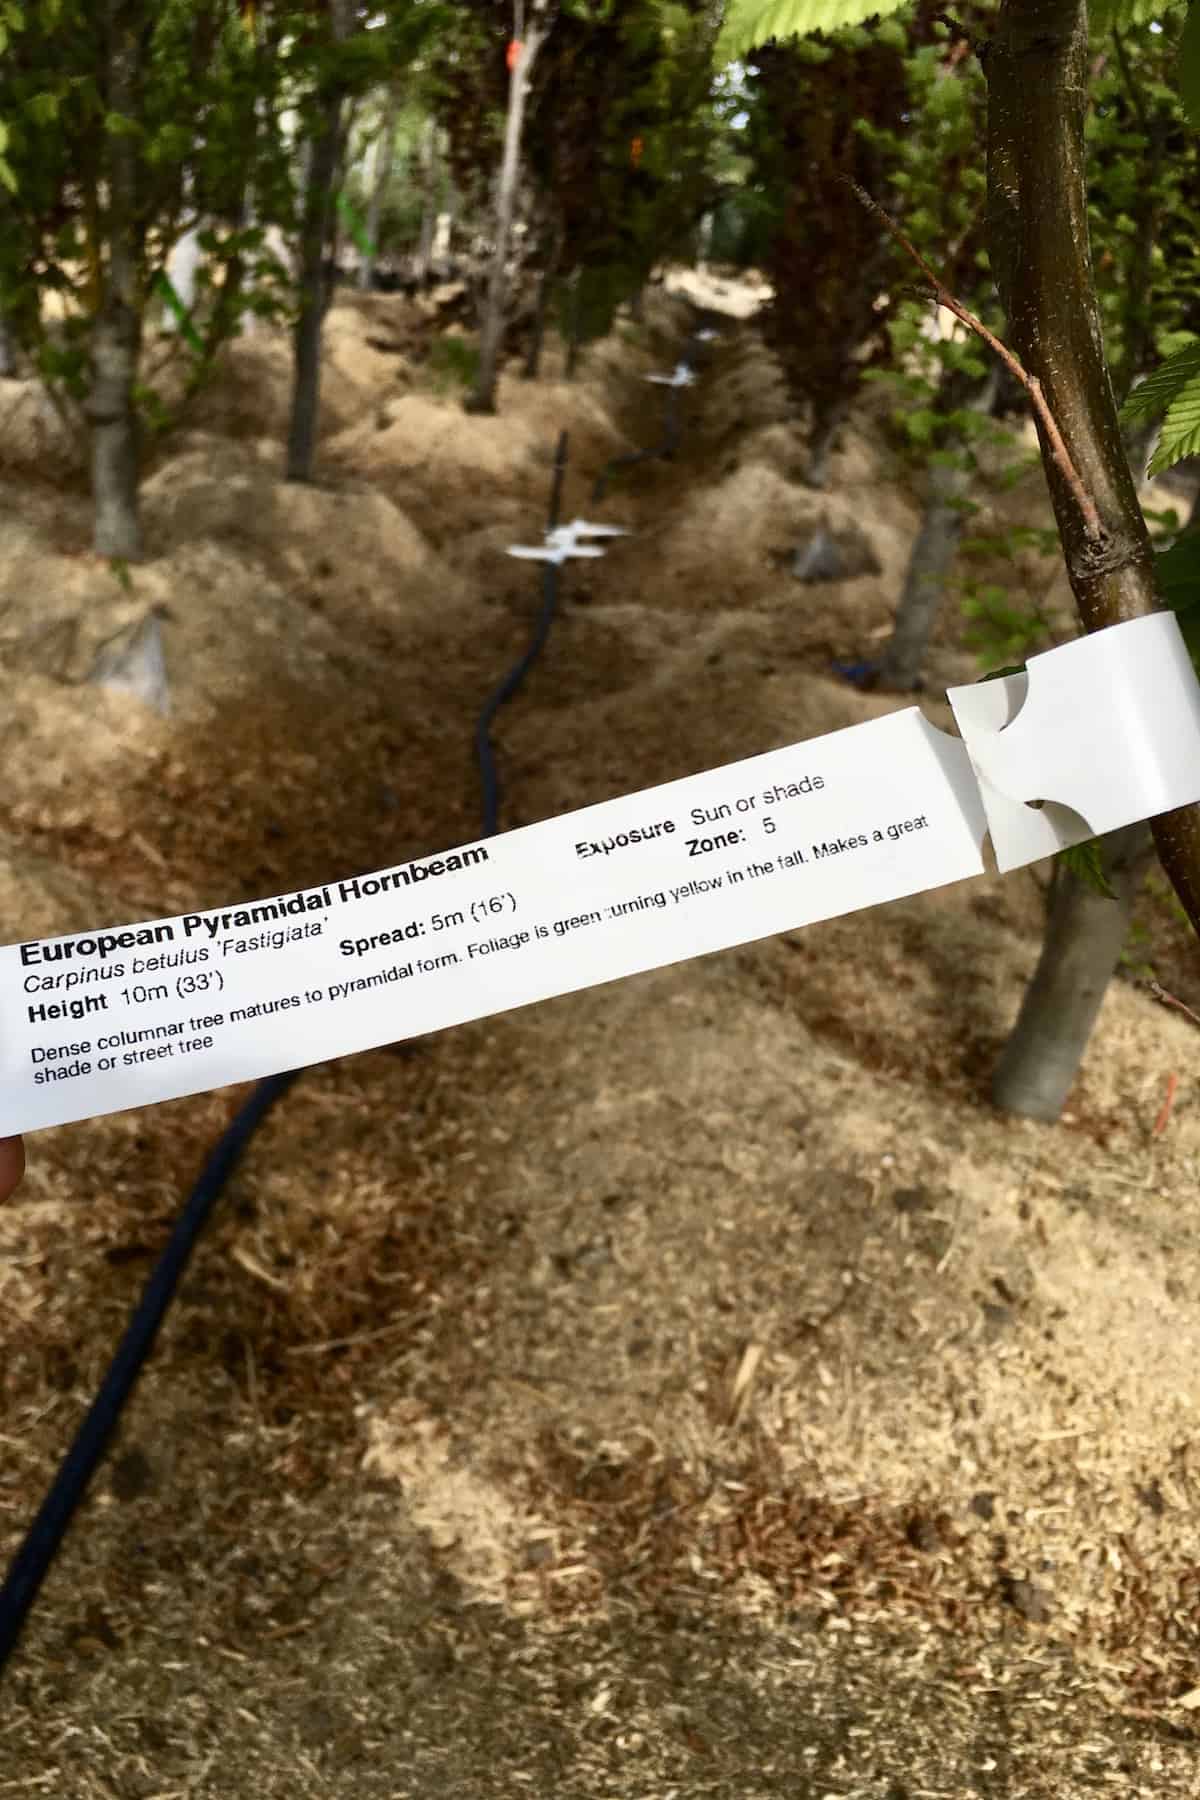
- Begin with a row of planted trees. Hornbeam is best planted in the fall, but can also be planted in spring. Young trees are generally staked along their central leader. Pleached hornbeam trees are generally spaced anywhere from 2 to 10 feet apart, with the larger spacings used for taller stands of pleached hornbeam.
- For each tree, remove any branches that are sticking straight out from the tree or otherwise cannot reasonably be trained in the desired plane. Leave all branches that can be tied to the 2-dimensional support trellis. Pruning is best done in late winter or early spring. Pleaching does not necessarily require the evenly-spaced tiers of espaliered fruit trees.
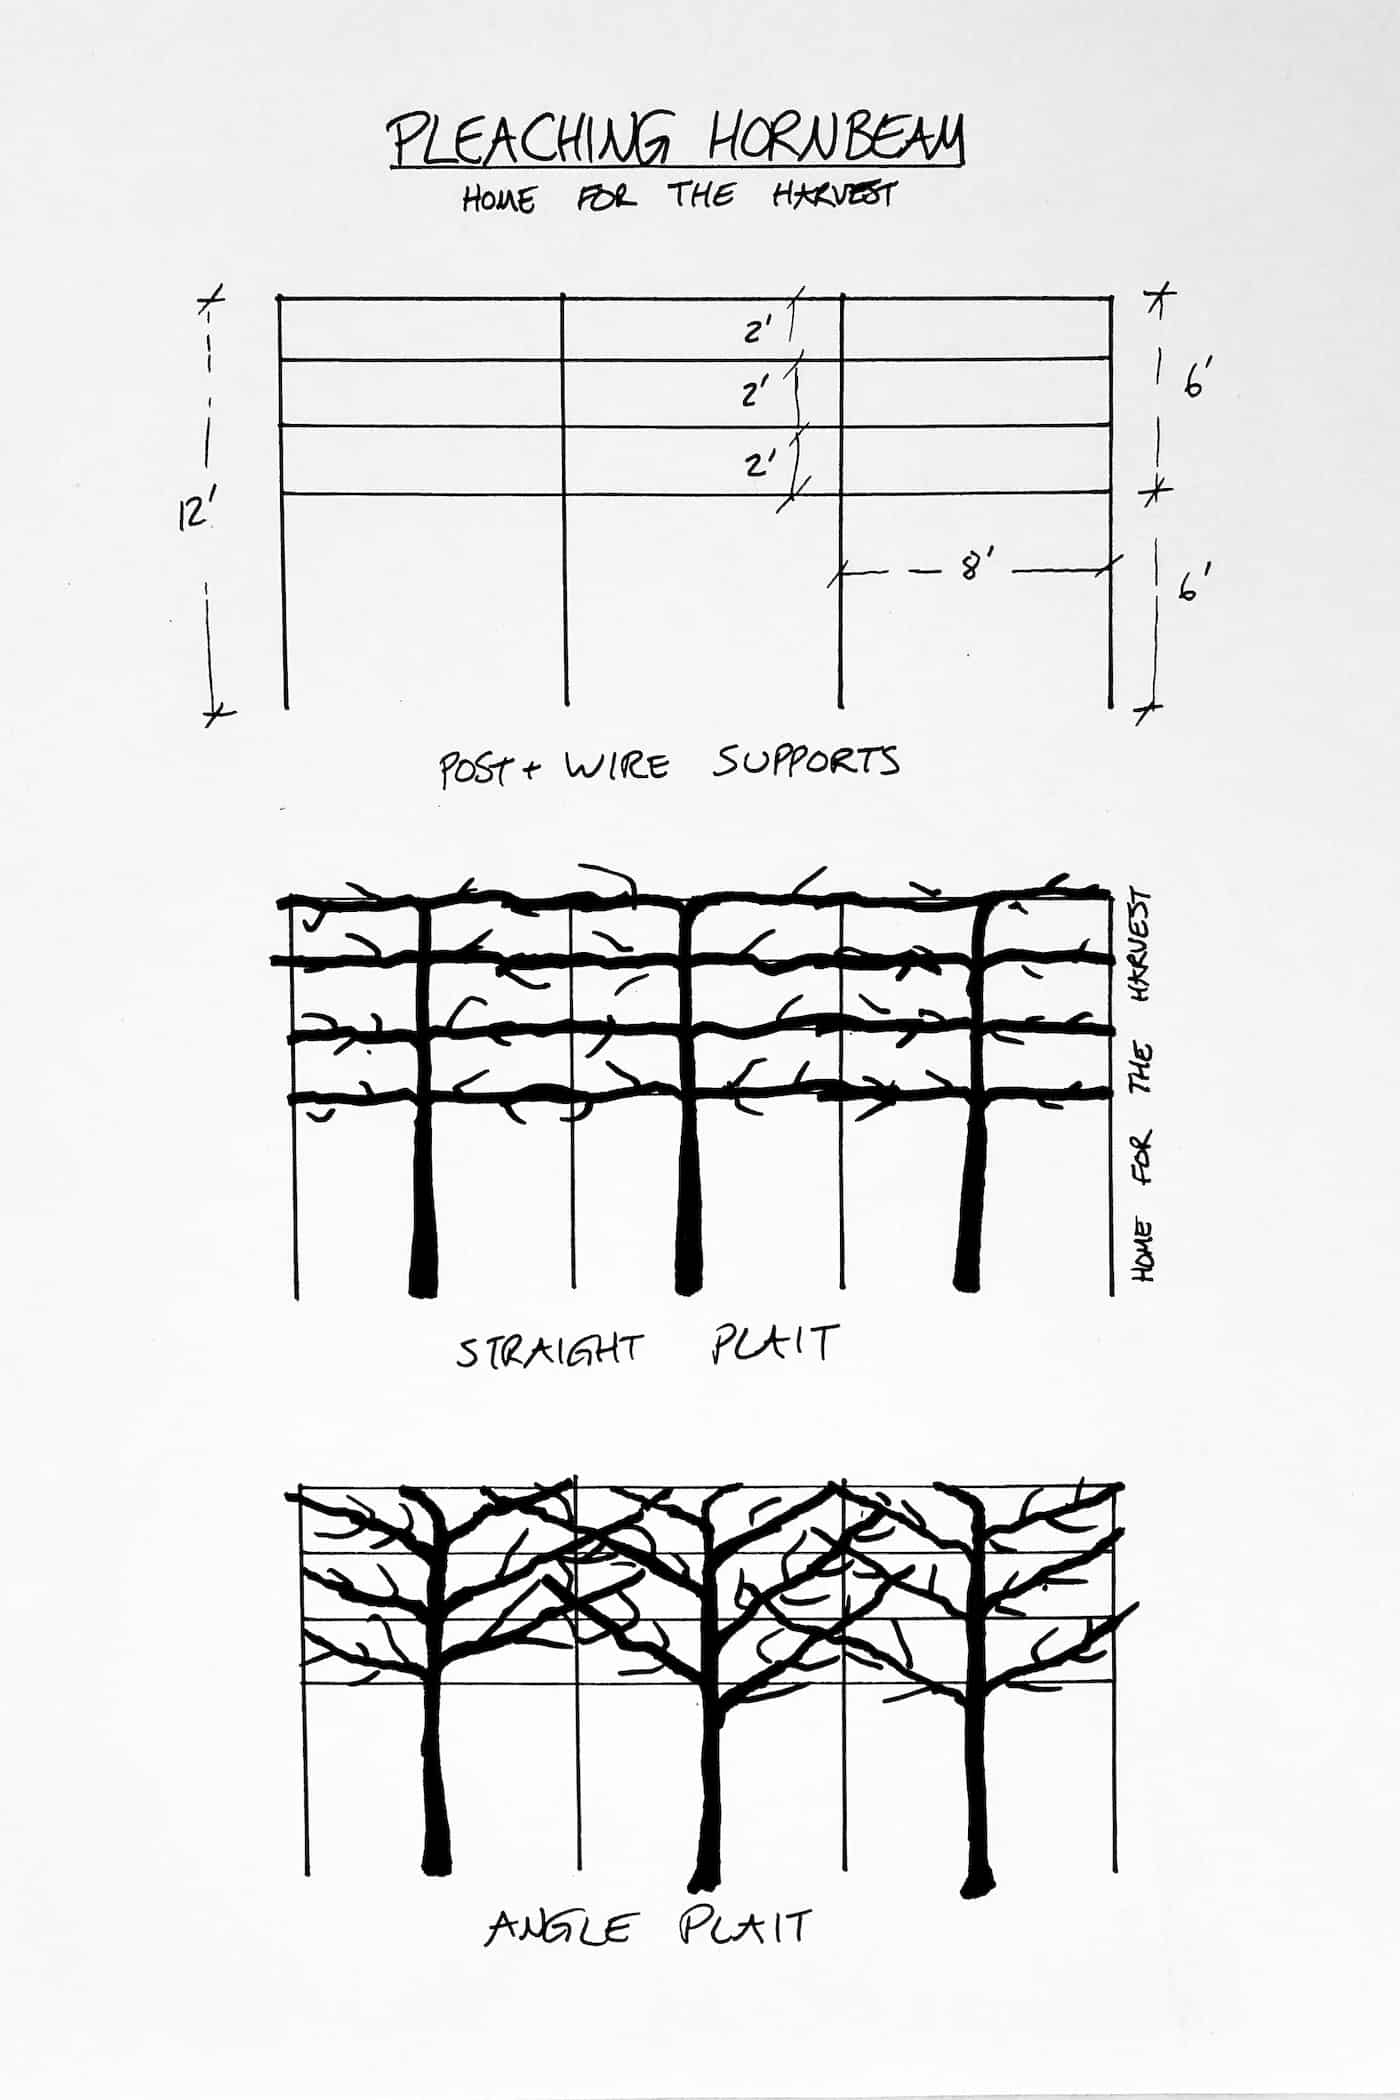
- Assemble a scaffold support to which the trees will be trained. This often consists of vertical poles (10-20 ft. apart), which are then connected horizontally with sticks, wire, or even wire fence panels. The idea is to create a raised 2-dimensional row, looking rather like a vineyard on stilts. Horizontal supports are often placed at ~1′-2′ intervals. Keep the overall height of the tree row at a height you can reasonably prune on an annual basis.
- On each tree, identify the main scaffold arm branches that will be trained onto the planar support. These are the well-behaved branches that stick out sideways from the main trunk.
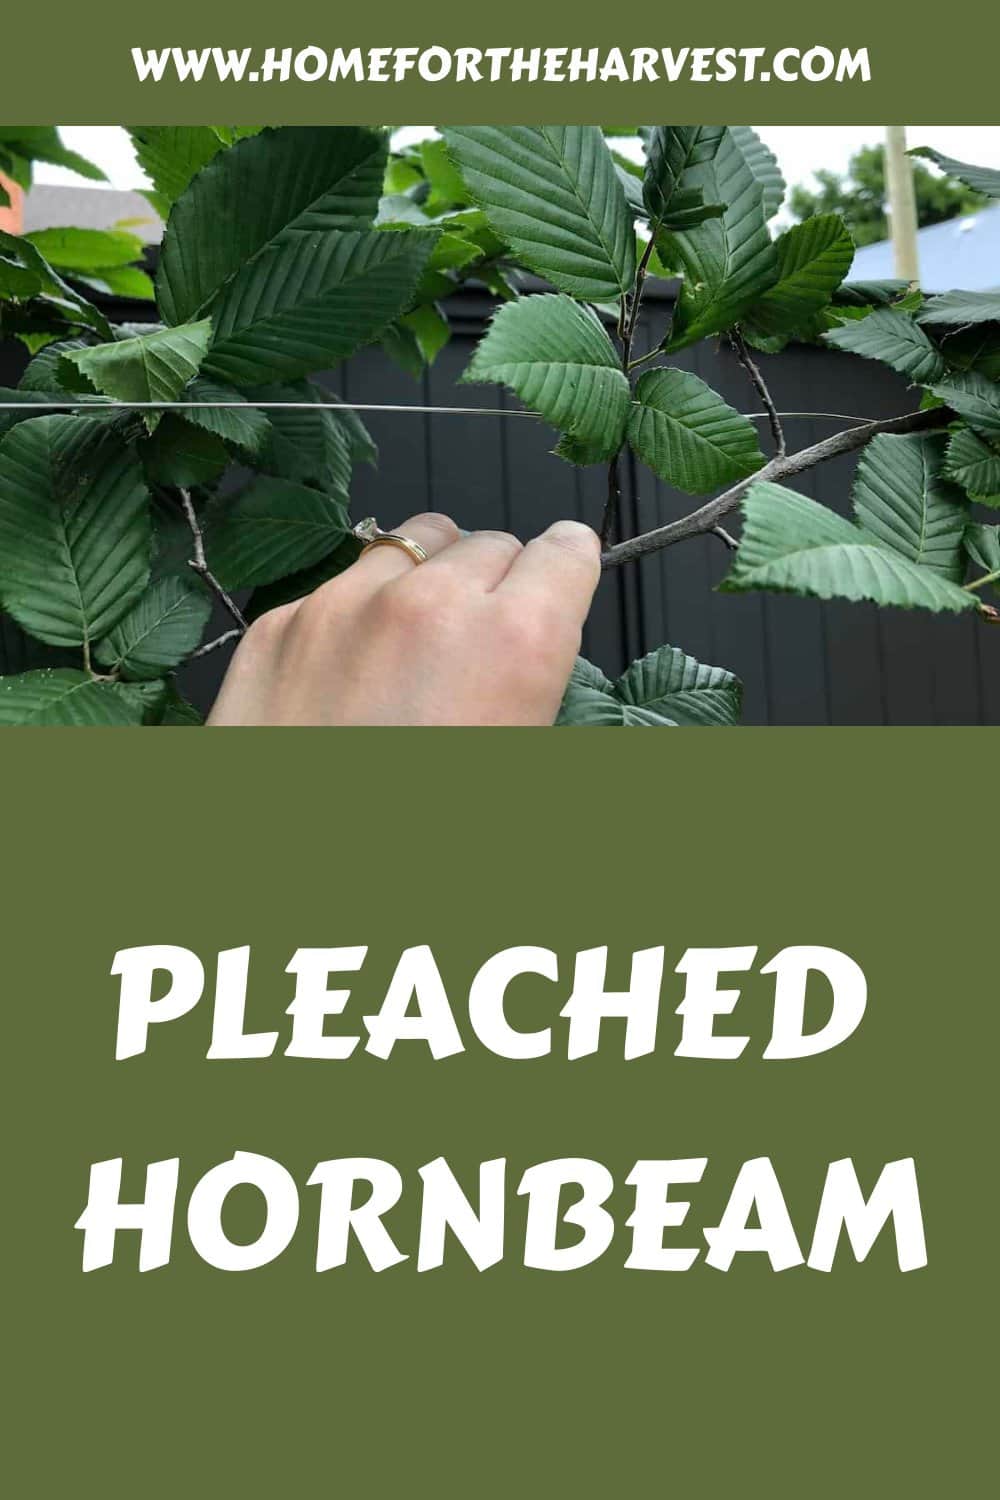
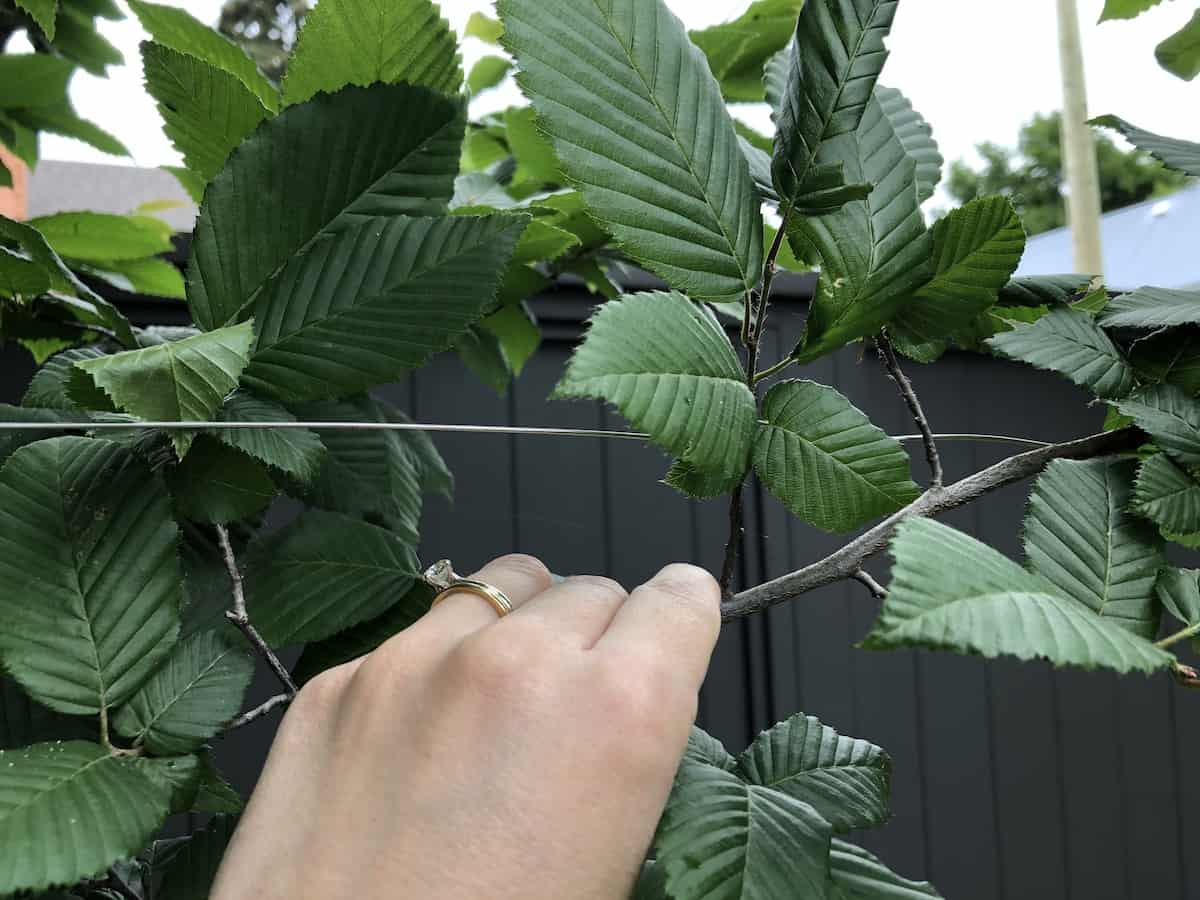
- Gently tie each main branch onto the horizontal supports using twine, raffia, stretchy rubber cord, or coated tomato wire. The branches need not be horizontal, like formal espaliered trees, but can instead be at different angles. It is best, however, if branches don’t cross each other/rub each other.
- Weave together the branches of one tree with the branches of its neighbor as each tree is trained onto the flat plane support system. Hornbeam trees are best trained in spring or summer when the branches are flexible. Young, supple branches are easiest to train (and least likely to break).
- Prune off the top of the central leader (or leaders, as it may be). Smaller hornbeam trees may need to be topped several times over the course of training as they grow taller on their support framework.
“As the branches from adjacent trees reach each other, informally weave them together. You could even temporarily tie them together – temporarily because over time the tie will strangle the branches unless it decays or is removed.”
The Pruning Book, by Lee Reich
“For a 12 ft. (3.6 m) tall hedge, create four tiers, spacing the wires evenly up to 11 ft. 6 in. (3.5 m). Position a 12 ft. (3.6 m) bamboo cane in the ground 4 ft (1.2 m) from each end-post, then tie it into the wire, marking the intended place of the first tree.”
The Art of Creative Pruning: Inventive Ideas for Training and Shaping Trees and Shrubs, by Jake Hobson
Maintenance pruning of pleached hornbeam rows
A row of pleached hornbeam trees will require maintenance pruning after the initial formative training is complete.
When to prune pleached hornbeams
Established rows of pleached hornbeam are generally pruned in late winter. The branches are most visible at this point and the sap is less likely to run down the trunk quite so much.
“Pruning while a plant is leafless, or nearly so, offers you an unobstructed view of the branches, making it easier to see what to cut and actually to make the cuts. Wounds also heal most quickly just as growth is getting underway.”
The Pruning Book, by Lee Reich
“Bleeding does the plant no harm, but if it makes you queasy, prune earlier in winter or later in spring, when the plant will not bleed. If you dormant-prune in winter, try to avoid pruning until the coldest part of winter is past.”
The Pruning Book, by Lee Reich
This is also a good time to remove any twine or tomato wire that’s been used to train the hornbeam to the pleaching supports. While the pleaching depends on these ties at first, the trees can outgrow them and start to become “strangled” by the collars created by the training ties.
Hornbeam trees have a low tolerance to severe pruning. If you do need to remove a number of limbs, make a plan to spread out the pruning cuts over several years to minimize harm to the tree.
Shearing pleached hornbeam
A mature row of pleached hornbeam can be sheared rather like an elevated hedge. This is best done with handheld shears rather than a motorized trimmer unless the row is particularly massive.
“Prune the formal hedge with hedge shears. To maintain its crisp form, a formal hedge needs shearing at least once a year. The frequency of shearing needed depends on just how crips you want the lines of your hedge, as well as the vigor of the plants. Do your first shearing of the season while the plant is in full leaf, preferably after the initial growth flush has subsided so that regrowth is minimized.”
The Pruning Book, by Lee Reich
“Hornbeams will grow in most soils. C. betulus is a popular species for pleaching and hedging. Hornbeams are propagated from seed sown in autumn; cultivars are grafted.”
Trees and Shrubs: A Gardener’s Encyclopedia, by Geoff Bryant and Tony Rodd


