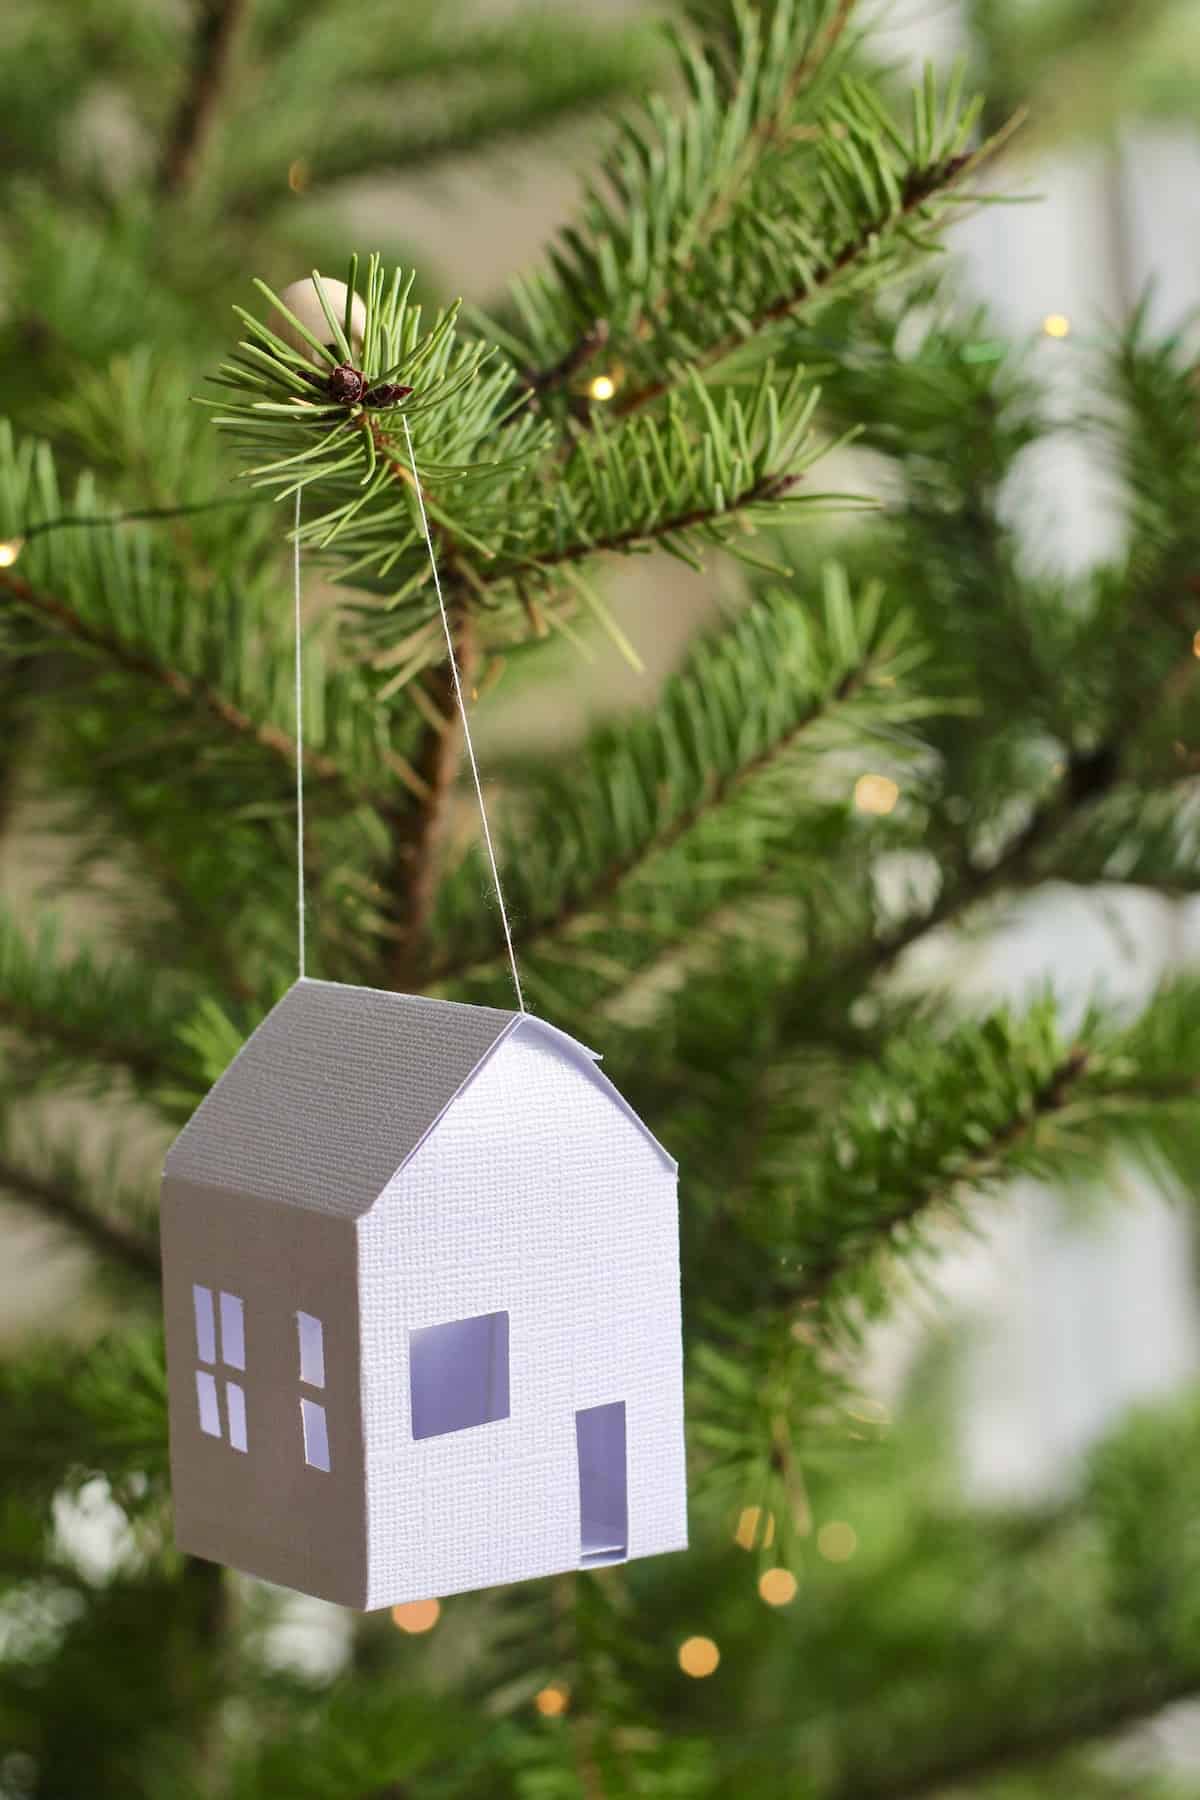
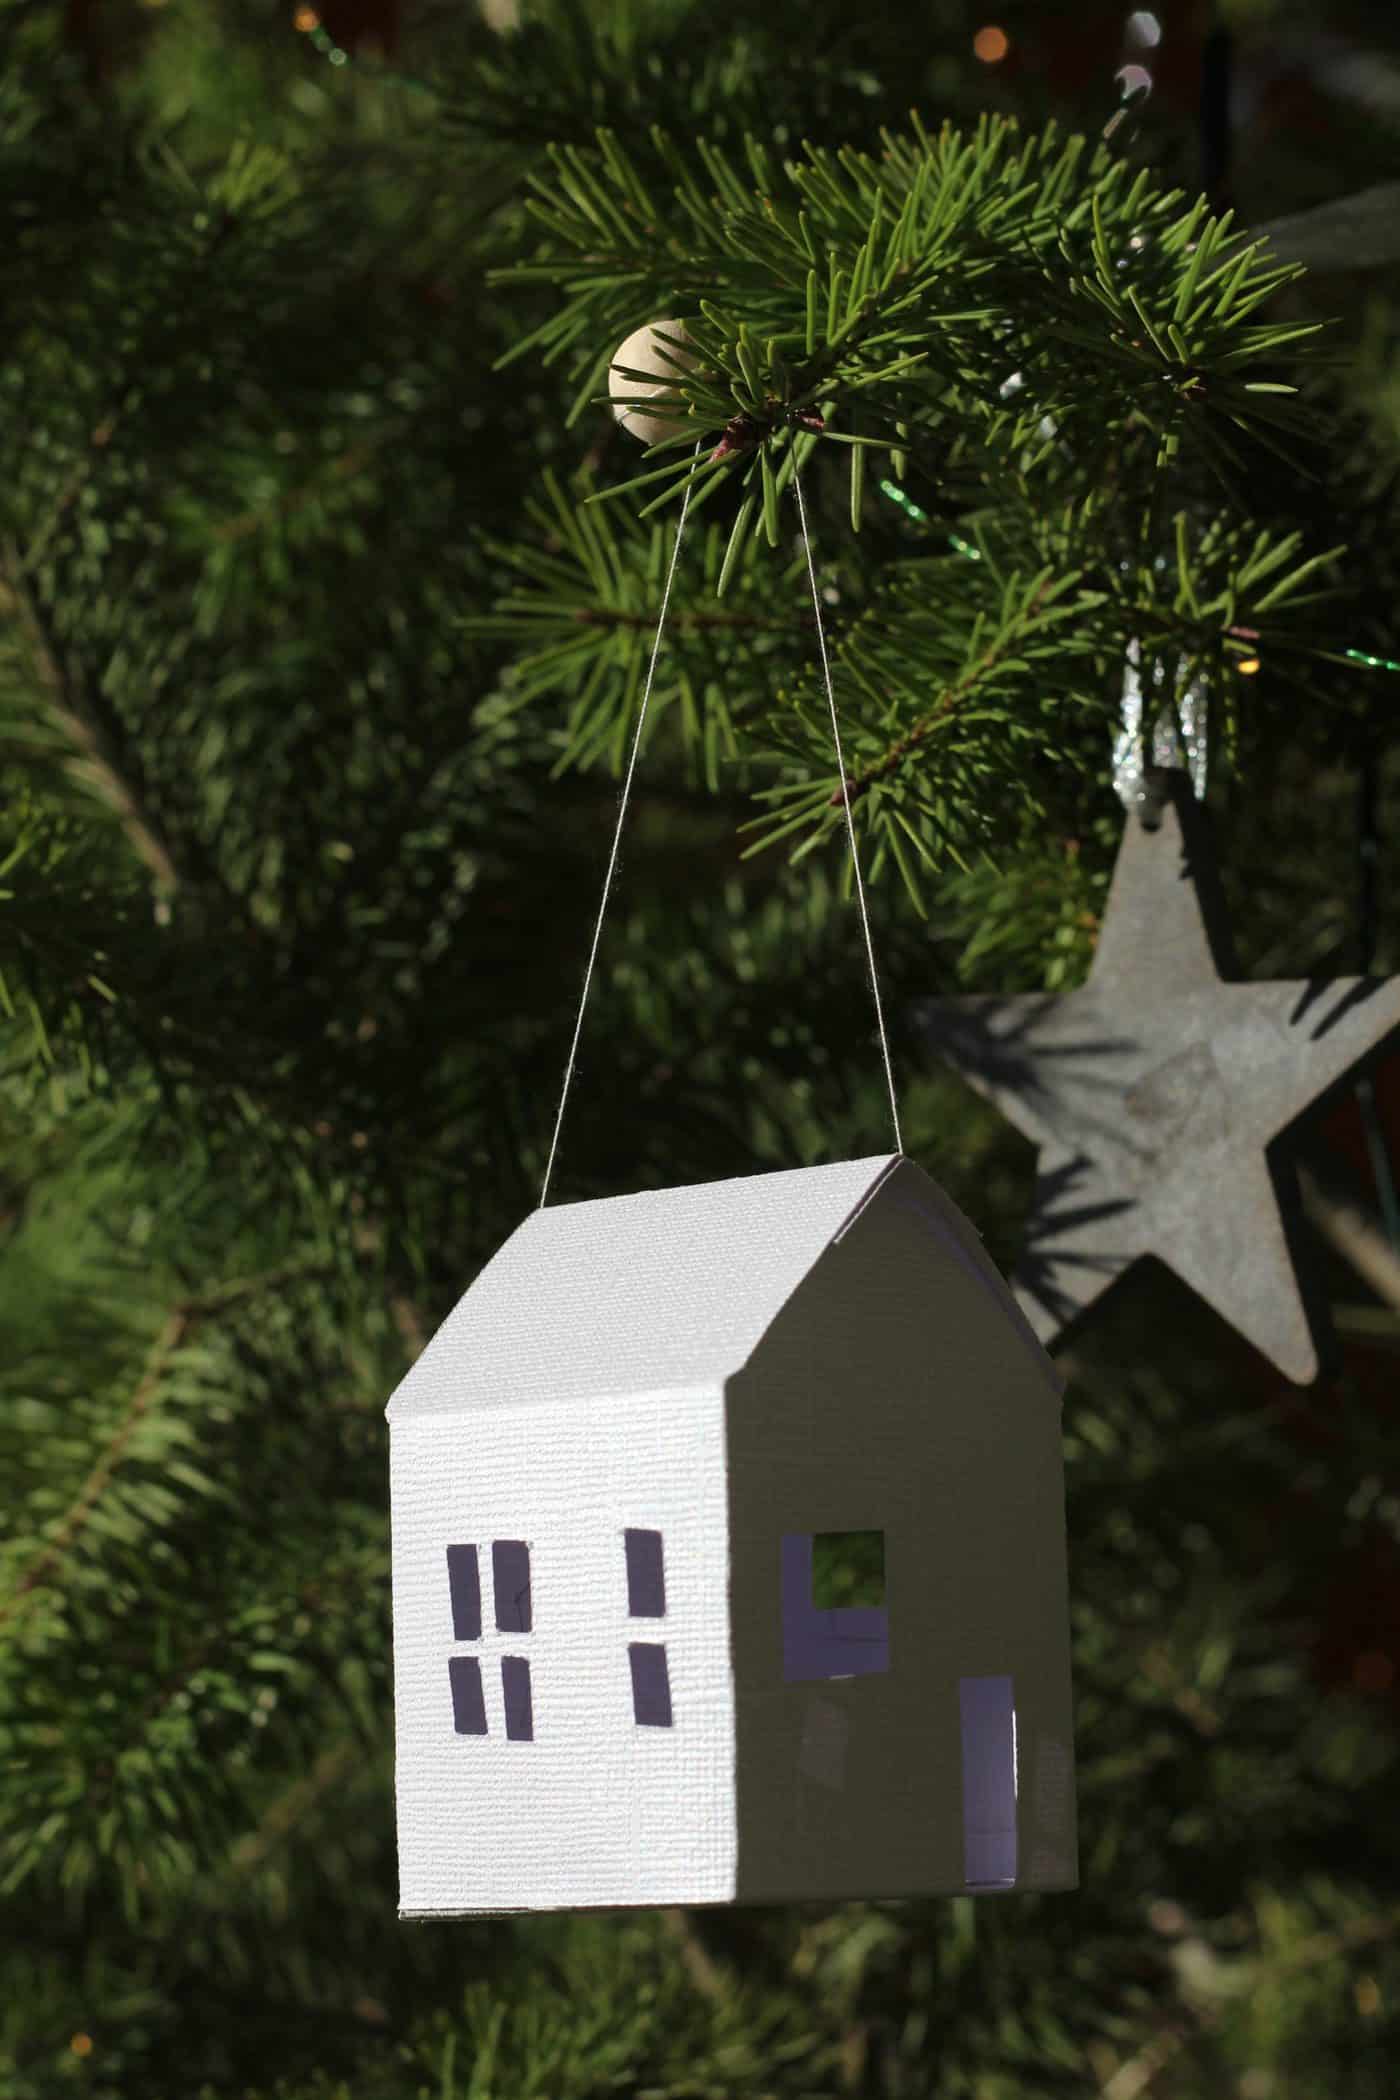
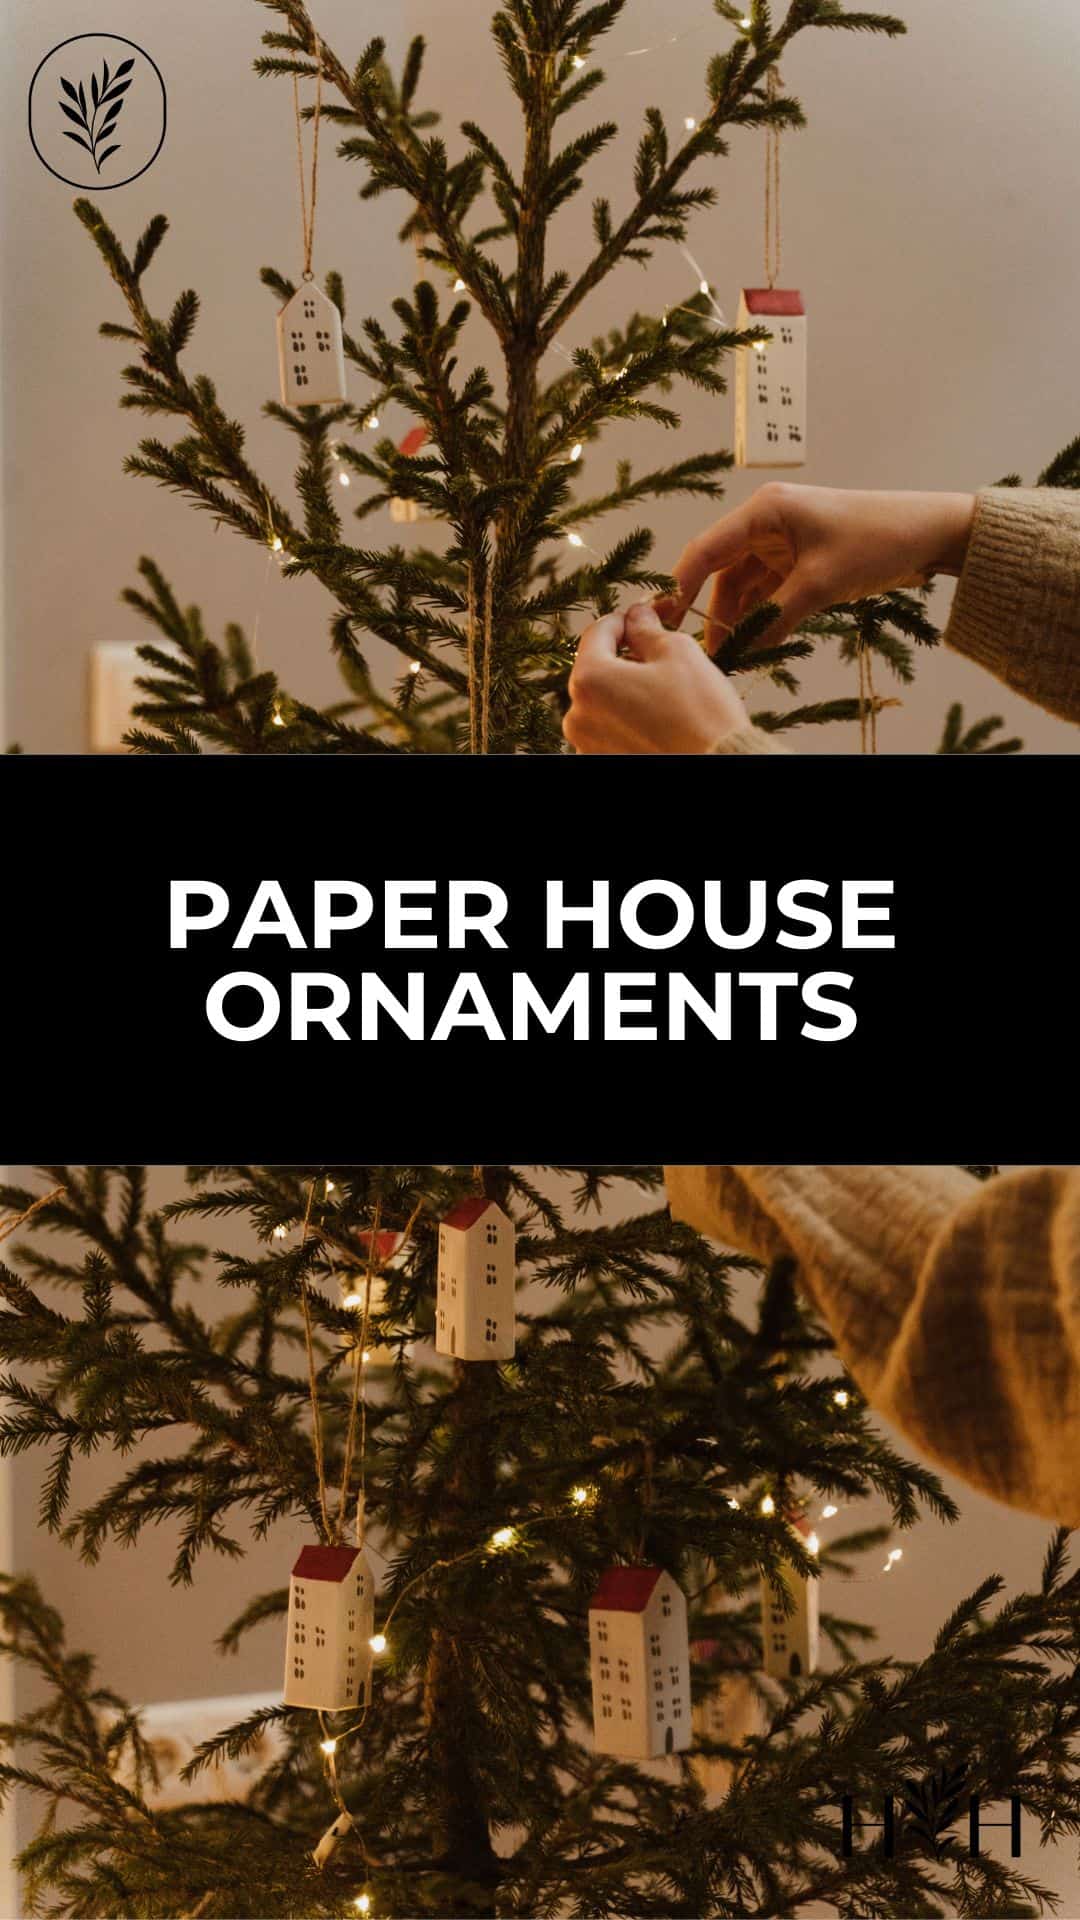
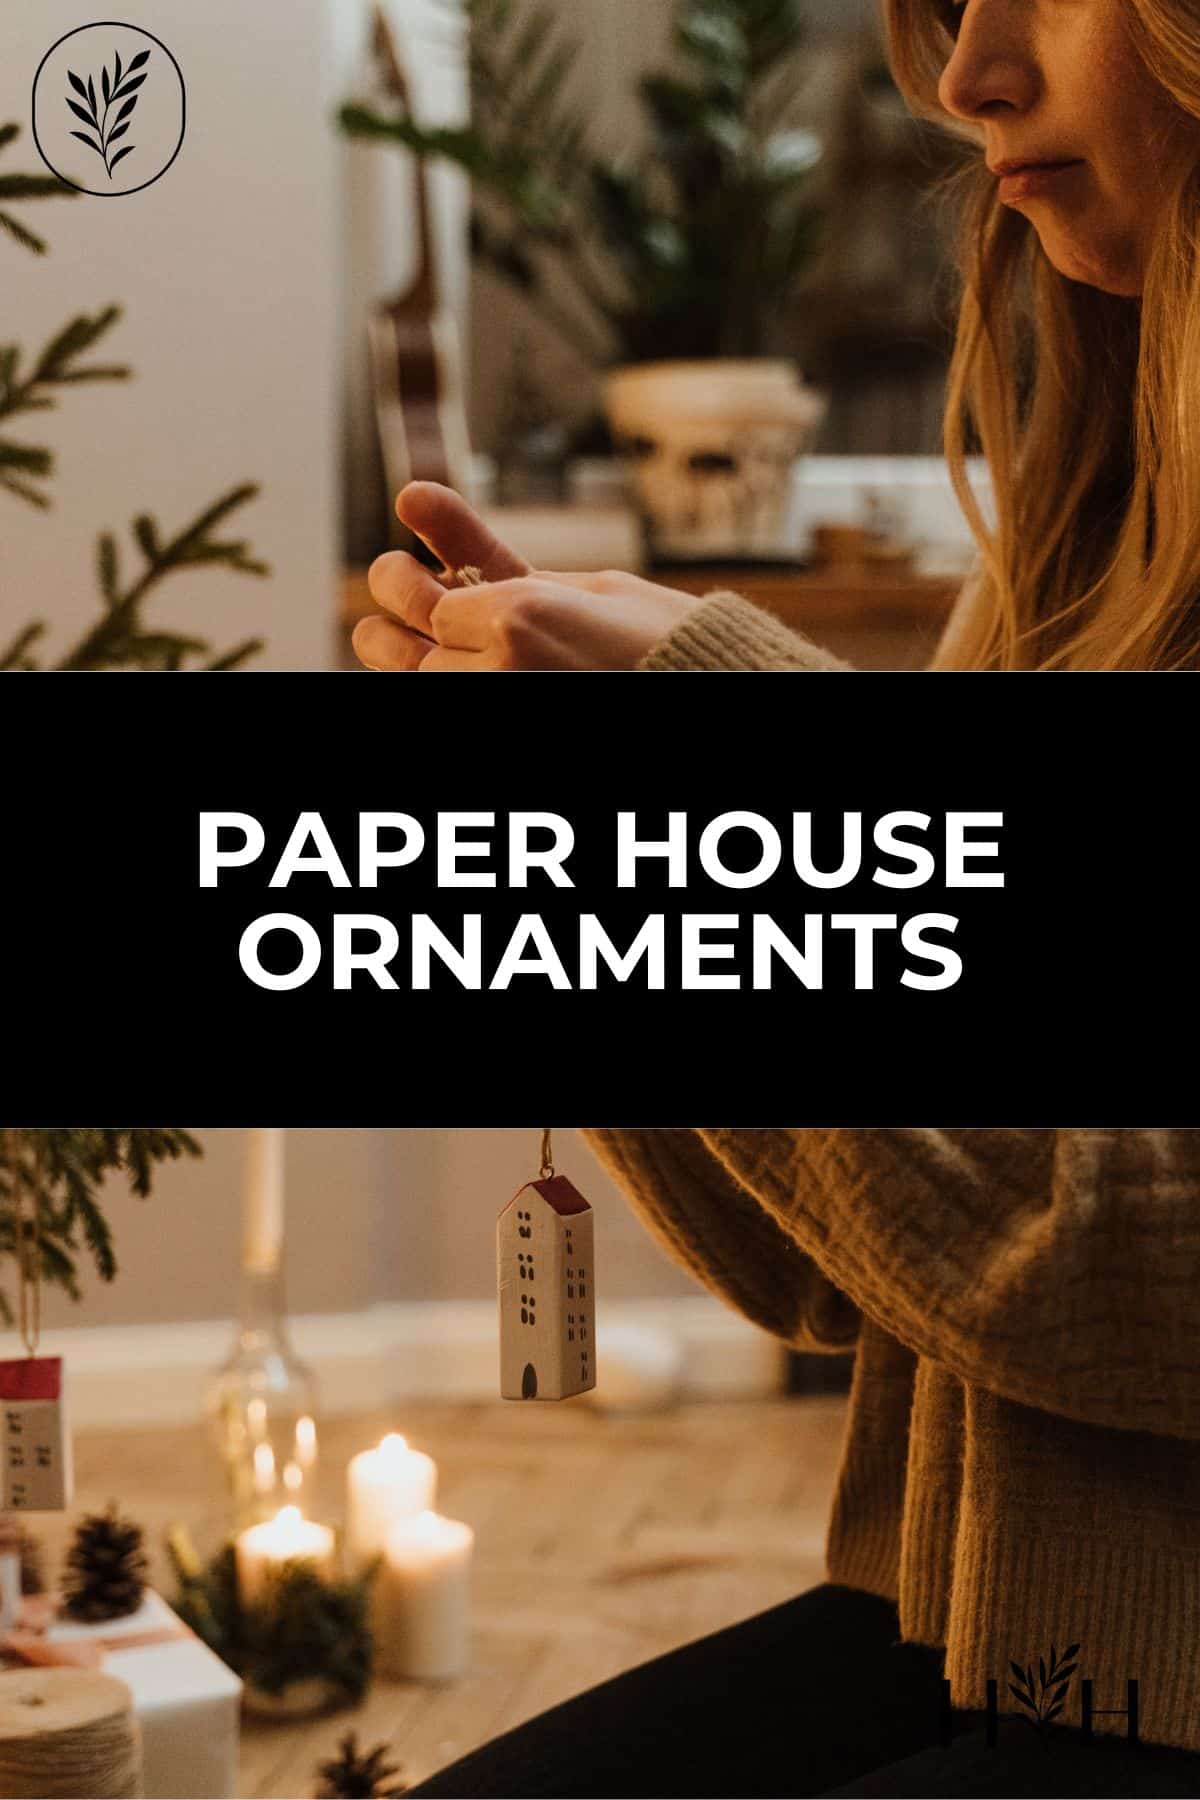
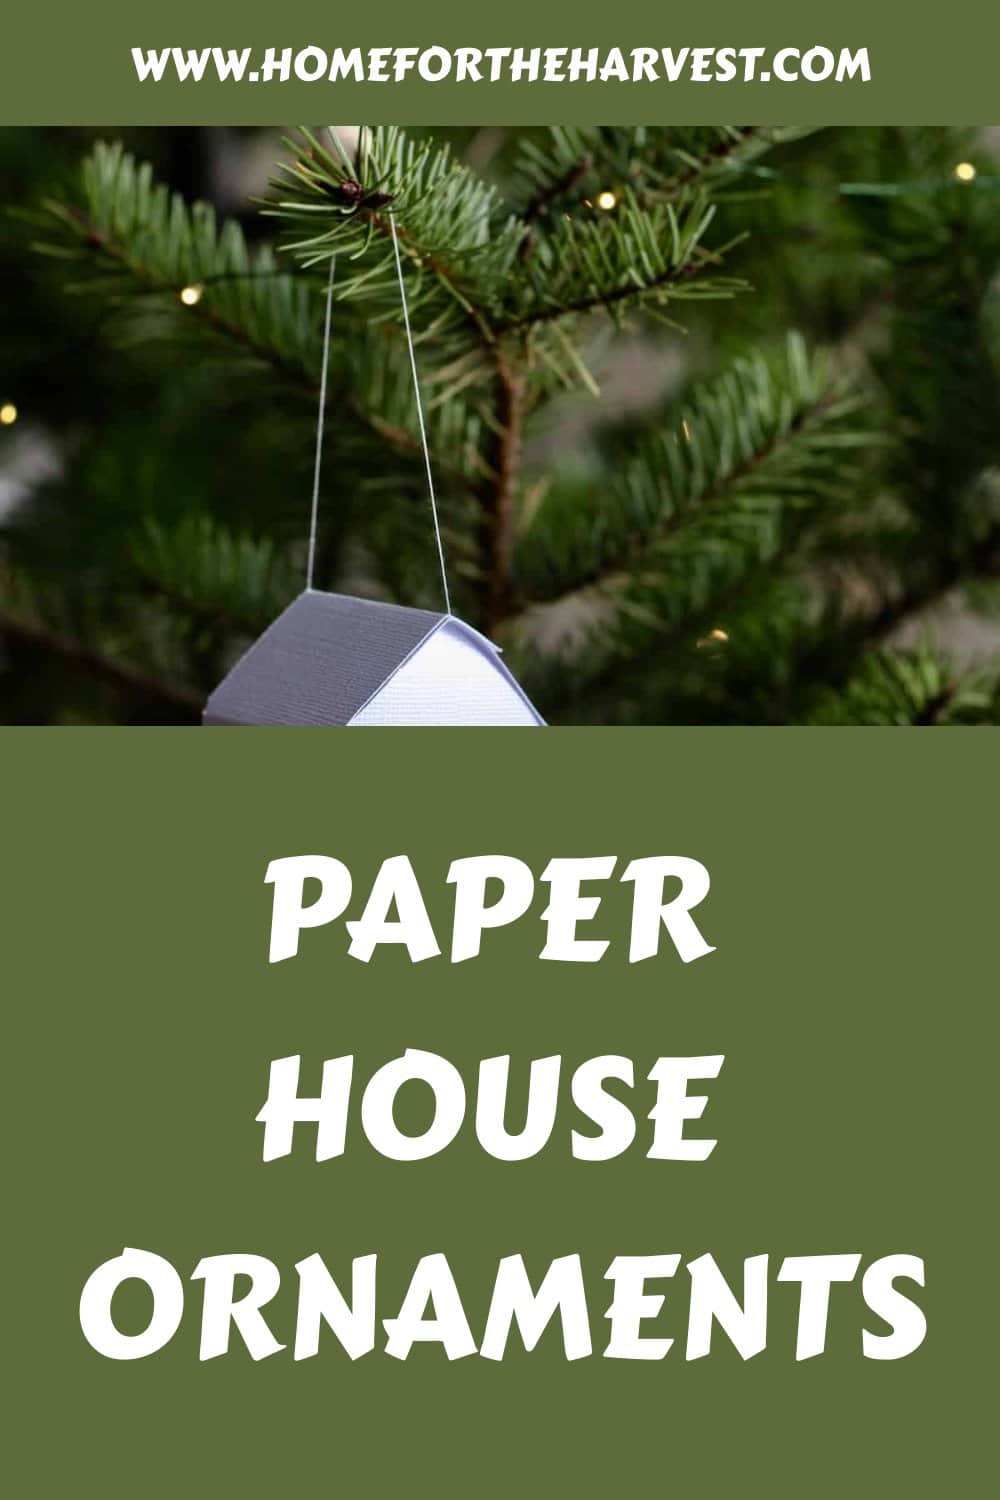
These paper house ornaments were a lovely little holiday craft to do while the snow was blanketing our neighborhood last weekend. Simple yet elegant, these little paper houses are lovely on the Christmas tree.
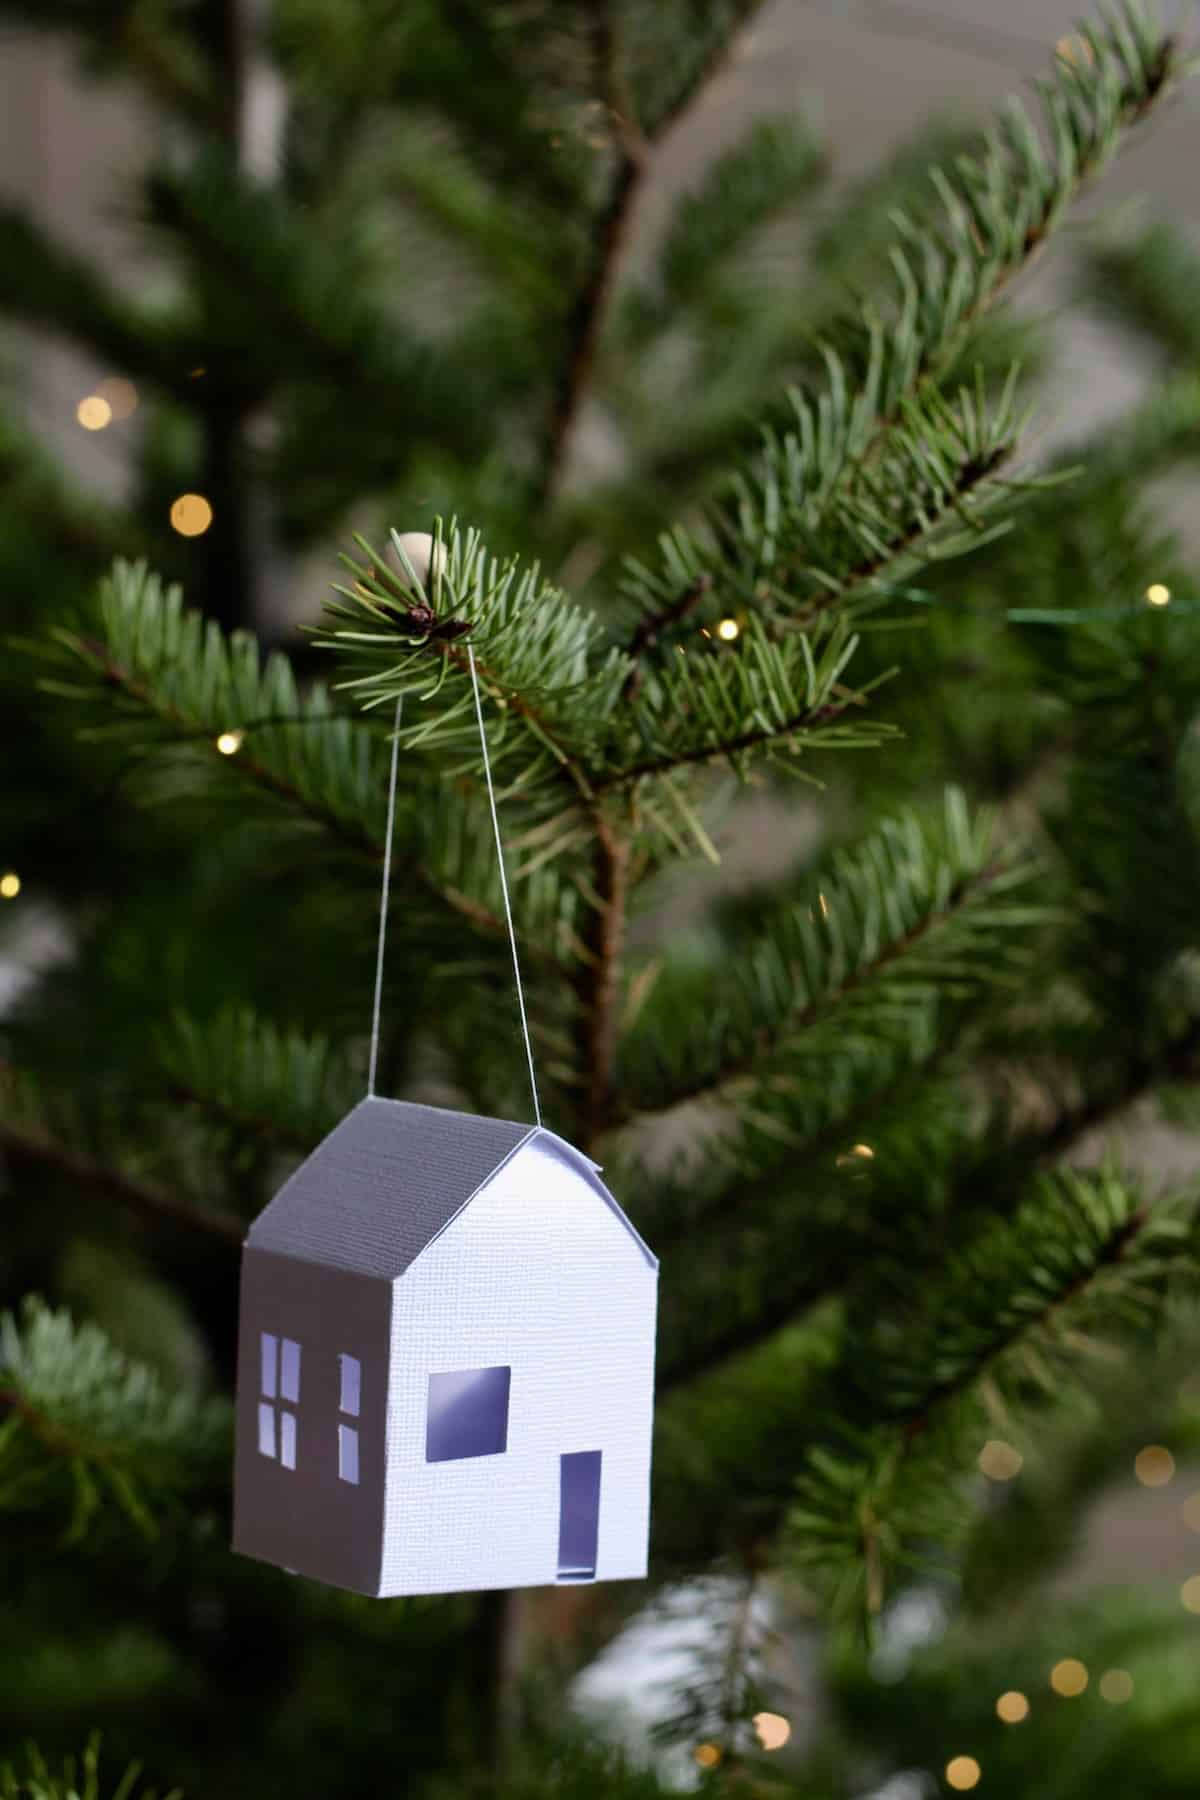
Our paper house ornaments were super simple, but they could also be jazzed up and decorated with glittering white snow or a colorful roof. These tree ornaments could look like your childhood home or your dream house! The options are limitless.
Here are some cute holiday paper houses I pinned for inspiration:
- Magnolia Market Paper House Ornament (GLITTERY)
- NutureStore Paper House Lantern (ARTSY)
- Delia Creates Paper House Holiday Houses (CHEERY)
- Craft & Creativity Tea Light Paper Houses (MINIMALIST)
- Paper, Glitter, Glue Paper Houses (TRADITIONAL)
If you’d like to print a pre-made template outline of a house, the blog Babble Dabble Do offers these free pdf paper house templates. Check it out if you’re not into drawing your own pattern to form the 3D shape of the home. Some of the articles I pinned (listed above) also include free downloadable paper house templates.
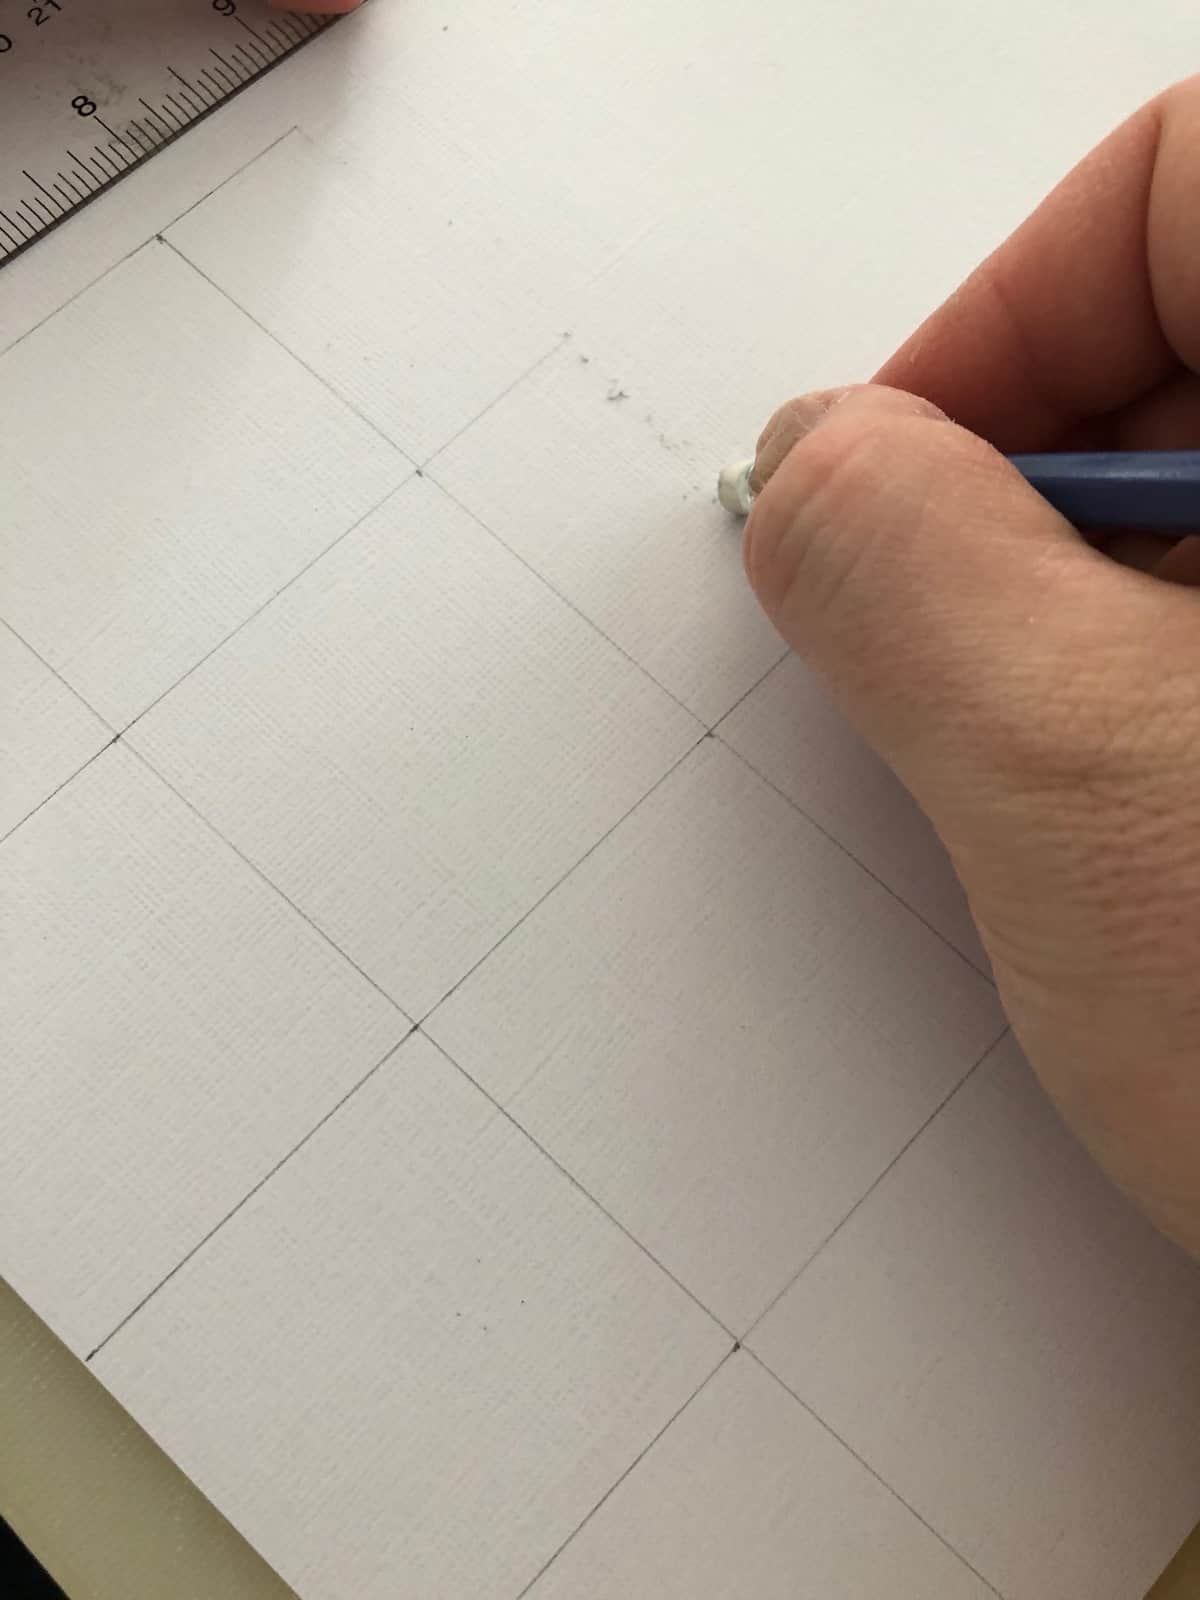
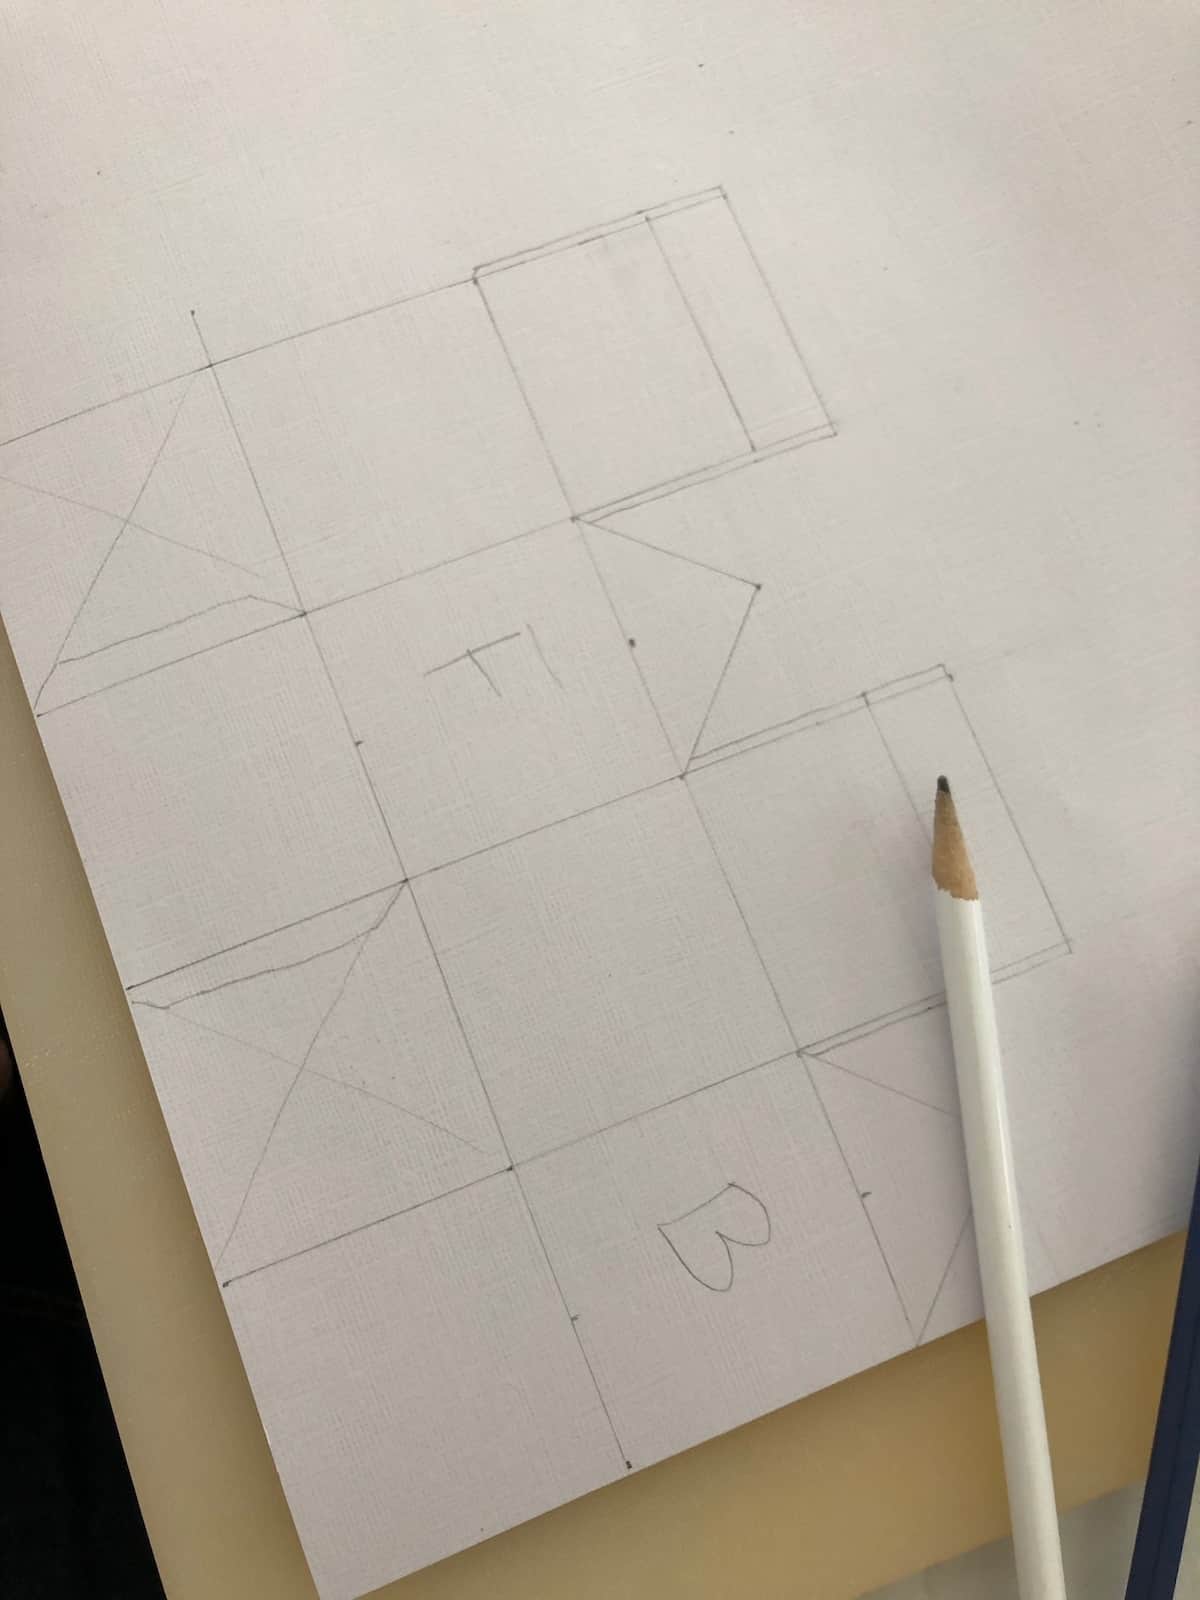
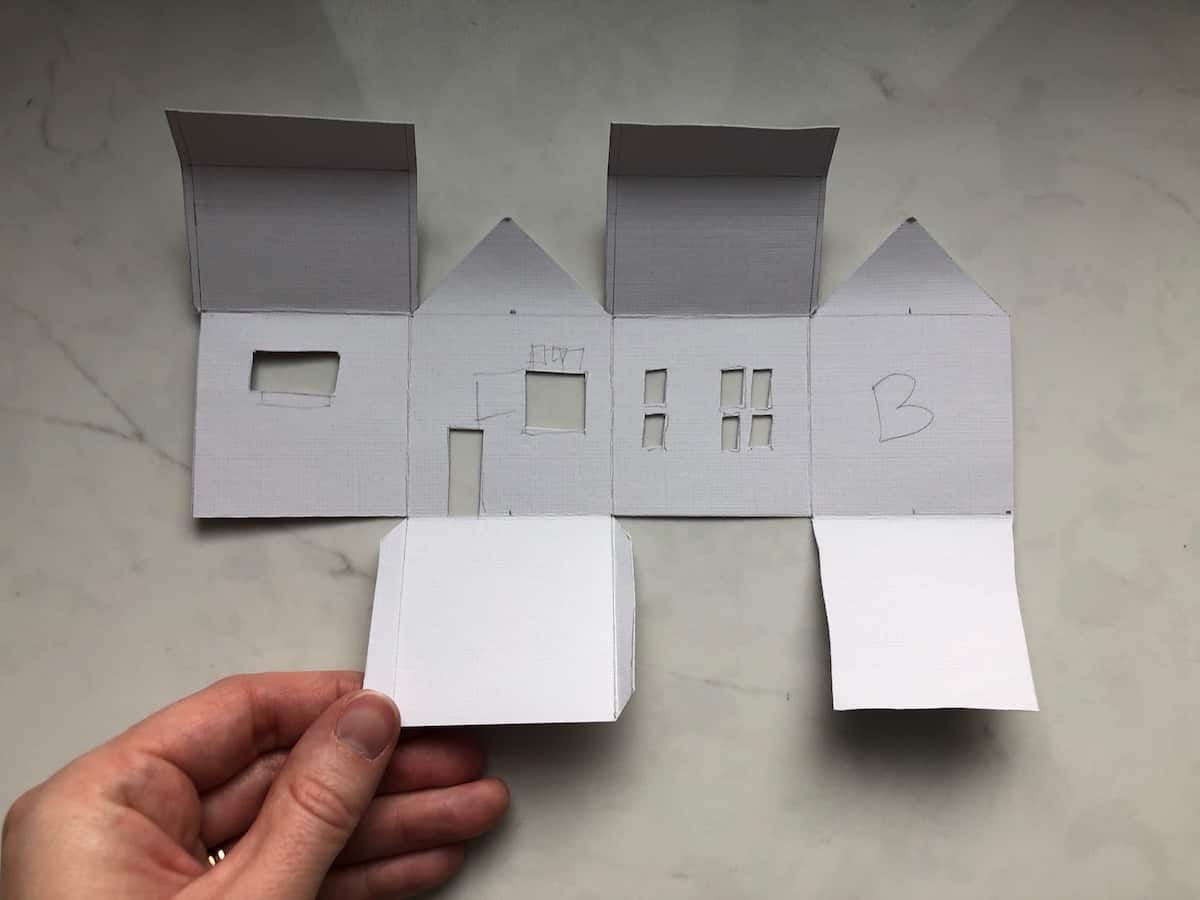
We just drew up our own paper house templates out of our heads. Most of the “walls” were about 2 inches by 2 inches. A ruler was helpful! Our favorite looks like a simplified version of our own house. Drawing it out on a flat piece of paper was a bit of a mind-bender, but no more so than your average puzzle in the newspaper.
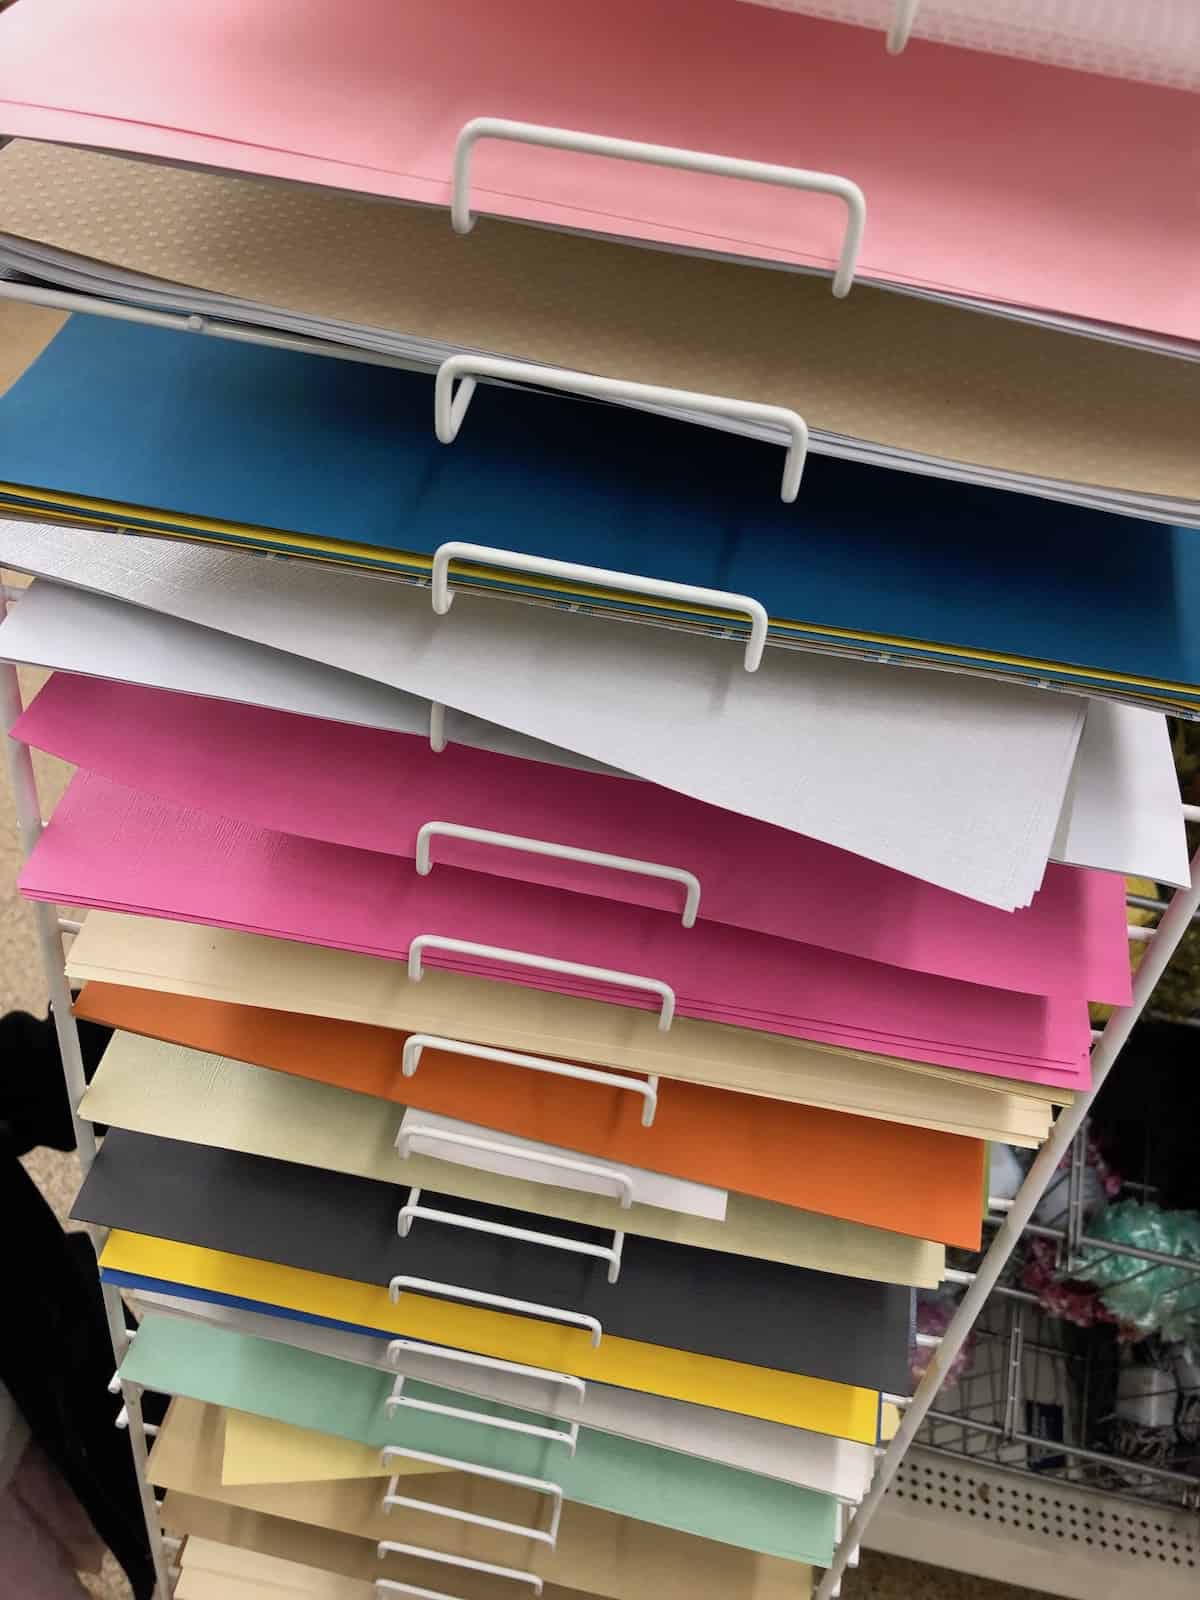
Supplies for paper house ornaments
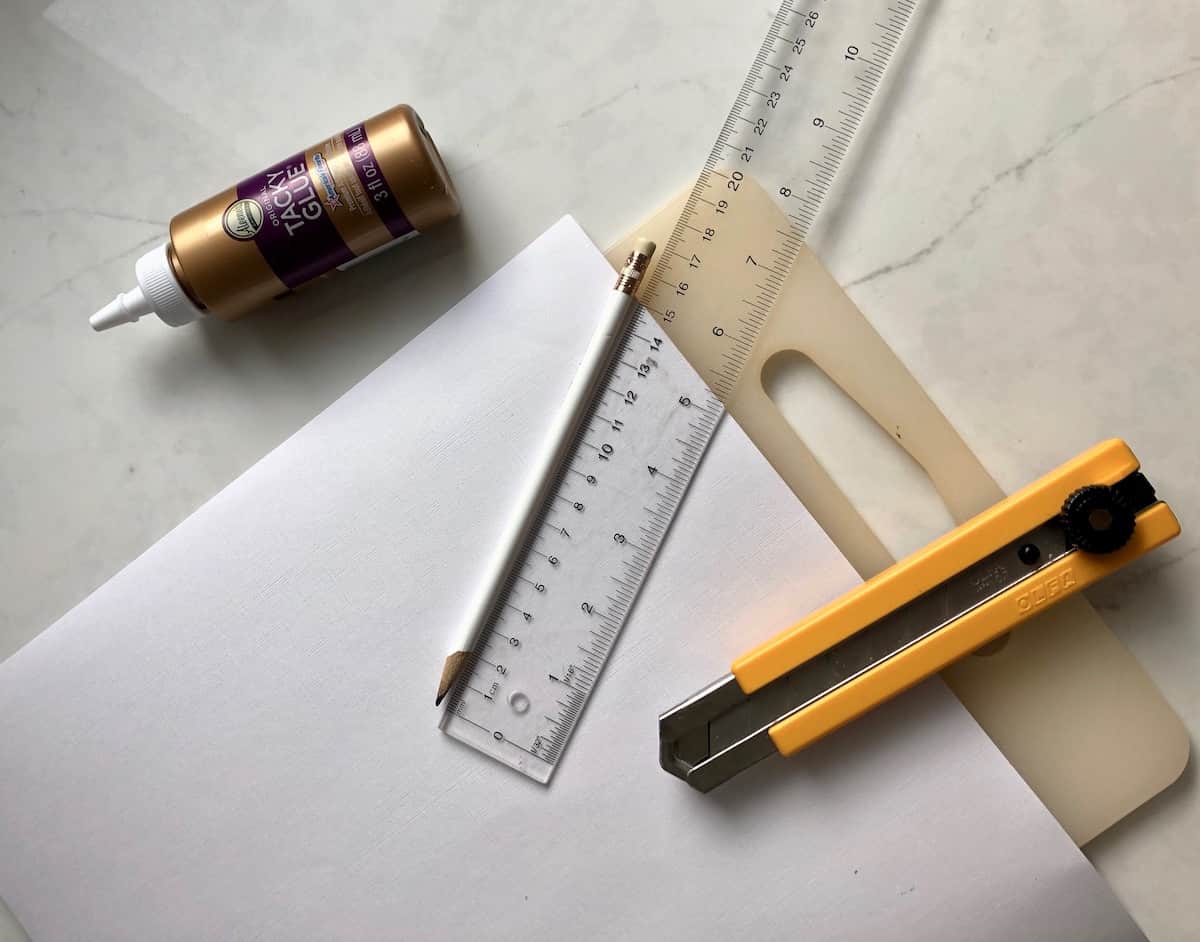
Here are the supplies we used for our paper house ornaments:
- White cardstock
- Pencil
- Ruler
- Snap-off craft knife
- Cutting board
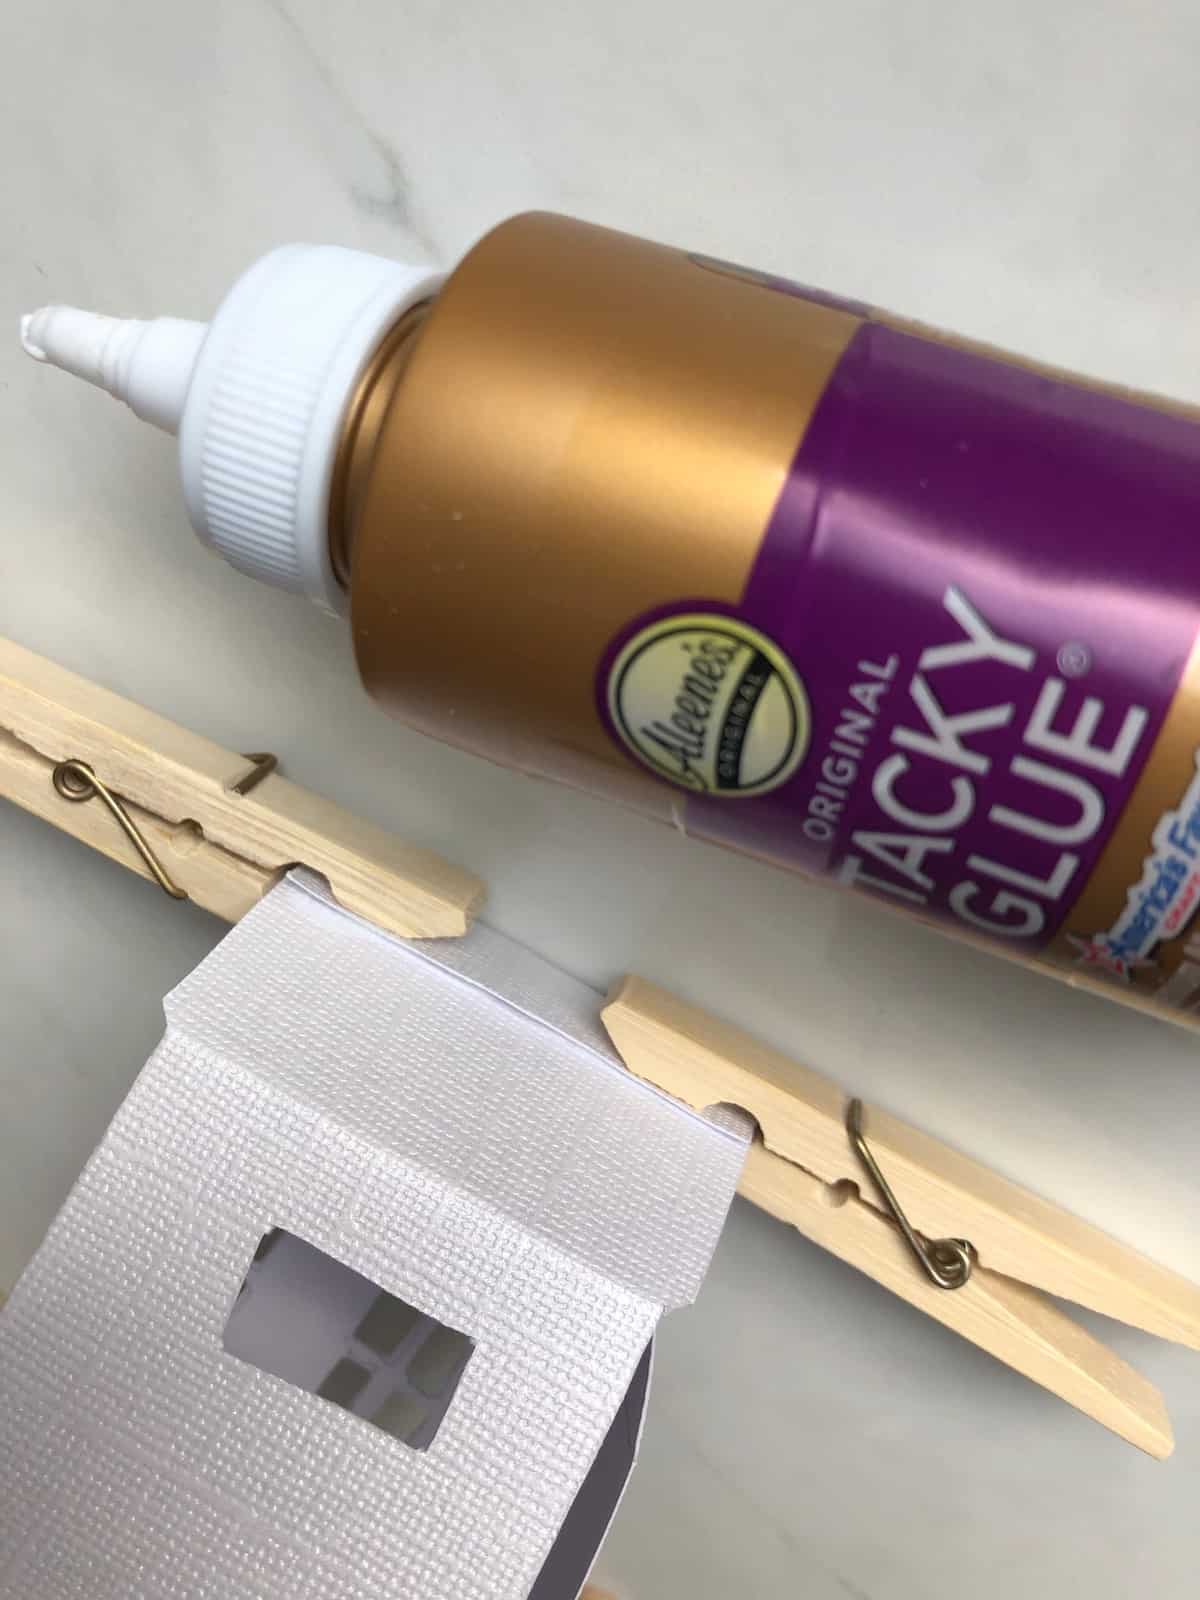
- Tacky glue
- Clothespins or small binder clips
- String
Gather your supplies together before starting this project.
How to make paper house ornaments
Here are the steps we took to make these paper house ornaments for the Christmas tree:
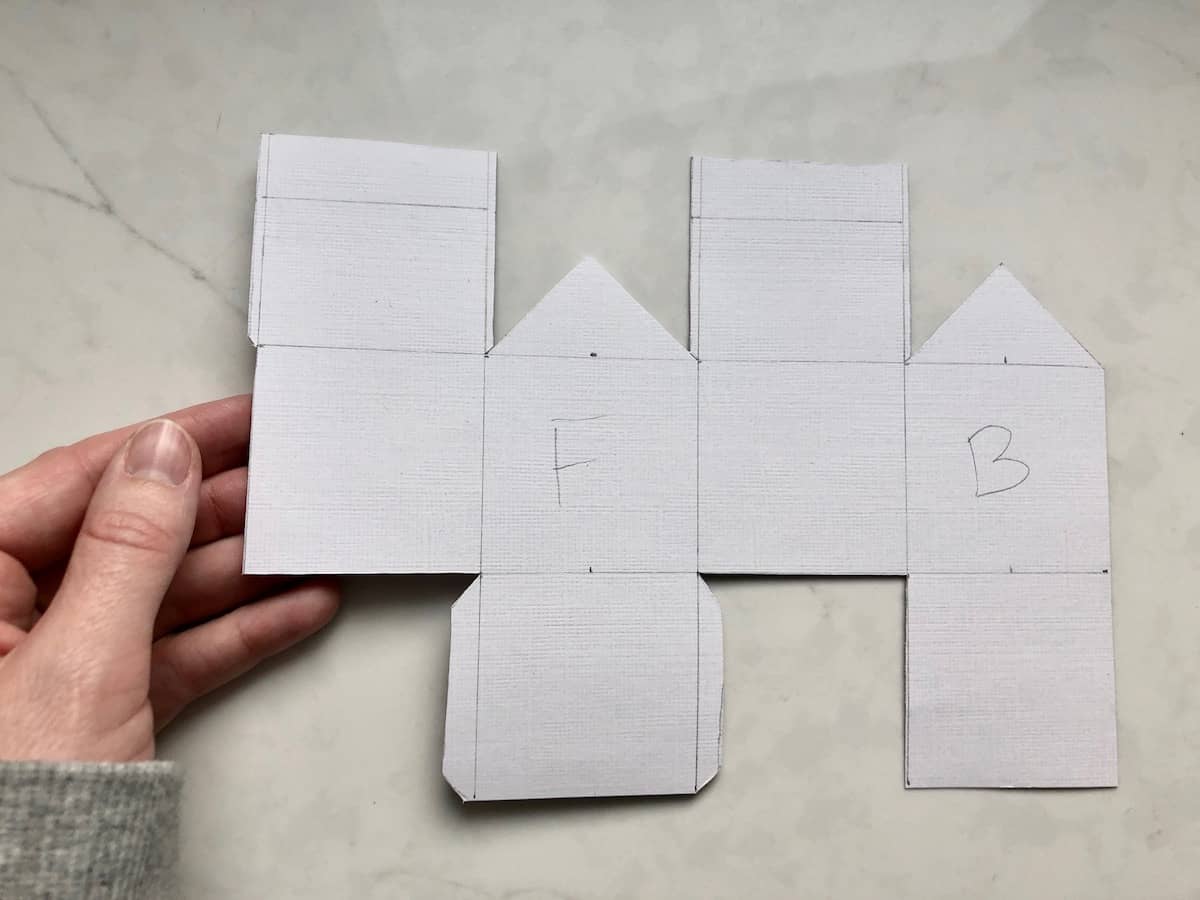
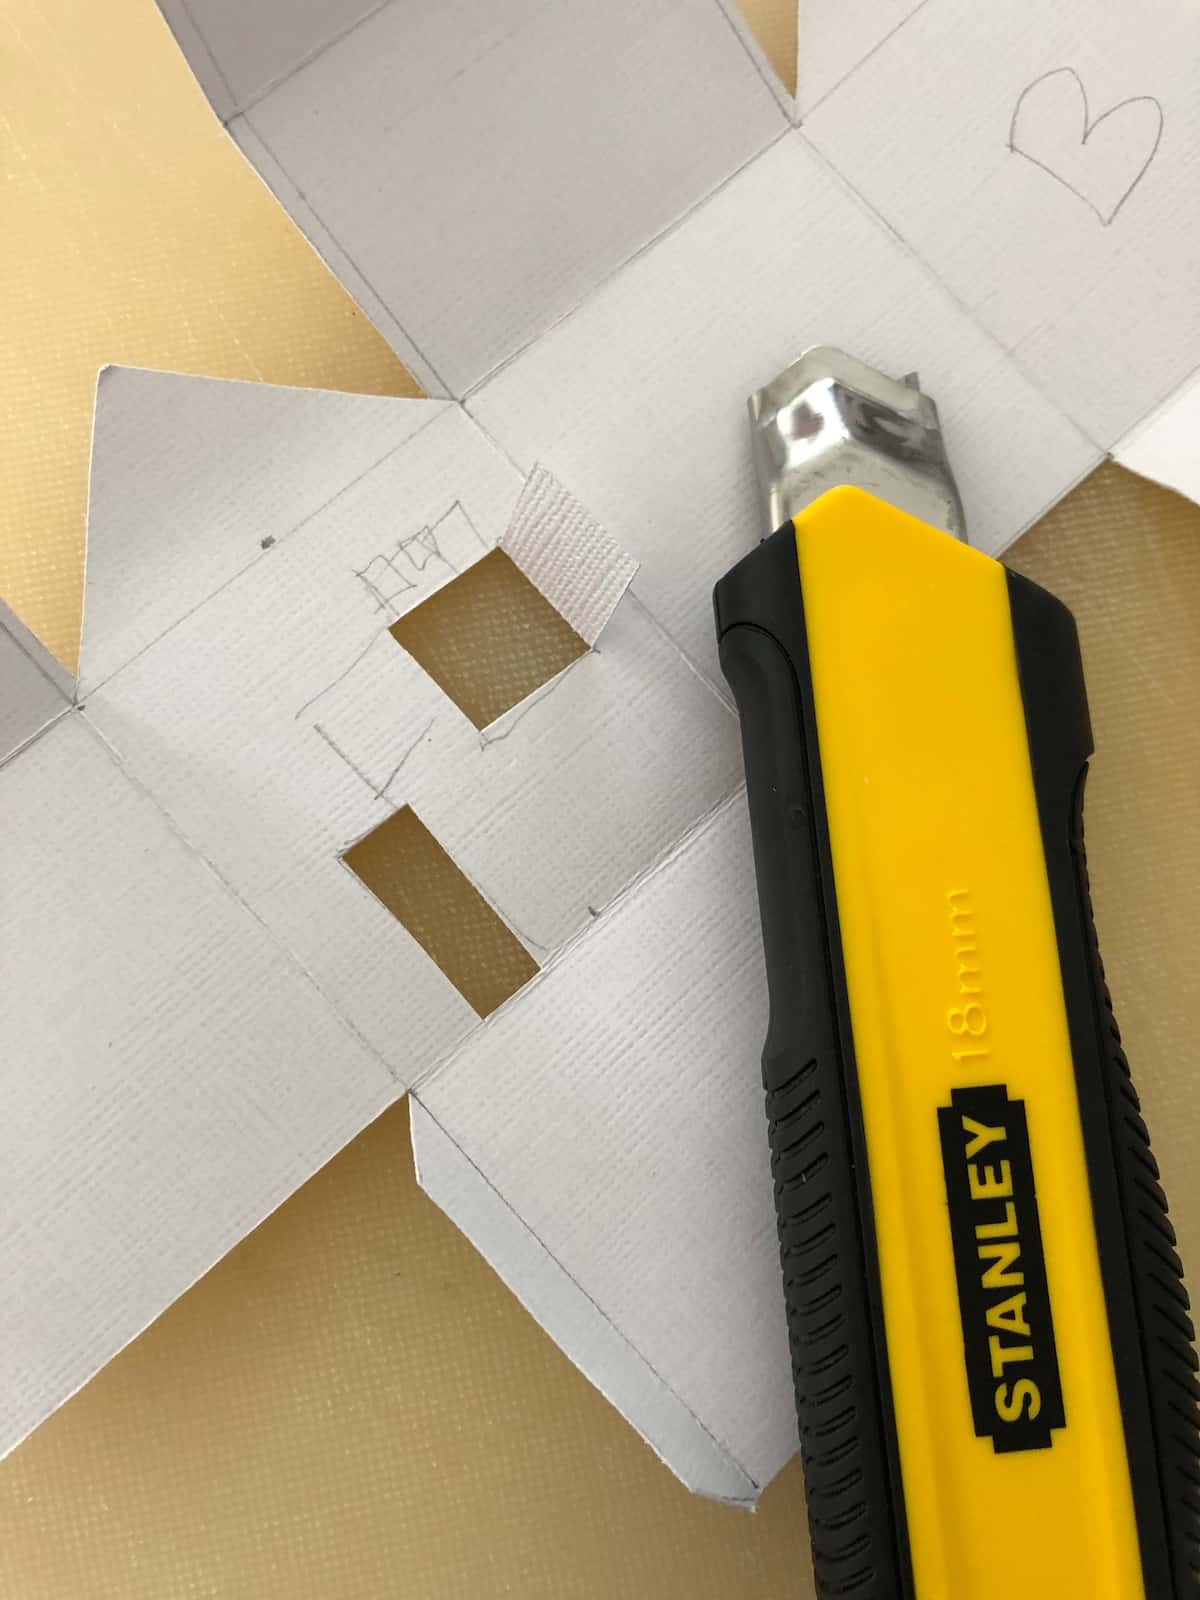
- Sketch out a template or use a pre-made template (see links earlier in this article). Your paper house will need 4 walls, plus a roof and possibly a base if you’re into it. We made the height & width dimensions about 2″ on all sides. That made it fairly simple. See the photos below. Use a ruler! I also found it helpful to put an F on the front wall of the house and a B on the back wall. But that’s just me.
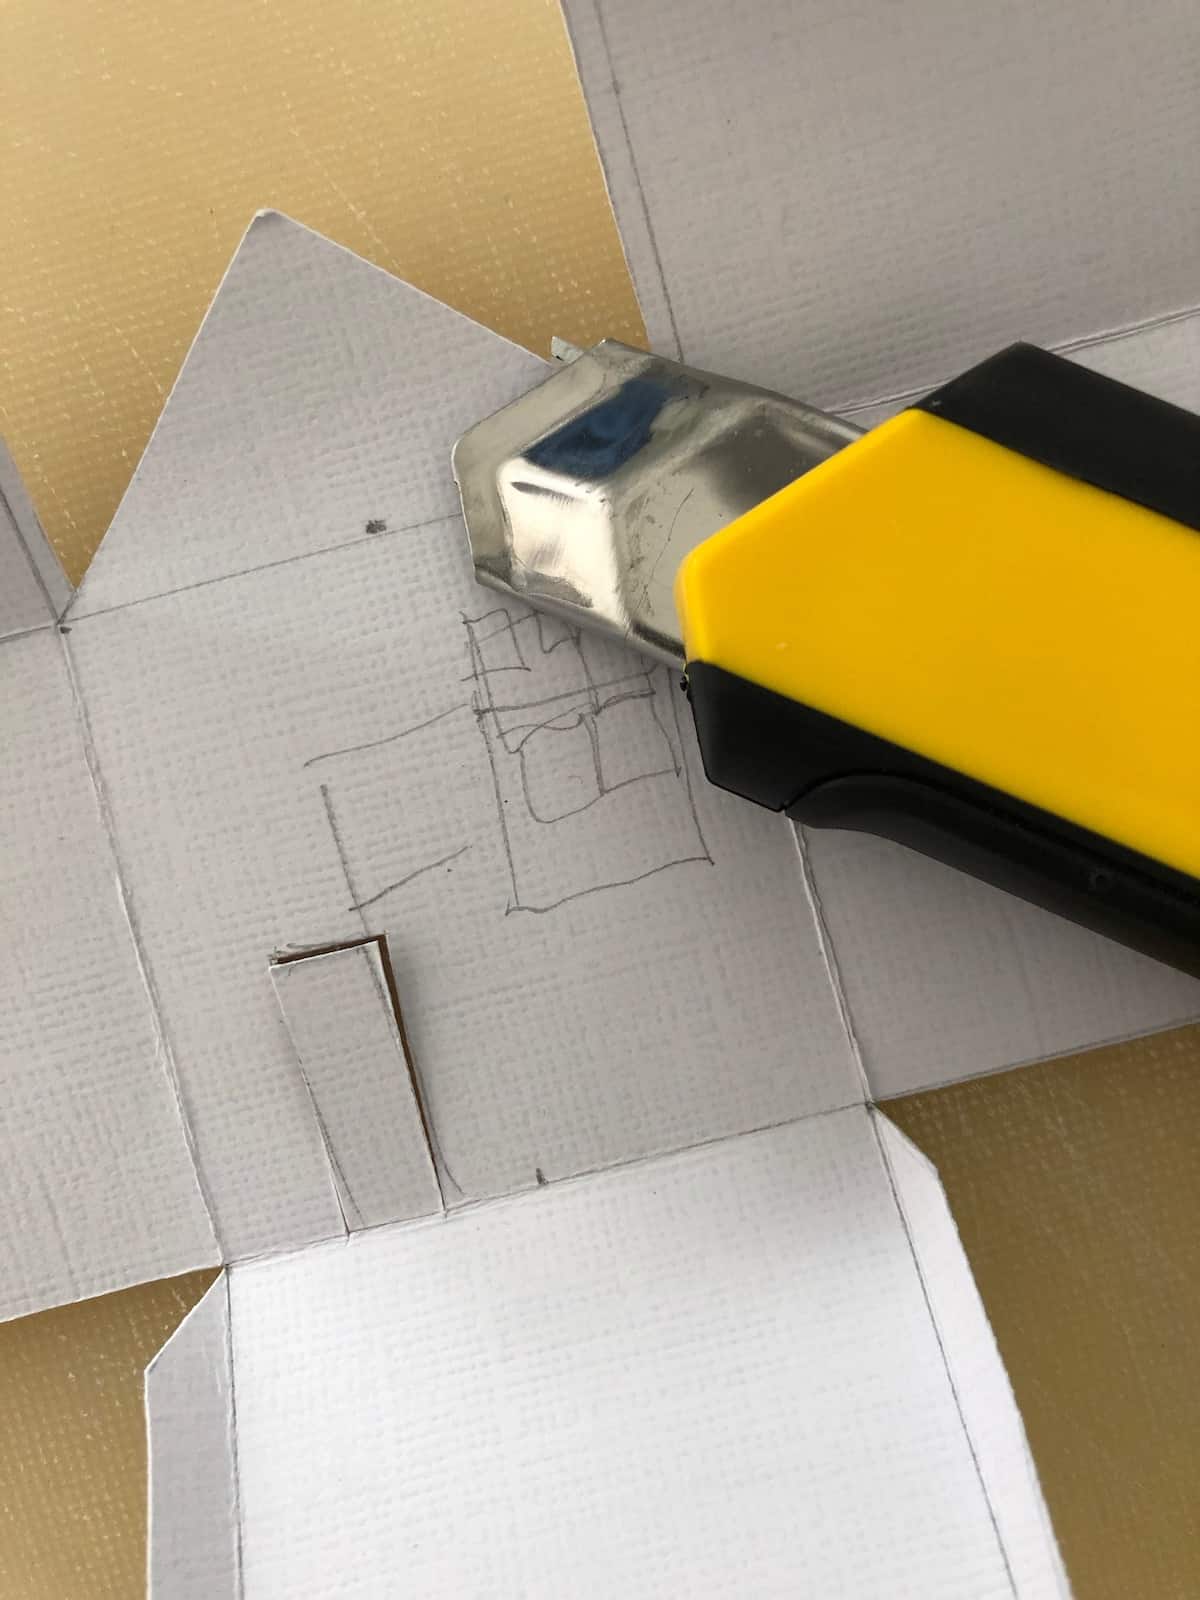
- Use the craft knife to cut out the shape you’ve drawn (or the shape on the pre-made template).
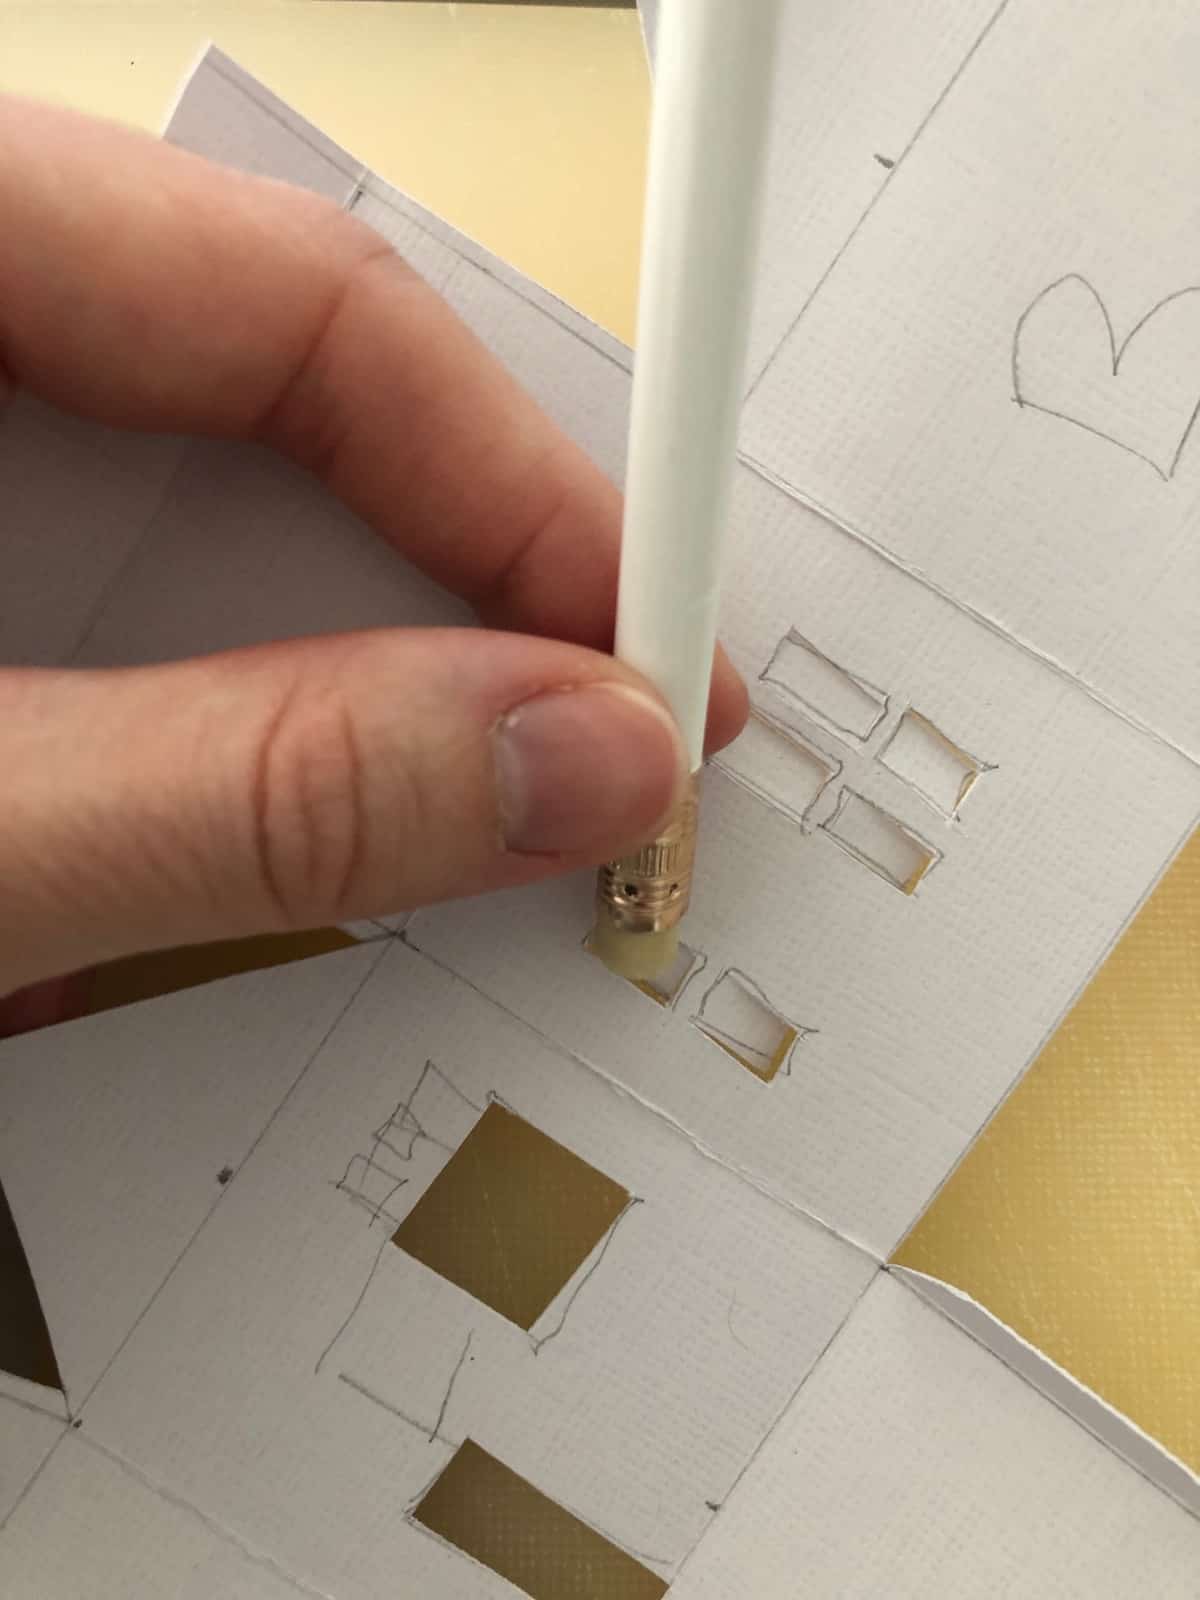
- Cut out some fun features like windows and doors. I free-hand cut mine, so they’re a bit slanted. Meh. I think that paper house ornaments should have a bit of character :)
- Bend the paper at all the fold points to pre-fold the house shape.
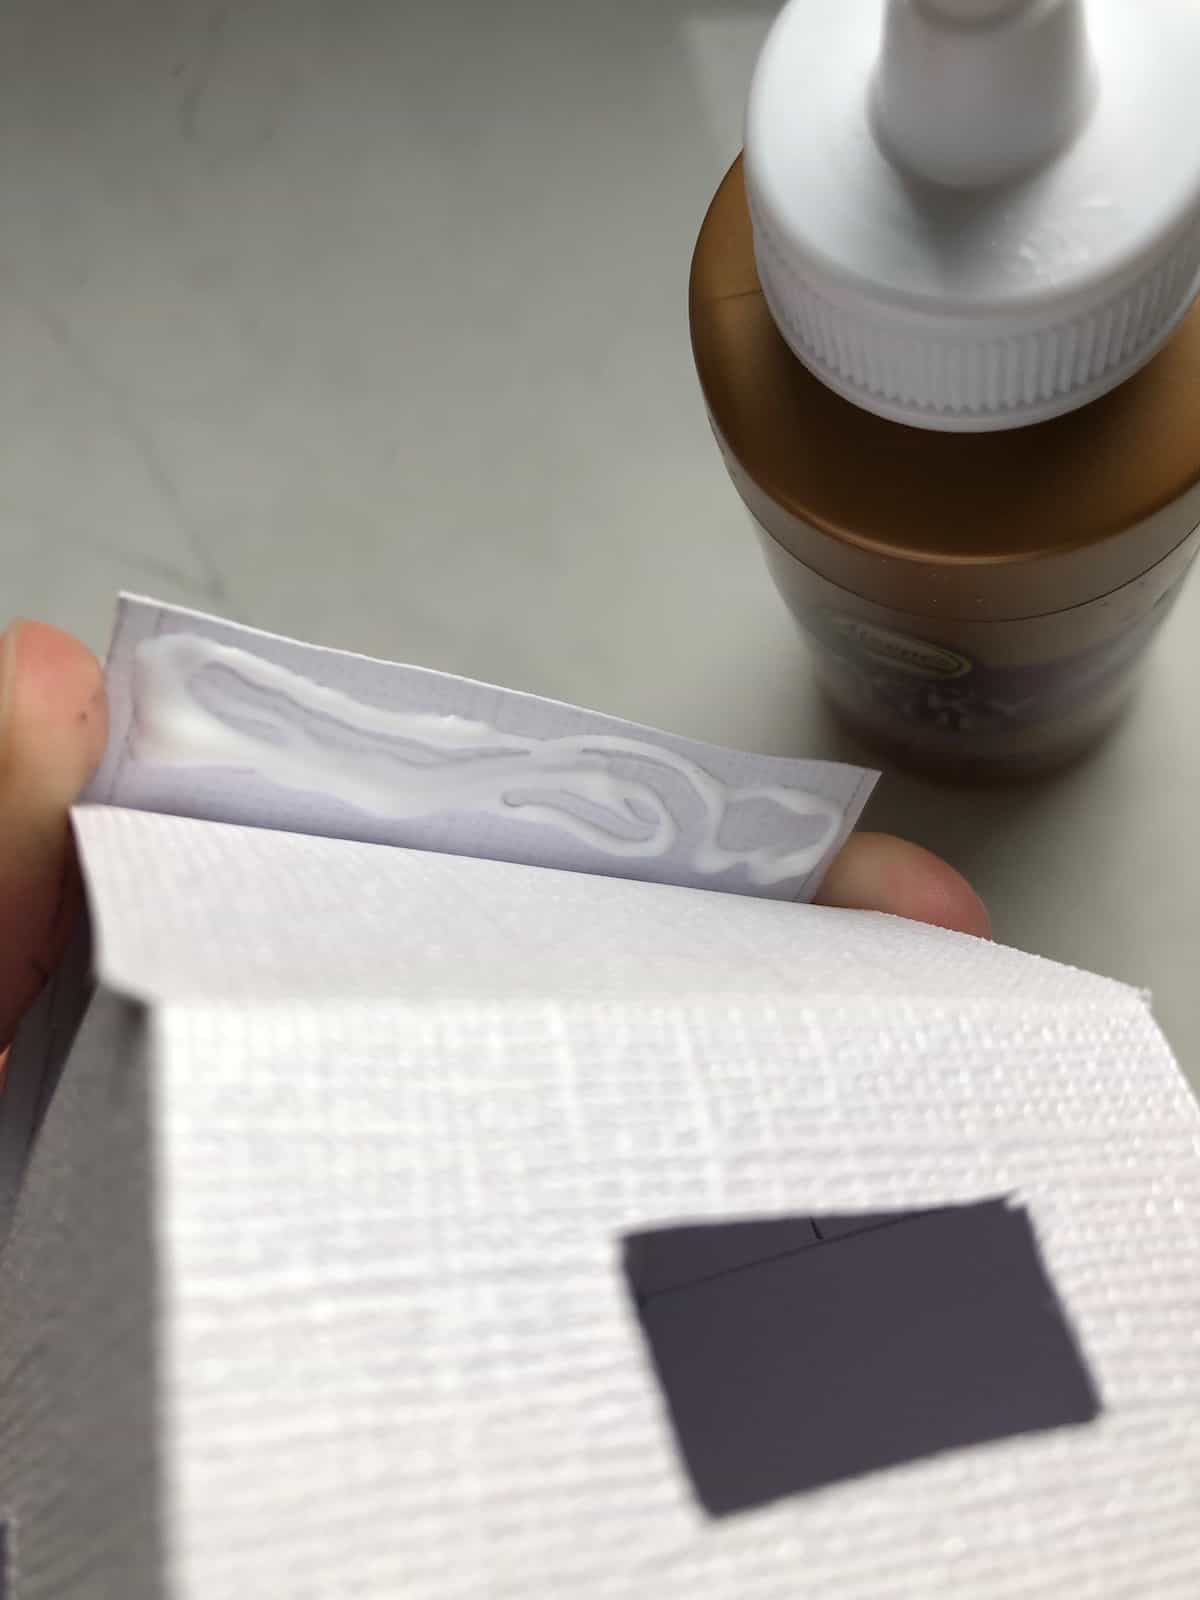
- Glue the house together. I found this worked best in steps. I’d glue one paper tab, then clamp it with clothespins and let it dry for a bit. Then when that connection was holding well, I’d glue the next one. This worked best for me.
- Lastly, I strung a piece of thread through the peak of the roof to make a hanging loop. You could use any kind of pretty string to do this.
That’s how we made these DIY paper house ornaments!
If this craft goes badly, you can always buy handmade paper house tree ornaments on Etsy (like this one from Tree Town Paper). I always find it reassuring that I can find a nice version on Etsy if my own is a flop lol!
