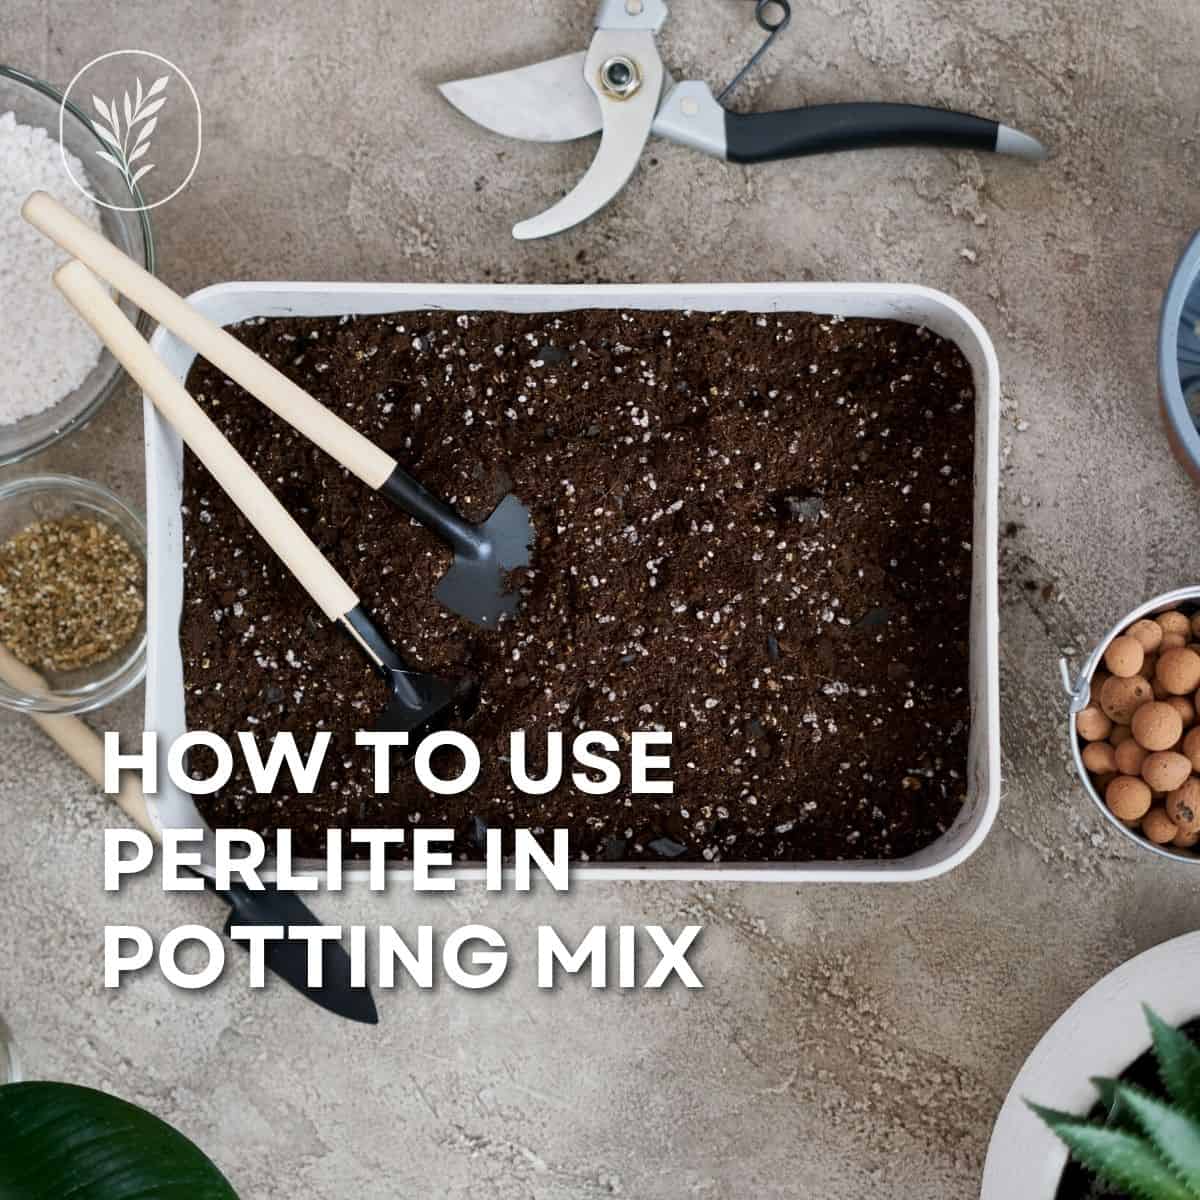
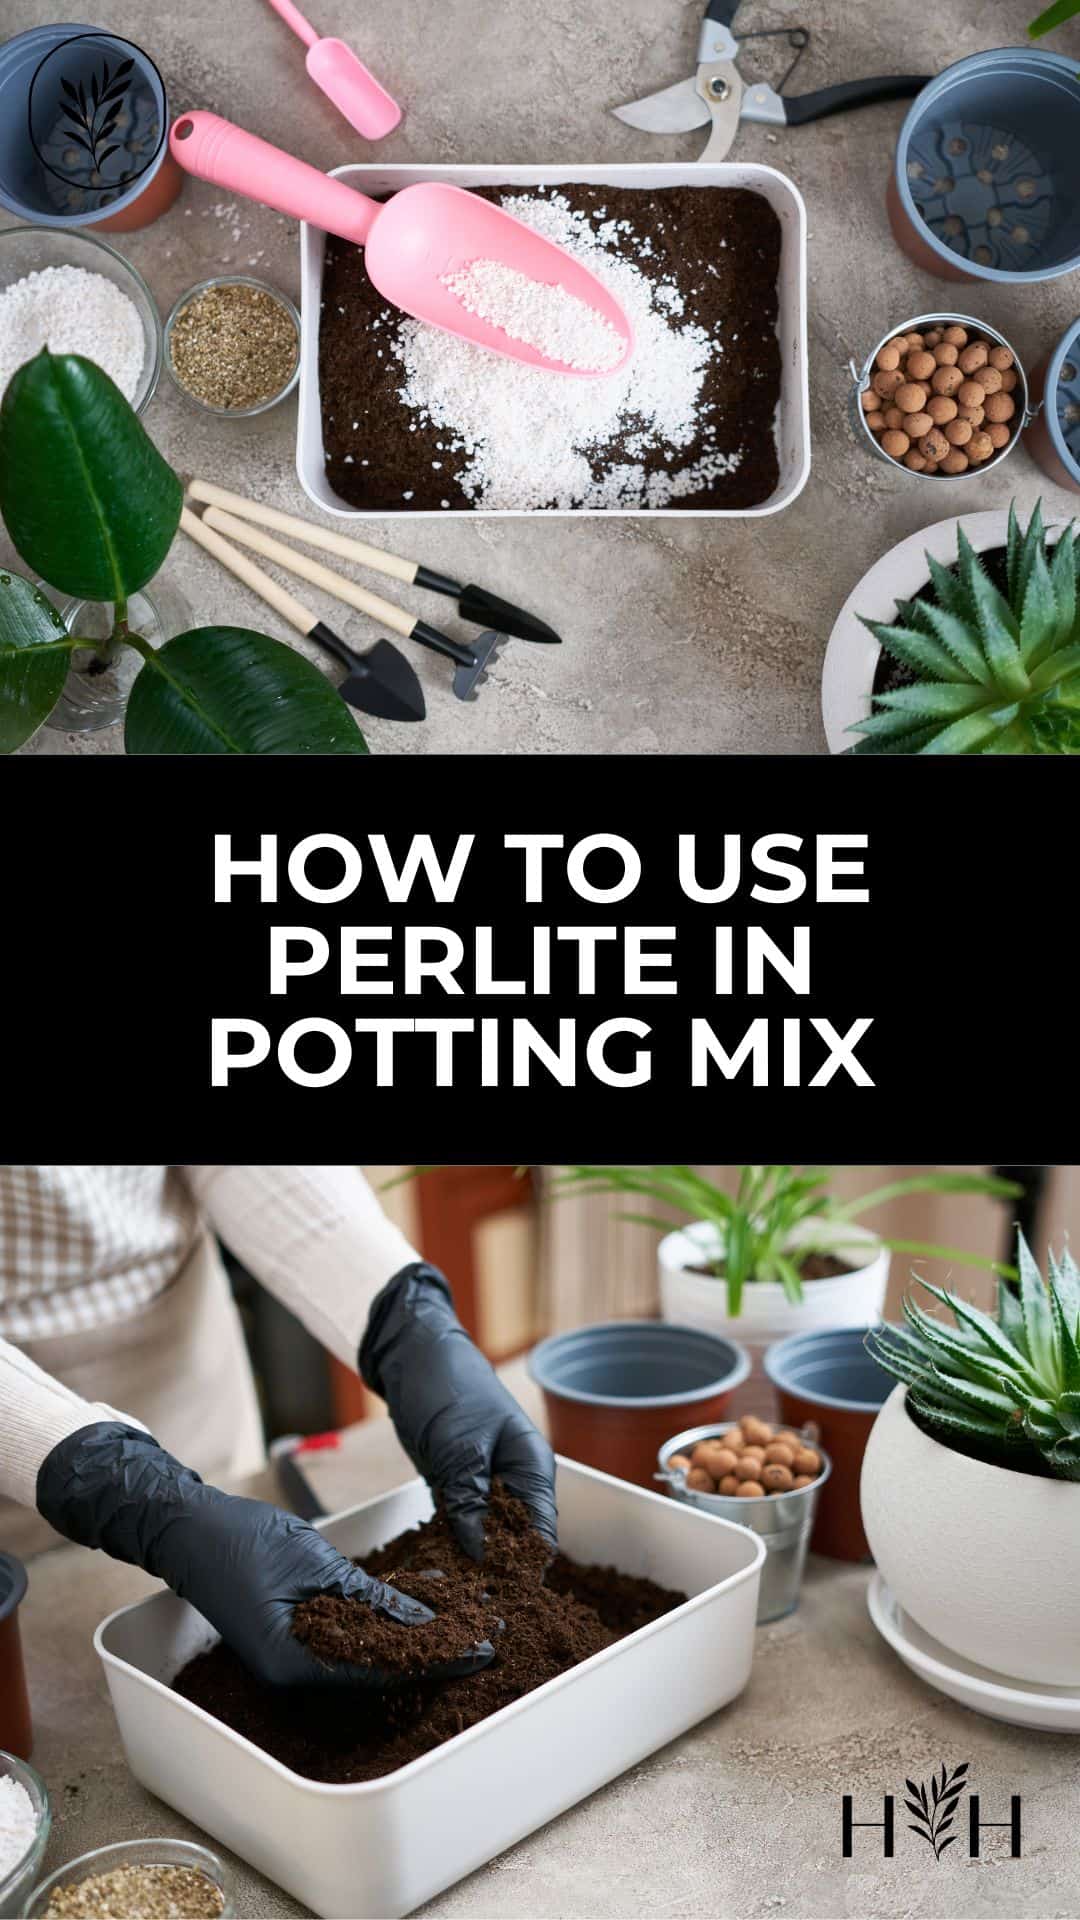
Quality potting soil is incredibly important for your container plants. There are many different pre-mixed options available, but you can often get the best mix by customizing your potting soil with perlite. Here’s how to use perlite in potting mix for the best results in your garden.
As there are many different applications for potting soil, there also are many different recipes for how much perlite to use! Read on to learn all about it.
Perlite as an ingredient in potting mix
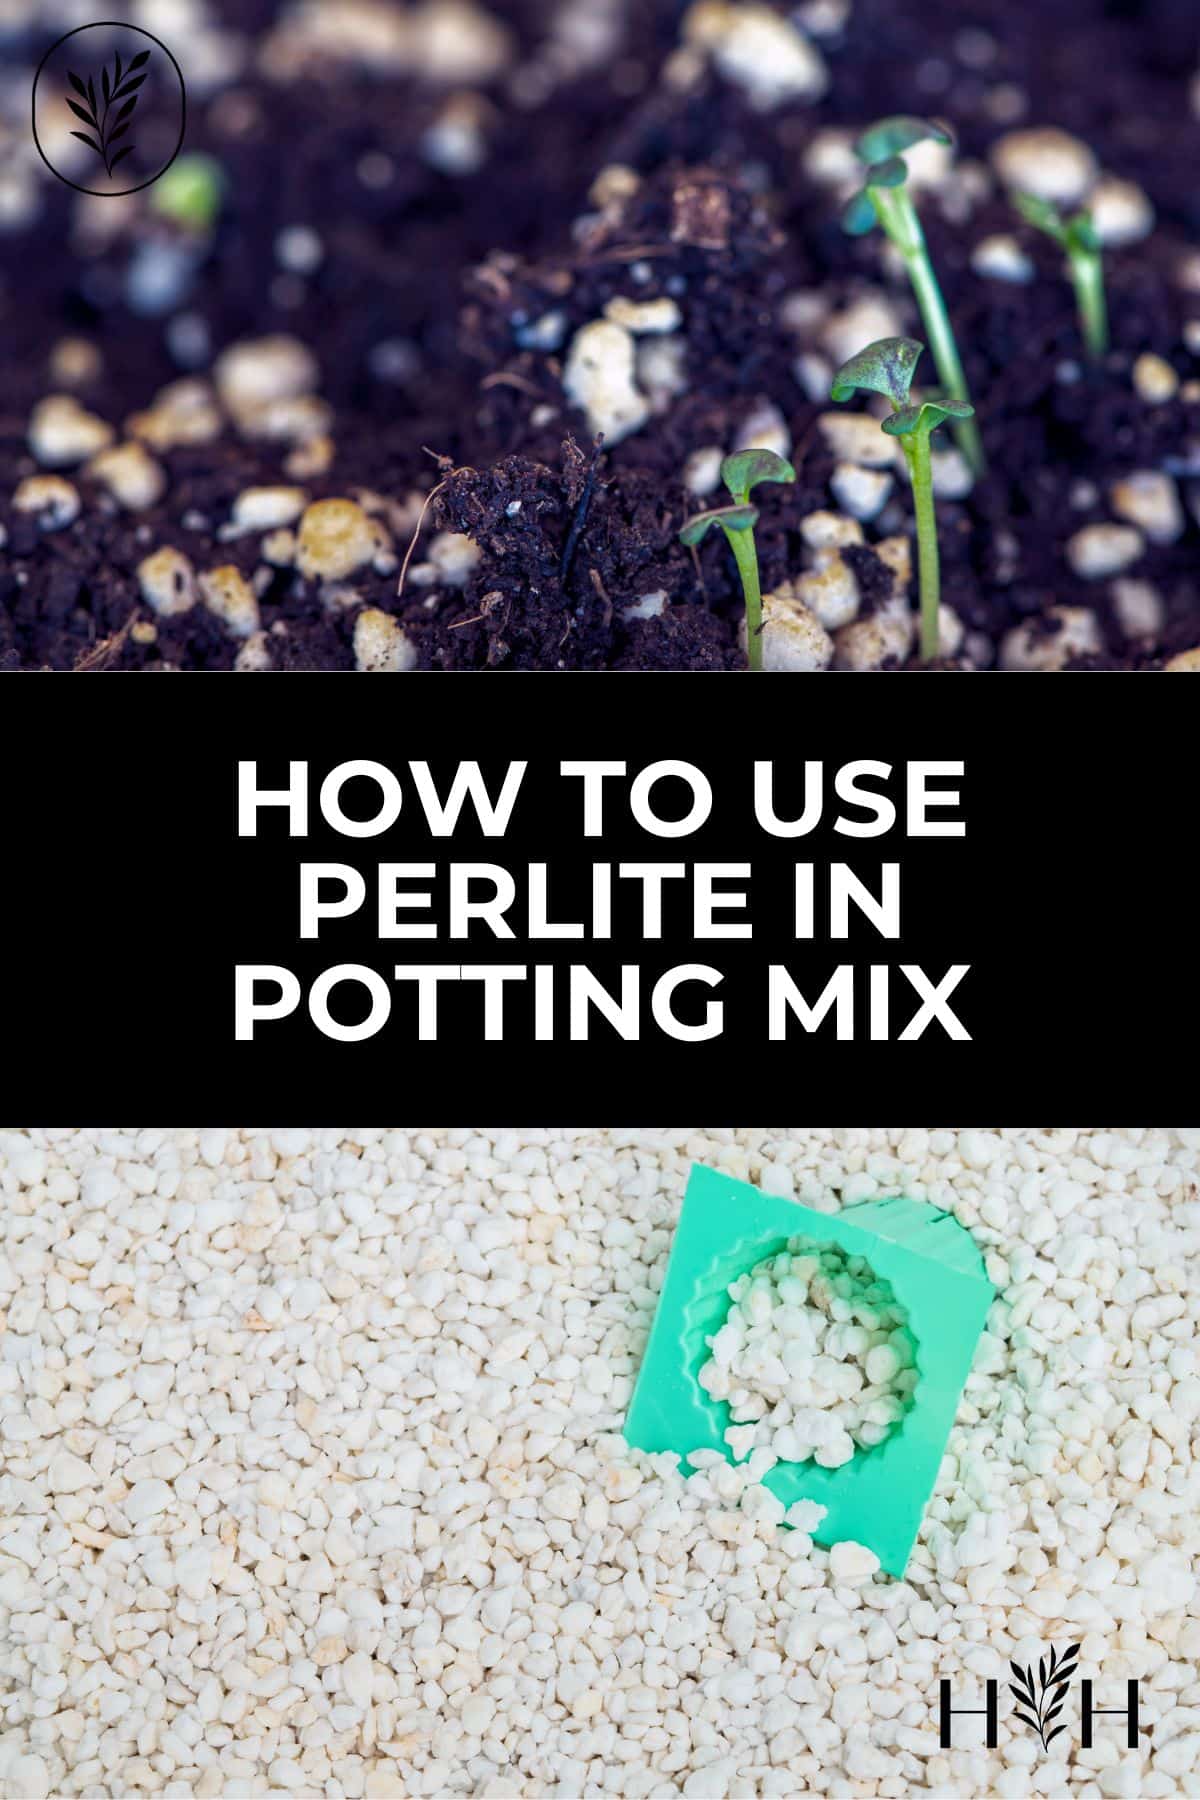
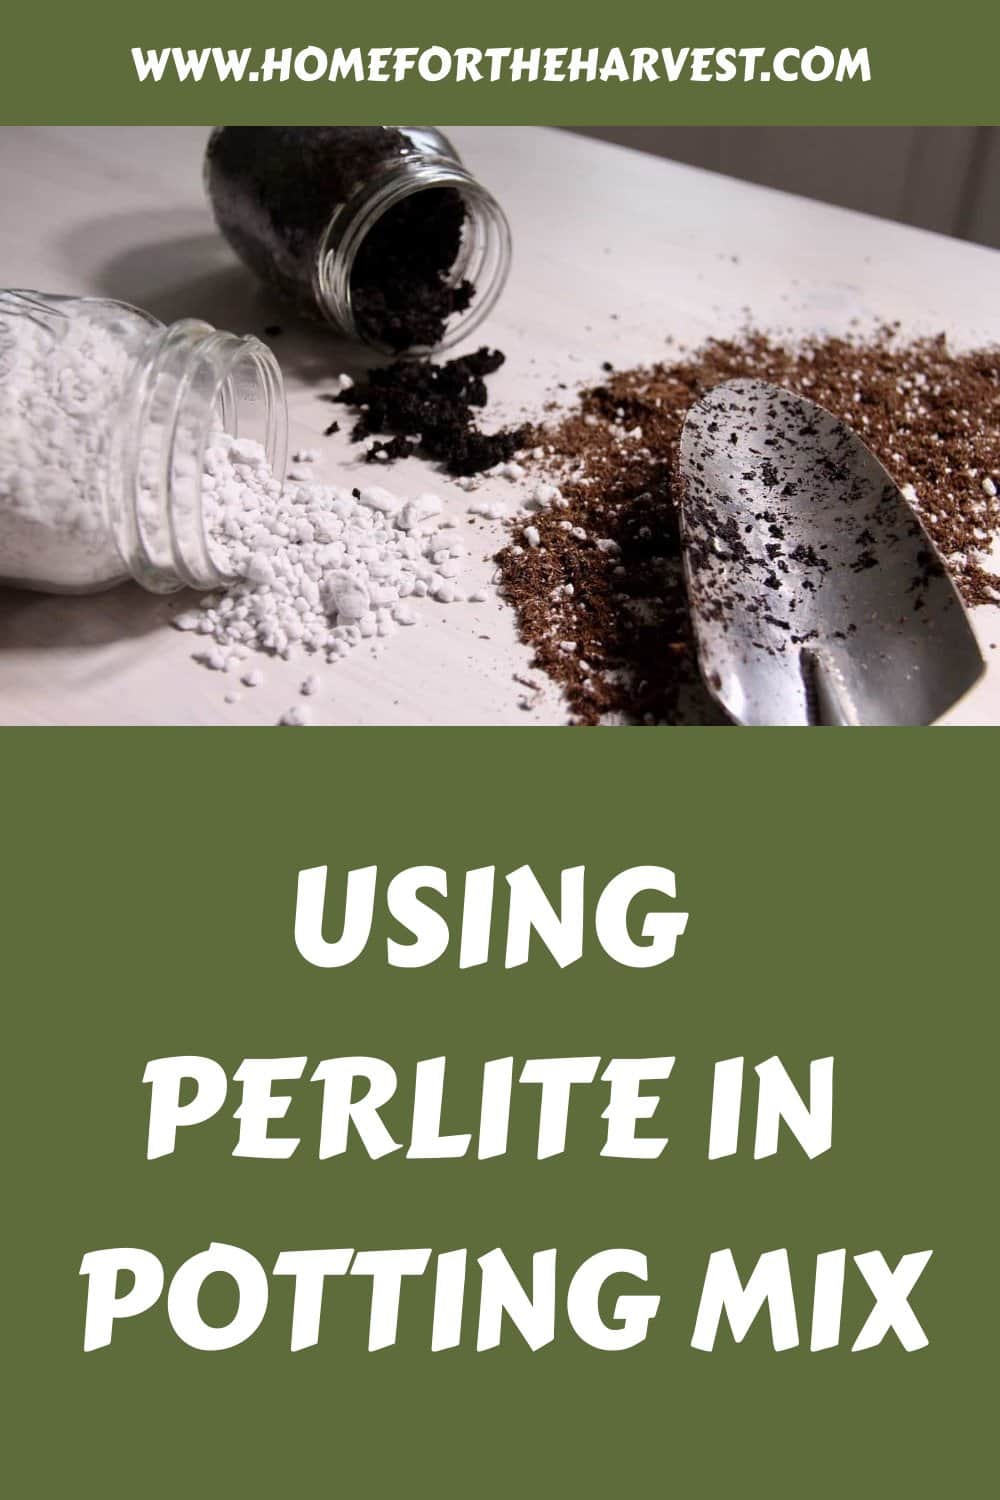
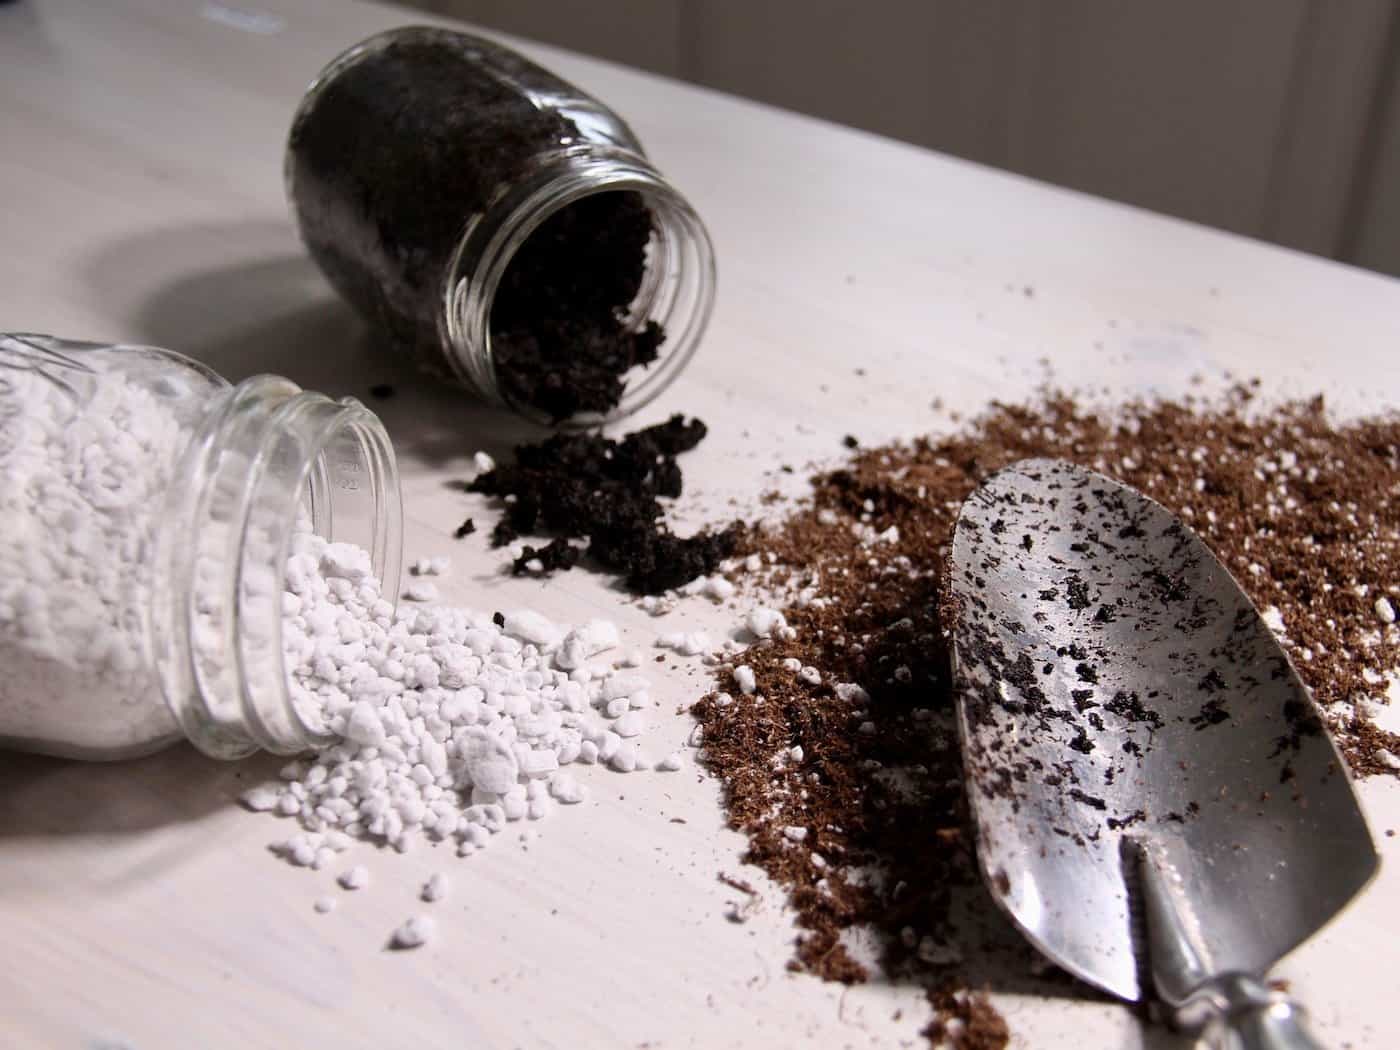
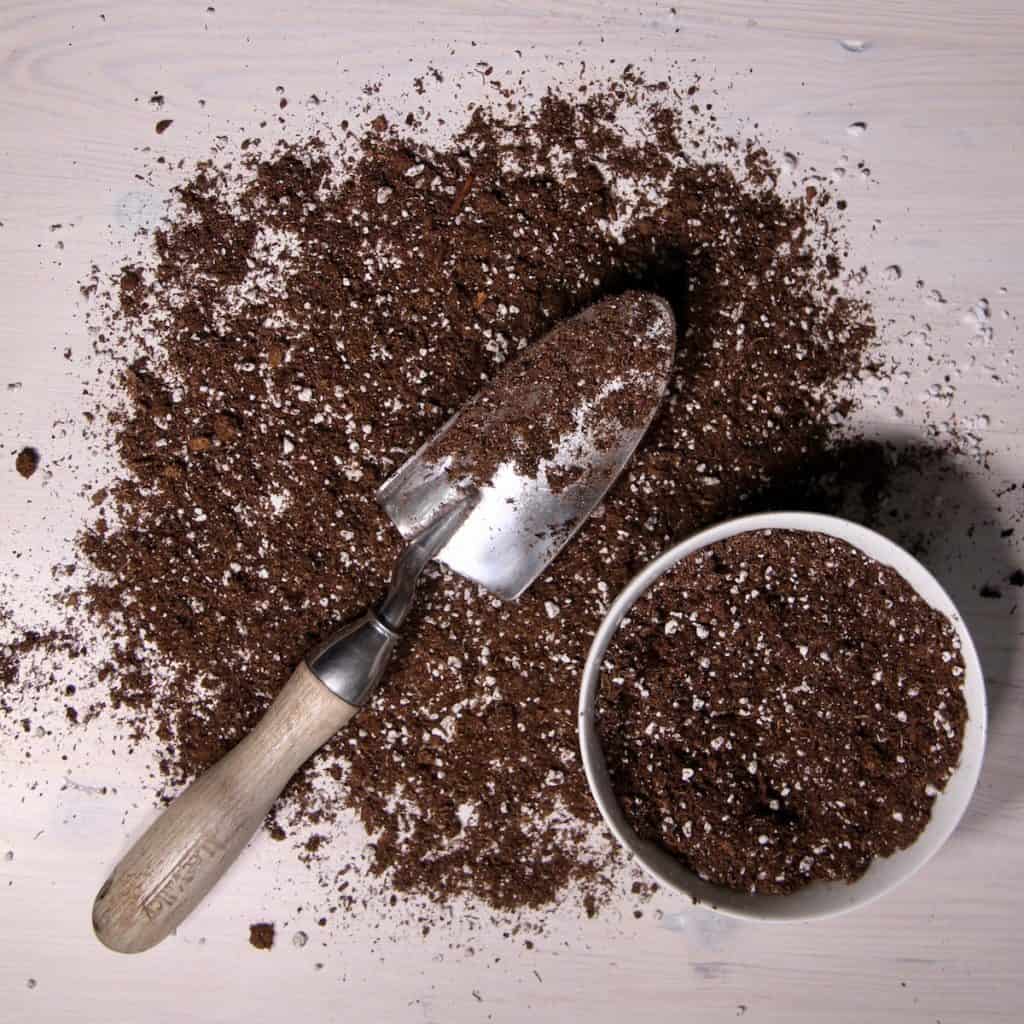
Perlite is a mined mineral that is added to soil mixes to help the soil hold air. The mineral is “popped” using heat like popcorn to create a light, air-filled medium. Bits of perlite look like little bits of styrofoam. So the little white bits in the potting mix….yup! That’s perlite.
Perlite is safe for organic gardens as it is chemically inert. It will help to hold air in the soil, keeping the plants from suffocating. Perlite lowers the density of potting mix, keeping it light and fluffy. It can be purchased at a local garden center or ordered online.
Safety considerations for handling perlite
Always wear a dust mask when mixing perlite into potting soil. There is no reason to put your lungs in danger by inhaling the dust from these products, even if it is not contaminated with asbestos. Dust masks are inexpensive and also make you look like you know what you’re doing! Always follow the instructions on the packaging.
DIY potting soil mix recipes with perlite
Onto the best part!…recipes for how to use perlite in potting mix. Potting soil should be light but also firm enough so that the plant can develop a strong root foundation. It should be porous and airy, with lots of room for water to drain through.
A potting soil mix that includes non-sterile ingredients should be rich in beneficial components, such as the fungus that can develop a beneficial relationship with the plants in the garden. It should also be free of weeds, weed seeds, harmful fungi, and pathogens.
DIY potting soil mix #1: Sterile seed starting mix
Seedling potting soil mixes should be light, firm, and able to retain moisture to help the baby seedlings thrive. Sterile seed-starting mixes also shouldn’t contain outdoor soil or compost, as it may include fungi, pathogens, or weeds that could harm the seedlings.
The perlite potting mix below is sterile and weed-free. Each material can be purchased from your local independent garden center. The drawback to the seed-starting mix is that these materials have to be purchased rather than sourced at home. Therefore, make sure you do need a sterile weed-free seedling mix before shelling out the extra money for these ingredients.
Ingredients: Sterile seed-starting mix
- 3 Parts Coconut Coir (prepared, not in raw block form)
- 3 Parts Peat Moss (pH-balanced with limestone if possible*)
- 3 Parts Perlite
- 1 Part Worm Castings
- Filtered Water
These ingredients are to be mixed by volume rather than by weight.
*If you can’t find pH-balanced peat moss, substitute the peat moss and the perlite in the mix above with plain Pro-Mix HP. It comes in large bales like peat moss. It is pretty much just peat moss and perlite, plus some limestone for pH balancing. The real benefit, however, is that the whole mix is inoculated with Mycorrhizae. Mycorrhizal fungi act as a buddy to seedlings, helping them absorb water and nutrients as well as strengthening their root systems.
Steps: Sterile seed-starting mix
- Estimate how much soil you’ll need to fill up your seed-starting containers.
- Find a mixing bowl or bucket that will accommodate the amount of soil you’d like to mix up.
- Find a small measuring container to use when measuring out the parts. The mix above is a 10-part mix. This means that you’ll need to find something small enough so that 10 of the smaller measuring units will fit comfortably in the mixing container you’ve selected. I usually use a cup measure if I’m just mixing up a bowl of soil for a single seedling tray, or I use an empty yogurt container if I’m mixing up a whole bucket of soil.
- Find a trowel to mix up the soil with.
- Ensure the bowl/bucket, measuring container, and trowel are clean and sterilized.
- Mix all ingredients except for the water together with the trowel.
- Slowly add filtered water, mixing with the trowel. Stop when the soil becomes moist. Don’t add enough water so that the soil becomes wet and muddy.
- Use the trowel to place the seedling mix into your seed-starting containers or trays.
- Compress the soil gently before planting your seeds.
- Plant your seeds in the seedling mix before it dries out.
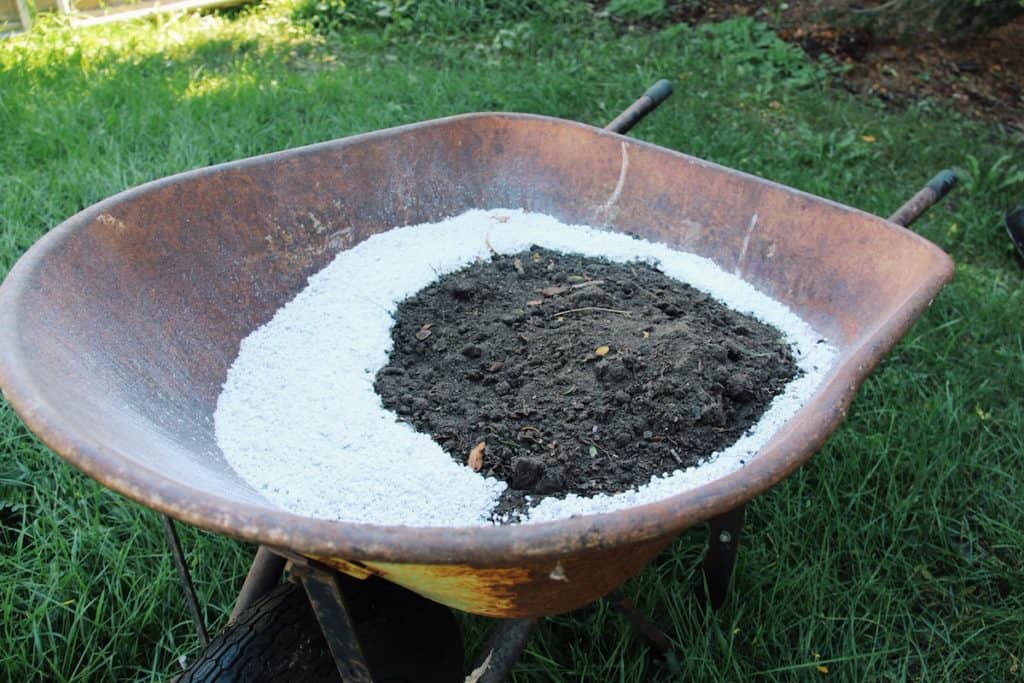
DIY potting soil mix #2: Outdoor soil-based container potting mix
This mix is a low-cost, homemade option for filling up large containers. If you have easy access to clean topsoil and some homemade compost, you’ll only have to buy the perlite. I like to mix up the soil, wait for any weed seeds that have snuck in to germinate, and then pull any weeds that come up before planting out the mix.
Before you create this mix for your plants, consider what types of plants you’ll be growing in it. Research what kind of growing environment the plant enjoys out in nature. For a plant that grows well in the desert or dry areas, consider using sandy topsoil. For plants that prefer acidic growing conditions, try to source acidic topsoil. Paying a little bit of attention to a plant’s natural environment will help you make a wonderful custom mix for your plants.
Ingredients: Soil-based container potting mix
- 1 Part Topsoil
- 1 Part Compost (Homemade is best!)
- 1 Part Perlite
- Water (Rainwater is best, but not required)
These ingredients are to be mixed by volume rather than by weight.
Steps: Soil-based container potting mix
- Estimate how much soil you’ll need to fill up your growing containers.
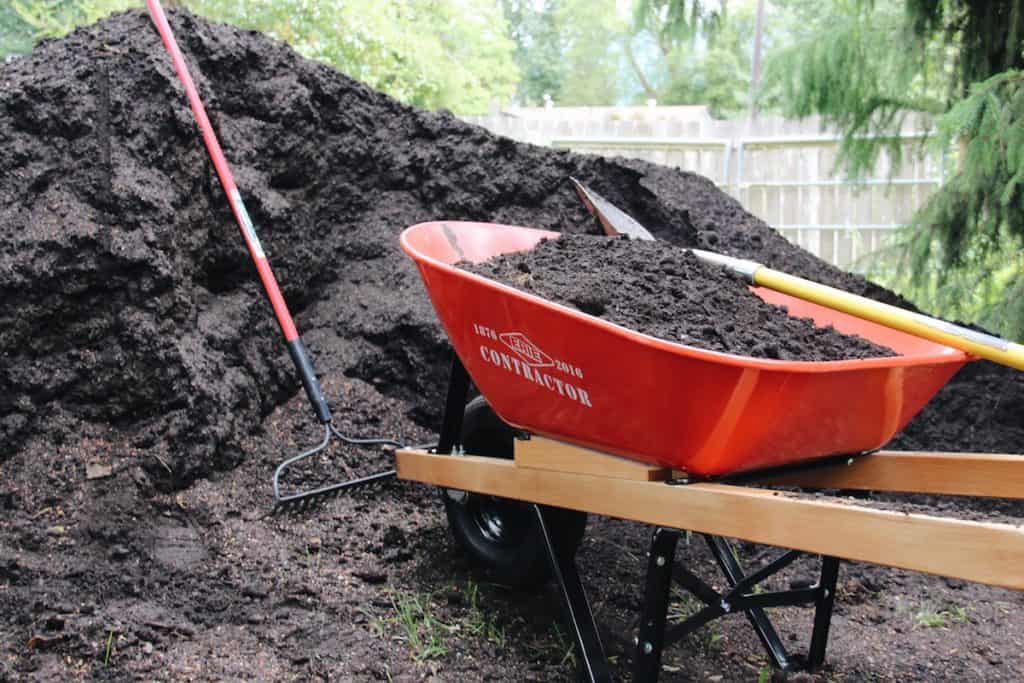
- Find a mixing bucket or wheelbarrow that will accommodate the amount of soil you’d like to mix up.
- If you want to be super specific with the amounts, find a measuring container that is small enough so that 3 full measuring containers will fit comfortably in your mixing vessel.
- Find a trowel or shovel to mix up the soil with.
- Mix all ingredients except for the water together.
- Slowly add water, mixing as added. Stop when the soil becomes moist. Don’t add enough water so that the soil becomes wet and muddy.
- Shovel the mix into your growing containers.
- Gently compress the soil into the containers.
- Moisten the soil before and after planting.
FAQs about using perlite in potting mix
What are the pros and cons of perlite?
Perlite is a porous, volcanic rock that is commonly used in horticulture as a soil amendment and as a hydroponic growing medium.
Pros:
Lightweight: Perlite is very lightweight and easy to handle, making it a popular choice for container gardening and indoor growing.
Drainage: Perlite has excellent drainage properties, which makes it useful for preventing waterlogged soil and root rot.
Aeration: The porous structure of perlite allows for good aeration of roots, which helps to promote healthy growth.
Sterile: Perlite is a sterile growing medium, which means it doesn’t contain any pests or diseases that could harm plants.
Insulation: Perlite can also be used as insulation to keep the temperature stable for plants
Cons:
Cost: Perlite can be more expensive than other soil amendments, such as vermiculite.
Dusty: Perlite can be quite dusty when it is dry, which can be an irritation to some people.
pH: Perlite has a neutral pH, which means it doesn’t alter the pH of the soil. However, if the soil is already too alkaline or acidic, the addition of perlite may not be beneficial.
Nutrient: Perlite doesn’t contain any nutrients, so it should be used in combination with other soil amendments or fertilizers.
Is perlite just styrofoam?
Perlite and styrofoam are two very different materials. They have similar physical properties but are made from different materials and have different uses.
Perlite is a volcanic glass that is formed when lava cools quickly and traps small bubbles of gas inside. When perlite is heated to a high temperature, the water inside the bubbles vaporizes, causing the perlite to expand and create a lightweight, porous material. Perlite is commonly used in horticulture as a soil amendment and as a hydroponic growing medium because of its ability to improve drainage and aeration in soil.
Styrofoam, on the other hand, is a brand name for a type of extruded polystyrene foam, a plastic material that is made from petroleum. It is commonly used as insulation, packaging material, and disposable dishware. It is not usually used as a soil amendment, but it can be used in some hydroponic systems for insulation and buoyancy.
Do you need to soak perlite before use?
It is not necessary to soak perlite before use, but it can be beneficial to do so in some cases. Soaking perlite will help to remove any dust or debris that may be present and can also help to hydrate the perlite. This can make it easier to work with and can also help to improve its water-holding capacity.
If you are using perlite as a soil amendment, it can be added dry to the soil. It will absorb water from the soil and expand. If you are using perlite as a hydroponic growing medium, it can be added dry to the hydroponic container. It will absorb water from the nutrient solution and expand.
However, if you are using perlite in a hydroponic system, it can be beneficial to soak it first to remove any dust and debris that may be present, and also to ensure that it is fully hydrated. This can help to improve the water-holding capacity of the perlite, which can be important for maintaining a consistent level of moisture in the hydroponic system. Soaking perlite for a few hours or overnight in water will help to ensure that it is fully hydrated and ready to use.
References
- University of Florida: Homemade potting mix
- Penn State University: Homemade potting media
- Michigan State University: Potting soils and seed-starting mixes for your garden


