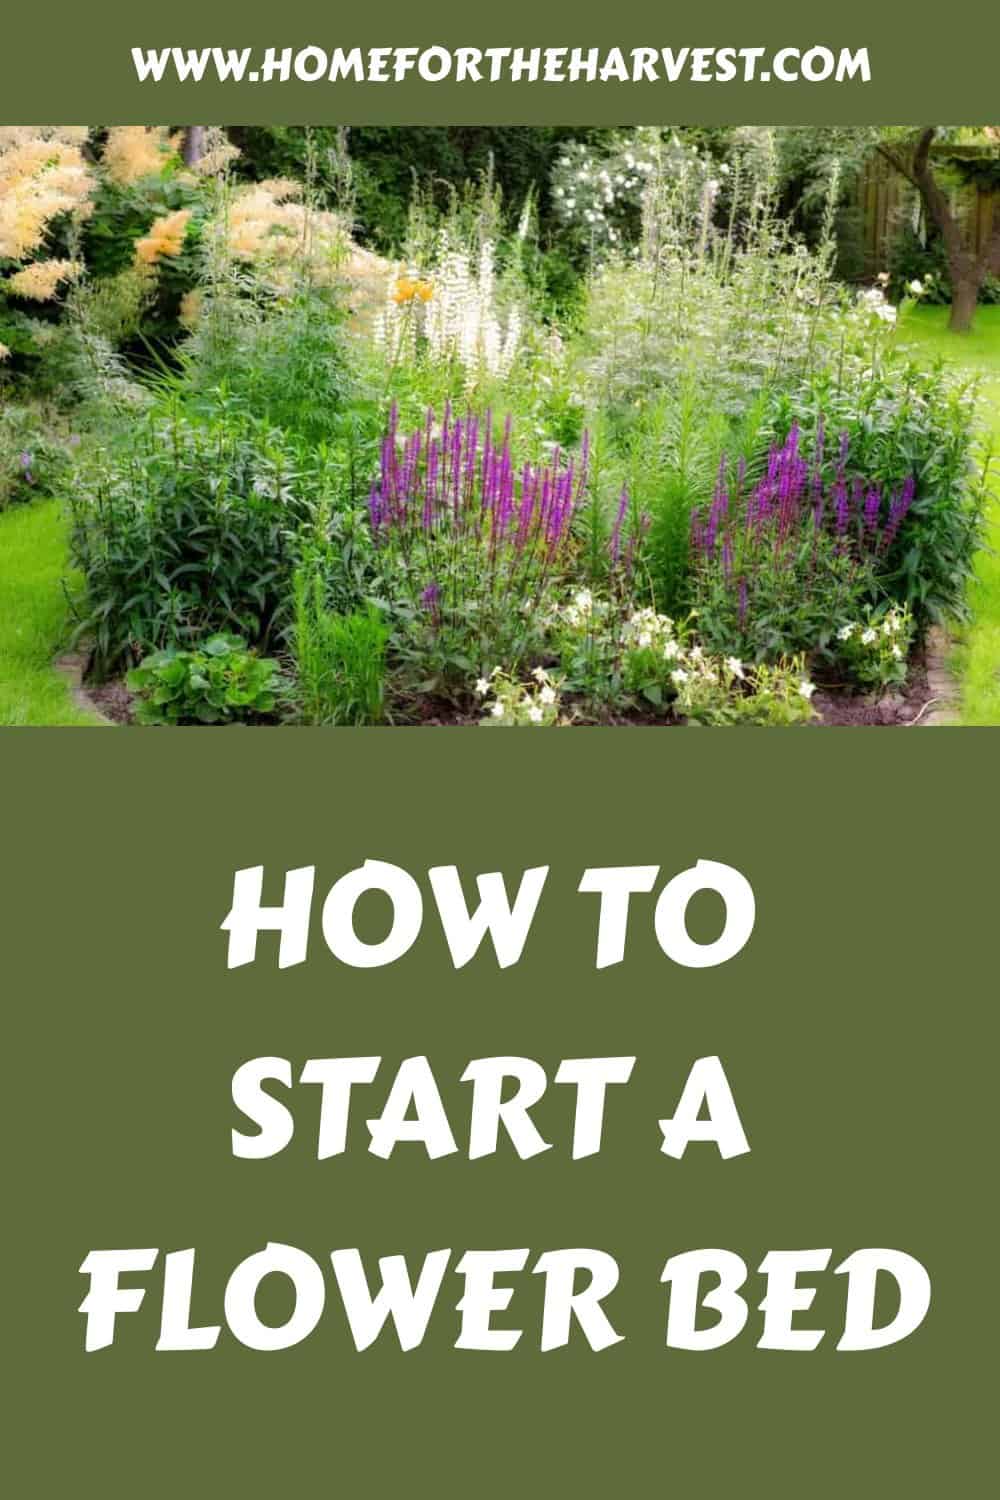
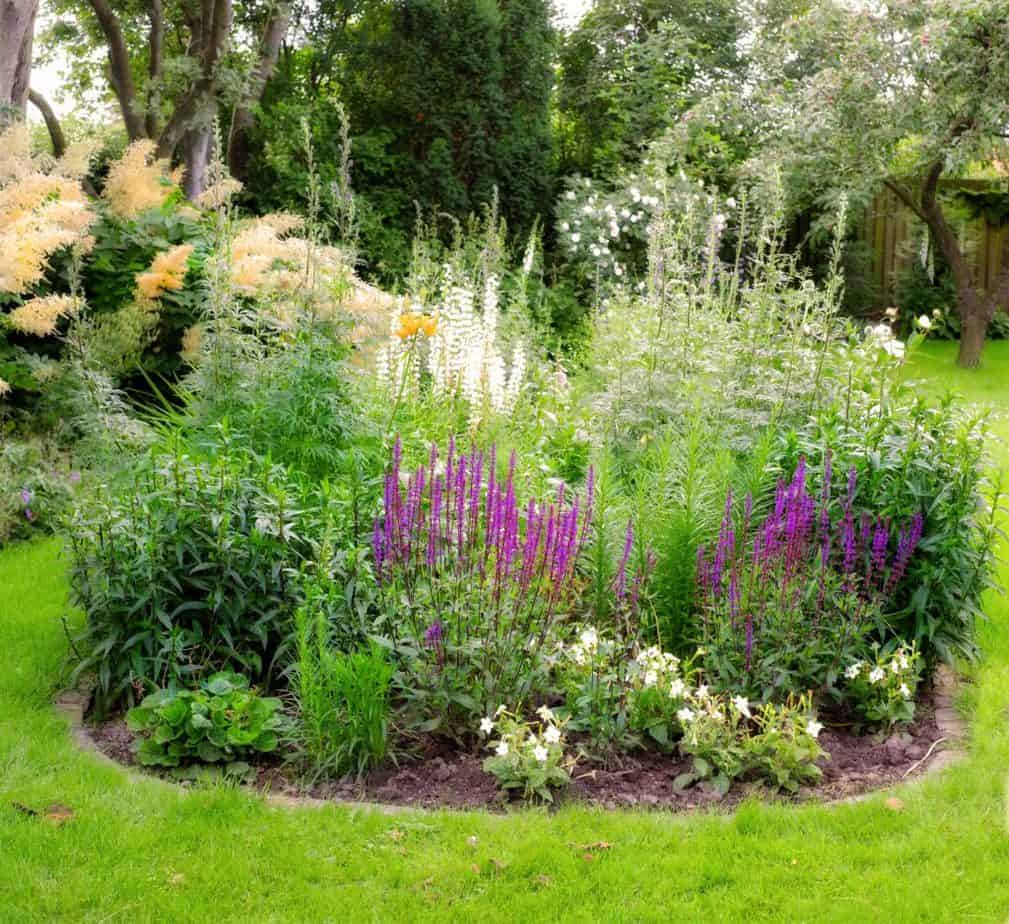
Every time spring comes around, it’s hard not to feel like that grassy yard is missing something when it comes to style. If you want to add some color and variety, why not create a flower bed? Building a flower bed will make your exterior space that much more beautiful, but it can be awfully intimidating if you’re a new gardener.
1. Pick a location
Picking the right location to garden in is absolutely critical, both for beginners and for more experienced gardeners. Where you place your flower bed will determine how much sun the plants get, their access to water, and their visibility to you and your family.
Sunlight is probably the most important thing that you need to keep in mind during this step. Most flowers and vegetables require at least six hours of sunlight every day. If your garden spends too much of its time in the shadow of your home or a big tree, your plants won’t have enough light to stay healthy.
Keep an eye on your yard for a couple of weeks to determine where the shadows fall most of the time and try to avoid those spots if you can. This will help you get an idea of where the plants are most likely to succeed.
The next most important thing you need to keep in mind while picking a spot is water. Chances are, you have a hose that can reach pretty much anywhere in your yard. However, if you end up putting your garden in the far corner it still might not be convenient to reach for watering.
If you’re counting on rain to help water your plants, you also need to take into account the places where the rain might not be making it all the way to the soil. This can be hard to test for, but generally, the areas right under a roof or the leaves of large trees tend to stay the driest. These areas are referred to as “rain shadows”. That means that even if these areas do tend to get enough sunlight every day, they still might not be good for growing new plants (unless you’re really consistent with watering, at least at first).
There are other reasons that you probably don’t want to put your new flower bed near an established tree. For one thing, you’ll be enriching the soil where the flowers are planted, and if the tree senses this, it might send roots out to try and take some.
The roots are tough to remove without damaging the tree, but they can also damage the flowers quite easily, putting you in the kind of situation that even experienced gardeners want to avoid.
Here’s a list of things you’ll need to know about the place you plan to use during pre-planning:
- What size is it?
- Are there already plants there?
- Does it get enough sun?
- Can you water it easily?
- Are there any trees nearby?
- Is it easily visible?
- Is the soil soft enough to dig into easily?
Once you’ve picked your spot, you should mark it off in whatever way seems the easiest for you. This will be helpful for the next couple of steps.
2. Clear space for the flower bed
While you can (and should) avoid putting your flower bed near any trees, it’s unlikely that you’ll be able to completely avoid your lawn while selecting your spot. However, if grasses are growing in your flower bed, they can strangle the flowers that you’re trying to grow.
In order to prevent this, you’ll want to remove all of the sod from the space you’ve decided on. While you may be tempted to use herbicides here, you’ll need to keep in mind that herbicides are poisonous to you and to the rest of the life in your yard as well. While they will kill the grass, it really just isn’t worth it.
There are a few different things that you can do instead. You can suffocate the grass by covering it with something like old newspapers for a couple of months, you can try to cook it using a plastic sheet and the power of the sun, or you can just dig it up with a shovel. The last option is the fastest, but it’s also the most labor-intensive (unless of course, you hire an earthworks company to do the digging for you with heavy machinery, which can be awesome).
Whatever you decide to do, when it’s done you’ll need to take measures to make sure that the grass doesn’t creep its way back into the bed. This leads us to…
3. Garden bed edging
Edging is the best way to keep grass from spreading into your flower bed. Edging consists of a material like wood, brick, stone, or metal that creates a border around the shape of the flowerbed going 4-8 inches underground.
Edging has two useful properties. The first is that it keeps grass roots out of your garden, and the second is that it helps prevent the nutrient-rich soil from your garden from getting out into the lawn. You can install physical barrier edging or maintain a trench edge with a mechanical tool.
Edging can be made from all sorts of materials. Here are some of the best choices for flower bed edging materials. Whatever you choose to use, you’ll want to dig a trench that goes to about the depth that you want your edging at, (but not so deep that you’ll be burying whatever material you use) before you start installing it.
Just a quick warning: Avoid using freshly-poured concrete as edging. It’s very difficult to move if you want to change the perimeter of your bed, and it often cracks. The cement is caustic and can lower the PH of your soil. This can potentially make it hard for plants to grow.
4. Adjust the soil
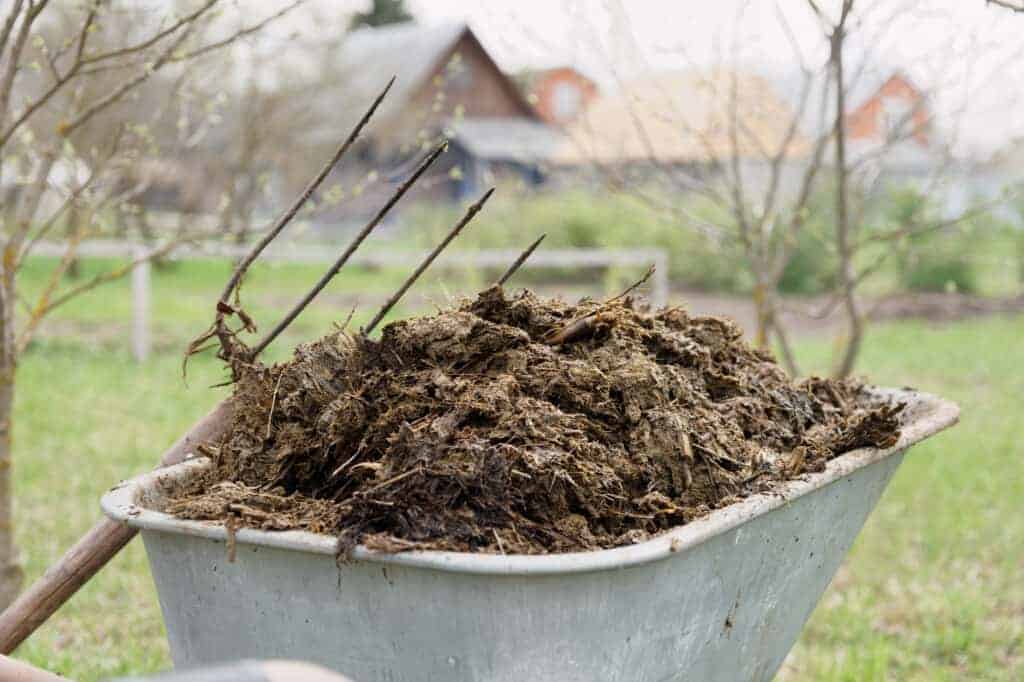
This process will help the patch that you’ve chosen to be better able to support the flowers that you want to grow. There are all sorts of amendments you can add to your soil to improve its quality, but there are a few that are especially indispensable.
Before making any changes to your soil, you’ll want to get a soil test done. You can do this while you’re working on one of the earlier tests since it might take a while. This will help you know what kind of nutrients to put in it, as well as whether or not you need to increase or decrease the PH.
Lime is caustic, and sulfur is acidic. These are the best ways to control the PH of your soil and keep it from becoming inhospitable for plants. You’ll only need one of the two, and there’s no way you’ll need more than five pounds per hundred square feet to make things right.
The target PH is six to seven, so it’s really easy to accidentally overdo it. Adding lime will bring the PH down, and adding sulfur will bring it up.
You only need to add more every couple of years. Just keep getting your soil tested every once and a while and you should be able to figure out when you need more from there.
Manure and compost help the texture of the soil to be good enough for plants to be able to take root easily. They are both natural compounds, meaning that they aren’t likely to hurt the health of your garden environment. This makes them fantastic choices for amendments.
There’s a pretty good chance that your soil doesn’t even need to be fertilized in the first place. However, if the soil test comes back and it says you have low amounts of nitrogen, phosphorous, or potassium, a good organic fertilizer should be able to solve that problem. While nitrogen deficiency is quite common, there are many ways to add nitrogen to the soil naturally.
Organic and synthetic fertilizers are both just fine, but organic fertilizers are more likely to play well with the soil as synthetic ones often contain a large amount of salt along with the nutrients that they carry. Natural fertilizers often release nutrients slowly and therefore last a long time. This slow-release characteristic can also translate to lower levels of environmental pollution as the nutrients leach into groundwater and surface water bodies.
5. Learn your climate
There are two things that you need to know when it comes to your local climate: The first is its hardiness zone, which will determine what kind of plants can survive the average year in your location.
The second is the general time of your first and last frost for the year, which will tell you when you need to plant your garden in order for it to survive the year. The United States is separated into about thirteen different hardiness zones, with 1 being the coldest and 13 being the hottest.
Once you know which climate zone you’re in, you can then start researching what kinds of plants will grow in that region. This will give you a pretty good idea of what your choices are when it comes time to choose what you want to grow.
The frost dates are important for entirely different reasons. Frost will wipe out many of the flowers still growing. The end of the frost season in spring is the optimal time to start planting most flowers. When the frost begins reappearing in fall, many of the plants will die back to the ground (or at least start to go dormant for the winter). Here is a guide on how to winterize perennial flowers in autumn.
6. Choose your plants
This is the fun part! Mostly, the things you’ll be wanting to keep in mind are color and shape, although there are a few plant qualities you’ll want to watch out for since they might interfere with each other.
Most gardening plants (especially flowers) don’t actively hurt any other plants. However, tall dense plants like blue delphiniums shouldn’t be planted in front of low-growing perennial plants since they can end up blocking the sun, and thirsty plants shouldn’t go right next to plants that like dryer climates since all that extra moisture can end up being a bother.
Otherwise, the arrangement of your flowers is really up to you! In a vegetable garden, placement is a lot more complicated, flower beds can be managed a little more freely (particularly in cottage border garden flower beds).
Keep an eye out for weeds that may crowd the soil space and block the sun as well. Look at what’s available in your area and visit local plant nurseries and garden stores.
7. Start some plants indoors
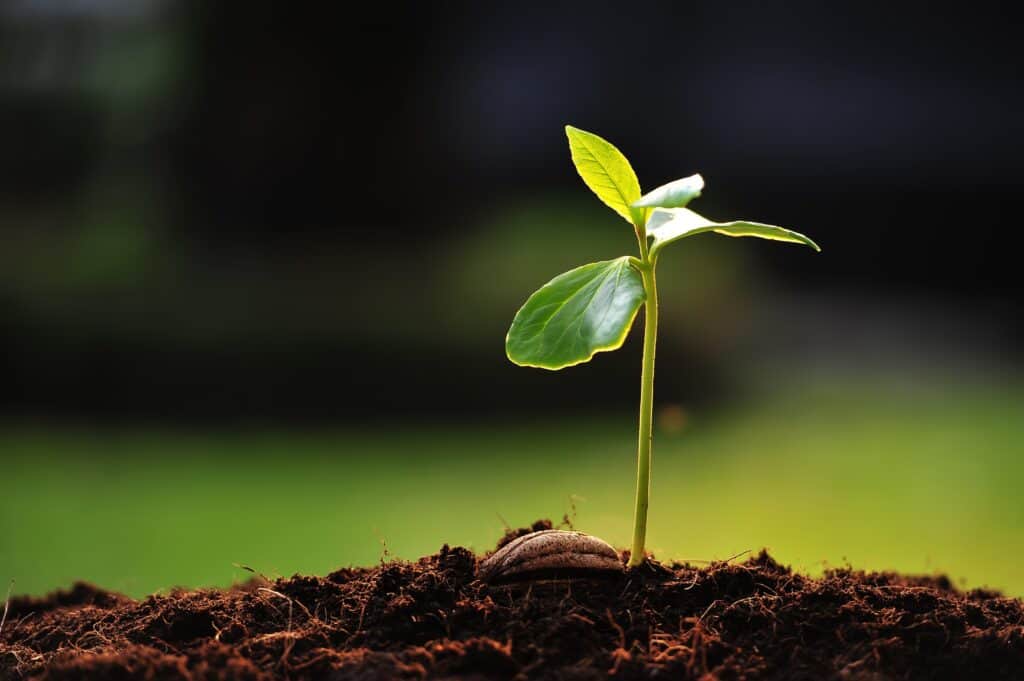
Some baby plants need to be protected a little bit more than usual while they’re just sprouting. You can make sure that they have their optimal environment by keeping them indoors near a window/under a plant light and watering them consistently.
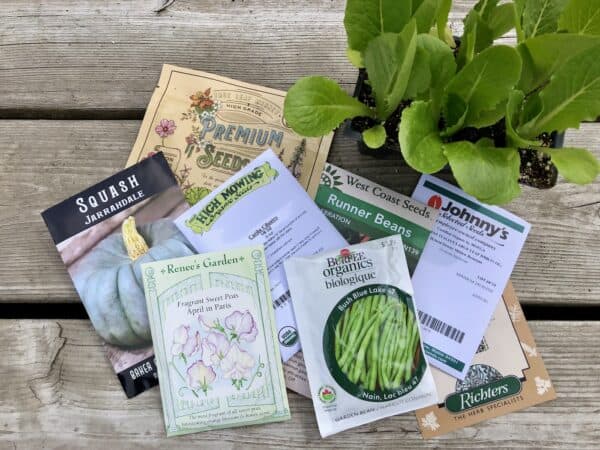
Beginners should start with the easiest types of flowers to grow from seeds, including sunflower, nasturtium, cosmos, and sweet peas. Some other types of flowers are more difficult to germinate and should be purchased as potted seedling plants from the nursery.
8. Take care of your garden
Now you’ll have the joy of taking care of your beautiful garden every day! Some plants need more attention than others, and you’ll figure out which plants those are after a couple of weeks of work.
There are a few things that you can do to make this process a lot easier on both you and the plants. The first thing is to apply a layer of mulch to your garden. This will help keep the valuable moisture in the soil, giving them a better environment to stretch their roots.
You’ll also want to get an idea of when the plants need watering. Usually, they only need to be watered when the soil appears especially dry. However, some plants like to be watered more often than others.
As long as you’re watching your plants for signs of dehydration and you’re watering them whenever they look dry, you’ll get to know them all soon enough.
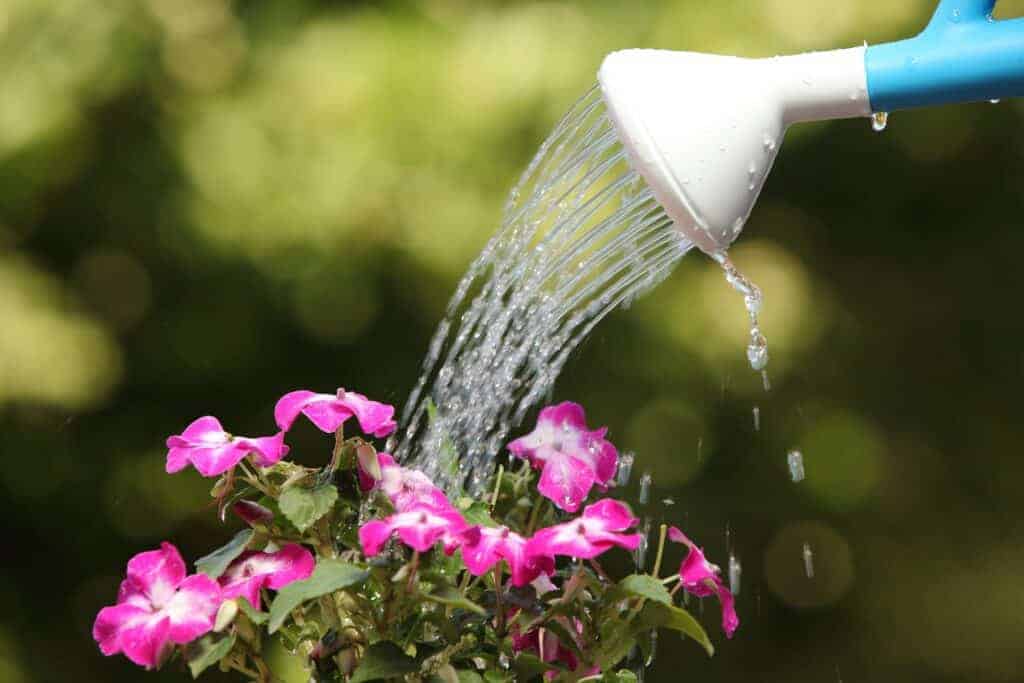
Signs of dehydration included drooping of the stem and leaves. Browning, limpness, and other symptoms can follow. Fortunately, if the problem is dehydration, it can usually be solved by just watering the plant.
In case you were wondering, it can actually be bad to water plants at the same time every day. This makes sense, since in nature plants usually get most of their water through rain, and most plants aren’t used to environments where it rains every single day.
Finally, you’ll want to watch your garden for weeds and pests. Keeping a flower garden, you will inevitably have experience with at least one of the two at some point. Taking care of these problems is critical to keeping your garden healthy, as weeds will multiply if you leave even just one root in the soil and a pest may eat everything in the span of just a few weeks. Weeds you can take care of yourself, but you may want to call a professional to deal with certain kinds of pests.


