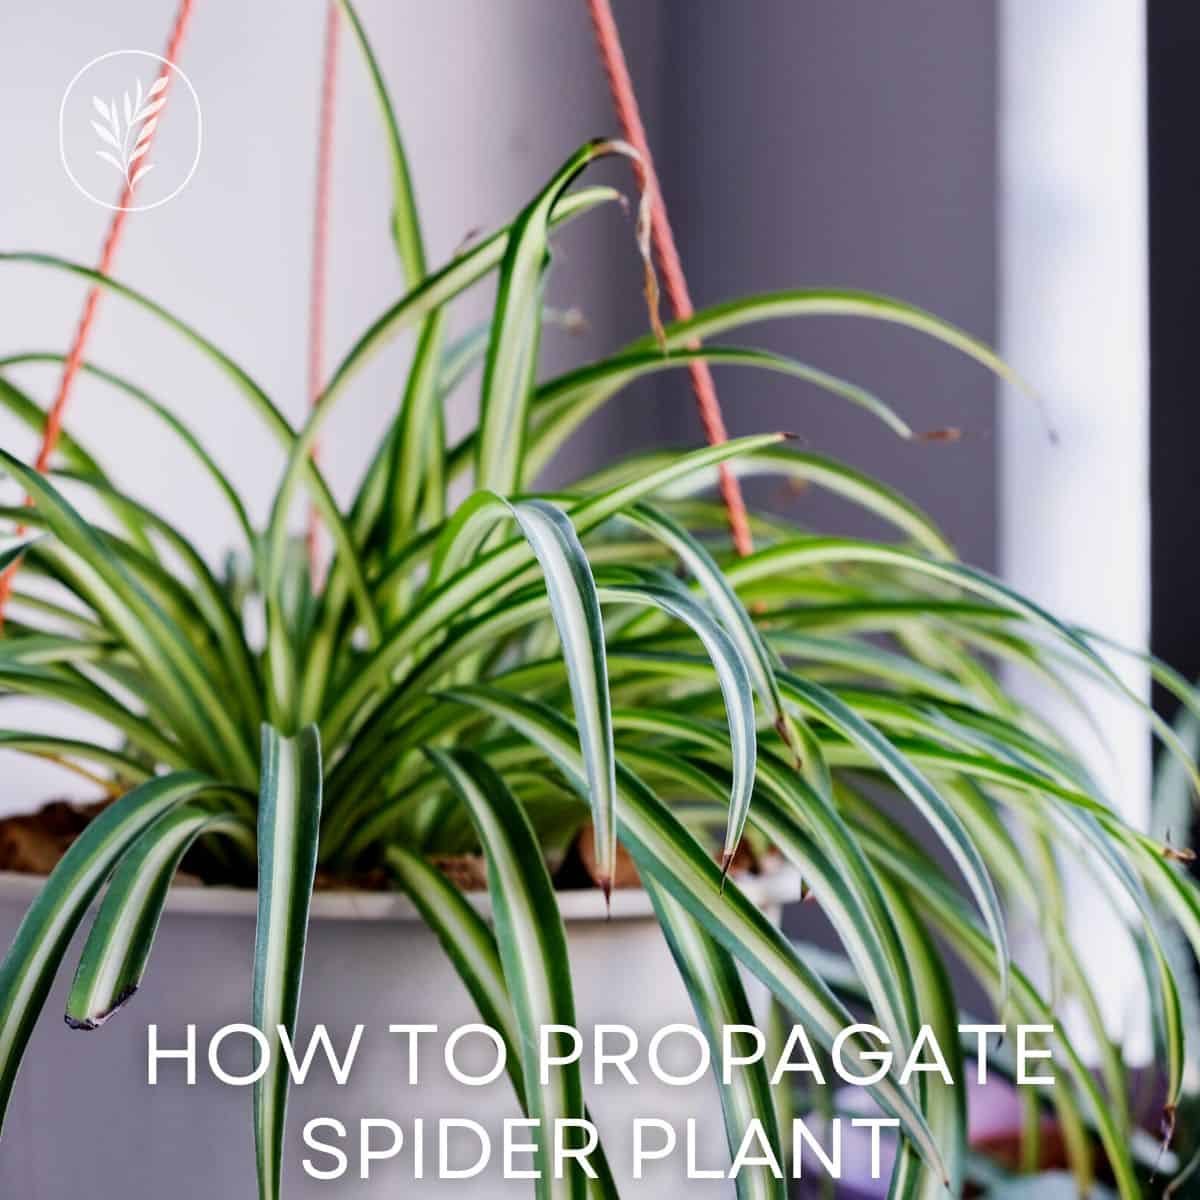
Spider plants are popular houseplants known for their hardiness, easy maintenance, and air purification properties. They’re also extremely easy to propagate, making them a favorite amongst novice gardeners looking to up their plant game.
The basics of propagating spider plant
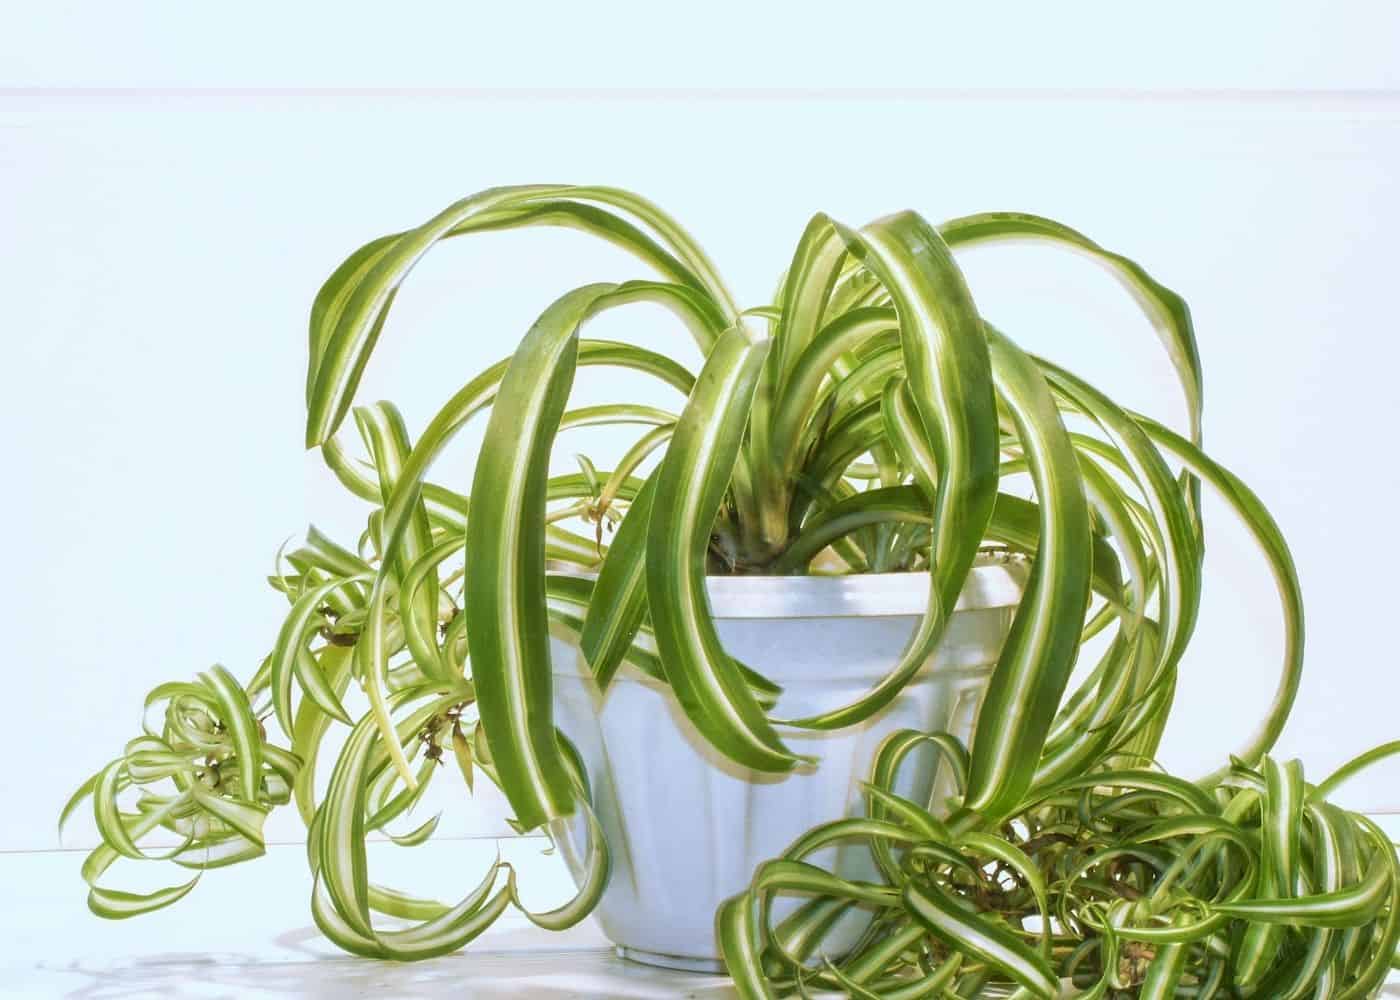
You can propagate Spider Plants by trimming off their plantlets/offshoots, layering plantlets in soil (while plantlets are still attached to the mother plant), cuttings, or root division. In addition, Spider Plants are best propagated in the spring as this is when the plant is most actively growing.
The most common method of propagating Spider Plant is by snipping off the plantlets/offshoots that grow along the runners (stolons). These baby Spider Plants can be potted up in their containers and tend to happily root into the new pot all on their own. You can also propagate Spider Plant without snipping off the plantlets. This method, called layering, involves placing a still-attached plantlet into a separate container and allowing it to root into the potting mix before trimming off the runner that connects it from the mother plant. Spider Plants can also be propagated by root division, and less commonly, by stem cuttings.
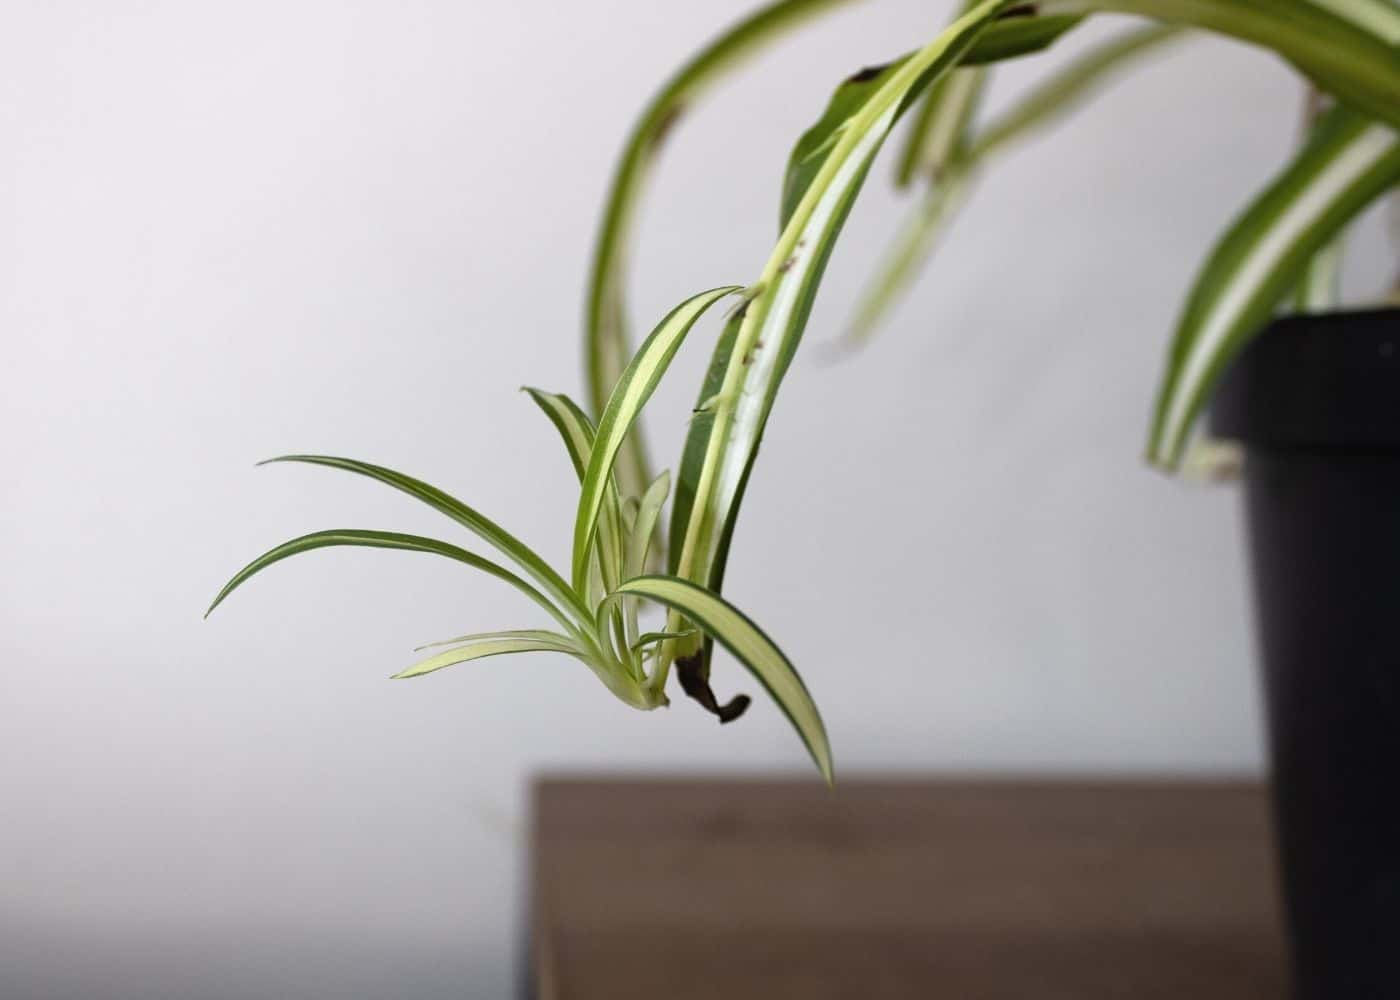
Propagating Spider plant from plantlets
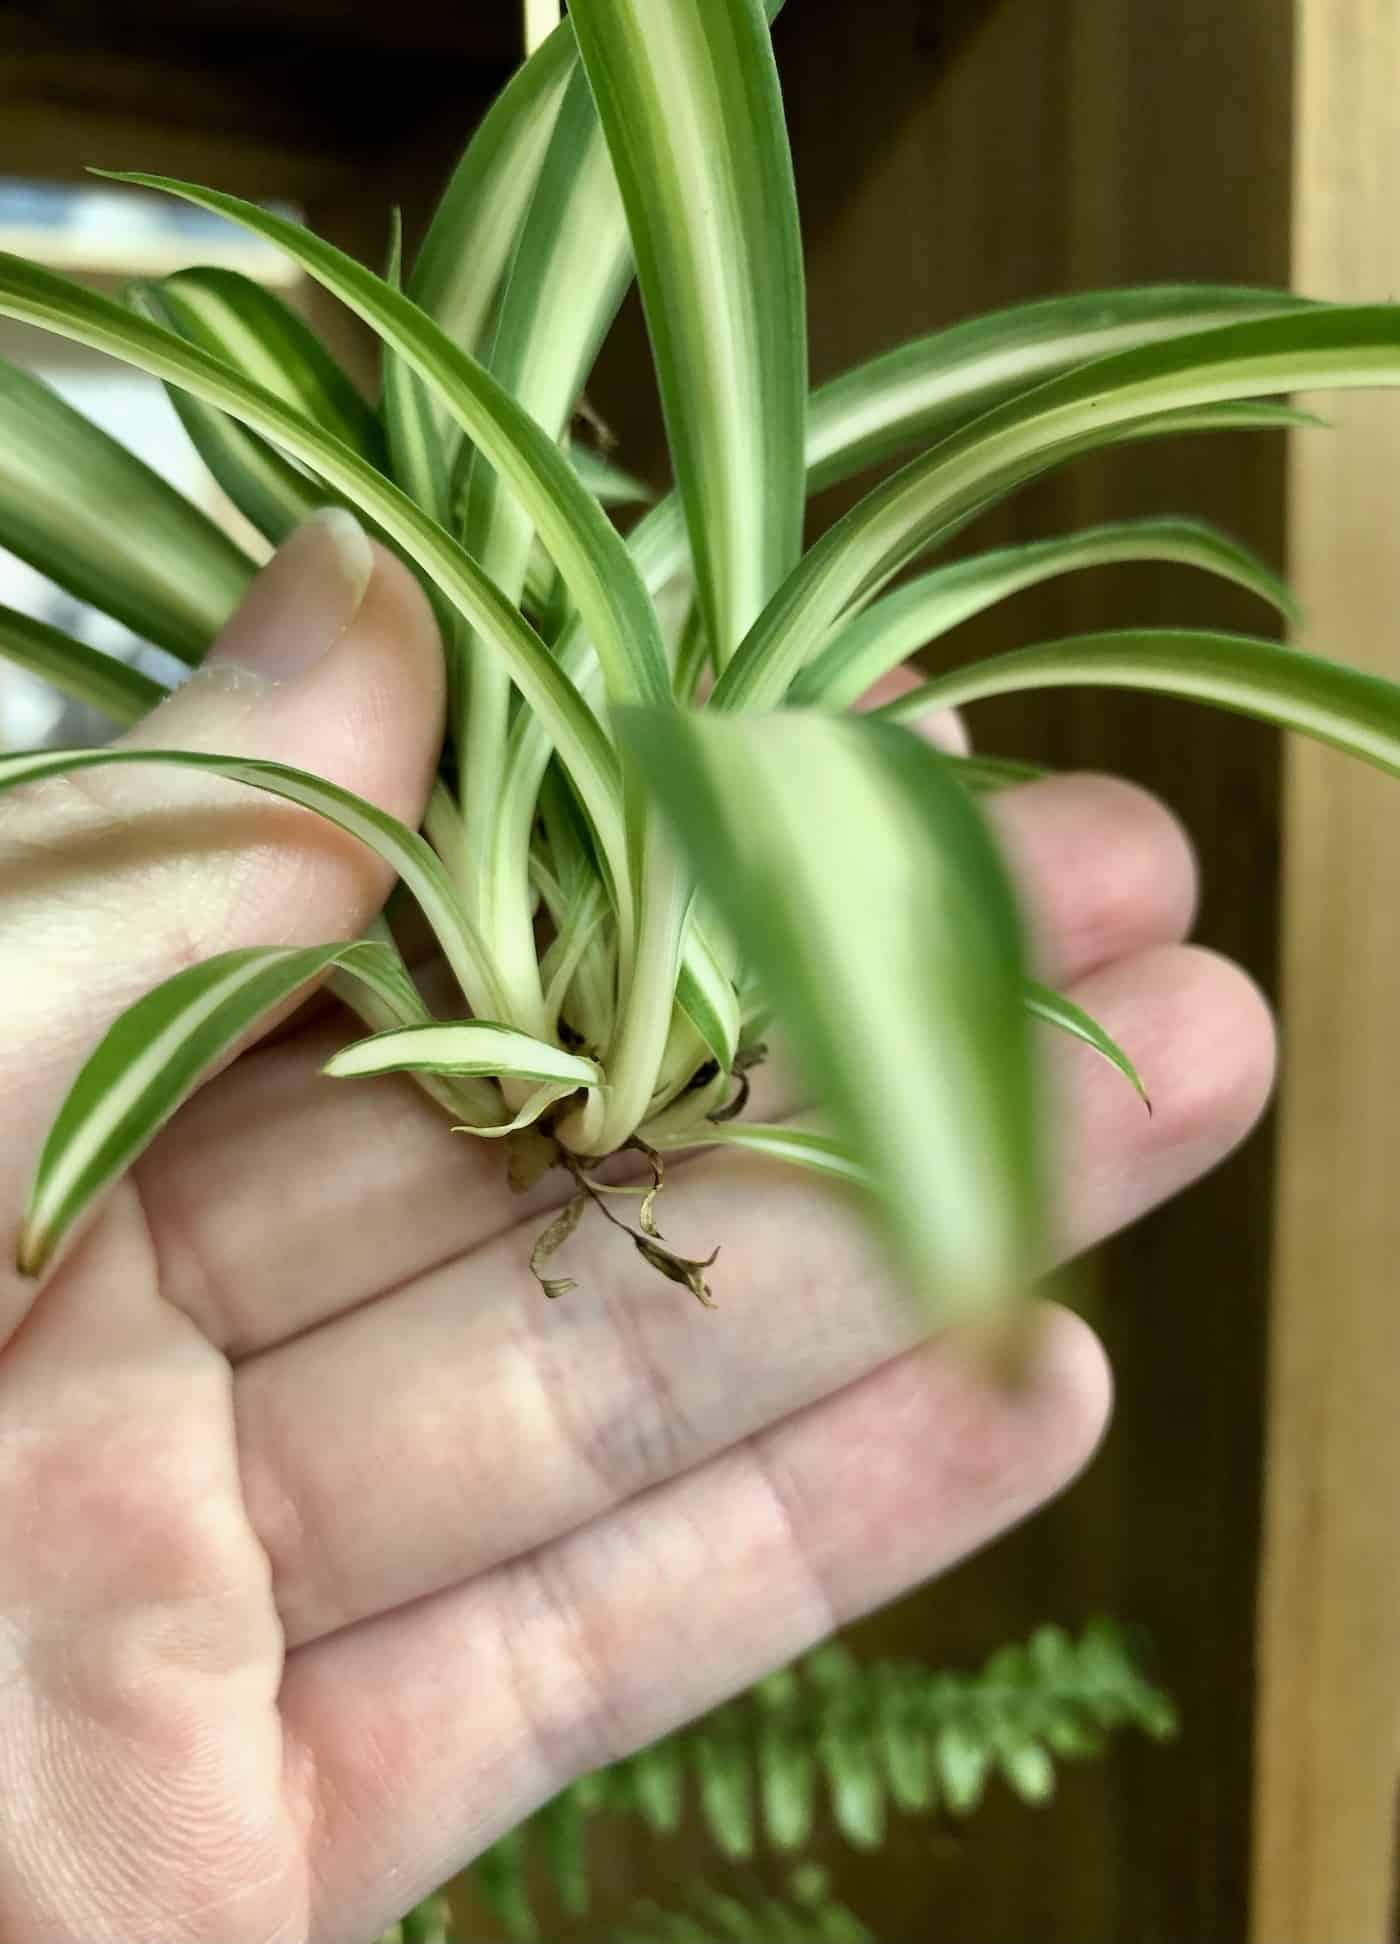
Spider plants readily grow offshoots, also known as plantlets, that grow out on runners (stolons) from the base of the mother plant. Each plantlet develops a separate root system as they look for a growing medium to root into. You can propagate Spider plants from offshoots by removing them from the mother plant and replanting them in another pot with their roots attached. You can either pop them right into a planter filled with soil or watch their roots develop by propagating the plantlets in water for a few weeks.
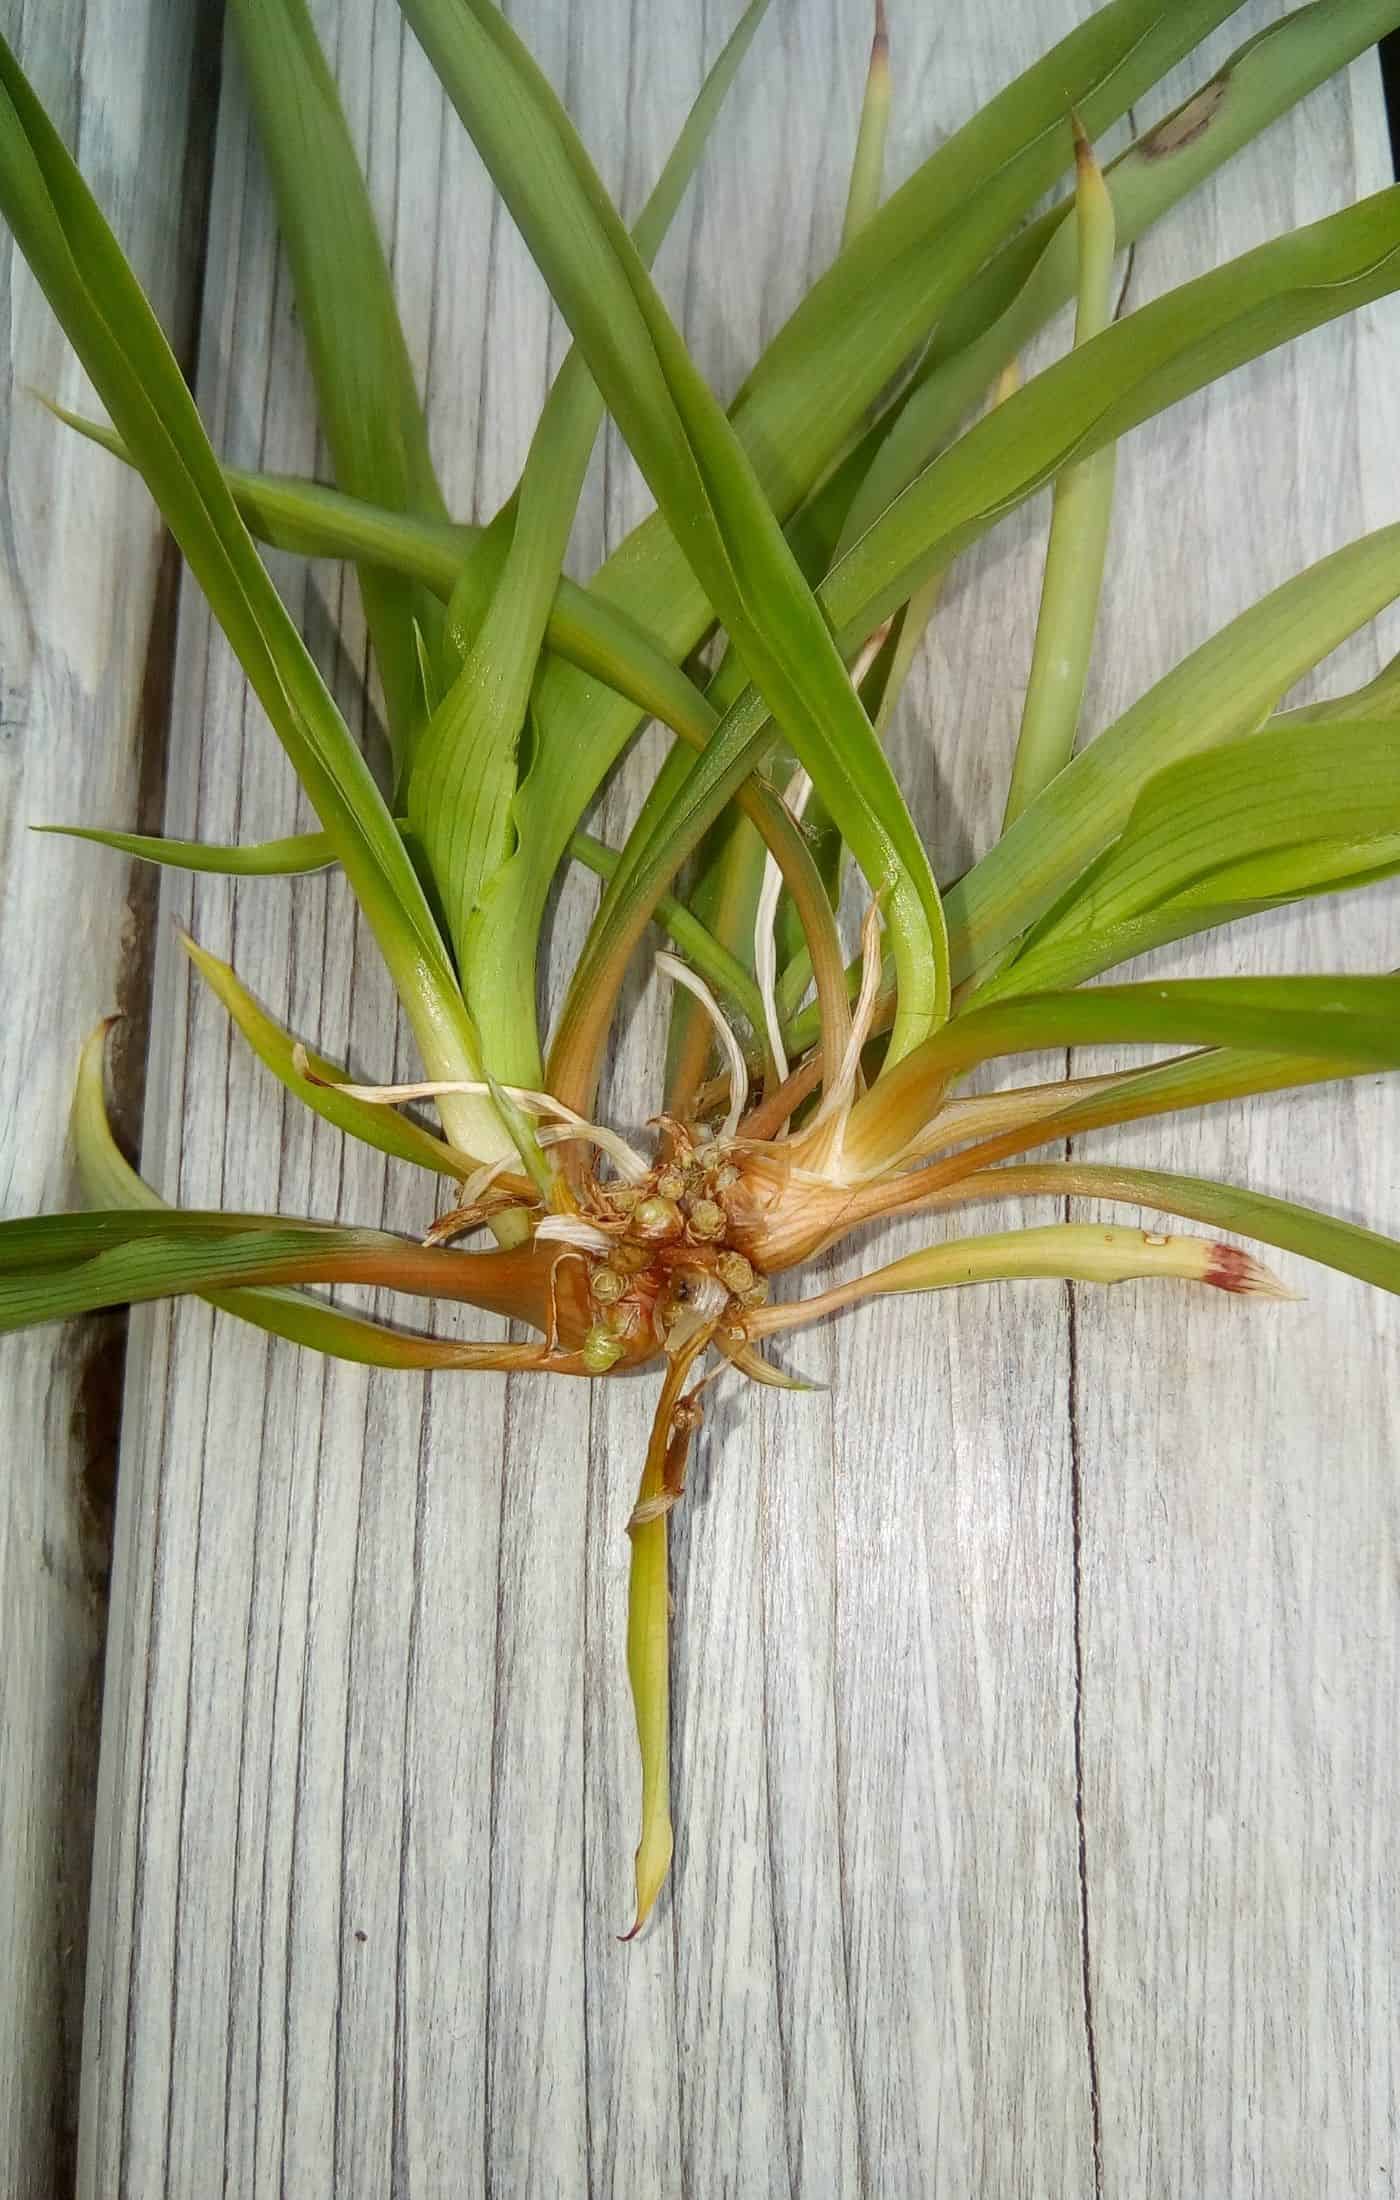
Propagating Spider plant cuttings in soil
Use a clean pair of snips to cut the runner connecting the plantlet to the mother plant. Fill a small ~4″ pot with potting mix and pop the base of the plantlet into the potting mix. Water the plantlet to saturate the potting soil. Reposition the plantlet if it shifts in the soil so that the plantlet is nicely vertical. Set the plantlet in a spot with bright indirect sunlight (or under a plant light) to help it grow its roots into the potting soil.
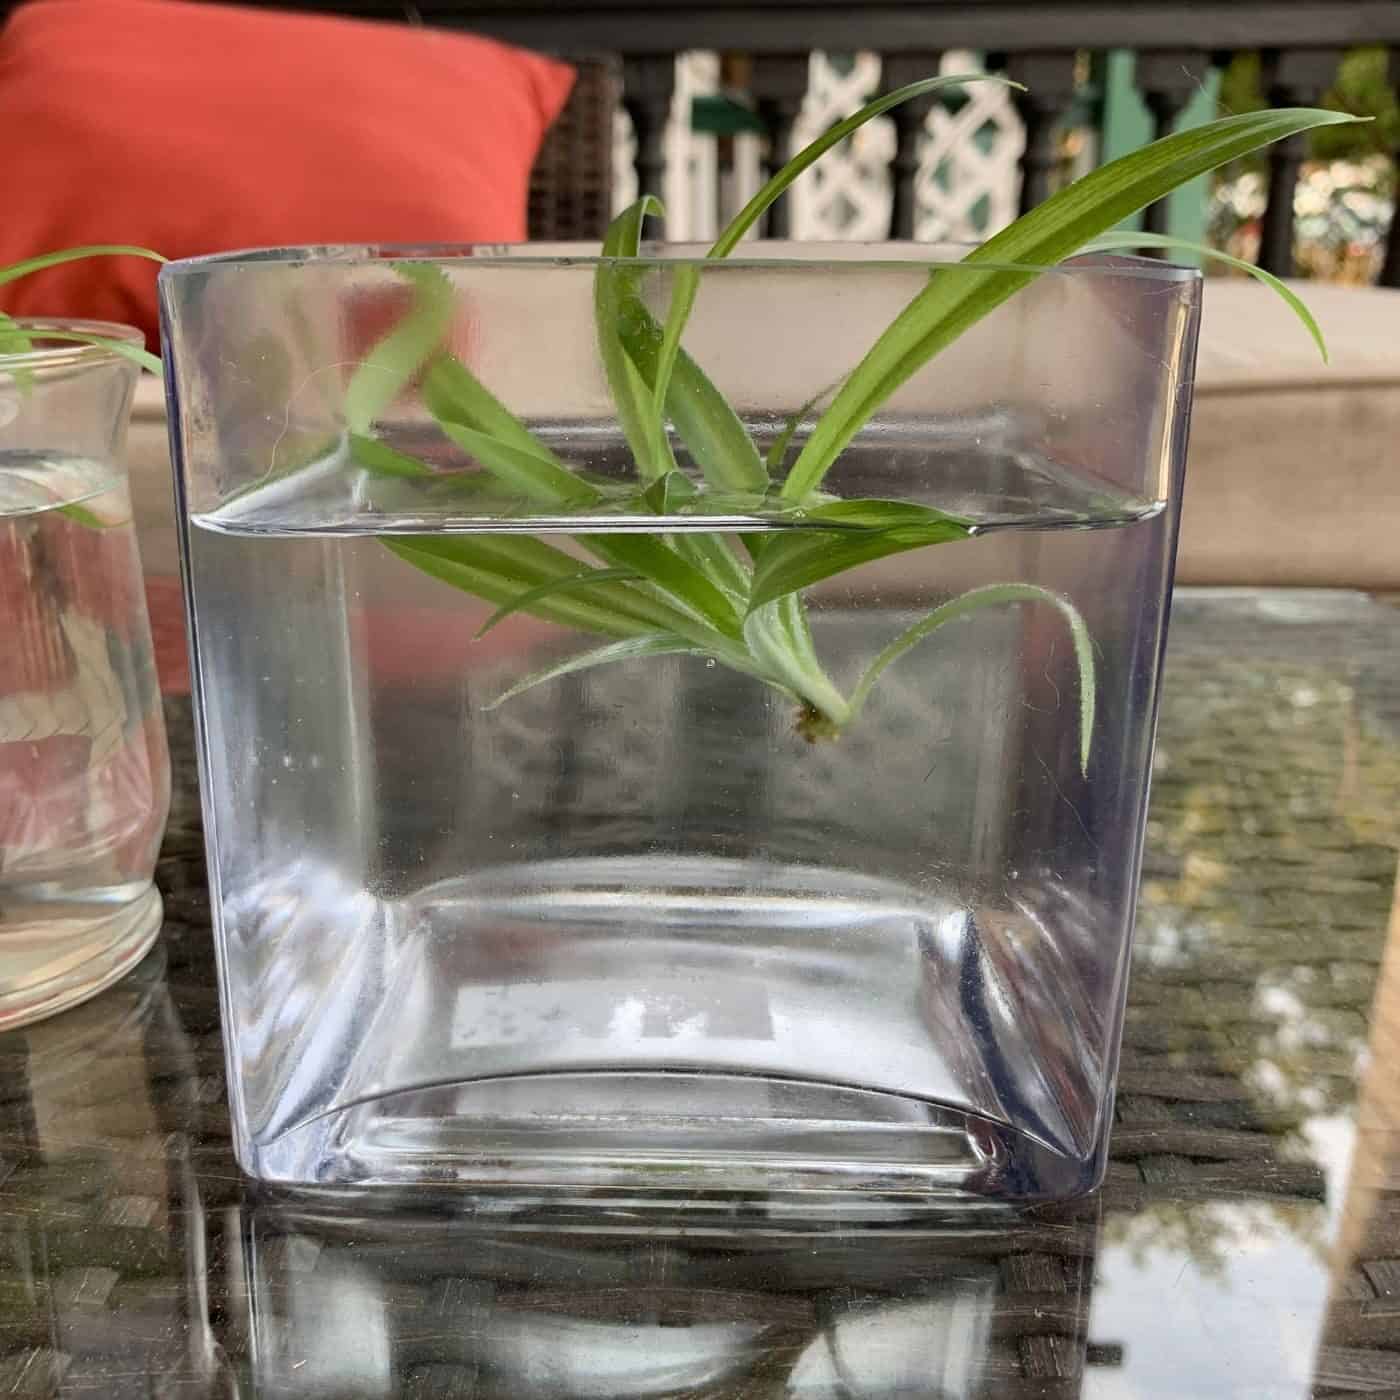
Propagating Spider plant babies in water
Snip a plantlet off the mother plant in the mid-point of its runner. As an optional step, you can dip the base of the plantlet in the rooting hormone (but this is often not necessary). Place the plantlet in a clear glass container with fresh water. Move the container to a spot with bright but indirect light.
Change the water regularly to keep it fresh and clean. Once the roots have grown out towards the glass sides of the container, gently place the rooted plantlet into a planter with fresh potting mix. The roots will be quite soft, so be careful while backfilling with soil. Water the plant after potting it up.
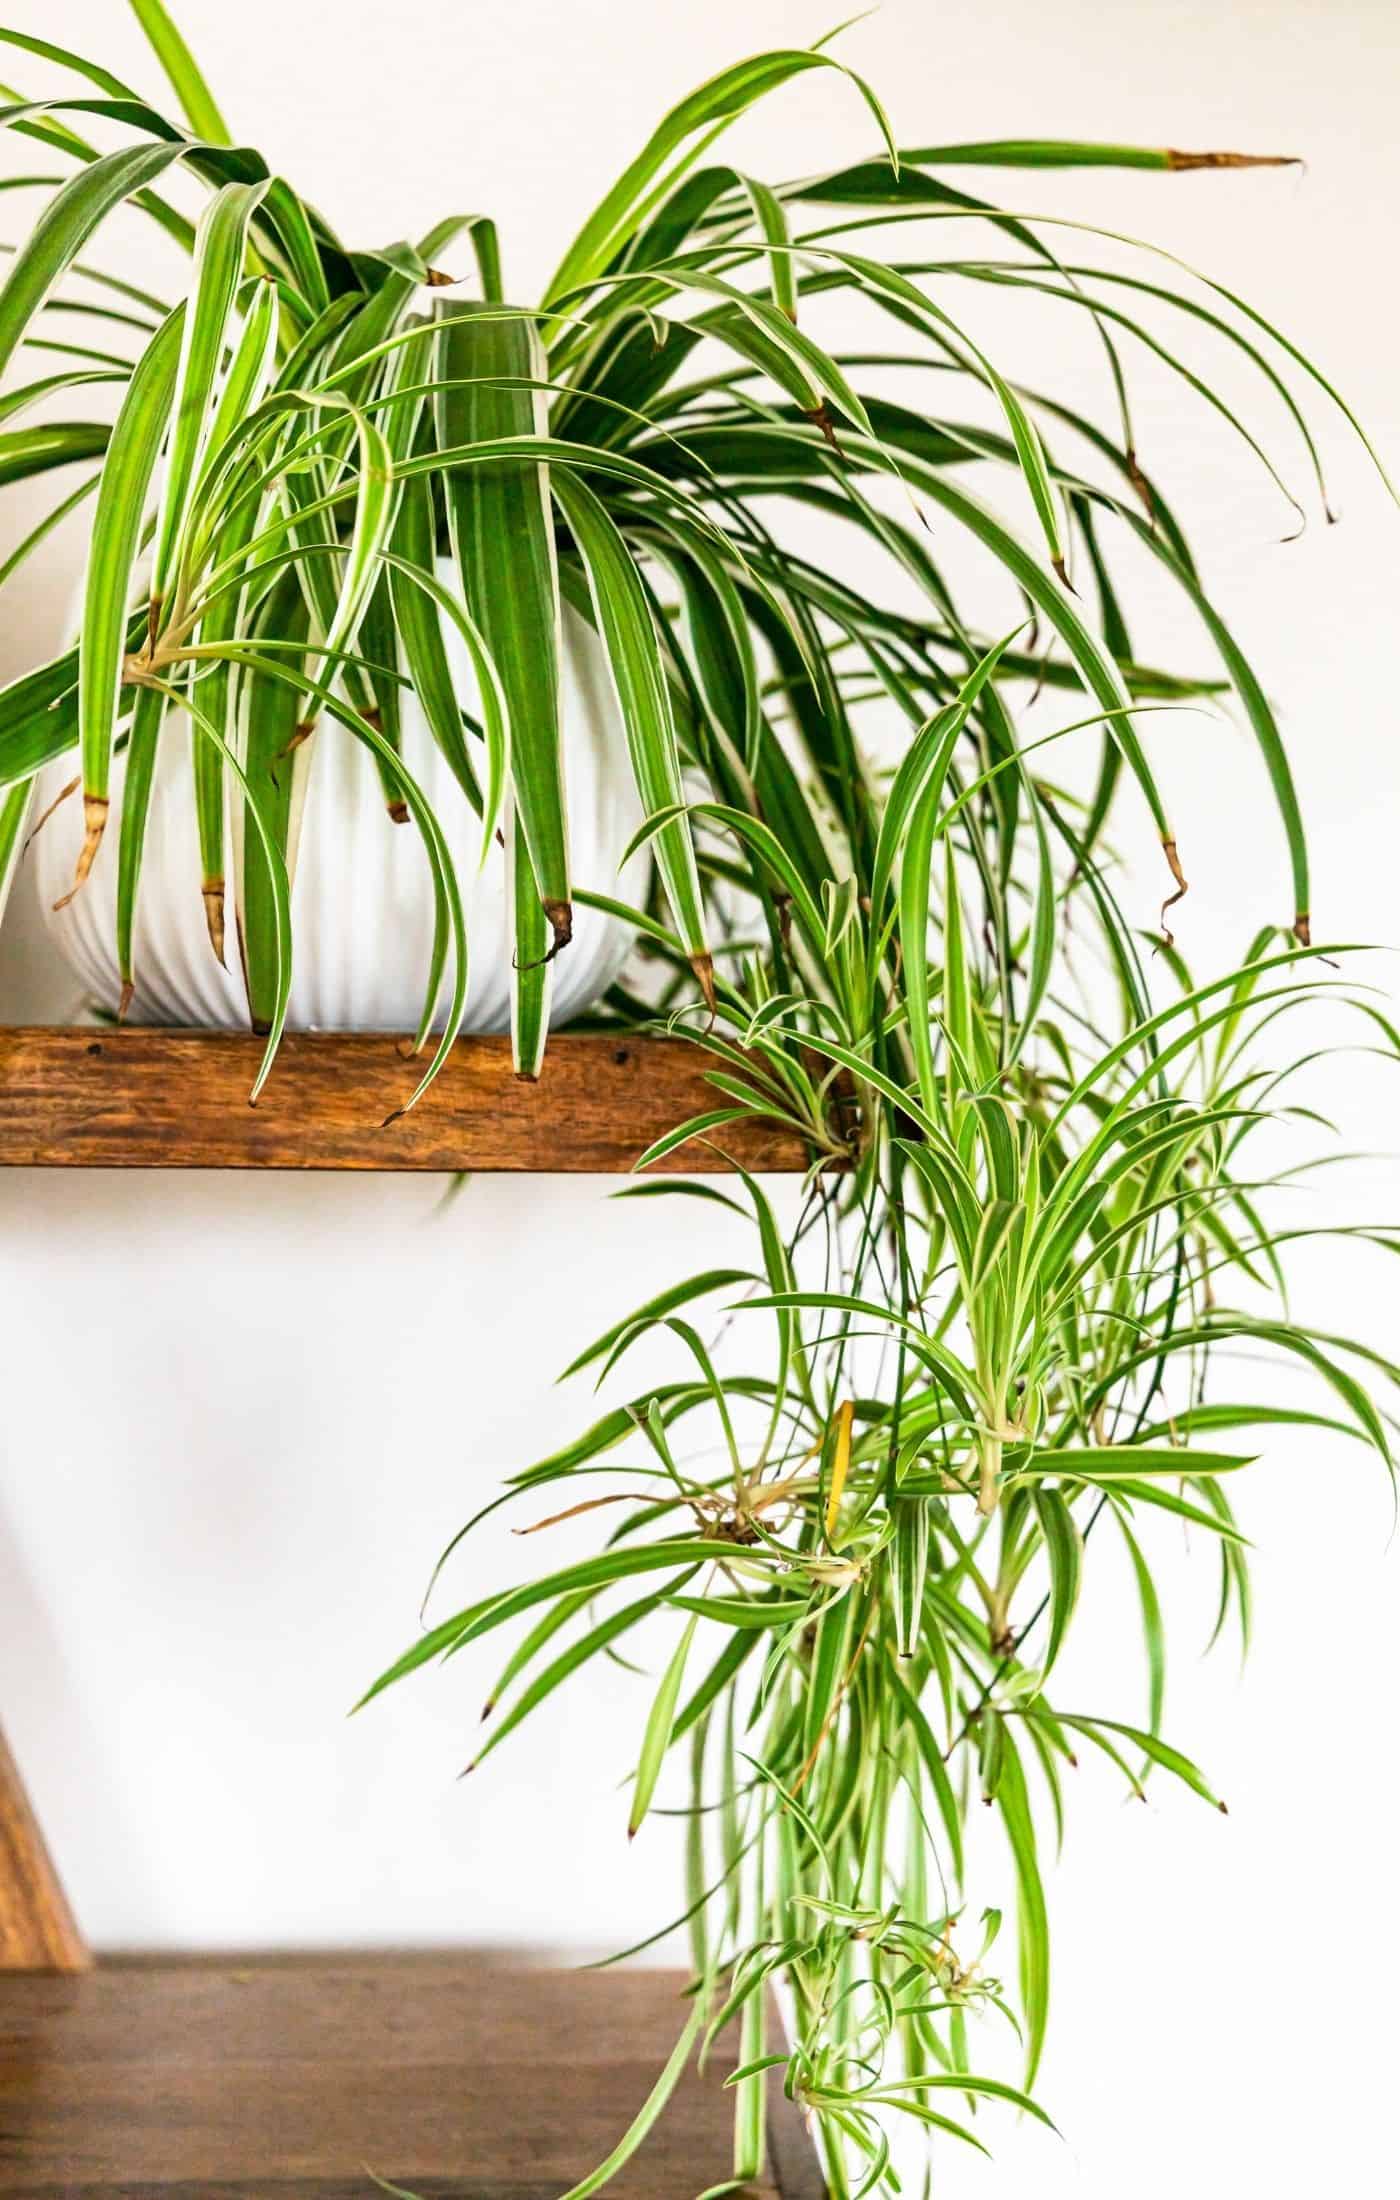
Propagating Spider plants by layering
Propagating Spider Plants by layering involves potting the plantlets, or offsets, in another pot while still attached to the mother plant.
Here are the basic steps to propagating Spider Plants by layering:
- Fill a pot with potting soil, preferably about 4″ wide.
- Place the pot next to the mother plant.
- Take the plantlet and root it in the soil while still attached to the mother plant. To keep the plantlet from coming out of the soil, attach the wire, a plant pin, a bobby pin, or a paper clip to it.
- Care for both the plantlet and the mother plant the same way, keeping both plant pots watered.
- When the plantlet develops roots, cut it away from the mother plant. What you are left with is another Spider Plant!
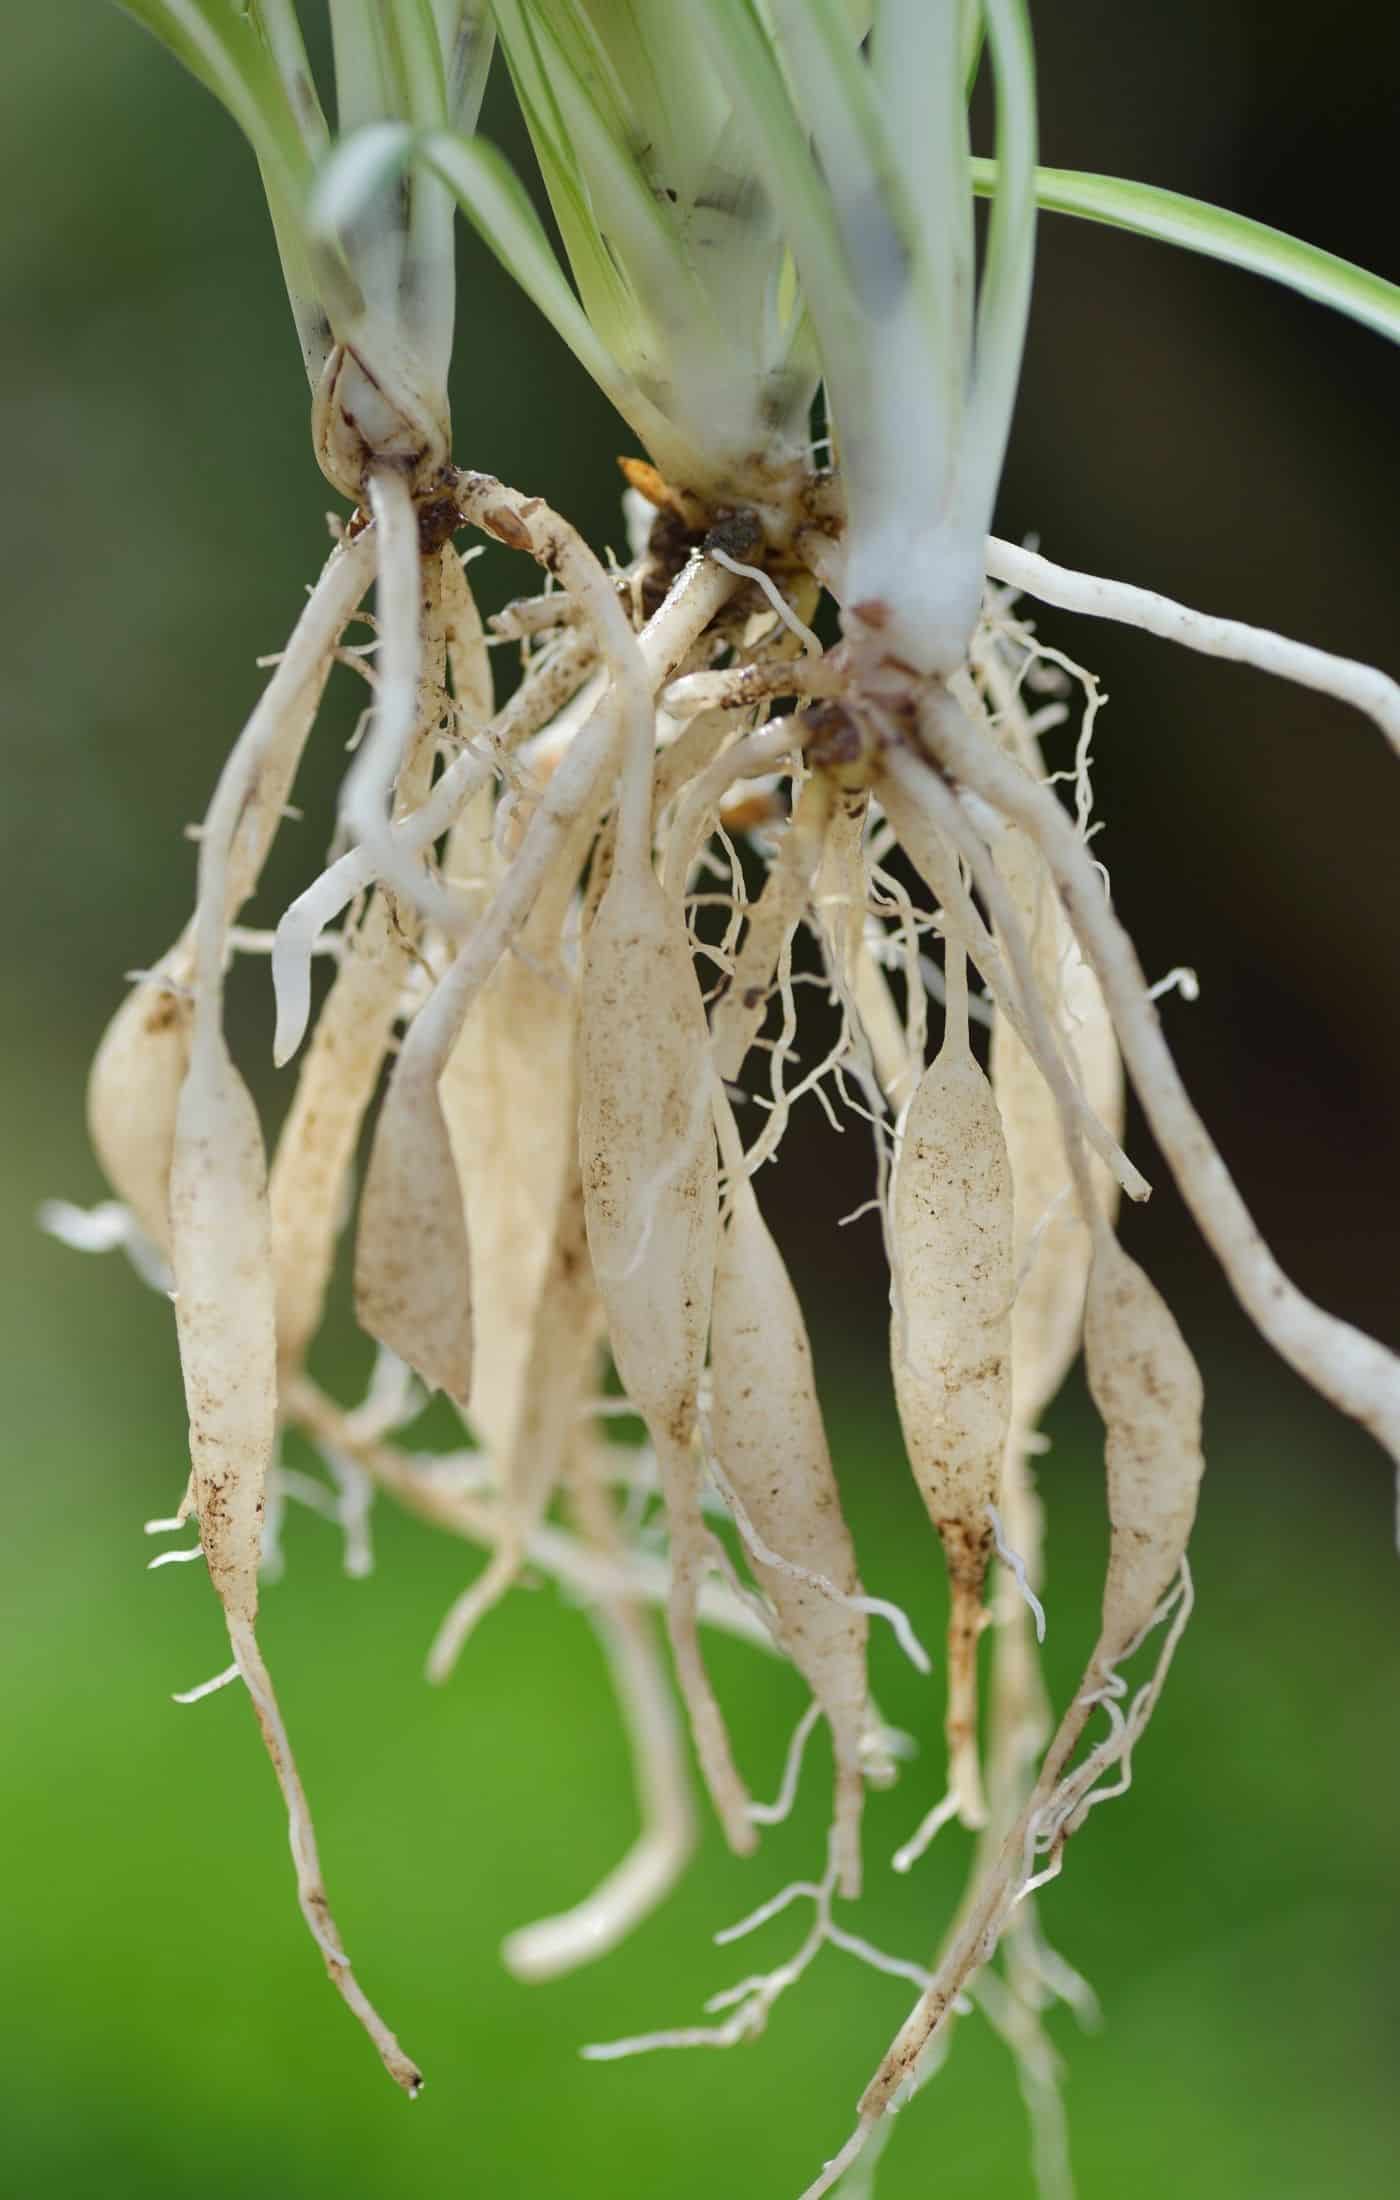
Propagating Spider plants by root division
Because Spider Plants grow so rapidly, you may need to use root division to ensure your plant doesn’t outgrow its pot. Propagating Spider Plants by root division involves dividing the root ball into sections, ensuring each section contains roots.
To propagate a Spider Plant by root division:
- Take your Spider Plant out of its pot and look at the roots.
- Cut off any damaged roots with a pair of sharp, disinfected scissors or a plant knife.
- Divide the root ball into sections. The number of sections you have depends on how many planters you have and how big the mother plant is. Most mother plants seem to divide well into 2-4 smaller portions.
- Repot each section into separate planters with well-draining soil. Water thoroughly.
