Snake plants are super easy to maintain and filter the air inside your home, making them popular houseplants amongst beginner and expert gardeners. However, if you’ve had your snake plant for a little while, you may have thought about propagating it. This article will cover the best methods for propagation and how you can do it yourself!
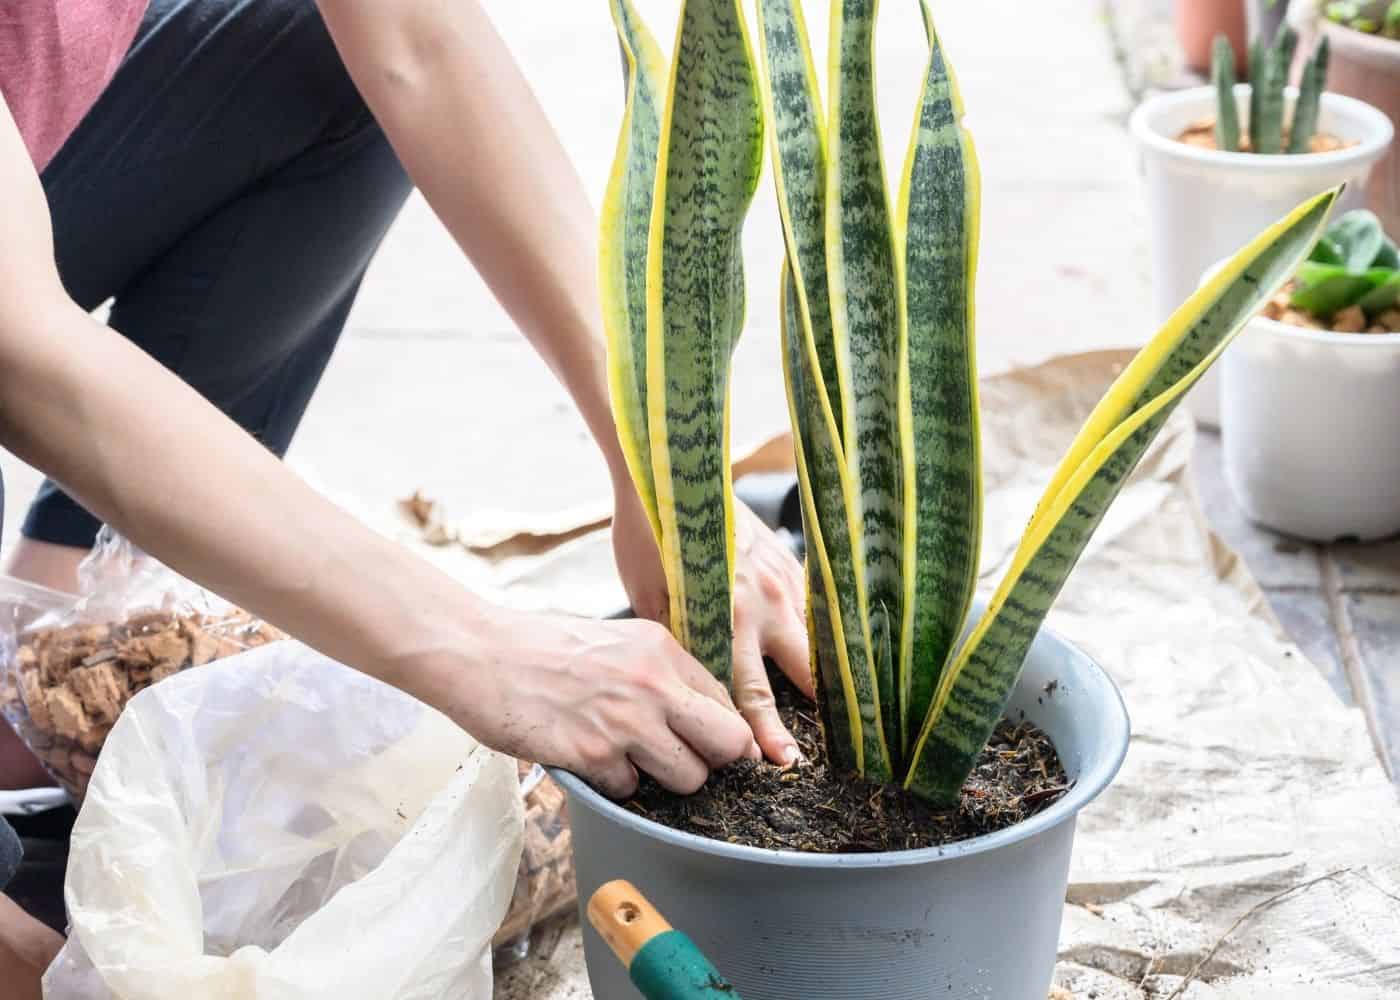
Snake plant propagation basics
Snake plants are super easy to propagate. There are a few methods for propagating snake plants, each taking around 1-3 months to see growth. Another thing to note is that snake plants are best propagated in the spring when the plant is most actively growing.
Methods for propagating snake plants
The four main methods for propagating a snake plant are stem cuttings, leaf cuttings, root cuttings, and root division.
1. Stem cuttings
Because these plants don’t have true “stems,” stem cutting usually means trimming off the leaf at or below the soil line. Stem cuttings are taken at the base of the leaf, where the leaf meets the underground basal rhizome. This propagation method is like taking an offset plant off the mother plant.
2. Leaf cuttings
Leaf cuttings are taken from the above-ground portion of the leaf. You can split up the leaf into multiple 3″-4″ pieces if you like or leave the leaf portion whole. Whole leaves can be propagated in water or potting mix, while the snipped-up pieces are usually propagated in potting mix. Insert the leaf cuttings vertically into the potting mix with the part at the bottom of the plant contacting the potting mix.
3. Root cuttings
Root cuttings, also known as rhizome cuttings, are another propagation method used to propagate snake plants. Rhizomes are little white stem structures on the snake plant’s roots that provide energy to the plant. You can plant rhizomes in the soil to propagate new snake plants. Root cuttings are similar to just dividing up the roots by root division, but root cuttings do not have above-ground leaves.
4. Root division
Root division is the easiest propagation method for snake plants. Variegated-leaf varieties are usually propagated by root division because using leaf cuttings can cause the variegation to disappear (the mutation can revert to the normal pattern). For example, if your Snake plant has yellow markings and you use the leaf-cutting or stem-cutting method, your cuttings will turn back to the plant’s original green color instead of the variegated pattern. By using root division, your plant will propagate just like the parent plant.

Propagating snake plant by root division
To propagate a snake plant by root division:
- Lift the mother plant out of the pot gently.
- Take a sharp pair of scissors or a knife and slice off the “baby plants” or offsets attached to the mother plant.
- Cut the main plant into several pieces. Try to make long, clean cuts rather than sawing through the rhizome.
- Let your new plants sit out to callus for a day or two, or you can pot them up right away.
Propagating snake plant from stem cuttings
Stem cuttings from Snake Plant can be propagated in either water or in soil. Here are the instructions for each method:
1. Propagating snake plant cuttings in water
To properly propagate Snake plants in water, you will need these materials:
- Sharp pruning shears or a good pair of scissors
- Dilute solution of alcohol or bleach
- Hormone powder
- Clean container with fresh water
Here are the basic steps for propagating snake plant cuttings in water:
- Disinfect your scissors using a dilute solution of alcohol or bleach. Disinfecting your scissors prevents bacteria and other debris from contaminating the fresh-cut stems.
- Pick the stems you want to cut off your plant. Make sure these stems are young with healthy tips as these are optimal for propagation. Choose 3-5 stems per the number of planters you have.
- Take a cutting from the stem either at or below the soil line. Place your cuttings on a clean surface. Repeat until you have enough cuttings.
- Trim the base of each stem cutting. Make a clean cut so that the base of the stem remains healthy and well-suited to root development.
- Dip the cut end of each stem into rooting hormone powder. This is optional; however, it can be helpful if you’re new to propagating houseplants.
- Place the stem base into a clean container filled with fresh water. Place each stem in its container or group a few in larger containers. Make sure the cuttings are not crowded and the air circulation is good. (The easiest way to monitor root development is through clear glass containers to see the Snake plant cuttings.
- Move the cuttings to a location with bright indirect light that is not too close to the cuttings to avoid foliage burn.
- Monitor the plants every few days, changing the water and looking for root development. Remove any yellow or mushy cuttings and plant the healthy cuttings into planters once they have emerging roots.
- Put the rooted cuttings into groups and place them into a planter with organic potting soil. Water the cuttings, making sure the water drains freely.
2. Propagating snake plant cuttings in soil
To properly propagate snake plants in the soil, gather these supplies:
- Sharp pruning shears or a good pair of scissors
- Dilute solution of alcohol or bleach
- Hormone Powder
- Planter pot with moist potting mix
Here are the steps for the propagation of snake plant cuttings in the potting mix:
- Repeat steps 1-5 from above and continue with the following steps for propagating Snake plants in the soil.
- Fill the bottom 1/3 of a planter pot with moist high-quality potting mix. Make sure your pot is at least 4-6 inches wide and has good drainage holes at the bottom. Tropical potting mix made with coco coir and perlite works well for propagating Snake plants.
- Place several cuttings into the planter pot. Usually, about three cuttings fit into a 4-inch wide planter, while five cuttings suit a 6-inch wide planter. The base of each cutting should be resting on the bed of potting mix.
- Fill the rest of the planter with potting mix. Fill the remaining space surrounding the Snake plant cuttings, leaving around an inch of space at the top. Then, water the planter, making sure the water is draining well out of the bottom. Keep in mind the soil may settle after watering, but this is entirely normal.
- Move the planter to a location with bright indirect light that is not too close to the cuttings to avoid foliage burn.
- Monitor the plant every few days, watering before the soil becomes too dry. Snake plant cuttings grow best in moist, not soggy, or muddy soil.
Propagating snake plant from leaf cuttings
Similar to propagating a snake plant from stem cuttings, this propagation method involves cutting only the leaf portion of the plant. Take a pair of sharp, clean scissors, and cut off a snake plant leaf, leaving the roots and stem below the soil.
You can propagate the single leaf or cut it into multiple cuttings depending on how many plants you want. If you decide to propagate the whole leaf, you can propagate with water. On the other hand, if you choose to use leaf cuttings, it would be best to propagate in the soil because this makes it easier for the leaves to develop a root system. See the instructions above for propagating cuttings in either soil or water.
Propagating snake plant from root cuttings
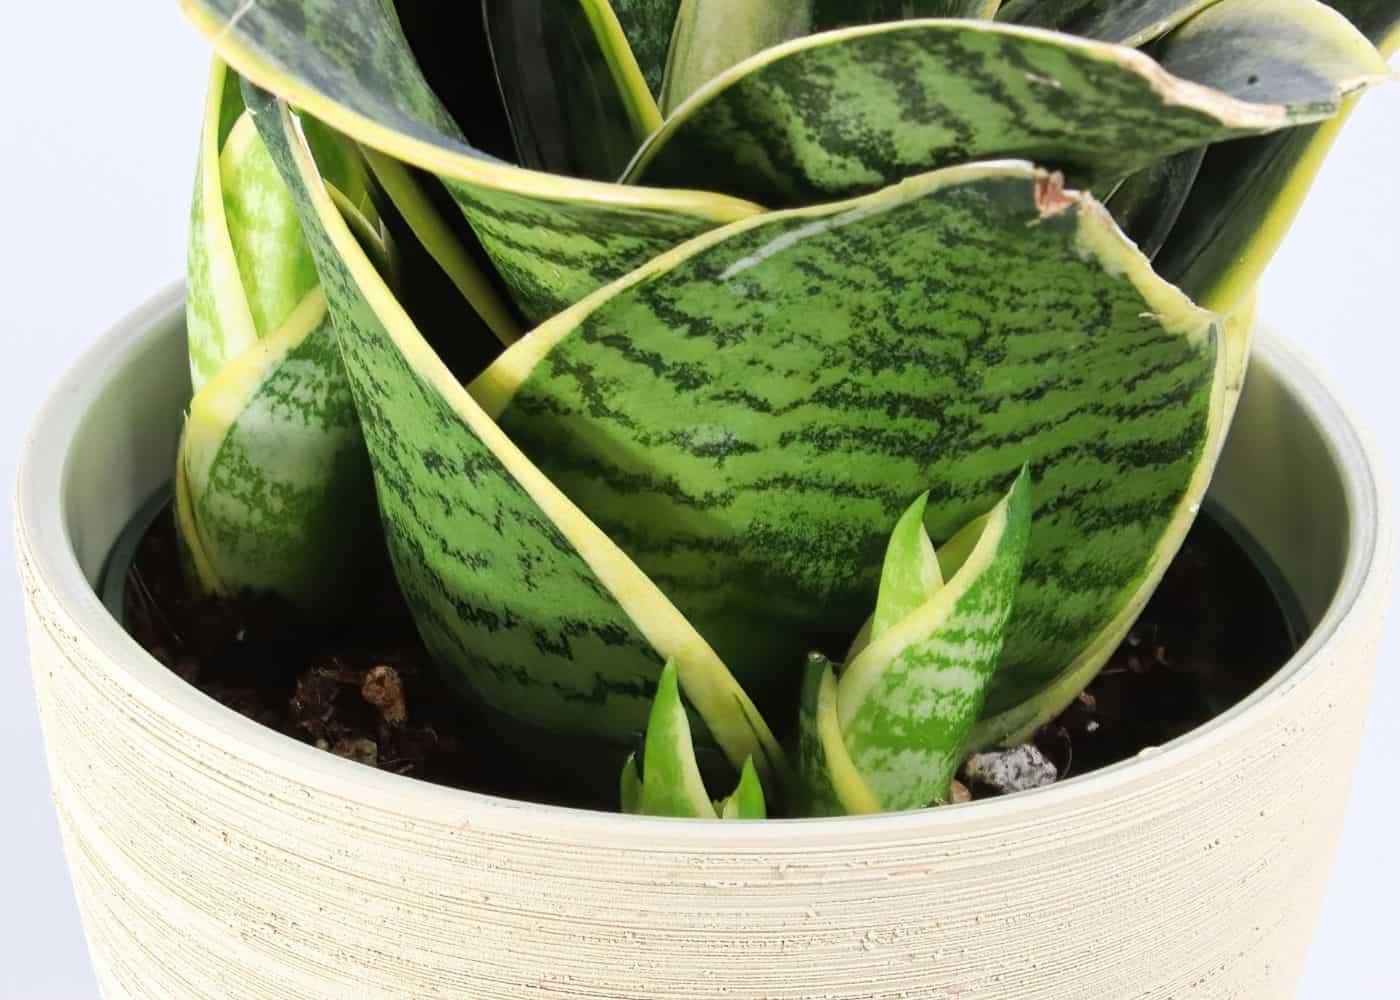
You can use root cuttings or rhizome cuttings to propagate a new plant. To propagate a snake plant using root cuttings, use clean, sharp scissors or a knife to snip off a portion of rhizome from the mother plant. Then, leave the rhizome out to the callus for a day or two so the cuts can dry/harden. Lastly, plant the root cutting in the soil just below the surface.
Keep the cutting and potting mix moist (but not muddy) while the roots start developing. Keep an eye out for leaves sprouting up through the soil. Move the planter to a spot with bright indirect light as soon as leaves appear as a small rosette at the surface of the soil.


