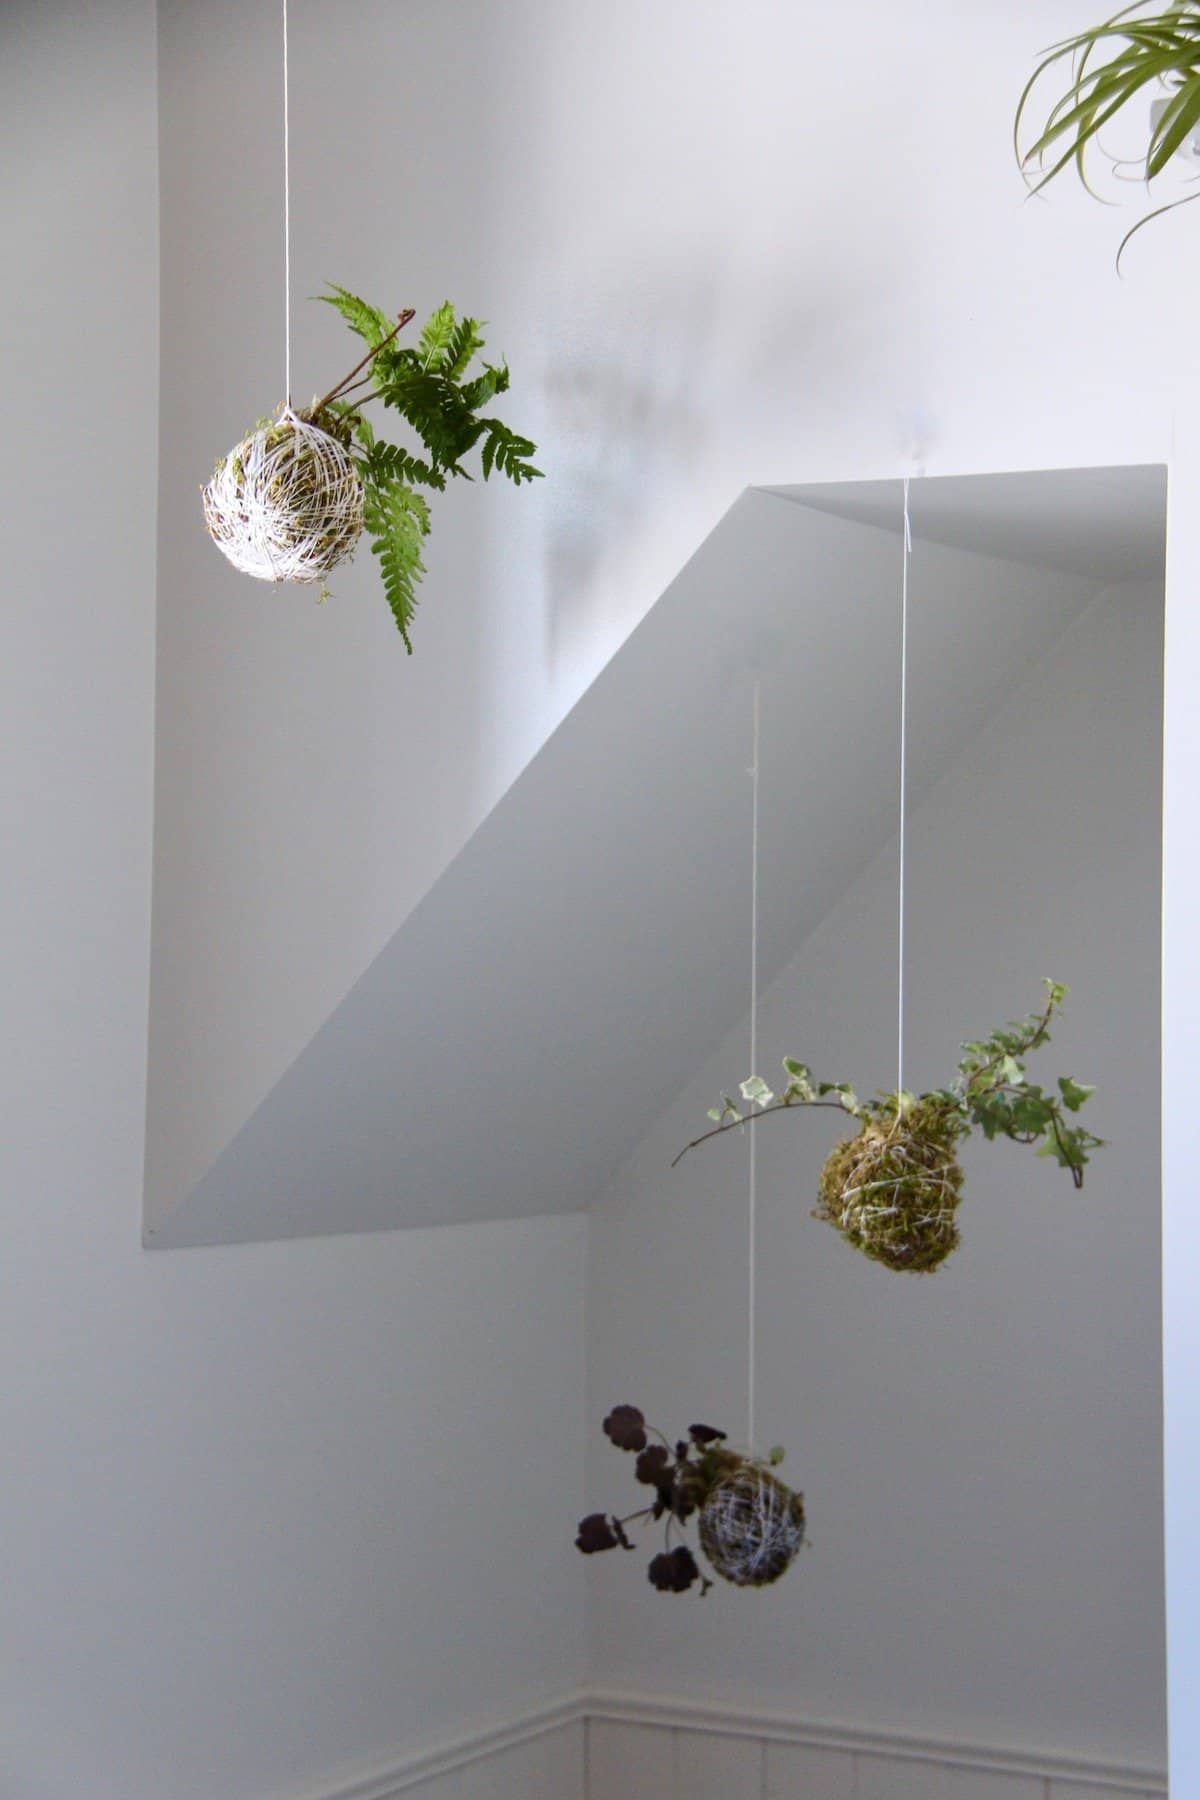
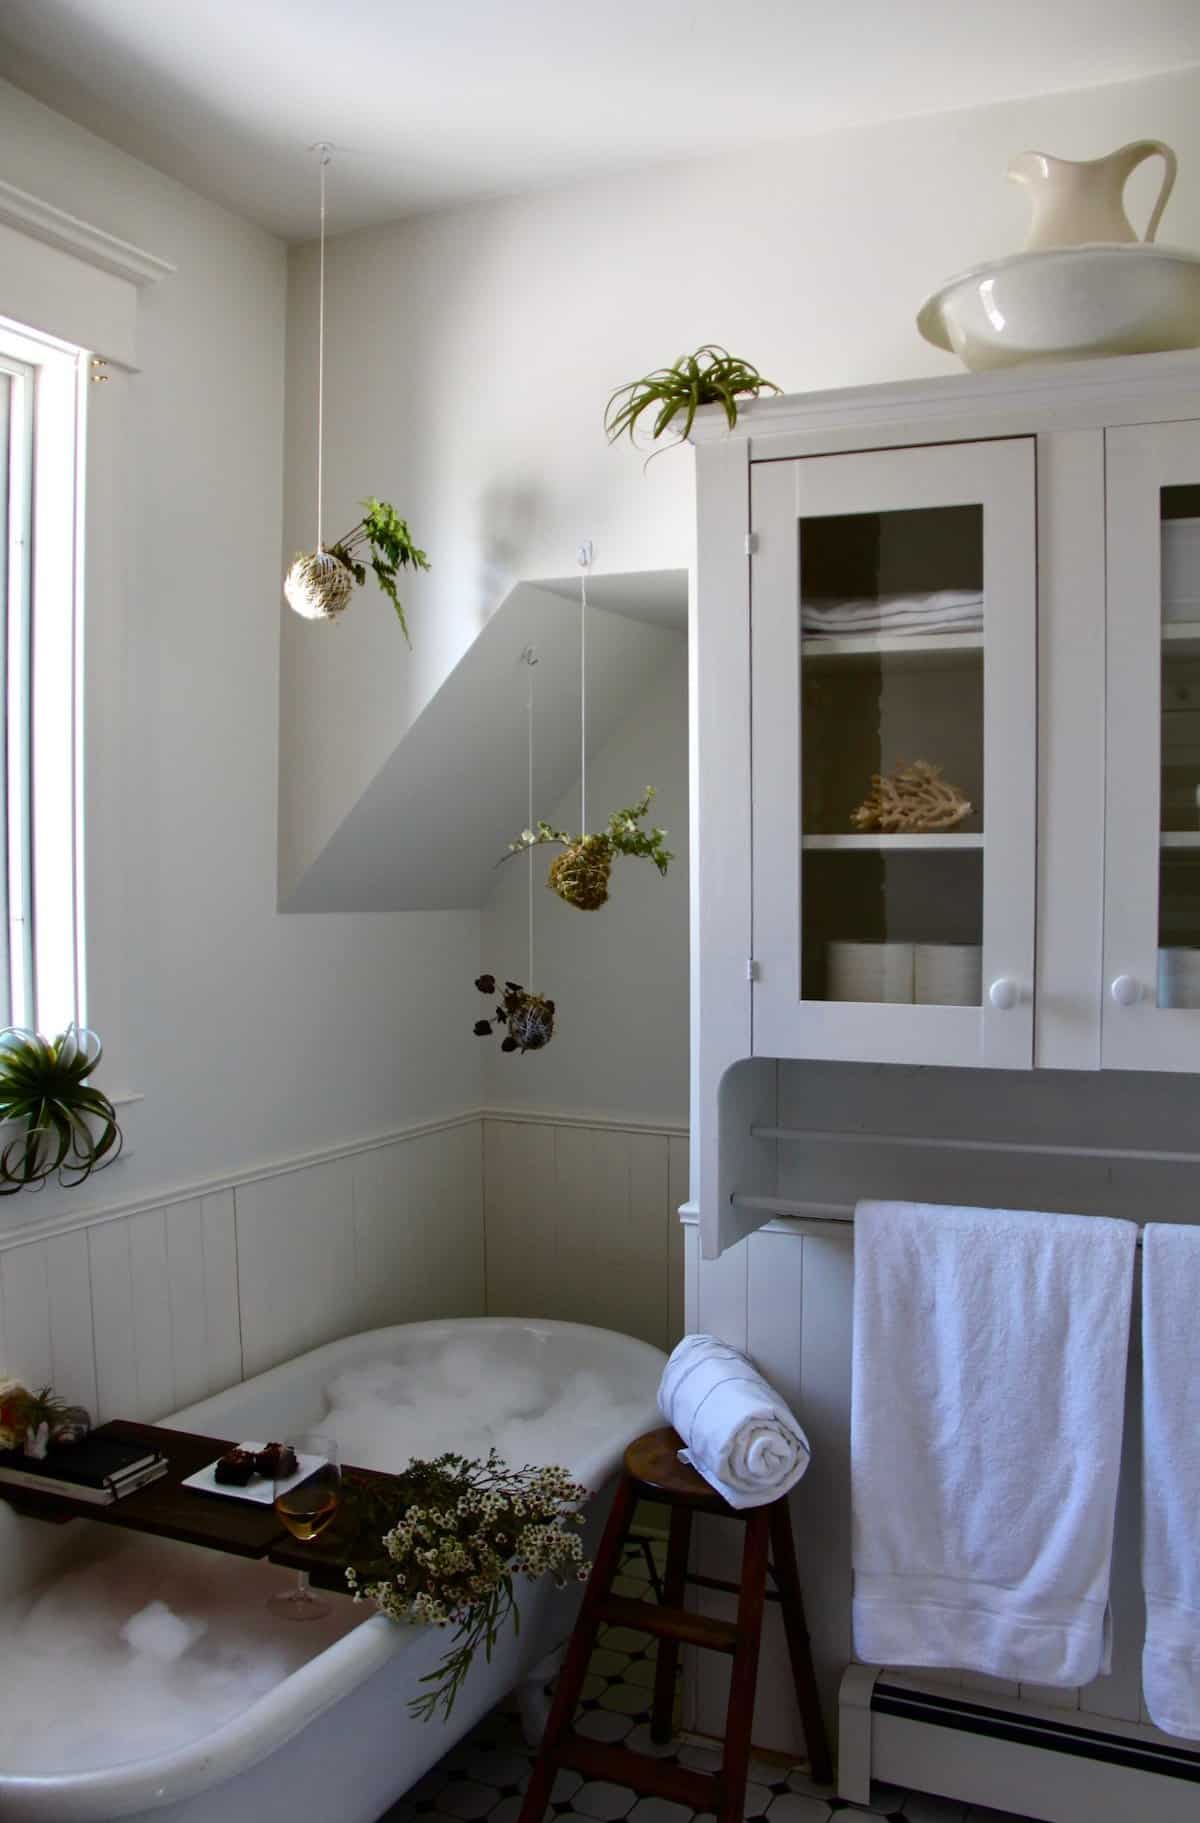
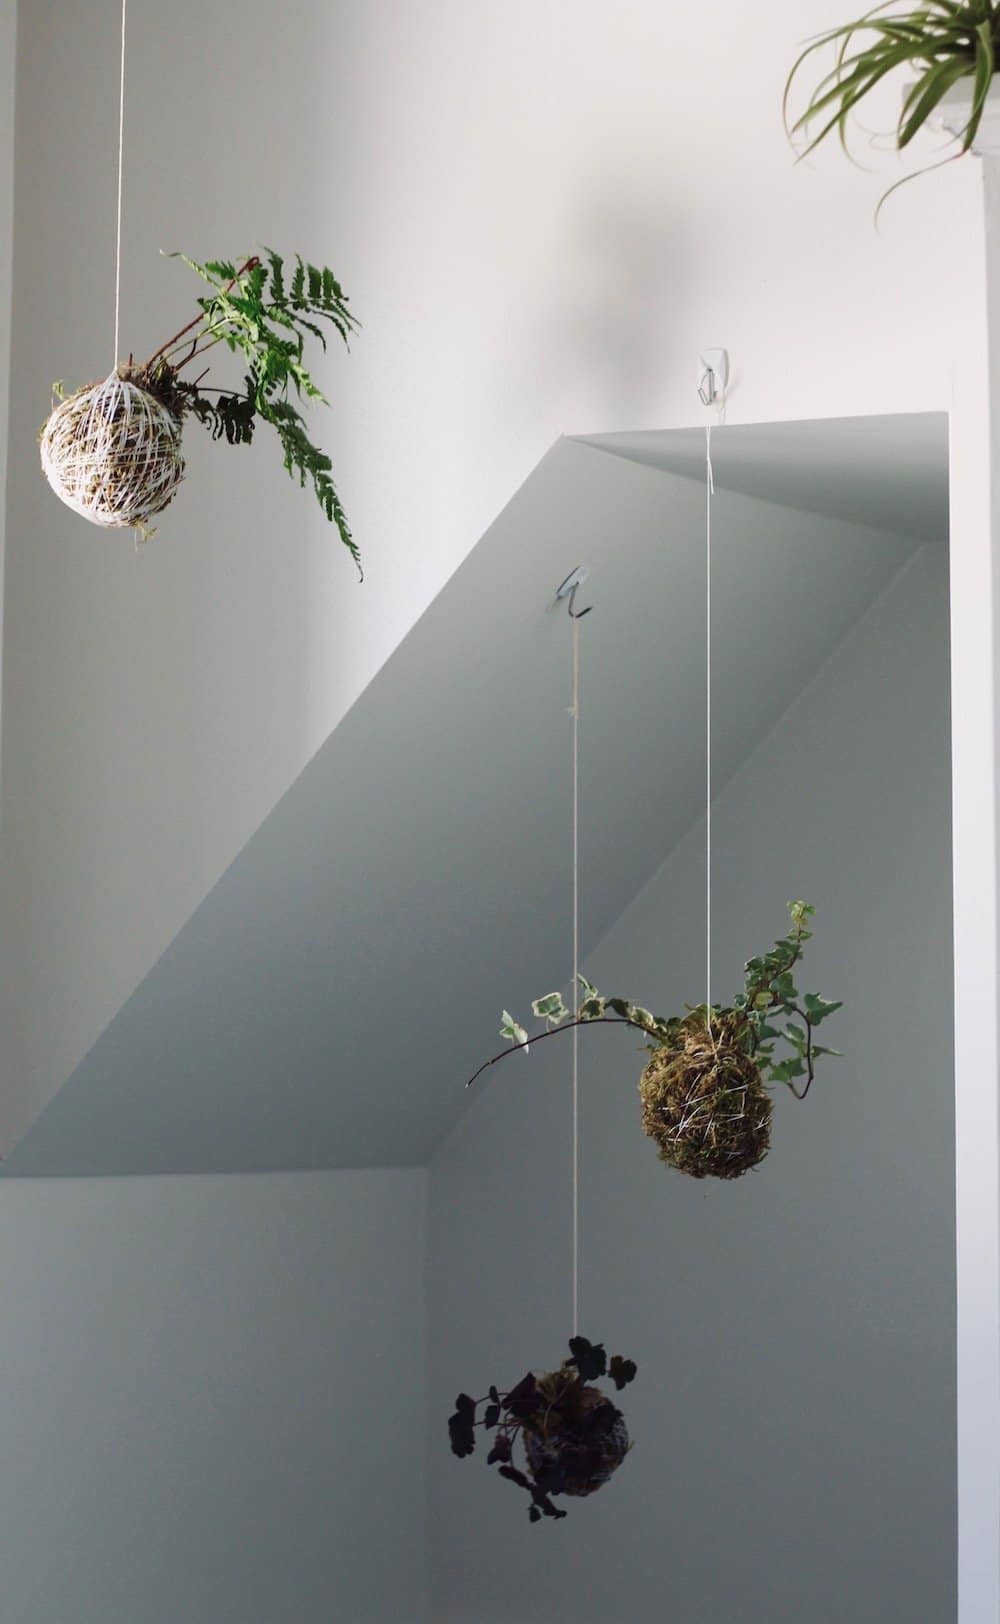
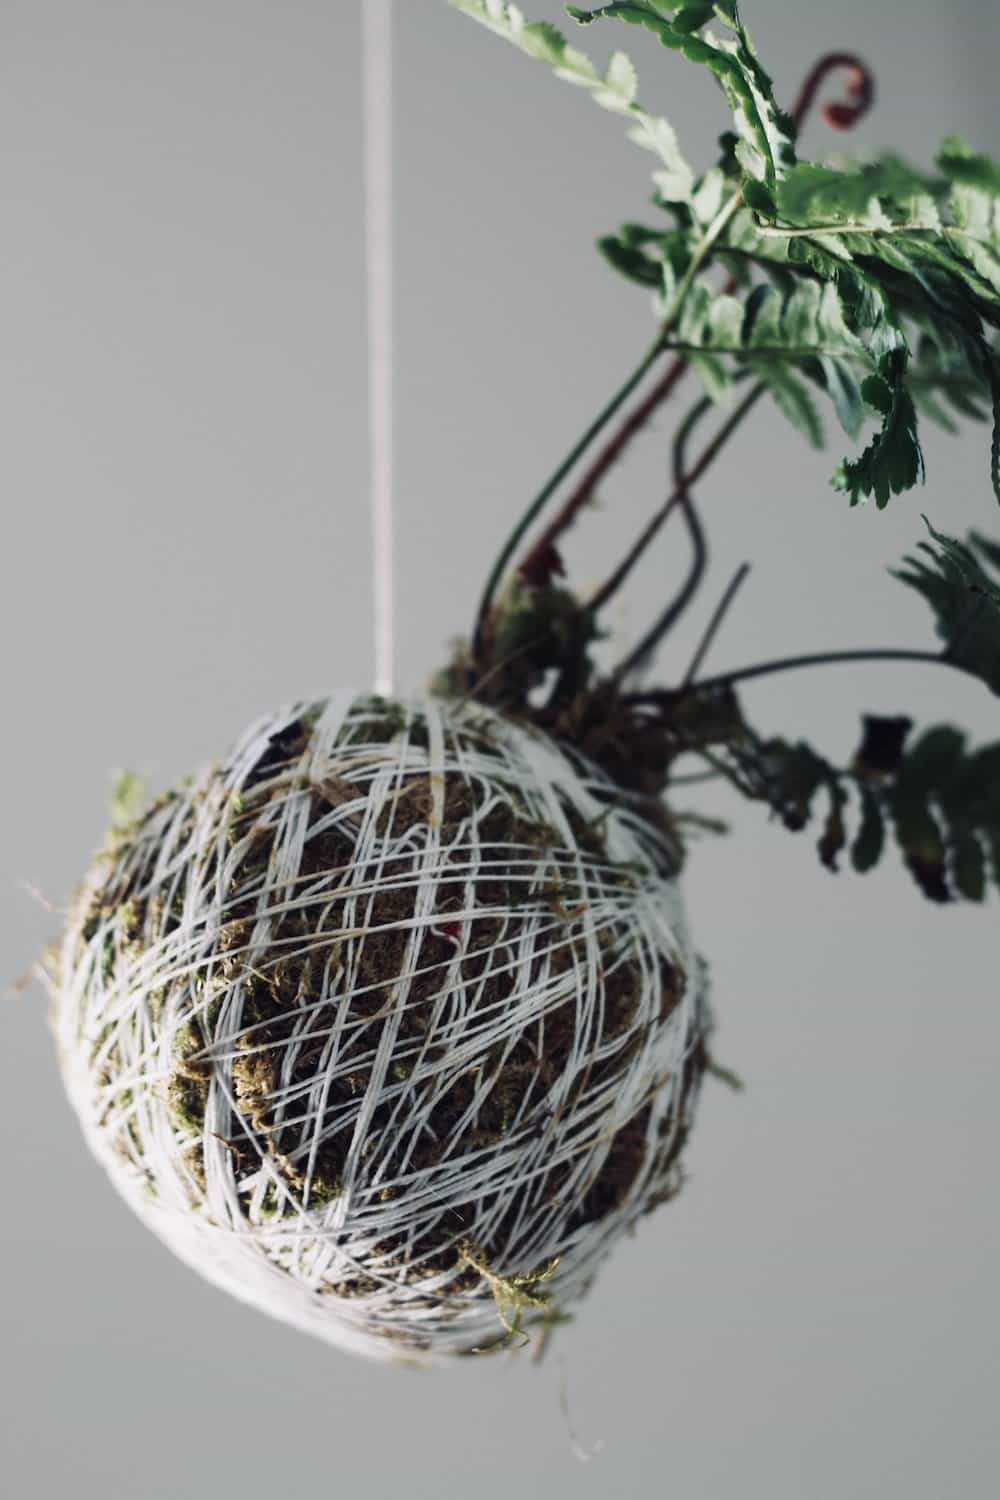
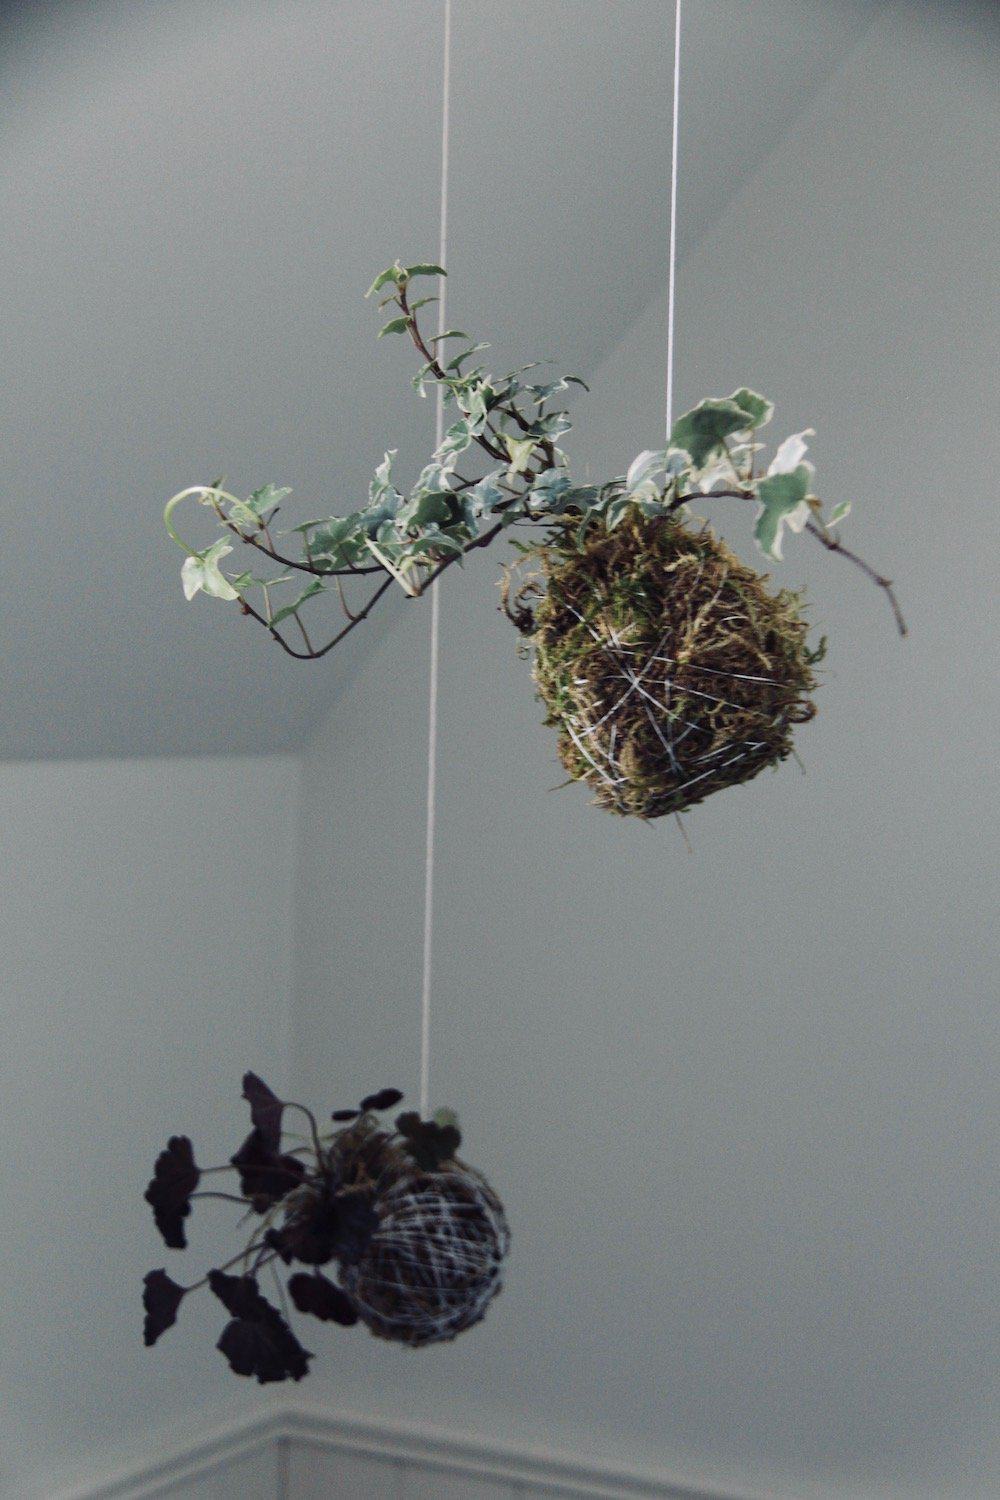
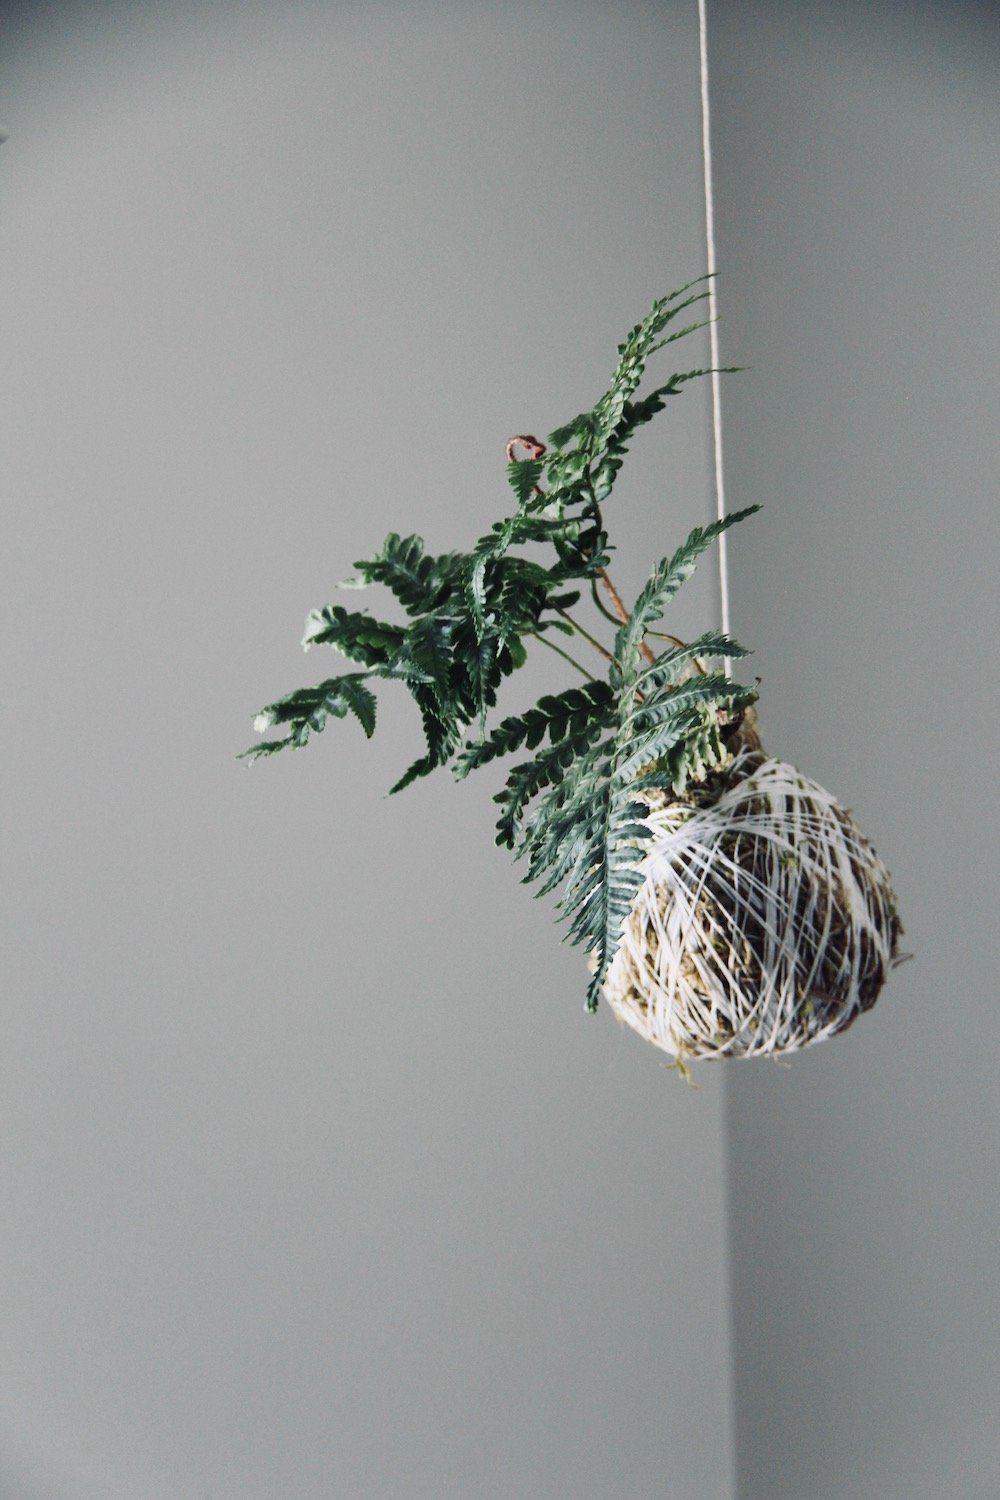
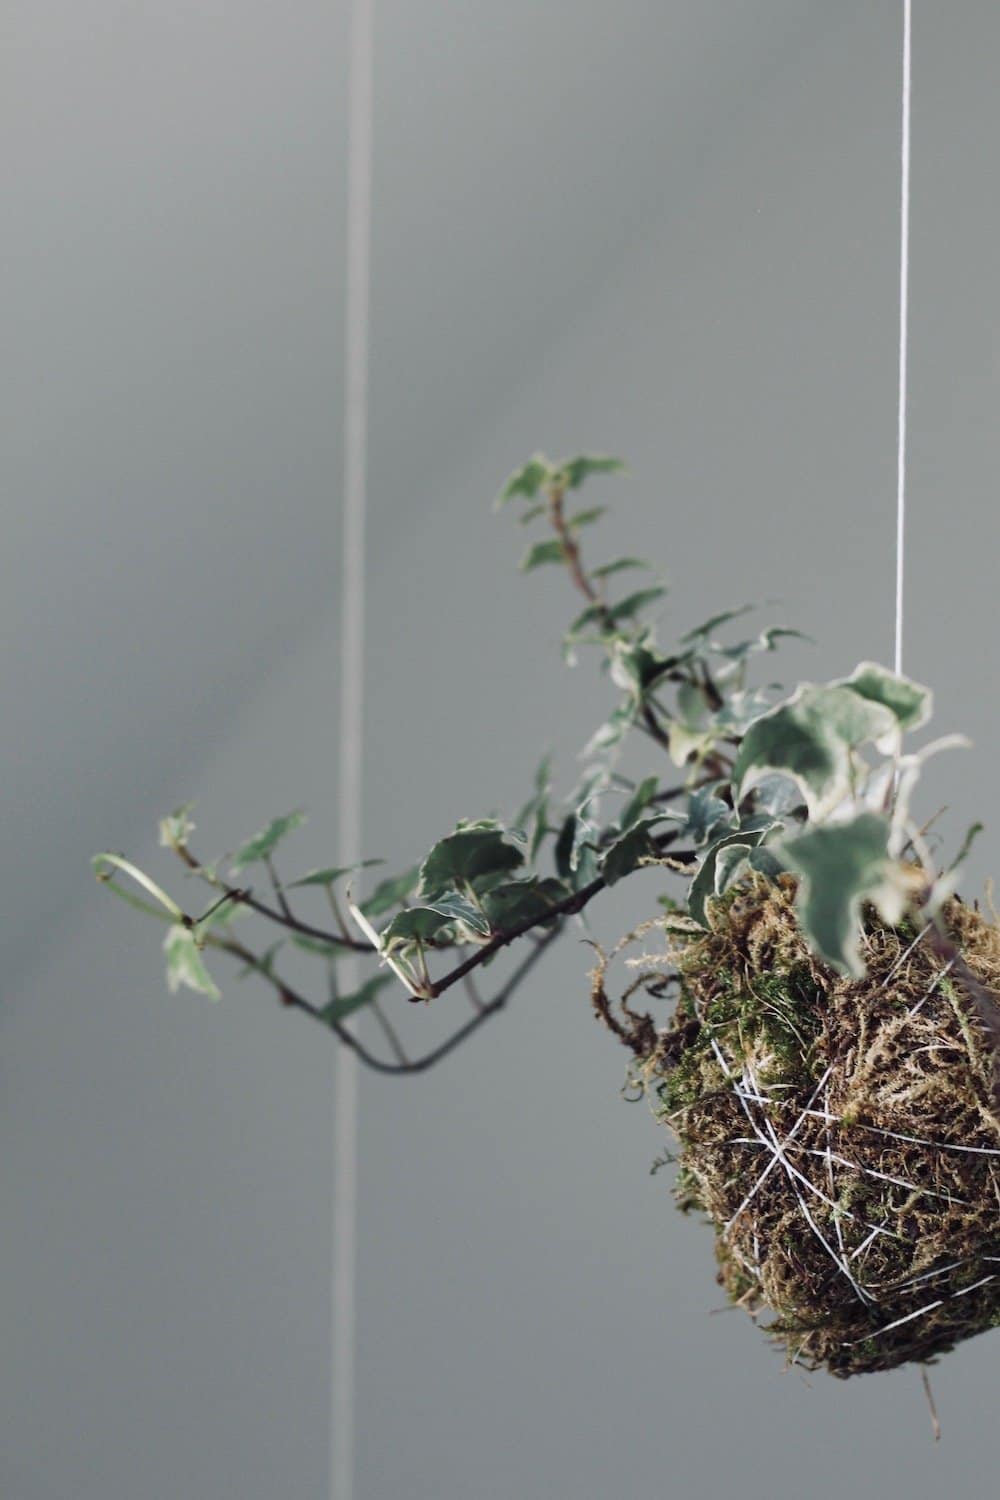
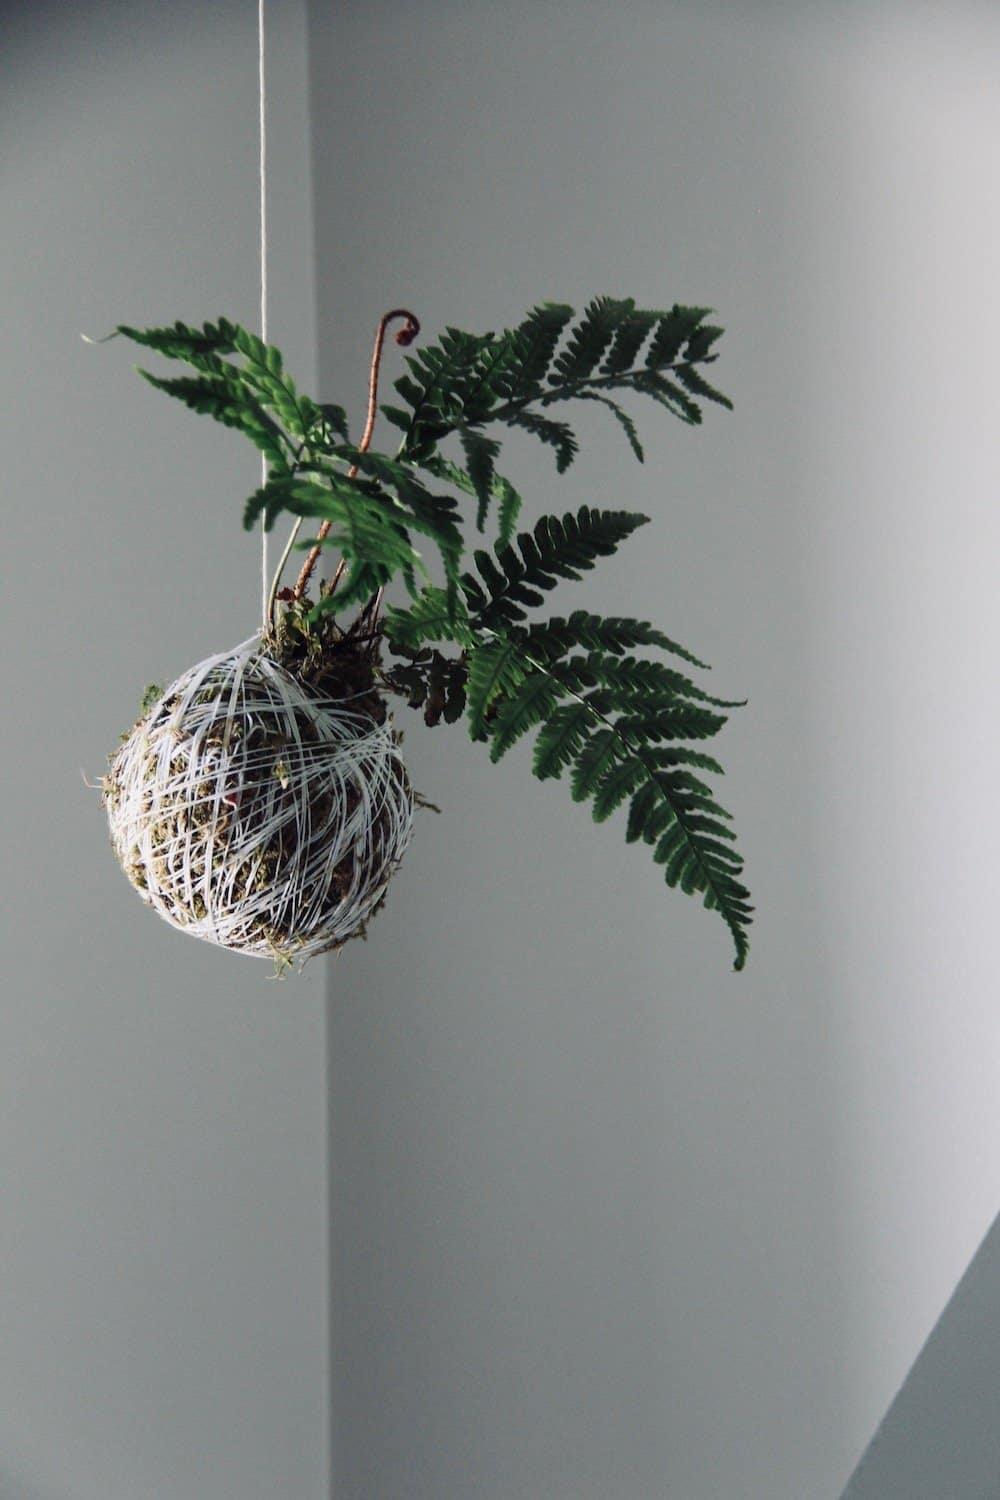
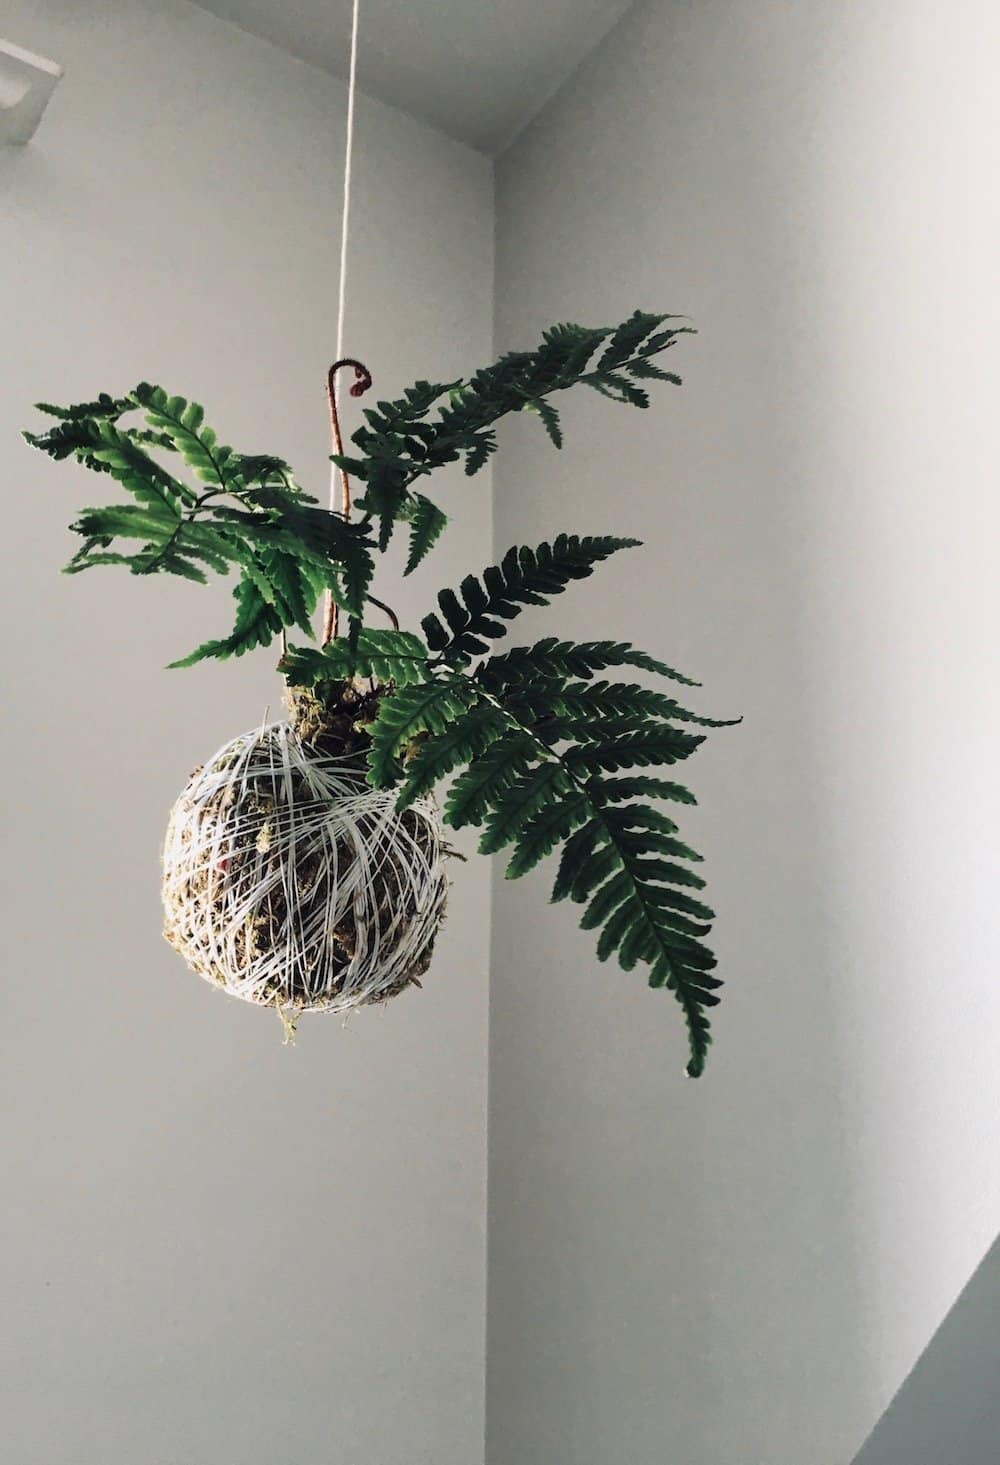
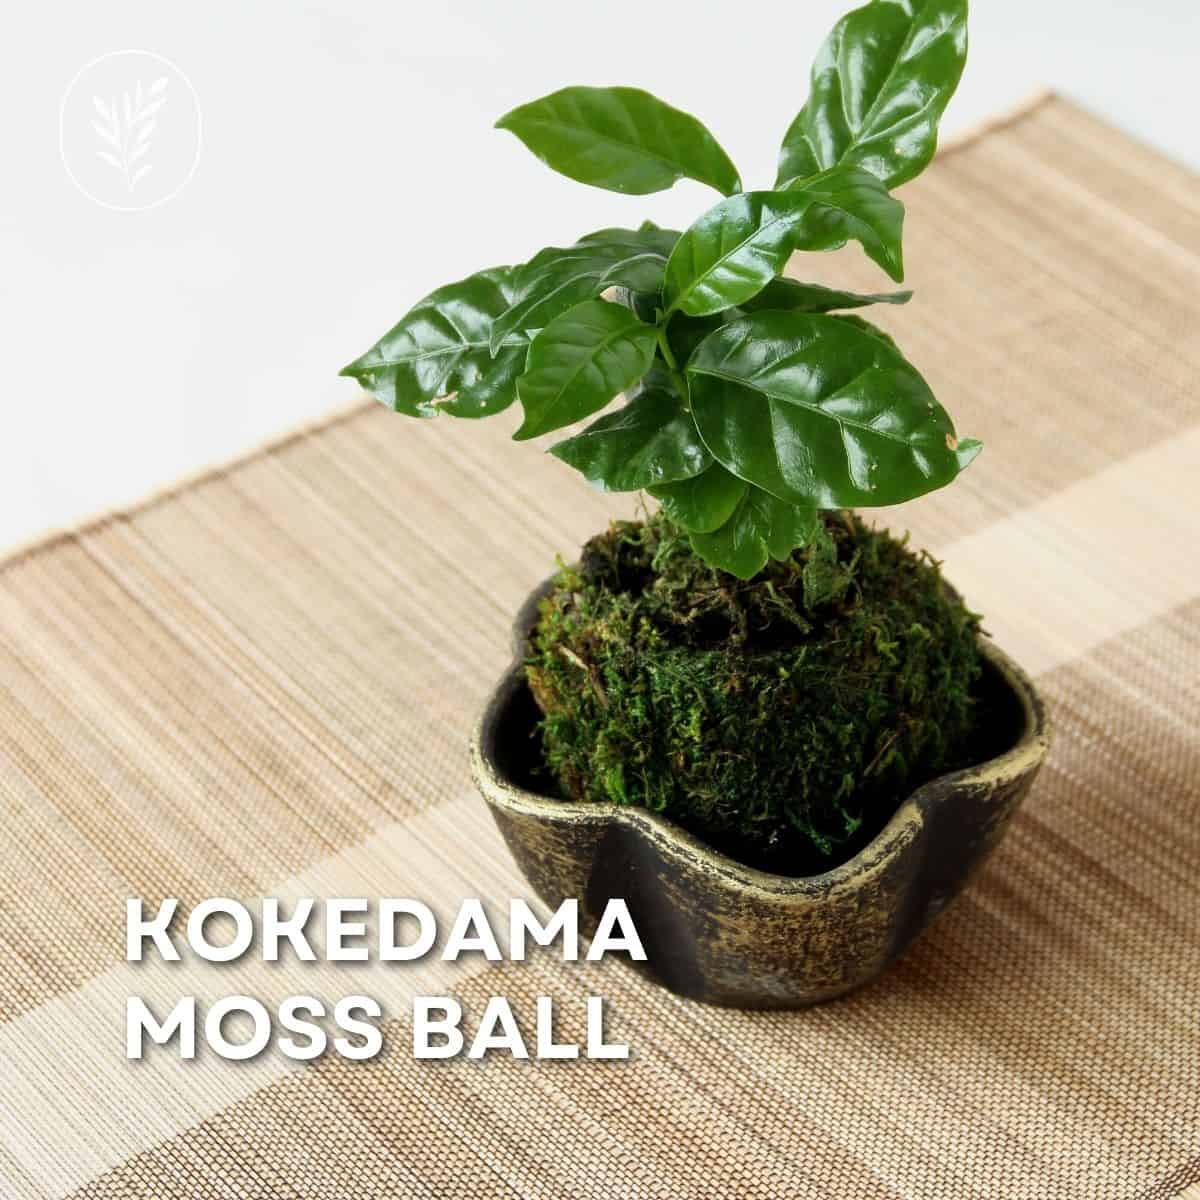
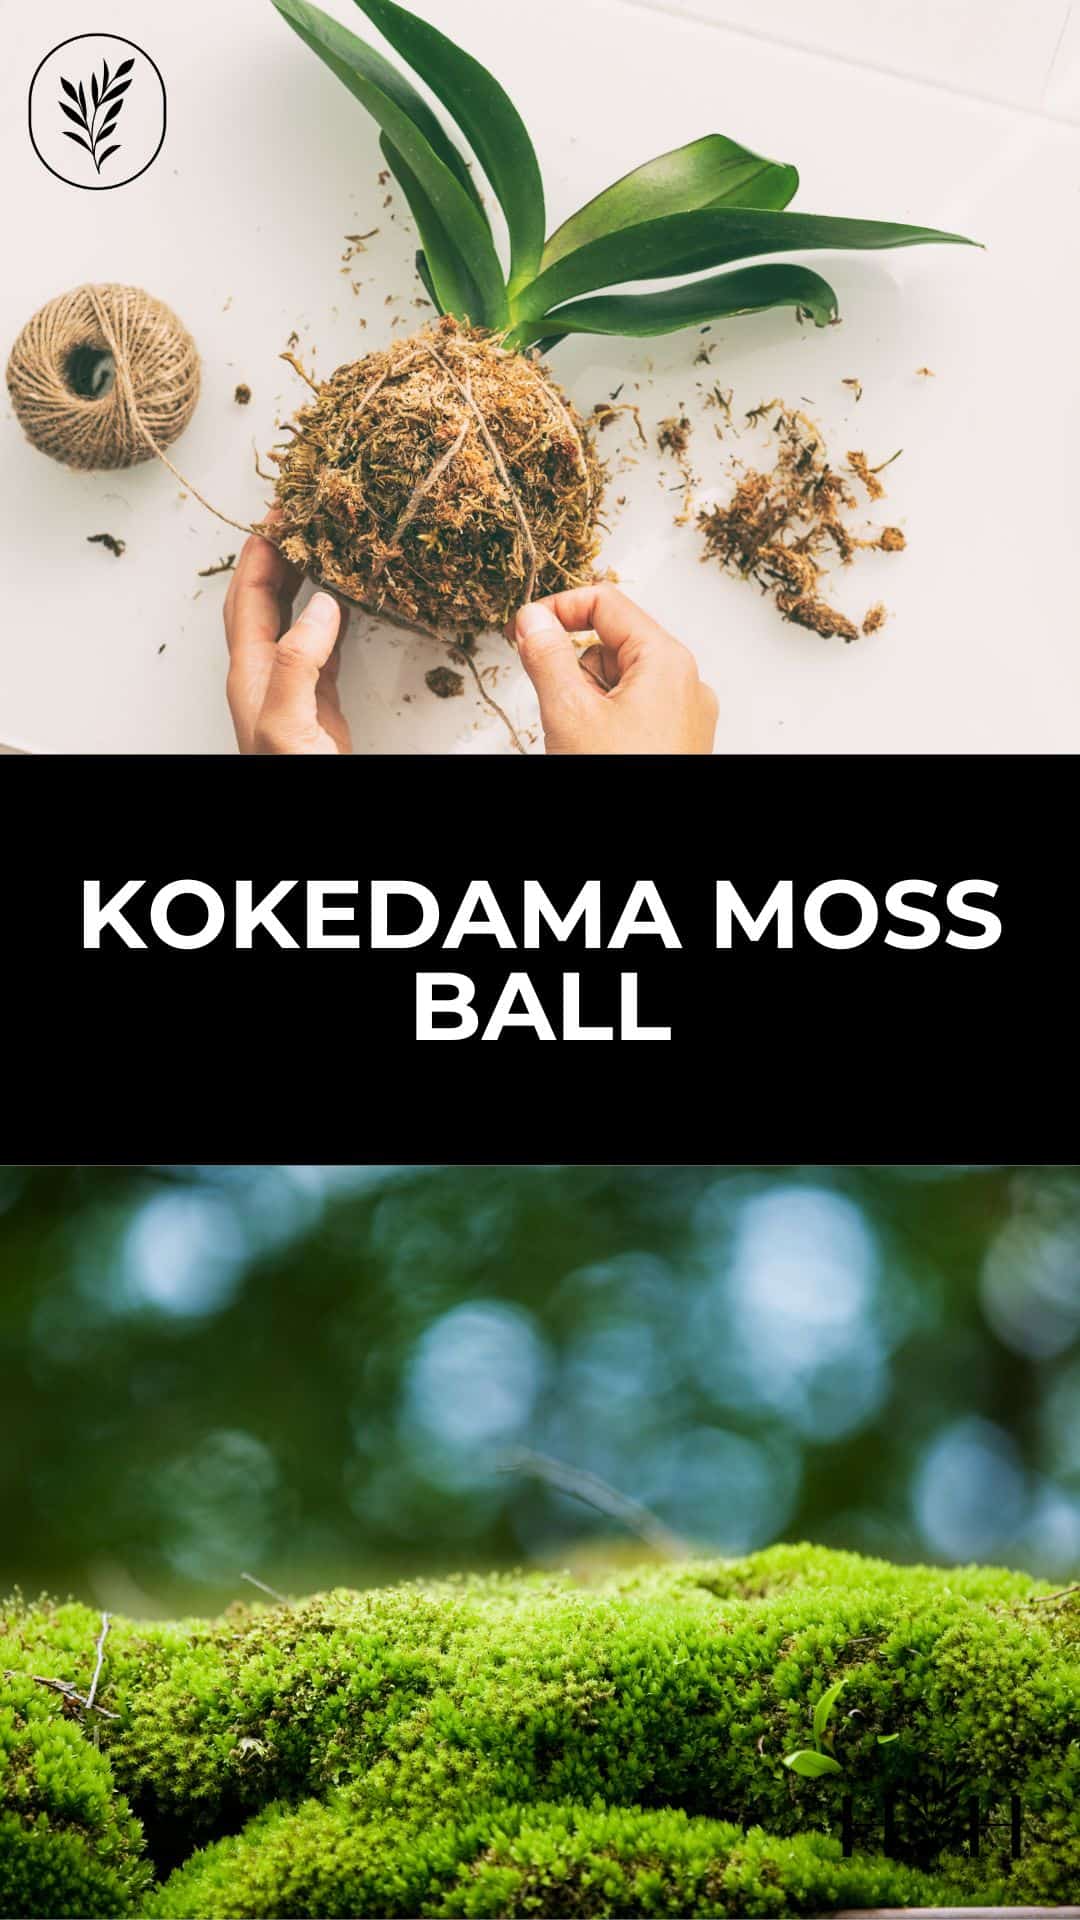
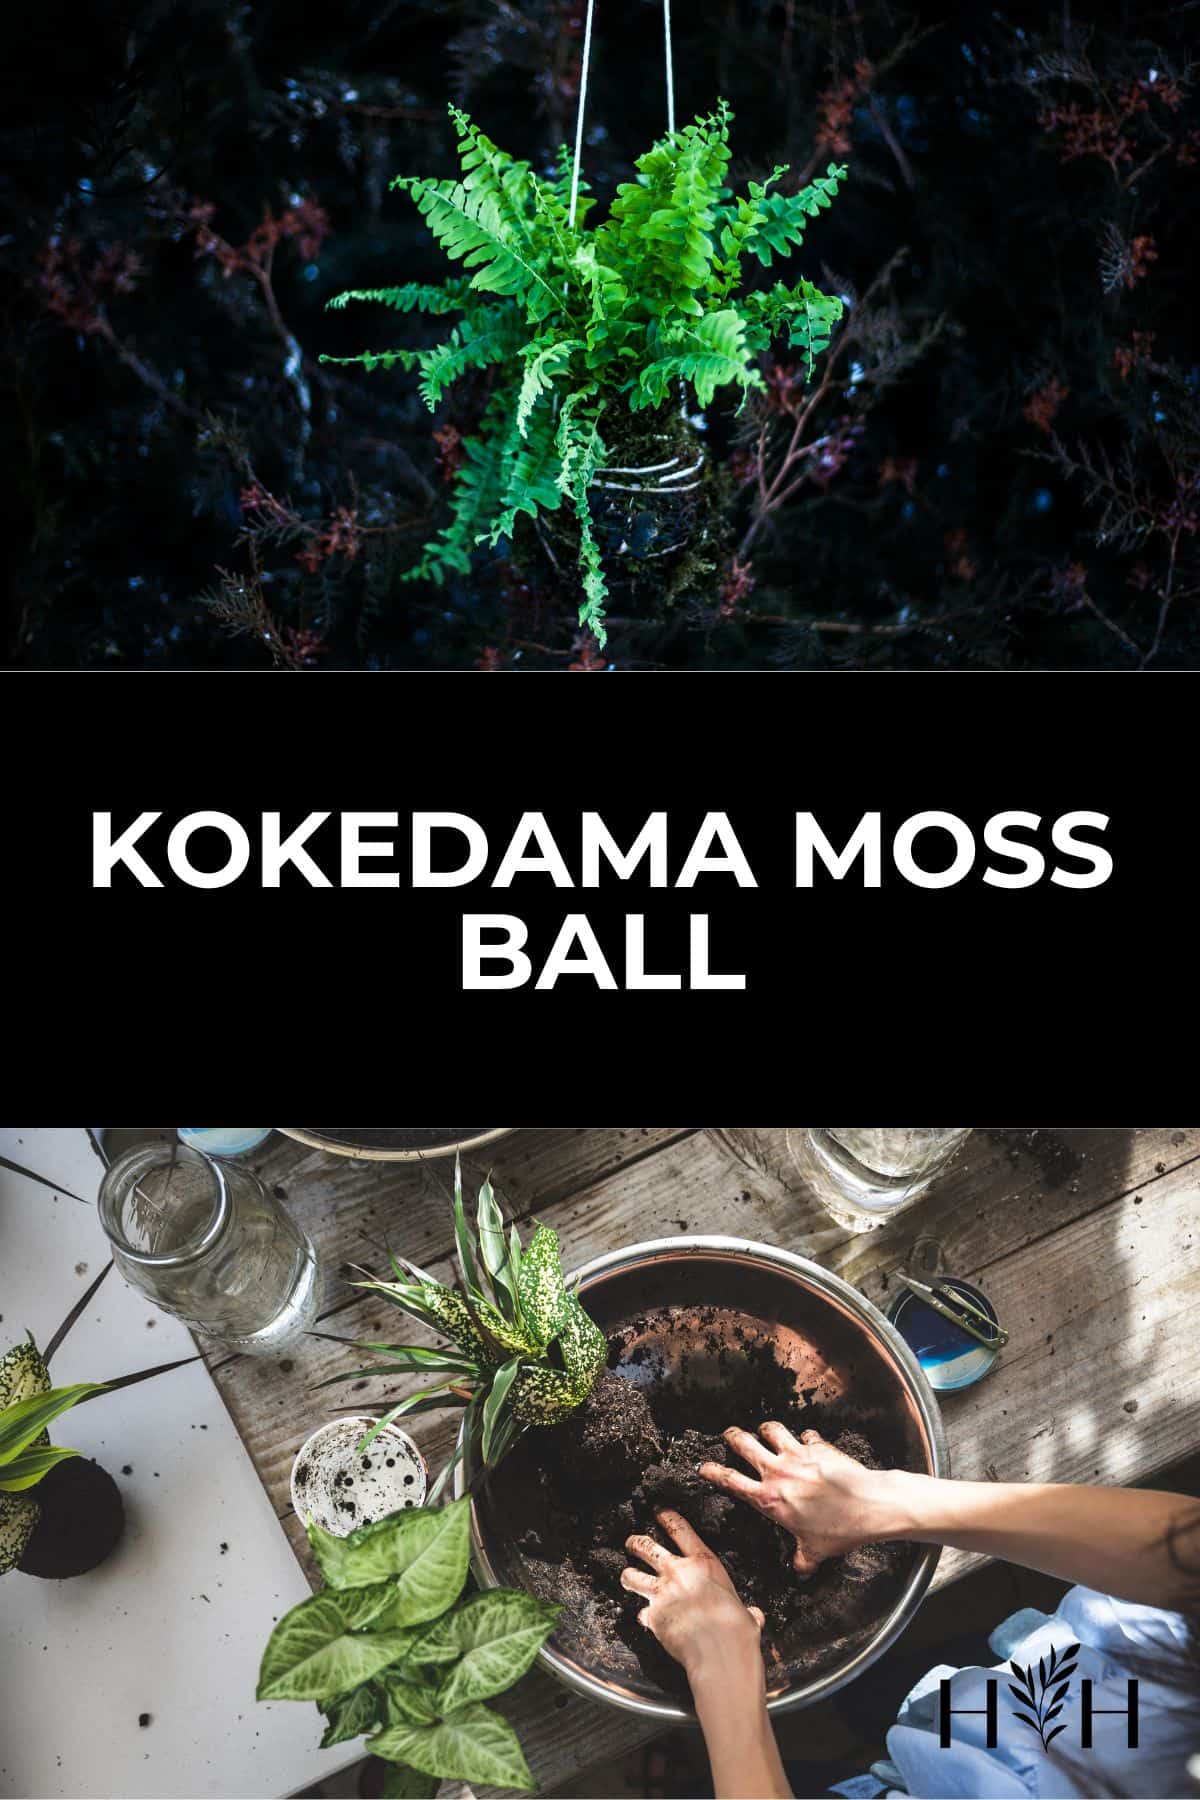
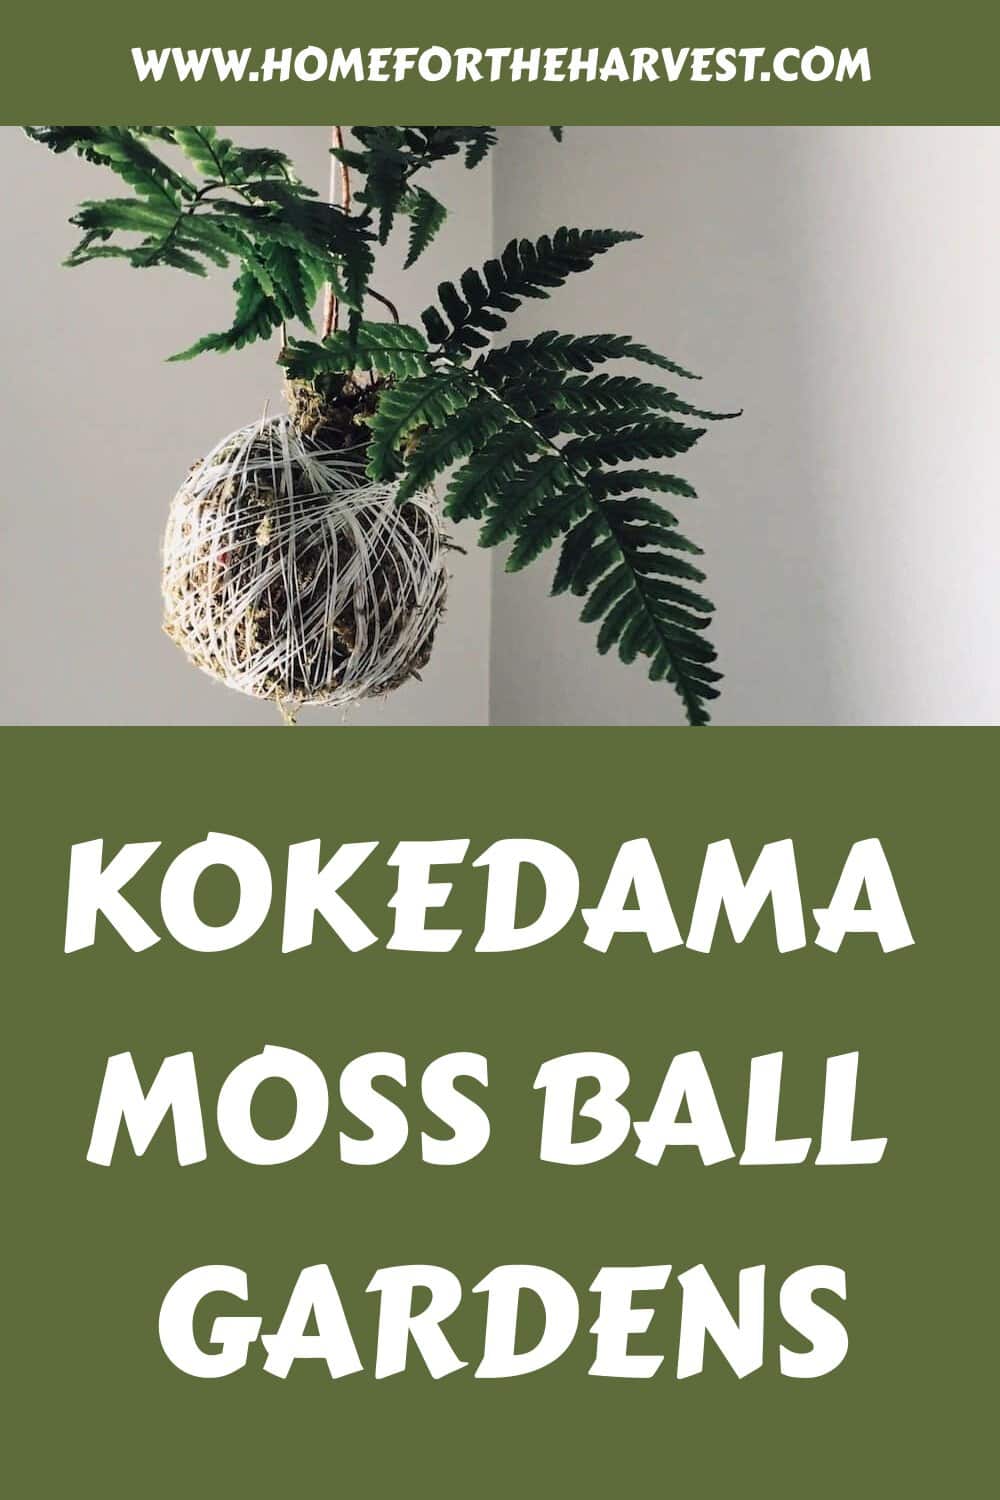
Kokedama moss ball string gardens are a whimsical way to bring greenery into your home. These adorable little plant friends will cheer you up in the middle of winter or bring you a bit of nature in the heart of the city! This tutorial shows how to make kokedama moss ball string gardens.
DIY kokedama moss ball string gardens
Kokedama (translation “moss ball”) is a gardening technique based on Japanese bonsai practice that involves wrapping plant roots with soil, moss, and then string. Traditional kokedama were displayed on platforms, slabs, or driftwood. Contemporary kokedama are often hung from the ceiling as string gardens to add vertical interest to a room.
Kokedama moss ball gardens have been all over Pinterest lately (trust me, I even have an entire Kokedama Pinterest Board lol). I’ve been thinking about ways to make our home cozier and these hanging moss balls certainly do create a welcoming atmosphere.
Potting mix for this post was provided by Premier Tech, the makers of Pro-Mix.
Learning how to make kokedama moss ball string gardens
Learning how to make kokedama moss ball string gardens honestly wasn’t the easiest garden DIY I’ve ever done, but it wasn’t the most difficult either. Like so many things, it just takes patience and a willingness to adjust to unique conditions. Experiment as you go and see what works best for you.
Finding moss for a kokedama string garden
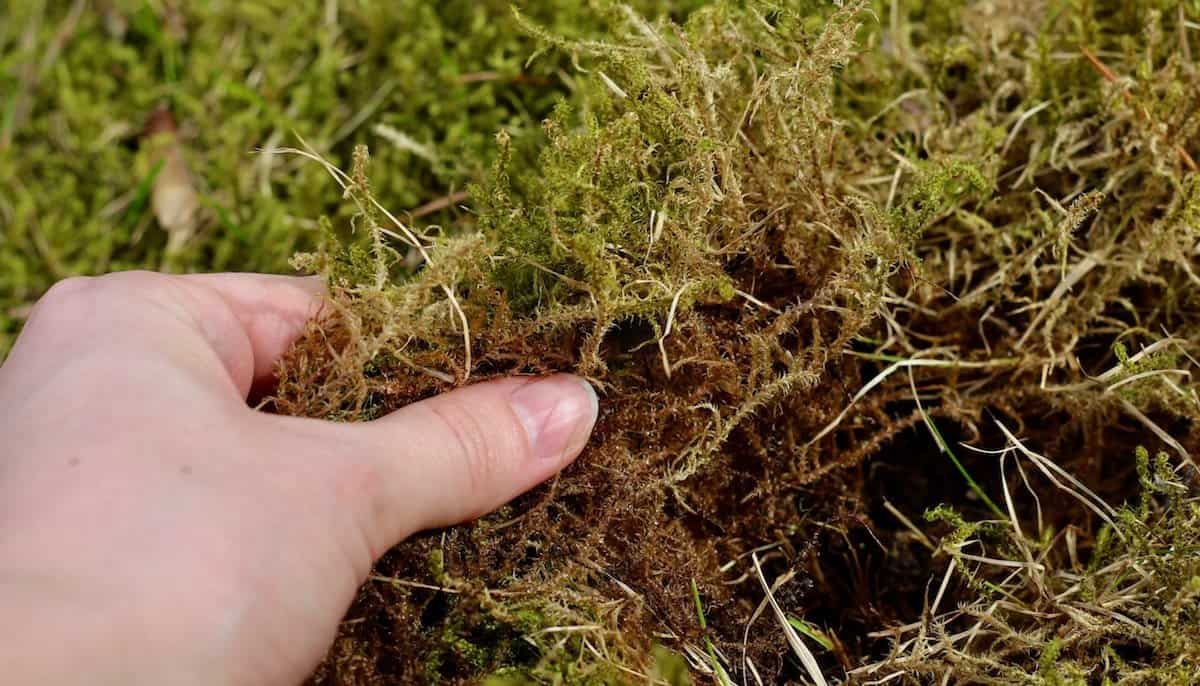
Healthy moss is perhaps the most important supply for this project! These kokedama moss ball string gardens do best with living moss rather than preserved moss. Either buy live moss or go out and collect your own local moss (check out these instructions for finding and collecting wild moss). I keep a collection of different types of lush green moss and love using it in crafts, terrariums, centerpieces, and floral displays all year long!
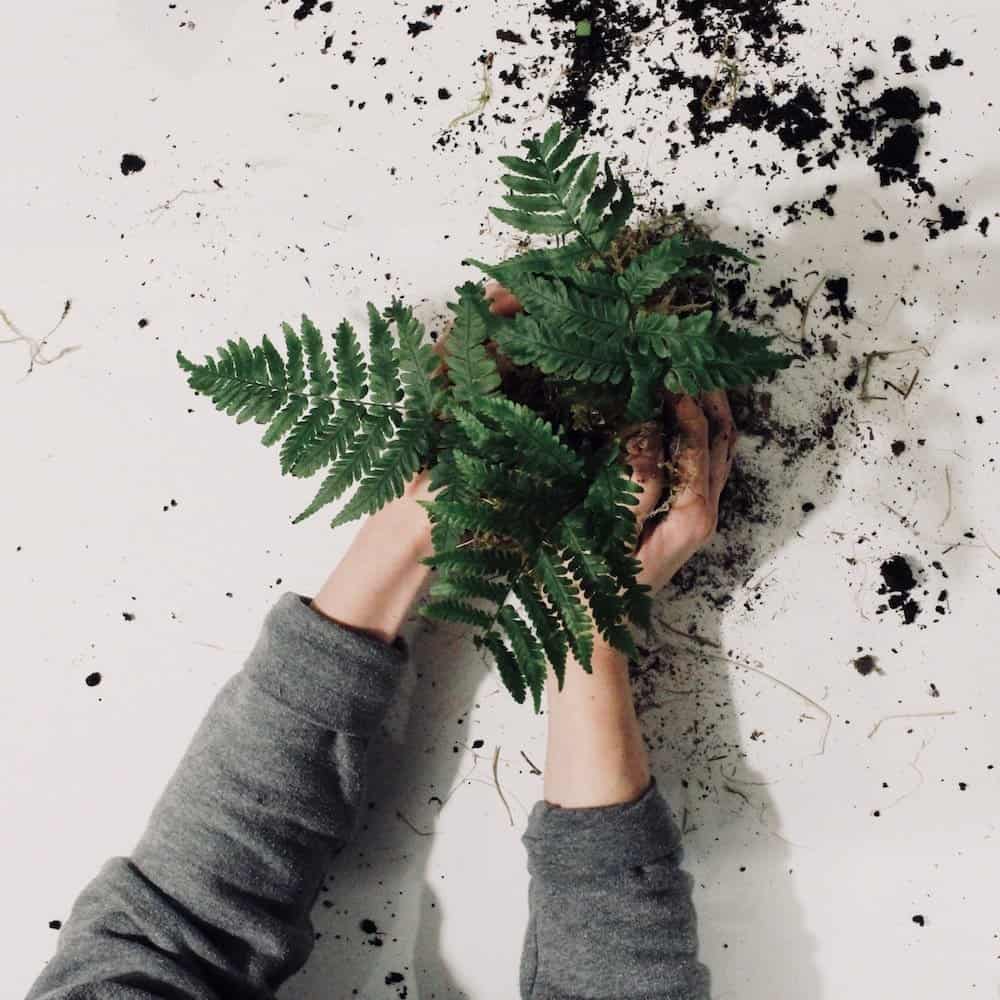
Choosing plants for your kokedama moss ball
Kokedama moss ball string gardens are best suited to plants that like the same conditions as moss – namely partial shade and moist soil. The moss will thrive in these conditions and become thick and green over time.
I like to use moisture-loving shade plants such as Boston fern, orchid, ivy, and anthurium. Shady perennials with small root systems will do well in a string garden (but perhaps avoid anything that doesn’t transplant easily). You could even go full-on bonsai and choose a healthy tree (or a herb like a rosemary that can be pruned into a tree-like shape). Succulents can also work provided they are a specialized variety that can handle moist soil and relatively low light conditions.
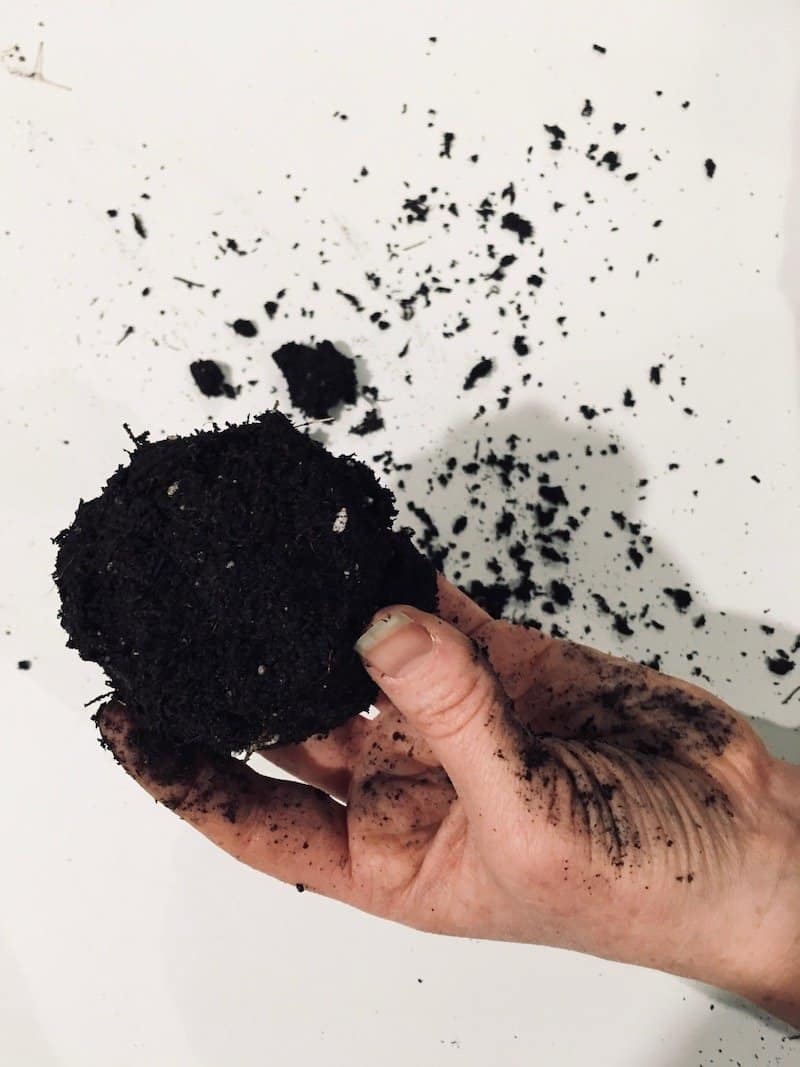
Kokedama soil mix basics
You can make your own kokedama soil mix or purchase pre-mixed kokedama soil online. There is a soil mix recipe below (just skip right to part 2 of the instructions if you purchase pre-mixed soil).
The soil mix for kokedama can include peat moss and/or coconut coir (to hold water), limestone (to balance pH), and clay (to provide essential minerals and to bind the mix together). It’s also important that the soil have small voids of air to support healthy root growth and provide drainage paths for excess water.
Traditional kokedama are made with Japanese akadama clay. It’s used because it contains a significant amount of air voids amidst the clay-like particles. It is able to hold enough moisture and nutrients for the plant while still providing air and drainage paths for excess water. Very cool!
Is akadama truly necessary for DIY kokedama soil mixtures?
Because of its special density properties, genuine akadama soil is expensive and hard to source. Akadama is found in Japan as a thin layer of volcanic soil located under the topsoil. It must be shipped from Japan, where it is produced by small-scale surface mining operations. This subsoil horizon must be carefully separated mechanically from the layers above and below it.
This selective mining process is relatively energy-intensive in comparison to bulk aggregate mining of less specialized minerals. The akadama soil is then trucked to a facility where it is dried, sorted by size, and packaged. Read more about akadama mining over at Dallas Bonsai.
I generally try to avoid hard-to-find or overly expensive gardening supplies unless they are absolutely necessary. Since these kokedama moss balls aren’t true bonsai, and since the plants we’re using do manage to grow just fine over here in Canada with our boring old clay, I opt not to use akadama. You’re certainly welcome to use akadama or bonsai soil – I just prefer to use soils that don’t have to be shipped too far if I can help it.
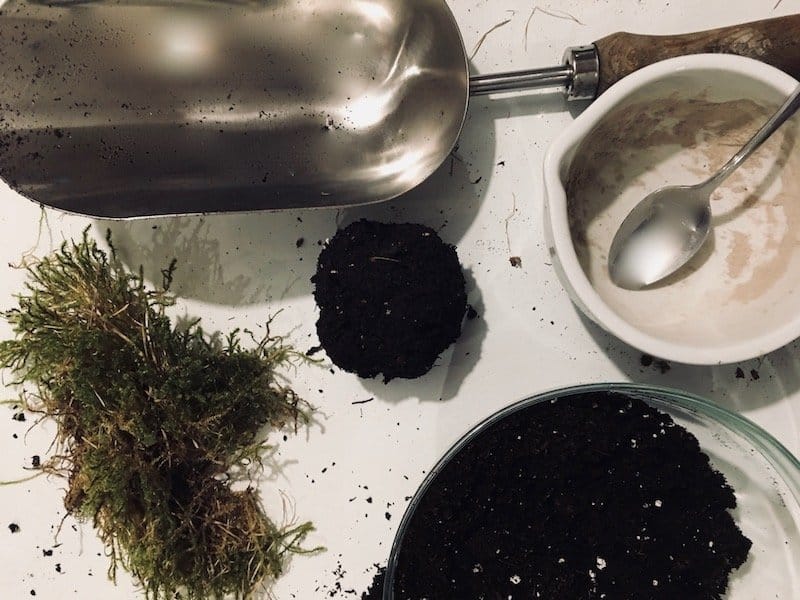
Making kokedama soil with regular potting mix and generic clay
This recipe uses a high-quality container potting mix that includes perlite to add air voids (which are mined in North America) instead of akadama. Perlite is a lightweight aggregate with a neutral pH. The air voids in perlite add aeration and drainage paths to soil to support plant roots.
Plain old clay is used to provide minerals and cohesion. If your yard isn’t already full of heavy clay, I find the powdered bentonite clay is easiest to find. You can also try kaolin clay, montmorillonite, or calcined clay (which does have some entrained air).
Choosing string for a contemporary kokedama moss ball
Once you’ve chosen your plant, moss, and soil mix, the last supply to consider is the string that binds the moss ball together. For a modern look, use clear fishing line, metal floral wire, or bright white string. For a more neutral appearance, try jute string or a natural twine. Waxed cotton cord or hemp cord can also look wonderful and is available in many different shades (check the jewelry-making section of the craft store).
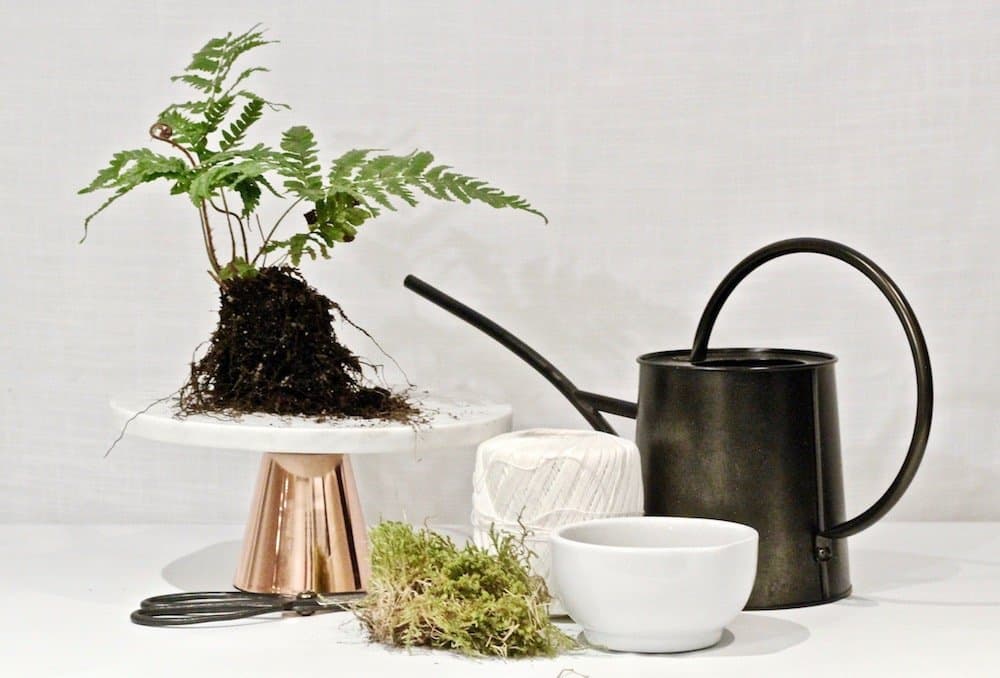
How to make kokedama moss ball string gardens
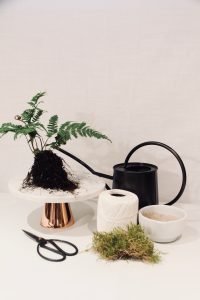
Here’s what you’ll need to make kokedama moss ball string gardens :)
Supplies for kokedama moss ball string gardens
- Organic Potting Mix
- the mix should contain peat moss with perlite
- Dry Horticultural Clay
- can also use regular pottery clay or kaolin clay
- String
- or twine, wire, fishing line
- Scissors
- Water
- Watering Can
- Small Bucket
- Garden Trowel or Soil Scoop
- Live-Harvested Moss
- Shade and Moisture Loving Plants
- such as fern, orchid, ivy, begonia
- ensure the plants have been watered recently enough that the soil around the roots is moist
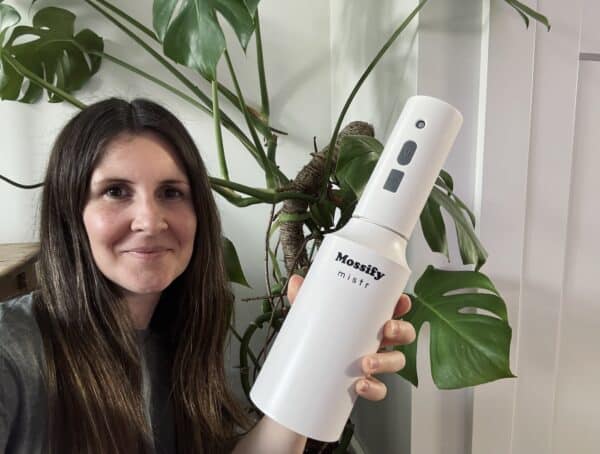
- Plant Mister or Spritzer
Recipe: How to make a kokedama soil mix
- Place some of the potting mix in a bucket. I used about 6 cups of potting soil to make 6 kokedama moss ball string gardens. This works out to about 1 cup of potting mix per kokedama. Use more potting mix if you’d like larger (or more) moss balls, or use less if you’re making fewer hanging gardens.
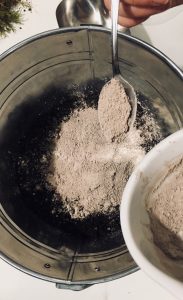
- Add approximately 1/2 cup of clay and mix well. The clay should cause the mixture to start clumping together a bit (see photos below).
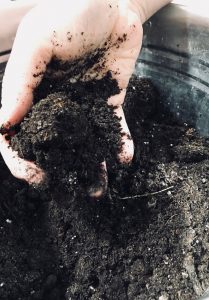
- Add 1/2 cup of water and mix well. Ensure the water and clay are being mixed uniformly into the potting mix. The soil should be well-blended.
- Continue adding clay and water bit by bit until the mixture holds together in a ball on it’s own (but isn’t so wet that it’s mucky or muddy). Different types/brands of potting soil and clay vary, so you may have to add up to a few cups of clay and water to get the ball to hold together.
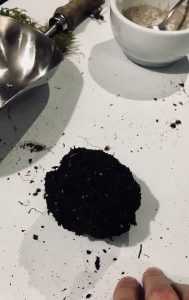
- The completed ball should hold together when placed on a flat surface. The ball should yield to pressure and crumble if squeezed. If the completed ball doesn’t at least hold together, the issue is often that the mix doesn’t have enough moisture. You can go too far with the clay and mud, so be careful to avoid:
- Too much water = mud
- Too much clay = very compact ball (not loose and fluffy)
- Once the mixture is well-blended and holds together well in a ball, the mixture is ready to make kokedama!
Tutorial: How to make a kokedama moss ball garden
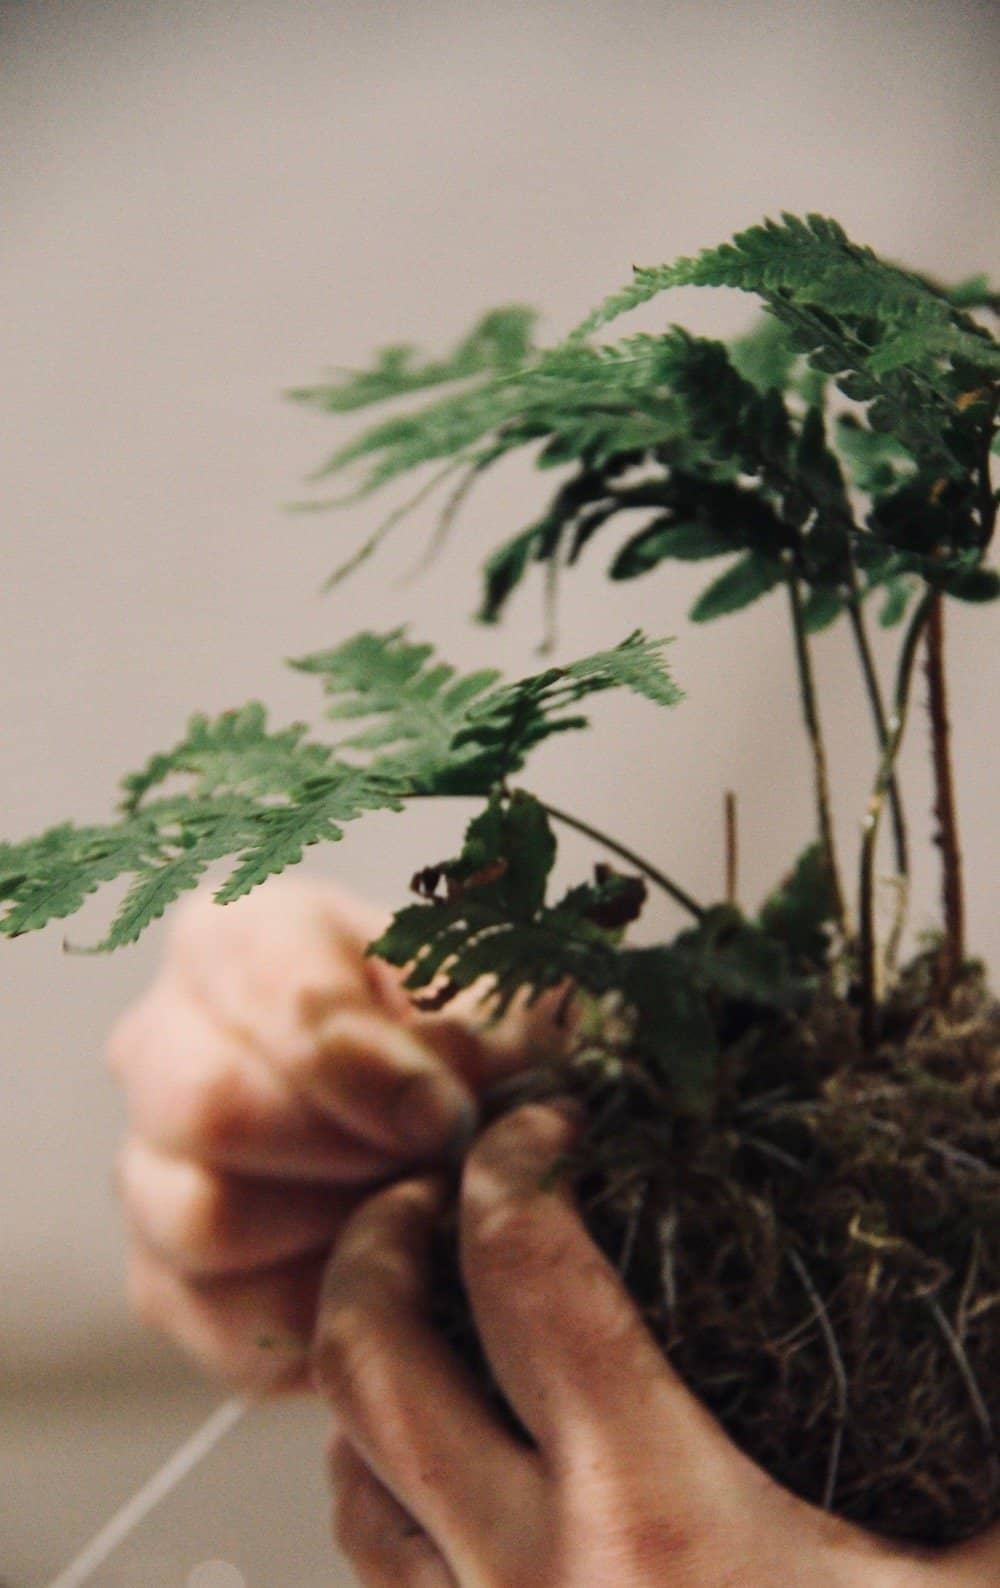
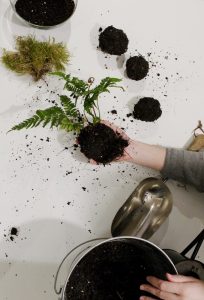
- Take the plant out of the pot and remove any loose soil from around the roots.
- Gently arrange the roots into a loose ball.
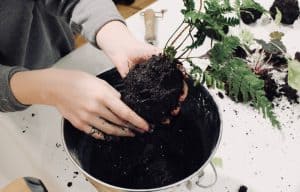
- Start packing the moist soil mixture around the roots. Keep adding the mixture to form a ball around the roots. If it is a bit crumbly, that is ok. As long as it is generally in the shape of a ball, it is ok if there are a few cracks. There needs to be some air voids in the soil ball to encourage root growth, so don’t try to overly compress the ball. Set the ball aside.
- If you’re really struggling with the mix and just can’t get it to hold together at all, wrap and fasten a thin cheesecloth around the ball to hold everything in place. It’s a bit of a cheat but it works.
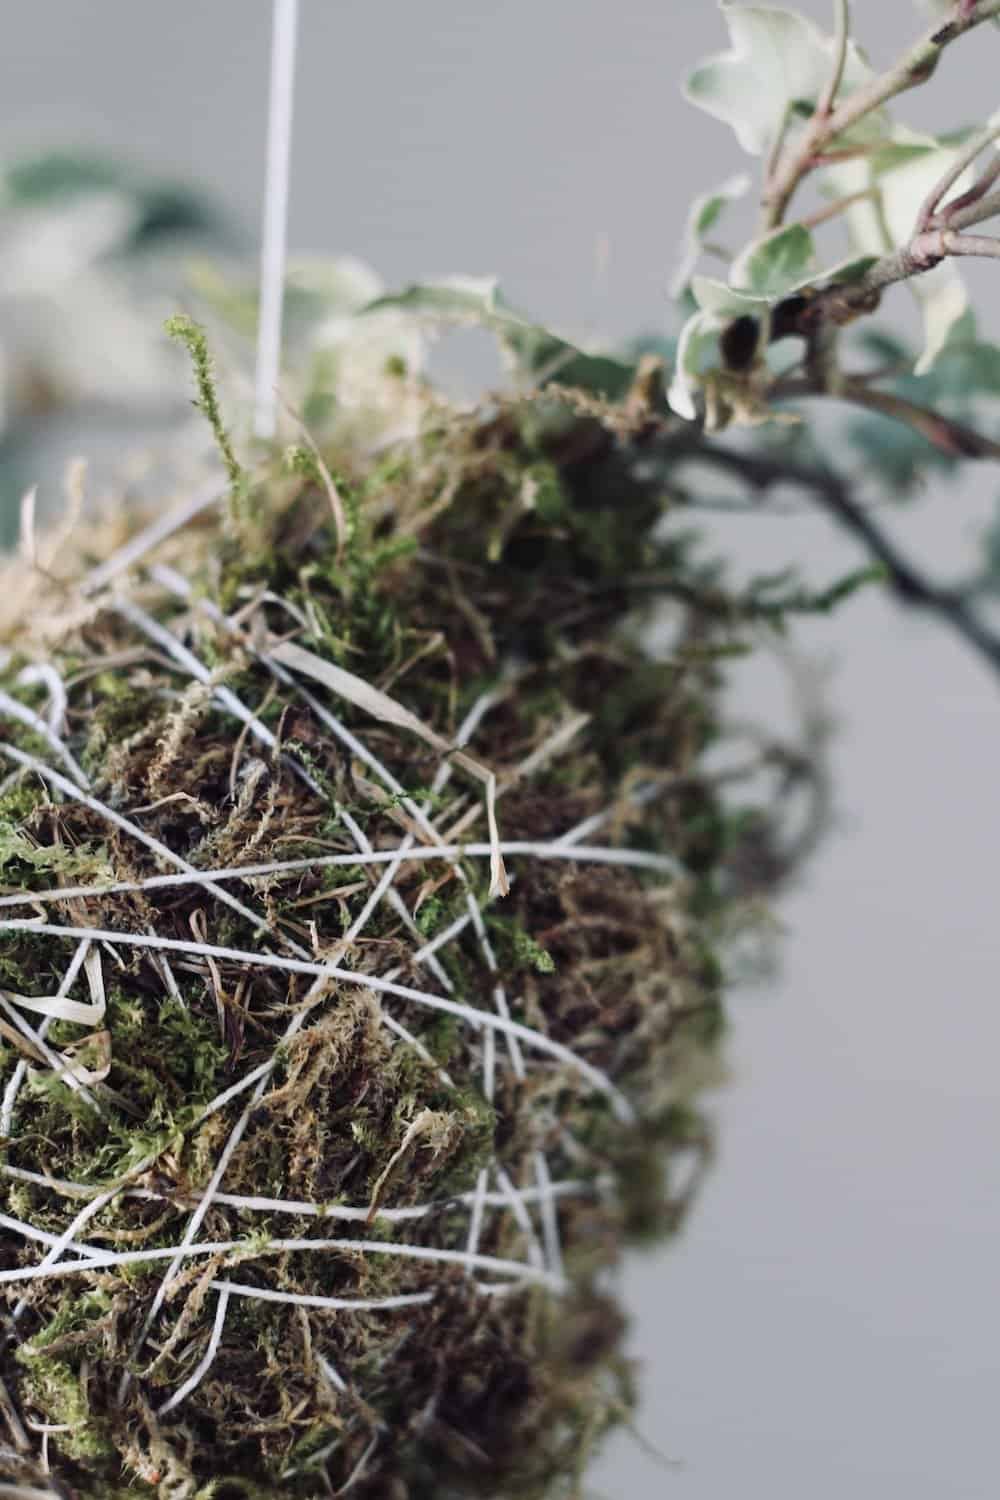
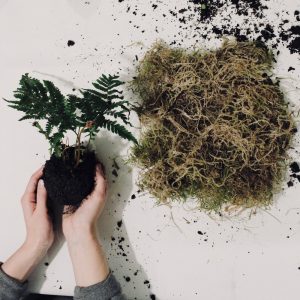
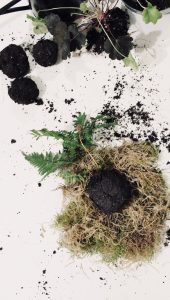
- Arrange the moss into a blanket for the soil ball (see photos below). The moss blanket should be about 1″ (3 cm) thick and shouldn’t have holes or bare patches (seams between pieces of moss are totally ok!).
- Place the soil ball onto the moss bed.
- Gently wrap the moss sheet around the ball of soil and up to the base of the plant.
- Wrap the string around the kokedama moss ball once and tie it to fasten the string onto the ball.
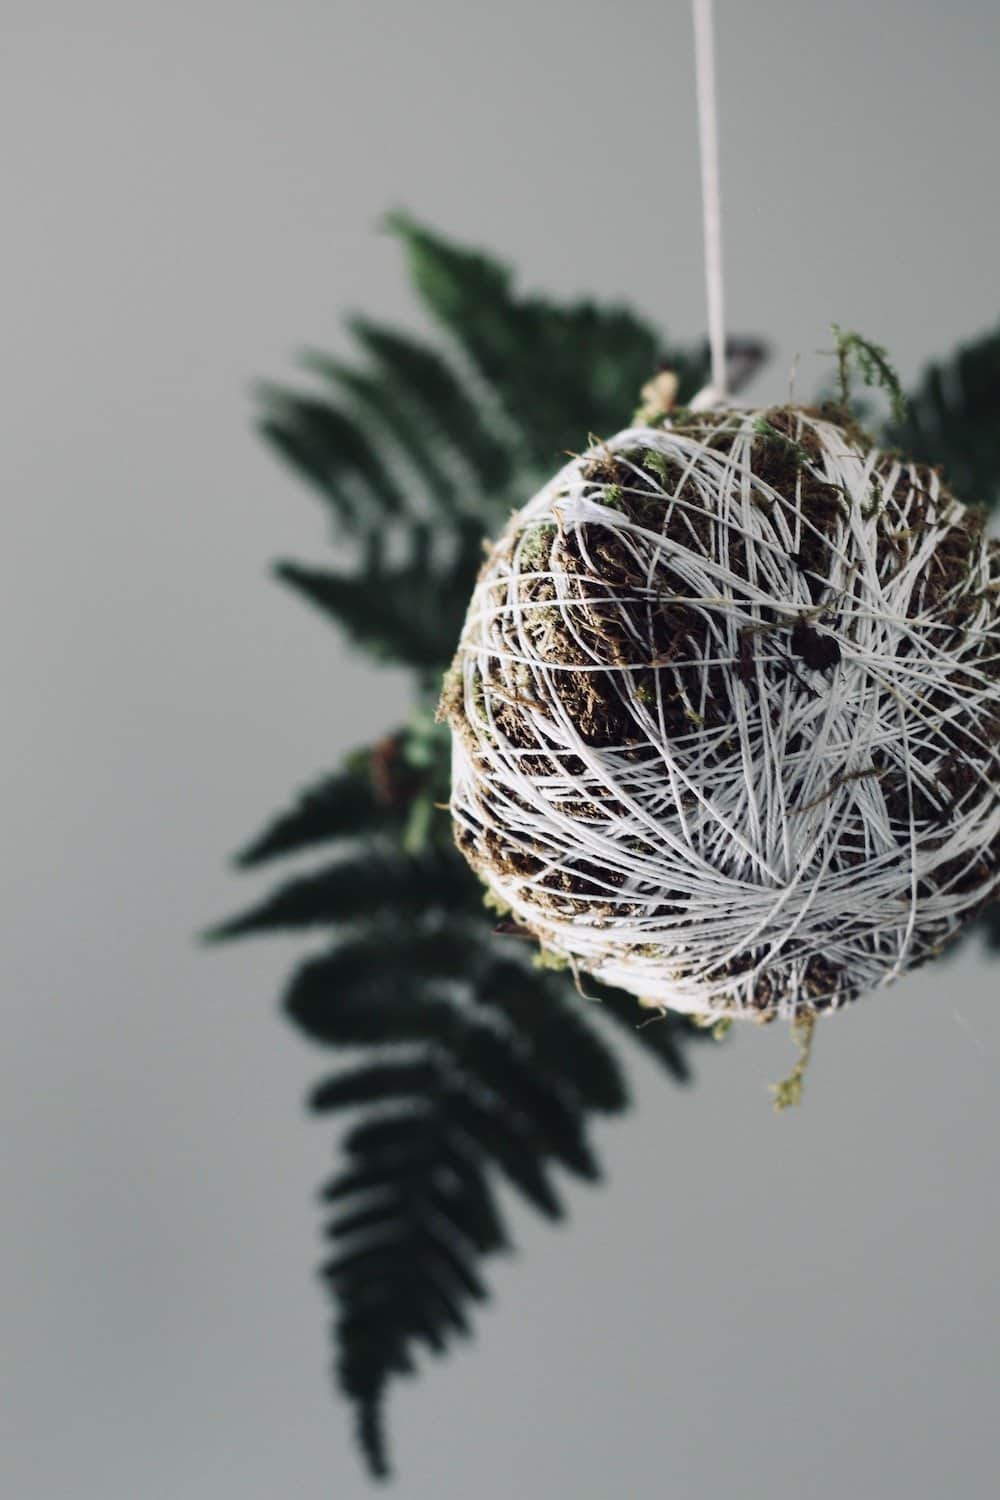
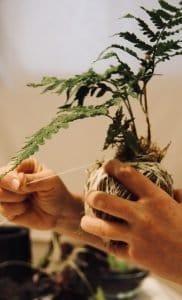
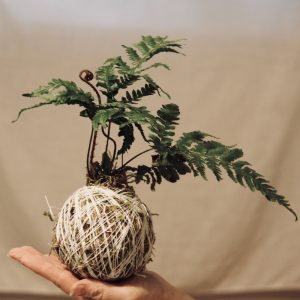
- Once the string is fastened, wrap the string around and around the ball until the moss stays in place. You can use random wraps or use a fancy pattern like a centre pull ball of yarn (ask a knitter friend). Try different wrap patterns with the string to see what works!
- Once the moss is secured to the ball and the string pattern is complete, tie off the string so that it doesn’t unwind. Cut off the excess string, leaving quite a long tail to hang up the kokedama. I like to leave the string at least twice as long as I think I’ll need.
- Hang up your kokedama! I used small command hooks to hang mine above my bathtub. If the kokedama moss ball is hanging crooked (and you don’t like that), tie the loose end of the long tail string onto the other side of the top of the moss ball to create a hanging loop rather than a single hanging string.
Photos of the process are shown below. Read on for how to care for your DIY kokedama moss ball string garden!

Next level kokedama moss ball string gardens
- Make a few kokedama with different plants and hang them from pulleys or rungs of a ladder to create a plant chandelier or living art installation.
- Take your kokedama moss balls outside in frost-free weather and let them enjoy the outdoor shade of the potting shed or tree canopy.
- Seed the outside of the inner soil ball with grass seed, clover, or another green ground cover for another layer of greenery on your kokedama.
- Consider combining different kinds of moss to create a sea of green.
- Make kokedama every fall from the shade-loving perennials that go on sale at seasonal garden centers. Enjoy them indoors in a little string garden nursery for about a year. Plant them out into the garden once the heat of summer is over and transplanting conditions are optimal. Then repeat the process when the next batch of baby perennials goes on sale at the garden center!
For more kokedama ideas, check out these wonderful books:
- Hanging Kokedama: Creating Potless Plants for the Home, by Coraleigh Parker
- Kokedama: A Step-by-Step Guide, by Takaaki Kagawa
- Moss Ball Bonsai: 100 Beautiful Kokedama That are Fun to Create, by Satoshi Sunamori
- Terrariums & Kokedama, by Alyson Mowat
Caring for your kokedama moss ball
Mist the kokedama moss ball regularly with a plant mister or gentle sprayer. Aim to imitate the morning dew. When the moss ball feels lighter than usual, that’s a good clue that it needs to be deeply watered. Submerge the moss ball in non-chlorinated water for about five minutes (I do this about once a week).
Check the twine periodically to ensure it is still secure and not rotting out. It may need to be replaced if it appears to be deteriorating. This is also a good opportunity to inspect the plant for health and any signs of stress.
Remove any dead, damaged, or diseased foliage observed on the kokedama. Take note of the color and general health of the moss, as well as the plant itself. If stressed, the plant may require more light, nutrients, water, or even soil porosity. Start by ensuring the plant has adequate light and water before moving on to feeding the plant and/or repotting it.
If the roots begin to show and grow over the moss, then it’s definitely time to re-pot the plant into a proper container or out into the garden. These aren’t true bonsai, so they’re not intended to stay small over the years. I plan to keep mine for a year, planting them out in the garden once they’ve outgrown their moss balls. Then it will be time to make new kokedama moss balls!
