Do you want to learn how to harden off seedlings for a successful garden? Harden off seedlings properly and your plants will be able to survive the outdoors with ease.
Hardening off seedlings is a 1-2 week process in which baby plants grown indoors are gently exposed to small amounts of stress to prepare them for permanent outdoor planting. Also called “conditioning” transplants, this usually includes exposing the plants to lower temperatures, brighter outdoor light, a bit of wind, and lightly restricting water and fertilizer. Most growers start by placing the seedlings outdoors for a few hours in the shade, and work up to a whole day in the sunlight.
In this blog post, we’ll explore what exactly is involved in hardening off seedlings, from preparing your plants all the way through planting outdoors. So if you’re ready for success in gardening, let’s get started.
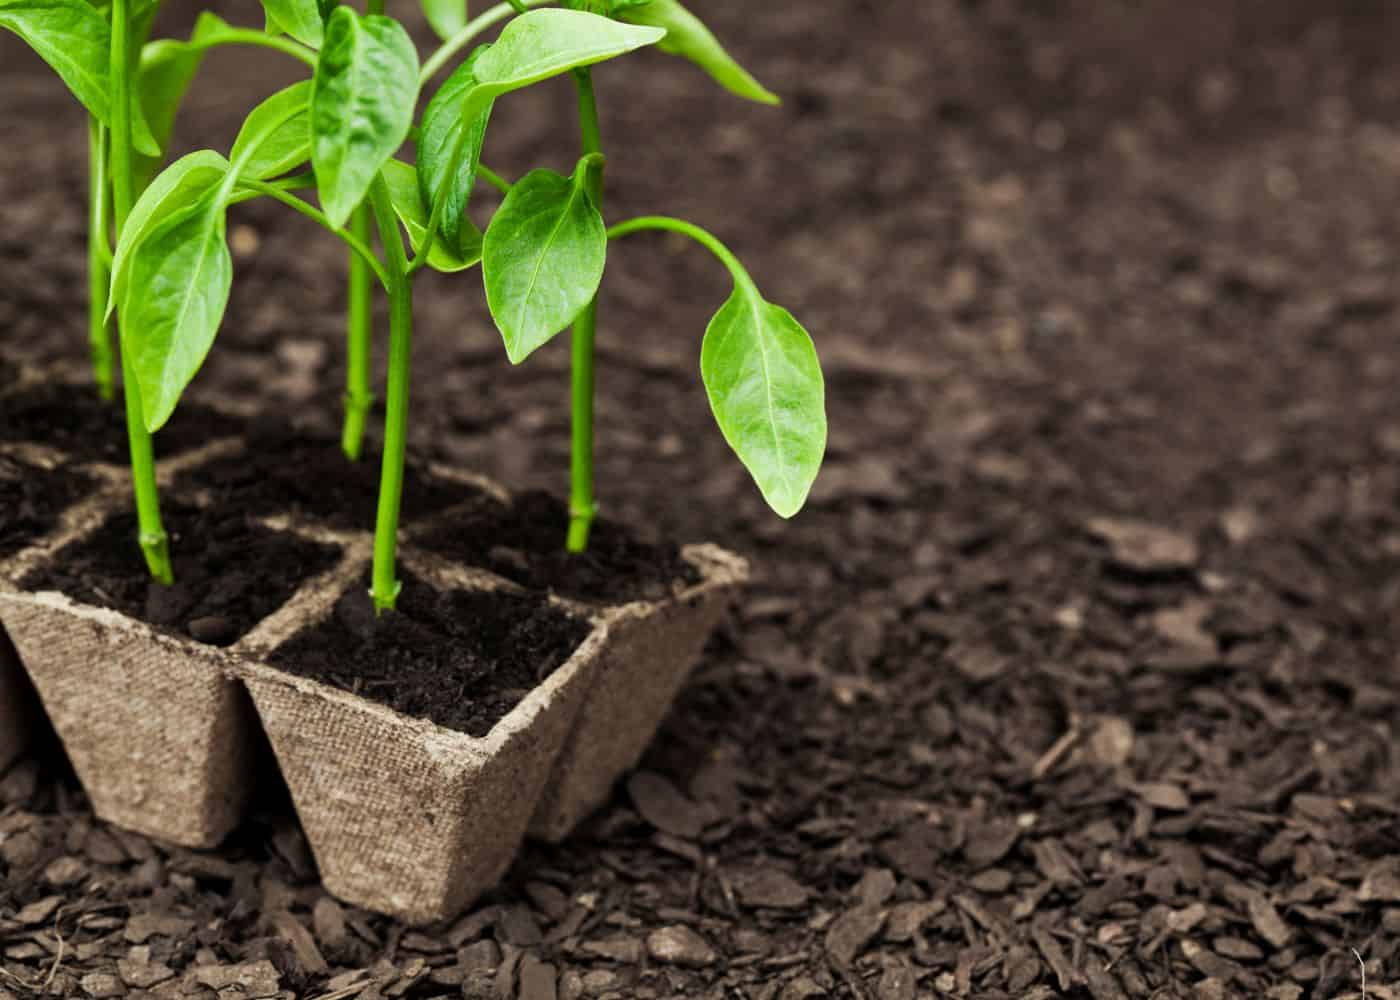
The process of hardening off seedlings
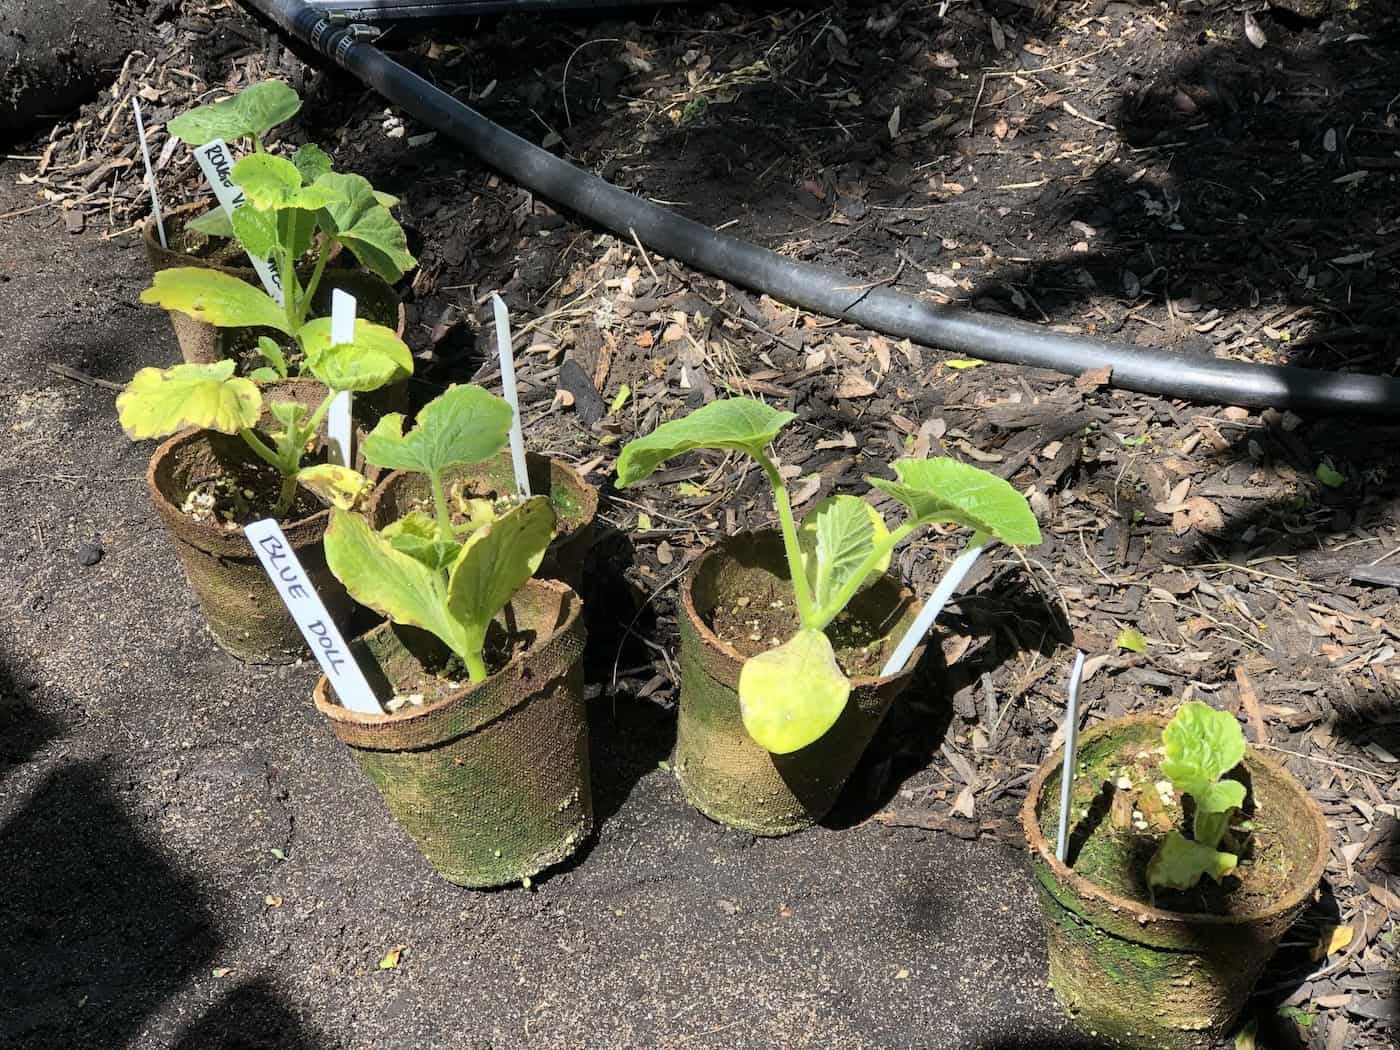
Hardening off seedlings prepares the baby plants for the stress conditions of the outdoor garden. The indoor-grown seedlings go outdoors into a sheltered spot for a short time each day to help them acclimate to the conditions they will soon be experiencing 24/7.
Gradually reducing water supply is the first step in the process. This means that you should start by giving your plants a little less water each day until they’re used to their new environment. Next, expose them to lower temperatures than what they were used to indoors; about 10 degrees F below the indoor temperature is usually sufficient for most plants. This usually also includes a bit of wind and brighter outdoor light. Finally, hold back on fertilizer during this initial hardening off period so as not to shock your seedlings with too much nutrients all at once.
It’s important not to impose conditions that are too harsh or extreme on your seedlings as this can stunt their growth and development significantly and cause them long-term damage, like having a kid go through puberty before they’re ready. As temperatures become uncomfortable for you, it’s likely they will be too extreme for your seedlings as well; therefore, monitor their progress and adjust accordingly. So make sure you keep an eye out and adjust accordingly depending on how quickly (or slowly) things seem to be progressing outdoors.
Before attempting to harden off seedlings, it is critical to comprehend the process in order to ensure their acclimation and preparedness for transplanting. Preparing your seedlings correctly is a key step in ensuring successful growth and development once they have been transplanted outdoors.
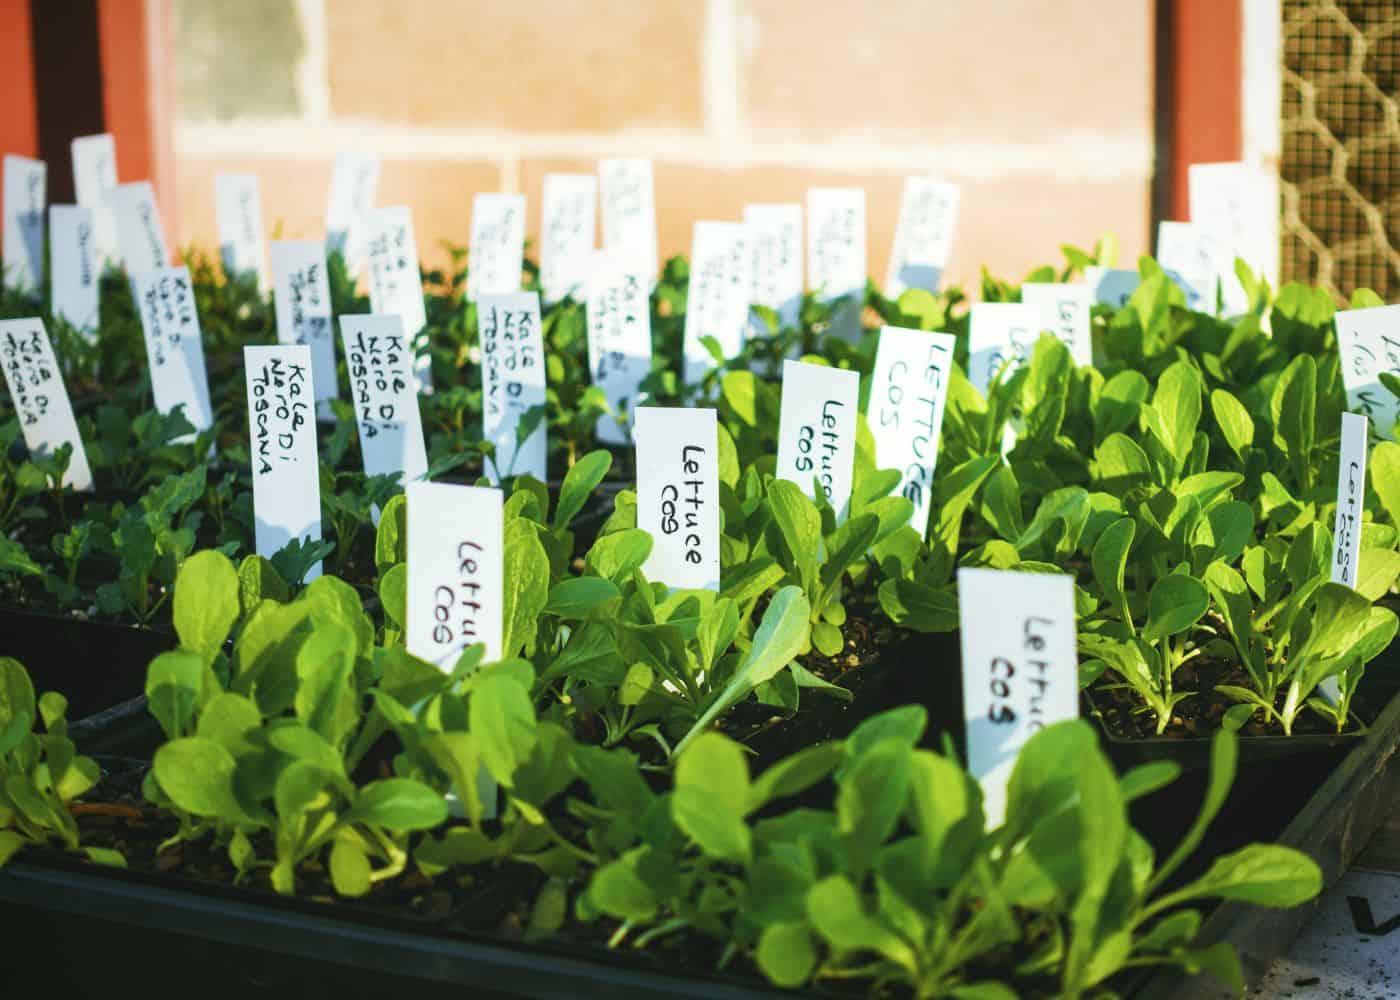
Prepare your seedlings
You don’t need to prep your seedlings for hardening off, but it can help. I like to find carrying trays so that it’s easier to take multiple seedlings outdoors at once. Group similar seedlings together (or at least try and keep the cool season ones separate from the warm season ones.).
Start the hardening off process slowly
Starting slowly is the key to successful gardening. This means introducing your seedlings to outdoor conditions gradually over a period of about a week.
Familiarize yourself with the regional weather. If you’re in an area with intense sunlight, for example, you may need to provide shade or protection from strong winds. Knowing these details will help you create the right environment for your plants as they transition outdoors.
Next, start by taking your seedlings outside for a couple of hours during the middle of the day, but bring them back inside at night until they become accustomed to their new environment. It usually makes sense to keep them in the shade too for the first few days. Look for a sheltered spot and don’t leave them outside for more than a couple hours at first.
When doing this, keep an eye on temperature fluctuations and make sure they aren’t exposed to too much heat or cold all at once. Over time increase their exposure until they can handle full sun and regular temperatures without wilting or burning out.
You should also pay attention to soil moisture levels when transitioning seedlings outdoors so that roots don’t dry out too quickly due to sudden changes in humidity levels or direct sun exposure before being fully established in the ground. Again, a sheltered, shaded location can help with this.
Starting off slowly is important to ensure that your seedlings are given enough time to adjust before being exposed to harsher conditions. Monitoring the conditions of the environment and adjusting accordingly will help you provide a safe and comfortable home for your plants as they continue their growth journey.
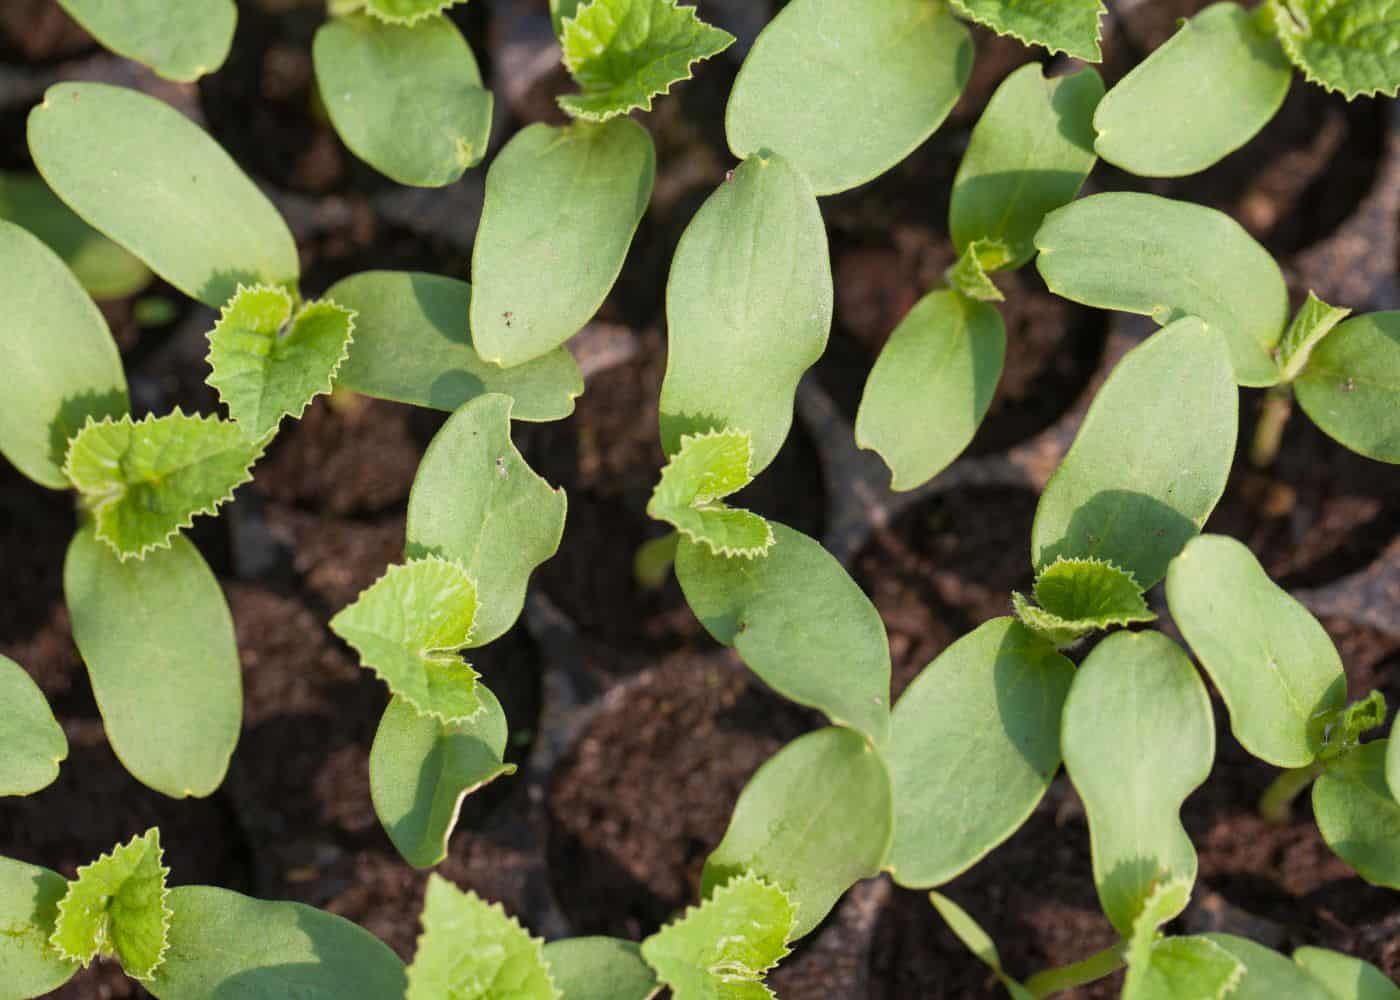
Step up the stress conditions
Once your seedlings have been outdoors each day for about a week, its time to step up the conditions. You’ve probably already tried giving the plants a bit of direct sunlight, and so now its time to let them have more direct sunlight. You can also place them in a less-sheltered location where they are more exposed to wind.
While getting them used to a bit of water stress is good too, don’t let the plants wilt completely or let their soil dry out totally. This can have a detrimental long-term effect.
You’ll also want to increase the time the seedlings are outdoors. Leave them out all day, and eventually move to leave them outdoors during the nighttime too, ideally in a covered, sheltered outdoor spot like a porch.
Monitor outdoor conditions
Keeping tabs on the state of your sprouts is critical for them to prosper. Checking the atmosphere is a must for successful gardening, as it can have an immense impact on plants.
First off, temperature is key. If it’s too hot or cold for your seedlings they won’t grow as expected. Monitor the temperature closely, both during the day and at night, to ensure your plants are in an optimal range. A useful suggestion is to keep your veggies at a temperature of 70-80°F in the daytime and 60-70°F during nighttime – but be sure to double-check for particular directions for each plant you grow.
Humidity also plays a role in successful gardening. Most vegetables prefer higher levels (around 50%), while some may require more or less depending on their needs. Investing in a hygrometer can help you track this factor over time so you know when it’s time to mist or add additional moisture sources like trays filled with pebbles and water around your plants’ roots.
Light is another crucial component when it comes to growing healthy veggies—too little light will stunt growth while too much sun can cause leaves to burn up. Aim for 6-8 hours per day if possible; use curtains or blinds if necessary for extra protection from direct sunlight during peak hours (usually midday). And don’t forget about air circulation—plants need fresh air just like us humans do. Make sure there’s enough space between rows/containers so that breeze can flow through easily without getting blocked by foliage blocking airflow paths around the garden area.
Plant outdoors
When you’re ready to plant your seedlings outdoors, make sure you have a plan. It can be helpful to sketch out the garden area and mark where each type of plant will go. This way, you won’t accidentally overcrowd or misplace them when it comes time for transplanting.
Prior to planting, inspect the temperature of the dirt where you’re intending to place your plants. The ideal range is between 60°F and 65°F (15°C-18°C). If it’s too cold or too hot, wait until conditions are more favorable before proceeding with transplanting.
Next, prepare the soil by digging holes that are twice as wide as each seedling’s root ball but just deep enough so that its roots will fit comfortably without being squashed down at the bottom of a deep hole. When filling back in around each seedling after planting it out into its new home, use compost if available—it helps provide nutrients for healthy growth and prevents weeds from taking over.
Once planted out into their permanent outdoor locations, give your seedlings some extra TLC. Fertilize them with a liquid fertilizer soon after transplanting, water deeply every few days during dry spells; mulch around them; keep an eye on any pests or diseases that may arise; stake tall varieties like tomatoes if necessary; prune off dead leaves and flowers regularly; and apply fertilizer every couple weeks according to package instructions.
FAQs about hardening off seedlings
What is the best way to harden off seedlings?
The best way to harden off seedlings is by gradually exposing them to outdoor conditions over the course of several days. Start by placing the seedlings in a sheltered spot outdoors for 1-2 hours each day, then slowly increase the duration and exposure to direct sunlight and wind. Make sure that you monitor temperature changes carefully as well, so your plants don’t experience too much shock or stress. With patience and diligence, your seedlings will be ready for transplanting into their permanent home soon.
How big do seedlings need to be before hardening off?
Seedlings are usually at least 4-6 inches tall before they can be hardened off. The process of hardening off should be done gradually, so the seedling can adjust without any distress or harm. Start by placing them outside for a few hours each day and increasing their exposure time over several days until they are able to stay out overnight. Once the seedlings are able to withstand outdoor conditions, they can be planted in their permanent location.
Do you really need to harden off seedlings?
You don’t strictly need to, but it certainly helps with the plant’s performance in the outdoor garden after transplanting. This process helps the plants adjust to outdoor temperatures and sunlight levels before being transplanted into a garden or larger container. It also reduces transplant shock and increases the chances of successful growth for your seedlings.
Before you go…
With a bit of preparation and patience, hardening off seedlings can be an easy process. Starting slowly with just a few hours each day helps your plants adjust to the outdoor conditions without suffering from shock or damage. Monitor temperatures and soil moisture levels throughout the process so you know when it’s safe to plant outdoors for maximum success.
Resources
- How to prune rosemary?: A herb gardener’s guide
- How to transplant seedlings
- Transplanting vegetables
- When to harvest sunflower seeds
- What seeds to start indoors
References
- University of Maryland: Hardening Off Vegetable Seedlings for the Home Garden
- University of Illinois: Hardening Off Indoor Seedlings
- Edmonton Journal: Growing Things
- The Guardian: Outside chance
Hardening off the seedlings
Taking care of your garden is the best thing to do! Knowing the perfect tips and tricks to ensure your garden is at its best, can all be done by reading these articles!


