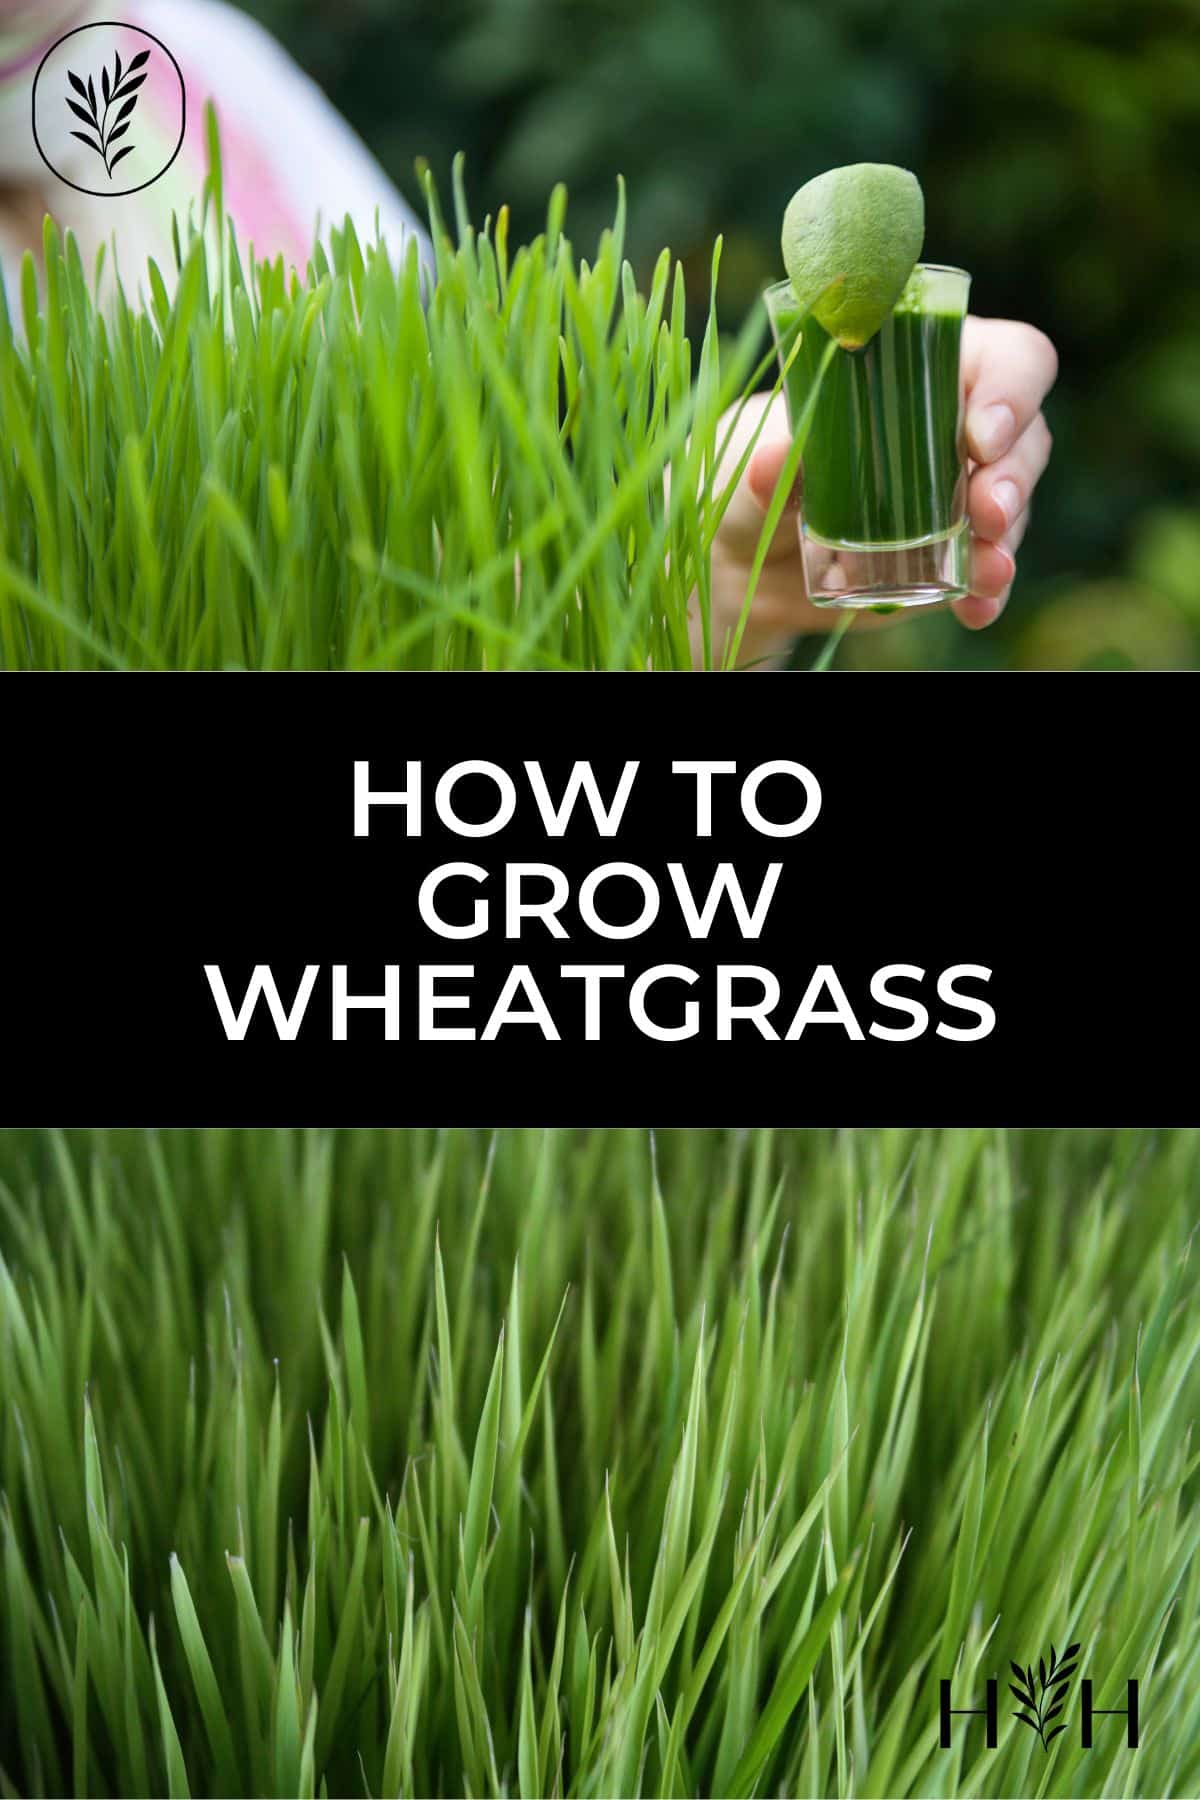
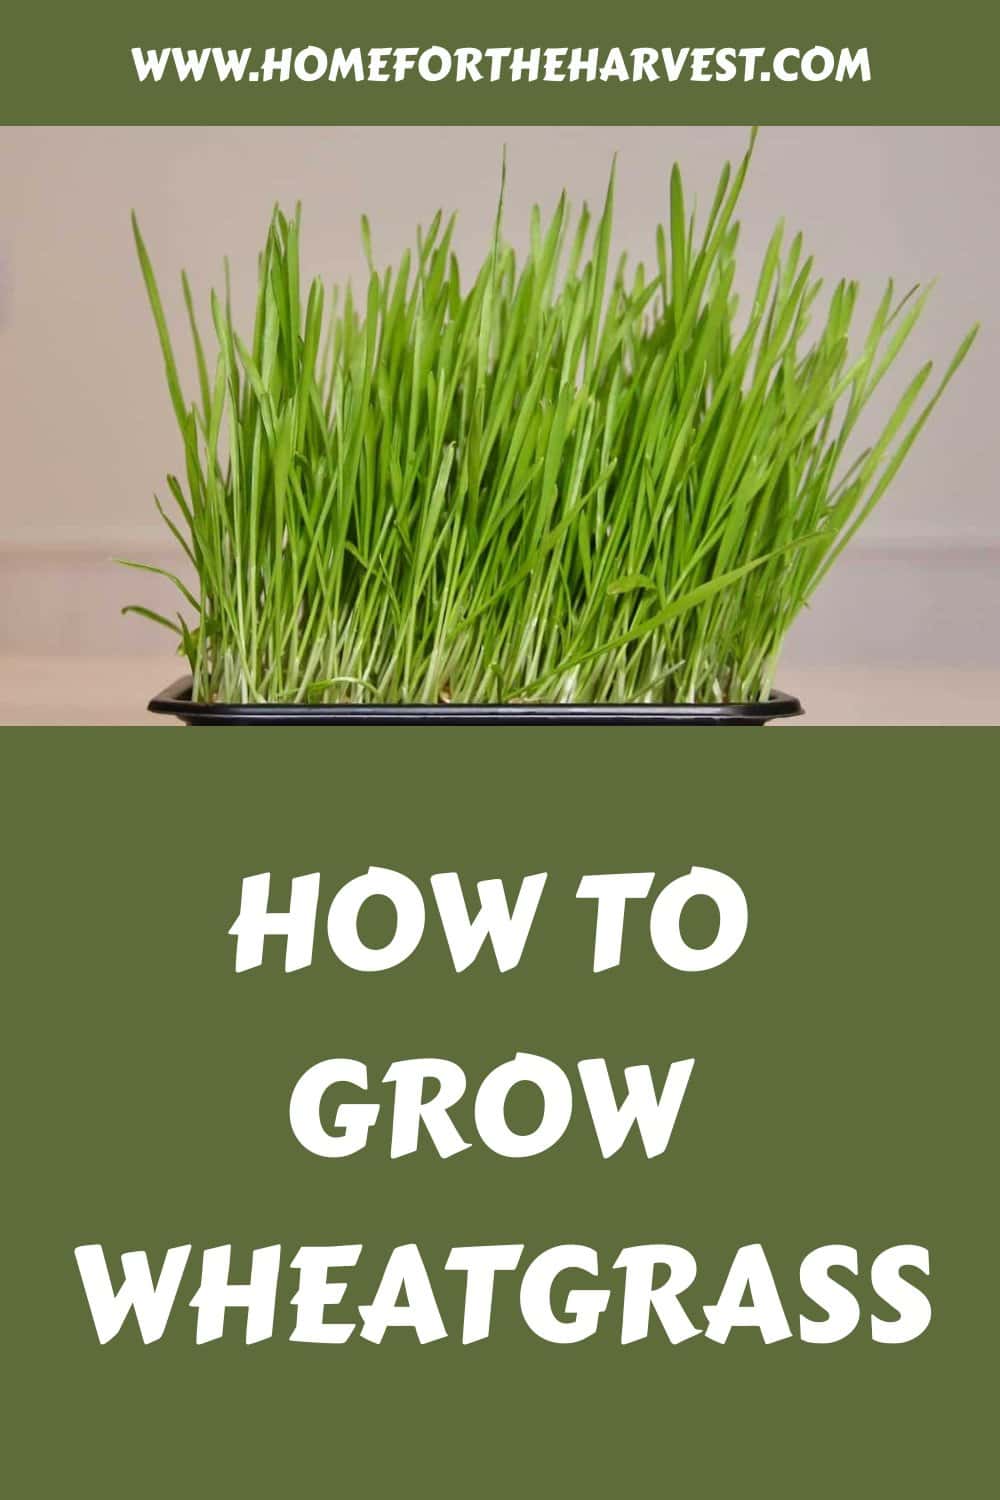
Growing wheatgrass might seem like a simple endeavor, but anyone who’s tried it knows there can be bumps along the way. My journey with wheatgrass began over a decade ago, and let me be upfront – it’s been transformative. I’ve had my share of pitfalls, from mold issues to inconsistent growth, and I understand the frustration. But, believe me, with the right guidance, the process can be streamlined, and the rewards are invaluable.
In this article, we’ll tackle the most common challenges in wheatgrass cultivation, drawing from my personal experiences and expertise. Together, we’ll delve into selecting seeds, optimizing your growing environment, preventing common issues, and ensuring a healthy harvest. Let’s embark on this green journey and transform your wheatgrass growing experience!
Introduction to growing wheatgrass
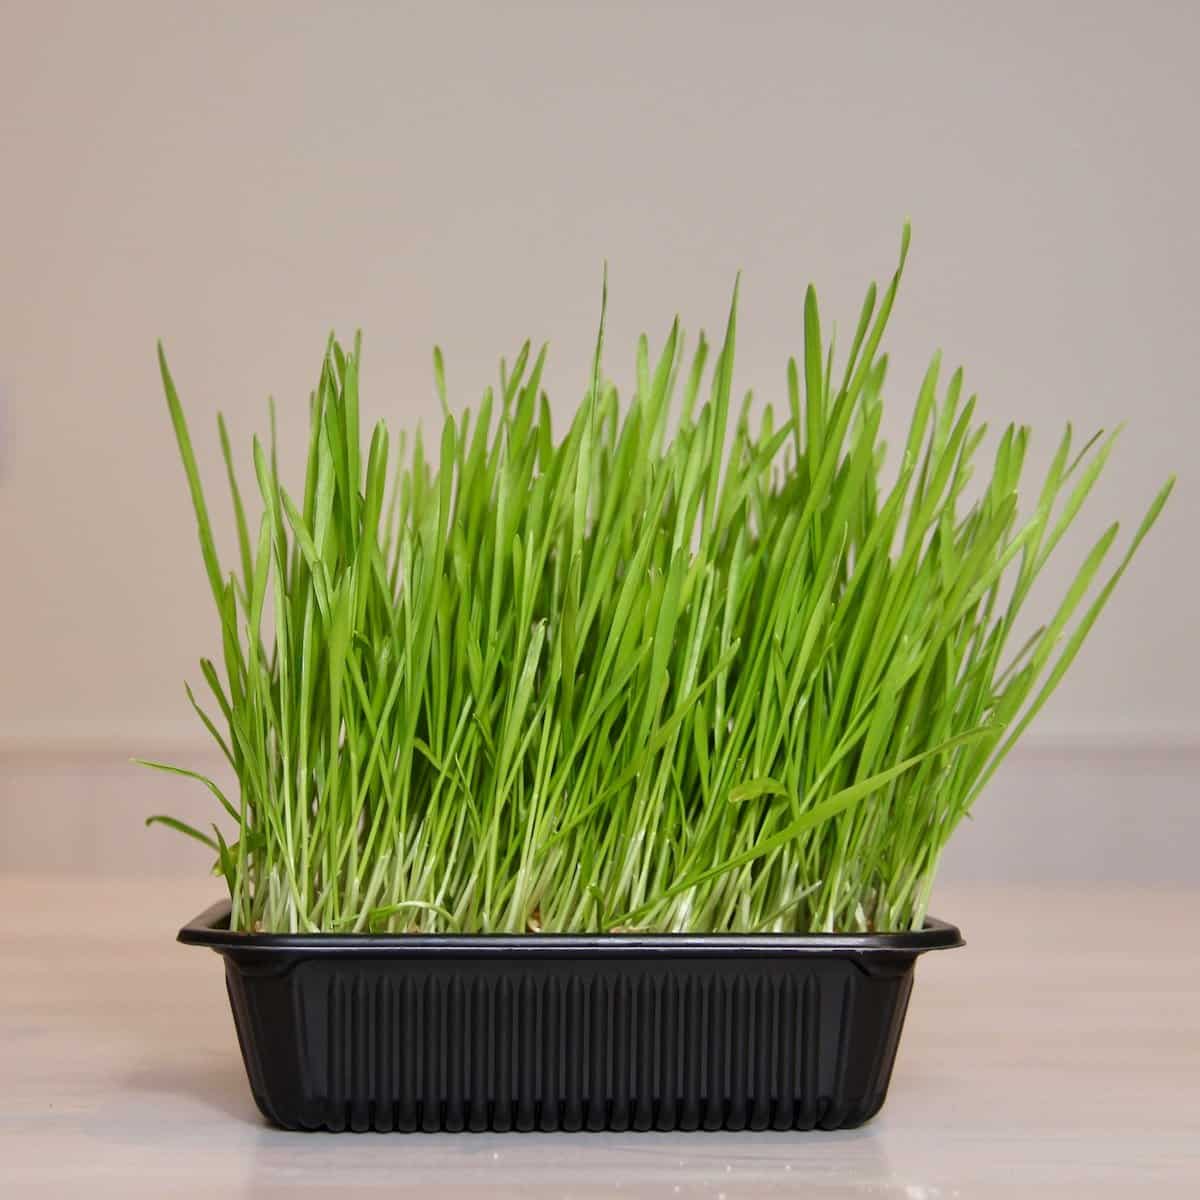
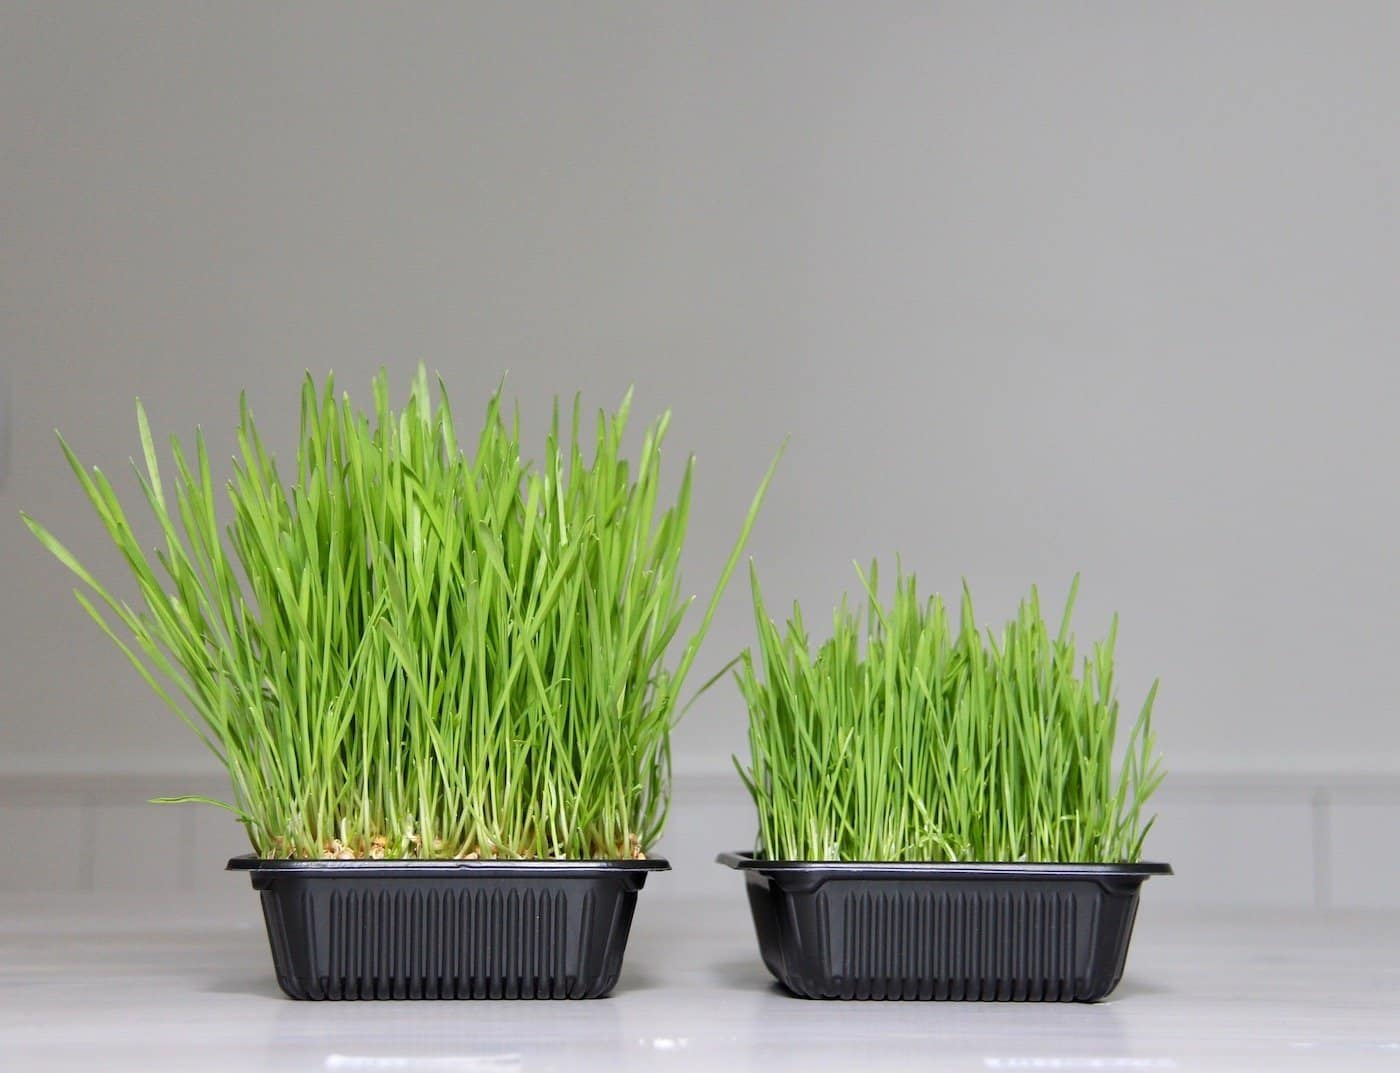
Wheatgrass is easy to grow indoors in small trays for use in healthy recipes. It can be grown like any other type of microgreen you’d use in the kitchen.
Wheat seeds are soaked in clean water for several hours, placed on top of moist potting soil, and kept moist until they germinate. The seeds then grow thin white roots and nutrient-rich edible green shoots. The healthy green blades of wheatgrass can be harvested and used immediately in juicing and smoothies.
Your kitchen wheatgrass garden tray will be the perfect addition to your kitchen decor and your juicing routine! Or it will become a target for your cat. Let’s find out!
How to grow wheatgrass
First, you’ll need to collect the supplies for growing your own wheatgrass. You’ll need a tray and strainer, plus consumables like potting mix/media and the seeds. There are also pre-made wheatgrass kits and subscription services that send you new seeds and growing media every month. Cool! It’s easy to pick whichever supplies suit your needs.
Wheatgrass growing trays
Wheatgrass can be grown in specialized wheatgrass/microgreen trays, plastic seed-starting trays, or even in repurposed take-out trays. Seed starting trays from garden centers work well, as do clean food trays. If you don’t want to use plastic, you can use a flat baking tin or Pyrex glass dish. Having a cover of some kind for the tray will help with germination.
Finding high-quality wheatgrass seeds (wheat berries)
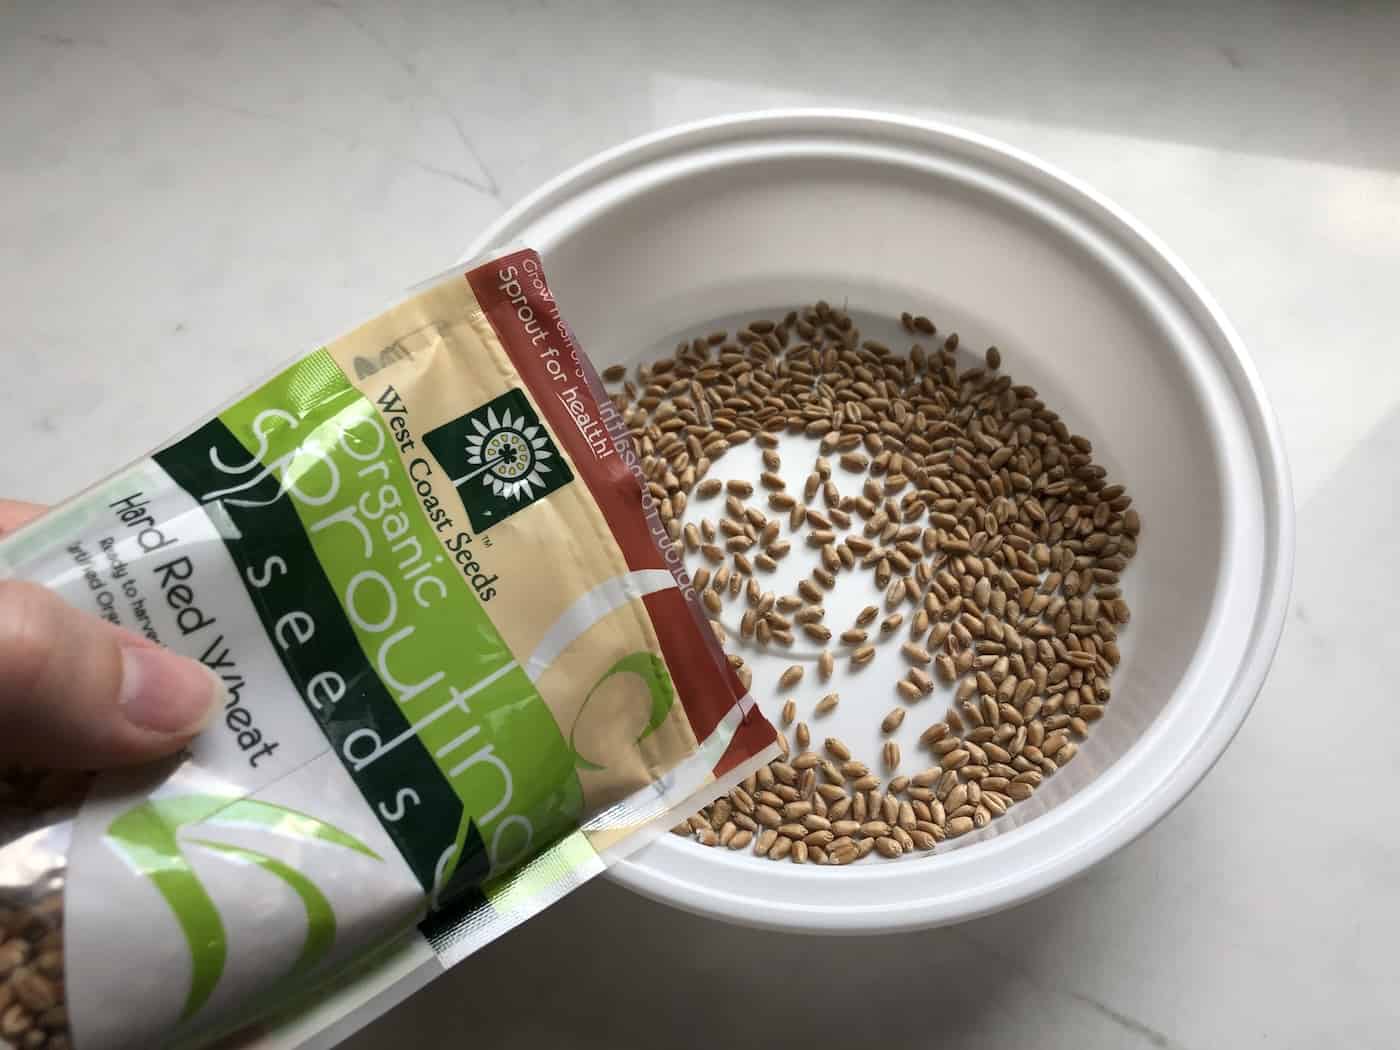
Take the time to find high-quality seeds. Look for Certified Organic Pathogen-Free Wheat Seeds. Wheat grass seeds go by many names and can be called “Hard Winter Wheat,” “Hard Red Spring Wheat,” or “Wheatgrass Berries.” I get mine at the garden center or the health food store.
Potting mix or growing media for wheatgrass
Wheatgrass grows well in a sterile seed-starting potting mix. Choose an organic seed-starting soil or at least one that does not have harsh chemical fertilizers mixed in. Here are some great potting mix options that work well for wheatgrass and other microgreens.
Strainer to rinse the seeds
You’ll need a metal or plastic strainer to wash the seeds. This isn’t 100% necessary, but it does make the planting go much easier! Ensure the holes in the strainer are smaller than the seeds so as not to wash out any seeds. Some dedicated wheat grass trays have a built-in strainer.
Step-by-step instructions
- Measure out your seeds in the clean, empty tray. Pour enough seeds into the tray to cover about half the available area. The seeds should almost touch each other, but not quite (see photo below). Set the seeds aside.
- Sanitize your supplies. I use my dishwasher’s sanitize setting to sanitize the tray, mesh strainer, and knife.
- Sanitize your seeds, or ensure you’re buying properly cleaned seeds for growing edible wheatgrass. To clean seeds, I follow the University of California method, in which seeds are immersed in a mixture of warm water and hydrogen peroxide for 5 minutes.
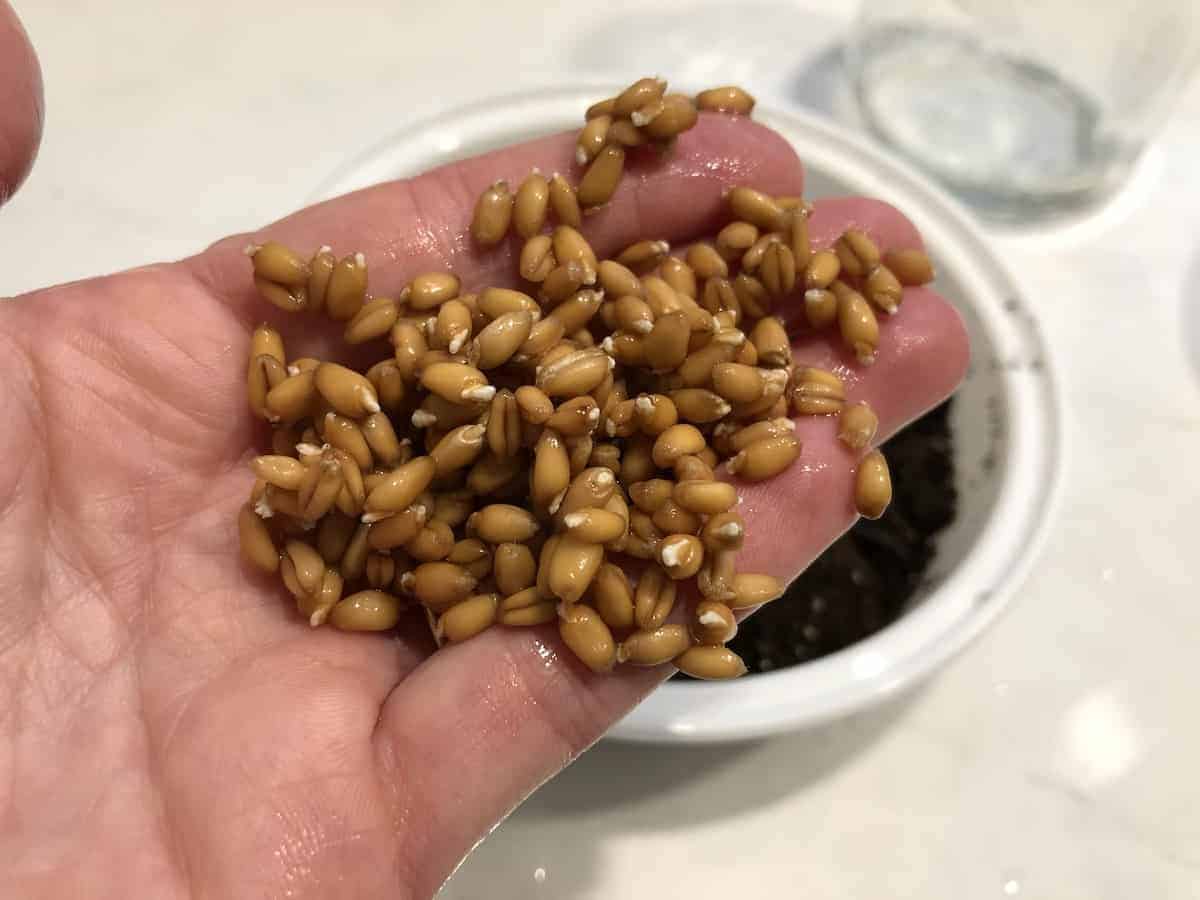
- Soak the seeds in the clean tray for 6-8 hours in filtered water.
- Pour seeds into the mesh strainer and set aside to drain.
- Fill the tray with sterile growing mix until the soil is about 3 cm (1 inch) deep. Gently compress the soil mix in the tray as you fill it.
- Water soil with filtered water so that the soil is moist but not dripping wet. Muddy = too wet.
- Rinse the seeds in the strainer with filtered water.
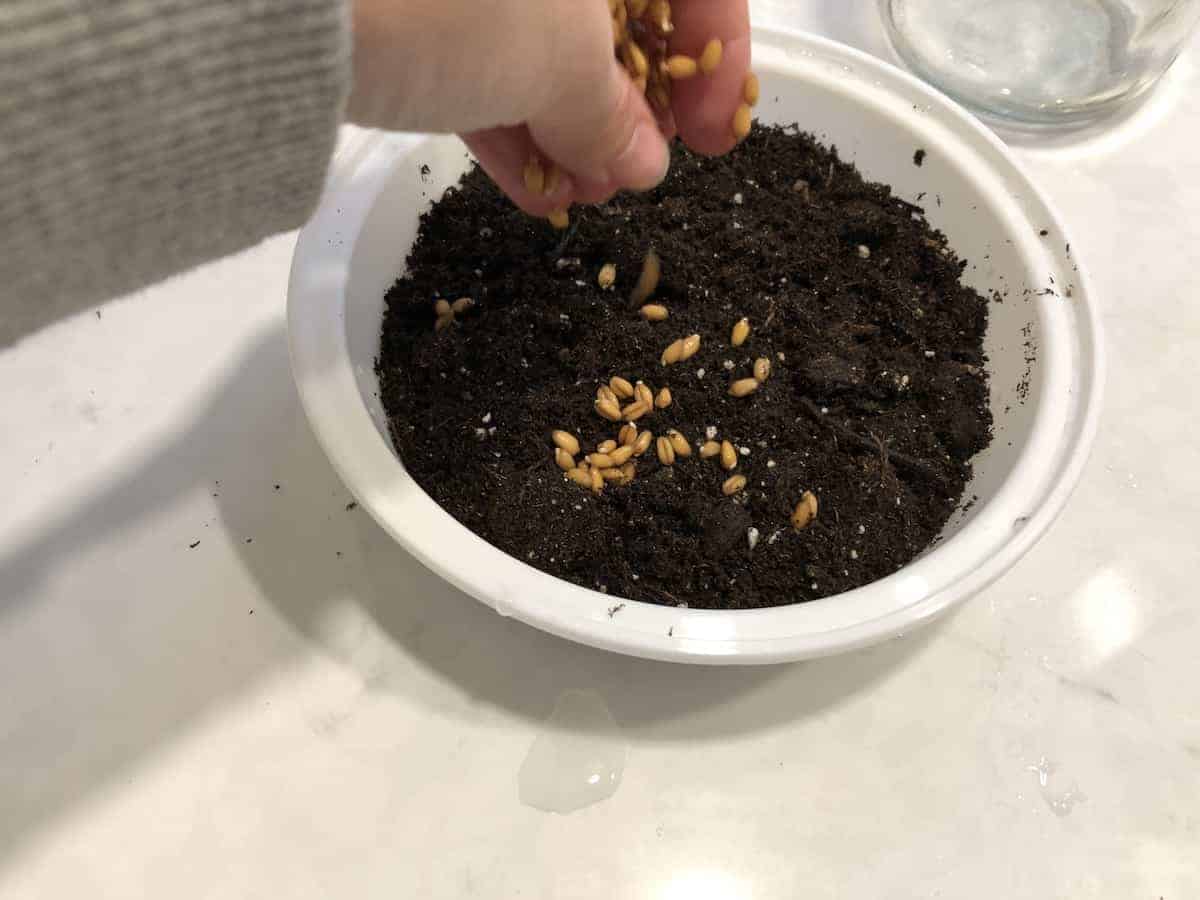
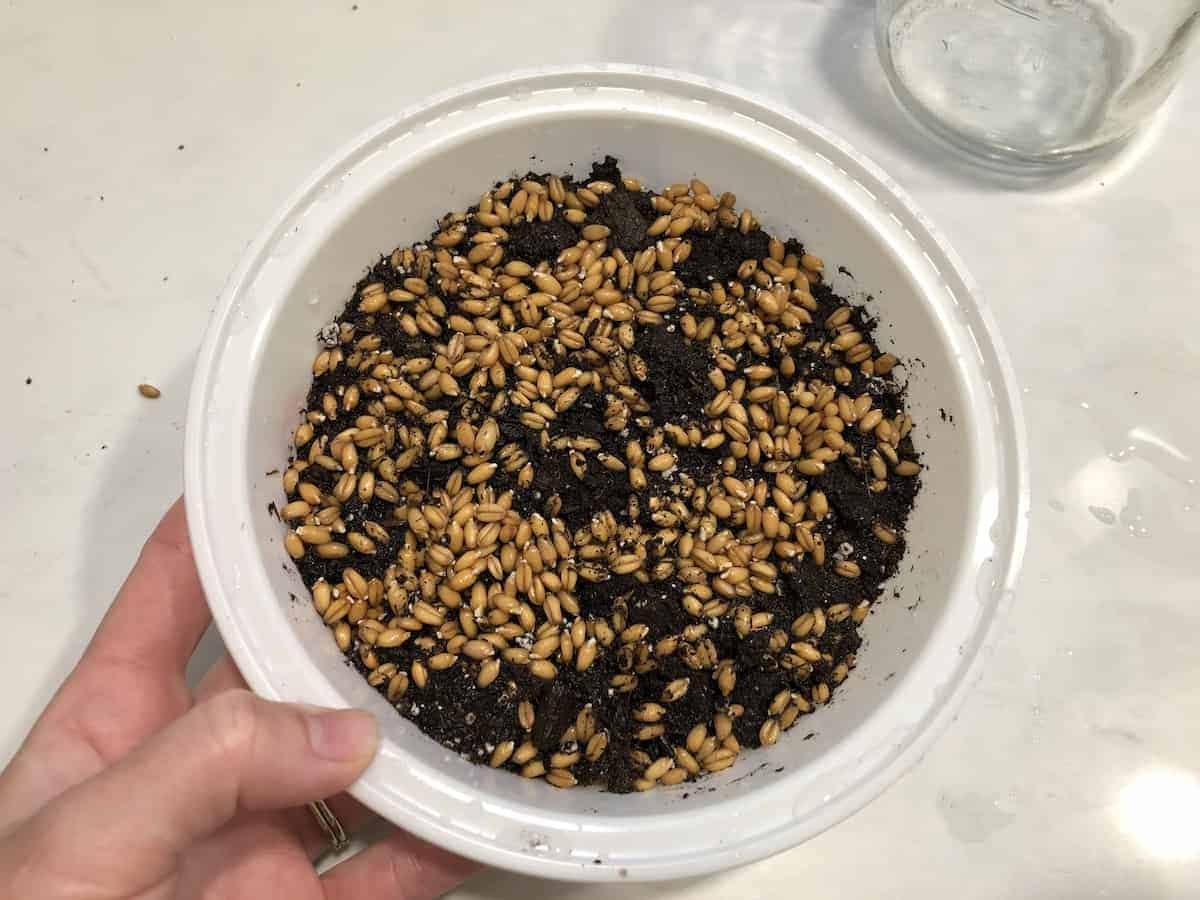
- Evenly distribute rinsed seeds onto a moist soil surface.
- Lightly compress the seeds into the soil.
- Cover the tray with a lid. If your tray has no lid, cover the tray with another tray or a baking sheet.
- Now we wait for the seeds to germinate!
How to care for trays of wheatgrass at home
- Check the seeds and soil moisture levels once or twice per day. Checking for seed germination and growth is a key part of learning to sprout seeds like wheat grass.
- Remove the lid when the seeds have germinated (tiny little sprouts are coming out of them). Place the tray in a sunny warm indoor area, on the patio, or under an LED plant light.
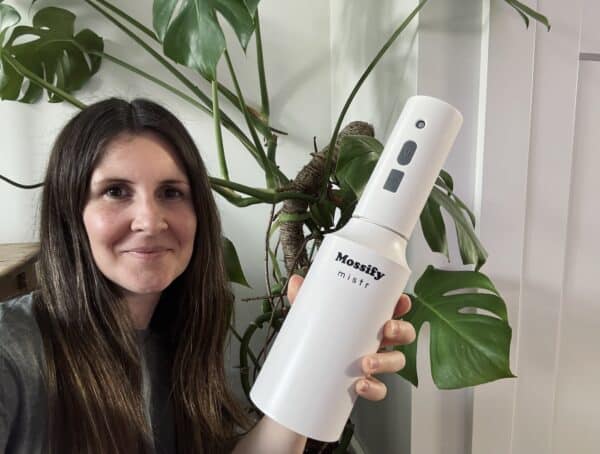
- Keep checking the seeds daily for soil moisture and growth, watering if necessary. Ensure the soil is kept moist but not wet. You can use a spray bottle if you like, or just drip a little bit of water around the tray. If you do use a spray bottle, keep it clean and replace the water frequently.
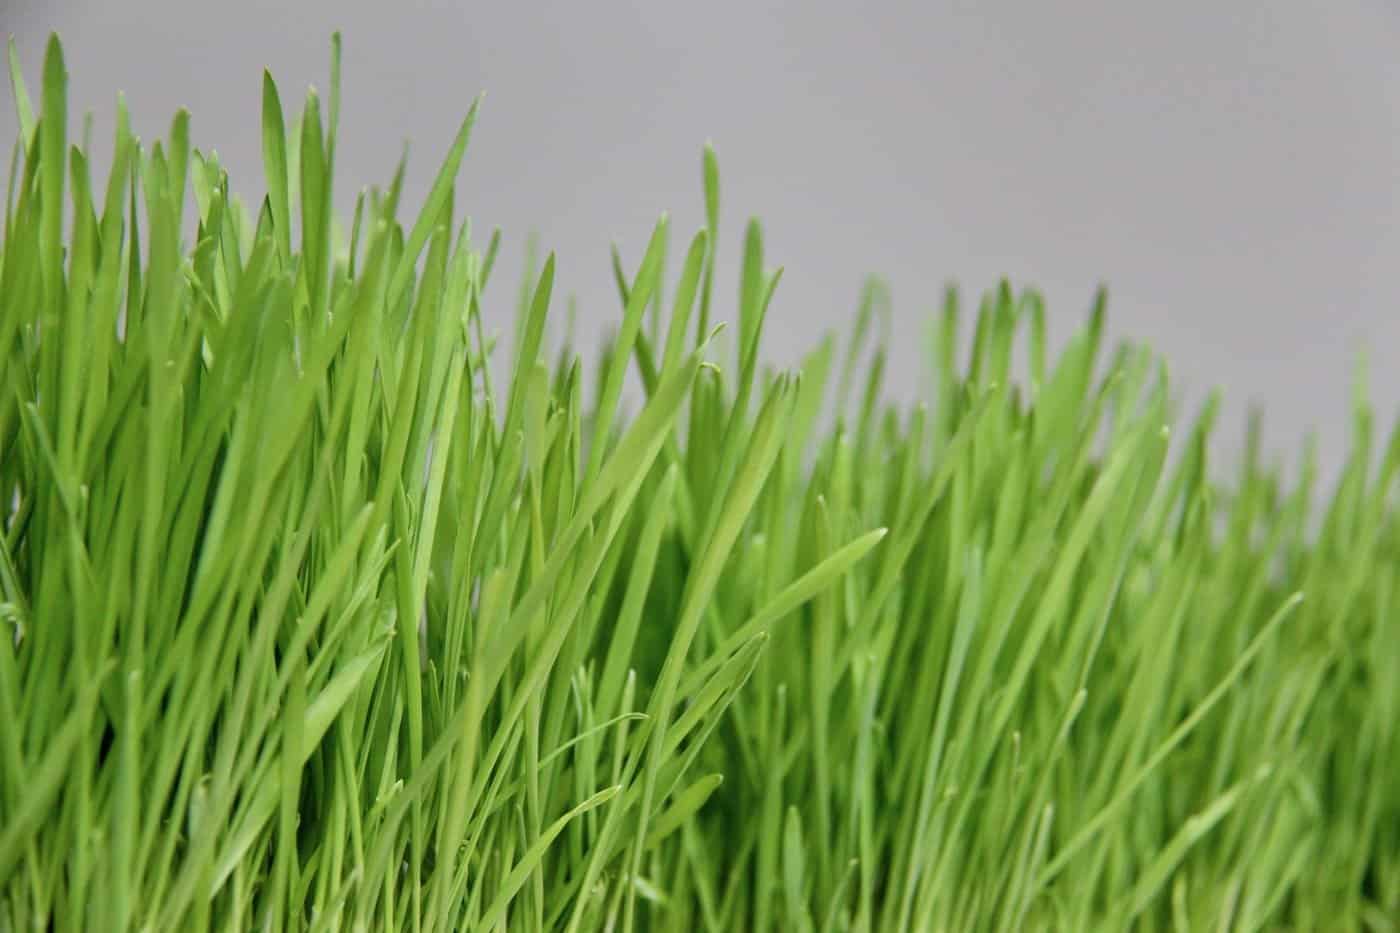
- Harvest the wheat grass with a knife or scissors when the wheatgrass is approximately 6″ high. Only use scissors if you’re going to use the wheatgrass within the next day or two.
- Wash wheatgrass by fully submerging it in cold water.
- Spread the grass onto a clean towel to dry.
- If storing, wrap the wheatgrass in a paper towel in an airtight container in the fridge.
- The wheatgrass will grow back after harvest and can be used a second time (but rarely a third time….).
- The used soil can then be composted at home, and you can start all over again!
Do you need to buy a tray?
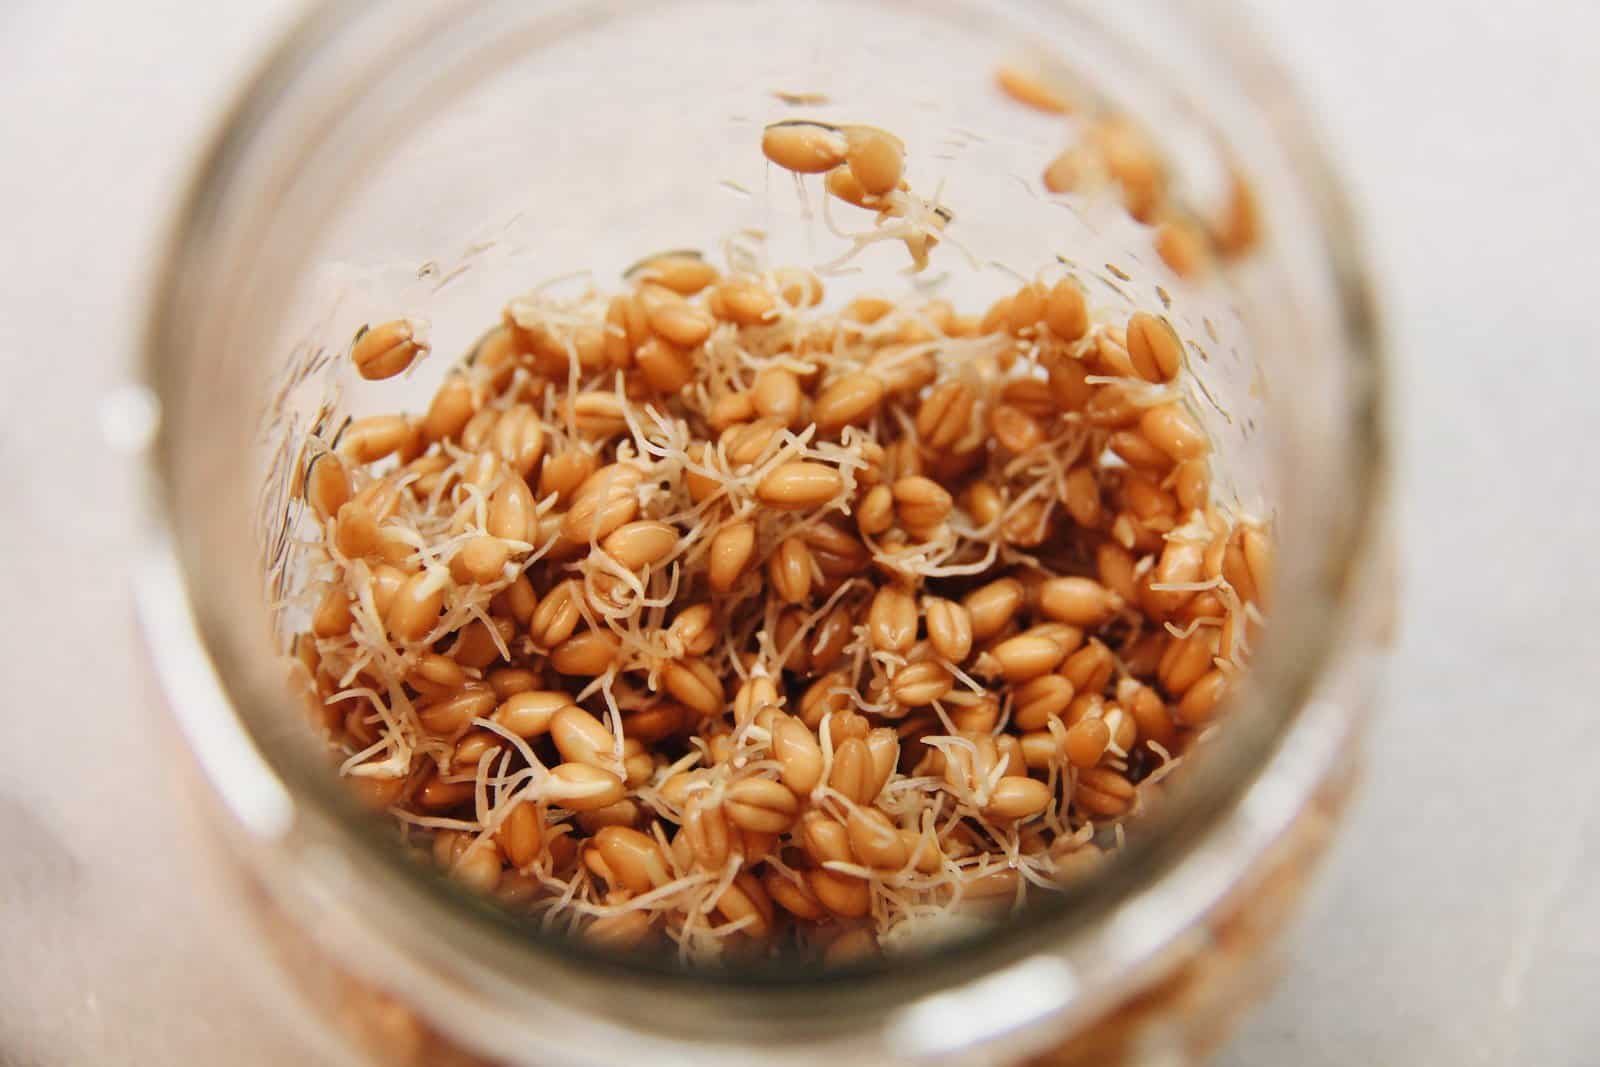
Wheatgrass sprouts can be grown in almost any flat container. If you don’t have the perfect container right off the bat, you can germinate your seeds in a mason jar while you find the right container. You could grow the seedlings on a big dinner plate or pie dish…it’s pretty hardy. Just be sure to keep the soil moist (a spray bottle is handy).
I often repurpose plastic or metal takeout trays and store-bought produce containers. The trays are used to hold in the soil in which the wheatgrass grows. Like microgreens, the seeds are not buried in the soil but instead are laid on top of the soil to grow.
Does wheatgrass require soil to grow?
It is possible for wheatgrass to grow without soil, but I have had much better results growing wheatgrass indoors using a growing media – such as sterile potting soil. I use an organic sterile, seed-starting potting mix that does not contain any chemical fertilizers or harmful pathogens.
I find that the growing retains moisture, helping the seeds germinate. A good growing media also holds adequate amounts of both air and water for the roots of the wheatgrass (both air and water are super-important for healthy plant roots). The wheatgrass also has a chance of gaining some extra nutrients from the soil.
If homegrown wheatgrass is to be harvested more than once, it should certainly be grown in a potting medium. The seeds themselves only contain enough nutrients to get the plants off to a good start. Once the roots have grown, the plants start to look for new sources of nutrients. Use a potting mix that contains fertilizer, or add a little liquid kelp fertilizer after the first harvest.
Using your homegrown organic wheatgrass
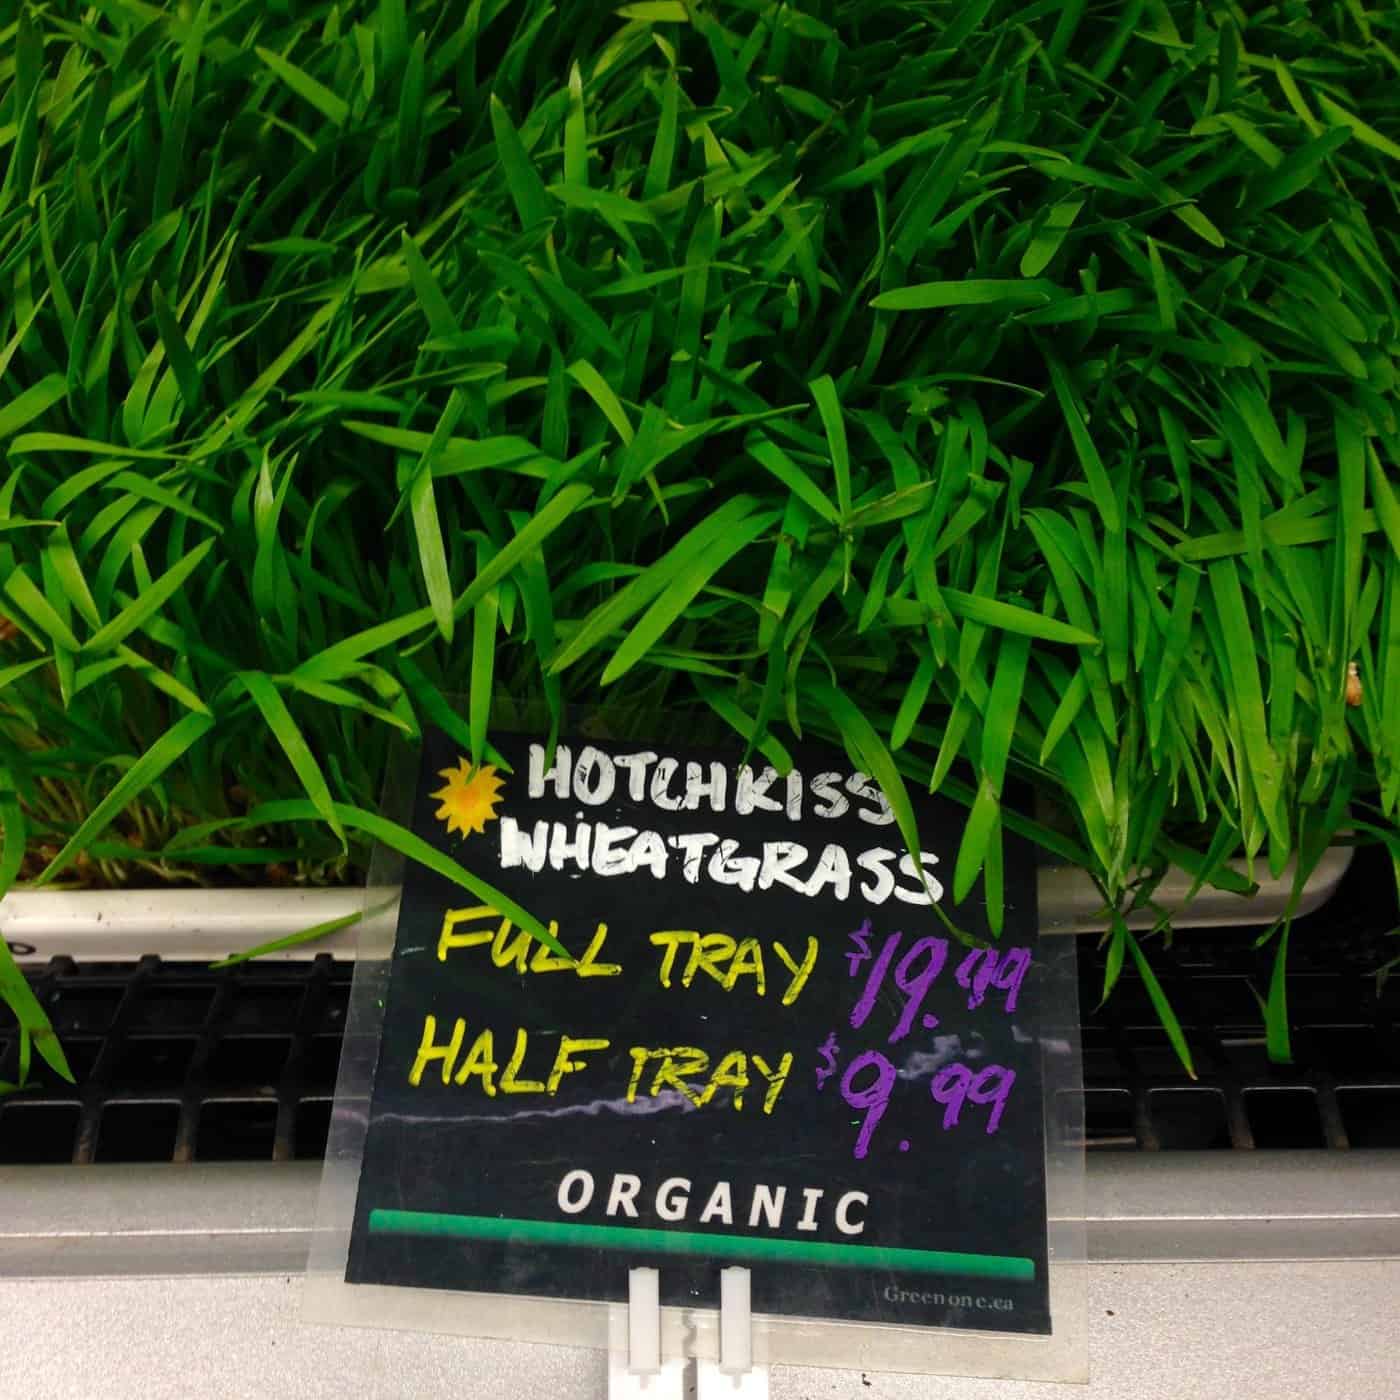
Once you’ve learned how to grow trays of your own wheatgrass, you can juice it at home. I actually don’t have a juicer and prefer to add whole wheatgrass to a smoothie.
You’ll need a high-powered blender to cut through the fibers of the wheatgrass. I use a Vitamix, and my aunt loves her Blendtec. Either one of these machines is an excellent long-term kitchen investment.
Fresh wheatgrass can be incorporated into your diet in various delightful ways. Here are some popular methods to make the most out of your homegrown wheatgrass:
- Wheatgrass Juice: This is the most popular way to consume wheatgrass. Using a juicer, extract the liquid from your fresh wheatgrass and drink it as a shot. It’s a potent and quick way to absorb its nutrients.
- Smoothies: Add freshly cut wheatgrass to your morning smoothie. It pairs well with fruits like bananas, apples, and pineapples, providing an extra nutritional punch.
- Tea: Use fresh wheatgrass to brew a light, refreshing tea. Just steep it in hot water, strain, and enjoy. You can also blend it with other herbal teas for varied flavor profiles.
- Salads: Chop up some wheatgrass and sprinkle it over your salads. It adds a fresh, earthy flavor that complements various salad ingredients.
- Soups: Just as you might use herbs like parsley or cilantro, wheatgrass can be chopped and added to soups for a burst of flavor and nutrients.
- Sandwiches and Wraps: Incorporate wheatgrass into your sandwiches or wraps for an added crunch and freshness.
- Desserts: Believe it or not, wheatgrass can also be a fun ingredient in desserts. You can blend wheatgrass juice with coconut water and freeze them to make popsicles or incorporate it into other green-themed desserts.
- Face Masks: Apart from consuming it, wheatgrass has skin benefits too. Blend it with some natural yogurt to make a refreshing face mask.
- Wheatgrass Ice Cubes: For those who find the flavor of wheatgrass too strong, freezing the juice in ice cube trays and then popping a cube into drinks is a palatable way to incorporate it into your diet.
- Grow Wheatgrass for Pets: Cats, in particular, love to munch on grass. Growing trays of wheatgrass can be a healthy treat for them to nibble on.
Remember that wheatgrass is potent! Start with small amounts and gradually increase your intake as your body gets used to it. Also, always ensure the wheatgrass is cleaned properly before consumption.


