To grow tulips, plant bulbs in the fall in an area that receives full sun. Water the bulbs well after planting and wait for the bulbs to sprout and bloom in the spring. Once the tulips have finished blooming, remove the spent flowers but leave the foliage to die back naturally.

How to grow tulips
Here are the basics of growing tulip plants:
- Choose a sunny spot. Tulips thrive in full sun and in well-drained soil.
- Plant bulbs in autumn, about 6-8 weeks before a hard frost.
- Plant them about 4 inches deep and 3-6 inches apart. Water right after planting.
- Fertilize sparingly in the spring if the soil is low in nutrients.
- After blooming, allow the leaves to turn yellow and die back.
- In areas with wet summers or very mild winters, lift the bulbs and store them for the next planting season.
Tulips need well-draining soil with a pH of 6.5 to 7.0 in order to thrive. To ensure your soil is suitable for tulips, it’s best to add some compost or other organic matter before planting. This will help the soil retain moisture and provide nutrients for the plants as they grow.
These plants prefer full sun but can tolerate partial shade as long as they get at least 4 hours of direct sunlight each day during peak bloom times (springtime). If you live in an area where temperatures tend to stay cooler than average, try planting your bulbs near a south-facing wall that will absorb more sun heat and help keep them warm even on cold days.
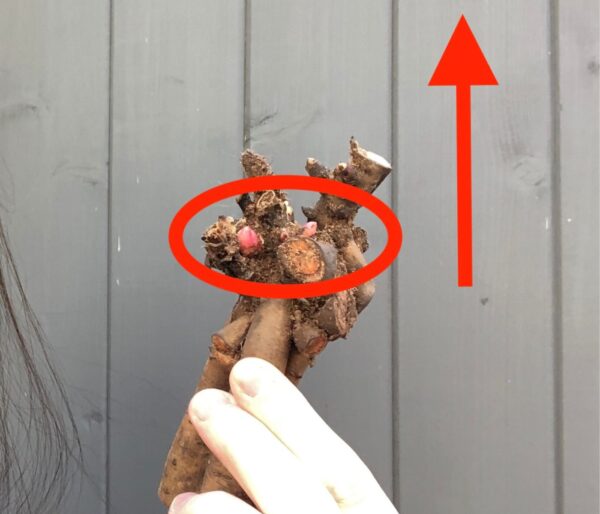
Planting tulip bulbs should be done in late fall when temperatures are cool but not freezing (usually October). Dig a hole about 8 inches deep and place one bulb per hole with the pointed end facing up. Cover the bulb with dirt and press down firmly so that it’s secure in its new home.
Water your newly planted tulip bulbs regularly during their first growing season, especially if there is no rain or snowfall during this time period. Aim for 1 inch of water per week until blooms appear, then reduce watering slightly once buds start forming on the stems of your plants.

Fertilize your tulips every few weeks throughout their growing season using a balanced fertilizer according to package instructions. This will give them an extra boost of energy while helping them reach their full potential.
Keep an eye out for common pests like aphids and spider mites which can cause damage to leaves and flowers if left unchecked. You may also want to check periodically for signs of disease such as leaf spots or powdery mildew, which can weaken plants over time if not treated.
Choosing tulips to plant
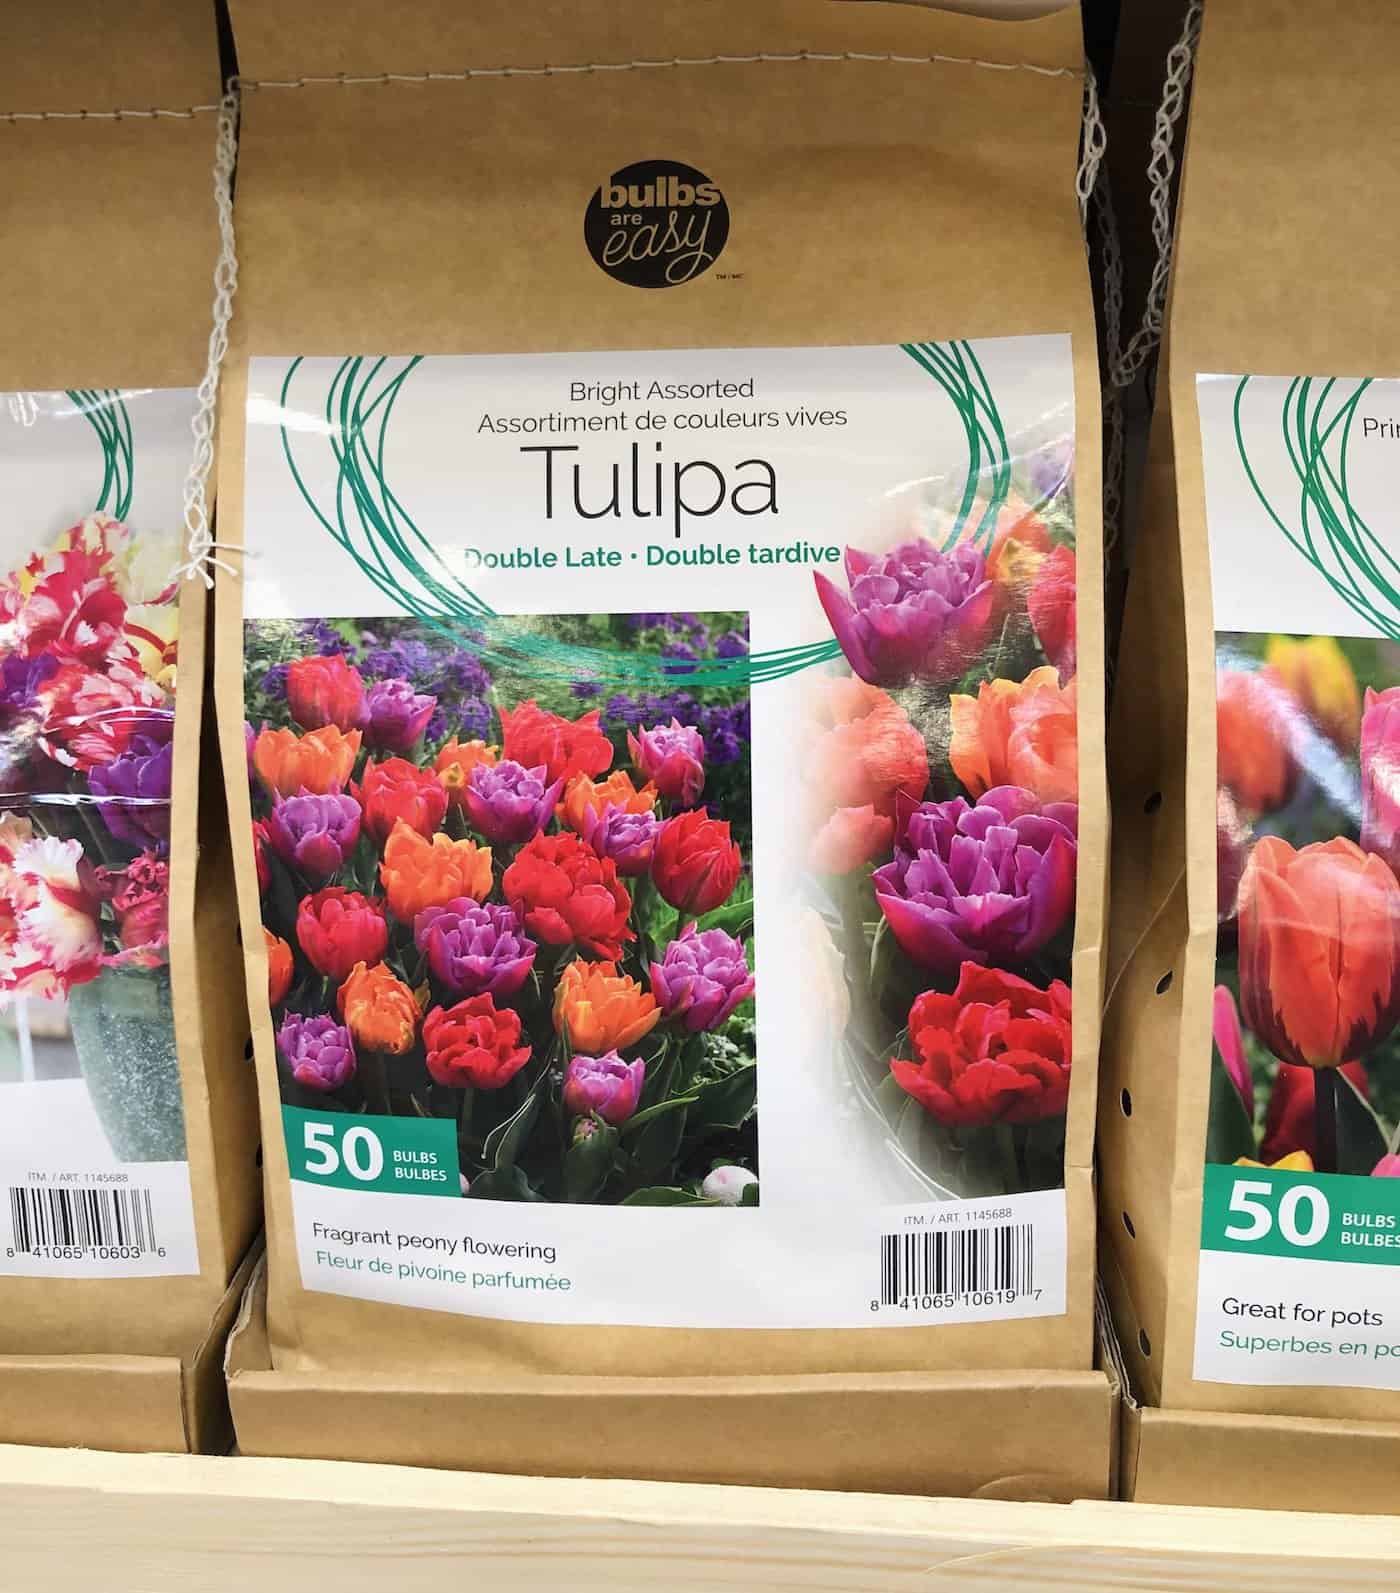
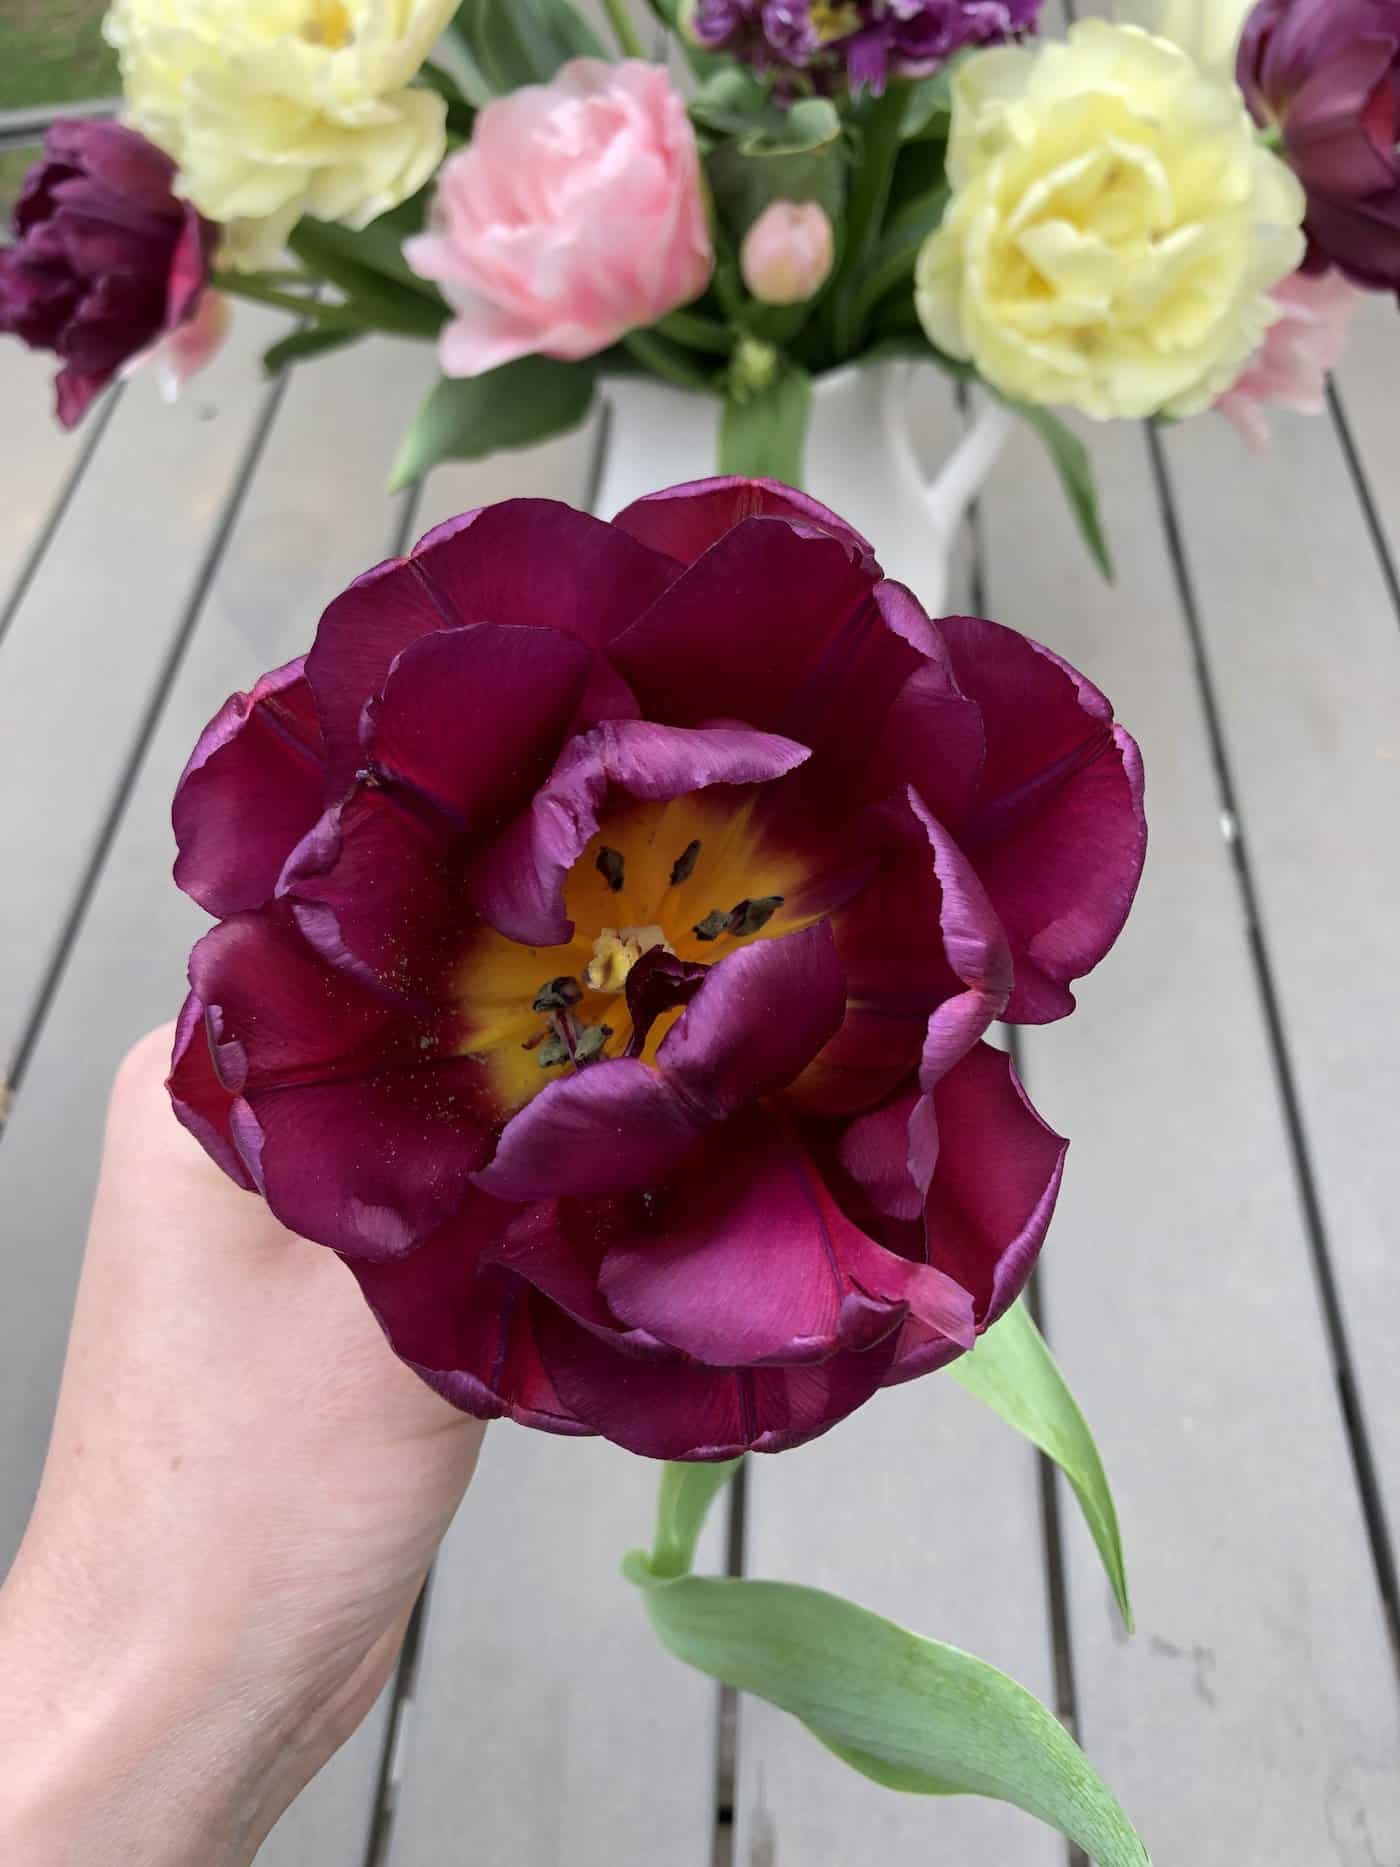
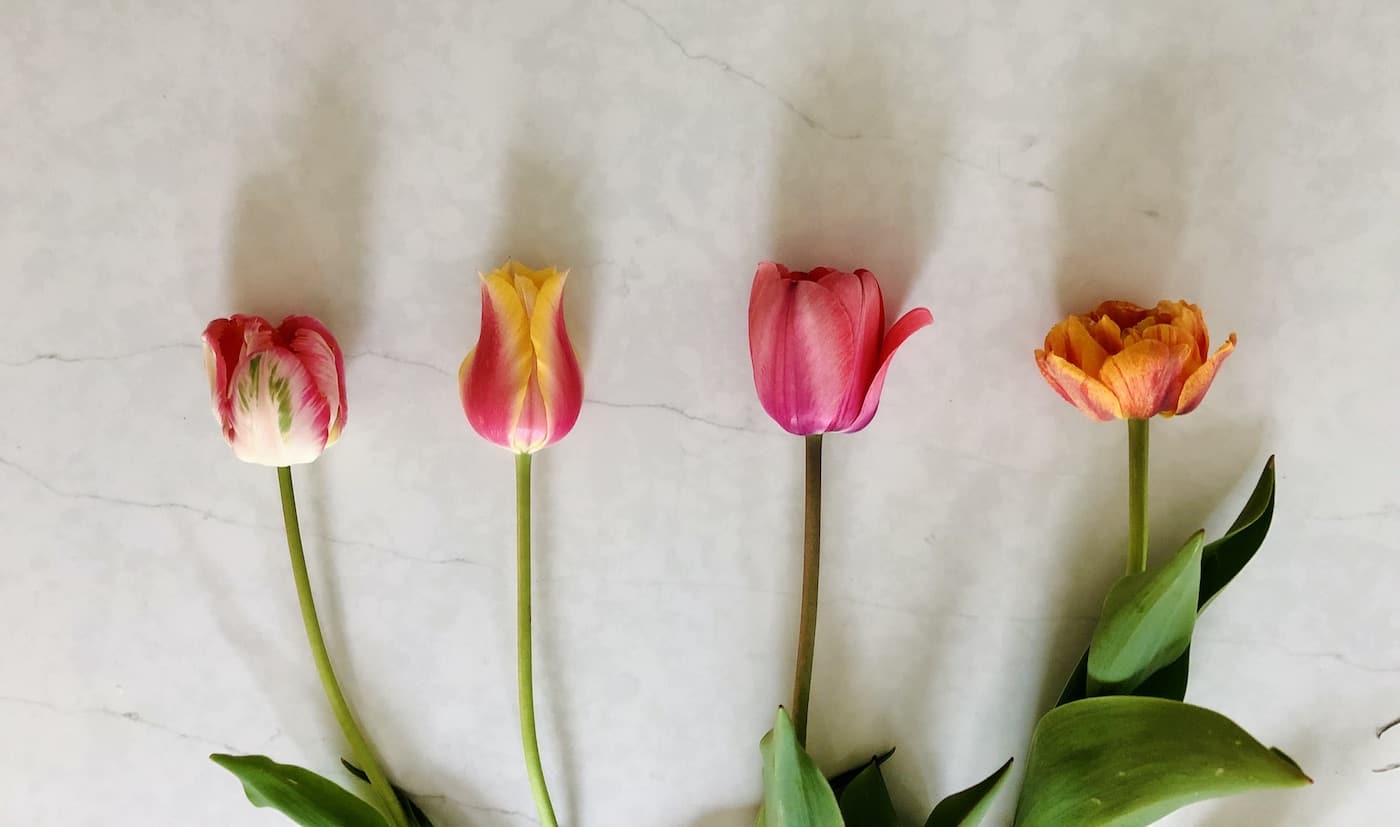
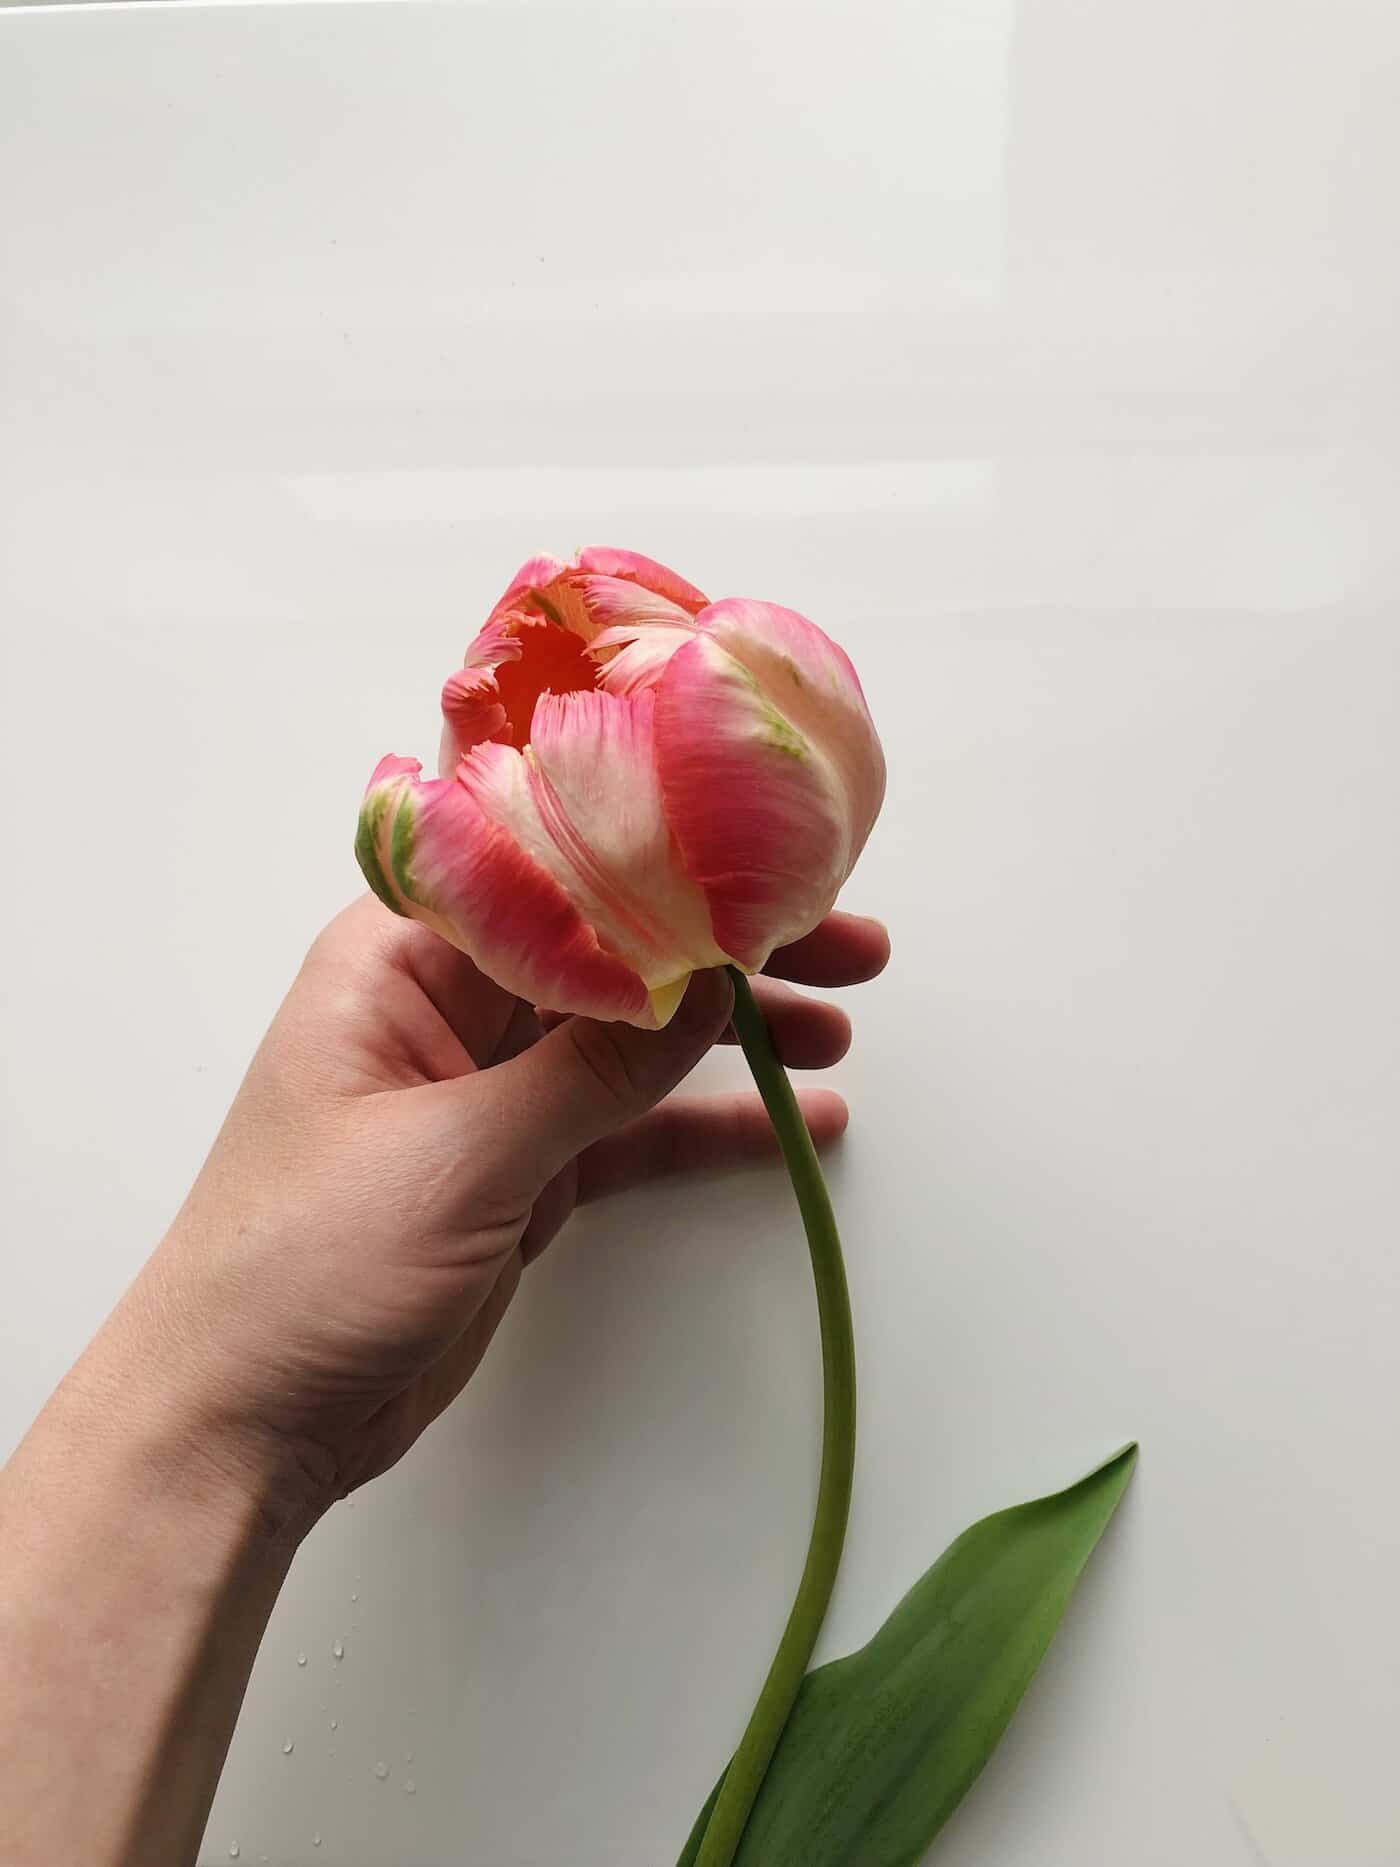
There are simply way too many tulip varieties to choose from. One of the easiest ways to go about this is to narrow down your search by general types of tulips, and then move on to finding individual varieties you like (and can find). Certain types like double tulips and parrot tulips are worth ordering early before they sell out.
An even easier way is just to consult the list of the most popular tulip varieties and start with those! These cultivars are tried and true for good reason.
Another way to search is by flower color. Here are some color categories to check out:
Check out the lists above and see what interests you!
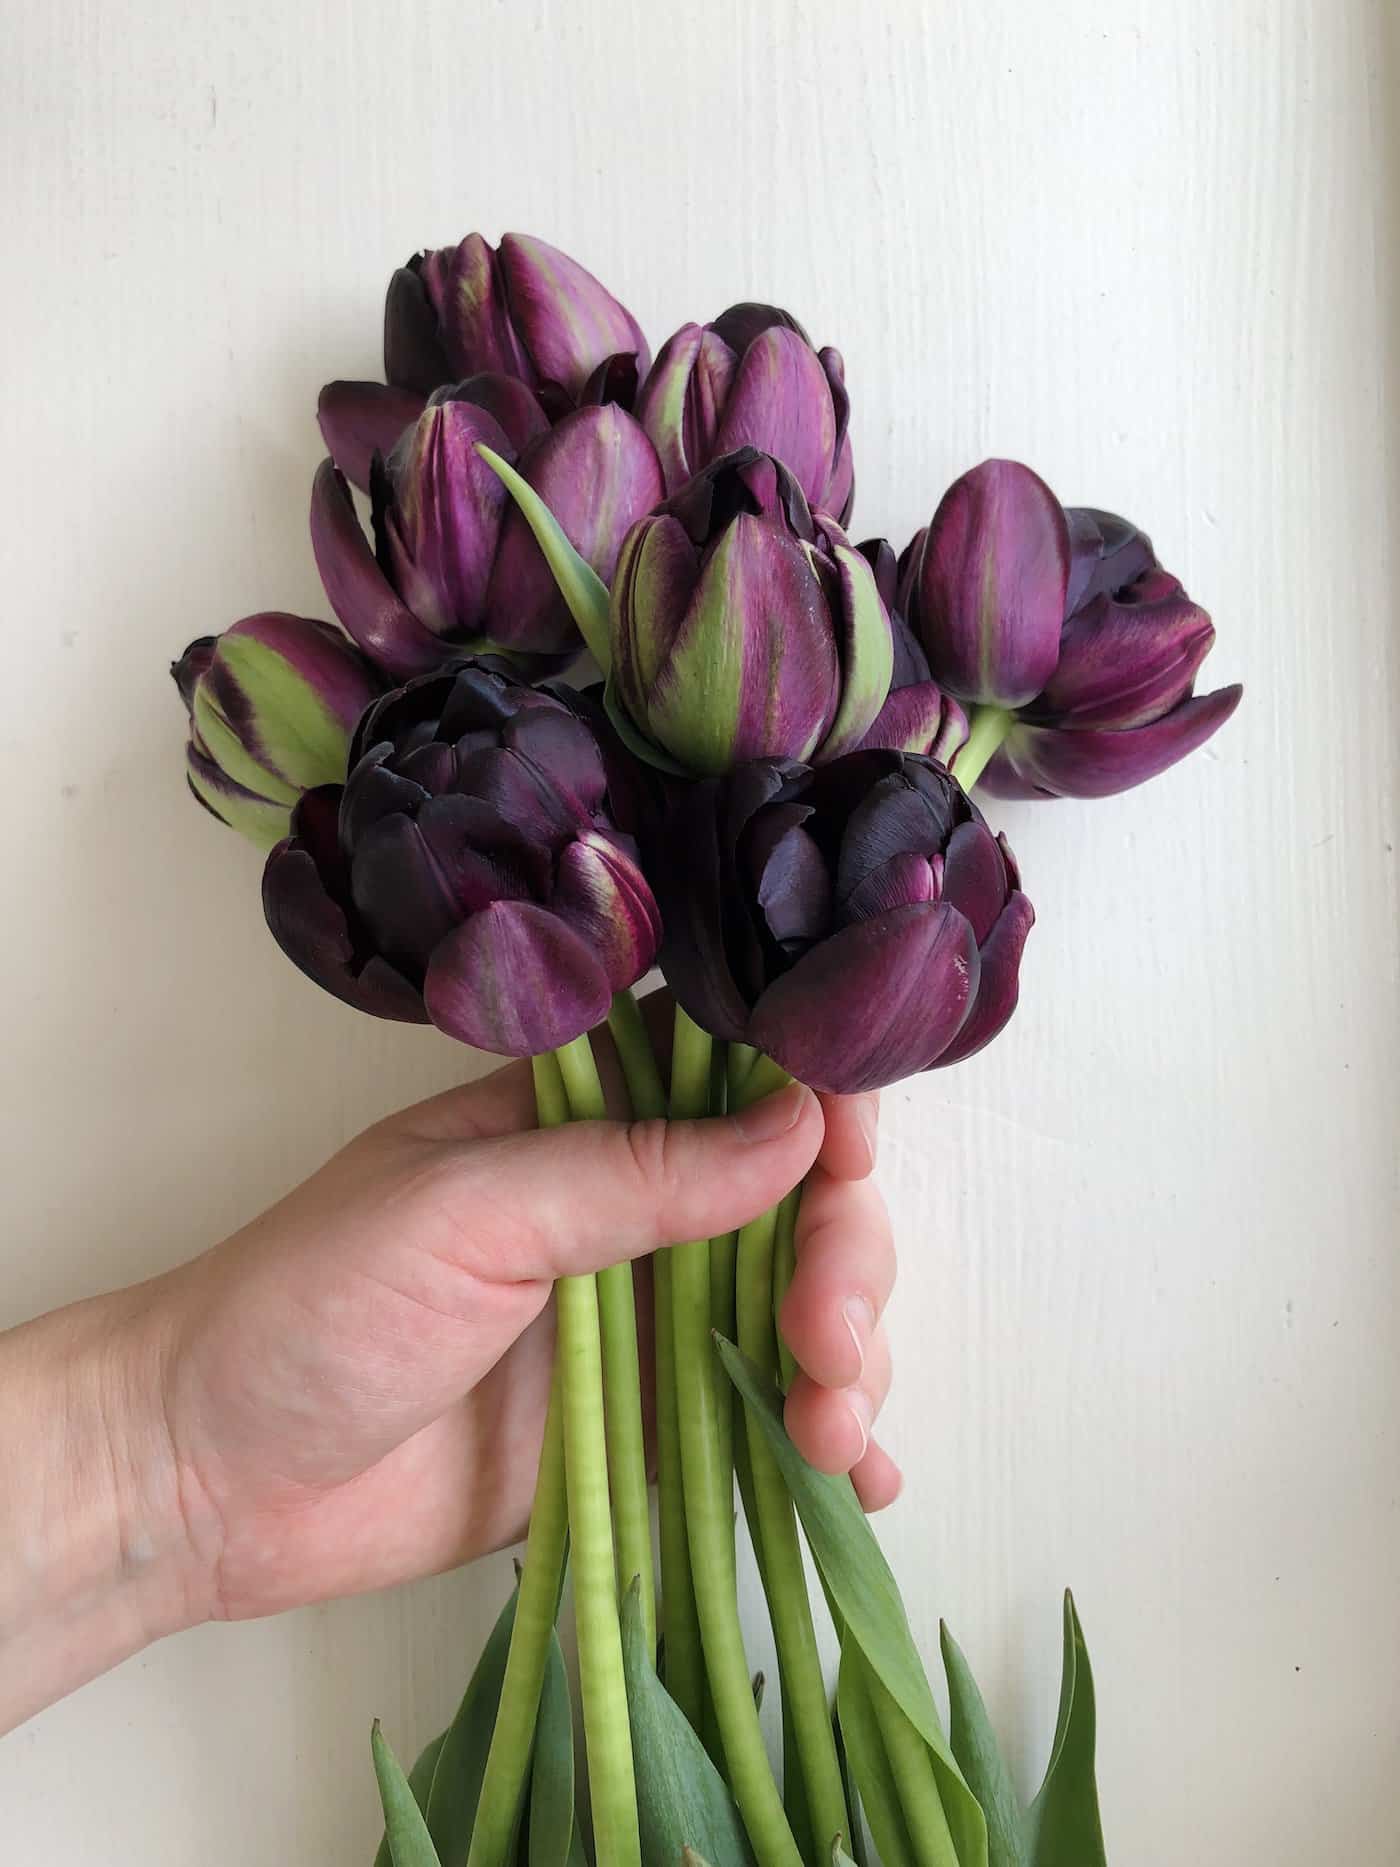
Soil preparation before planting tulip bulbs
Soil preparation is an important step in growing tulips. The right soil will help your tulips thrive and produce beautiful blooms each year.
The best type of soil for tulips is well-draining, loamy soil with a pH between 6.0 and 7.5. If you’re unsure what kind of soil you have, it’s best to get it tested before planting your bulbs so that you can adjust the pH if necessary.
If your soil is heavy clay or sandy, mix in some organic matter, such as compost or aged manure, to improve drainage and aeration while also adding nutrients for the plants to use during their growth cycle. You can also add peat moss or vermiculite for additional aeration benefits.
Once the amendments are mixed into the existing soil, make sure to till it up at least 8 inches deep so that all of the roots can penetrate down into the loosened earth easily when planted later in the season. This helps ensure strong root development, which leads to healthier plants overall.
Finally, rake over any clumps of dirt left behind from tilling and break them up until they are evenly distributed throughout your garden bed prior to planting time. This helps ensure that water drains away quickly after rainstorms instead of pooling around individual bulbs which could lead to rot problems down the line.
Proper soil preparation is key for successful tulip planting, so make sure to take the time to prepare the soil before you start planting. Now let’s move on to planting.
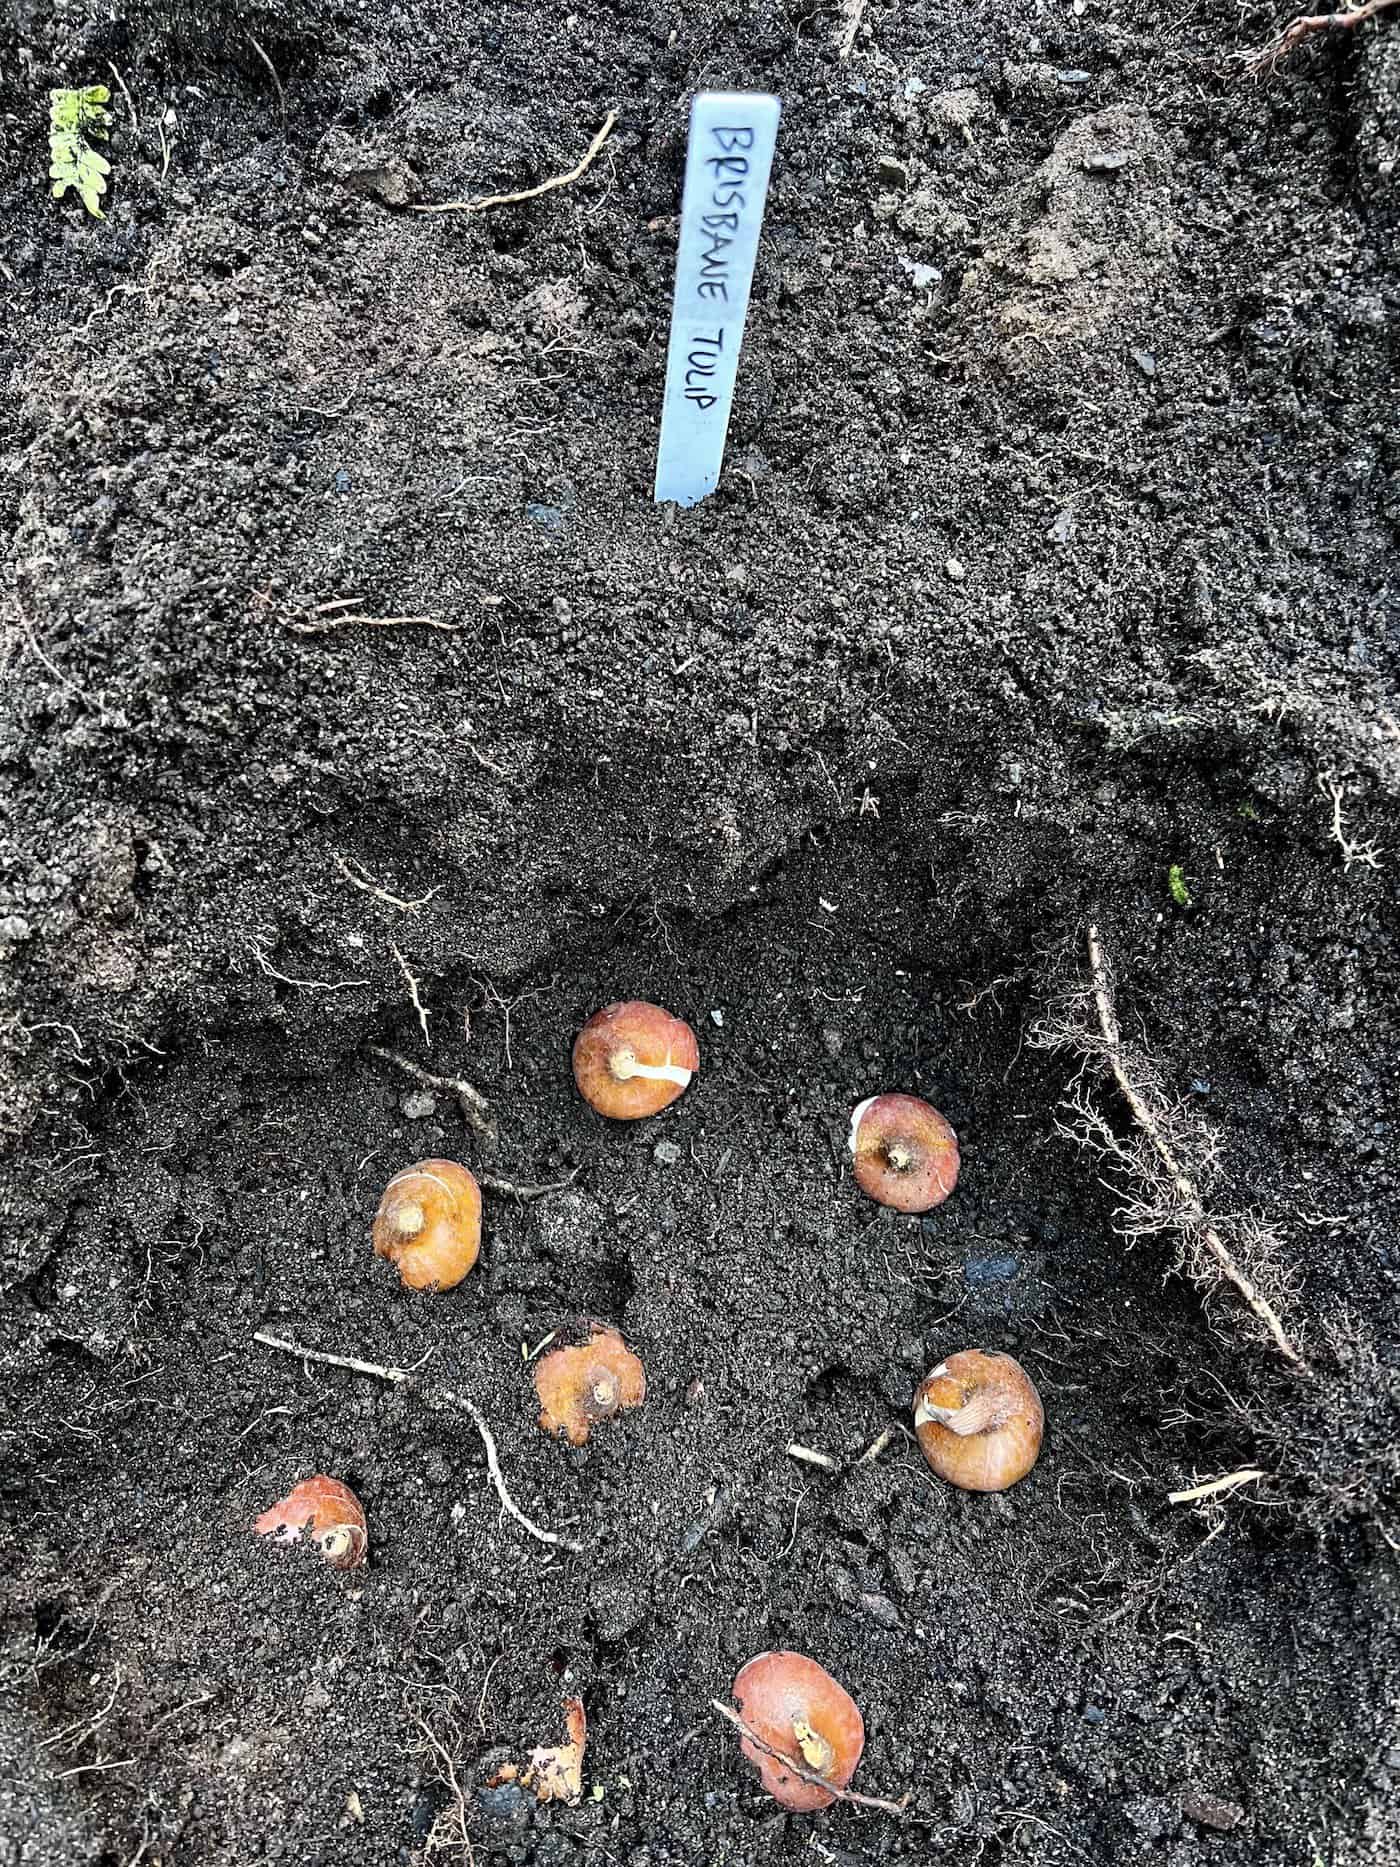
Planting tulips in the garden
Planting tulips is a great way to add color and beauty to your garden. Tulips should be planted in the fall, usually between September and November. Planting them too early or late can lead to poor growth or even death of the bulbs. When planting, make sure you choose an area with good drainage, as tulips don’t like wet feet.
Dig a hole that is twice as deep as the bulb itself and place it in the ground, pointed side up. Cover with soil and gently press down around it so that it is firmly seated in its new home. Water well after planting, especially if there has been no rain recently.
If you are planting multiple bulbs together, space them about 4-6 inches apart for best results – this will help ensure they get enough air circulation which helps prevent disease from developing on your plants later on.

Here’s a detailed guide all about planting tulip bulbs. You can also check when to plant tulips in your area.
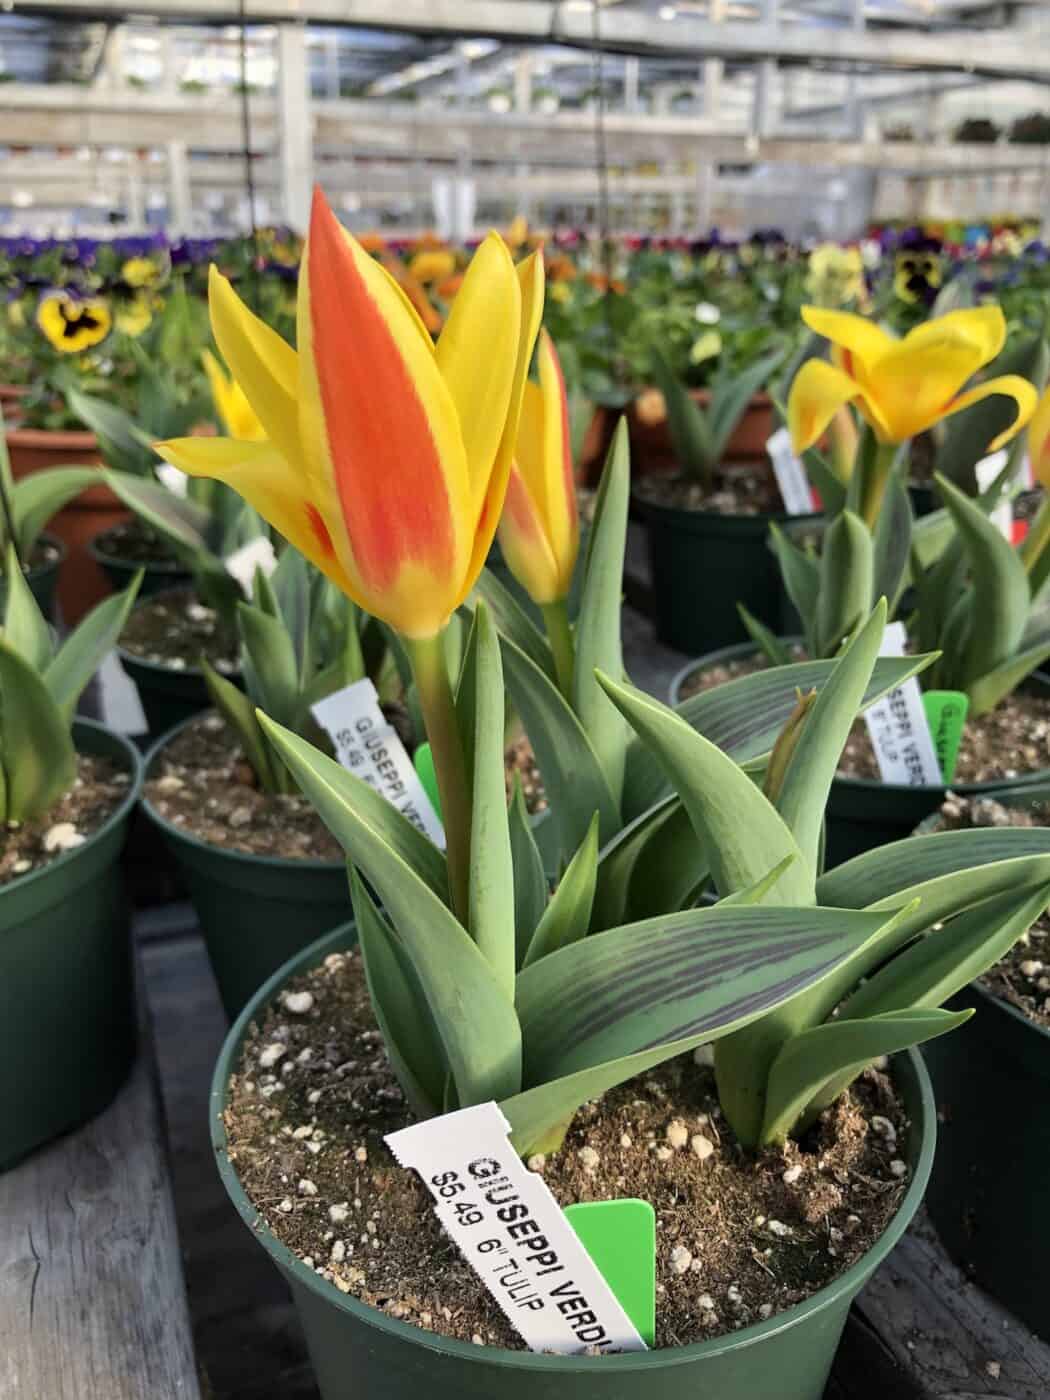
While tulips are most commonly planted as bulbs in the fall, sometimes you can find potted tulips for sale in the springtime in garden centers. This is a quick way to get some color into the garden! Choose types that perennialize well for the best bang for the buck.
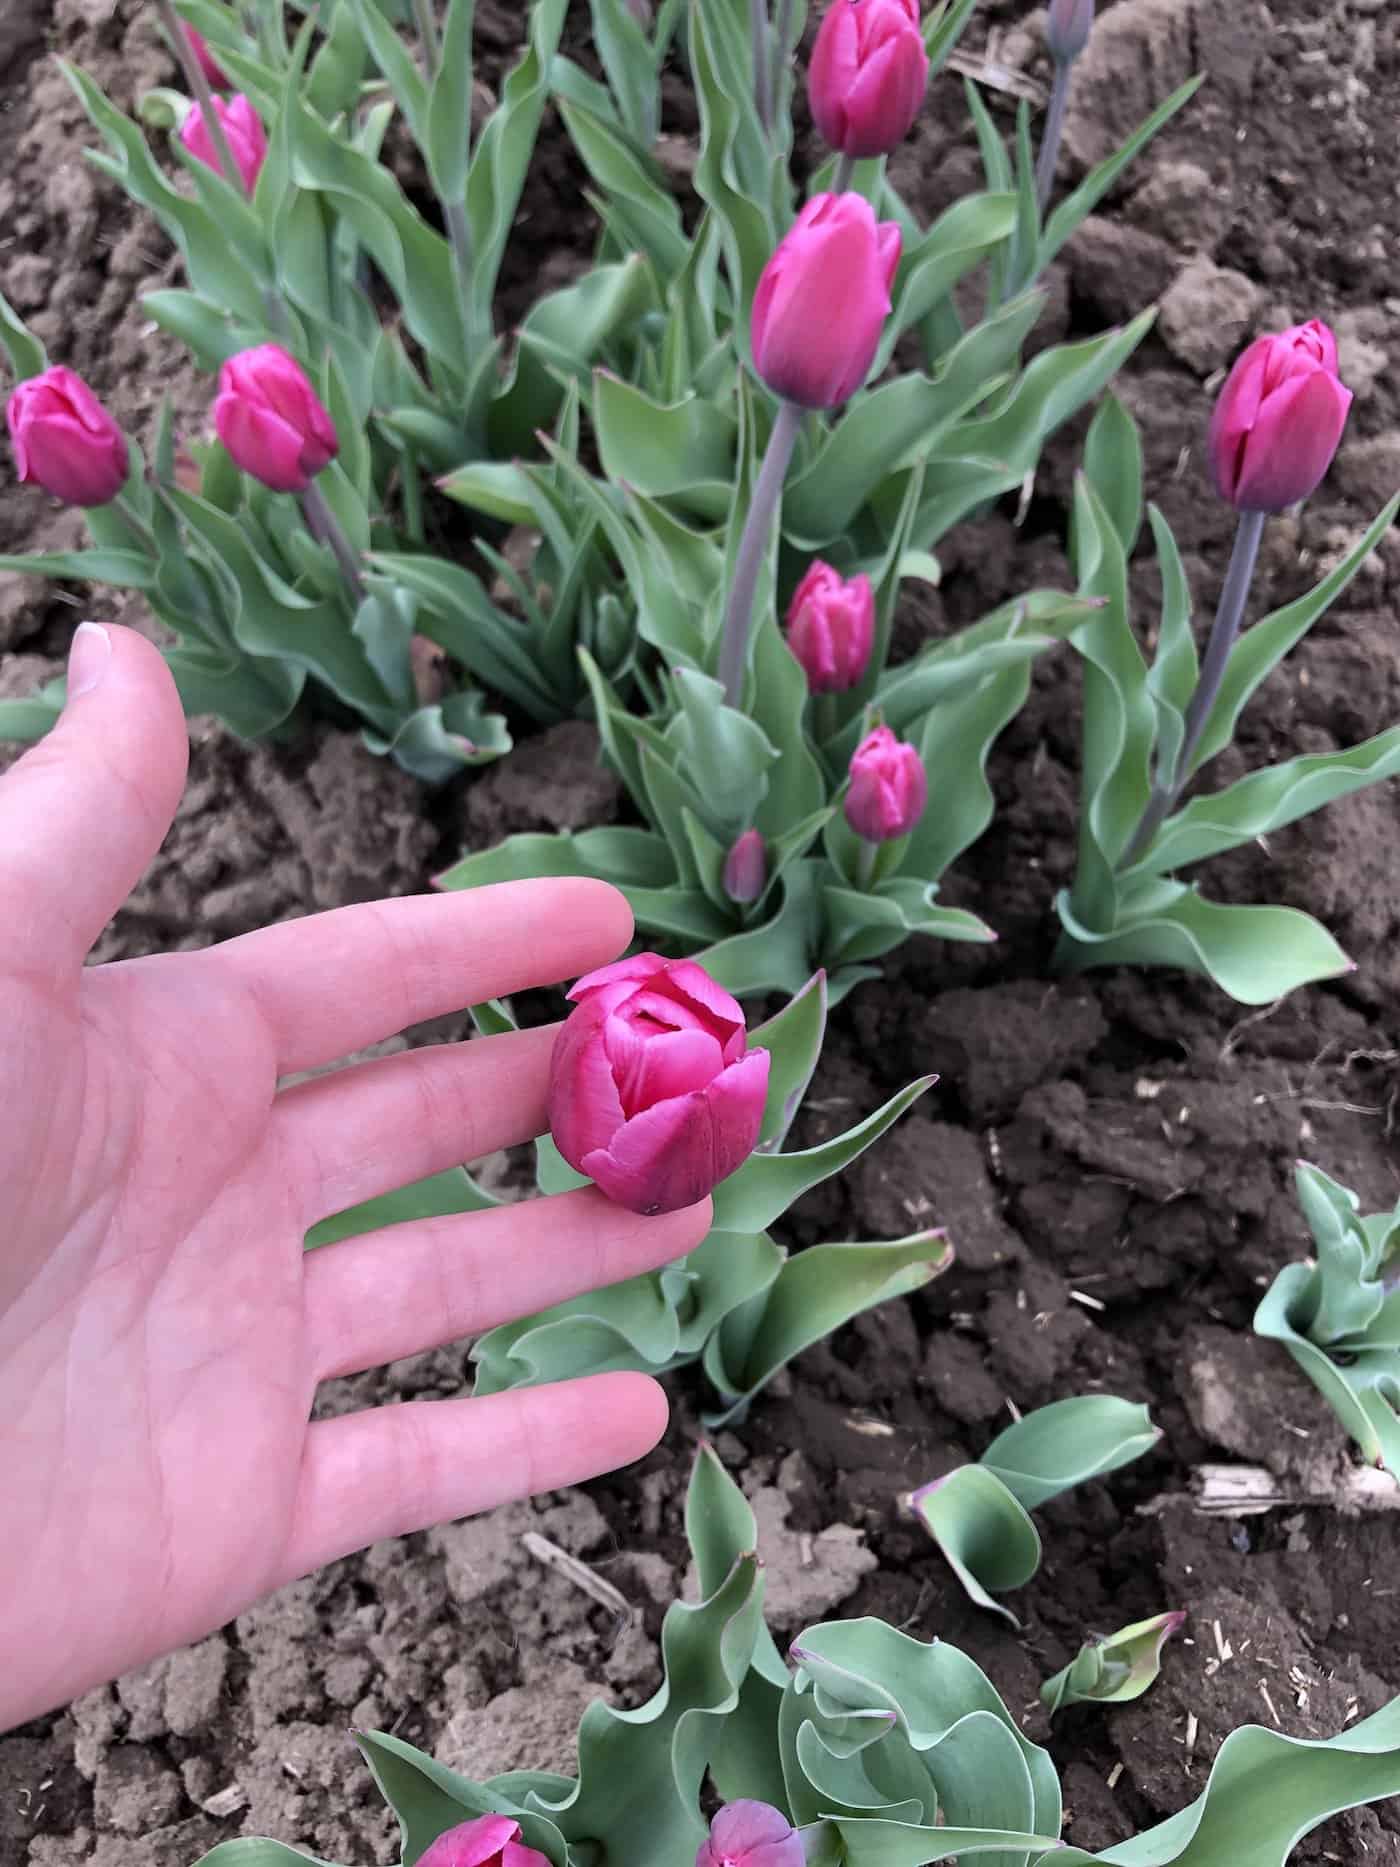
Watering tulip plants
Watering is an important part of growing tulips. Tulips must be watered regularly to stay healthy and bloom properly. The amount of water needed depends on the climate, soil type, and other factors. Tulips should be watered deeply once a week during the growing season (spring through early summer). Water them until the soil is moist but not soggy. If you live in a dry area or have sandy soil, you may need to water more often than once a week.
In hot weather or if your plants are wilting from lack of moisture, give them an extra drink every few days until they perk up again. Ensure that any excess water can drain away easily so the roots don’t become too wet and rot. You can also mulch around your tulip bulbs with organic material such as straw or wood chips to help retain moisture in the soil between watering sessions.
Tulips do not like standing in water for long periods, so avoid over-watering them, as this could cause root rot, killing off your plants before they even get started. Additionally, ensure that when you water your tulips, it is lukewarm rather than cold; cold water shocks their delicate roots and can damage them permanently.
Watering tulips is an important part of keeping them healthy and vibrant, so make sure to give your plants the right amount of water. Now let’s move on to fertilizing.
Fertilizing your tulip plants
Fertilizing is an important part of caring for tulips. Without the right nutrients, your tulips won’t be able to reach their full potential and will likely produce fewer blooms. Fertilizer helps provide essential nutrients like nitrogen, phosphorus, and potassium that help promote healthy growth and vibrant flowers.
When it comes to fertilizing your tulips, you should keep a few things in mind. First off, use a fertilizer specifically designed for bulbs or flowering plants; this type of fertilizer contains higher levels of phosphorus which helps promote root development and flower production. Secondly, apply the fertilizer at least once per season – usually when planting in fall or early spring – but avoid applying too much as this can cause burning or damage to the roots. Finally, water thoroughly after application so that the fertilizer reaches down into the soil where it’s needed most.
It’s also important to note that some areas have naturally nutrient-rich soils while others may need additional supplementation with organic matter, such as composted manure or leaf mulch, throughout the growing season in order to maintain adequate fertility levels for optimal plant health and performance over time. Additionally, if you’re growing tulips indoors (such as in containers), then you’ll want to make sure they receive regular doses of liquid fertilizer every two weeks during active growth periods (spring/summer).
How to grow tulips indoors
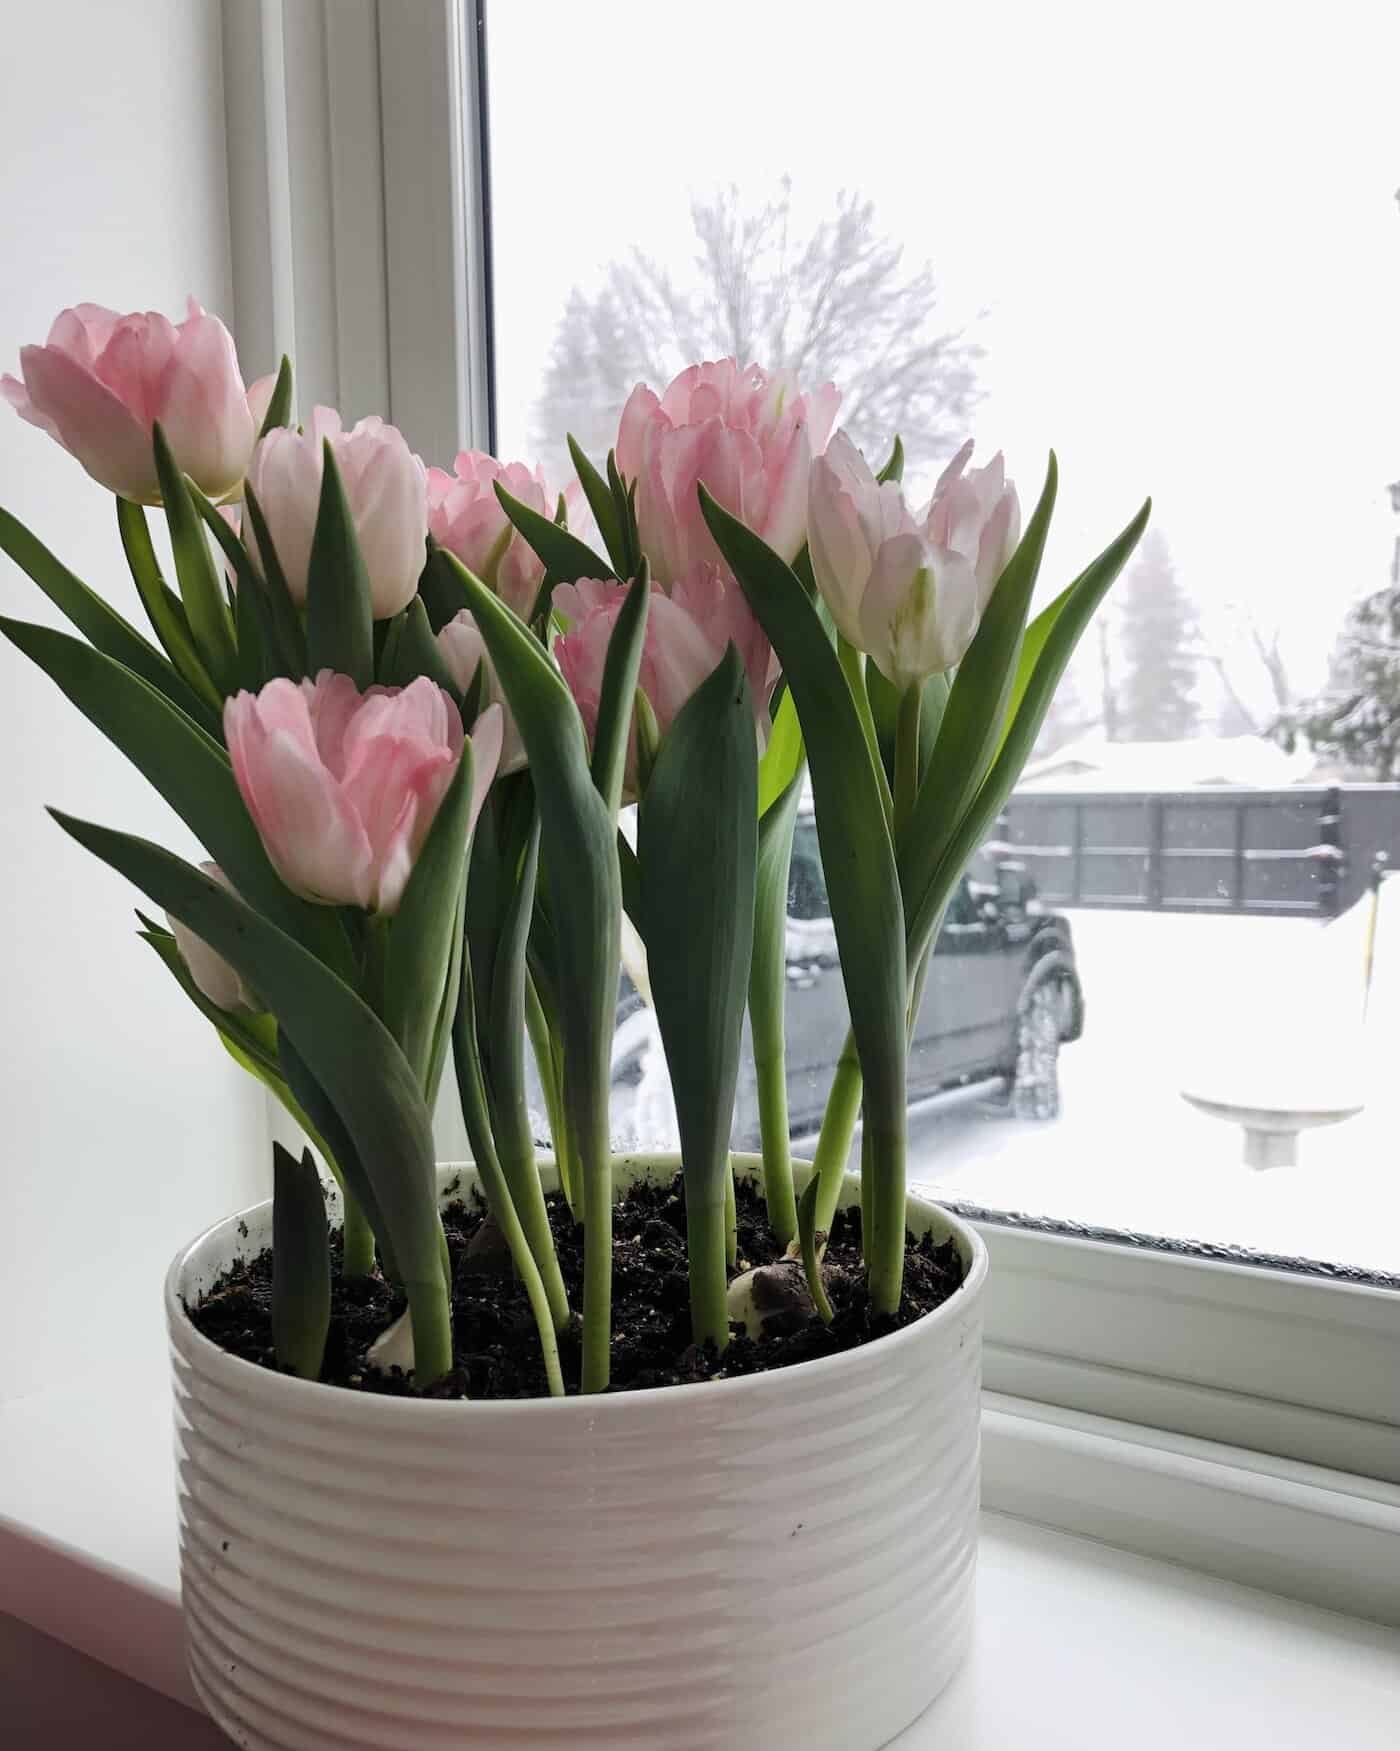
If you don’t have access to outdoor space or prefer growing indoors, you can also force tulip bulbs indoors. Make sure you place your potted tulip near a window that receives plenty of natural light throughout the day.
Be careful not to put them directly against glass, though, as this can cause overheating (or freezing!), which could damage their delicate petals over time. Additionally, if possible, try rotating your pots every few days so all sides receive equal amounts of sunshine – this helps ensure even growth across all stems.
Proper sunlight is essential for tulips to grow and thrive, so be sure to provide your plants with enough light each day.
Pests & diseases affecting tulip plants
Pests and diseases can be a real problem for tulip growers. It’s important to take steps to prevent them from affecting your plants and know what to do if you notice any signs of infestation or disease.
One way to protect your tulips is by using companion planting. Planting certain perennial flowers and other beneficial plants near your tulips can help deter pests like aphids and slugs that may otherwise attack the bulbs.
In addition, it’s important to practice good garden hygiene in order to keep pests away from your plants. Remove dead leaves and debris regularly, water early in the morning so that the foliage has time to dry before nightfall, which helps reduce fungal growth, and avoid overcrowding when planting bulbs – this will give each plant plenty of room for air circulation, which also helps reduce fungal growth on foliage.
Act quickly if you notice any signs of infestation or disease on your plants. Aphids can be removed with a strong spray of water or insecticidal soap solution; slugs can be handpicked off at night when they come out looking for food; and fungus problems should be treated with an appropriate product.
Finally, make sure not to overfertilize – too much fertilizer encourages lush foliage but weakens the bulb’s ability to fight off pests and diseases. A balanced fertilizer applied once every two weeks during springtime should provide enough nutrients without causing harm.
Pests and diseases can be a major challenge for growing tulips, but you can enjoy a healthy, vibrant garden with proper monitoring and preventative measures. Now let’s look at harvesting and enjoying your beautiful blooms.

Harvesting and enjoying your tulip flowers
Harvesting your tulips is an exciting time. When the blooms are fully open, and the stems are strong, it’s time to cut them. Use a sharp pair of scissors or garden shears, and make sure you leave at least two inches of stem on each flower. This will help keep them fresh for longer once they’re inside.
Once you’ve harvested your tulips, there are many ways to enjoy them in your home. You can arrange them into beautiful bouquets with other flowers like roses or daisies or display a few in a vase by themselves for a simple yet elegant look. Tulips also make great centerpieces for dinner parties – add some greenery and candles around the base of the vase to create an eye-catching display.


After tulips bloom
After your tulips have bloomed, cut the dead flower heads off but leave the leaves on the plant. The bulb needs these leaves for photosynthesis, creating new baby bulbs below the soil surface. This is especially important if you’re planning on digging up your tulip bulbs in the summer to store them.
