Ready to start composting at home? It’s easy to do and brings a ton of benefits! Here’s everything you need to know.
Why bother composting at home?
There are many benefits of composting at home. This includes (but isn’t limited to) the following.
1. Better soil quality
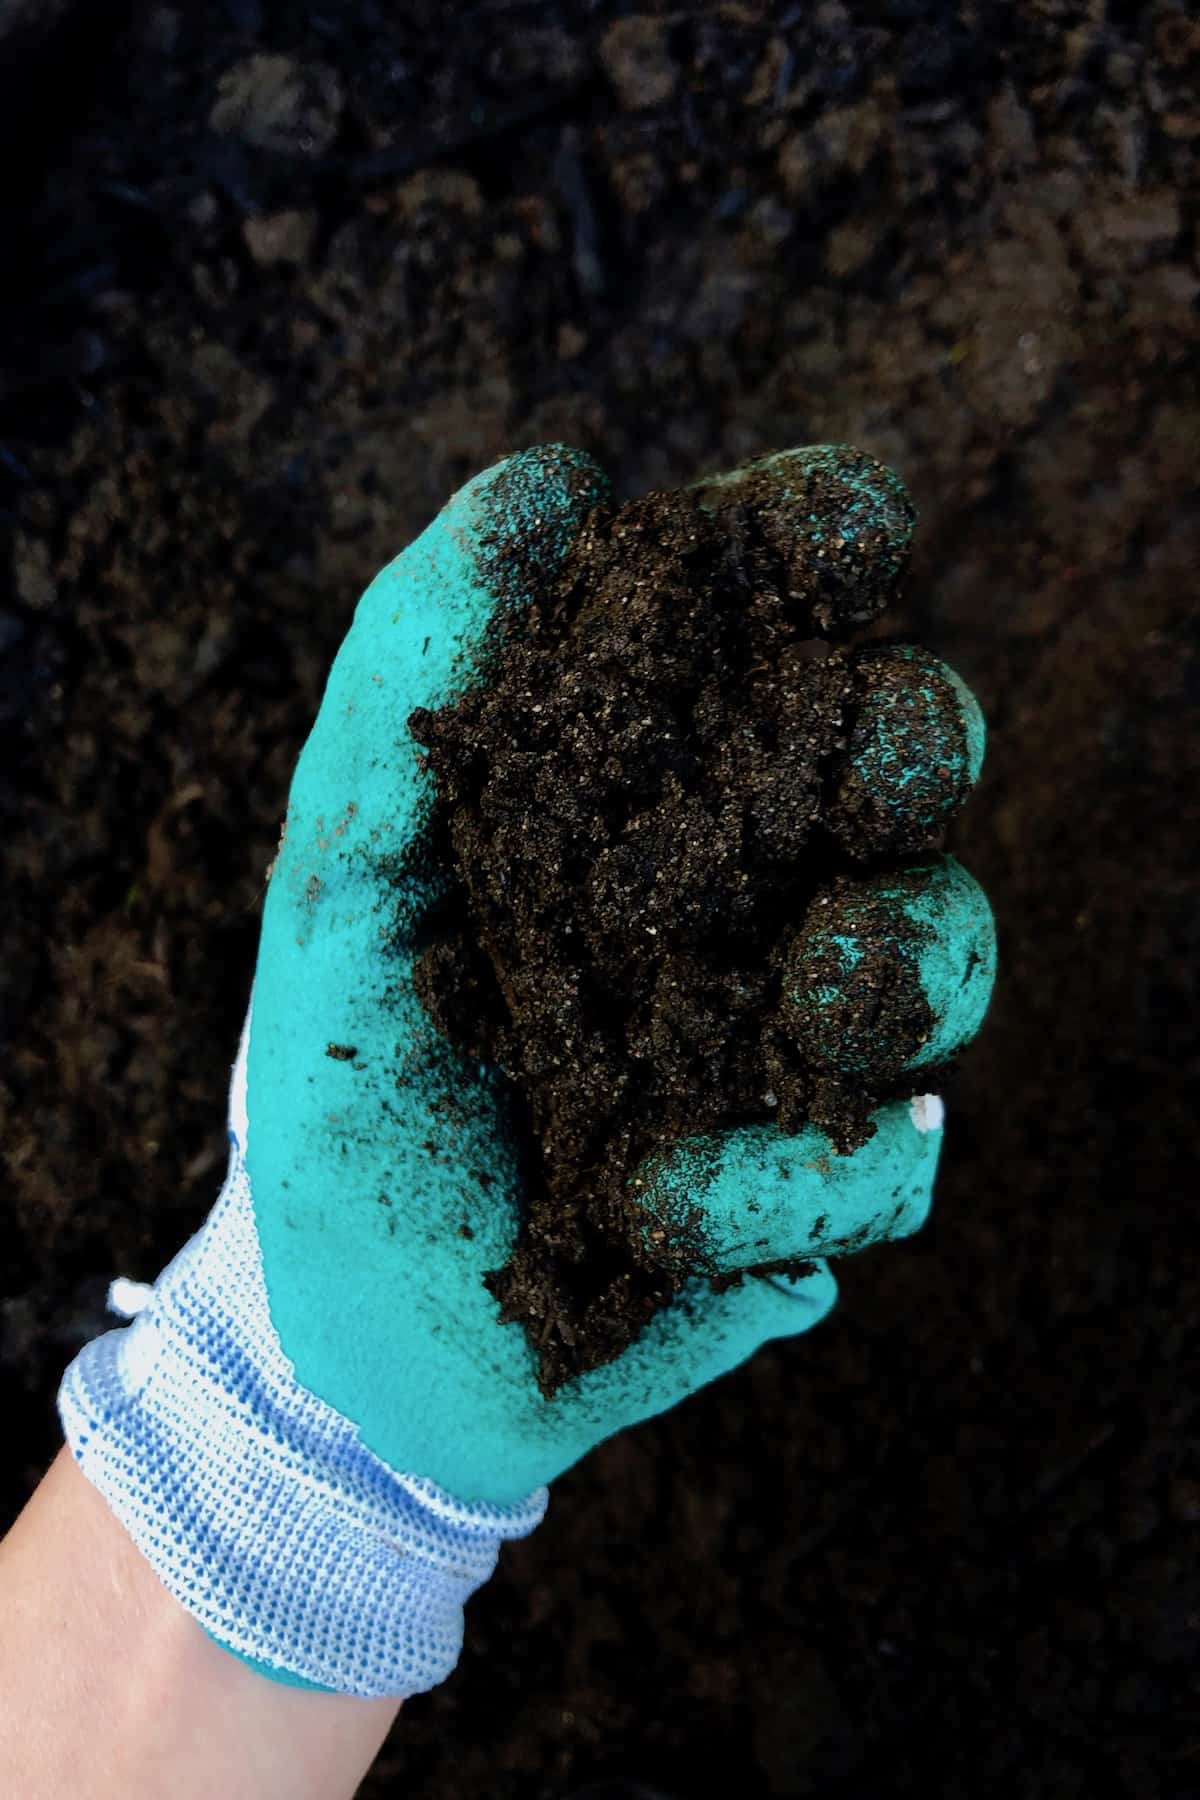
Adding composted soil to your garden allows it to retain moisture, which means you won’t have to water as frequently. It also helps to keep weeds from growing, which will save you time.
Even better, composted soil is extremely nutrient-dense, so you won’t have to add chemical fertilizers to your garden.
2. Smaller carbon footprint
When you throw out less trash, you reduce your contribution to the creation of greenhouse emissions that come from landfills. If enough people started composting, then there would also be less of a need for garbage trucks and the waste they create.
3. Saving money
When you don’t have to water your garden as frequently, and you’re not buying bags of fertilizer, you’ll save money. Not only that, but you’ll be able to grow some top-notch veggies in your garden which will help you save on your grocery bills.
Simple dos and don’ts
Before we jump into the process of composting, it’s a good idea to cover some simple dos and don’ts. This will help you avoid some of the most common mistakes that can derail your composting efforts.
Do: Prepare to be patient
There are several different ways to approach composting, each with different benefits and various levels of difficulty. No matter which method of composting you decide to use, you’ll have to prepare yourself to remain patient. This isn’t a fast process!
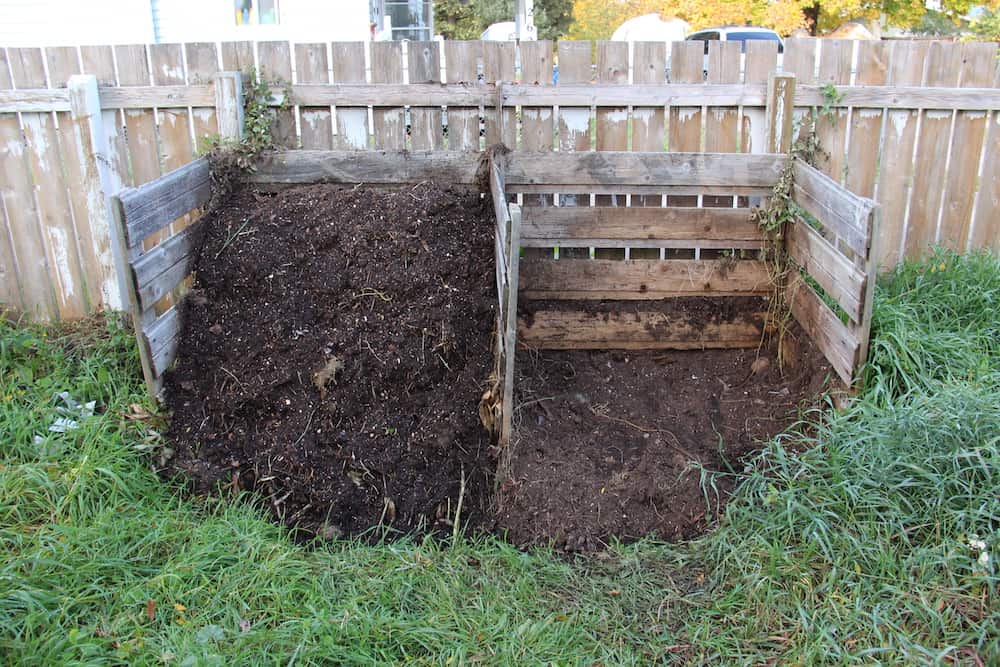
Cold composting is the best option for beginners. You’re essentially just making a big pile of dead plant matter and letting it rot on its own. Using this method – the easiest way to compost at home – it can take close to a year for your first round of compost to decompose.
Hot composting is better suited for advanced gardeners. In warm weather, the process can yield usable compost soil within about three months. Worm composting, also called vermicompost, can also help to speed up the process.
Do: Get to know what you can compost
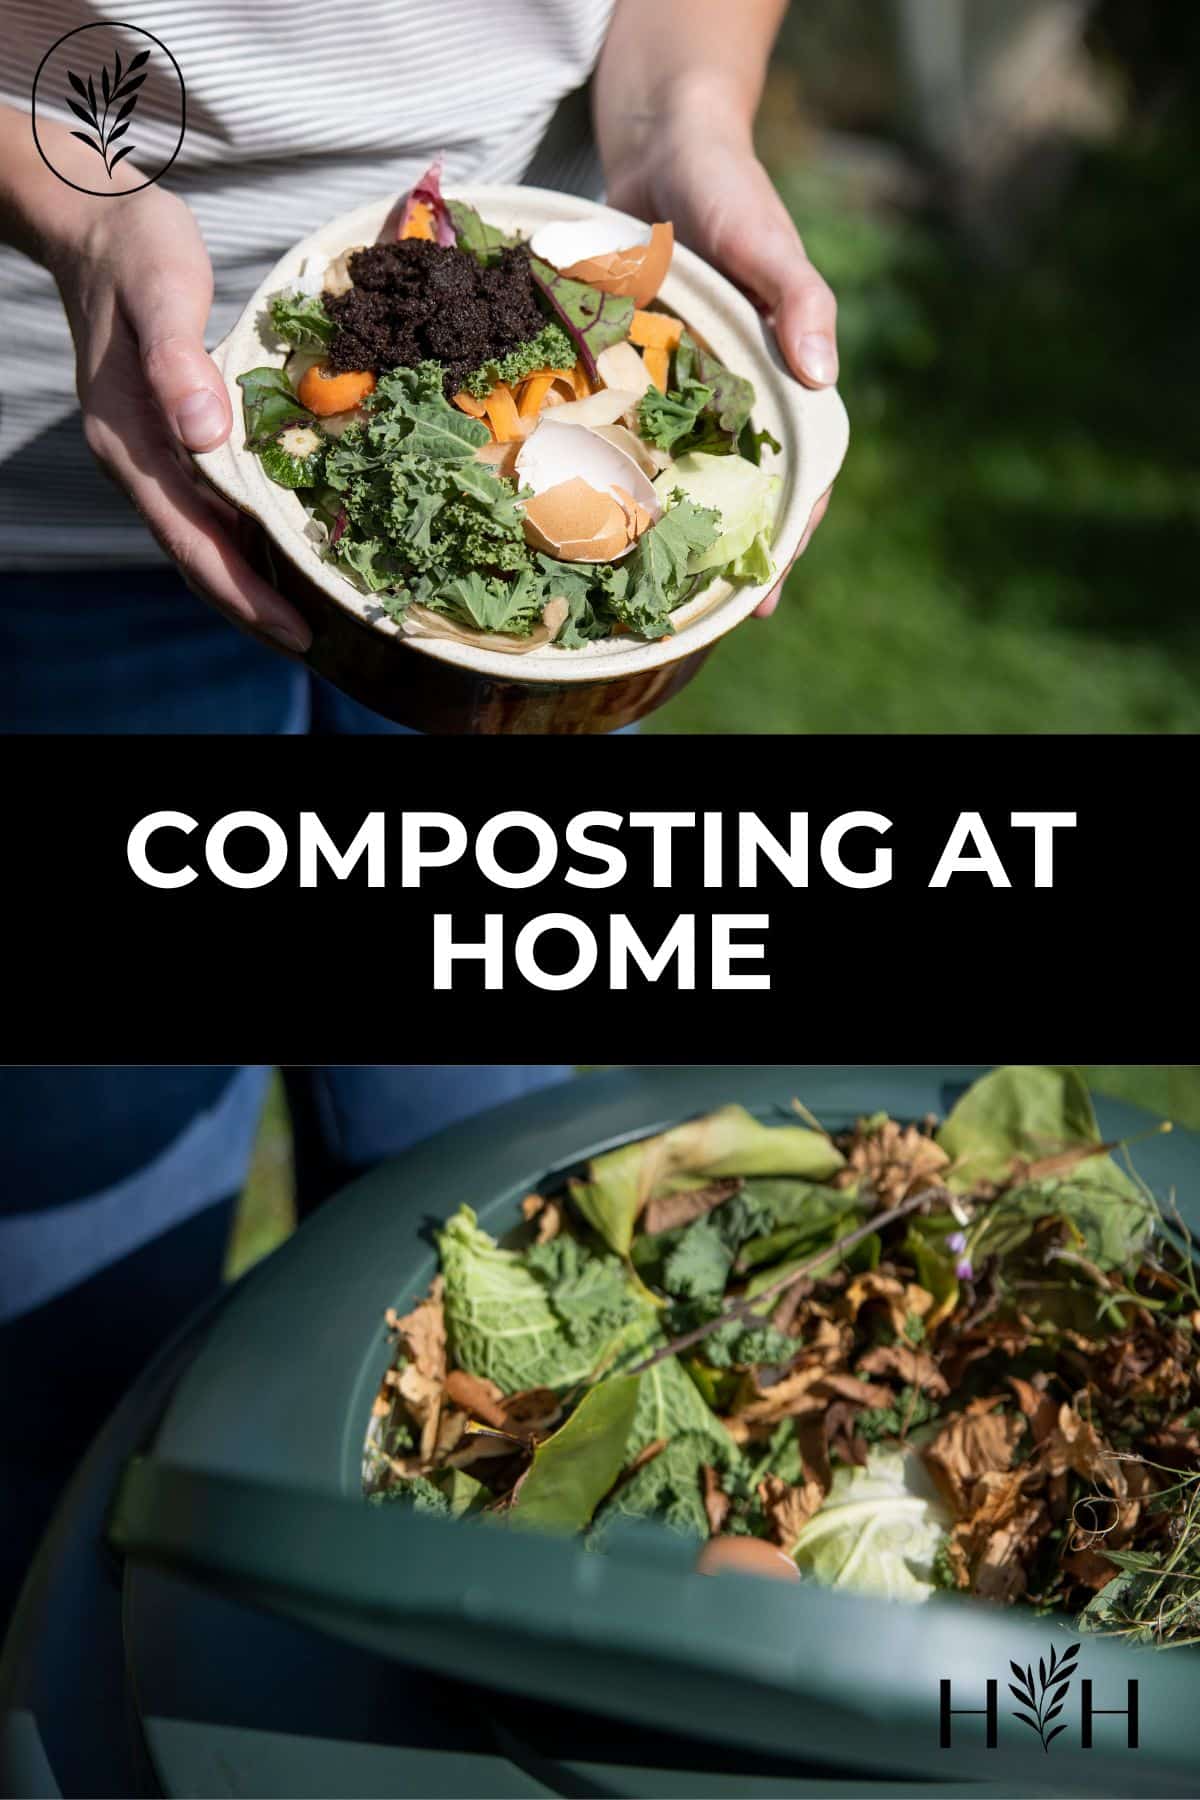
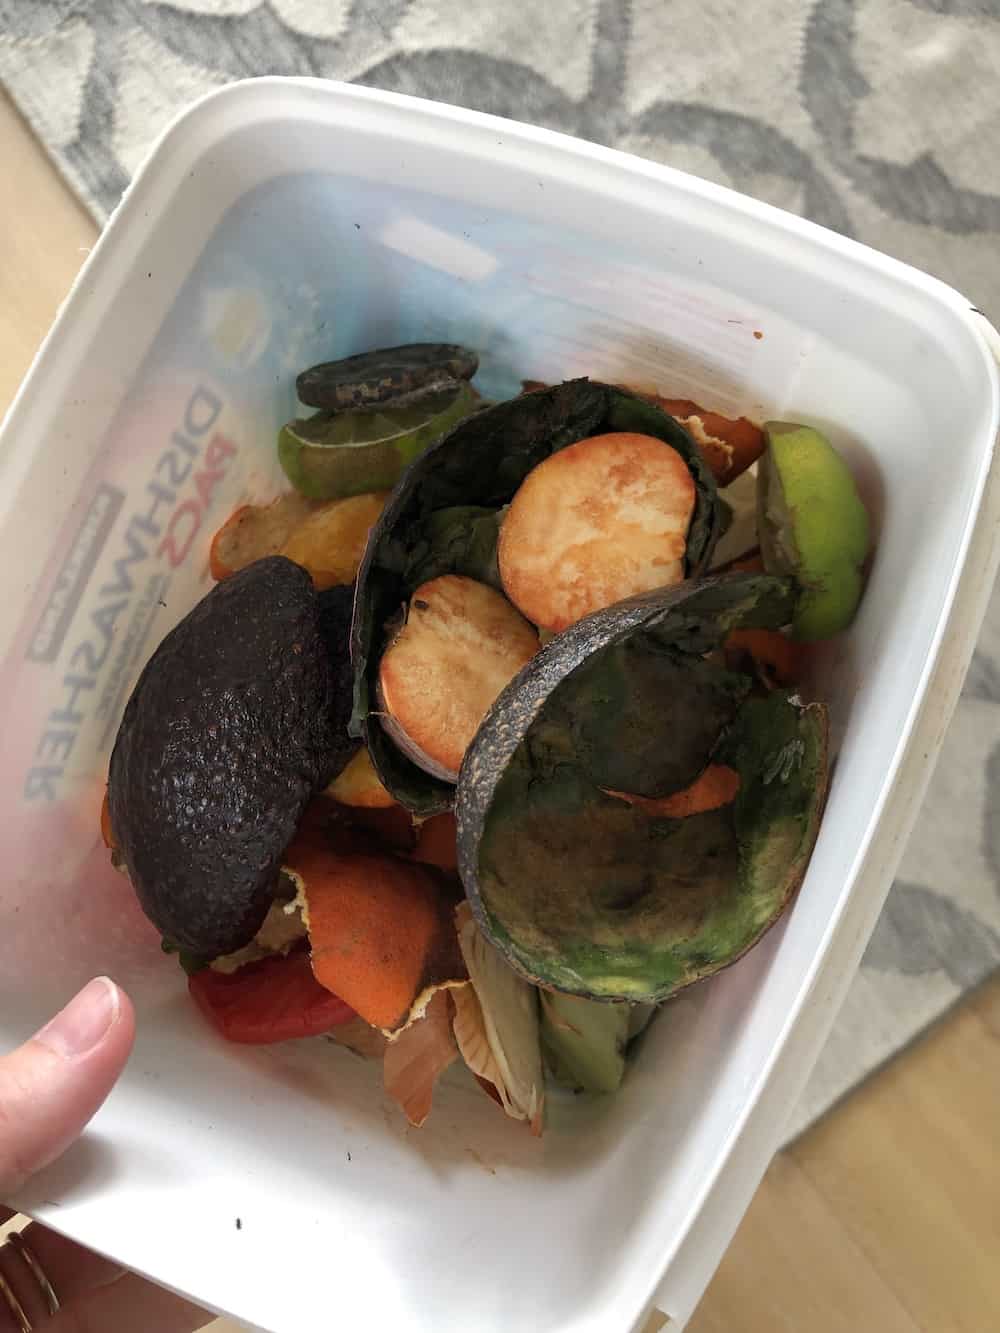
Successful composting begins with understanding what types of things you can add to your compost pile. This is divided into “greens” and “browns”
Examples of “Greens”:
- Fruit and vegetable scraps
- Coffee grounds
- Eggshells
- Flowers
- Garden waste
- Grass and plant clippings
Examples of “Browns”:
- Dried leaves
- Paper towels
- Finely chopped wood, bark chips, and sawdust from untreated wood
- Straw
- Shredded newspaper
- Coffee filters
- Cardboard
This is just a basic starter list. Do your research to learn more about your options before you get started on your composting adventure.
Further Reading: The Ultimate Guide to Composting
Don’t add the wrong things to your compost pile
Adding the wrong things to your compost pile can ruin your efforts, so it’s important to be careful. Never add any meat or dairy products, diseased plants, fats or oils, or animal feces. It’s also a good idea to minimize adding too many onions and garlic as these can repel worms in large amounts, which are important for the composting process.
While these items shouldn’t be added to an open compost pile, all food waste (even meat, dairy, and oils) can be composted in a specialty food digester. One of the most popular food waste composters is designed to break down food waste into its basic components and sequester the elements in soil – the Green Cone Solar Waste Digester. If you’re composting indoors, see my review of the Lomi electric composter for a great option to process plate scrapings into compost overnight.
Here’s a little more on what you can compost in the Green Cone Solar Waste Digester:
“What can go in?
Green Cone Solar Waste Digester, EarthEasy
-Raw and cooked food scraps e.g. fruit, vegetables, fish, red meat, poultry, all bones, bread, dairy, egg shells, tea bags, coffee grounds and more
-Light pet waste”
Composting at home for beginners: A step-by-step guide
Now that you know all the basics, here’s your simple step-by-step guide to starting your own at-home compost.
1. Find the perfect space and gather your materials
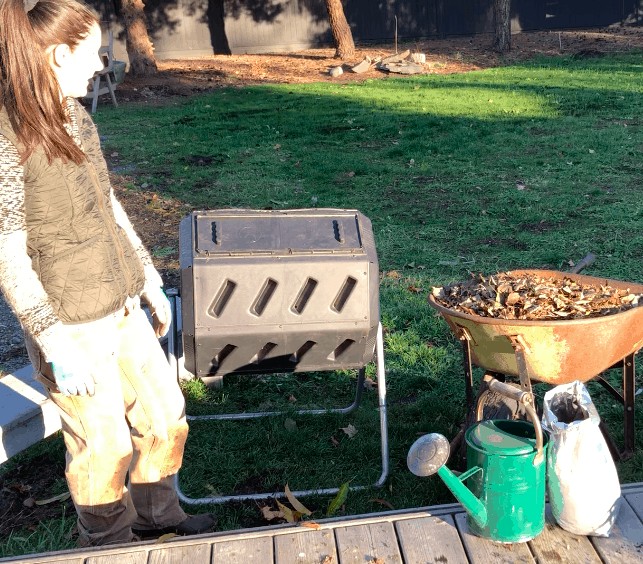
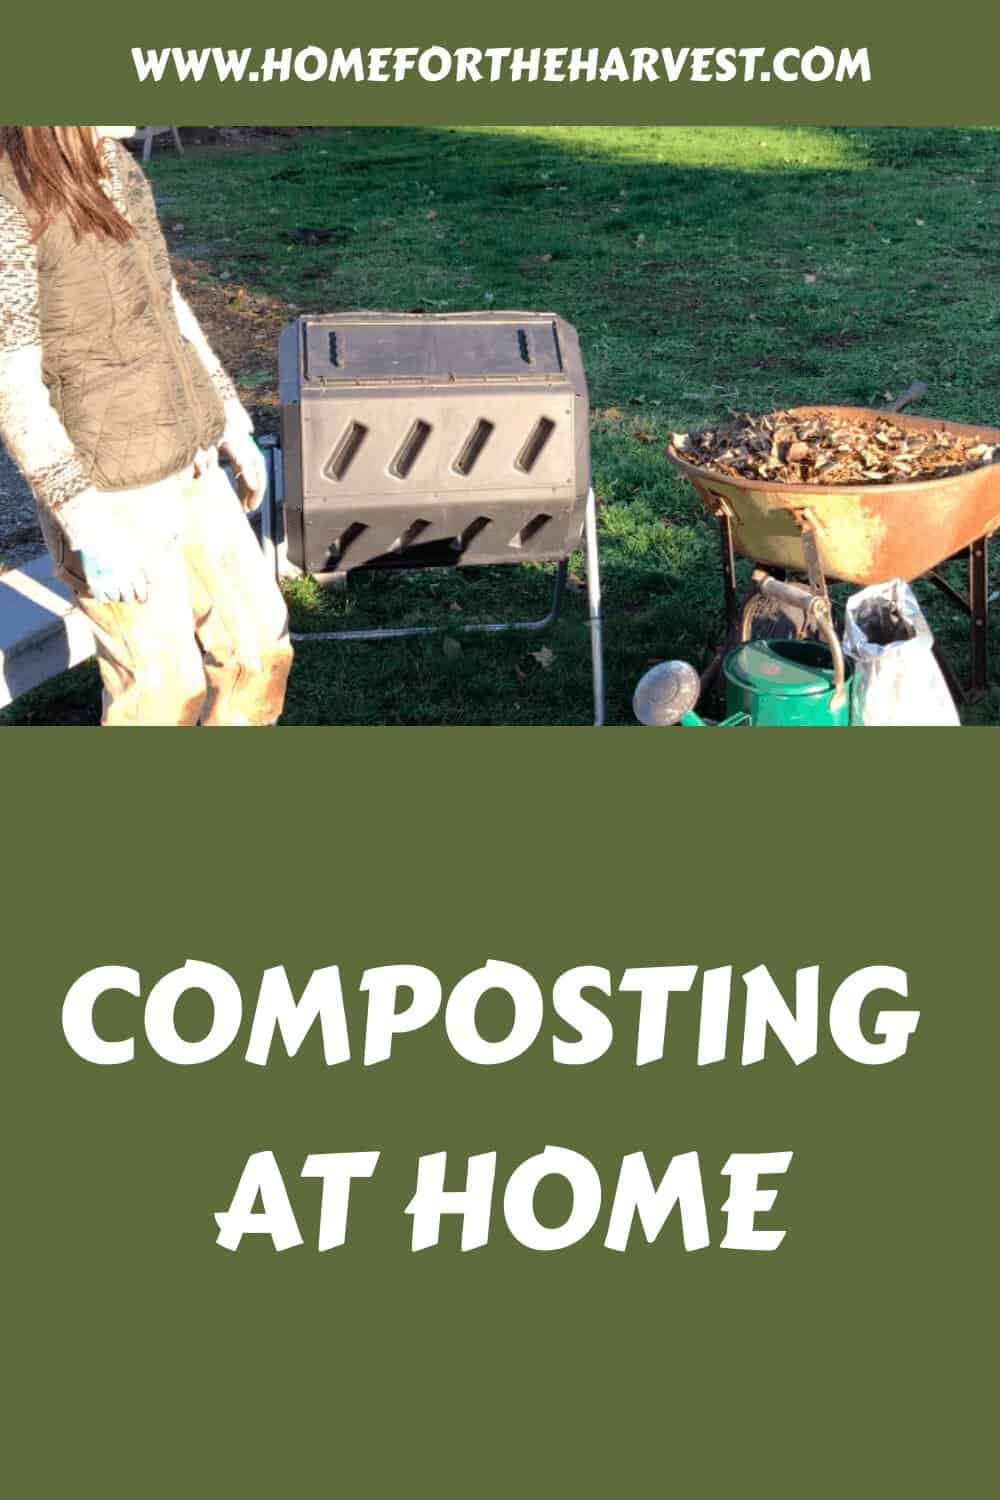
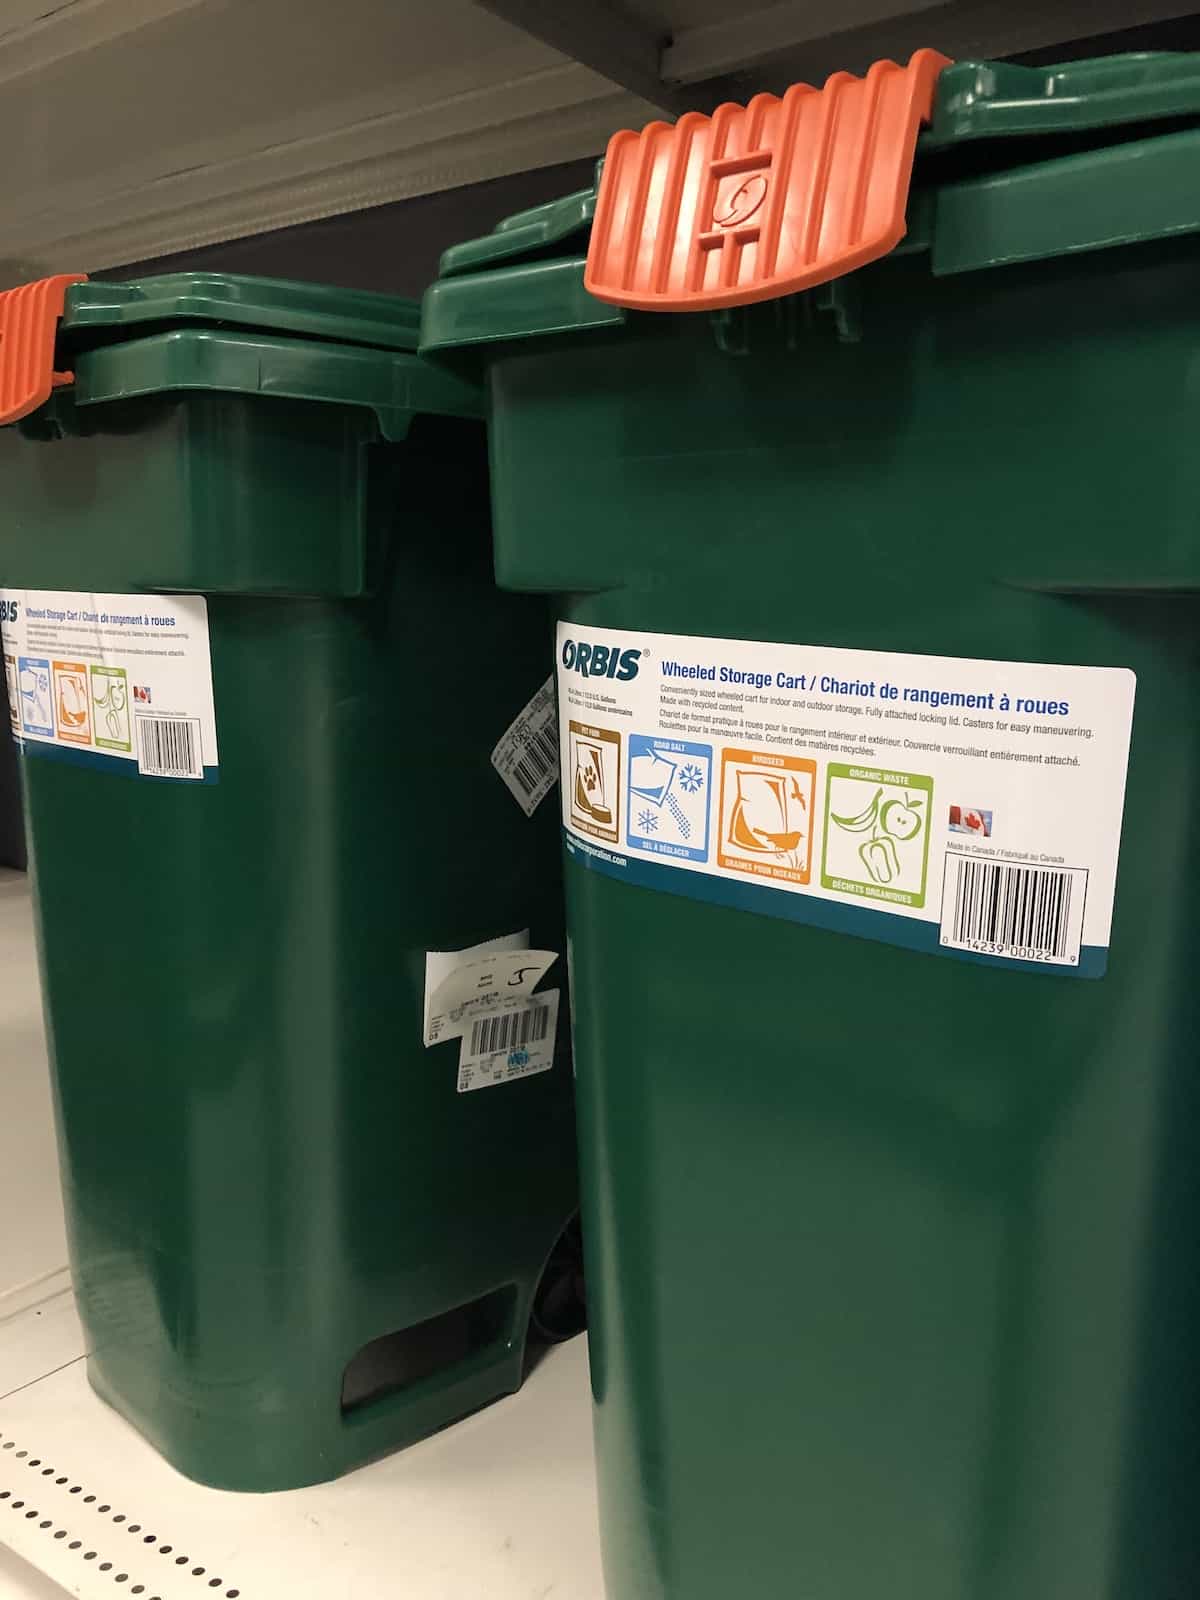
If you’re going to compost outdoors, you’ll need about three square feet of space. You might want to use a closed bin, which will look (and smell!) better than an open compost pile. You can make your own, buy a container at a home and garden store, or shop at a specialty retailer that sells composting gear.
Make sure your container is about three feet across and no larger than waist-high. It’s also a good idea to put a small fence around your composting area. This will keep pets and other animals from getting into it.
2. Layer your materials
Start with a layer of course materials, like sticks and twigs, which will allow for aeration. Then cover this with a layer of leaves. After that alternate layers of “greens” (which are materials rich in nitrogen) and “browns” (materials rich in carbons.)
Continue this process until your bill is close to being full. Note that as your materials start to decompose they will “shrink,” allowing you to keep adding more.
3. Maintain your bin
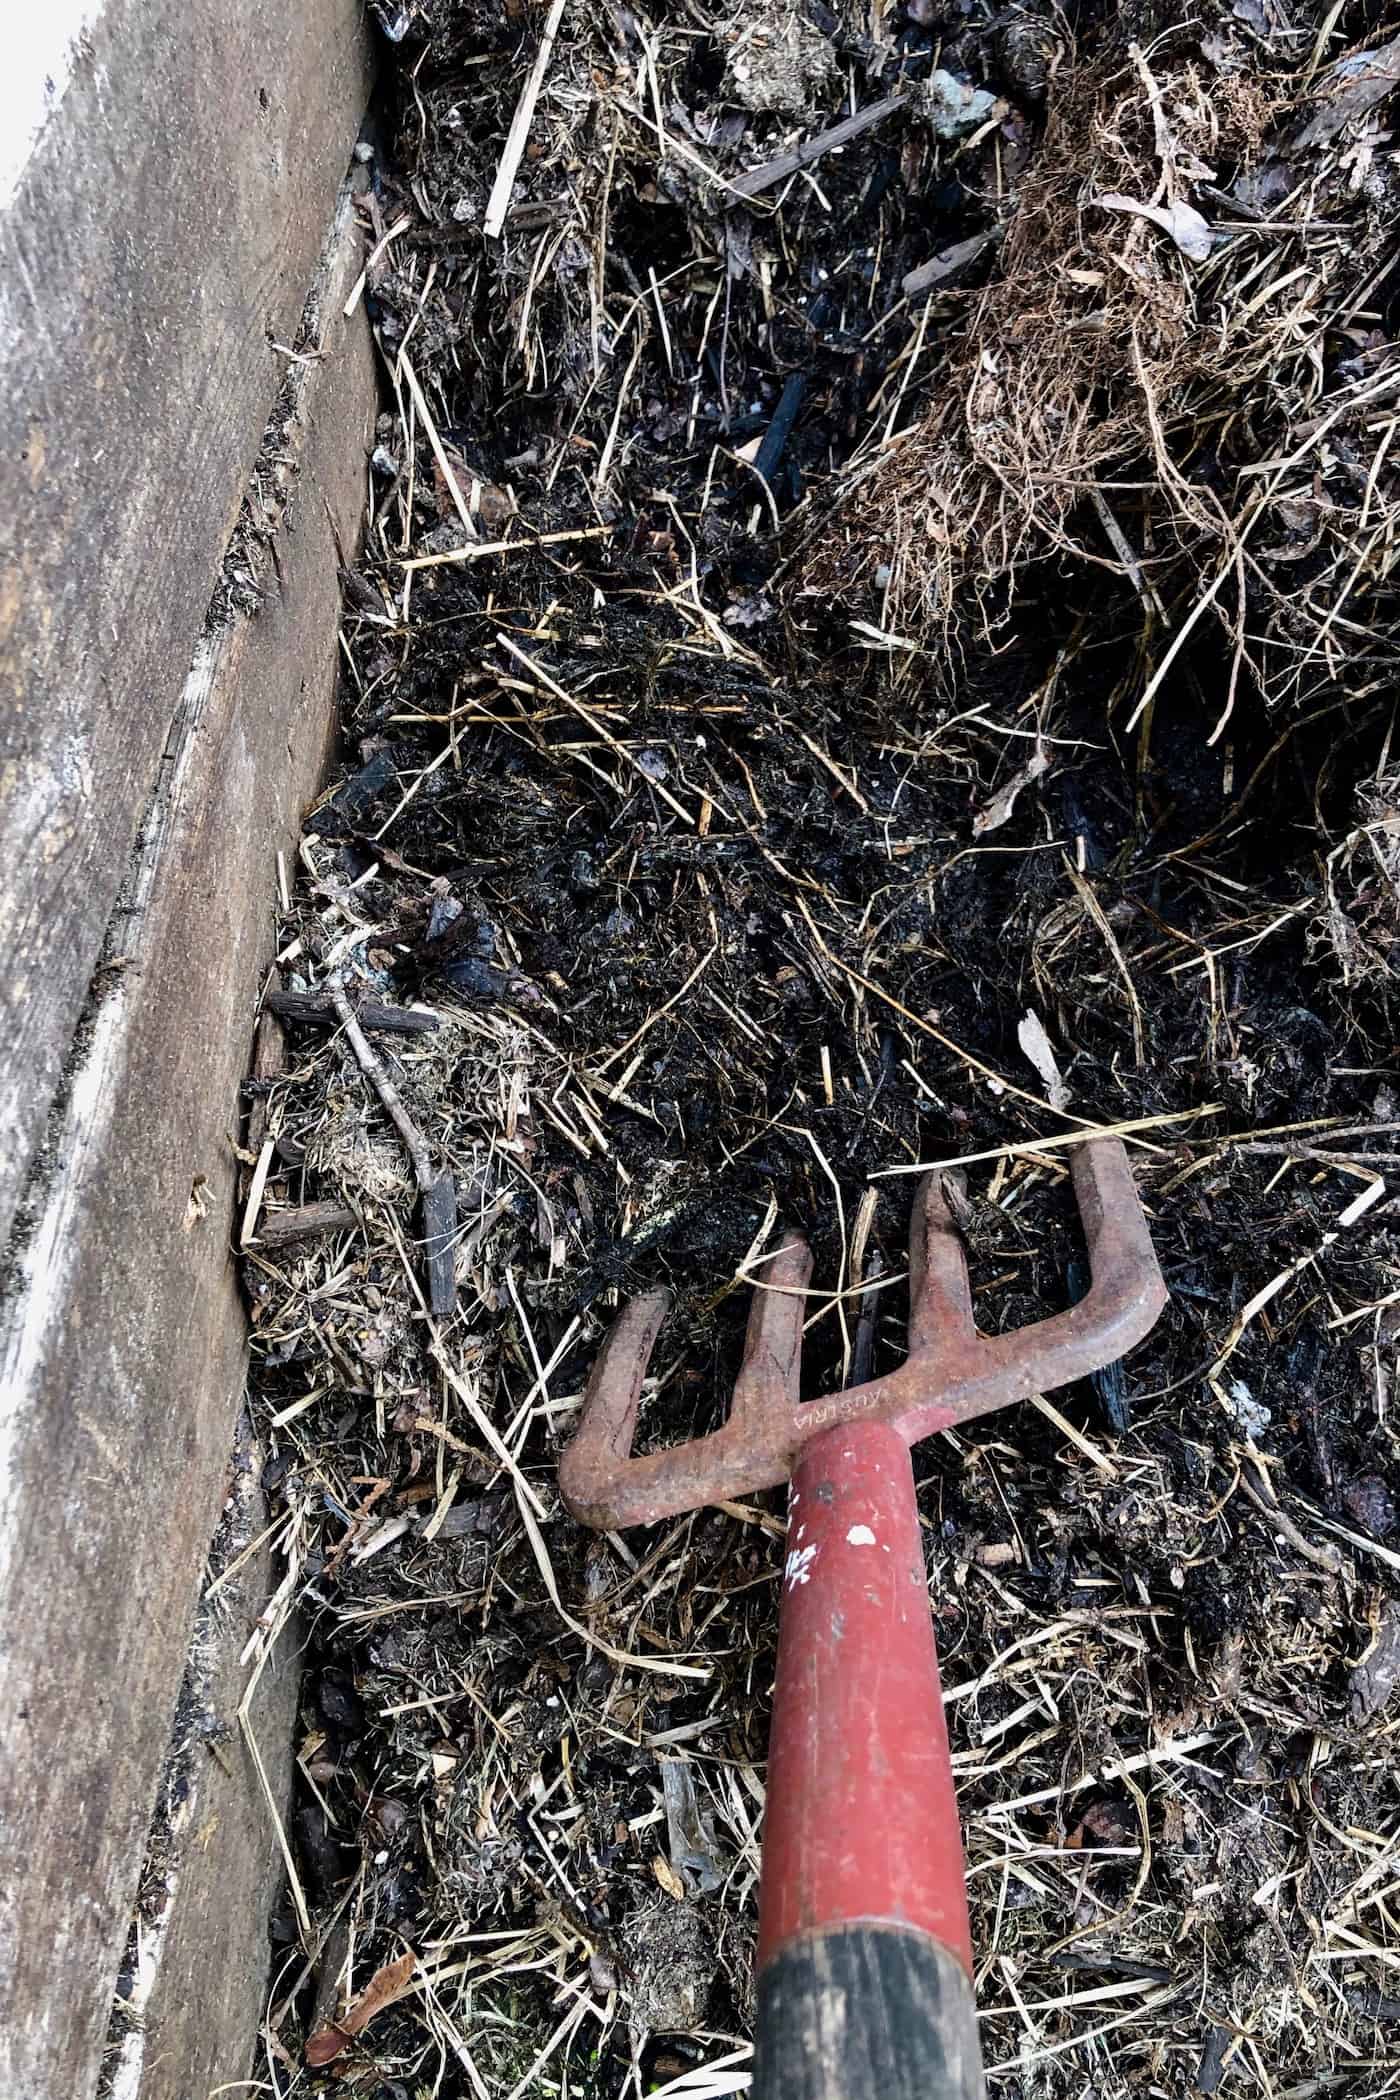
It doesn’t take a ton of effort to maintain a compost bin, but there are a few things you’ll need to do. First, each time you add more materials, make sure that you mix them well with the lower layers. This will help it decompose faster. A Pitchfork is one of the most helpful garden tools for this.
Next, you’ll want to monitor the moisture and keep it at the appropriate level. Ideally, the inside of your bin should be about as moist as a wet sponge that has been wrung out.
If it dries out, add more water. If it seems too wet, then add some dry materials (see the list above). You’ll also want to turn over the contents of your bin at least once a week. This will help add oxygen to the mix which helps things decompose and will reduce the odor it creates.
4. Harvest your composted material
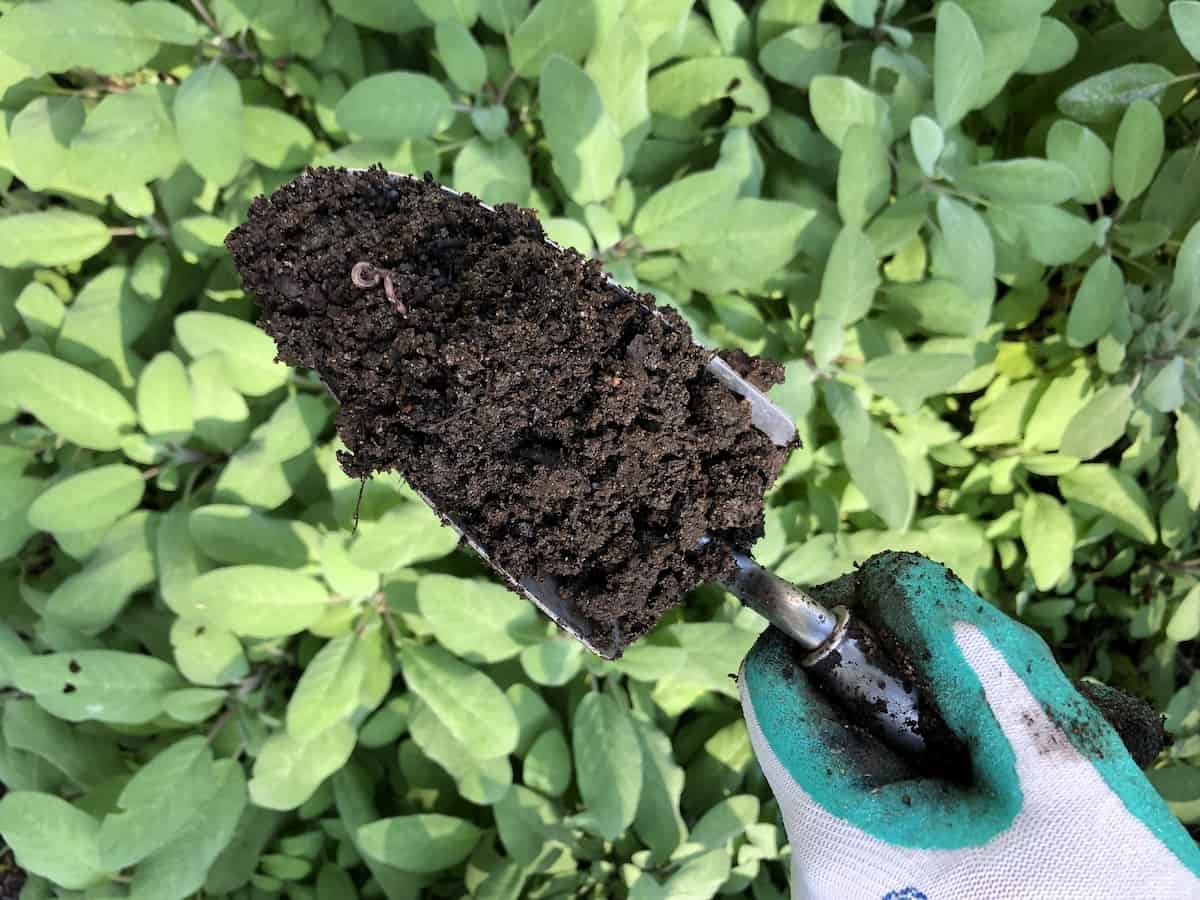
When the homemade compost soil is ready, it will be dark, crumbly, and have an earthy smell. This will usually take a minimum of four to six months from the time you first start. When you’re sure the process is finished, harvest the compost and use it in your garden!
If there are any uncomposted materials at the bottom of the bin, leave them in there and repeat the process.
