
Are you looking for a fun and rewarding project to take on this spring? Starting seeds indoors is an excellent way to get your garden off to a great start. You don’t need any special gardening expertise – just the right supplies, soil preparation tips, knowledge of common indoor seed varieties, planting techniques, watering & temperature needs, and light requirements. We’ll even provide some troubleshooting advice in case things don’t go as planned. With our helpful guide on starting seeds indoors, you can be sure that your plants will thrive all season long.
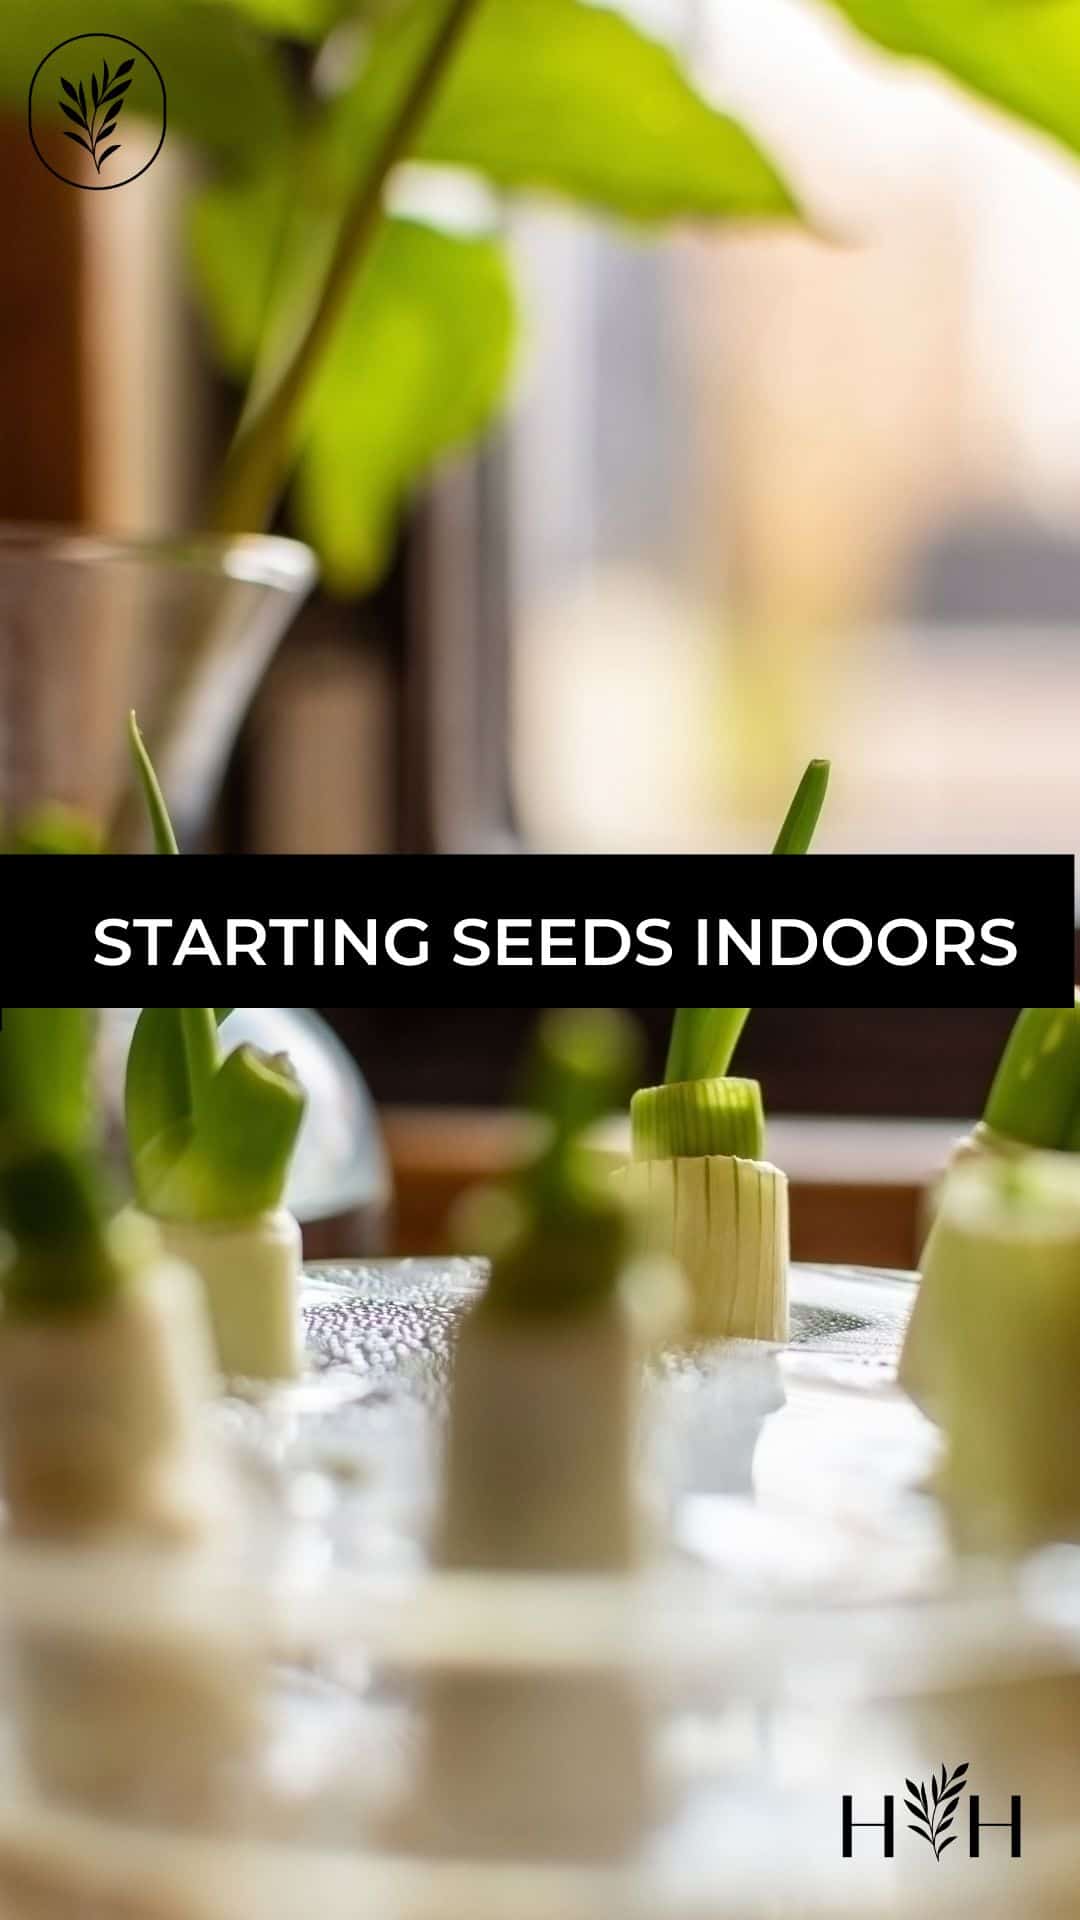
Starting seeds indoors
Starting seeds indoors can be an exciting and rewarding experience. The first step is to prepare the soil, which should be loose and full of nutrients. It’s also easiest to choose seeds that are well-suited to indoor environments. Once you have your supplies, you can begin planting according to the instructions on the seed packet.
After planting, it’s important to create an optimal environment for your plants by providing adequate light, heat, and water. Once the plants are established, you can transplant them outside or keep them indoors as part of your indoor garden. With some patience and dedication, starting seeds indoors can open up a world of new possibilities in gardening!
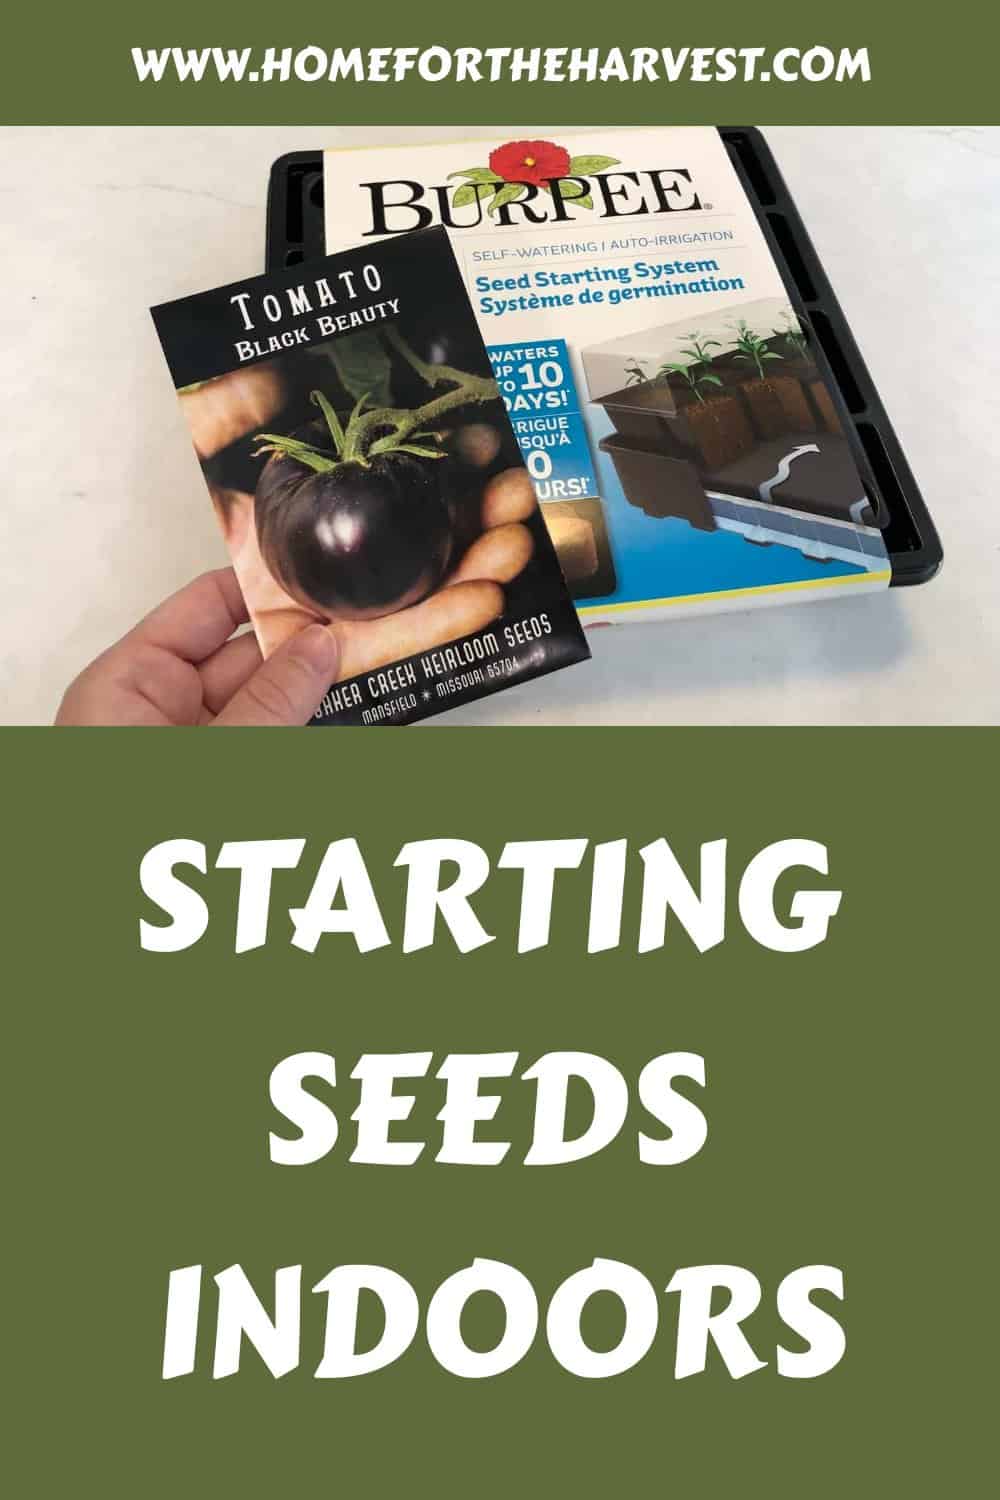
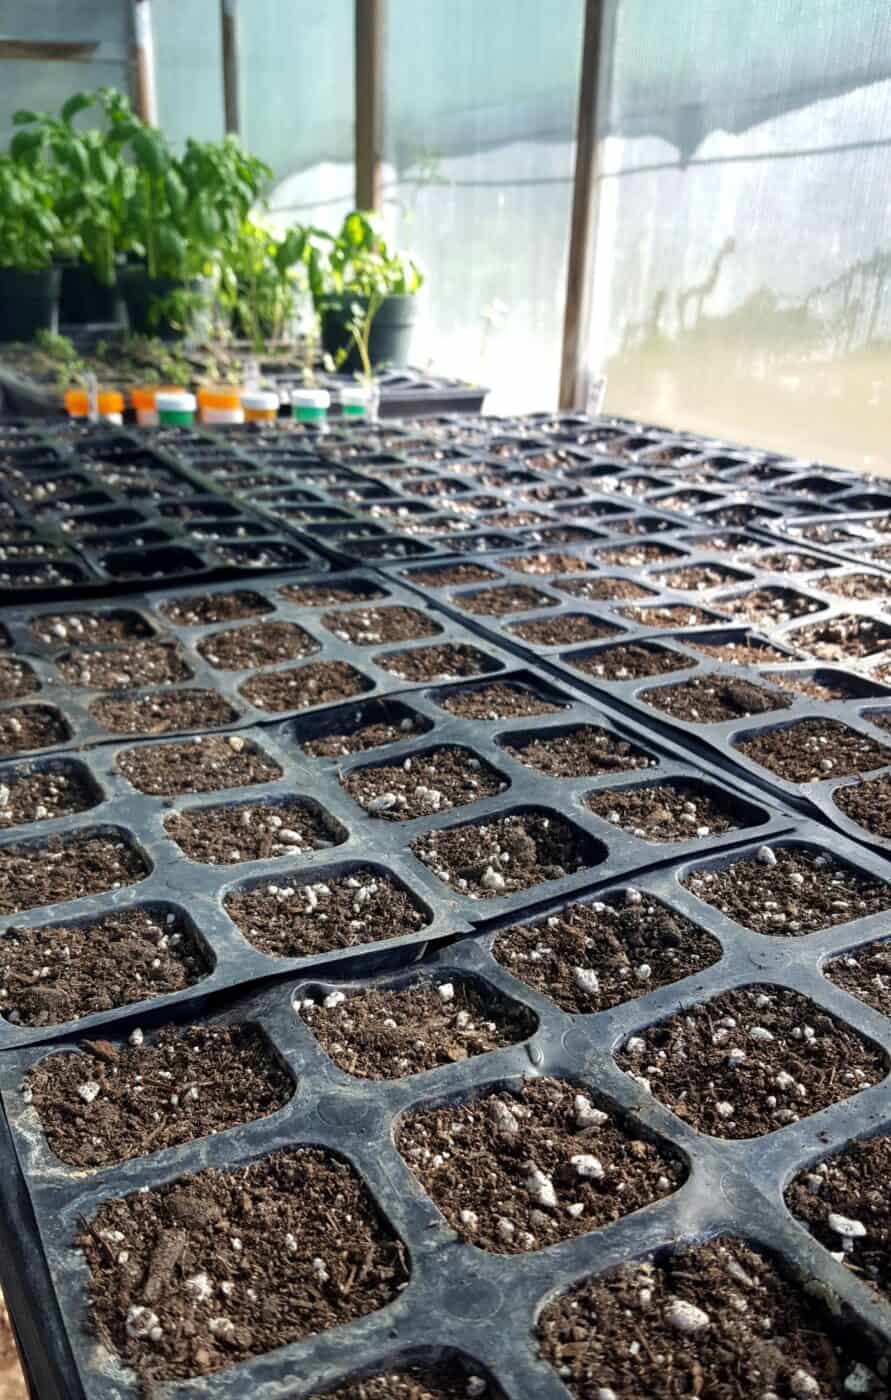
When it comes to starting seeds indoors, there are a few supplies you’ll need. Seed trays or pots are the most important item and come in various sizes and shapes. You can find these at your local garden center or online. Make sure they have drainage holes on the bottom so that excess water can escape when watering.
Soil is also essential for growing healthy plants; look for a potting mix specifically designed for seed-starting as this will be lighter than regular soil and provide better aeration for roots. Finally, you’ll need some kind of light source such as fluorescent lights, LED grow lights, or even natural sunlight from a window sill – just make sure to rotate your plants regularly if using natural light so all sides get equal exposure.
Before planting your seeds, it’s important to properly prepare the soil by mixing in any necessary amendments like fertilizer or compost. Start with an organic potting mix specifically designed for seed-starting; this will ensure that your plants have enough nutrients while still providing good drainage and aeration for their roots. If desired, you can add additional amendments like perlite or vermiculite which help retain moisture but allow air flow around the root system too – both of these items can usually be found at gardening stores near other soils & fertilizers. Once everything is mixed together well (you may want to use gloves.), fill each tray with about 1 inch of prepared soil before adding your seeds.
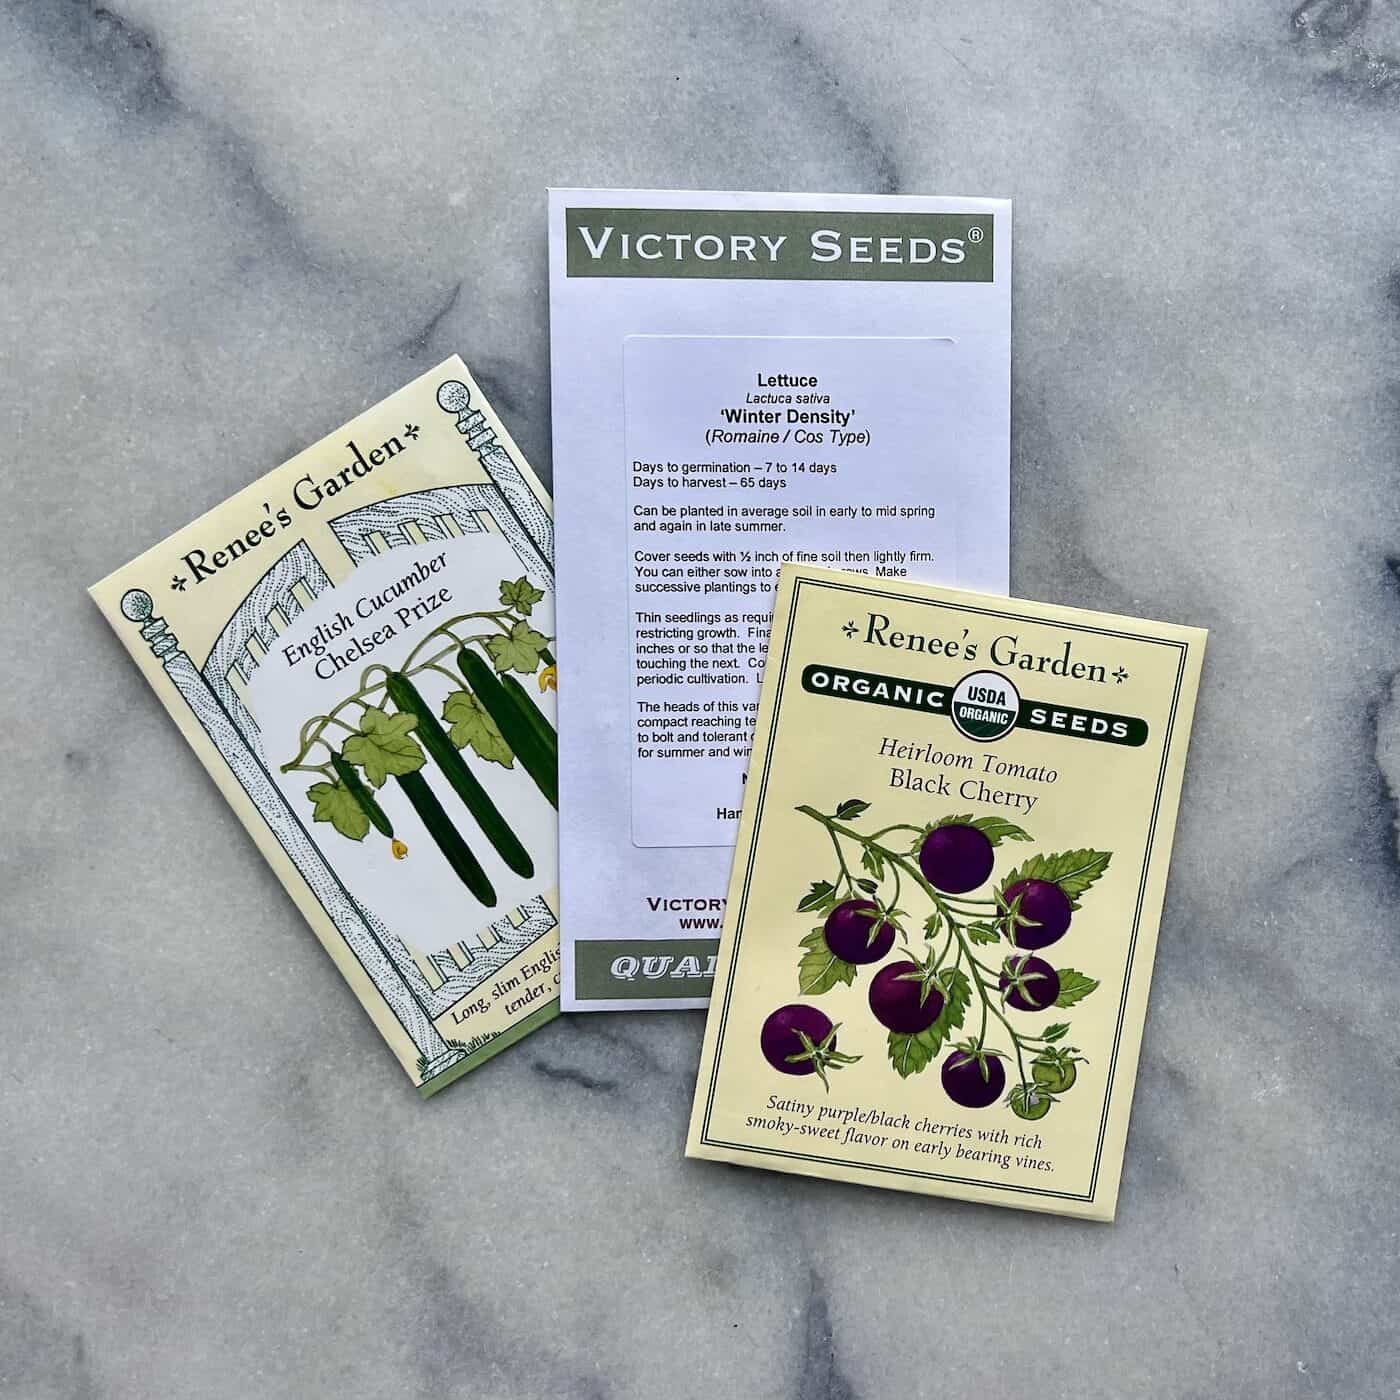
When deciding which types of seeds to start indoors, there are many options available depending on the climate and how much time and effort you’re willing to put into caring for them. Popular choices include tomatoes, peppers, lettuce, petunias, and zinnias. These seedlings thrive best when kept between 65°F – 75°F during germination and then moved outside once established if possible.
Common seeds to start indoors
Starting your own garden can be a fun and rewarding experience. But before you begin, it’s important to know which seeds are best for starting indoors.
- Artichoke
- Asparagus
- Broccoli
- Cabbage
- Cauliflower
- Celery
- Eggplant
- Endive
- Leek
- Lettuce (head types)
- Okra
- Onion
- Pepper
- Radicchio
- Scallions
- Shallots
- Tomatillo
- Tomato
Here are instructions for some of the most common seeds that can be started indoors:
1. Tomatoes
Tomatoes are one of the most popular vegetables to grow in home gardens. They require full sun and warm temperatures, so they should be started indoors about six weeks before the last frost date in your area. Plant them in small pots filled with potting soil and keep them well-watered until they’re ready to transplant outside.
2. Peppers
Peppers come in many varieties, from sweet bell peppers to spicy jalapenos or habaneros. Like tomatoes, peppers need plenty of warmth and sunlight to thrive, so start them indoors about six weeks before the last frost date in your area. Plant pepper seeds directly into small pots filled with potting soil and water regularly until they’re ready for transplanting outdoors after all danger of frost has passed.
3. Cucumbers
Cucumbers love heat and sunshine just like tomatoes and peppers do, but they also need lots of room to spread out their vines as they grow larger over time. Start cucumber seeds inside about four weeks before the last expected frost date for your area; plant two or three per pot filled with potting soil mix then water regularly until it’s time to move them outside after all danger of frost has passed
4. Lettuce
Lettuce is one of the easiest vegetables you can grow at home because it doesn’t require much space or care once established outdoors – but it does need a head start when grown from seed. Start lettuce seeds indoors four weeks prior to planting outdoors by sowing two or three per cell-pack tray filled with moistened seed starting mix; keep trays well watered until plants have developed several sets of true leaves then transplant outside when all danger of frost has passed
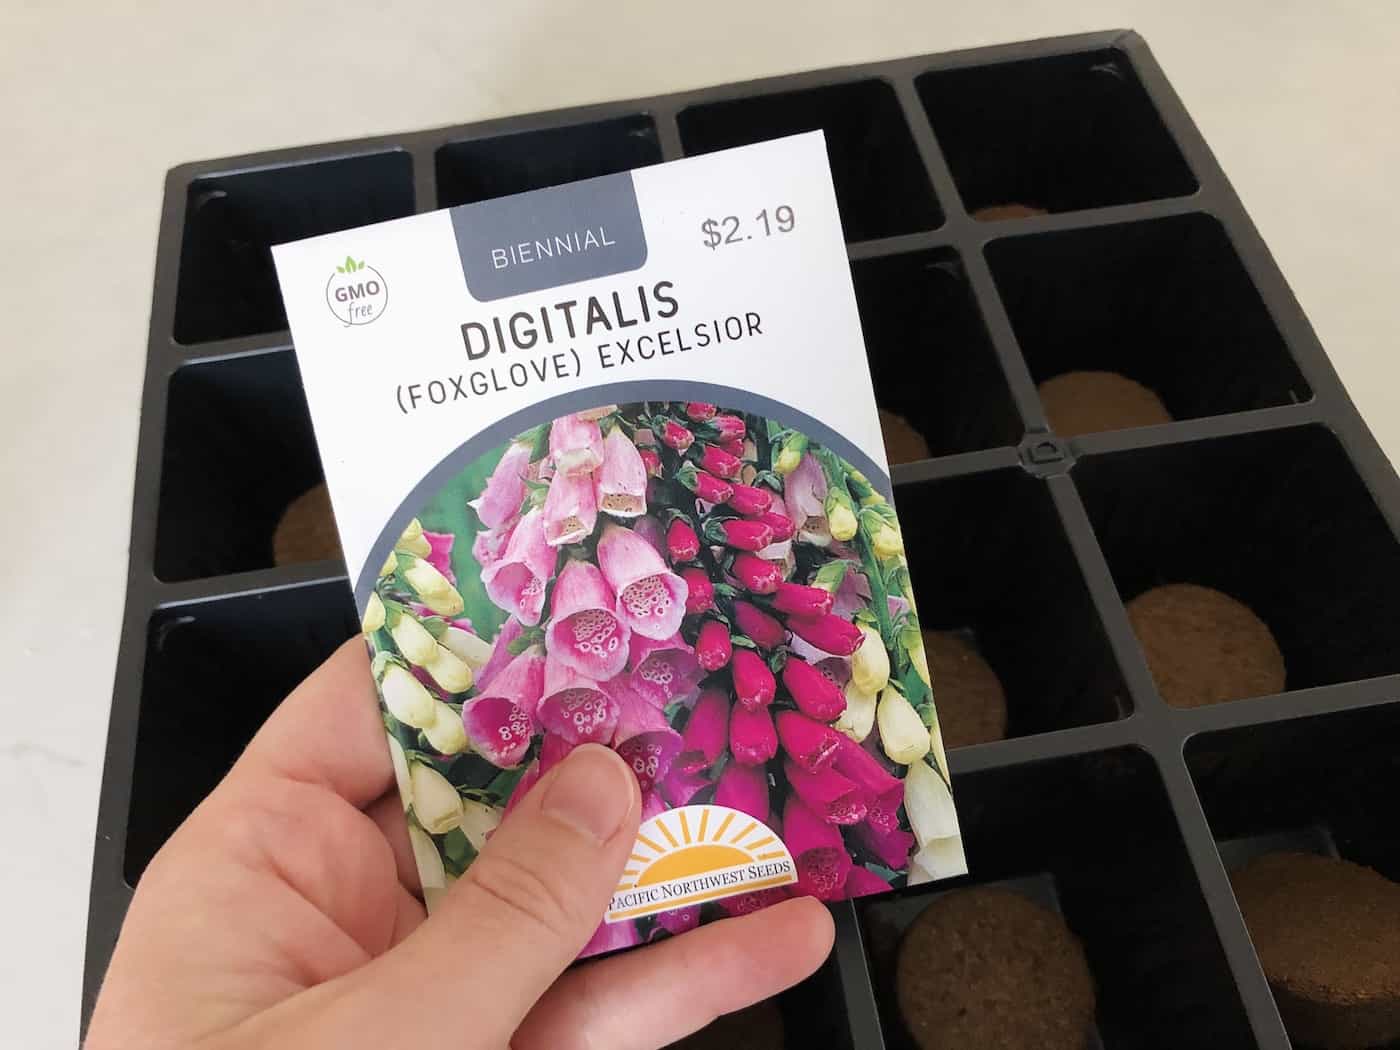
5. Lisianthus
Lisianthus is notorious for taking a long time to grow from seed. You’ve got to start these seeds indoors in mid-winter to have summertime blooms! But boy, are the flowers worth it. Start lisianthus seeds 8-12 weeks prior to the last frost date and sow one seed per cell of a plug tray with moistened seed starting mix.
Keep the soil moist, but not soggy until germination; once the first pair of true leaves have developed, thin out the weakest seedlings so that only the strongest remain in each plug. Transplant the seedlings outdoors once all danger of frost has passed, spacing them 12-15 inches apart. With full sun and plenty of water, you can expect blooms beginning in late spring and lasting through early fall. Enjoy!

Planting your seeds
Planting seeds is a great way to get started with gardening. It’s important to make sure you have the right supplies before getting started. You will need potting soil, containers for planting, and of course your chosen seeds. Make sure that your containers are clean and free from any debris or pests before filling them with soil.
Preparing the soil is essential for successful seed germination. Start by adding some compost or aged manure to the potting mix; this will help create a nutrient-rich environment for your plants to grow in. If you don’t have access to these materials, then use an all-purpose fertilizer instead. Once you’ve added the compost or fertilizer, mix it into the soil thoroughly so that it is evenly distributed throughout the container.
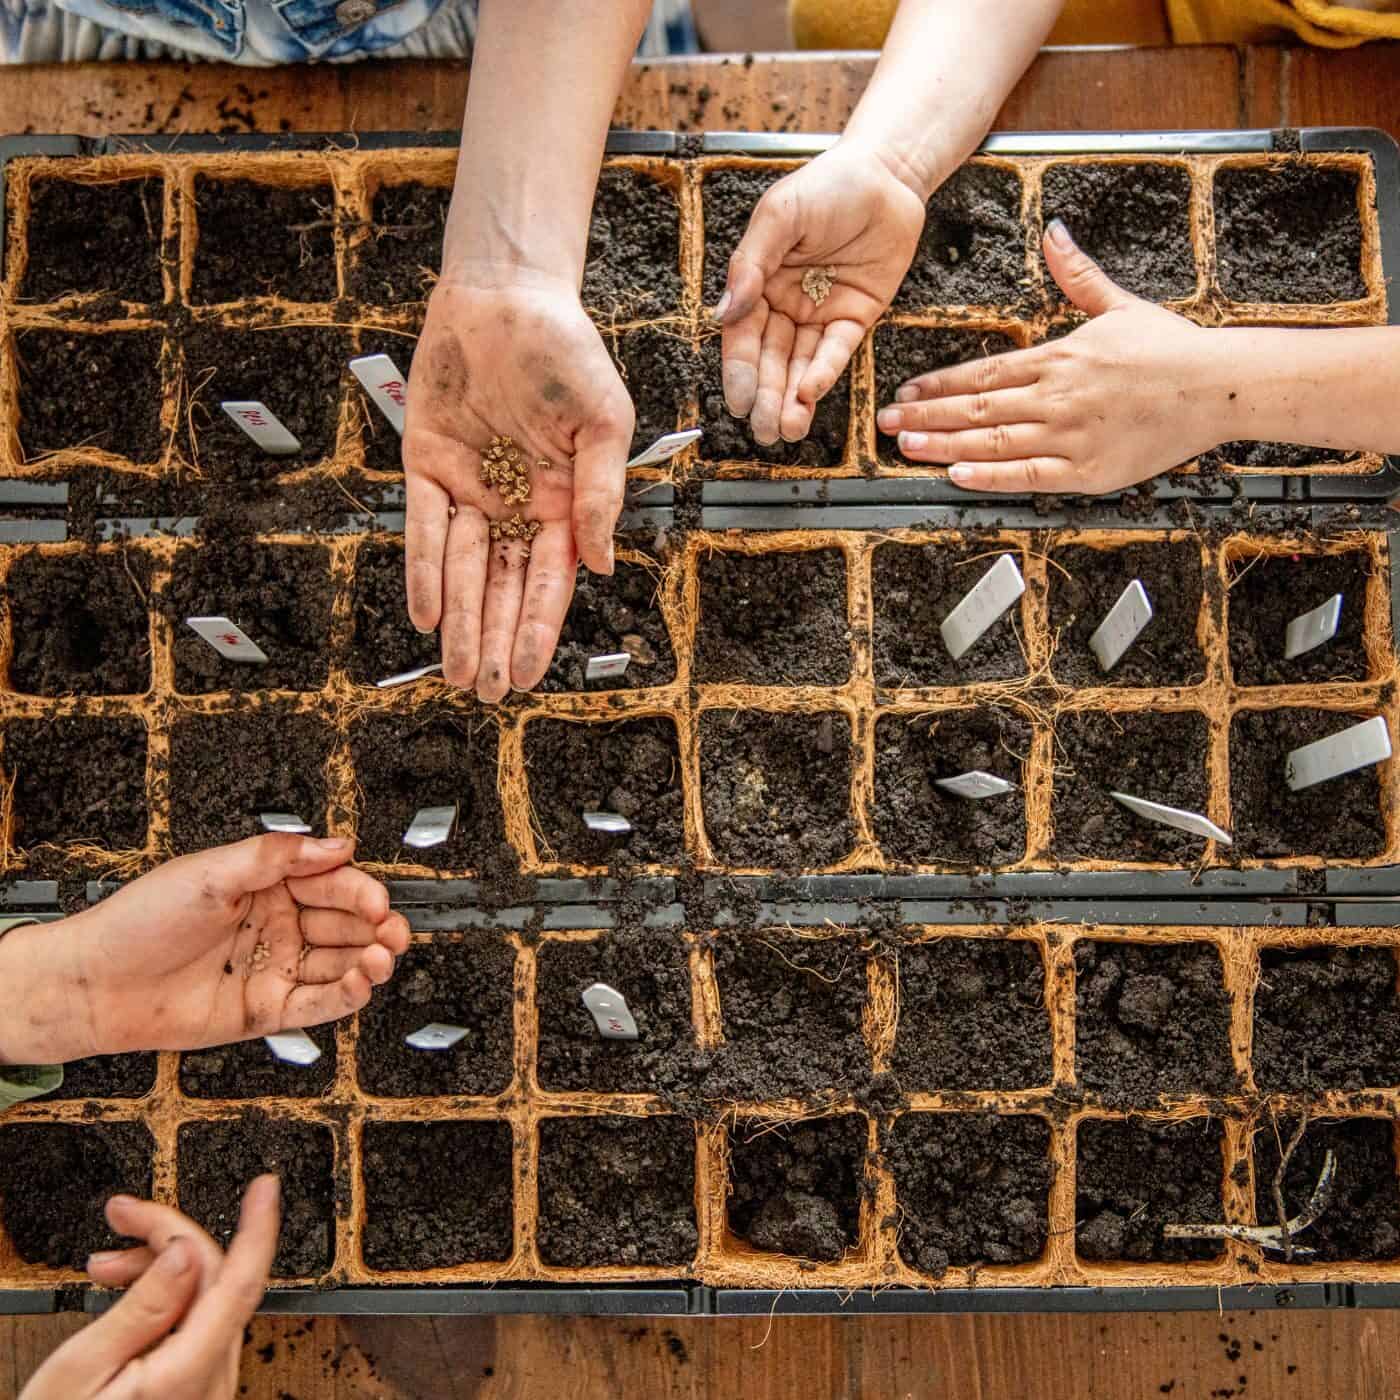
When planting your chosen seeds, there are several things to consider. Make sure that each seed has enough space around it (about two inches) so that when they sprout, they won’t overcrowd one another. Cover them lightly with a thin layer of soil – just enough so that they are barely visible but still able to receive light from above. Finally, water them gently using either a spray bottle or watering can until damp but not soggy; overwatering can lead to fungal diseases which could prove fatal for young seedlings.
Finally remember temperature plays an important role in successful germination – most vegetables prefer temperatures between 65°F–85°F (18°C–29°C). Keep an eye on thermometers placed near where you’re storing your planted containers – if necessary move them closer/further away from windowsills depending on how hot/cold it gets during different times of day.
If after several weeks nothing seems to be happening, try re-planting again, making sure everything was done correctly such as spacing out seeds properly and covering lightly with soil etc. Also ensure adequate moisture levels were maintained throughout the process; otherwise new seedlings might struggle to develop without proper hydration. Finally, consider using bottom heat mats available at garden stores; these help provide extra warmth needed to encourage faster growth rates, thus increasing chances of success even further.
Once the seeds are planted, you can move on to the next step: watering and temperature control – two essential elements for successful seed growth.

Helping seeds to germinate quickly
Watering and temperature are two of the most important factors in successfully germinating seeds. When watering, it is important to use a gentle spray or mist setting on your hose or watering can so that you don’t wash away any of the soil around the seed. The soil should be kept moist but not soggy; if there is standing water in your potting container, then you may need to adjust how much water you give each time.
Temperature also plays an important role when it comes to germination success. Most seeds prefer temperatures between 65-75°F (18-24°C). If possible, try to keep the temperature consistent throughout the day and night for best results. To help maintain optimal temperatures indoors, consider using a heating mat designed specifically for growing plants from seedlings. A good soil thermometer is also key. This will ensure that your plants have enough warmth during their early stages of growth without overheating them later on as they mature into larger plants.
When planting multiple types of seeds at once, make sure they all require similar temperatures before putting them together in one container or area—otherwise some may fail while others thrive. For example, tomatoes typically require warmer temperatures than lettuce does; therefore if both were planted together in one potting container then either one might suffer due to inadequate conditions for its particular needs.
It is also helpful to check out what other gardeners have done with similar varieties of plants by reading up online about successful strategies used by experienced growers who live nearby and have grown similar crops under comparable climate conditions as yours. This way, you can get an idea of what works best for different types of vegetables and flowers before attempting something new yourself.
Proper watering and temperature are essential for successful seed germination; now let’s move on to the light requirements that will ensure your seeds grow into healthy plants.
Light requirements for seedling plants
Light is an essential part of the growing process for any plant. When starting seeds indoors, it’s important to understand what type of light is best and how much light your plants need each day.
The most common type of lighting used when starting seeds indoors is fluorescent lighting. Fluorescent lights provide a good balance between intensity and energy efficiency, making them ideal for seedlings that require low levels of light but still need enough illumination to grow healthy roots and stems. You can purchase special grow lights designed specifically for indoor gardening or use standard shop-light fixtures with cool white bulbs (not warm white). Place the fixture about 4 inches above the seedling tray and adjust as needed as your plants grow taller.
Your seedlings will also benefit from natural sunlight, so try to place your setup near a window if possible. Natural sunlight provides more intense illumination than artificial lighting sources like fluorescent bulbs, which helps promote strong stem growth in addition to root development. However, be sure not to leave your seedlings in direct sun too long – they may become overheated or dry out quickly without proper care.
In general, young seedlings should receive at least 8 hours of light per day – this could come from either natural sunlight or artificial lighting sources such as fluorescent bulbs or LED lamps. If you are using artificial lights only then make sure they are on for 14-16 hours each day during germination and early growth stages; after that you can reduce their duration slightly once the plants have established themselves in their new environment (12-14 hours/day). As always though, monitor your plants closely throughout their life cycle so you can adjust accordingly if necessary.
Finally, keep in mind that different types of plants require different amounts of light depending on their individual needs; some prefer bright indirect sunlight while others thrive under full shade conditions. Therefore, it is important to research specific species before planting them so you know exactly what kind of environment they need.
Proper lighting is essential for starting seeds indoors, so make sure you understand the requirements before transplanting your seedlings.
Transplanting seedlings
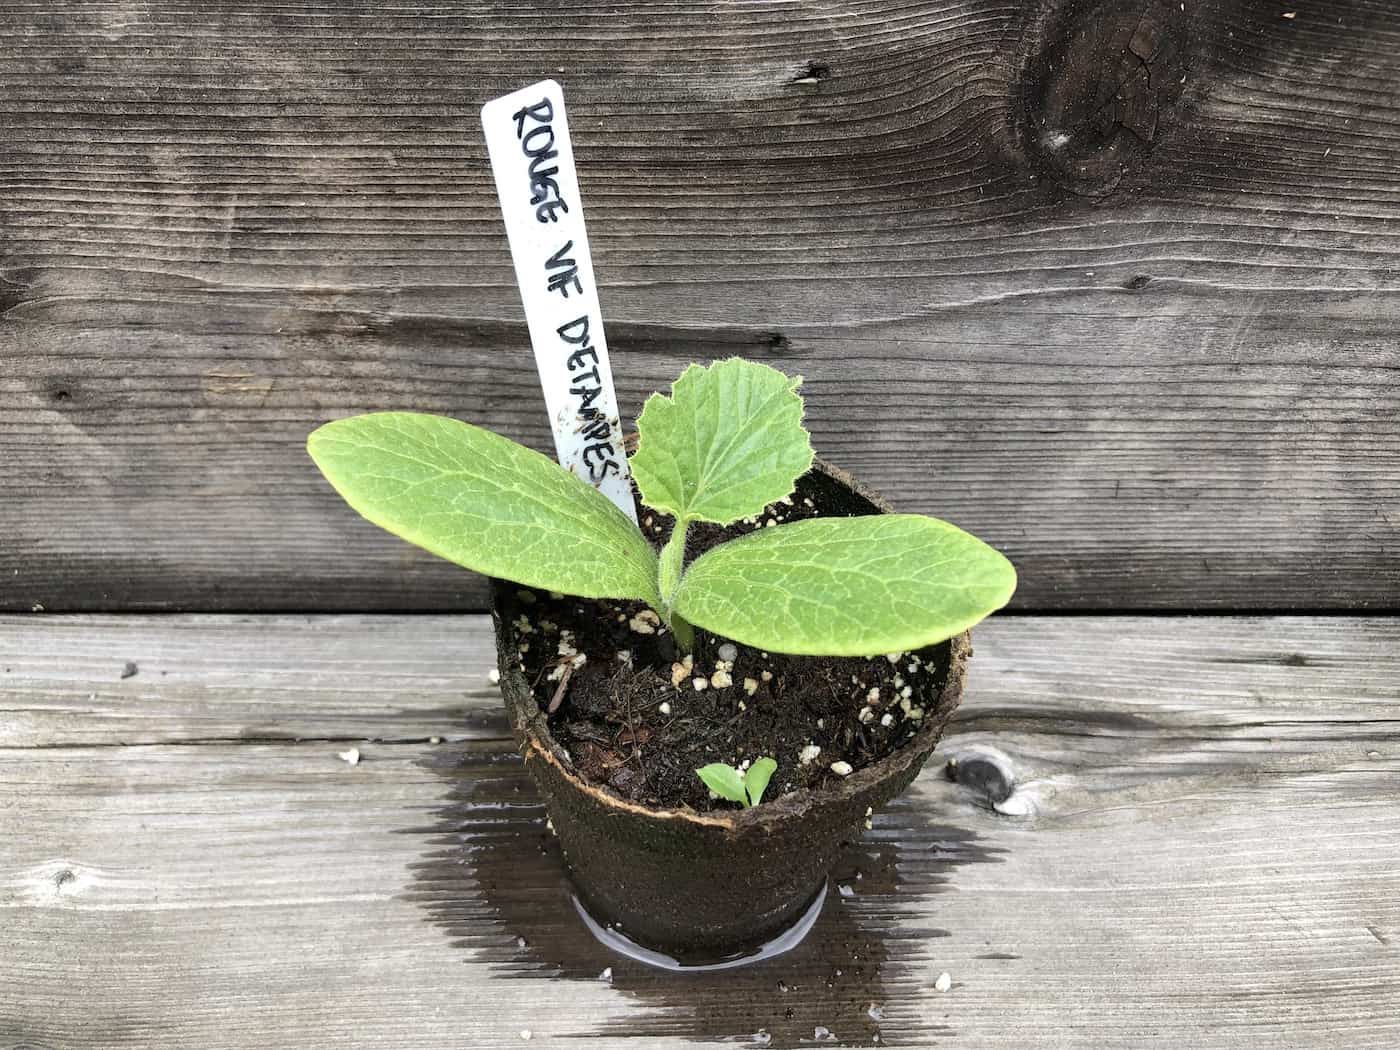
Transplanting seedlings is an important step in the gardening process. It allows them to grow and develop into healthy plants that can thrive in their environment. The best time to transplant your seedlings is when they have two or three sets of true leaves, which are larger than the first set of leaves that emerged from the soil.
Before you begin, make sure you have a container with drainage holes for each seedling and potting mix specifically designed for starting seeds. If possible, use a potting mix that has been pre-moistened so it’s easier to work with. Once you’ve gathered all your supplies, it’s time to start planting.
Fill each container about halfway full with potting mix and gently press down on it until it’s firmly packed but not too tight as this could damage delicate roots. Gently remove one seedling at a time from its original container by grasping its stem near the base and carefully pulling up while supporting the root ball with your other hand. Place each plant into its new home making sure not to bury any part of the stem or foliage beneath the soil line as this can cause rot or disease later on down the road.
Once all your plants are transplanted give them some water right away using either a watering can or spray bottle depending on how large they are (just be careful not to overwater). You may also want to add some fertilizer if desired – just make sure whatever product you choose is safe for young plants like yours. Finally, place them somewhere where they will get plenty of light but won’t be exposed directly to harsh sunlight during midday hours as this could burn their tender foliage causing permanent damage over time.
When caring for newly transplanted seedlings, keep an eye out for signs of distress such as wilted leaves or yellowing foliage which could indicate overwatering or nutrient deficiencies respectively; both issues should be addressed promptly before further harm occurs. Additionally, watch out for pests such as aphids which may try and feed off these vulnerable little guys – simply wipe them off manually if needed or apply an insecticidal soap solution following package instructions closely in order to protect your precious plants from harm.
Once your seedlings have been successfully transplanted, it’s important to stay vigilant and be aware of any potential issues that may arise. To ensure success in the long term, keep reading for helpful troubleshooting tips.
Troubleshooting tips
Here are some of the most common issues gardeners come across when germinating their seeds indoors.
Mold and pests
Mold and pests can be a major issue when starting seeds indoors. Mold is caused by too much moisture in the soil, while pests such as aphids or spider mites are attracted to plants that have not been properly cared for. To prevent mold from forming, make sure your soil is well-drained and not overly wet. If you notice any signs of mold on your seedlings, remove them immediately and discard the affected soil. To prevent pest infestations, keep an eye out for early warning signs such as webbing or discolored leaves. If you spot any of these issues, take action quickly by removing infected plants and treating the area with insecticidal soap or neem oil to get rid of existing bugs before they spread further.
Humidity and temperature
To ensure optimal conditions for your seedlings, consider using a thermostat-controlled heating mat in combination with a humidifier/dehumidifier system placed near the growing area. This will help maintain consistent temperatures between 65°F – 75°F (18°C – 24°C) and humidity levels of 50% – 70%, which are essential for successful germination. By doing so, you can avoid issues such as dryness or fungal diseases like damping off that could otherwise kill young plants quickly.
Light and air circulation
Finally, light intensity and air circulation are two key factors that should be taken into consideration when starting seeds indoors; both play an important role in ensuring healthy plant growth. Make sure there is plenty of bright indirect sunlight coming through windows or skylights during daytime hours (6-8 hours per day). Also, ensure good air circulation around your seedlings either by opening windows regularly or setting up fans nearby so fresh air constantly circulates throughout the room where they are being grown.
FAQs about starting seeds indoors
When should I start growing seeds indoors?
It is best to start growing seeds indoors 6-8 weeks before the last frost date in your area. This will give the plants enough time to become established and strong before they are transplanted outdoors. When starting indoors, make sure you have a good quality soil mix and adequate light for your seedlings. If possible, use grow lights or other supplemental lighting sources to ensure that your seedlings get enough light during their early stages of growth. Additionally, be sure to provide proper ventilation and keep an eye on moisture levels as too much or too little can cause problems with germination rates. With the right preparation and care, you can successfully start your gardening journey indoors.
Do you need to grow lights to start seeds?
No, you do not need to grow lights to start seeds. Starting seeds indoors can be done without the use of grow lights. That said, seedlings usually tend to be much stronger and grow more vigorously when they have ample light and don’t have to stretch toward the window.
You will need a warm location with plenty of natural light and adequate air circulation in order to successfully germinate your seeds. Additionally, you may want to consider using an artificial light source if your chosen area does not get enough sunlight or has limited access to it. Ultimately, the decision is up to you as there are many ways to start seedlings indoors that don’t require grow lights.
What seeds should not be started indoors?
It is generally not recommended to start seeds indoors that require a long growing season, such as corn and beans. These plants need warm temperatures for germination and may not be able to survive the cold of winter if started indoors. Other plants that should not be started indoors include root vegetables like carrots, parsnips, and potatoes; these will struggle with transplanting from indoor containers into outdoor soil. Additionally, some trees and shrubs are best planted directly in the ground rather than being grown from seedlings inside. Finally, many herbs do better when direct-sown outdoors rather than trying to grow in pots or trays indoors.
What is the best container to start seeds indoors?
When starting seeds indoors, the best container to use is a seed-starting tray. Seed-starting trays are designed with drainage holes and come in various sizes, making them ideal for small spaces or large gardens. They also provide an even surface for your seeds to grow on, which helps promote healthy root development. Additionally, they can be reused season after season so you don’t have to buy new containers each year. When choosing a seed-starting tray, make sure it has enough drainage holes and is deep enough to accommodate the type of plants you plan on growing. With these considerations in mind, you’ll be able to find the perfect container for starting your indoor garden.
Before you go….
Starting seeds indoors is a great way to get a jump start on your gardening season. It can be an enjoyable and rewarding experience, but it does require some preparation and attention to detail. With the right supplies, soil preparation, common seed selection, planting techniques, watering and temperature considerations, light requirements, and transplanting tips you will have success in starting seeds indoors.
Remember that even with all of these steps there may still be challenges along the way – don’t give up if something doesn’t work out as planned. Keep trying until you find what works best for you when starting seeds indoors.
Resources
- The best garden catalogs for seeds, live plants, tools, and supplies
- Types of seeds: Open-pollinated, heirloom, organic, hybrid, & non-GMO
- Best seeds for winter sowing
- Winter sowing guide for planting seeds outdoors in cold climates
References
- Dates to start vegetable and flower seeds indoors
- Knowing when to start planting seeds
- Gardening: January is planning time for starting seedlings indoors
Need more info?
Are you interested in learning more about starting seeds indoors? Here are our best articles about it!