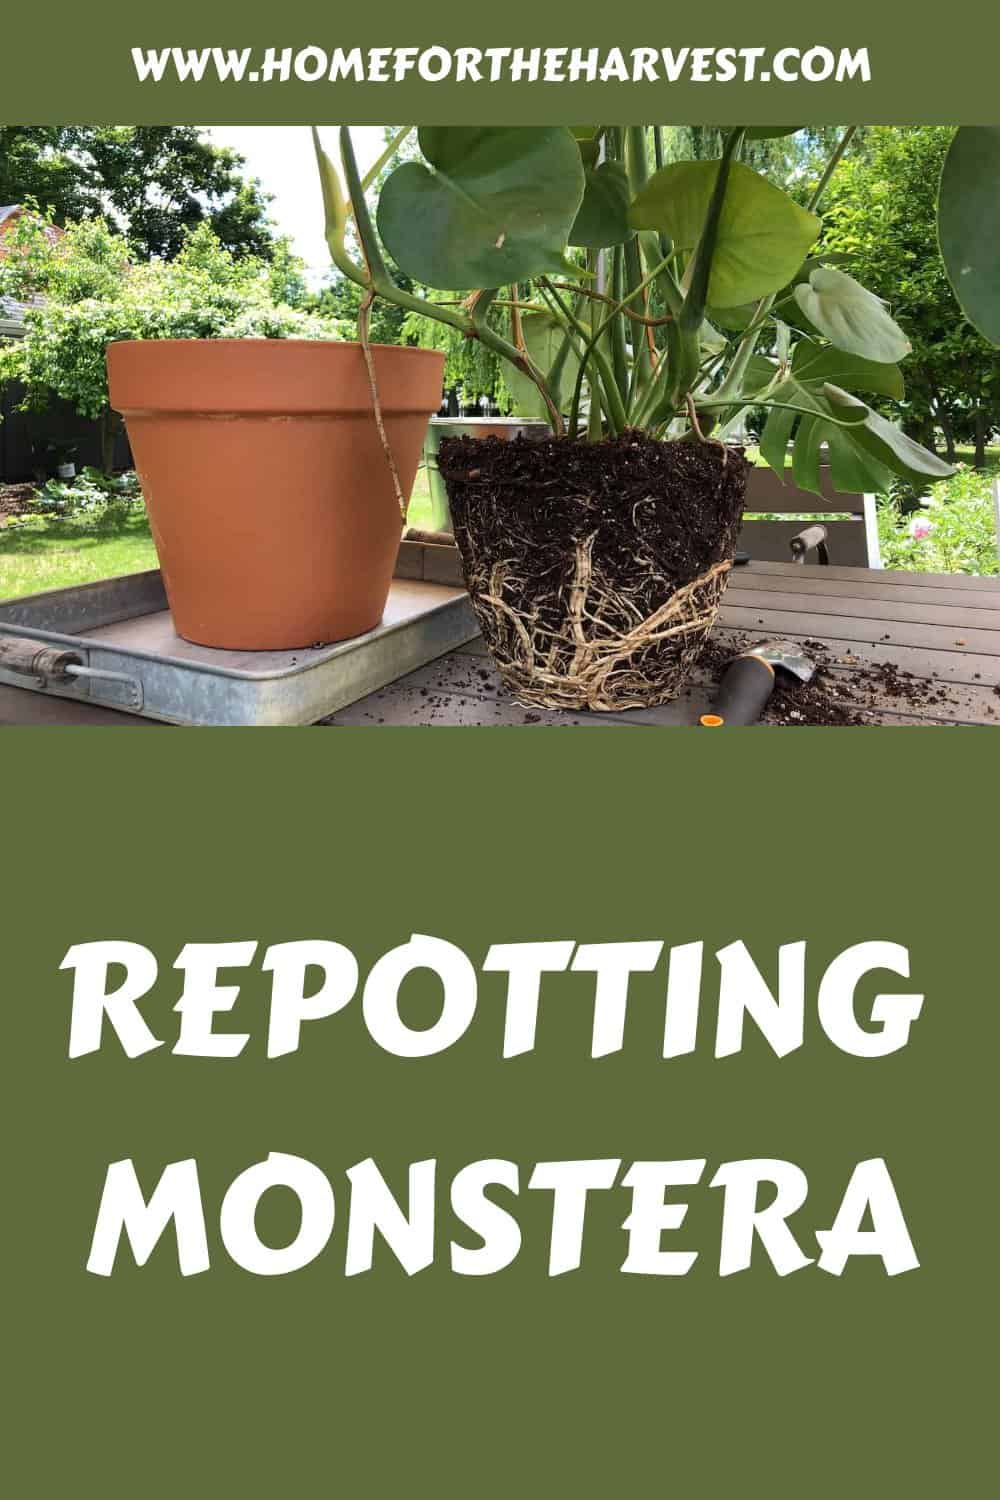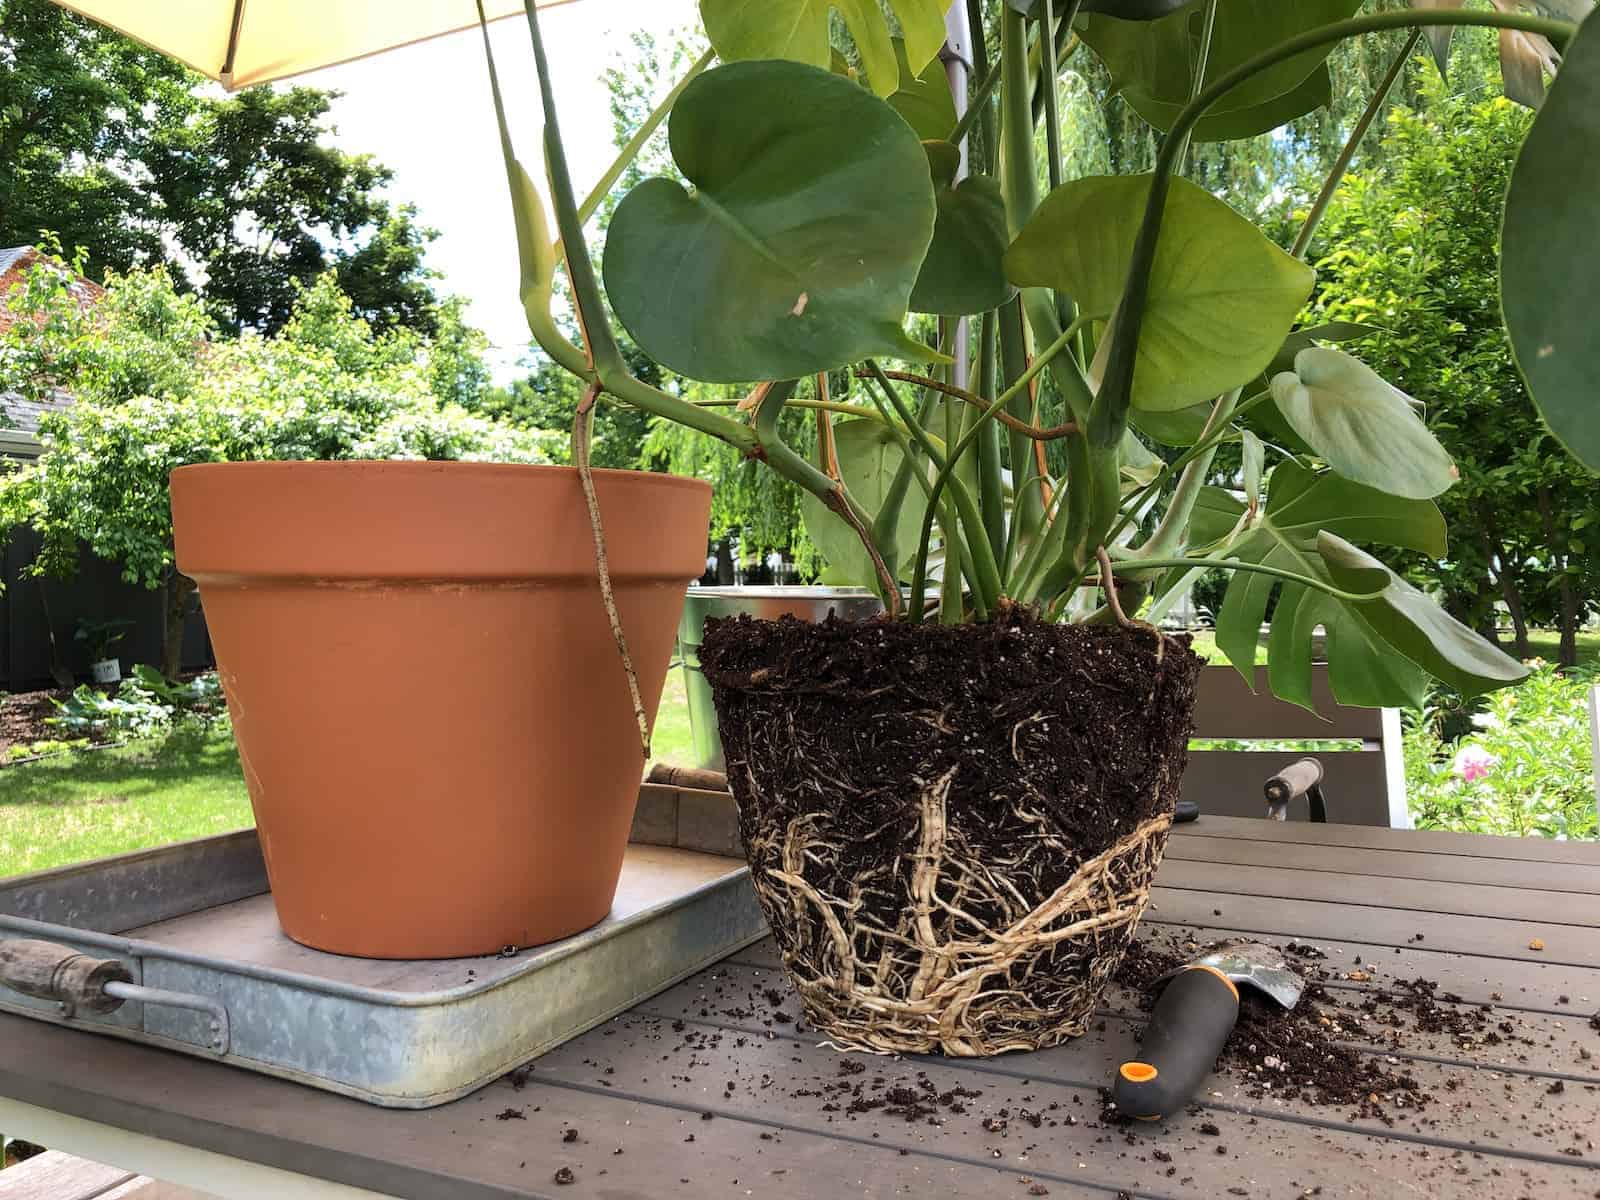
To repot a Monstera, choose a new planter that has a drainage hole at the bottom. You’ll also need airy, organic potting mix. Once you’ve got your supplies, gently pull the Monstera plant out of its existing planter pot. If thick roots are circling around the soil ball, carefully loosen them up (see video below).
Place the Monstera’s root ball into the new planter. Check that the base of the stems is about 1″ below the top of the new planter’s top (add soil below the root ball if the plant is sitting too low). Backfill the sides with fresh potting mix. Water thoroughly. Enjoy your newly re-potted Monstera!
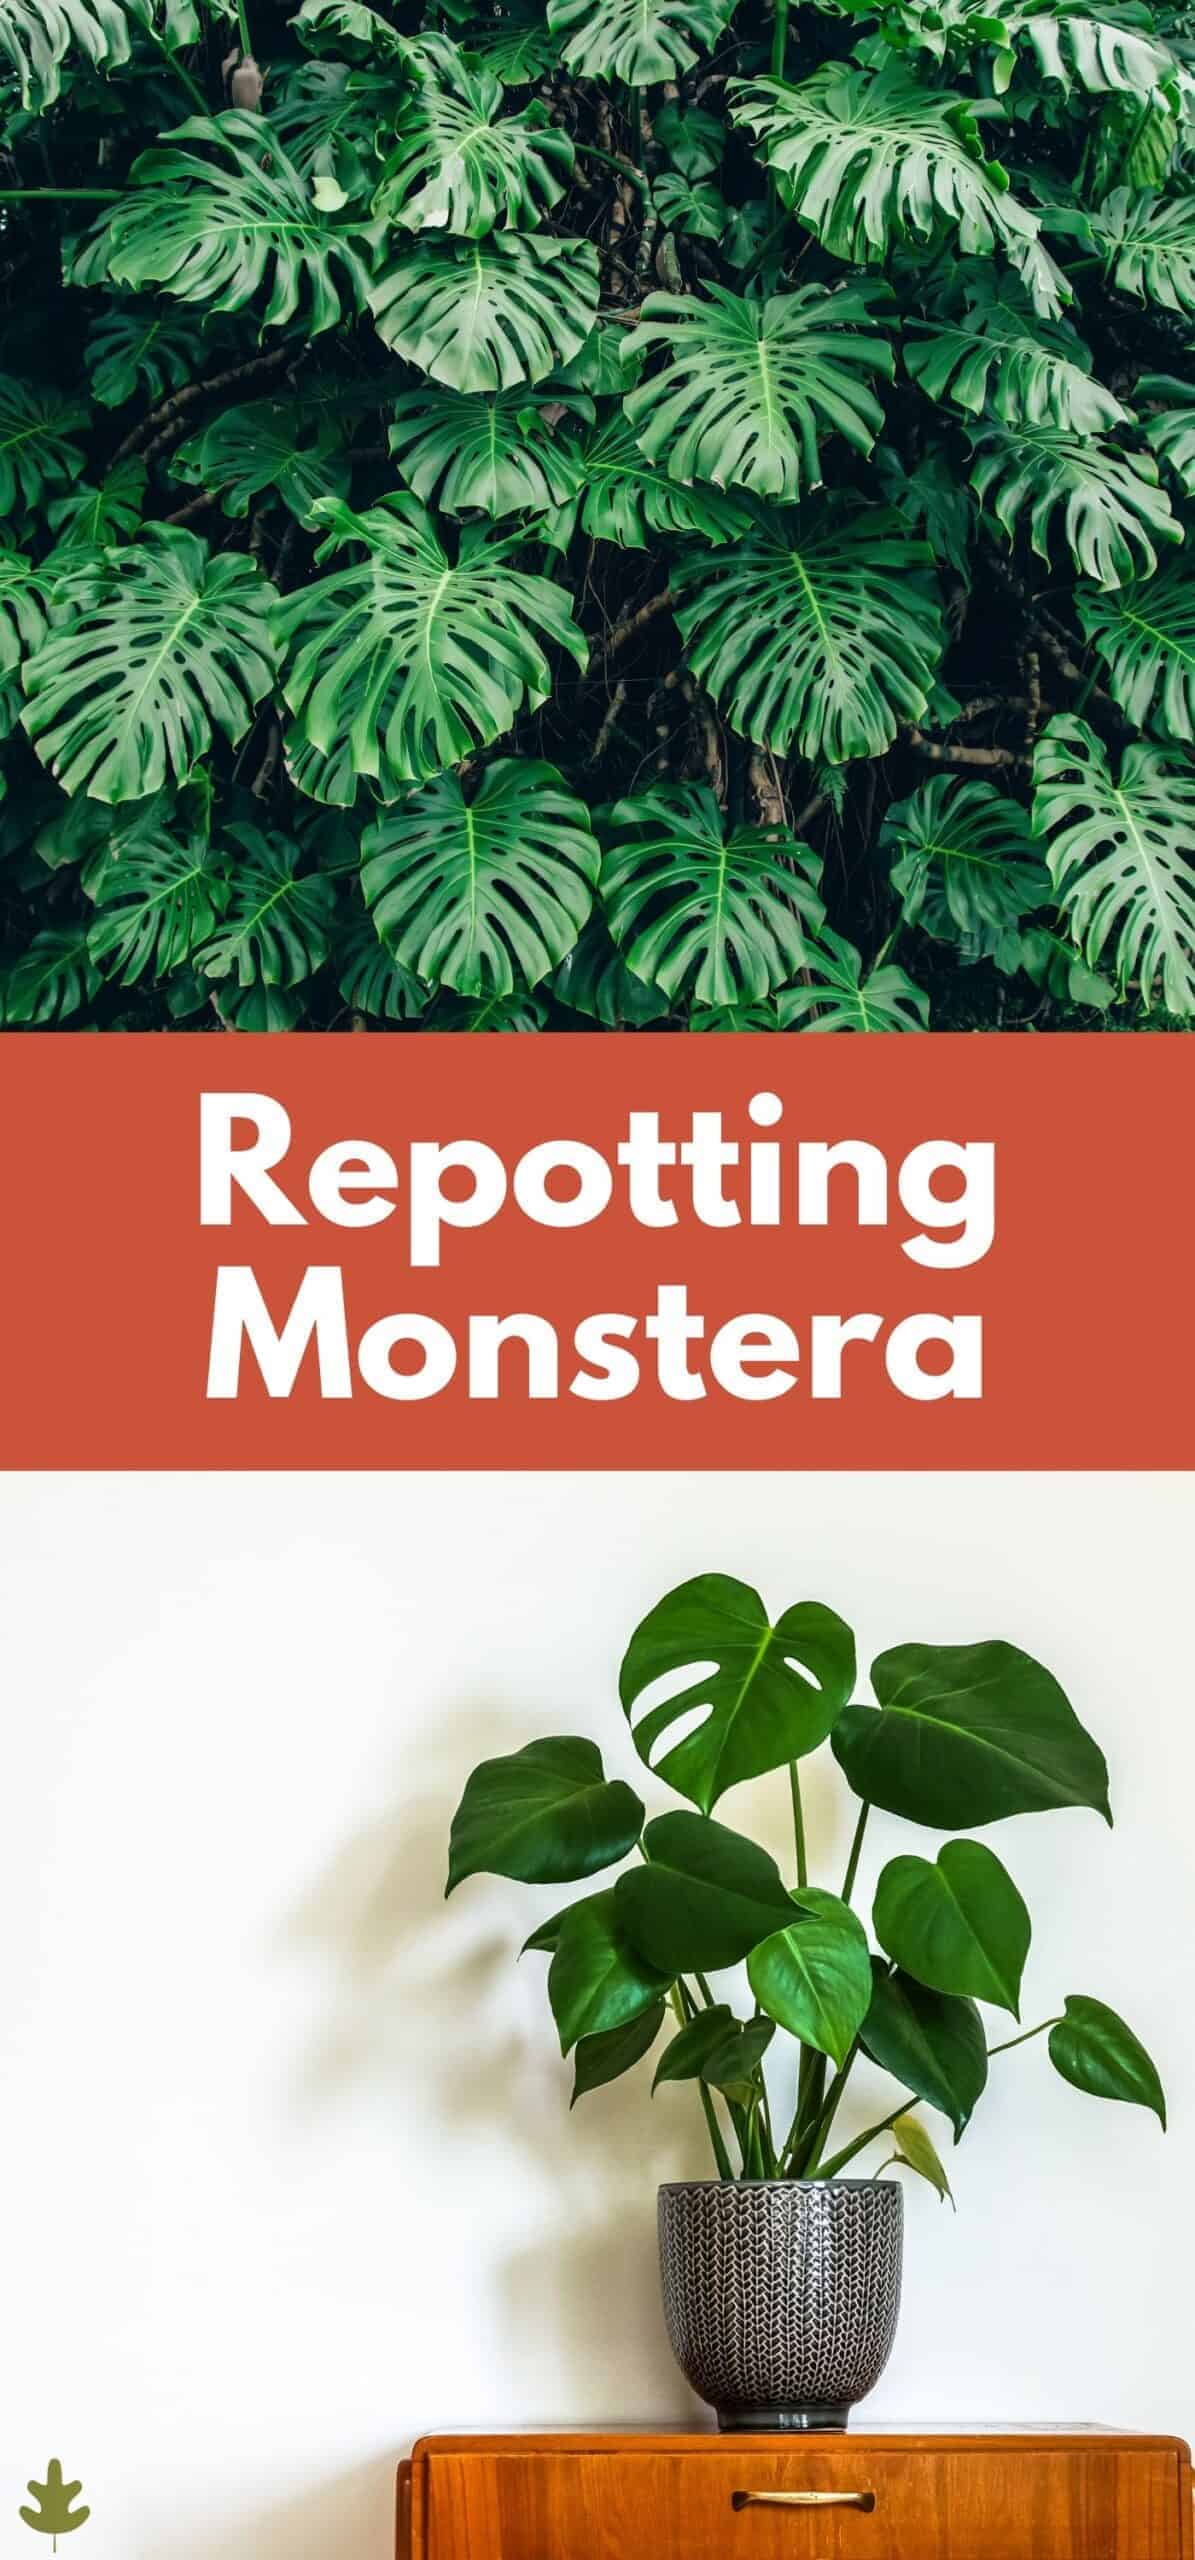
Repotting Monstera plants
Repotting container-grown Monstera is an important plant-care process for healthy growth. Access to fresh soil allows the stiff roots to expand, giving increased support to the thick-stemmed vines and broad foliage.
Young Monstera plants are generally repotted into slightly larger pots each year in the late winter/early spring. Repotting into a larger pot (called “potting up”) continues until the plant is as large as desired. A Monstera that has been in an 8″ pot for about a year might be planted into a larger 10″ pot.
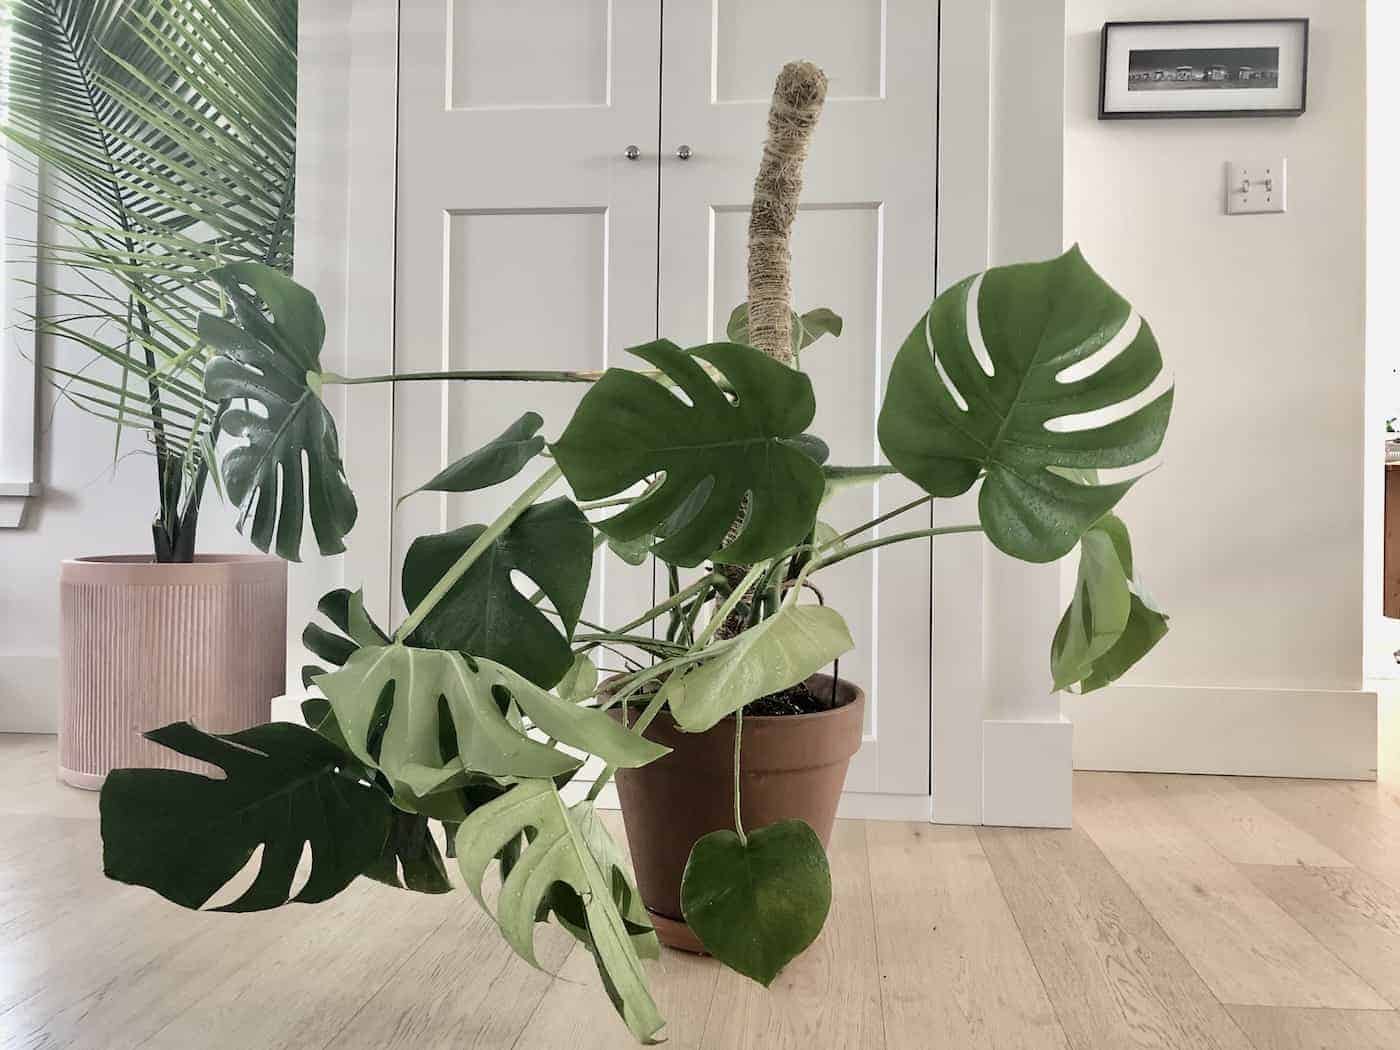
I recently repotted my 12″ wide Monstera into a wider 14″ terra cotta planter (its “forever home”). Plants that have reached full-grown (or maximum allowable) size are most often repotted into the same planter every year or two to refresh the soil and prune roots to control the size of the plant.
How to repot a Monstera deliciosa plant
Here are the supplies you’ll need for repotting a Monstera plant:
- Planter pot
- Terra cotta or breathable ceramic is nice
- Choose a planter slightly larger than the current pot (unless the plant has reached maximum size)
- Ensure the new container has a drainage hole
- Potting Soil (I use light & airy potting mixes for tropicals)
- Garden Trowel
- Pruning Shears
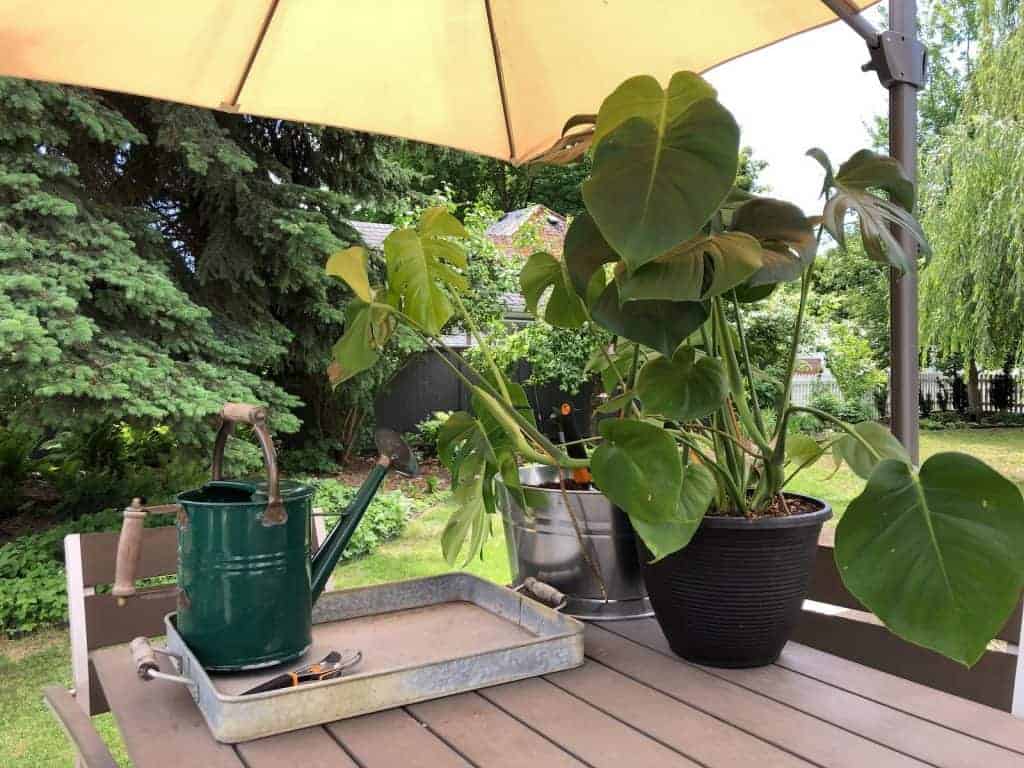
- Watering Can
- Plant Stake/Support (optional – I like moss poles)
Here are the steps for repotting Monstera:
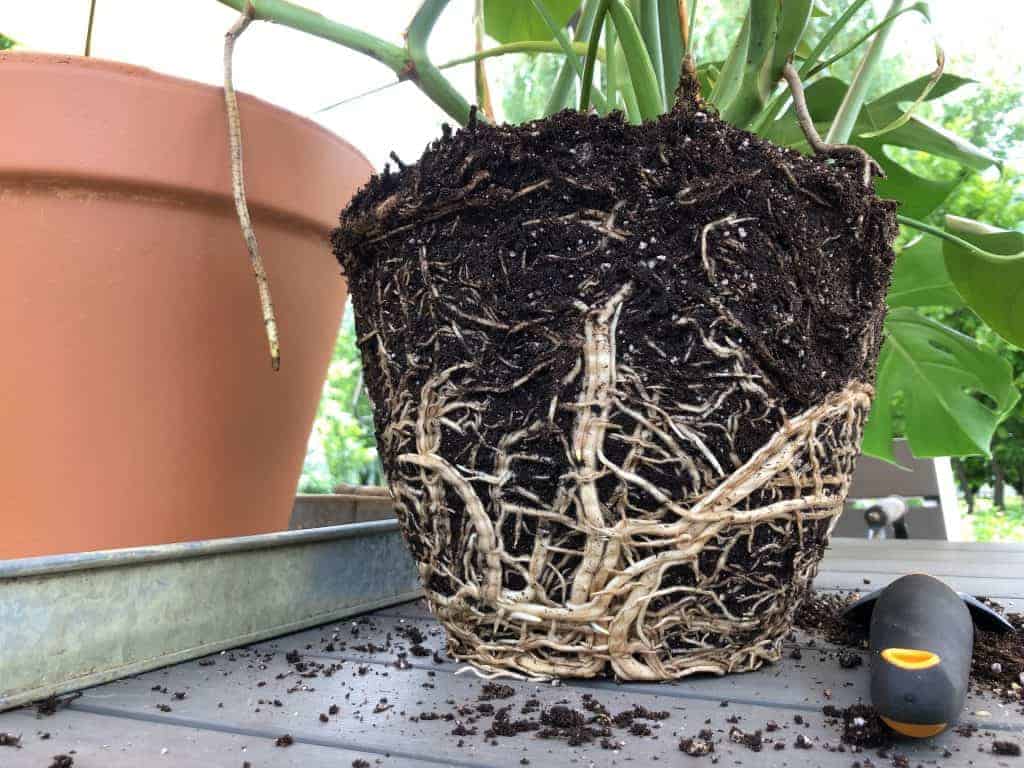
- Gently pull the Monstera plant out of its existing planter pot. Carefully wiggle a garden trowel down the sides if the roots are really stuck to the container.
- If the plant is root-bound, carefully loosen up thick roots circling around the soil ball.
- If desired, add a good moss pole to the empty container to provide vertical support for the plant.
- Place the root ball into the new planter.
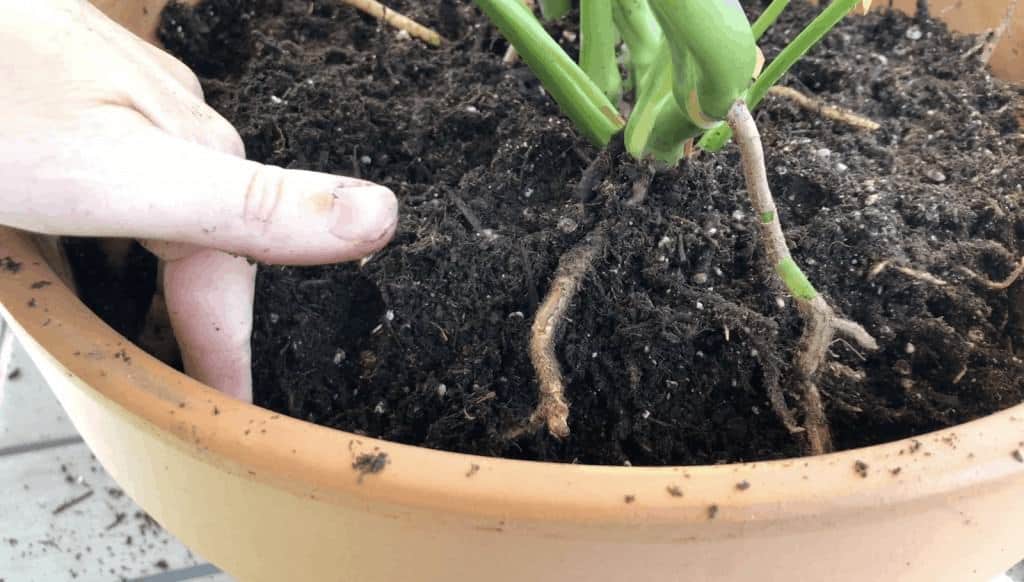
- Check that the base of the stems is about 1″ below the top of the new planter’s top. Add potting soil below the root ball if the plant is sitting too low. If the plant is sitting too high, gently massage some of the soil out of the bottom of the root ball.
- Backfill the sides with fresh potting mix, between the root ball and the sides of the planter.
- Aerial roots can be tucked into the soil, left hanging over the sides, or trimmed off.
- Carefully tie the stems to the moss pole (if using one).
Please consider subscribing to my YouTube channel for more plant videos on a regular basis!
Potting soil for Monstera container plants
The best potting soil for Monstera plants is a lightweight, air-filled organic potting mix. These plants don’t thrive in soggy clay soil from the backyard. They prefer well-drained, tropical-type soil. Potting soil for Monstera plants generally contains coco coir, bark, and/or peat for overall bulk, as well as perlite and/or lava rock to trap air pockets in the soil mix (providing soil aeration). Lastly, most high-quality potting soil mixes contain organic fertilizer.
Any of these mixes or other high-quality products with similar ingredients should work well for Monstera plants. Feel free to mix in a handful of extra perlite or porous lava rock if you’ve got some!
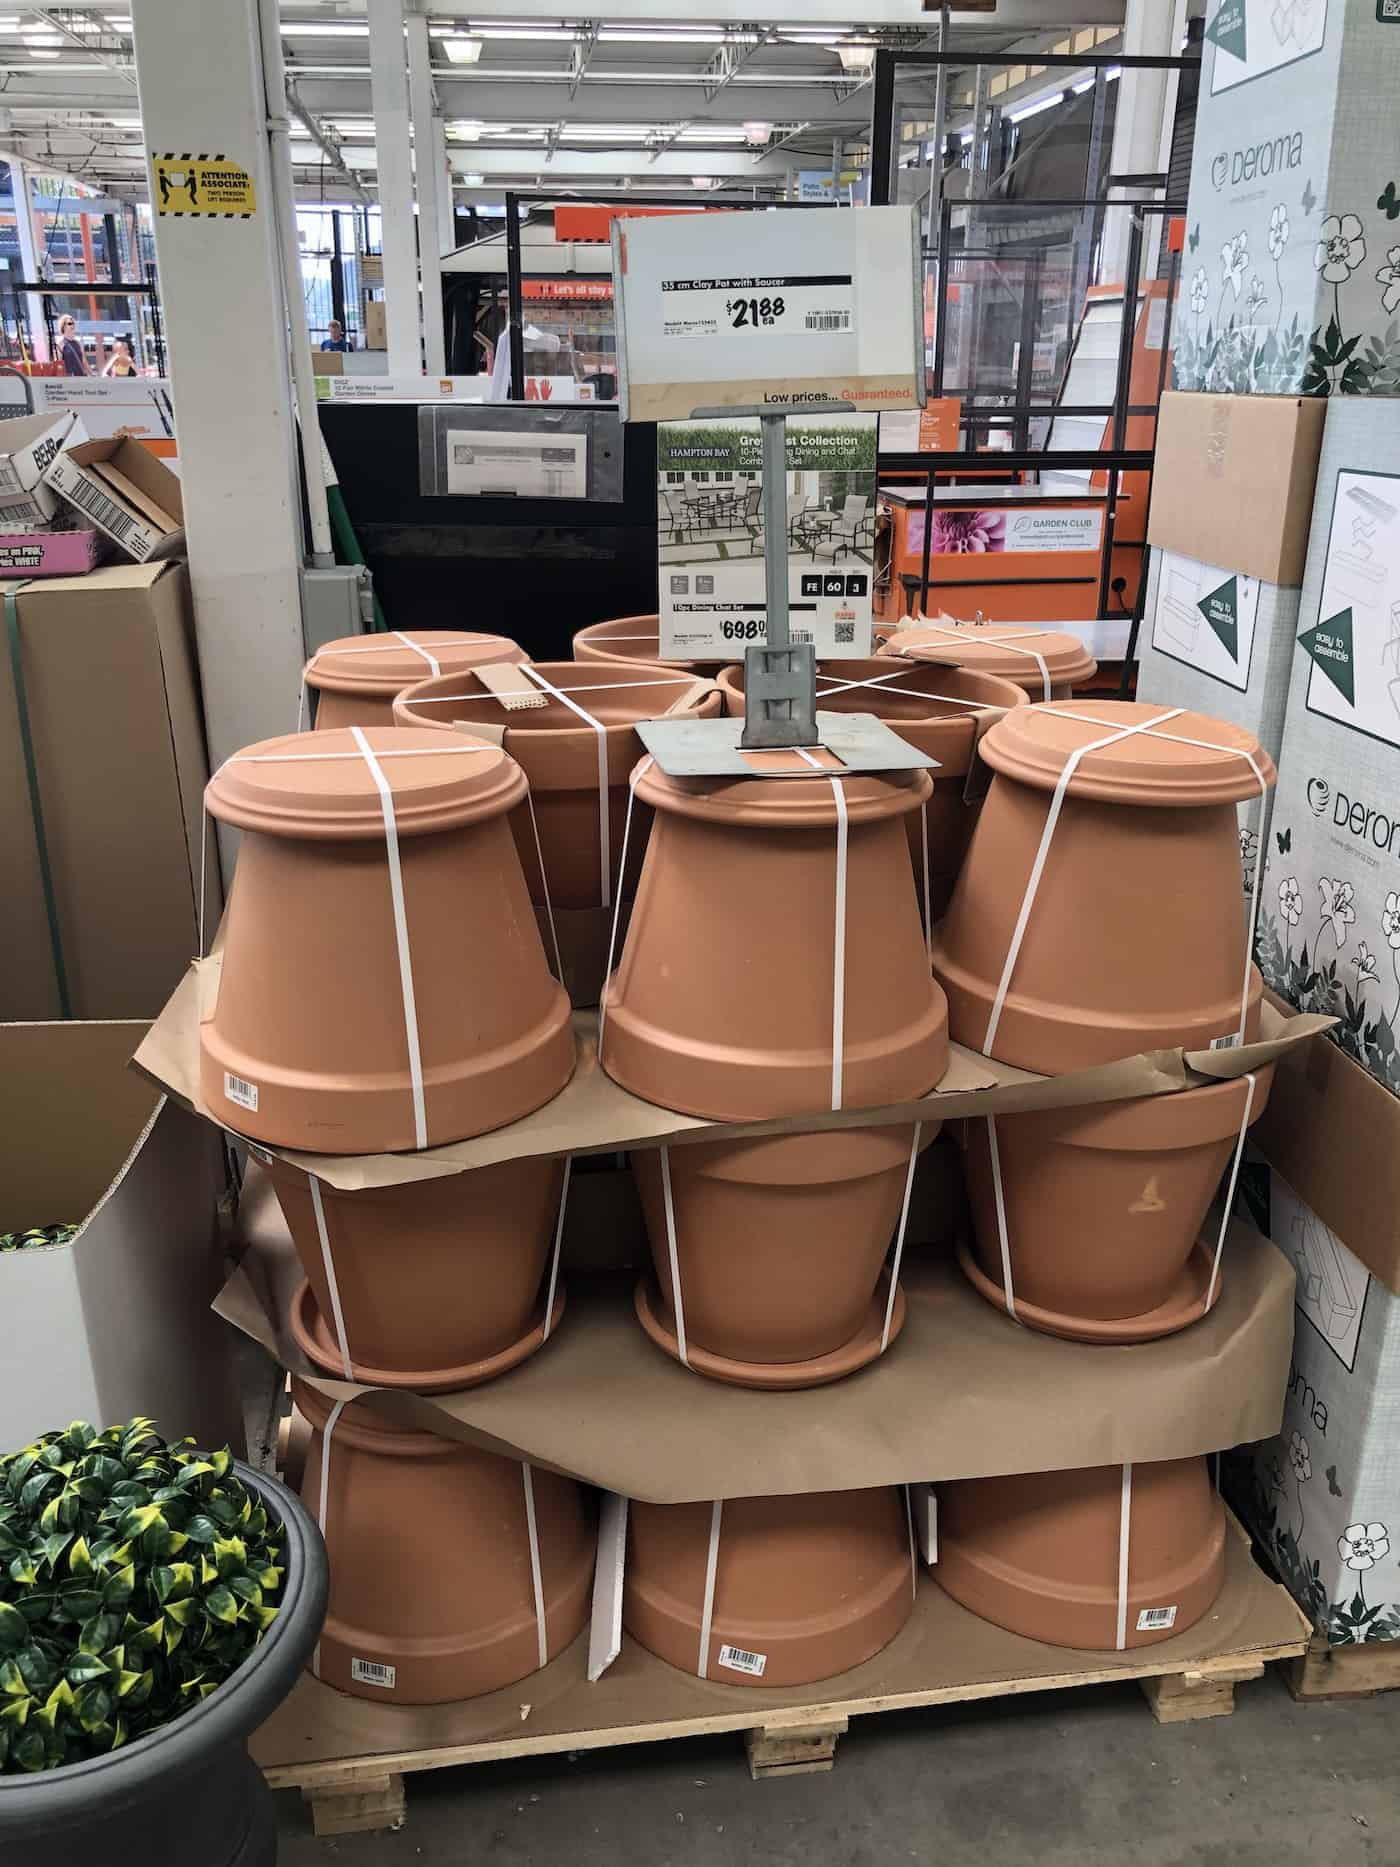
Best pots for Monstera plants
The best pots for Monstera plants are those that drain very well and are large enough (and heavy enough) to support the large foliage of a growing plant. Unglazed earthenware and ceramic pots like classic terra cotta provide both breathable, permeable sides as well as substantial weight.
Some planters that work for Monstera have built-in drainage holes and a matching saucer that sits under the pot to catch drips. Other large planters are watertight and are generally used as an outer layer planter along with a thin plastic nursery pot liner (the Monstera is planted in the nursery pot, and then the whole thing gets popped into the watertight outer pot).
When choosing a new pot for a young Monstera, look for an option that’s perhaps a few inches wider than its current planter pot. This will allow the plant to get bigger. Giant plants may be best in a planter of the same width (after some root pruning). If you plan to stake the plant at any point in the near future, be sure that the pot you’ve picked is deep enough for a support stake/pole.
Decor planters without drainage holes
Sometimes it’s easier to grow Monstera plants in lightweight plastic nursery pots, especially if you’re moving the plant around to water it (or for your Zoom video backgrounds….). In this case, you’ll likely place the plastic nursery pot inside a planter, basket, or bucket without a drainage hole. You can take the plant to the sink to water it, let it drain there, and then place it back into its non-drained decor planter.
Using an inner plastic liner planter along with an outer decor planter is also very nice if the outer planter is watertight. If the outer decor planter is watertight, no saucer will be required to protect the underlying surface from water drips. This is nice for plants that are raised up a little bit, as some drip trays can be a bit of an eyesore.
Staking Monstera houseplants with moss poles
Staking Monstera plants is optional. Staking the plant encourages vertical growth instead of sprawling, horizontal stems. Some spaces are large enough to accommodate a wild, horizontal-growing Monstera, but smaller spaces may benefit from vertical growth. A good moss pole stake mimics the trees that Monstera plants tend to grow up in natural settings.
To get your Monstera to climb, look for a moss pole or coco coir pole that’s at least a few inches taller than your plant. Securely drive the stake into the soil, or even place it in the pot as you’re repotting the plant.
Once the support pole is in place, gently tie nearby stems onto the pole with twine, velcro strips, or coated wire. This will encourage the aerial roots of the Monstera to burrow into the moss pole and climb up toward the ceiling. Those aerial roots are always searching for something to grab onto and climb up!
Read more about creating a moss pole Monstera plant.
When to repot a Monstera
Monstera plants are generally repotted once each year, often in the early spring or late winter. Young plants are repotted into planters that are several inches wider, allowing for growth. Mature plants are slipped out of their pots for root pruning and then repotted with some fresh potting mix.
The best time of year for repotting Monstera is at the end of winter or the very start of springtime before fresh new leaves start to grow. That said, Monstera plants are hardy and can withstand transplanting at other times during the year if their general needs are met.
Here are a few reasons you should repot your Monstera plant:
- The Monstera plant is excessively top-heavy/foliage is more than three times wider than the pot;
- Roots are coming out of the pot, either out the top or out the drainage holes;
- The current planter doesn’t bring you joy (see above for some lovely options);
- It is currently late winter or early spring;
- The plant hasn’t been repotted in a year or two.
Care for Monstera plants after repotting
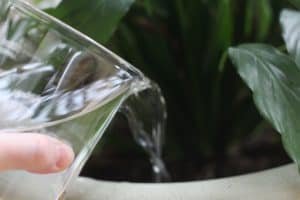
After repotting, check to ensure your new planter pot is draining well. Pour out any excess water from the saucer. Water the plant regularly, perhaps once or twice a week in most conditions, as it acclimates to its new planter.
Refrain from fertilizing your Monstera in the weeks following repotting. Chances are, your potting mix contains nutrients. It can also be helpful for the plant to settle into its new home before being bombarded with nutrients. Give the Monstera a few months before fertilizing it with a quality organic houseplant fertilizer.